How to make the very best chocolate-dipped strawberries!
This post contains affiliate links.
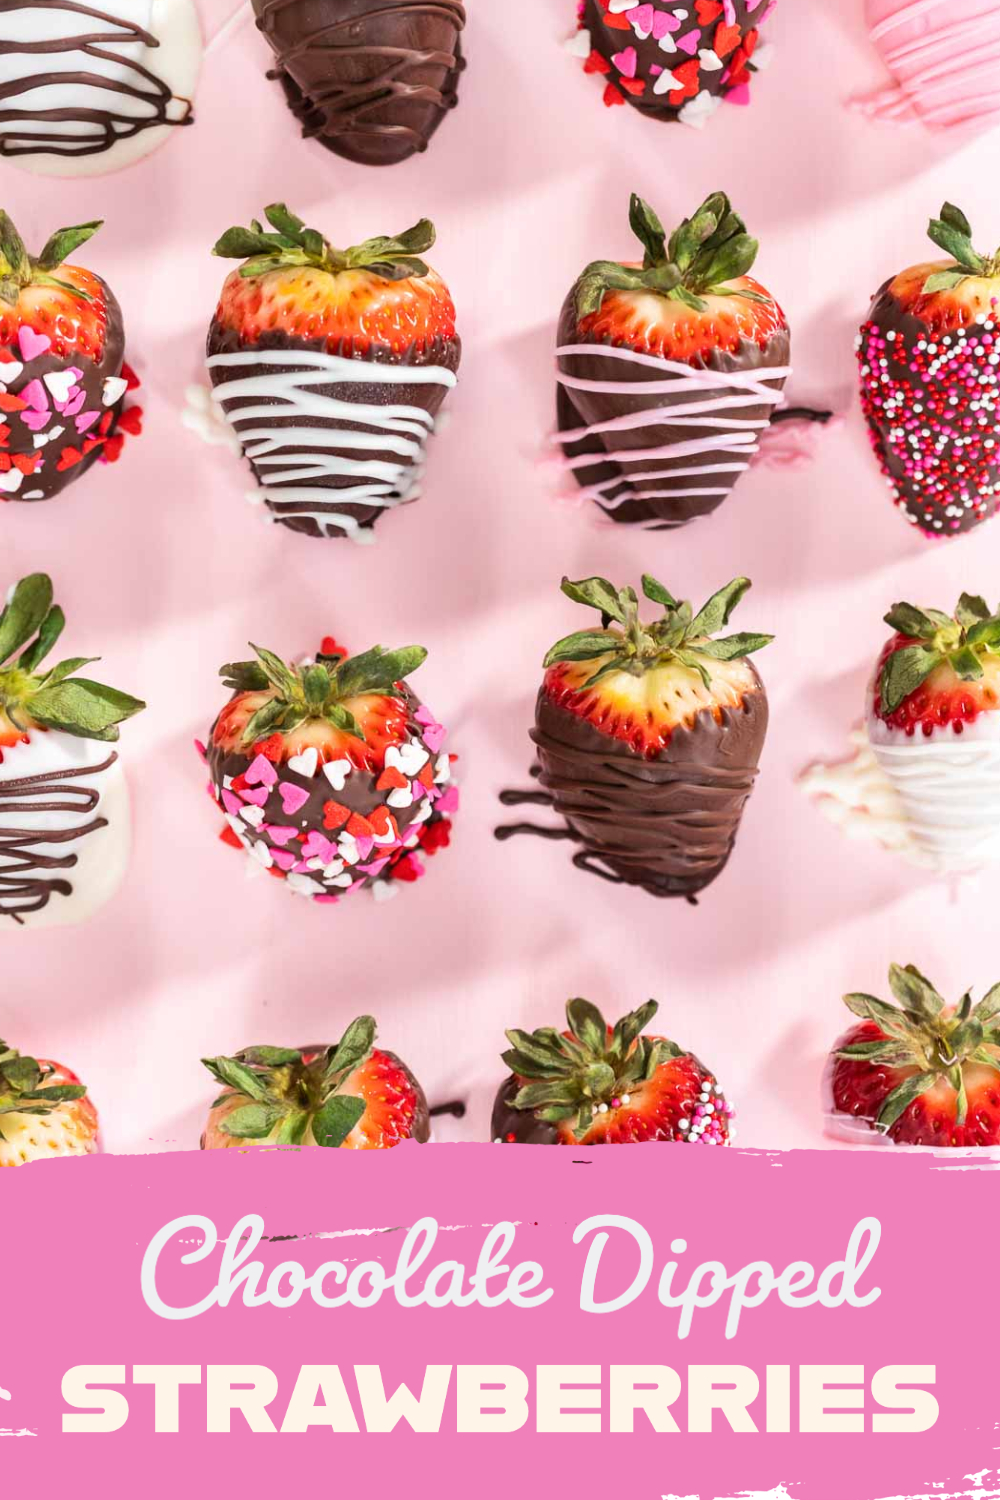
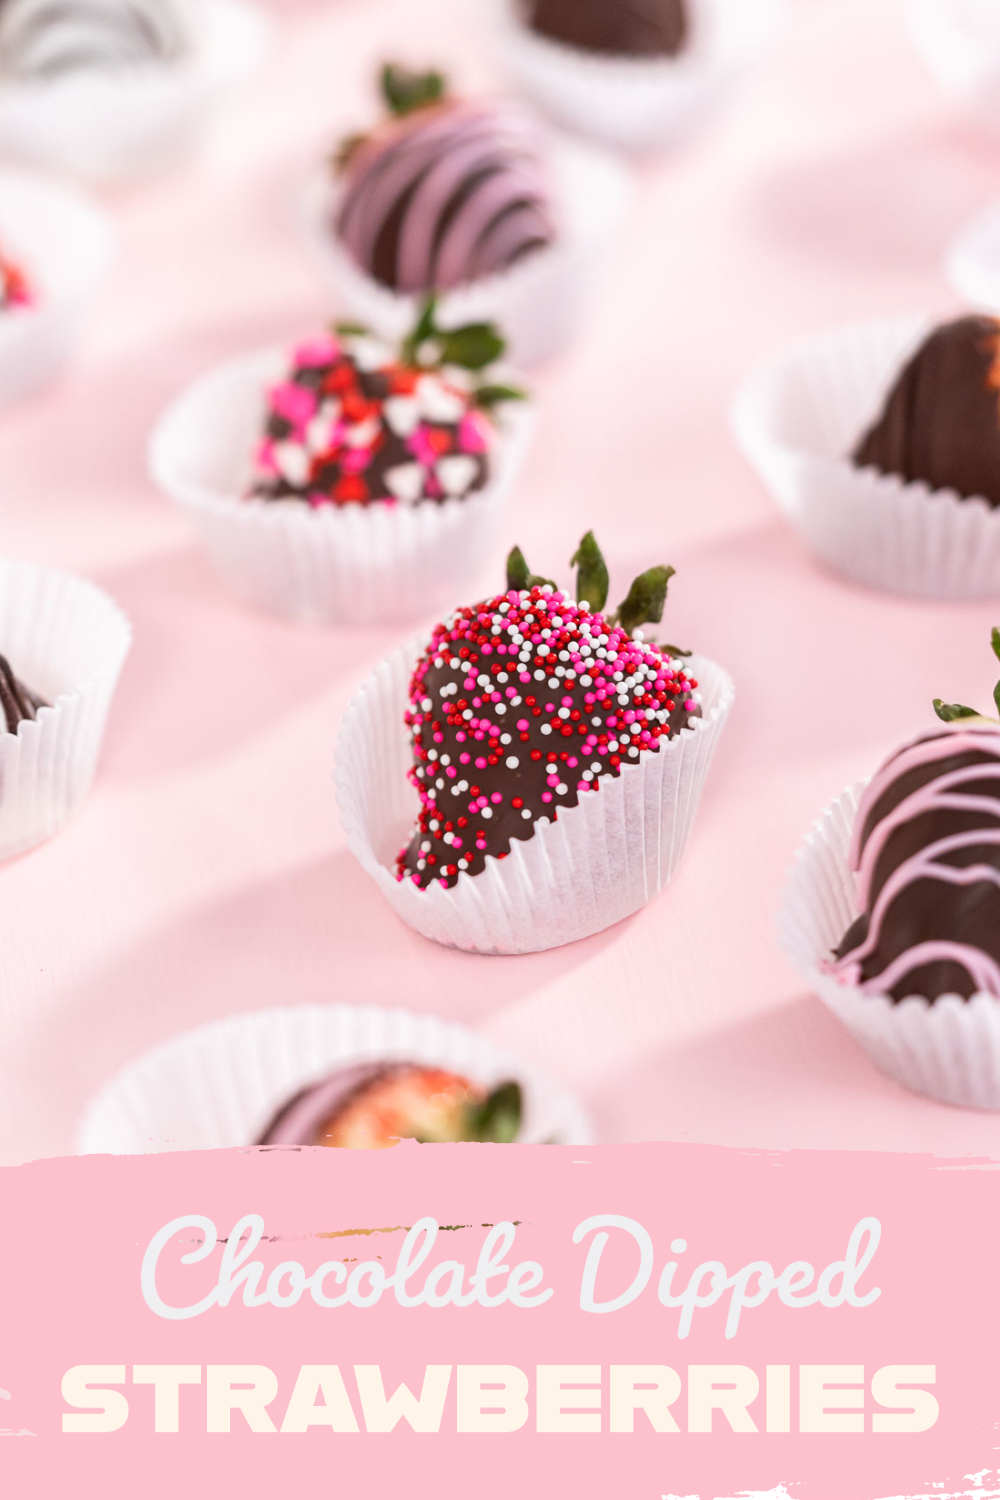
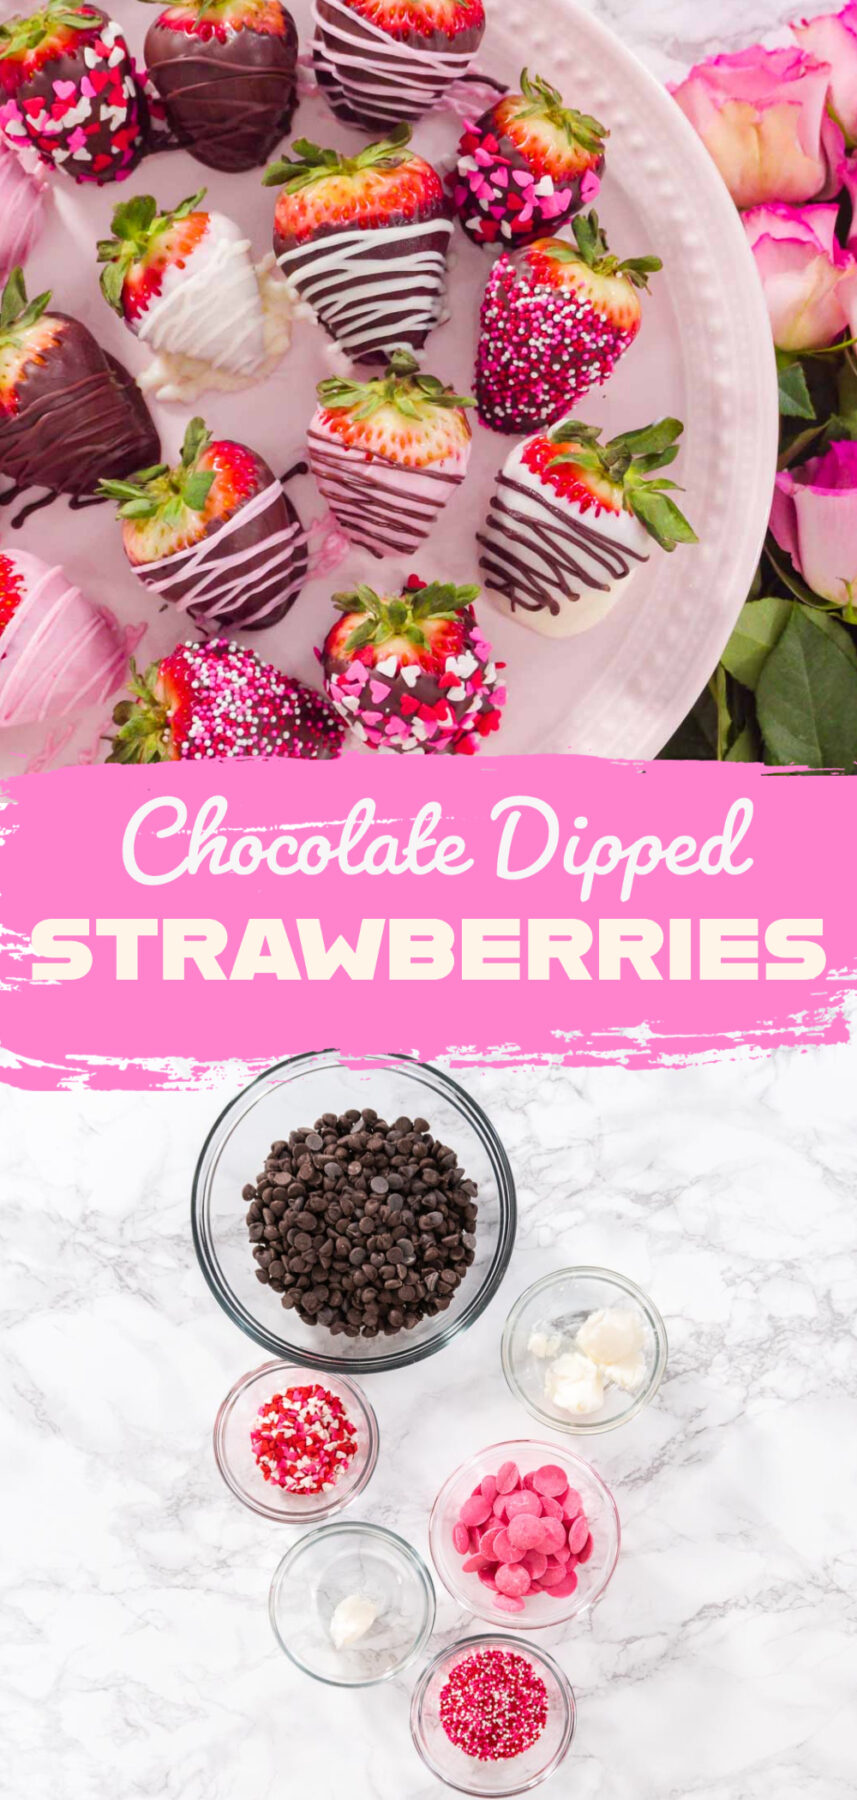
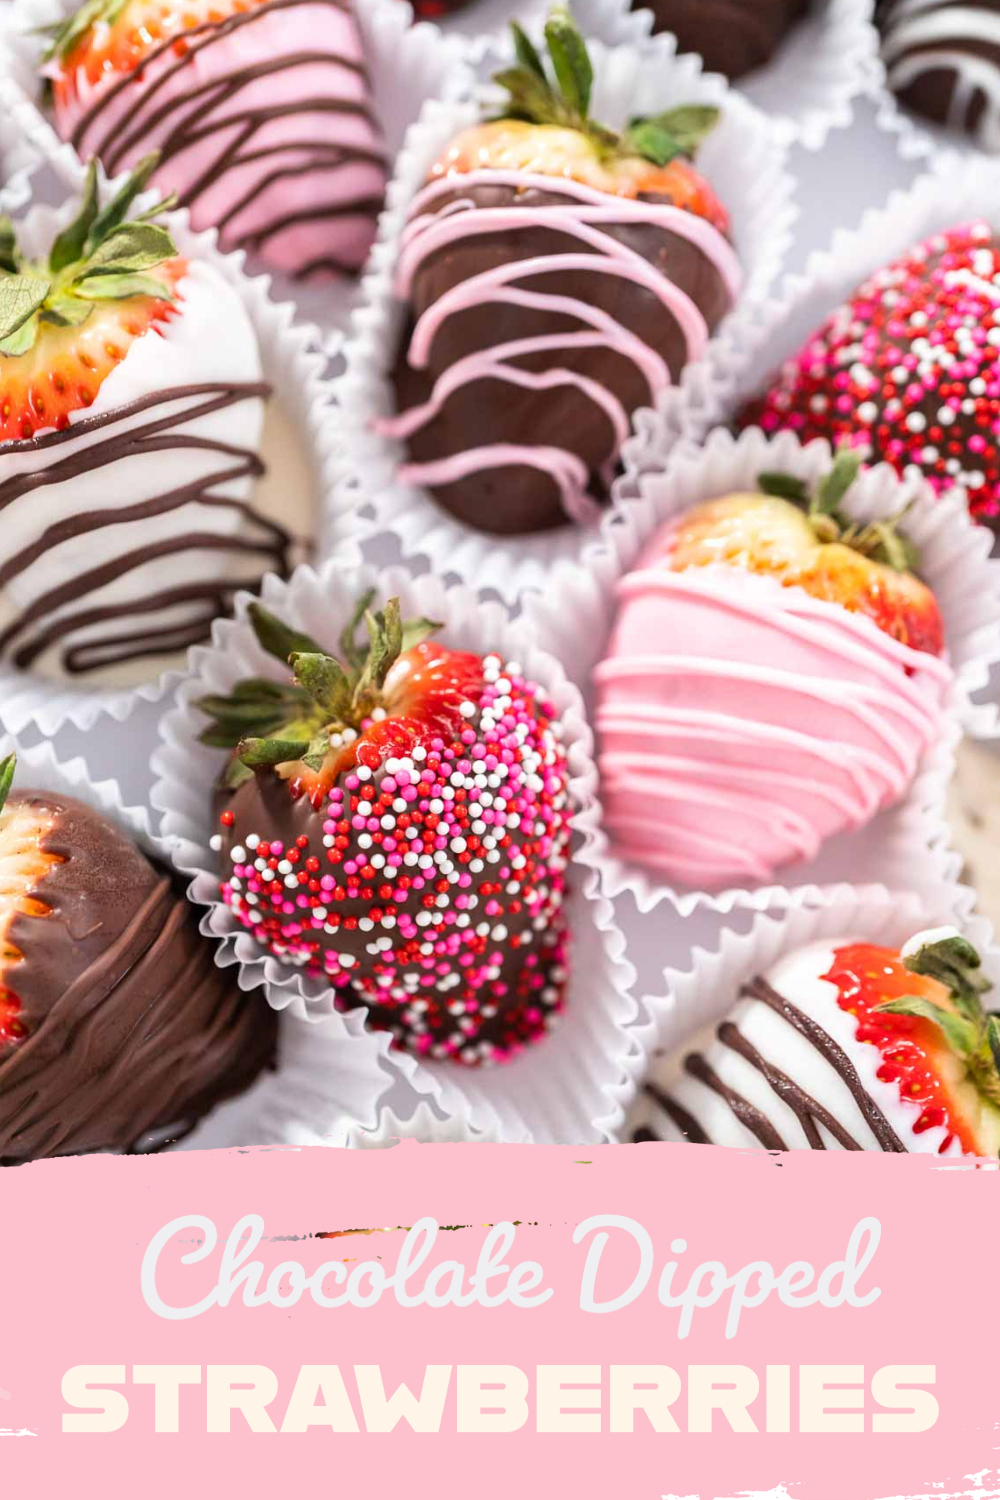
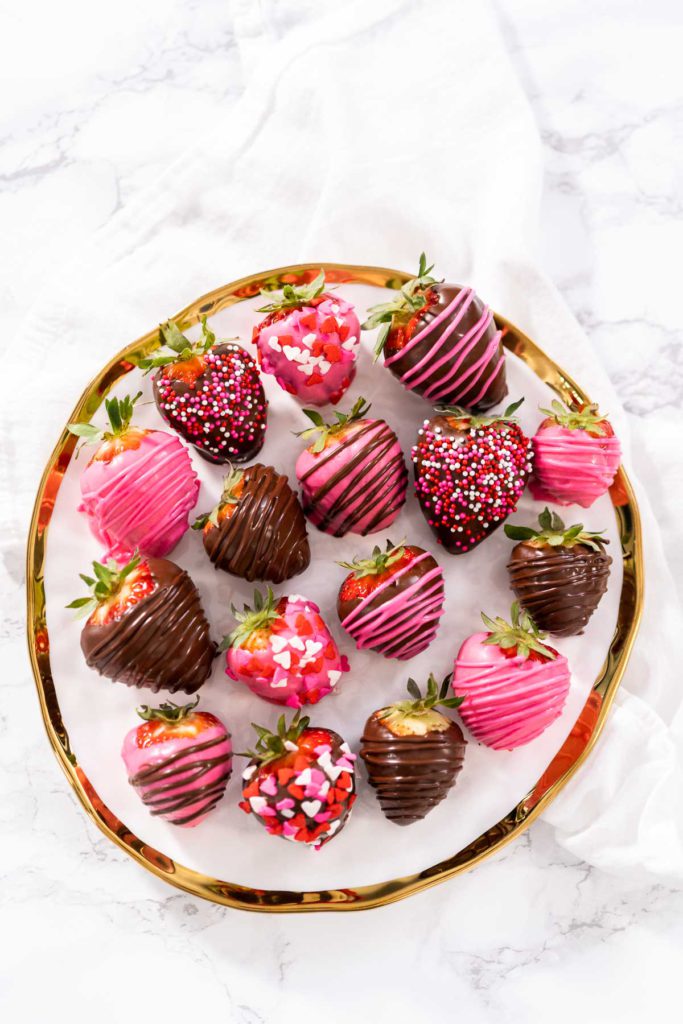
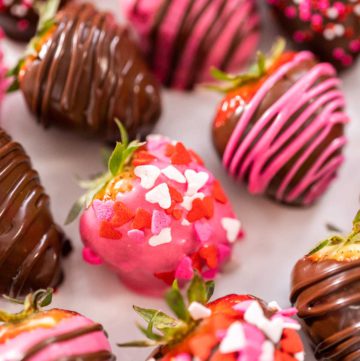
To take a break from all of the intricate desserts that I usually bake and shoot, I decided to try out a more simple dessert recipe that I have not done before: beloved Chocolate-Covered Strawberries! These tasty treats are perfect for just about any occasion and they’re extremely easy to customize! Decorated with sprinkles and colorful chocolate drizzles, these beautiful berries are the perfect dish to serve for a fancy feel and scrumptious taste!
When I started out on this sweet treat journey I knew that I wanted to find the most effective ways to melt the chocolate and to make the best berries imaginable. What I found out in my kitchen experiment is that, while this is a simple recipe, there are certain things to do to make this process as easy as it can be and with the best results possible. I also learned that there is a simple prep process that will make those beautiful strawberries last much, much longer!
When I first attempted this recipe I used a typical fondue pot to melt the chocolate. It worked perfectly for that job! However, when it came time to clean the pot, it proved to be much more challenging than I had expected since the chocolate stuck to the stainless steel. If you’ve ever had to go through scrubbing off stuck-on chocolate then you know it’s not something you want to repeat.
So I started doing a little equipment research to see if there was a better alternative out there and I actually found one! I found a candy melt pot that was made specifically for Wilton Candies, but it has actually proven to be useful for so much more. I use it for all of my candy and chocolate-melting projects, plus for thinning out my glazes and icings.
This melting pot stays at the perfect temperature, never overcooking the chocolate, and the silicone lining makes it super easy to clean up afterward. Needless to say, I never use anything else for these kinds of recipes since nothing else is nearly as effective as my candy melt pot! But for this particular project, there is another important factor for recipe success: strawberry prep.
Any strawberry lover out there is well aware that strawberries only last for a maximum of like 2 days before they start going bad, even with the chocolate coating. But fear not, there is a secret to success here! To keep these chocolate-covered strawberries fresh for longer, I use a very simple and quick vinegar bath. I promise you, you do not want to skip this step ever again!
Between my candy melting pot discovery and using the secret strawberry prep method, these chocolate-covered strawberries turned out to be the best I have ever eaten! Those other chocolate strawberries from the bakeries or grocery stores simply do not compare to the results of making my own using this method! Now, I’m excited to break down and share my process so that all of my fellow strawberry fans can be on their way to sweet berry bliss!
Simple Strawberry Equipment
Since this particular chocolate-covered strawberry recipe is a 2 step process, I do have quite a few kitchen tools that I use. But don’t fret, most of these tools and utensils are commonly found in most household kitchens so you probably already have most of what is needed for this recipe. Here is what I use to make the very best chocolate-covered strawberries:
For Prepping the Strawberries:
For Making Chocolate-Covered Strawberries:
- Wilton candy melts pot
- Glass mixing bowl
- Spatulas
- Baking sheet
- Parchment paper sheets
- pastry bags
- Pastry bag ties
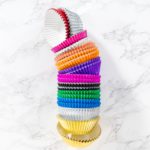
- White cupcake liners
Sensational Ingredients for Irresistible Chocolate-Covered Strawberries
Next, let me break down my ingredient list for these blissful berries. I actually don’t require a bunch of ingredients to make these fancy treats, even with the prep step. But these are customizable so you can add other preferred garnishes or change the chocolate drizzle colors up however you want for ultimate personalization. Here are the ingredients I use for chocolate-covered strawberries:
For Strawberry Prep:
- ¼ cup white vinegar
- 2 cups cold water
- Strawberries
For the Chocolate-Covered Strawberries:
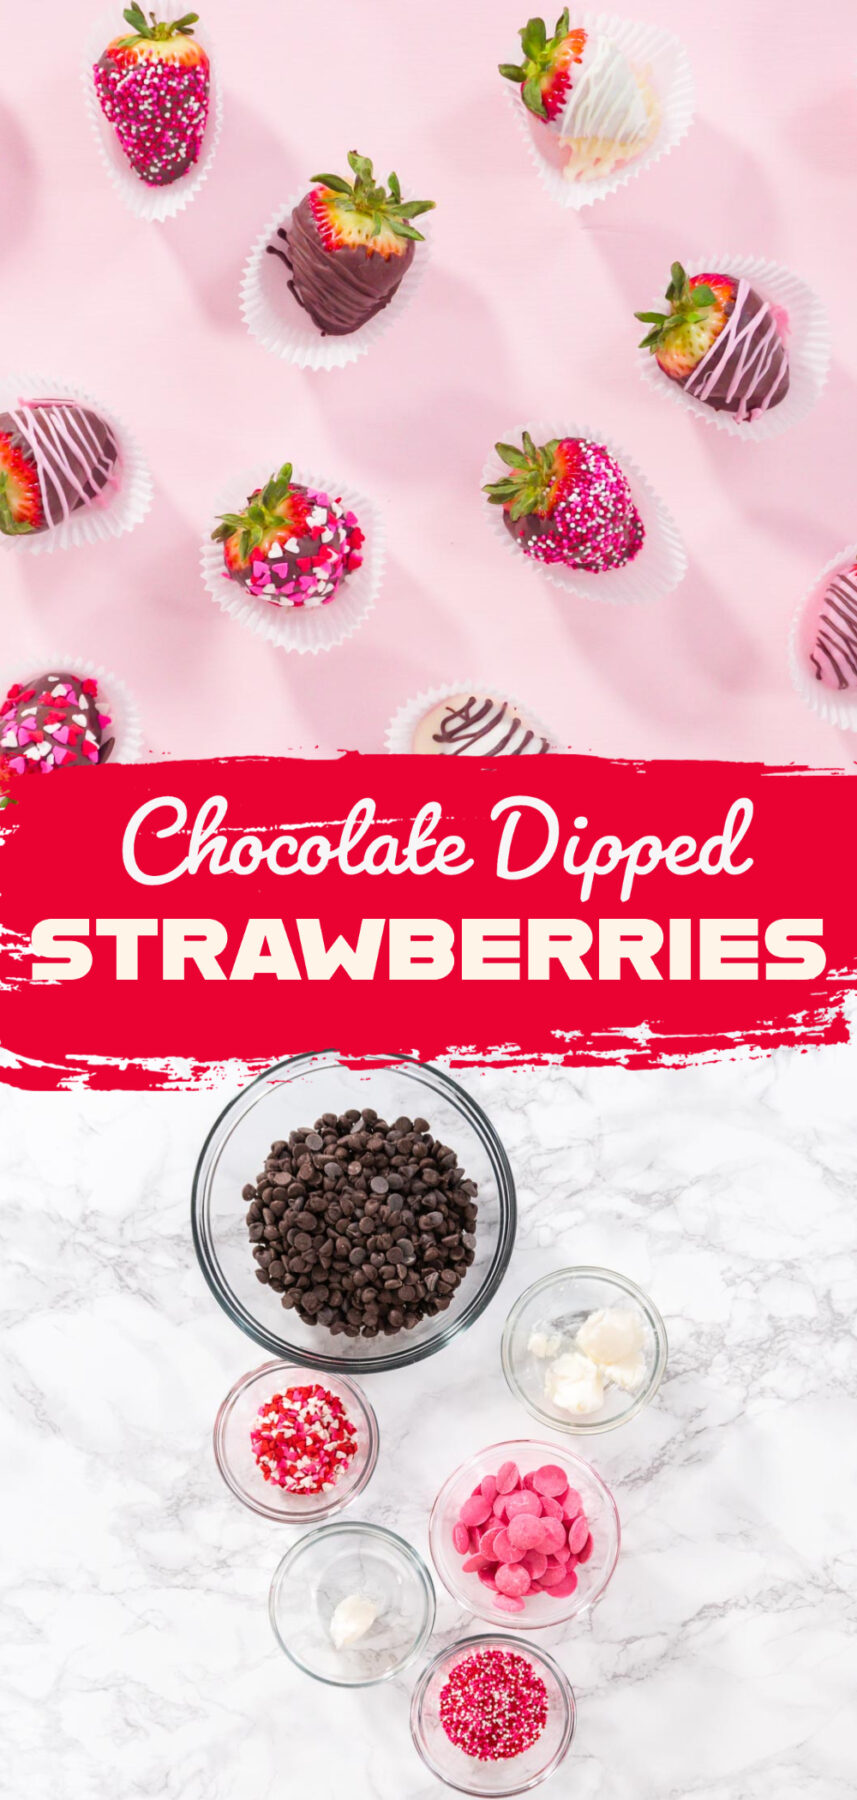
- 12 large Strawberries or 24 Medium
- 2 Cups Chocolate Melts or Chocolate chips
- 2 tablespoon Coconut Oil
- If using chocolate chips, add additional 1 tablespoon coconut oil.
- ¼ Cup Chocolate Melts - for drizzle
- 1 teaspoon Coconut Oil - for each drizzle
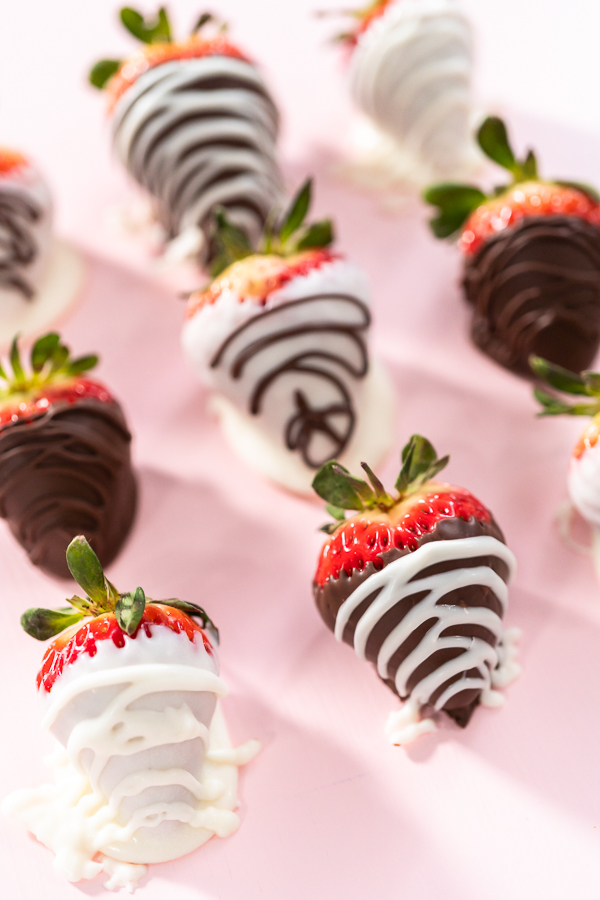
Different colored chocolate drizzles and garnishes:
How to Prepare Strawberries to Stay Fresh Longer
So the very first thing to do to make the very best chocolate-covered strawberries is to prep those berries with this simple vinegar bath. This prep method only takes a few short minutes but produces the most long-lasting storage results. For covered and uncovered berries alike, here’s how to prep them to stay fresh longer:
- First, gather the strawberry prep ingredients and line a baking sheet with a few paper towels.
- Next, use a measuring cup to measure out ¼ cup of white vinegar and then 2 cups of cold water and pour them into a large glass mixing bowl. Then, add in the strawberries.
- Let the strawberries soak in their vinegar bath for about 5 minutes. Then, transfer the strawberries to a spider strainer and rinse them well under cold water.
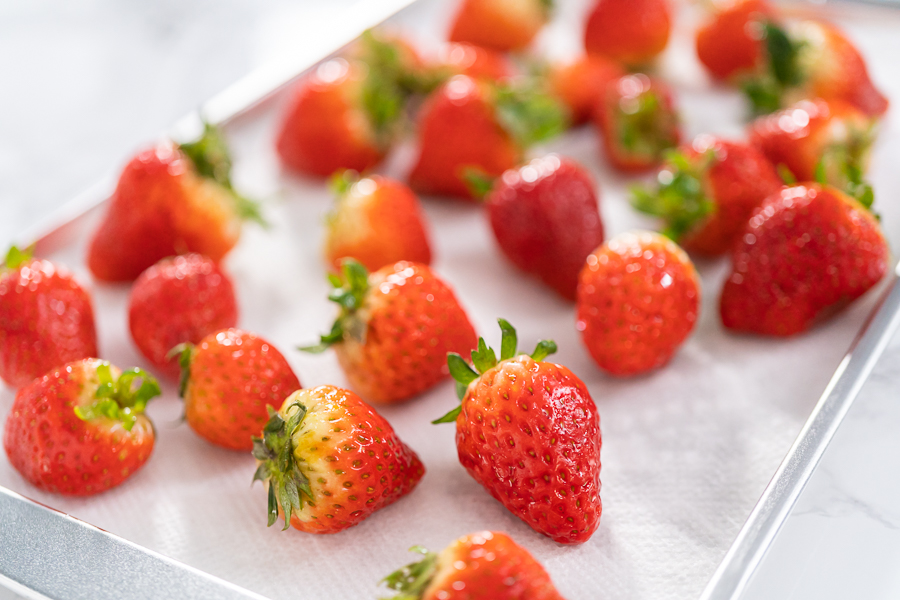
- After rinsing, move the strawberries to the lined baking sheet. Dry off the strawberries with another paper towel or 2, then let the berries sit for a few minutes to finish drying completely.
- Transfer the strawberries to the fridge for an hour before dipping in chocolate.
For more simple solutions to prolong the life of strawberries, check out my simple guide with 4 ways on How to Keep Strawberries Fresh!
How to Make the Very Best Chocolate-Covered Strawberries
Now I’m going to break down my fool-proof method for perfectly melting chocolate and making the absolute best chocolate-covered strawberries! As I mentioned, my candy melt pot is my preferred method so that is what I use. However, I know that not everyone has one of these in their kitchen collection so I will cover alternative ways to melt the chocolate. But first, here’s how I do it:
- First, make sure you have properly prepared the strawberries using the vinegar bath method. Then, line a baking sheet with parchment paper.
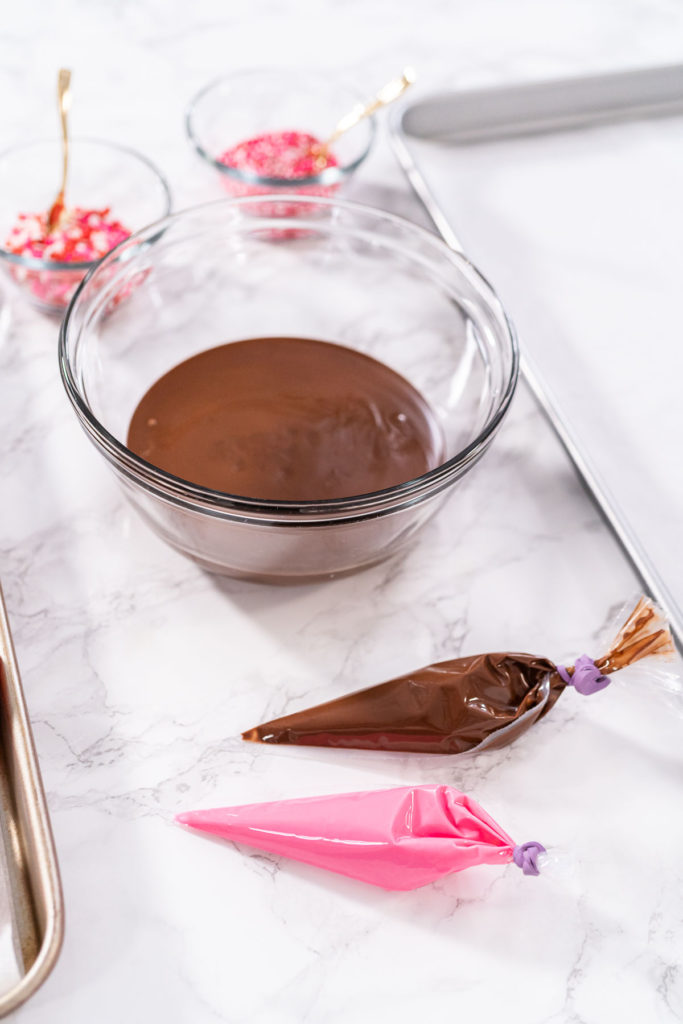
- Next, combine the chocolate chips (or melts) and coconut oil in the candy melt pot and melt them together until completely mixed. Then transfer the melted chocolate to a large glass bowl for dipping.
- Silicone spatulas are perfect for stirring the chocolate while it heats up!
- To make the candy drizzle, rinse out the lining of the candy melt pot and repeat the melting process for the pink or white colored candies and remaining coconut oil.
- Then, transfer the melted-colored candies to separate piping bags and tie each one off with a bag tie. Cut about ⅛ inch from the tip of the bag for easy drizzling.
- Next, dip the strawberries in the bowl of melted chocolate and then gently transfer them to the parchment-lined baking sheet.
- Immediately decorate the chocolate-covered strawberries with sprinkles and hearts while the chocolate is still wet!
- Finish decorating the chocolate-dipped strawberries with the pink or white colored candy drizzles.
- Finally, transfer the decorated strawberries to the fridge and let them sit for 1 hour before serving.
- After setting, serve the chocolate strawberries in small cupcake liners to make them easier to eat or package up.
Alternative Method for Melting Chocolate Chips
Most people use the microwave to melt chocolates and candies because it’s the most convenient method without having to get extra equipment. I have always found that chocolate can easily be overcooked and burned using this method, and clean-up is always a tough job. If you do melting projects like this often, I highly recommend investing in a candy melt pot. I also go over another method for melting chocolate chips or melts using the double boiler method in my simple guide on How to Easily Melt Candy Melts.
How to Melt Chocolate in the Microwave:
- First, pour the chocolate chips or melts into a small heat-safe bowl or silicone measuring cup, and add the coconut oil.
- Then, heat the chocolate in the microwave at 50% power for 30-second intervals until the chocolate is almost melted. Stir thoroughly between intervals.
- Use a towel or an oven mitt to protect your hand from the heat when handling the bowl.
- Finally, let the melted chocolate sit for about 1 minute to let the residual heat take care of any small unmelted pieces leftover. Then, stir until smooth.
- If you try another interval of cooking at this point, the candy could overcook and burn so it’s better to let the candy sit and take care of itself.
Melting Tip:
Whichever method you choose, make sure not to accidentally overcook your candy by using a setting that is too high or by heating the chocolate chips or candy melts for too long. The melted chocolate can easily burn or lose the perfect consistency.
How to Store Chocolate-Covered Strawberries
For the absolute best results, it’s best to eat chocolate-covered strawberries within a few days of making them. However, since these strawberries are prepared using the vinegar bath method, they can last several days longer than store-bought chocolate strawberries if needed.
To store these vinegar-prepped, chocolate-covered strawberries: first, line an airtight container with a layer of paper towels, then gently place the strawberries on top. Use sheets of wax paper in between layers, if needed. Seal the container with the airtight lid and store it in the fridge for up to 7 days. After storing, always inspect the strawberries before eating. If the chocolate has started falling off the berries, or if the tops of the strawberries appear mushy, it’s best to toss them.
Here’s how to store vinegar-prepped strawberries without the chocolate coating if you want to make a mixed batch:
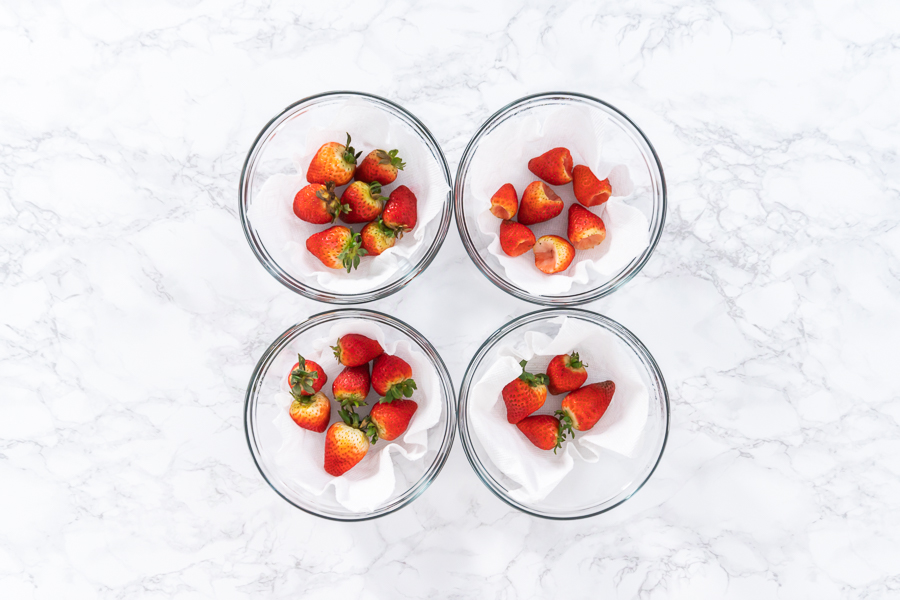
To store vinegar-prepared strawberries: first, line a glass storage bowl with a paper towel and place the strawberries inside. Cover the top of the bowl with Press N’ Seal food wrap and store in the fridge for up to 7 days. Using cellophane food wrap instead of an airtight lid is vital to making sure the uncoated strawberries stay fresh for several days. Believe it or not, they need a little breathing room to stay fresh.
Strawberry Recipes
Perfectly-Paired Strawberry Recipes
Once you try out this method, this recipe will likely become your new staple sweet to make for fancy events and special occasions! While these tasty treats are divine all on their own, they can also be added to other desserts for a more decadent flair to any homemade treat! Here are a few of my favorite ways to serve these chocolate-covered strawberries:
Try these as a fancy dessert topper for:
- Cakes
- Cupcakes
- Pies
- French Toast
- Pancakes
- Waffles
- Ice cream sundae
- Cheesecake
Serve Chocolate-Covered Strawberries with:
- Homemade Whipped Cream
- Star-Shaped Graham Crackers
- Mascarpone Tart
- Red Velvet Bundt Cake
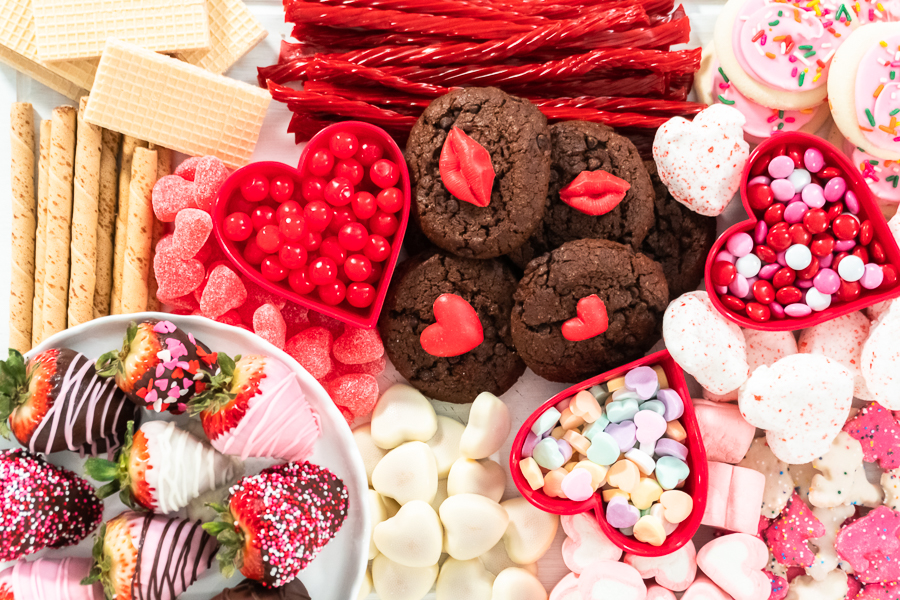
- Valentine’s Day Charcuterie Board
- French Toast
- Chocolate Strawberry Cupcakes
- Christmas Chocolate Cake
Surprise a loved one with these homemade gifts for:
- Birthdays
- Anniversaries
- Baby showers
- Valentine’s Day
- Mother’s Day
- Father’s Day
- Christmas
- New Year’s
Chocolate-Covered Strawberries
Video
Equipment
Ingredients
- 12 large Strawberries or 24 Medium
- 2 Cups Chocolate Melts or Chocolate chips (add additional 1 tablespoon coconut oil)
- ¼ cup Coconut Oil
- ¼ Cup Chocolate Melts (For Drizzle)
- 1 teaspoon Coconut Oil
Different chocolate dips and garnishes
Instructions
- Wash and dry strawberries thoroughly. Ensure they are completely dry before dipping.
- Combine chocolate chips and coconut oil. Melt in a microwave or melting pot until smooth and glossy.
- Hold each strawberry by the stem or skewer, dip into the melted chocolate, and shake off excess. Place on a parchment-lined baking sheet.
- Add sprinkles immediately or drizzle melted pink candy melts with coconut oil for a colorful touch.
- Allow chocolate to set at room temperature or refrigerate until firm.
- Place strawberries in cupcake liners for a polished look. Store in the refrigerator for up to 2 days.
Food Photography & Video Tips from My Studio
Here’s a peek at the tools, gear, and camera setups I use to film my recipe videos and photograph food at home. Over the years, I’ve tested dozens of different setups, and now I’m sharing what actually works for me—whether I’m filming overhead shots for YouTube or styling still photos for my blog. If you’re curious about how I create the content you see here, these posts are a great place to start.
















Jess says
Hi there! Do you prefer the taste of the chocolate chips over the melts? Does the coconut oil thin it out enough to make the dipping easy?
THANK YOU!!!!
Arina says
Yes