|
This post contains affiliate links.
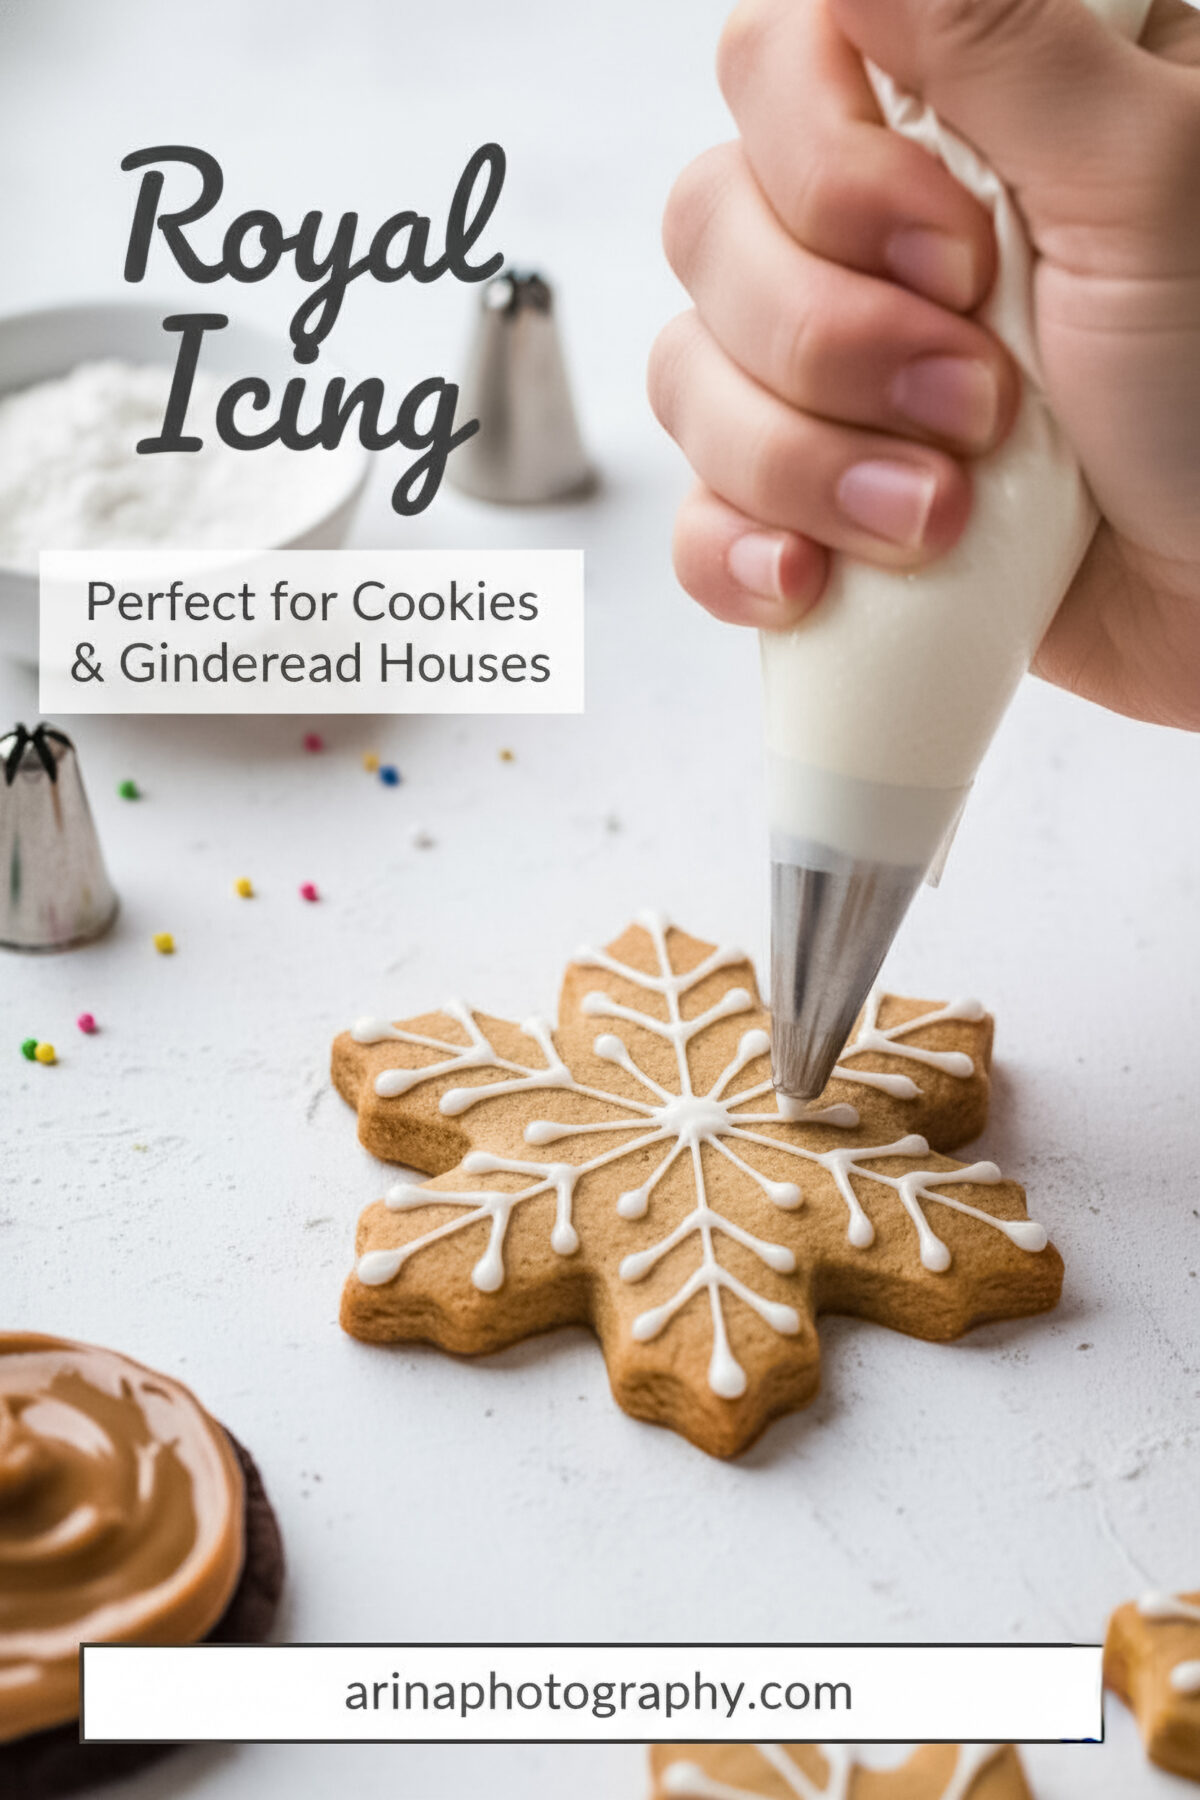
If you’ve ever admired those perfectly smooth sugar cookies that look like they came straight from a bakery window — the kind with glossy, colorful icing that hardens into a flawless finish — you’ve seen royal icing at work. I remember the first time I tried making it myself; I was nervous about getting the texture right, but after a few tries (and a few sticky countertops later), I realized just how simple and fun it actually is! Now, it’s one of my favorite parts of cookie decorating.
This is the same icing I use for my Ice Skate Sugar Cookies, Snowflake Sugar Cookies, and most of my holiday baking projects. It’s easy to color, pipes beautifully, and dries to a perfect shine. Once you get comfortable with it, you’ll feel like an artist every time you decorate a cookie.
Why You’ll Love This Recipe
- Smooth and shiny finish: It gives cookies that professional, polished look.
- Quick to make: Ready in under 15 minutes with only a few ingredients.
- Easy to color: Takes food coloring beautifully for endless creative options.
- Versatile consistency: Perfect for both outlining and flooding.
Watch how I make this recipe
Tools That Make It Easier
- Stand Mixer or Hand Mixer – Makes whipping the icing quick and effortless.
- Glass Mixing Bowl – I like using glass because it’s easier to see the texture and color.
- Spatulas – For scraping the bowl and folding in colors gently.
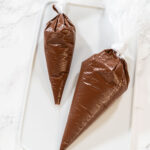
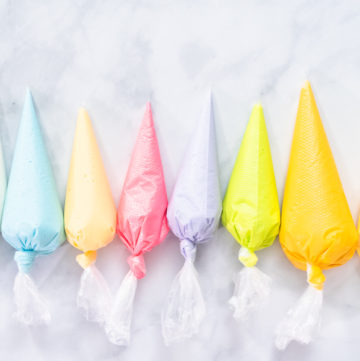
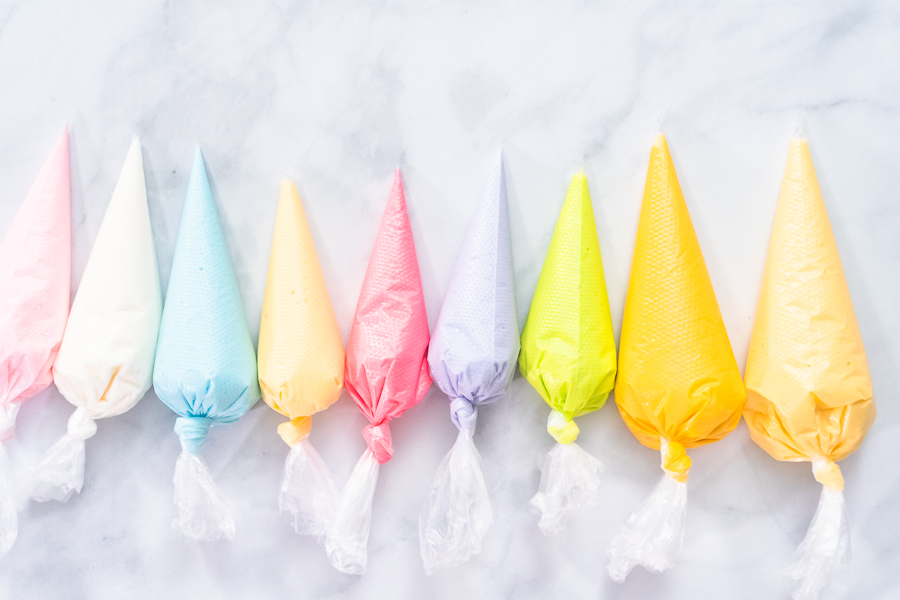
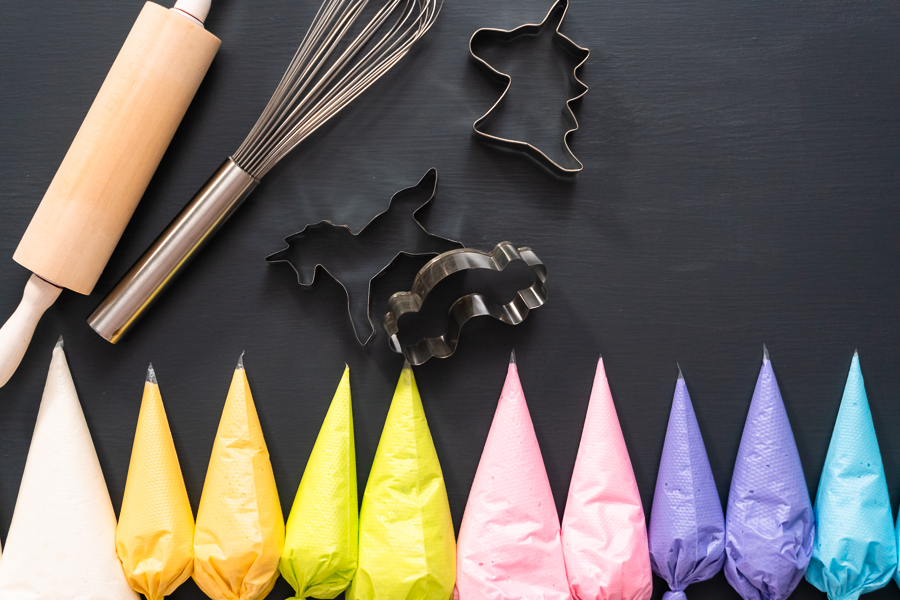
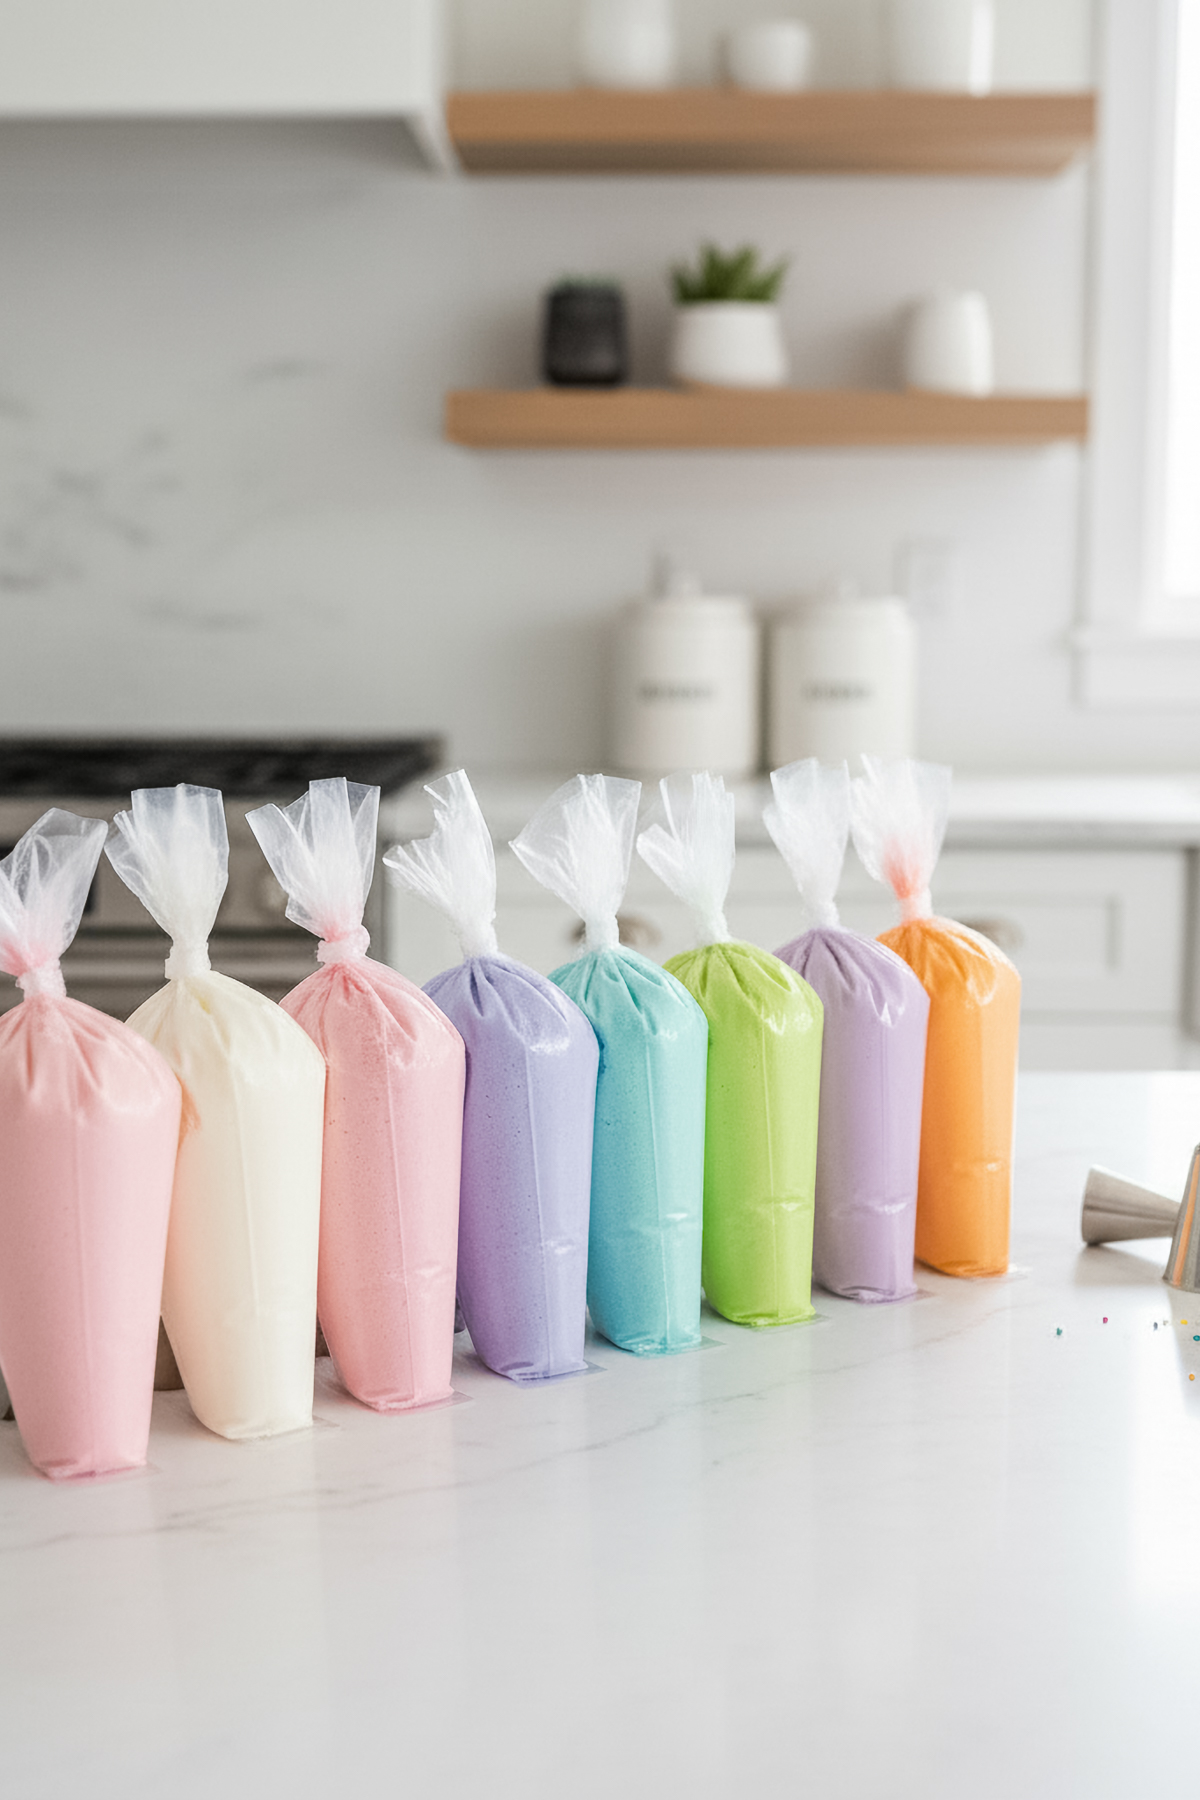
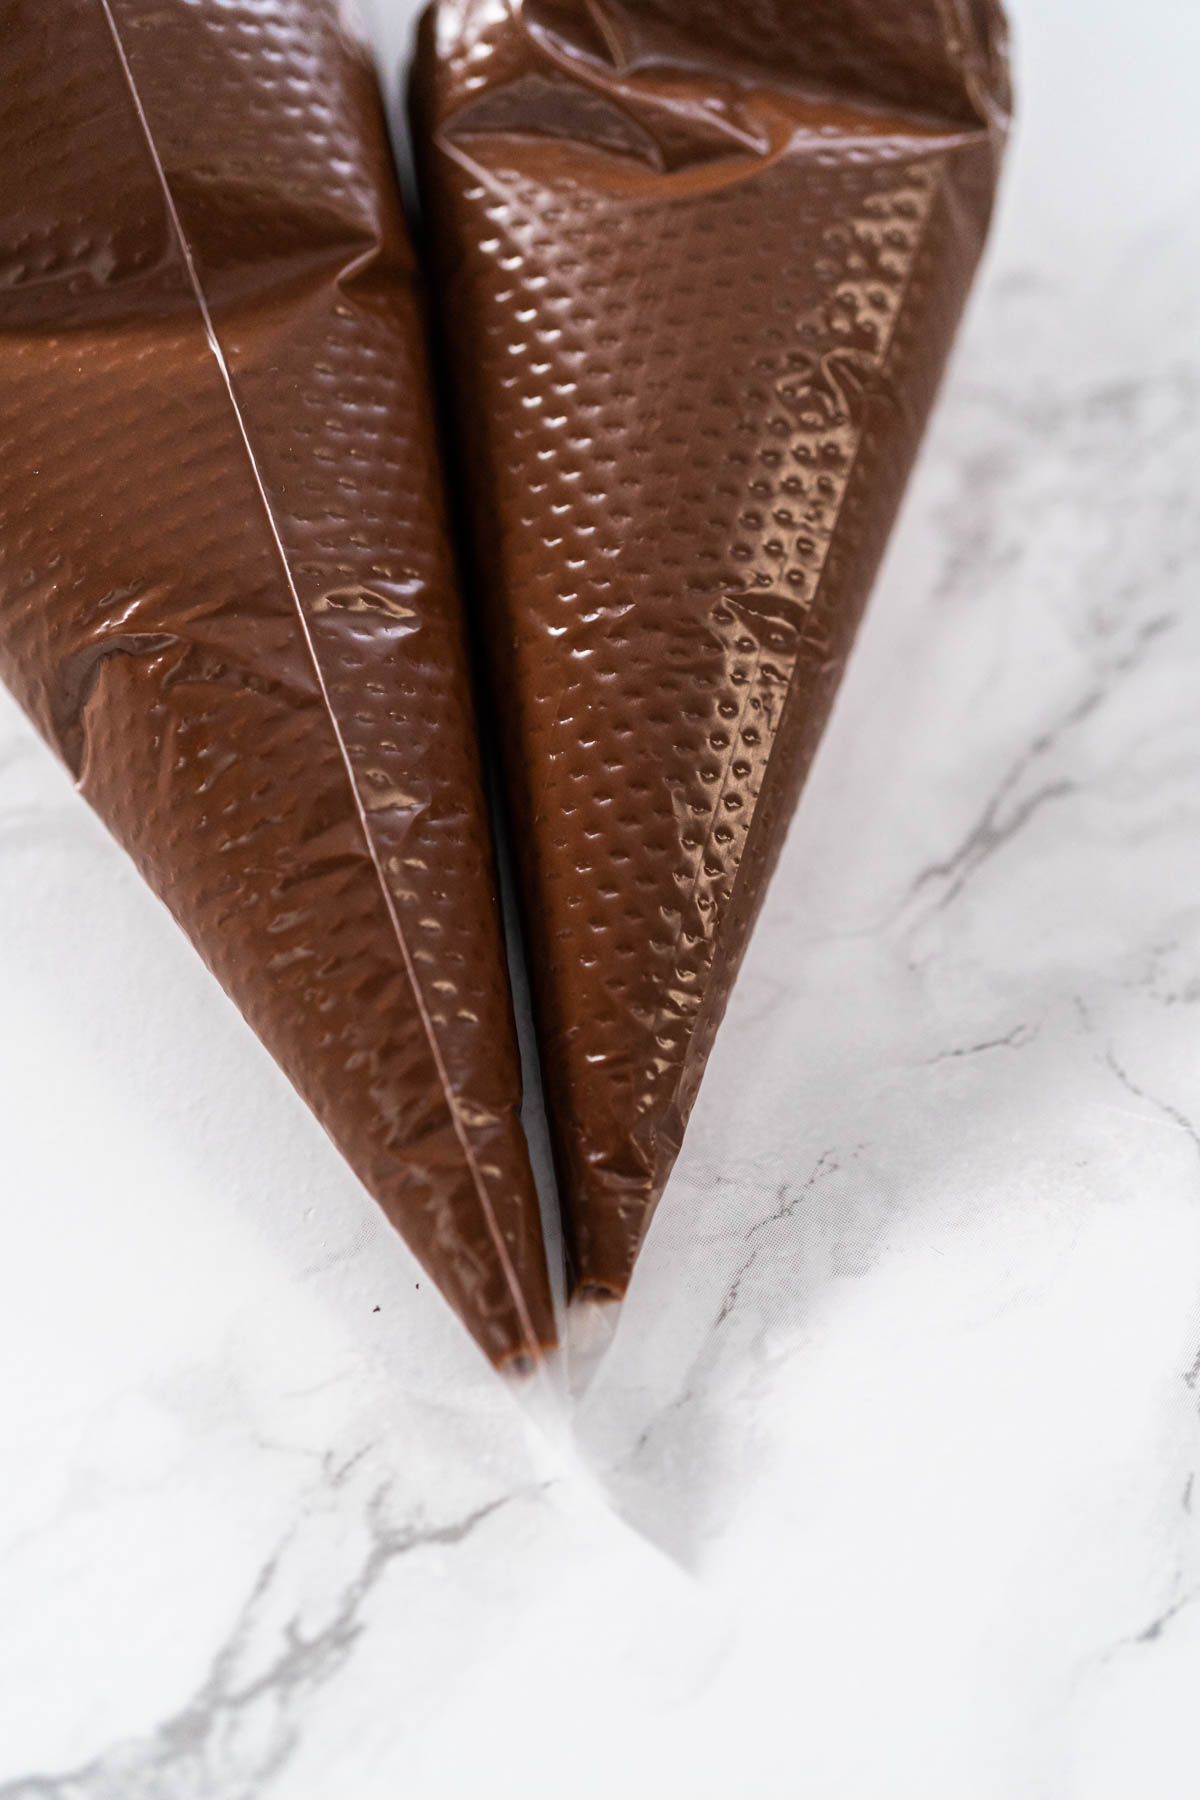
- Piping Bags– For precise decorating. I usually keep a few bags on hand for different colors.
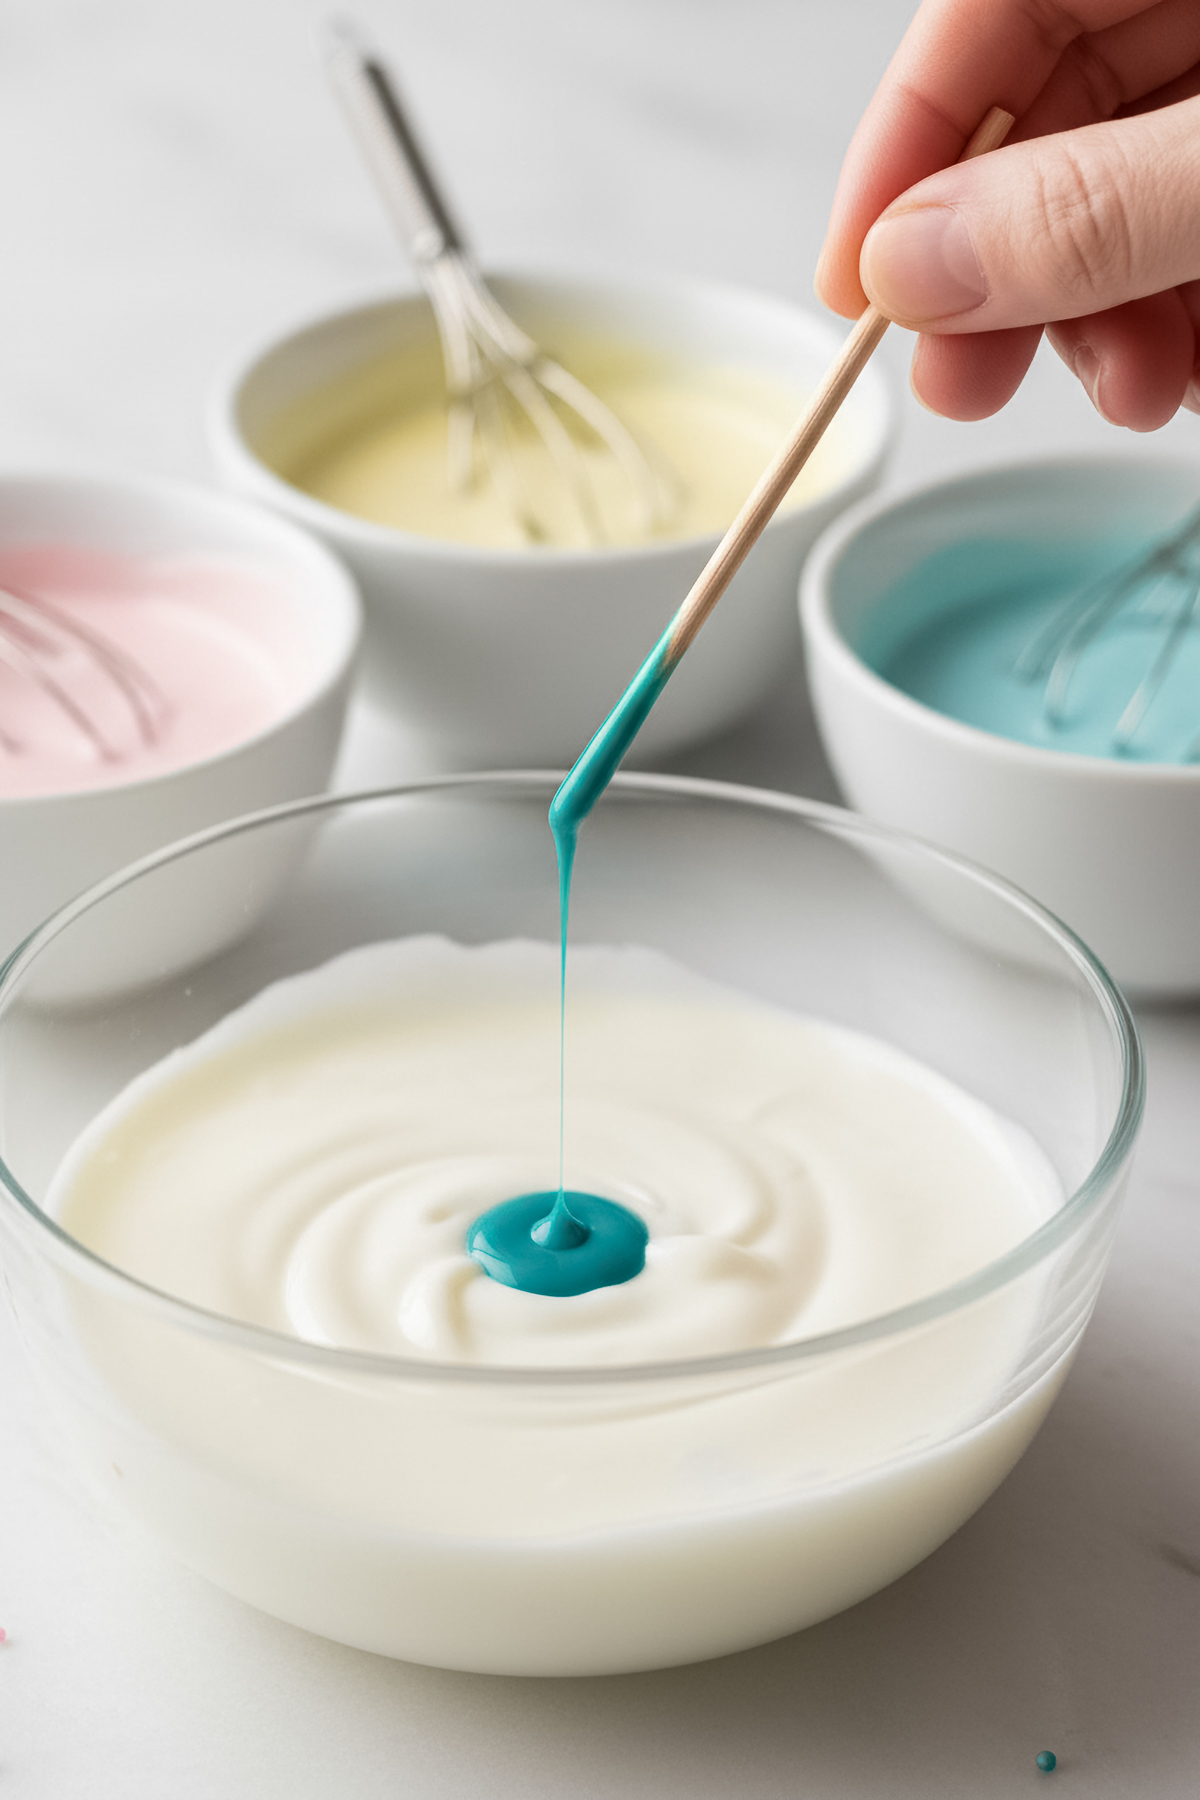
- Toothpicks – Great for adding tiny drops of gel color or popping air bubbles.
What You’ll Need From Your Pantry
- 1 lb Confectioners’ Sugar
- 3 teaspoon Meringue Powder
- 6 teaspoon Warm Water
- 1 teaspoon Vanilla Extract
- Gel Food Coloring, as desired
Before You Start: My Quick Tip
- I always keep a craft heat gun nearby when decorating — a few quick passes over freshly iced cookies help set a thin crust that keeps the surface from cracking or sinking.
- Patience is key. I let my cookies air-dry for at least 24 hours before stacking or packaging them. This gives that smooth, professional finish.
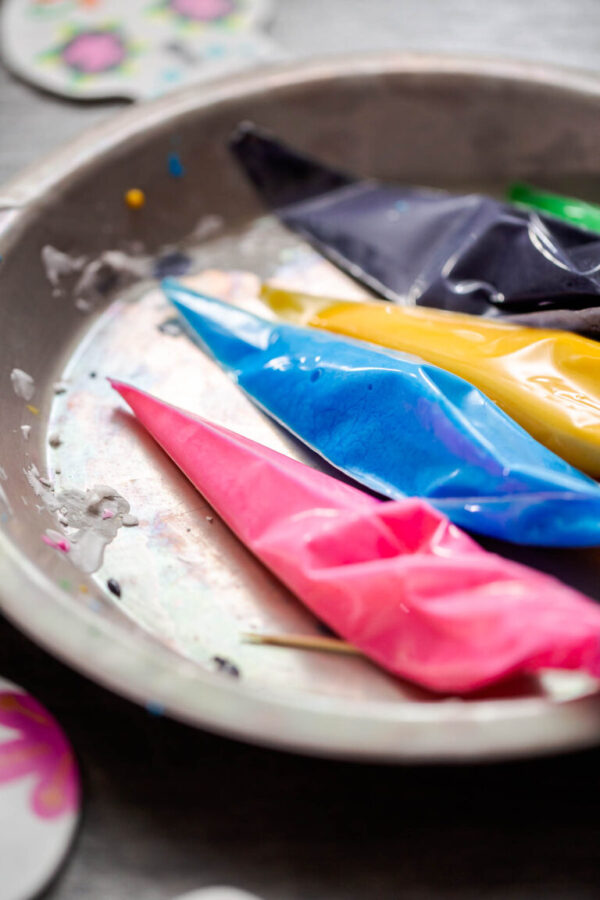
- If I’m working with multiple colors, I cover each bowl of icing with plastic wrap touching the surface to prevent crusting.
- For vibrant colors, always use gel food coloring — liquid coloring can water down the icing.
- When photographing cookies, I love styling them on light parchment paper with scattered sprinkles or piping bags in the background — it tells the whole baking story.
Latest Video
Let’s Make It Together
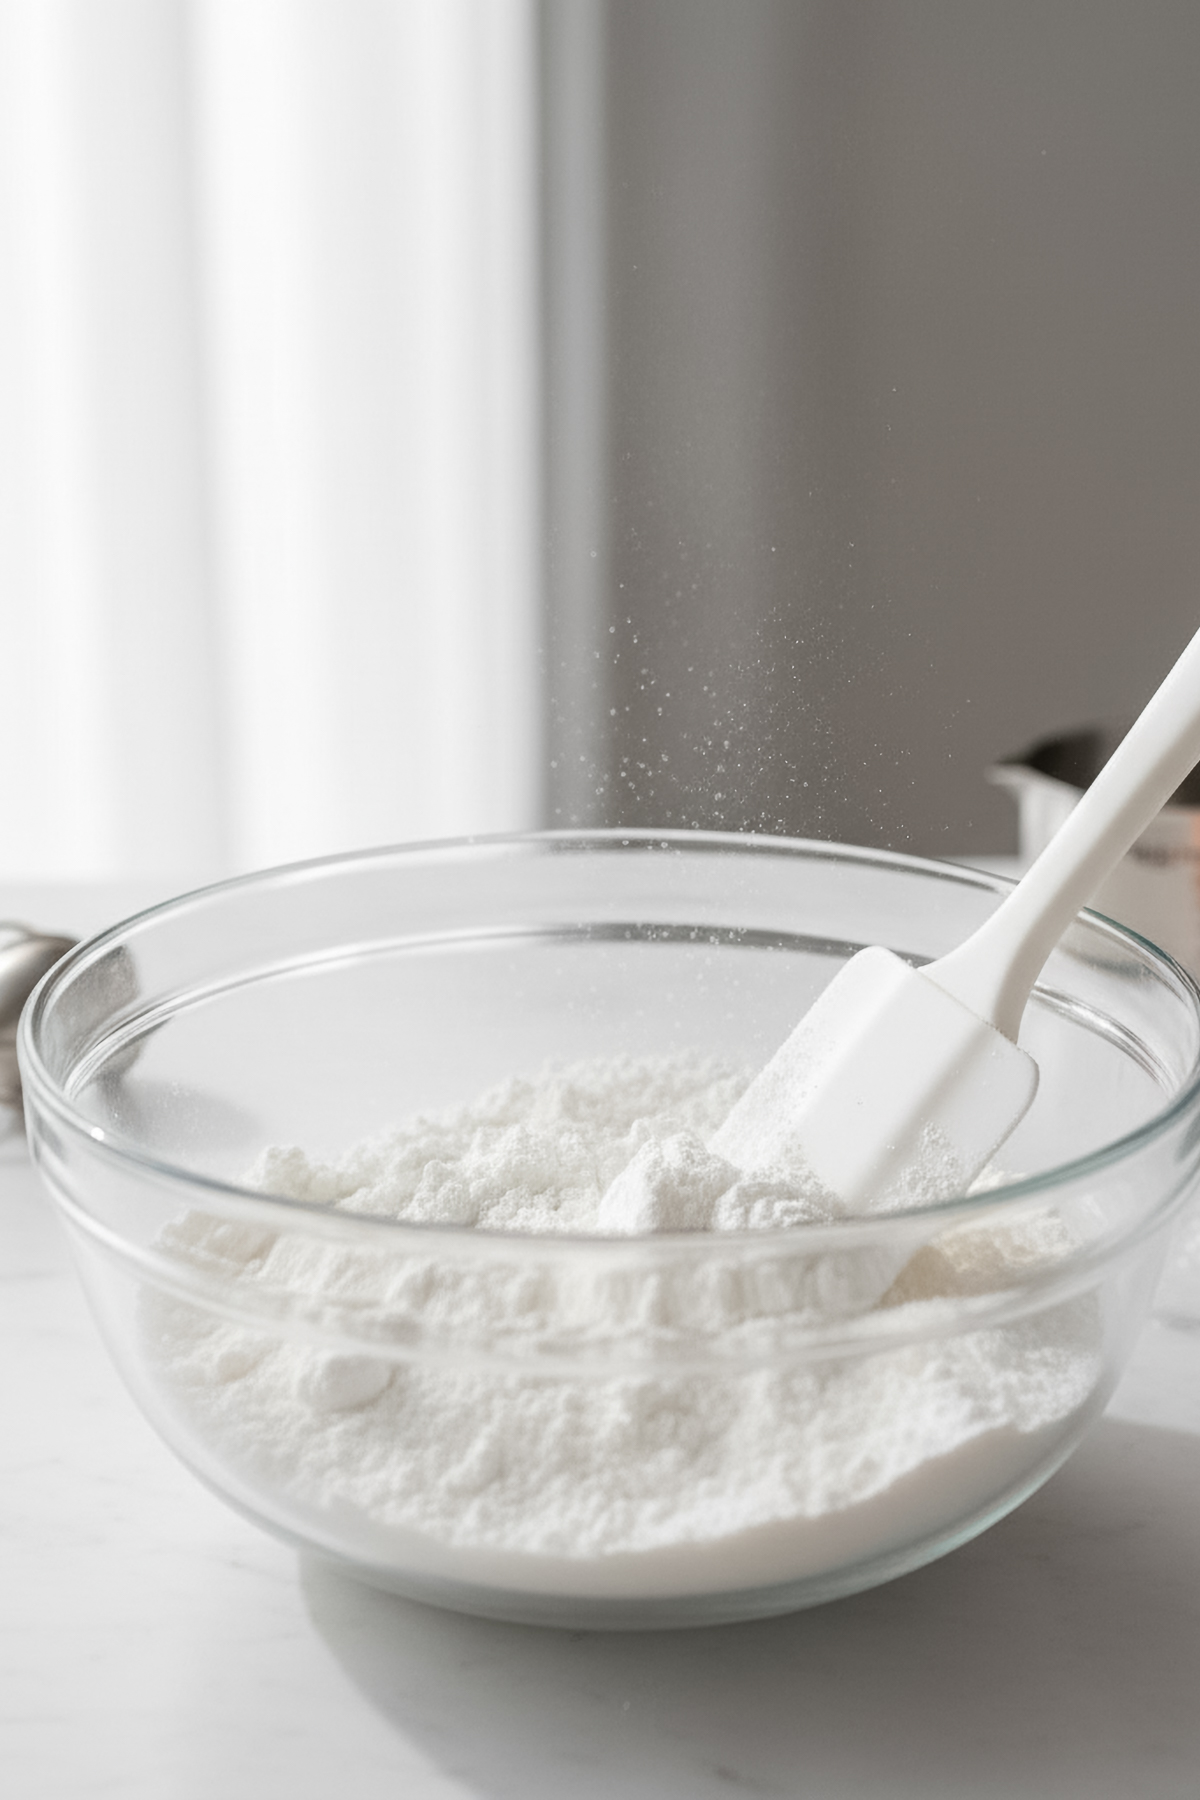
- In a large glass mixing bowl, whisk together the confectioners’ sugar and meringue powder.
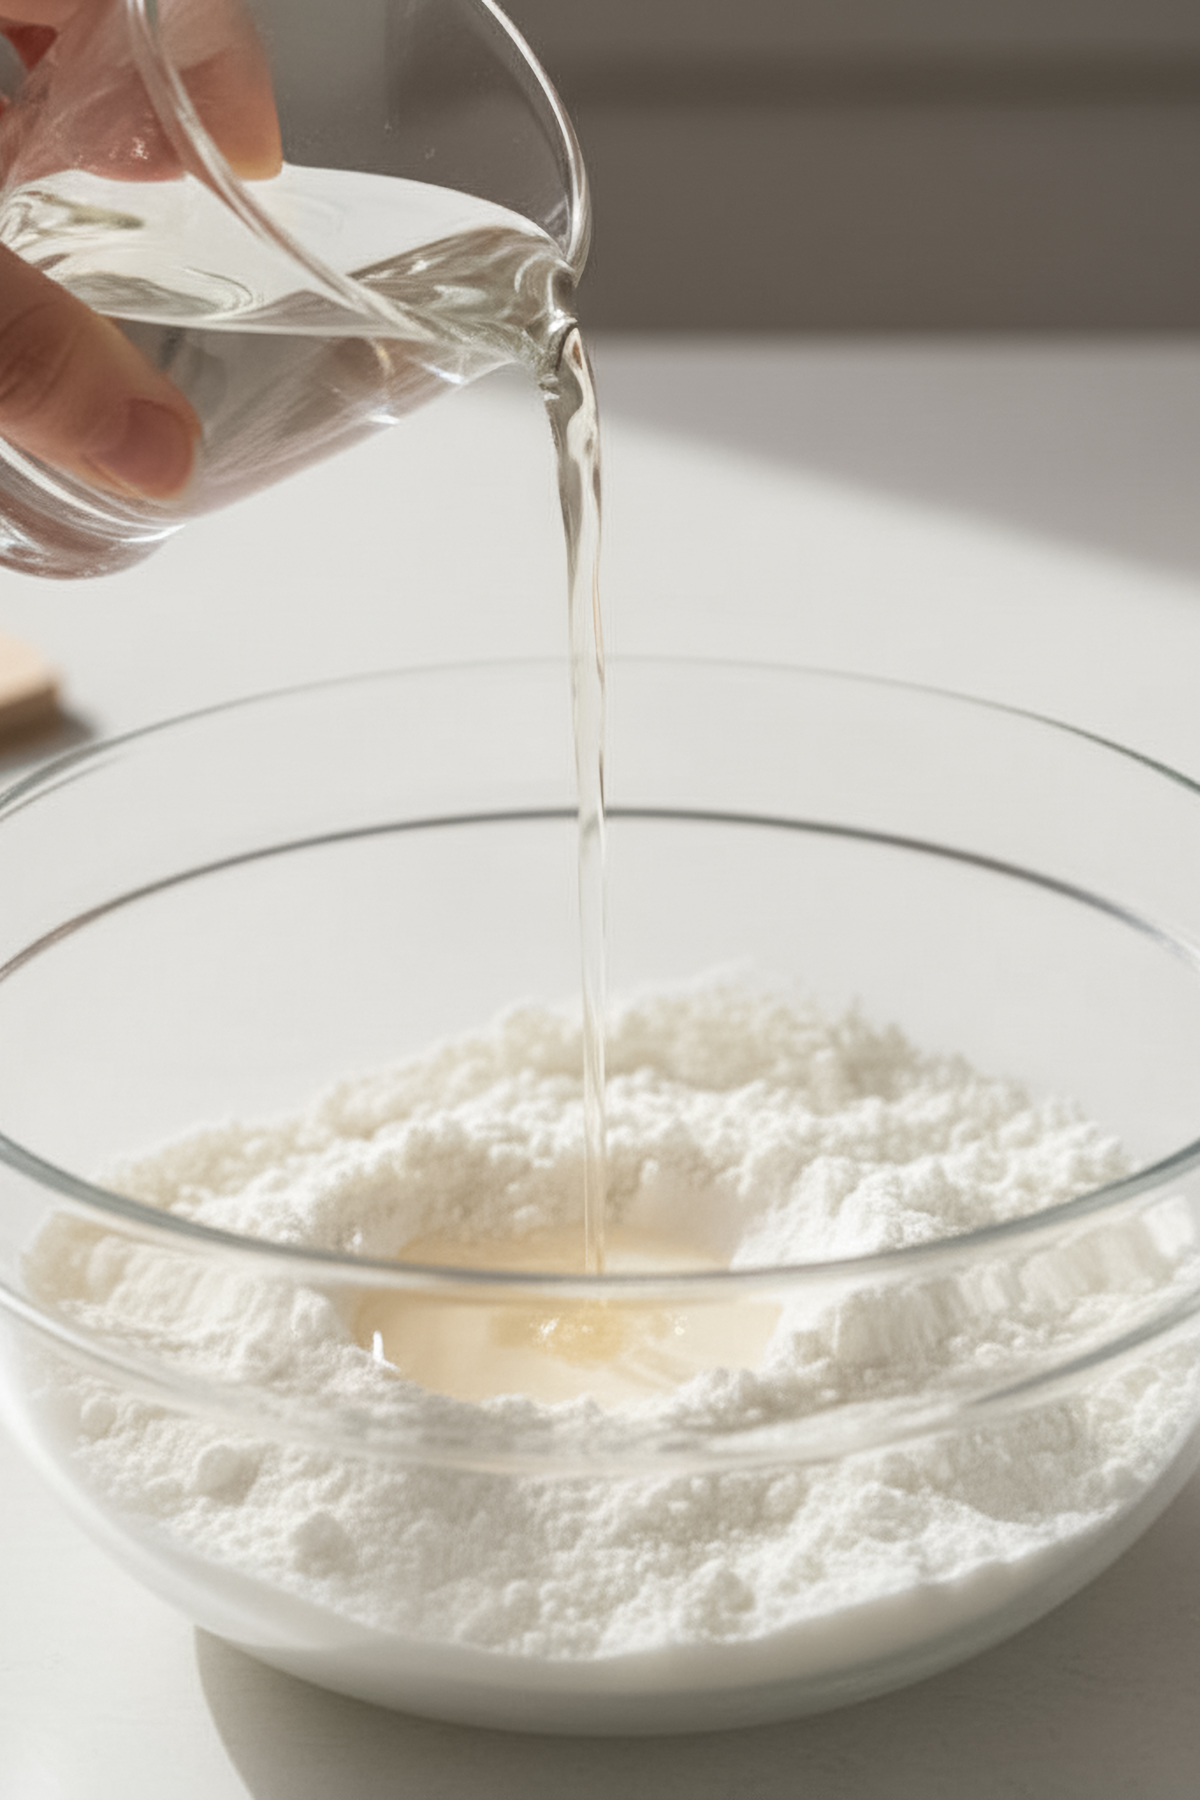
- Add warm water one teaspoon at a time, and mix on low speed until the icing starts to come together.
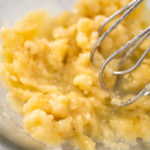
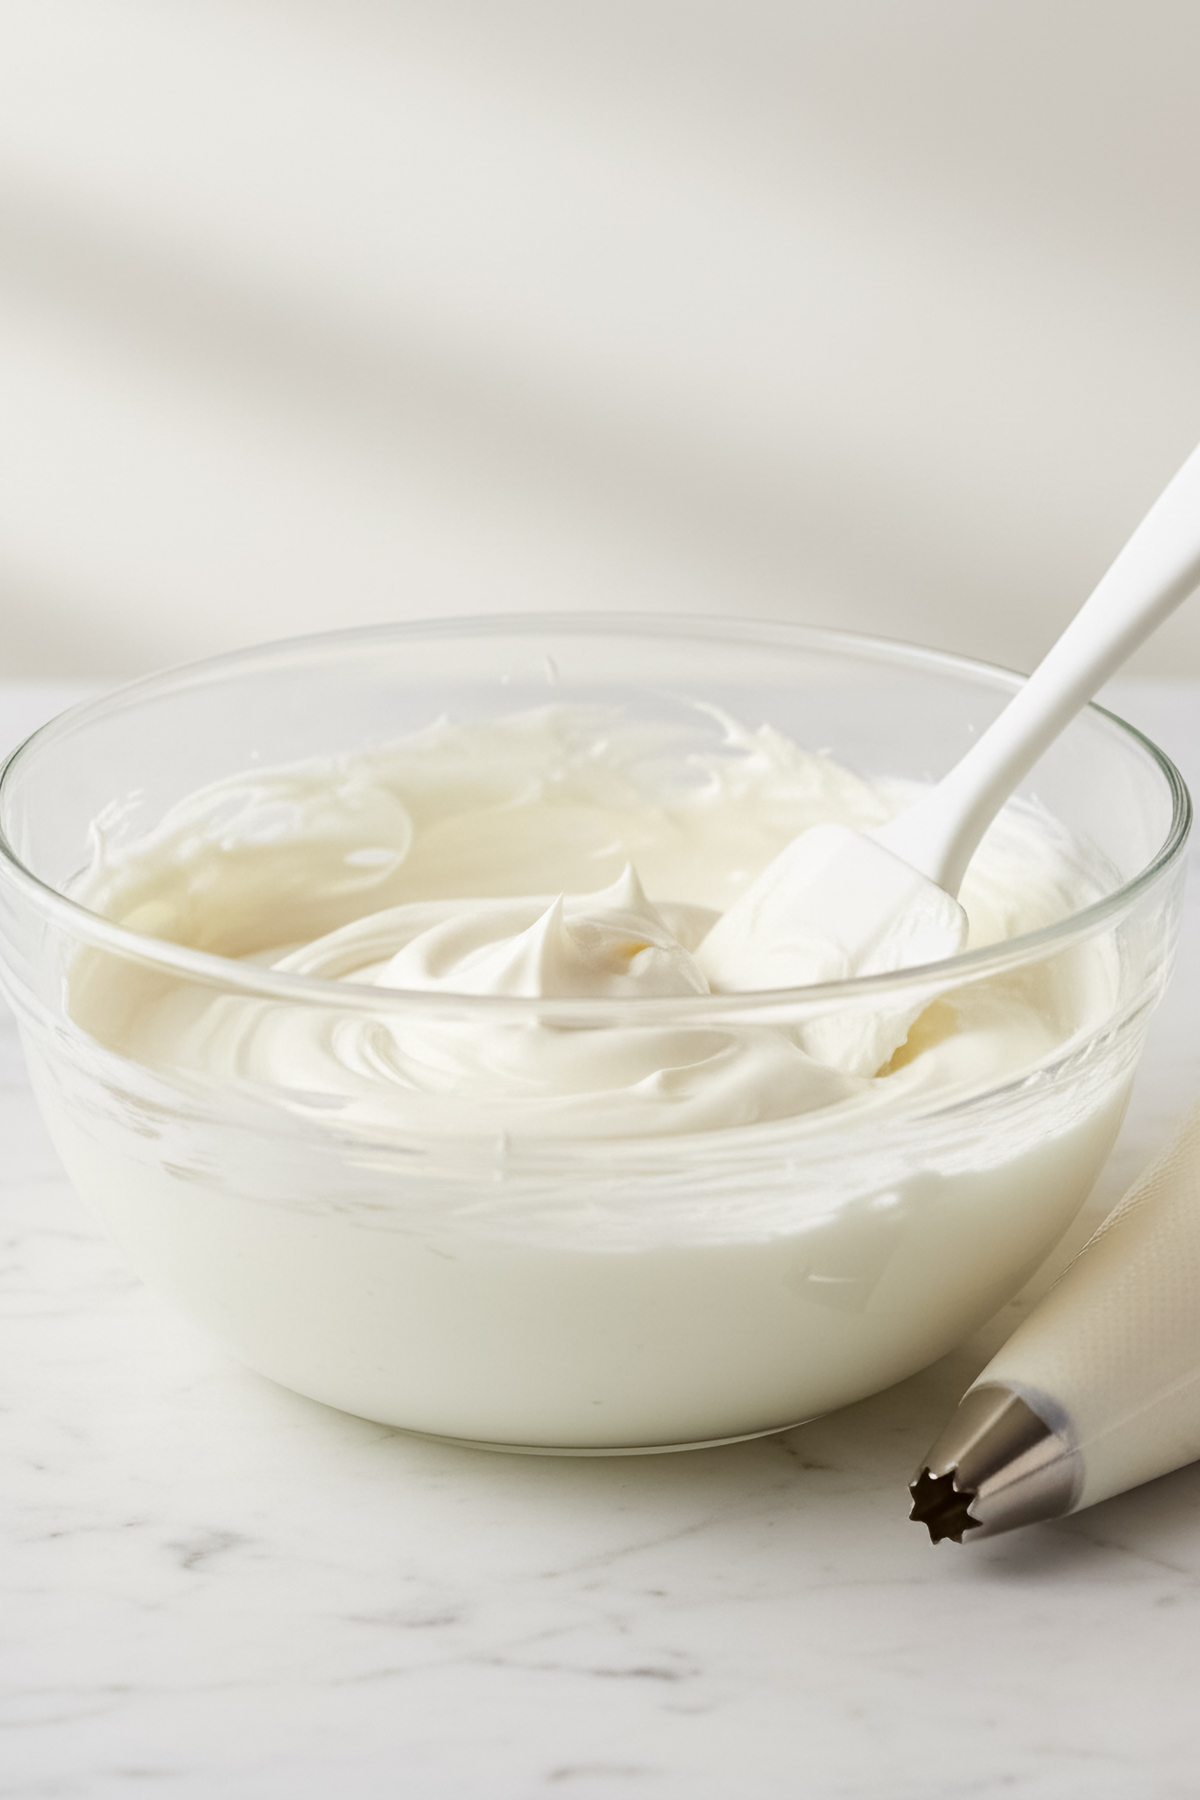
- Add vanilla extract and continue beating for 5–7 minutes, until glossy peaks form.
- Divide into smaller bowls for coloring, and tint with gel food coloring using a toothpick for control.
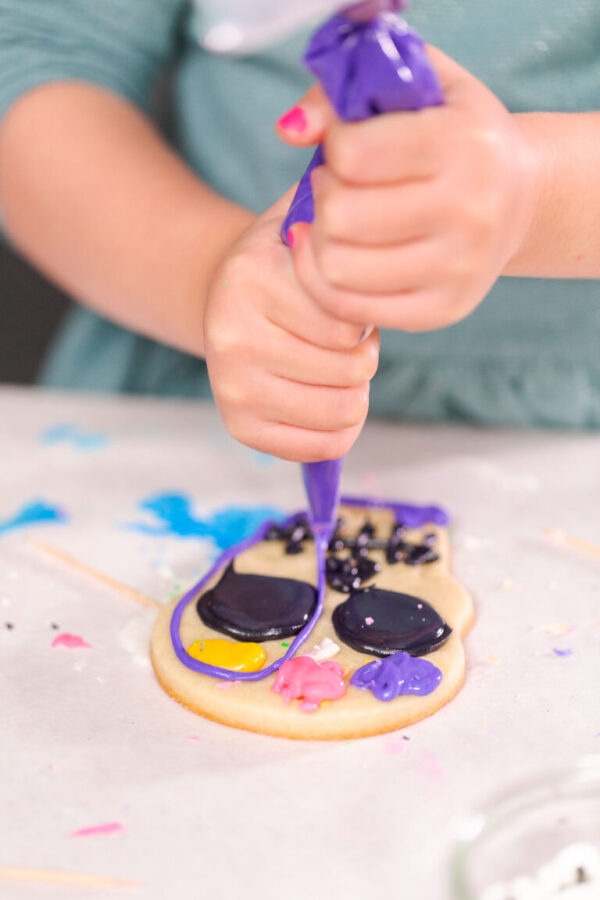
- Transfer icing into piping bags. Make sure your cookies are completely cool before decorating.
Adjusting Consistency
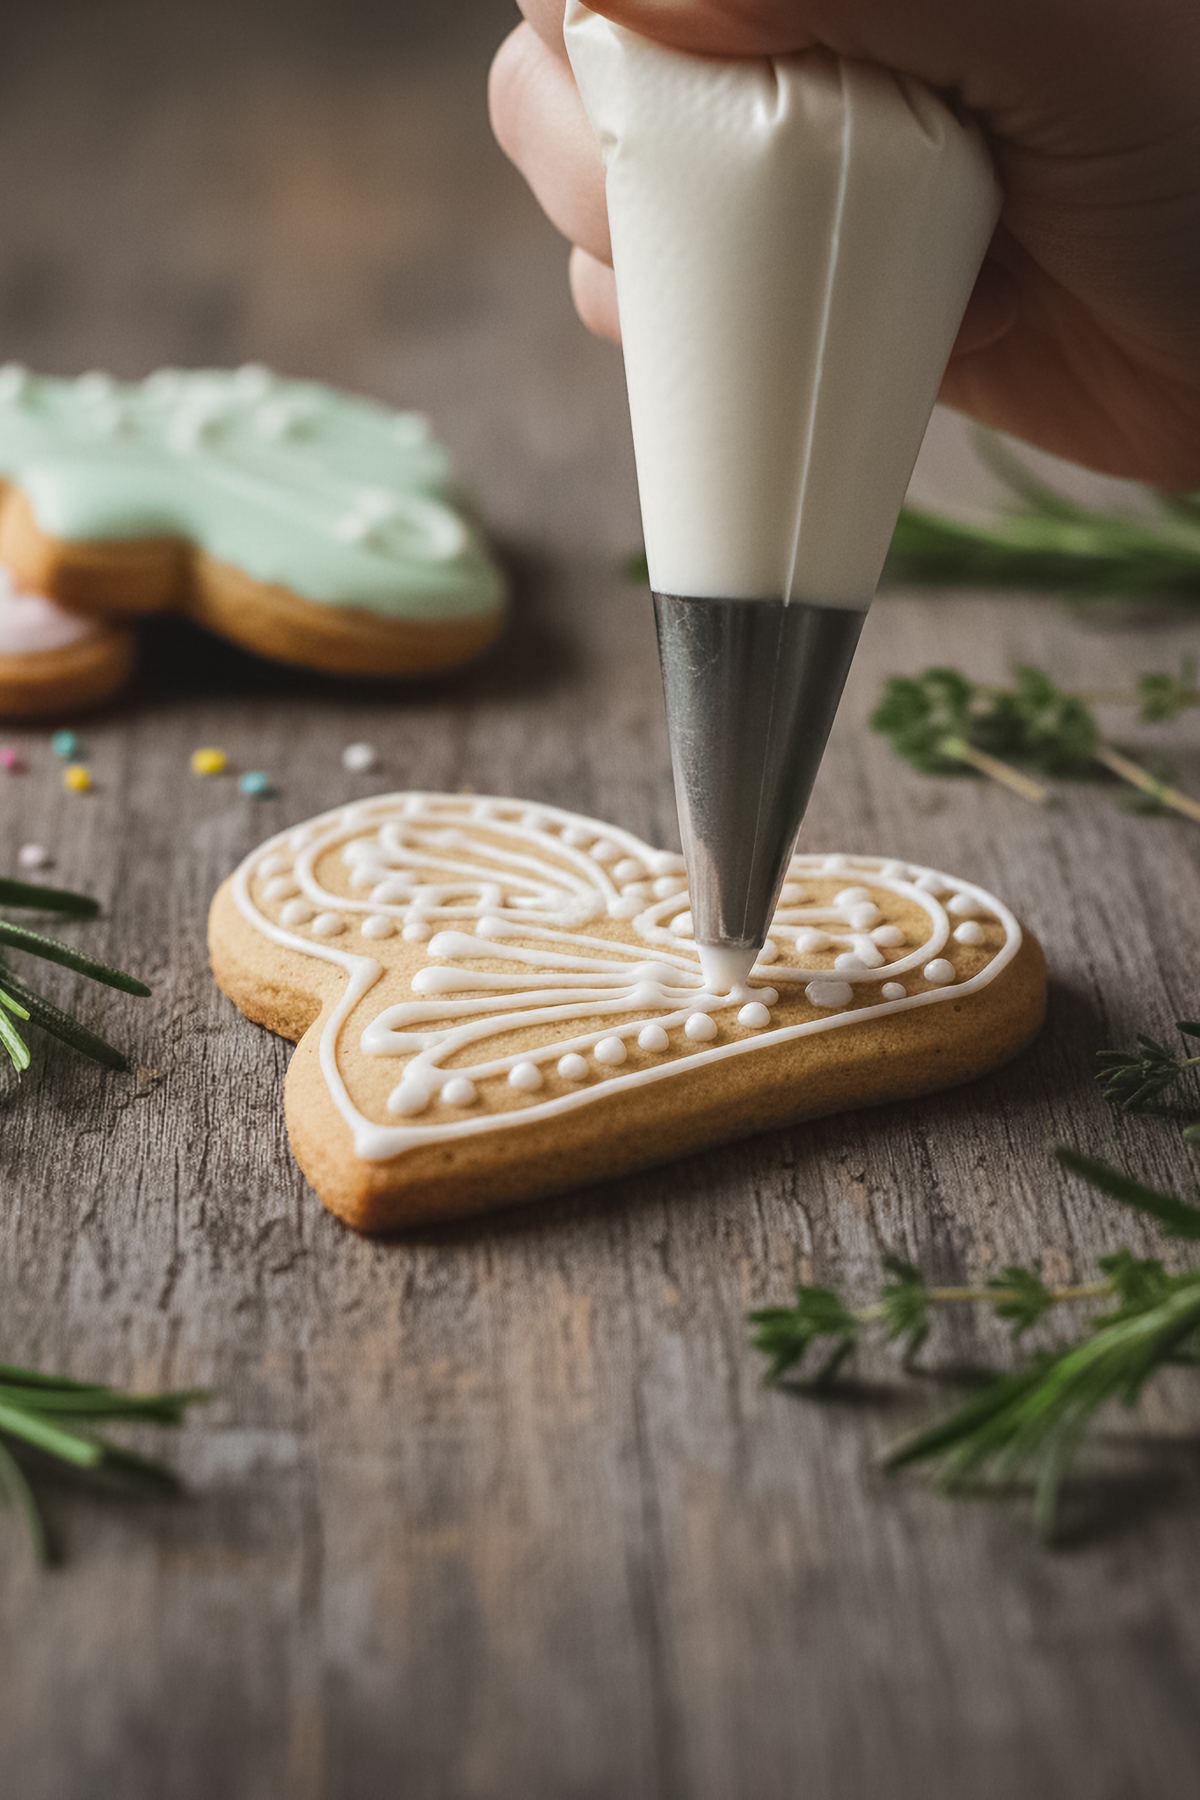
You’ll need two versions of royal icing when decorating cookies: one thick for outlining and one thinner for flooding.
- To thin, add warm water a teaspoon at a time and stir until the icing runs smoothly off a spoon.
- To thicken, mix in a little extra confectioners’ sugar until it holds soft peaks.
- For best control, cut your piping bag tips small — 1/16 inch for details and ⅛ inch for flooding.
Recipe variations
- Lemon Royal Icing: Replace vanilla extract with lemon juice for a bright, fresh flavor.
- Almond Royal Icing: Swap vanilla for almond extract — it pairs beautifully with sugar cookies.
- Chocolate Royal Icing: Add 2 tablespoon cocoa powder and a touch more water for a chocolatey twist.
Storage
- Freezer: Store up to 1 month. Defrost completely and whip gently to restore texture.
- Room Temperature: Store in an airtight container for up to 3 days with plastic wrap pressed directly onto the icing.
- Refrigerator: Keeps up to 1 week. Let it come to room temperature and remix before using.
More Recipes to Try
- Ice Skate Sugar Cookies
- Snowflake Sugar Cookies
- Buttercream Frosting
- Meringue Frosting
- Homemade Caramel
- Toffee Glaze for Bundt Cakes
- Chocolate Ganache
Royal Icing
Video
Ingredients
- 1 lbs Confectioner’s Sugar
- 3 tablespoon Meringue Powder
- 6 tablespoon Warm Water
- 1 teaspoon Vanilla Extract
- Food Coloring
Instructions
- Combine the confectioners’ sugar and meringue powder in a large mixing bowl.
- Add the warm water, 1 tablespoon at a time, while mixing with a hand mixer on low speed.
- Add the vanilla extract and continue mixing on low until the icing becomes shiny.
- Keep mixing on low speed for 5–7 minutes until the icing reaches the right consistency.
- Use a toothpick to add food coloring to the icing and mix until you achieve the desired color.
- Transfer the colored royal icing to a piping bag and tie it off. Make sure the cookies are completely cool before piping the icing on top!
Notes
- For each color of icing, you need 2 different consistencies of icing. For a thinner consistency, add more water to the mixture. Thinner icings are used for flooding, and thicker icing is used for borders and edges.
- For thicker icing, cut the piping bag very thinly, around a 1/16 of and inch. For thinner icings, cut ⅛ of an inch. If this is too small, you can always cut more bag.
- After decorating cookies, dry the icing with a craft heat gun 10 inches away, so the flooded icing does not cave on itself.
- I like to let my cookies air dry in a cool space for 2 days, then they’re ready for packaging.
Nutrition
From My Kitchen to Yours
More Cookies Recipes
I’ve Got Answers
How long does royal icing take to dry?
Usually 8–12 hours. I prefer leaving mine overnight for the perfect hard shell.
Why did my royal icing lose its shine?
Overmixing can dull it — stop mixing as soon as it turns glossy and holds soft peaks.
Can I make royal icing without meringue powder?
Yes! Substitute with 2 fresh egg whites, but refrigerate your cookies if using this version.
What if my icing is too thin?
Add more powdered sugar, a tablespoon at a time, until it thickens.
Pin It For Later
Food Photography & Video Tips from My Studio
Here’s a peek at the tools, gear, and camera setups I use to film my recipe videos and photograph food at home. Over the years, I’ve tested dozens of different setups, and now I’m sharing what actually works for me—whether I’m filming overhead shots for YouTube or styling still photos for my blog. If you’re curious about how I create the content you see here, these posts are a great place to start.


















Leave a Reply