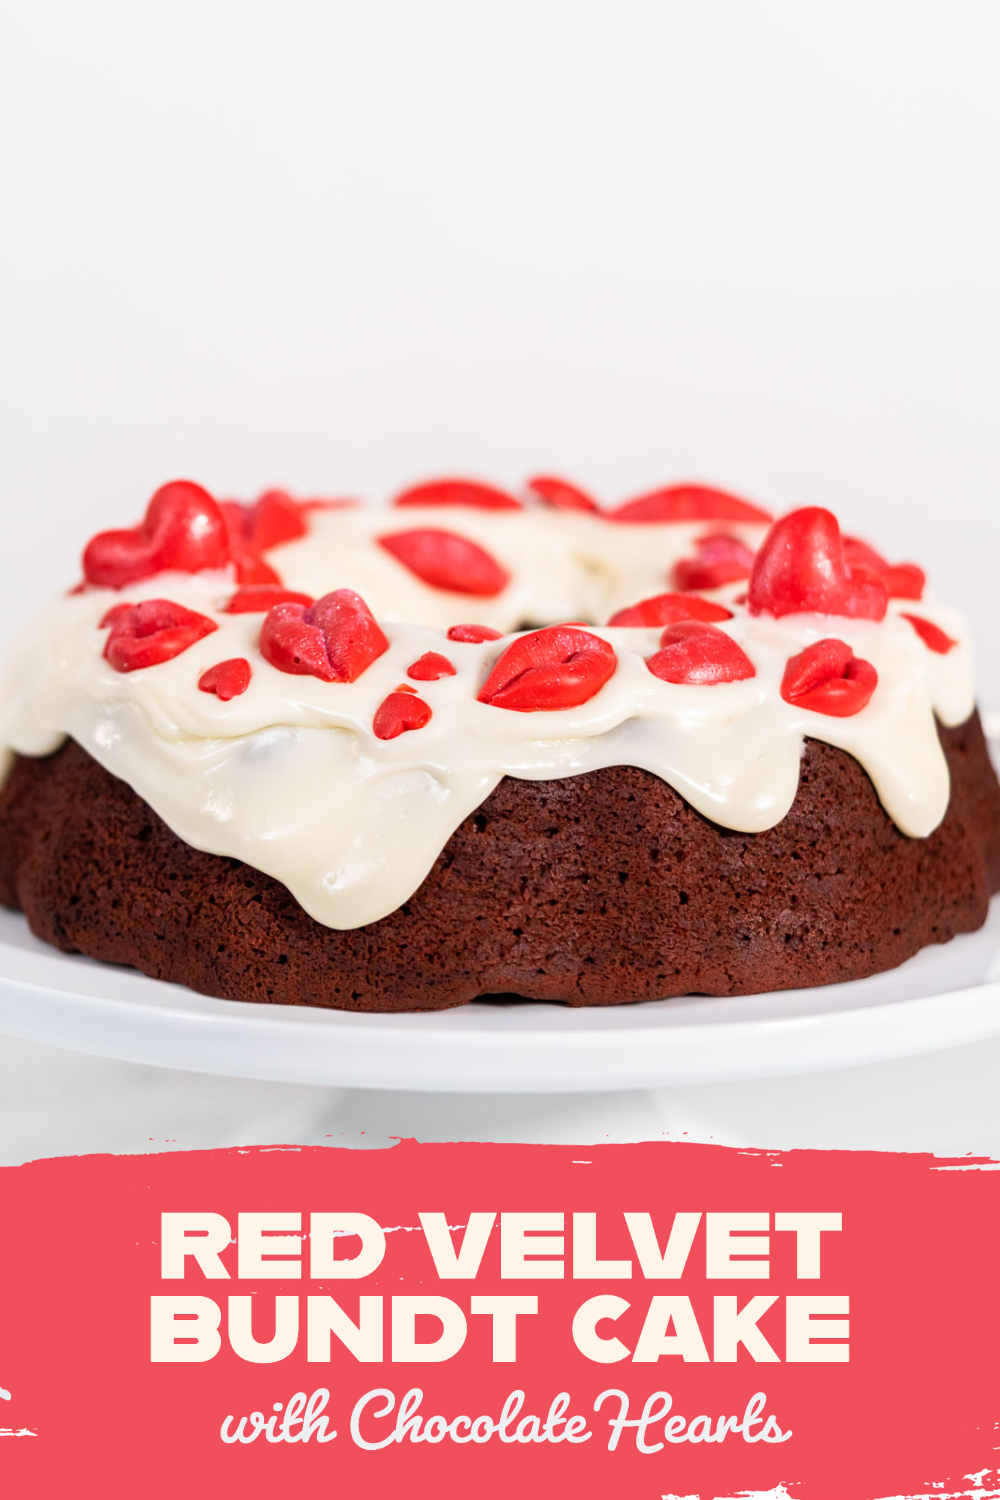
How to make a red velvet bundt cake topped with chocolate hearts for any romantic occasion!
This post contains affiliate links.
One of the best holidays for showcasing impressive, masterful baking skills is Valentine’s Day. Whether you want to make simple yet stunning treats like Valentine’s Day Chocolate-Covered Pretzel Rods, or you want to make something a bit more intricate, Valentine’s Day is the perfect opportunity to impress!
Now, I love making simple Valentine treats that my daughter can help with too. However, I also like diving deep into my baking craft and creating something intricate and jaw-dropping, especially when it comes to holiday-inspired treats. That’s how I came up with this stunning Red Velvet Bundt Cake with Chocolate Hearts!
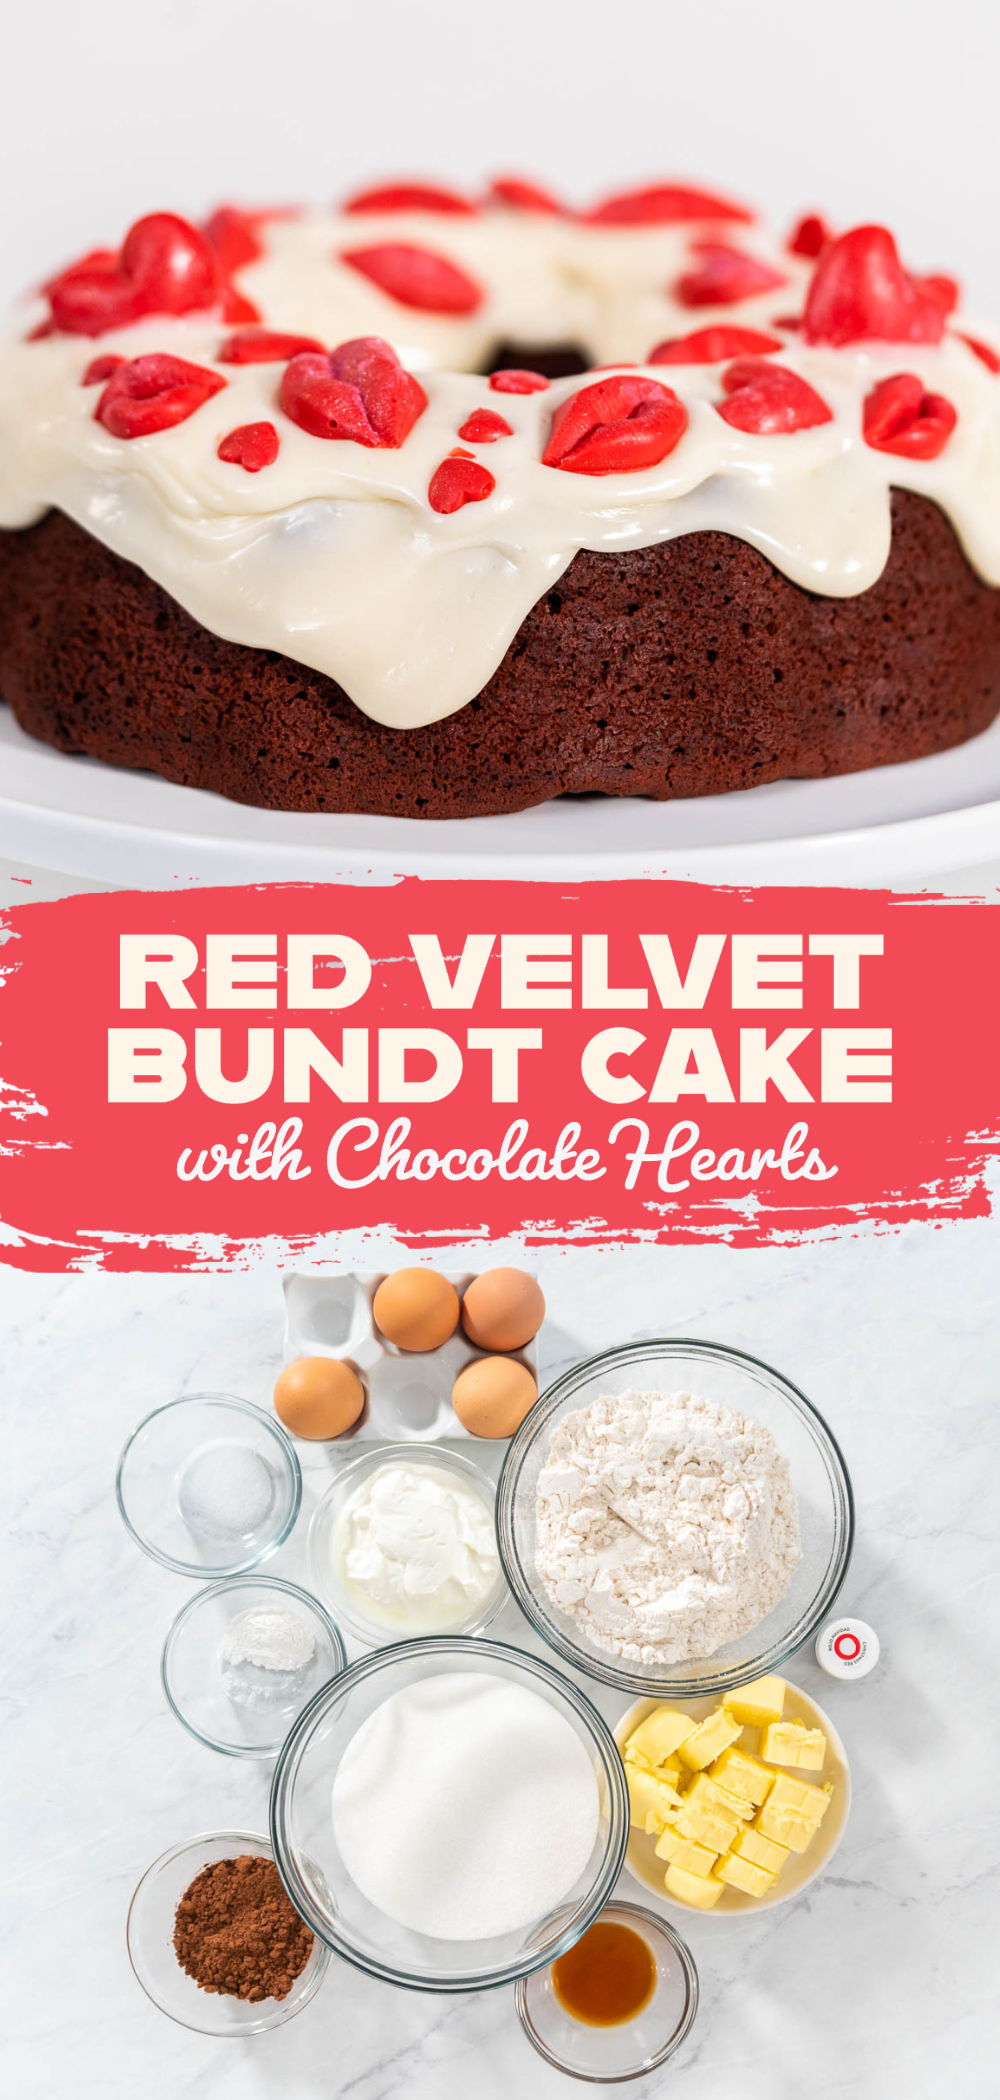
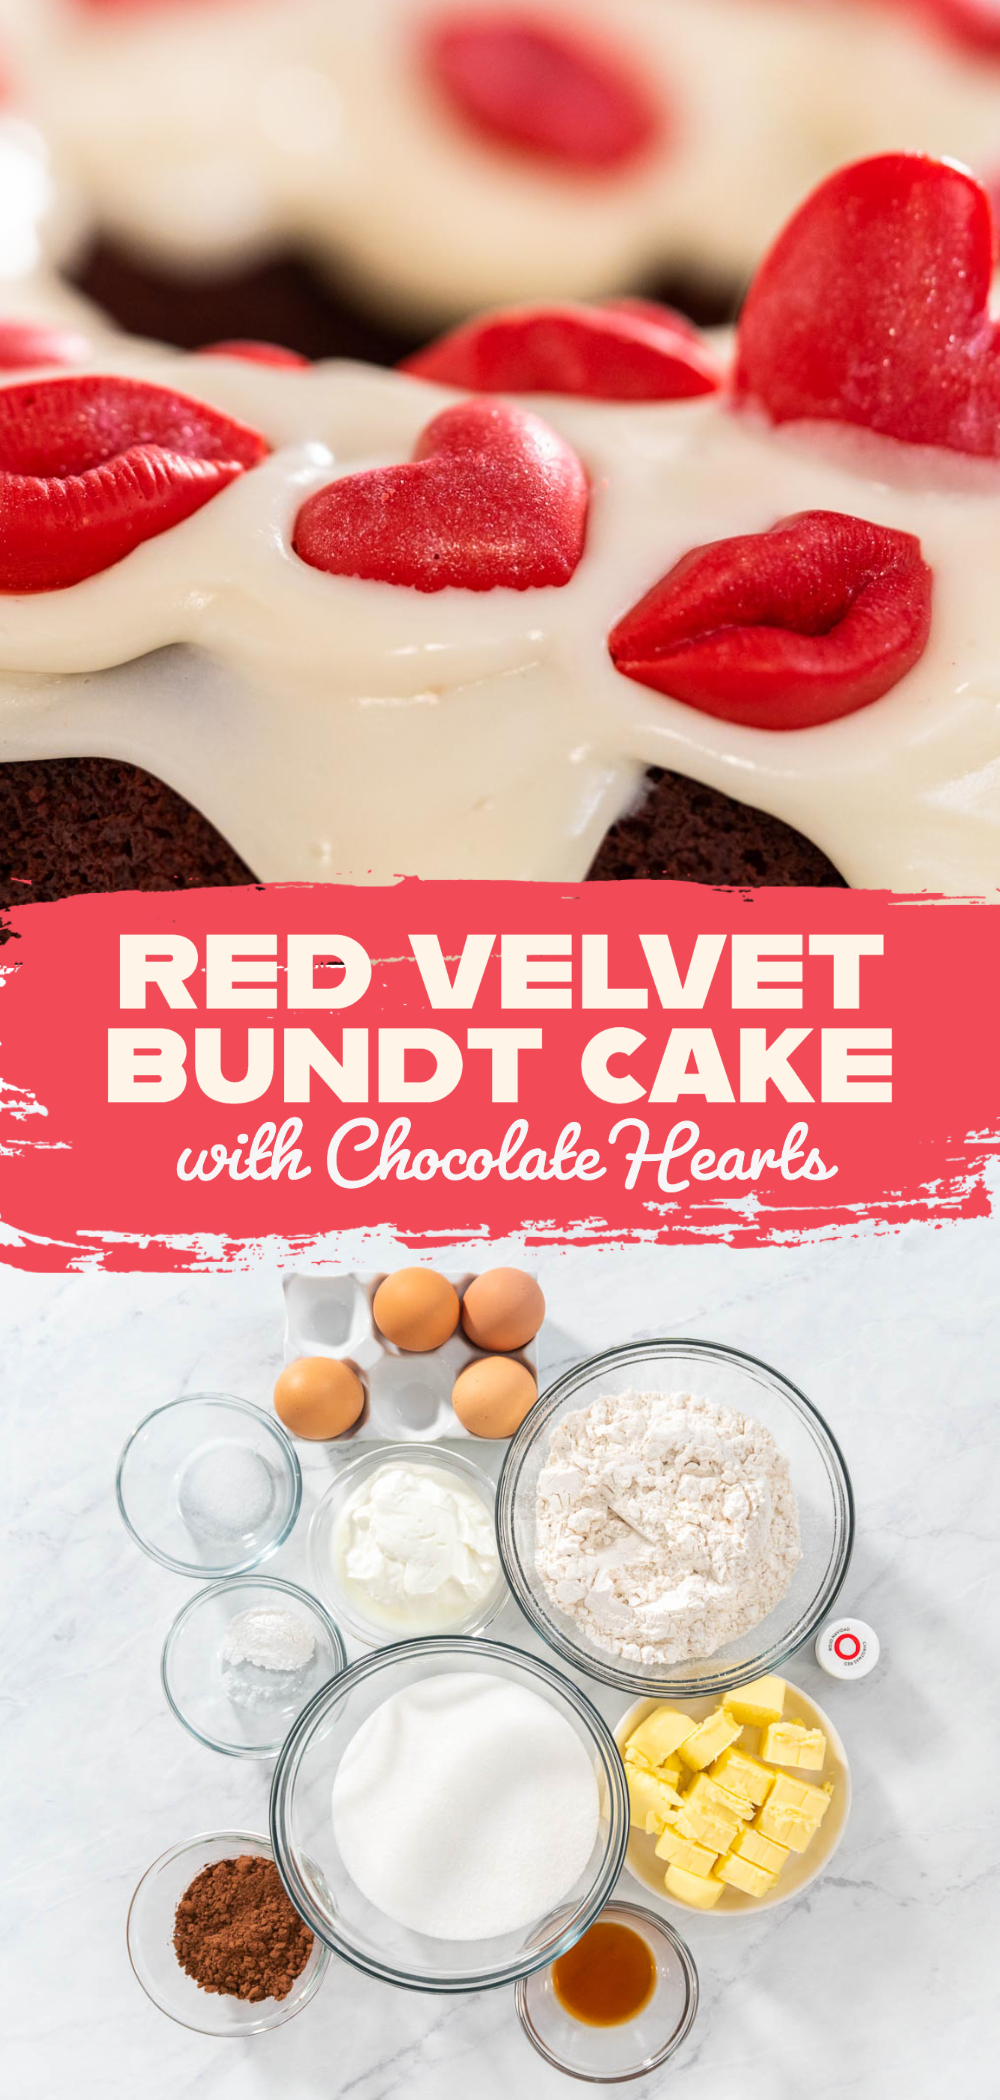
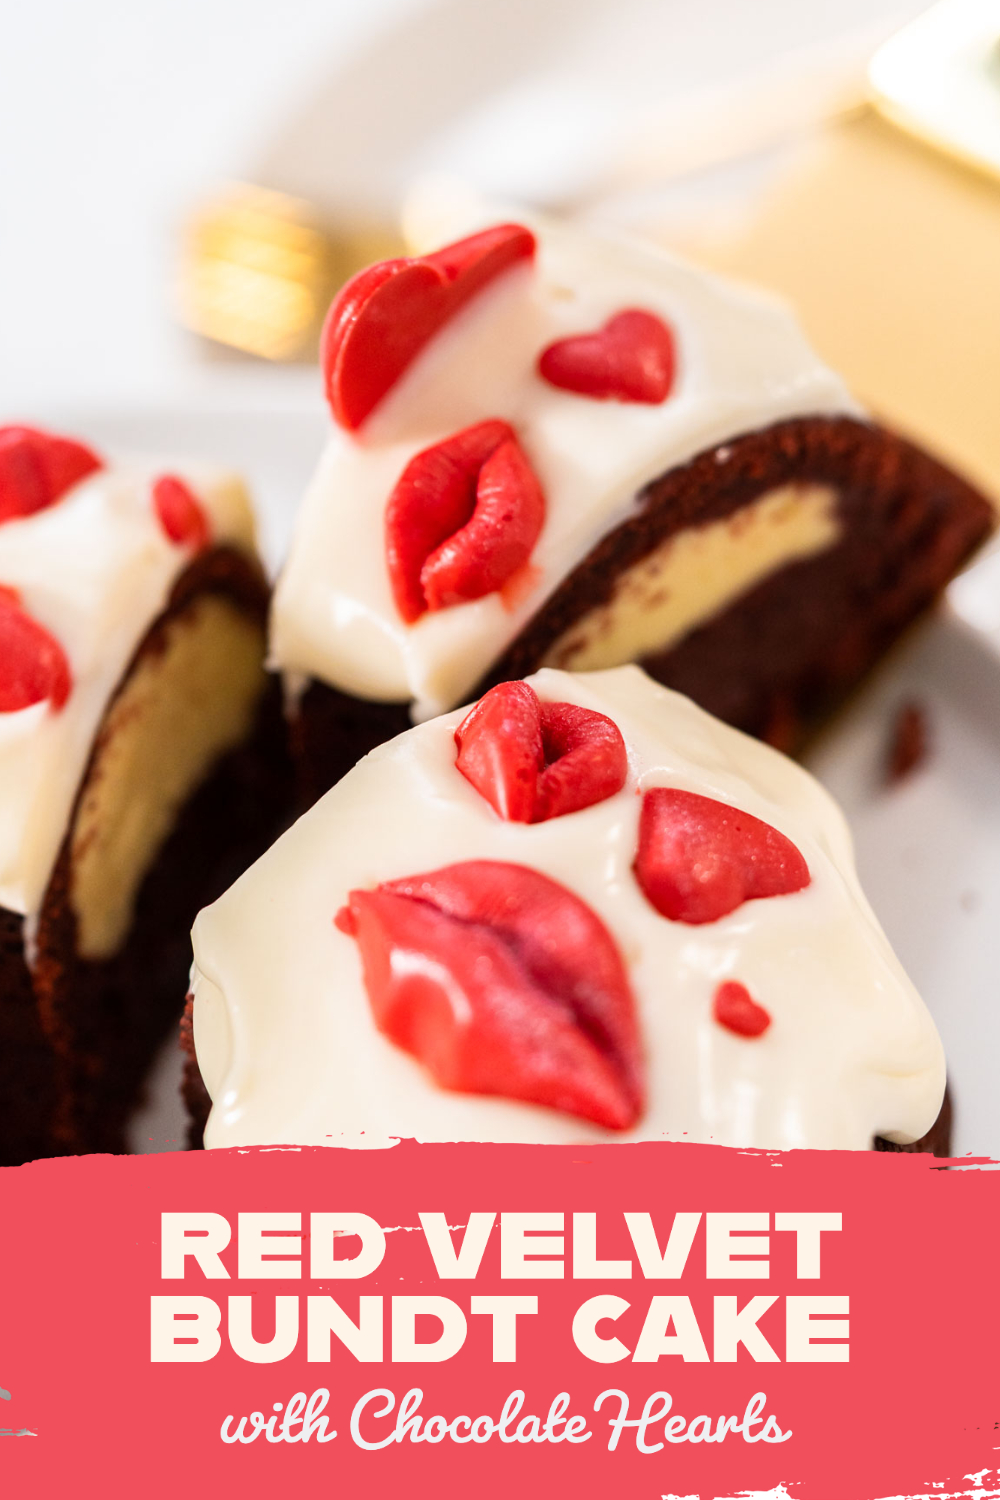
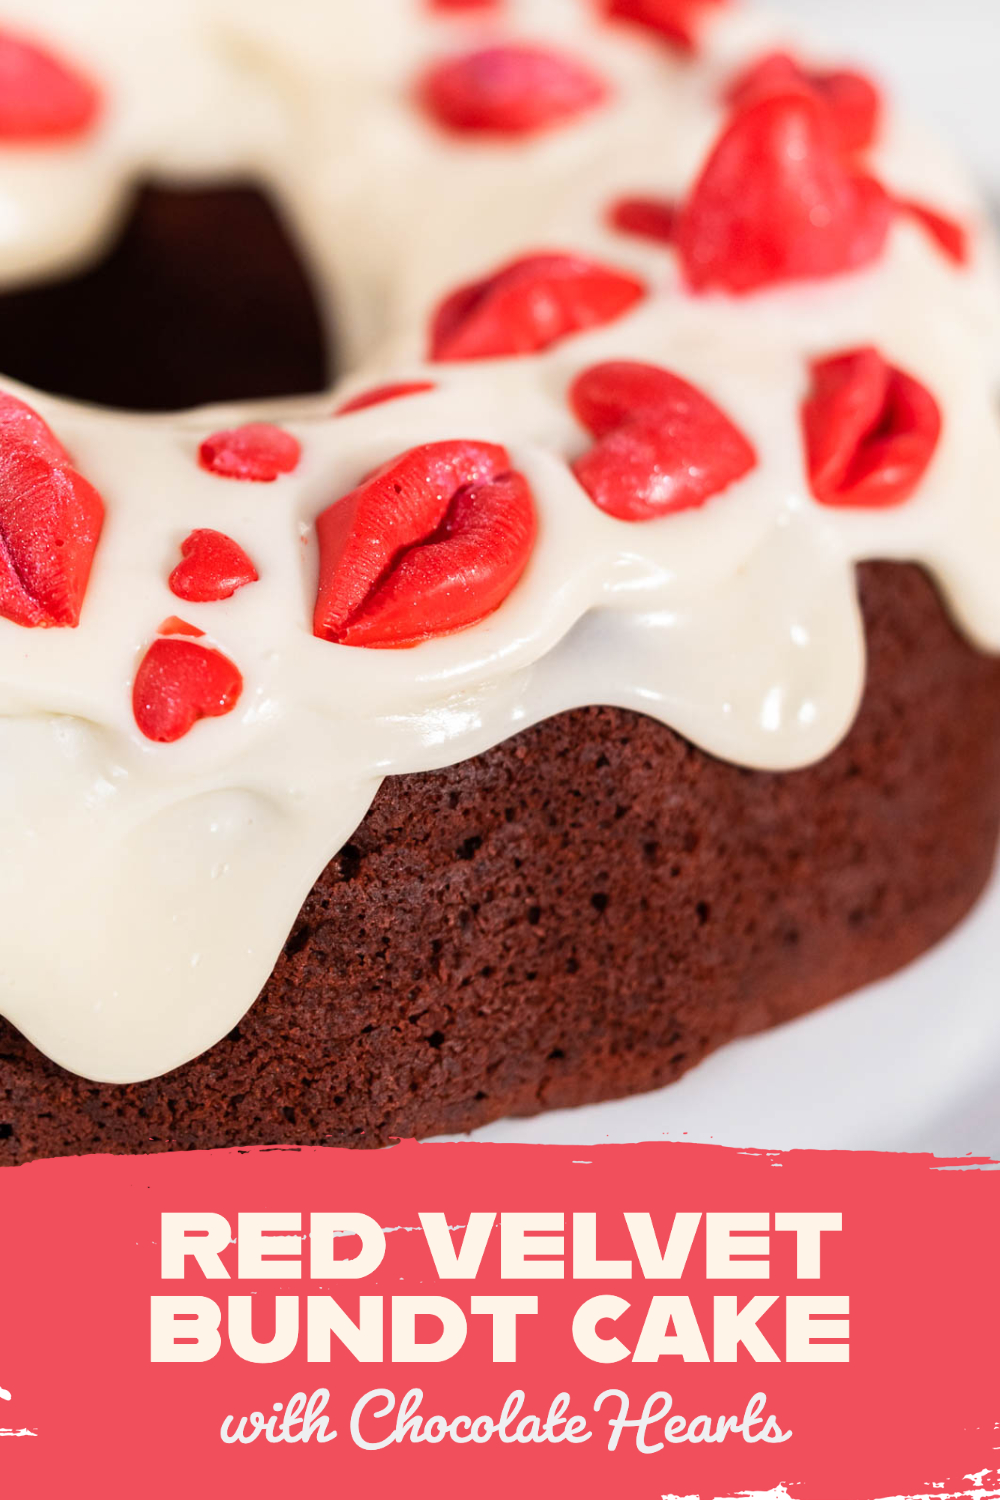
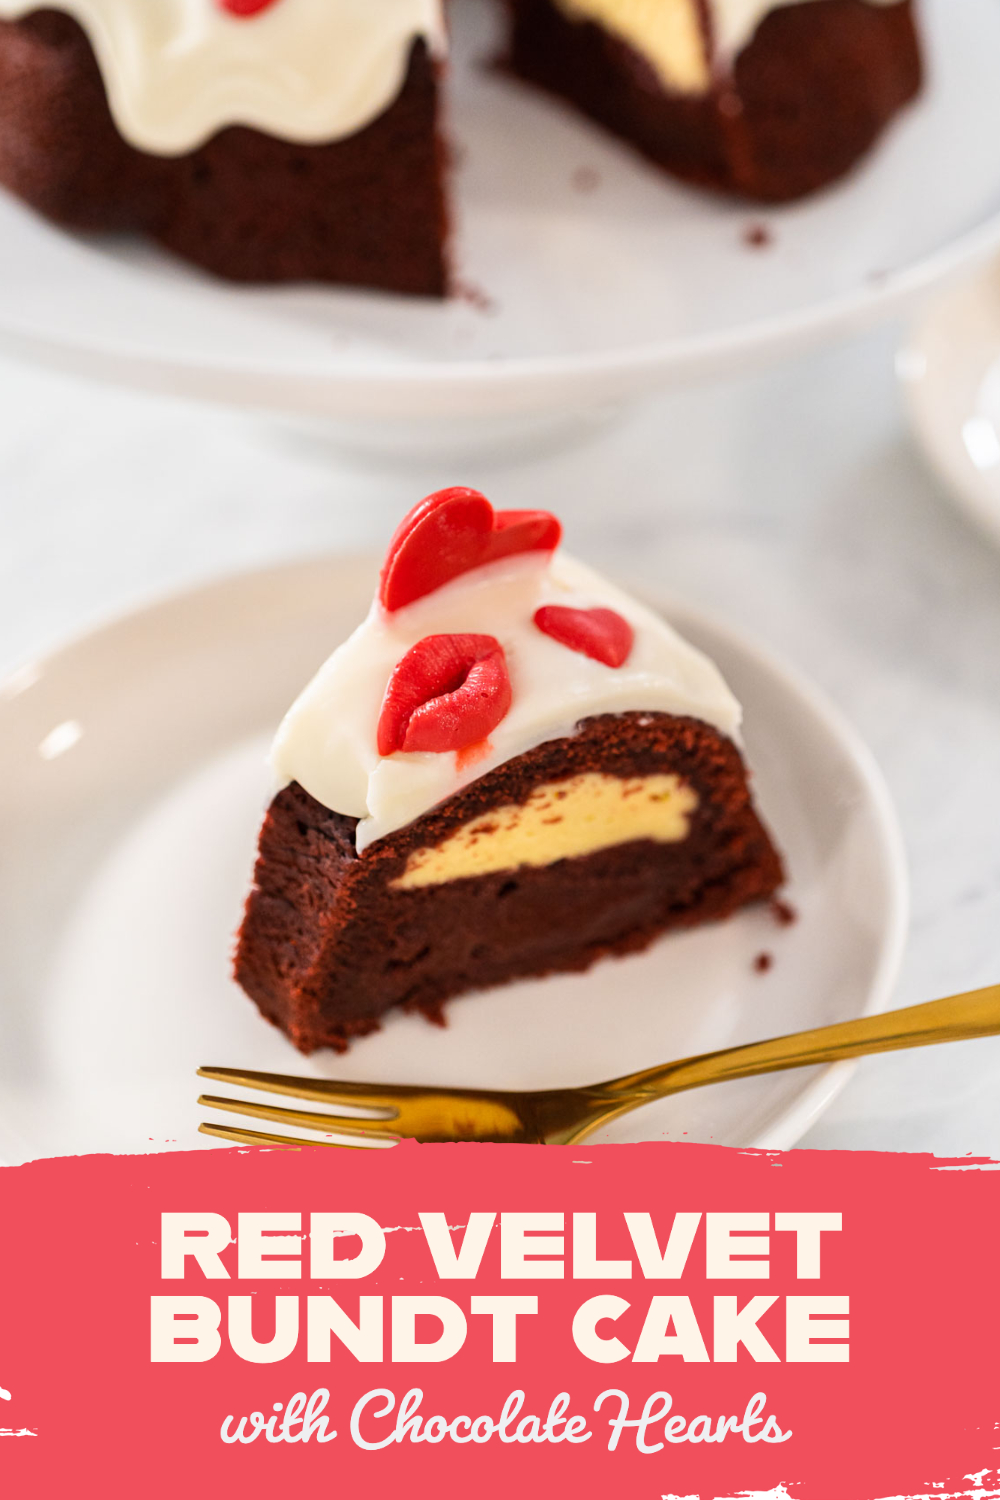
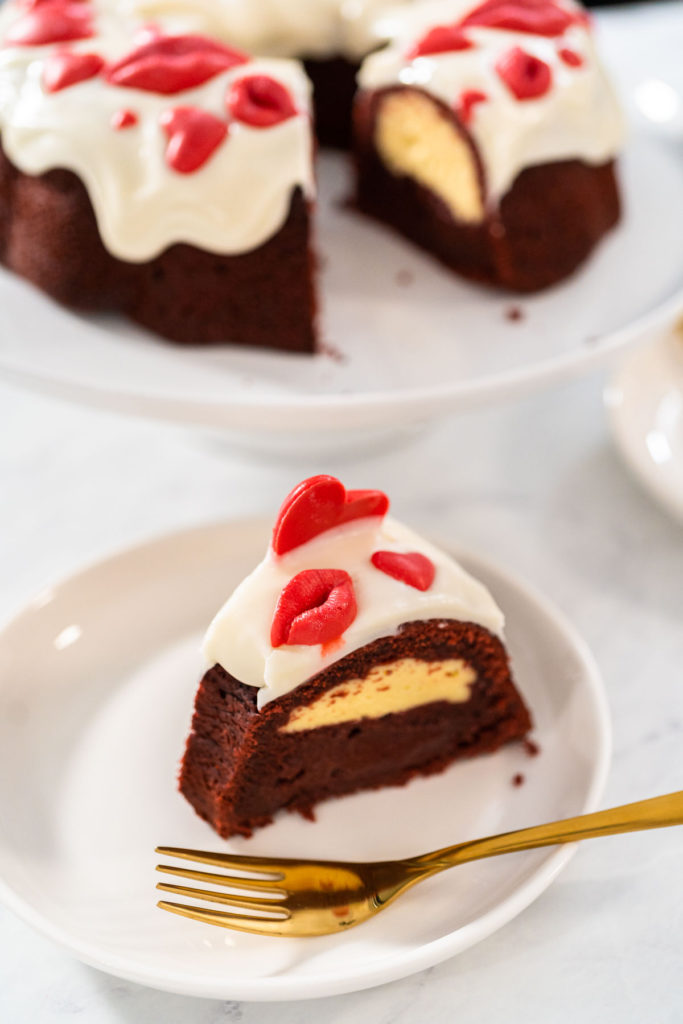
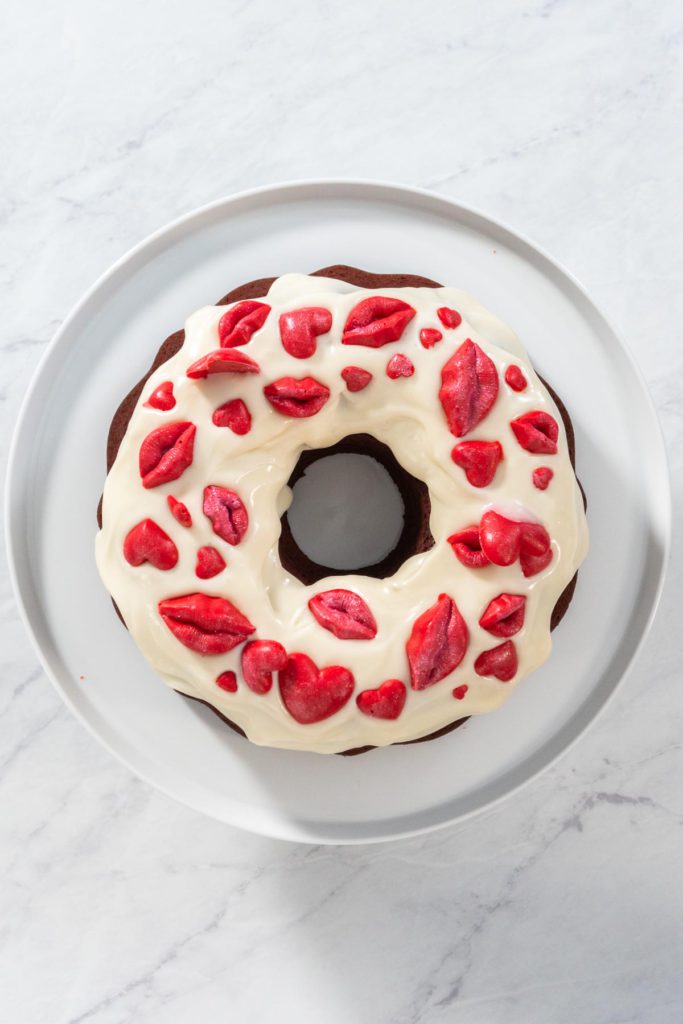
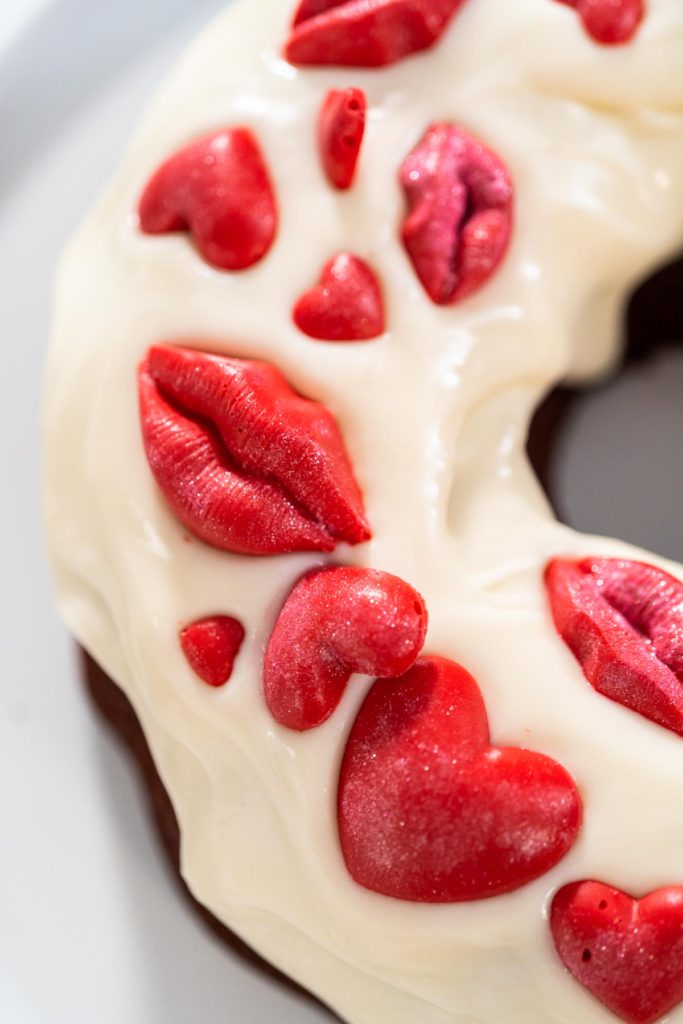
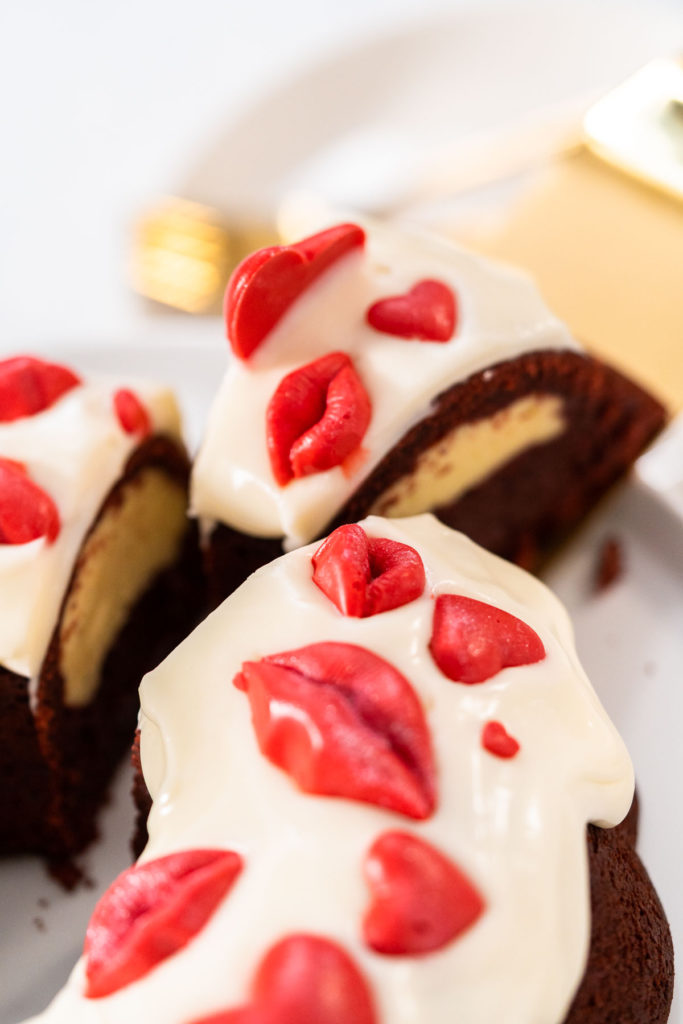
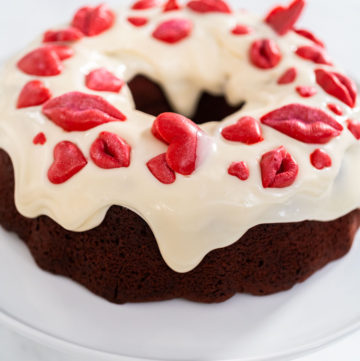
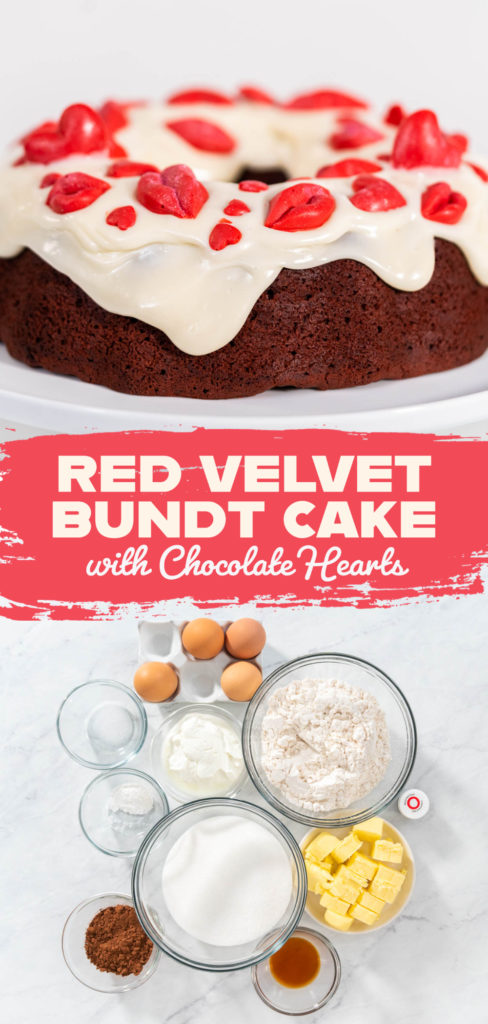
This gorgeous red velvet bundt cake is filled with a delicious cream cheese filling, dressed with a perfectly-paired cream cheese frosting, and dazzled with homemade glittery chocolate hearts and lips for the ultimate Valentine’s Day treat! If this cake sounds like a mouthful, that's because it is!
I’ll go ahead and tell you that this is not a recipe to try in a time crunch. This is a complex, intricate recipe and it involves a lot of steps, phases, and a good bit of time so it’s more for special occasions or when you really want to impress. But if you do decide to make this stunning sweet, I can promise that it is absolutely worth the time it takes!
Preparing a special Valentine’s dinner? Hosting a big Galentine’s celebration? Then this Valentine’s cake is the perfect swoon-worthy centerpiece! But this cake isn’t just for Valentine’s Day. This intricate, fancy cake is perfect for anniversaries, wedding showers, bridal showers, engagement parties, or even for a small, intimate wedding reception.
Basically, wherever you want to add a romantic and magical mood, this gorgeous red velvet cake is the perfectly sweet solution that you need! Here’s how to make it happen:
Bundt Cake Equipment
First, let me break down the equipment list for this fancy Valentine’s cake. Since this entire cake is made from scratch, and involves lots of “layers'' there are quite a few kitchen tools needed to make this happen. Here’s what I use to make a stunning red velvet cake with chocolate hearts:
- Measuring Cup
- Glass mixing bowl
- Measuring spoons
- Blending whisk
- Round Cooling Grid
- Hand mixer
- Bundt cake pan
- Dough scoops
- Wilton candy melts pot
- Lips and heart silicone mold
- Cake Spatula
- Rubber or silicone spatulas
- Parchment paper
- Small baking sheet
- Cake lifter
Divine Valentine Cake Ingredients
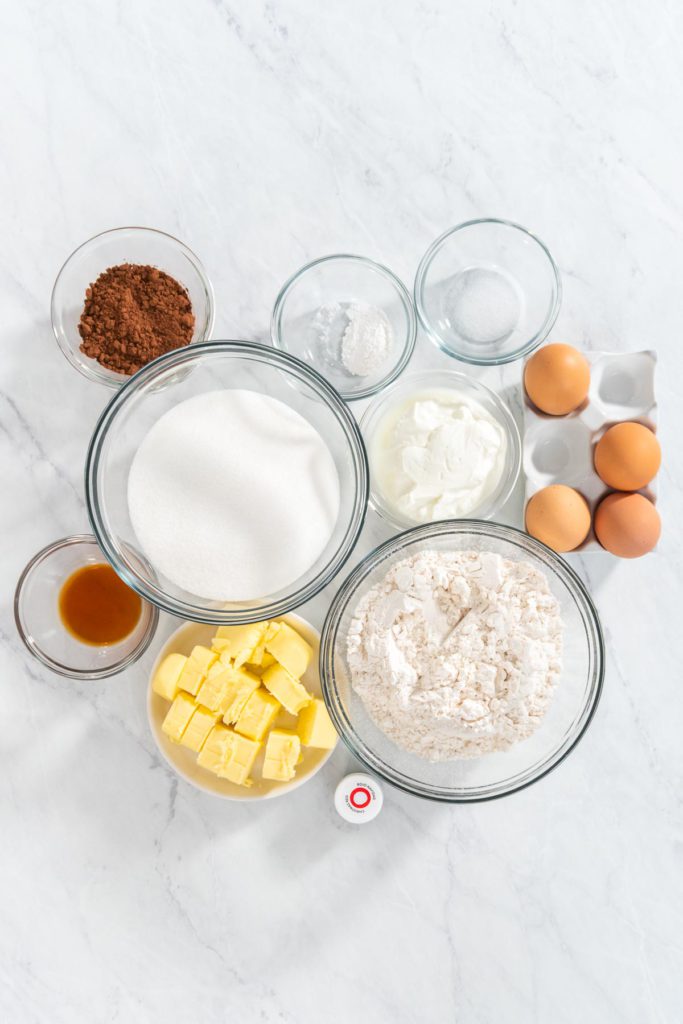
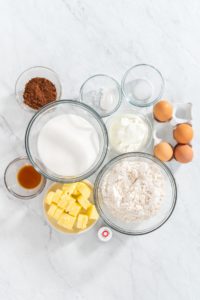
Once you’ve rounded up the cake equipment, it’s time to gather the ingredients. Again, lots of “layers” so there are quite a few ingredients needed, but nothing fancy or out of the ordinary. These are the ingredients I use to make this Valentine’s red velvet cake:
Red Velvet Bundt Cake:
- 2 Cups All-purpose flour
- ½ teaspoon Salt
- 1 tsp Baking powder
- ½ cup unsweetened cocoa powder
- 4 Eggs
- 1 cup Yogurt
- 2 teaspoon Vanilla extract
- 1 cup unsalted butter - room temperature
- 2 cups Sugar
- 1 ½ teaspoon Red food coloring
Cream Cheese Filling:
- 1 package 8 oz cream cheese - room temperature
- 1 Egg
- 1 teaspoon vanilla extract
- ½ cup powdered sugar
- 2 tablespoon all-purpose flour
Bundt Cake Pan Coating:
- 1 tbsp Vegetable shortening
- 1 tablespoon unsweetened cocoa powder
Cream Cheese Glaze:
- 4 oz cream cheese - room temperature
- ½ tsp Vanilla extract
- 4 tablespoon milk
- 2 cup Powdered sugar
Chocolate Hearts and Lips Toppers:
How to Make a Red Velvet Bundt Cake with Chocolate Hearts for Valentine’s Day
Drum roll, please! It’s time to bake up some Valentine magic! Though this recipe does involve quite a few phases, overall the process is pretty simple and straightforward. I recommend reading over the whole process before starting just so you can get an idea of what to expect. Here’s how to make a red velvet bundt cake with cream cheese and chocolate hearts:
Making the Red Velvet Bundt Cake:
- First, use the measuring cups and spoons to prepare the ingredients and preheat the oven to 350°F.
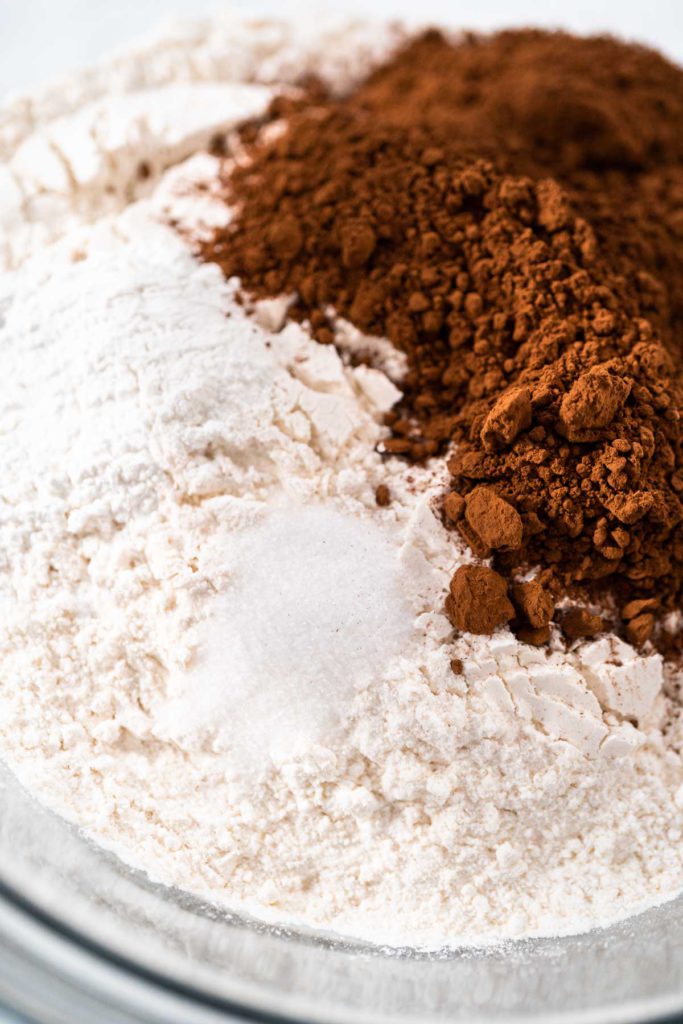
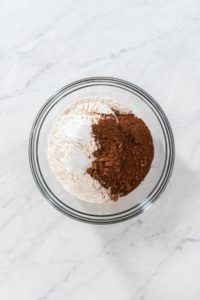
- In a medium-size glass mixing bowl, combine the flour, baking powder, cocoa powder, and salt.
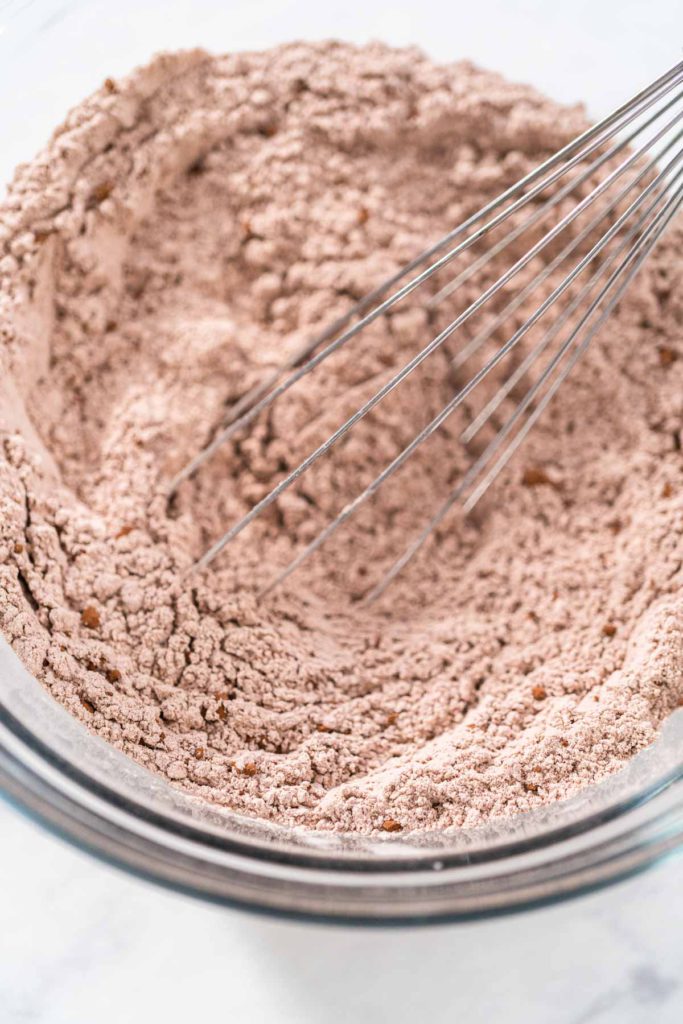
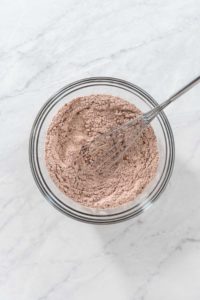
- Mix the dry ingredients together with a blending whisk.
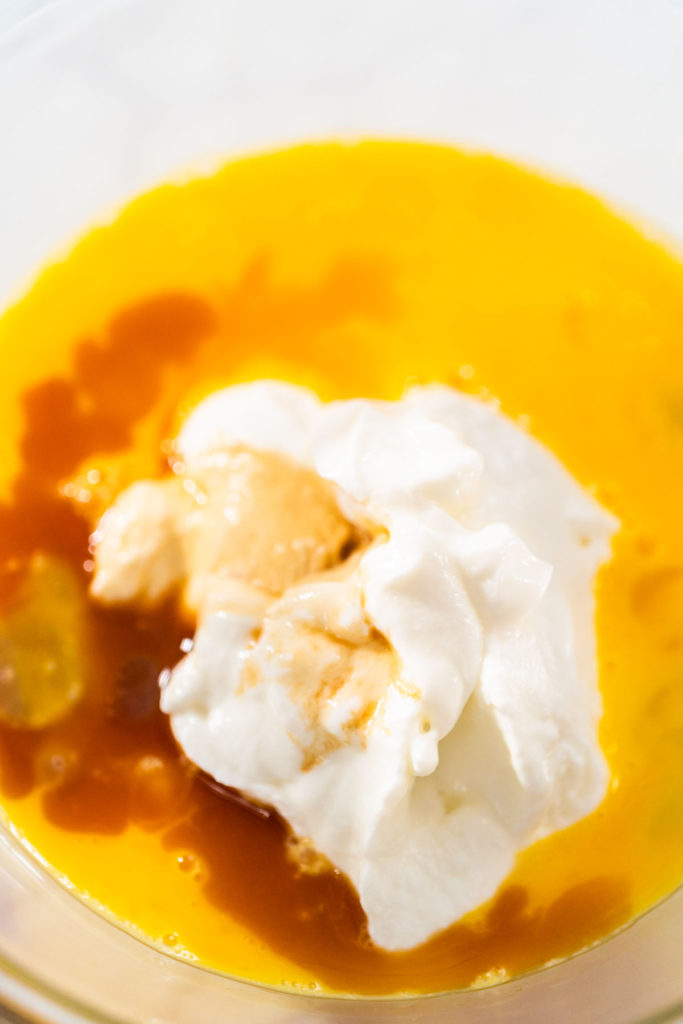
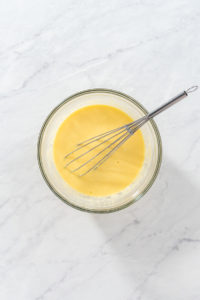
- Then, in a separate medium bowl, combine the eggs, yogurt, and vanilla extract.
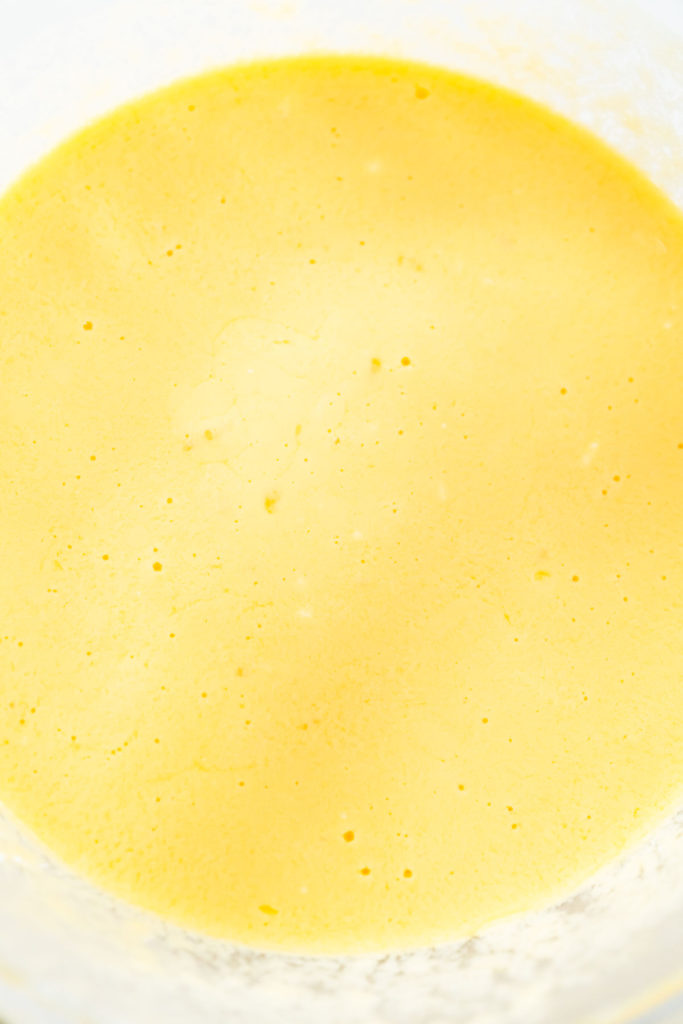
- Mix the wet ingredients together with a clean blending whisk.
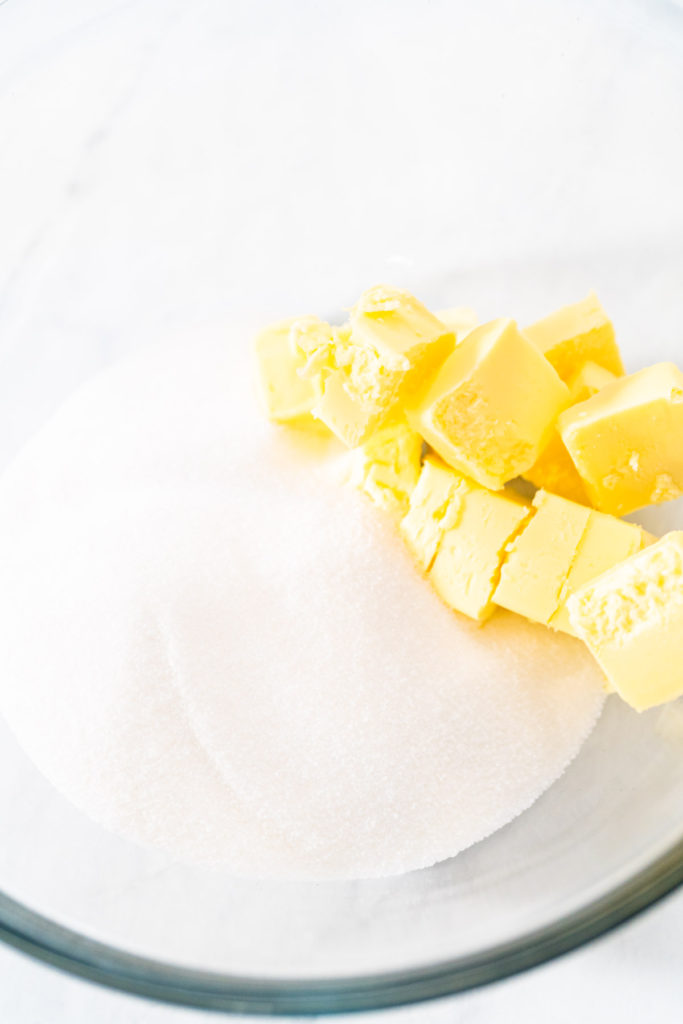
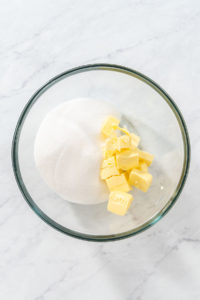
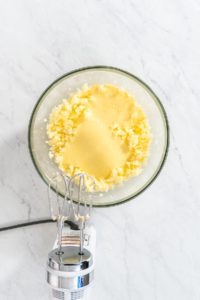
- Next, in a separate large mixing bowl, combine the butter and sugar together.
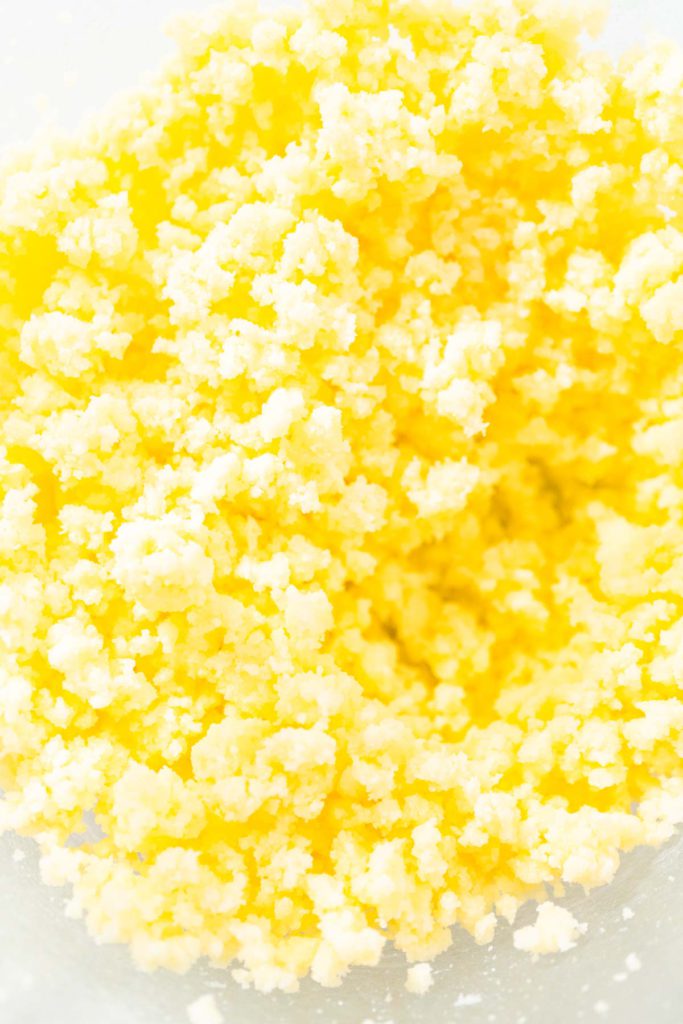
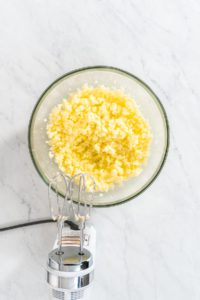
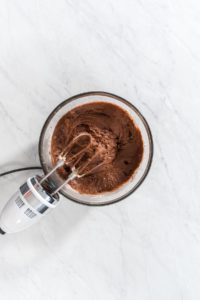
- Use a hand mixer to beat the ingredients together until smooth and pale in color.
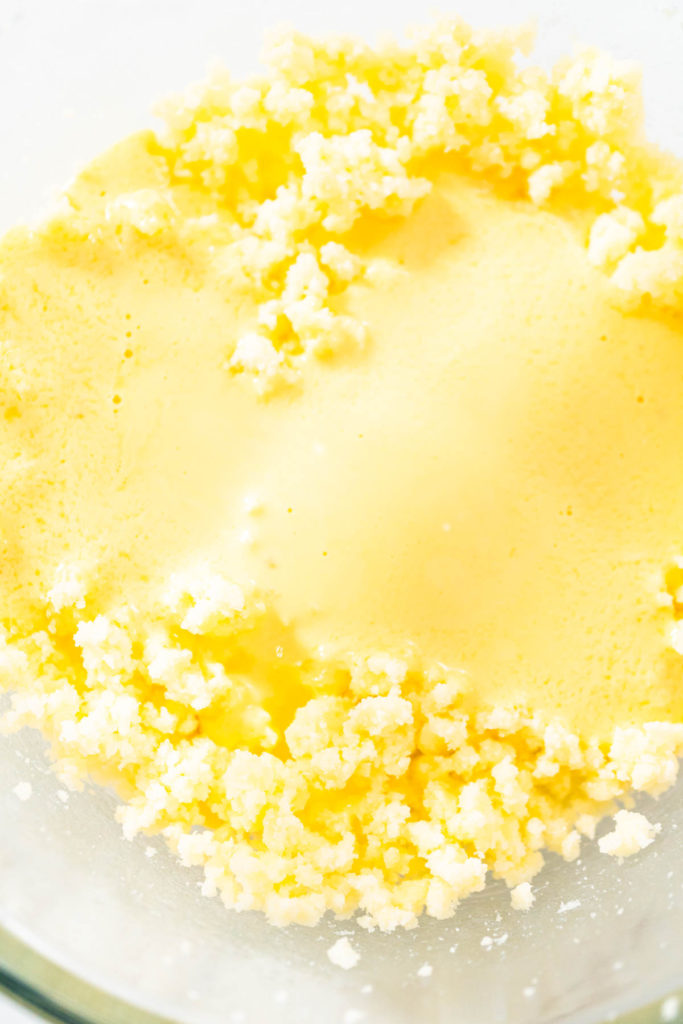
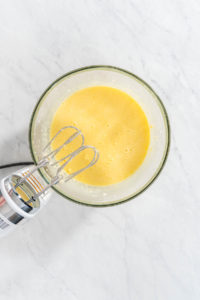
- Then, pour the mixture of wet ingredients into the big bowl of the butter mixture.
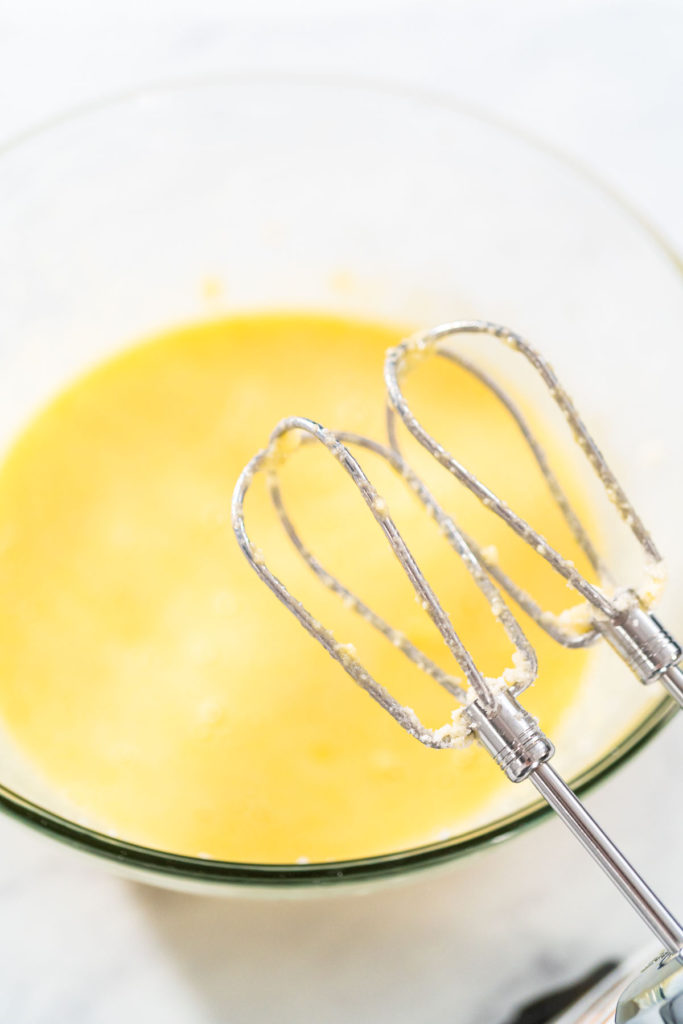
- Mix with the hand mixer until completely combined.
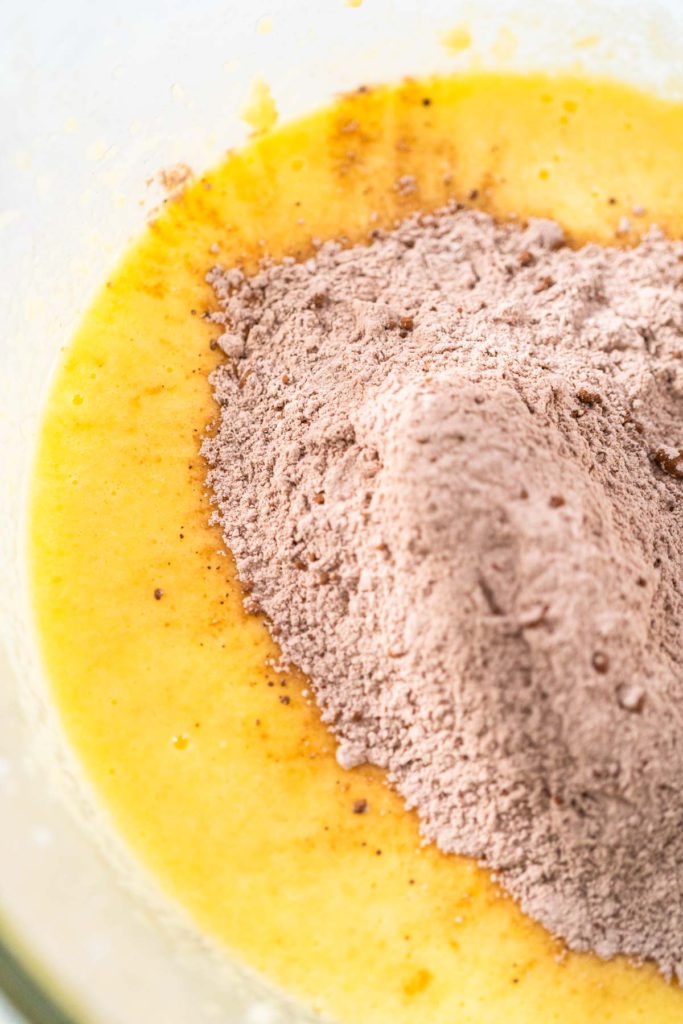
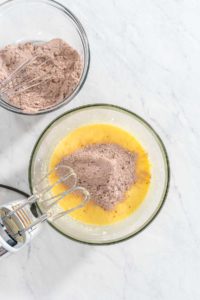
- Then, add in the dry ingredient mixture, ⅓ at a time, into the large bowl with the wet ingredients.
- Mix well between each addition.
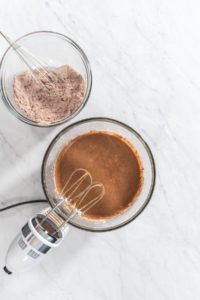
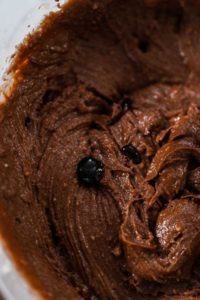
- Keep mixing until all ingredients are completely combined and the cake batter is smooth.
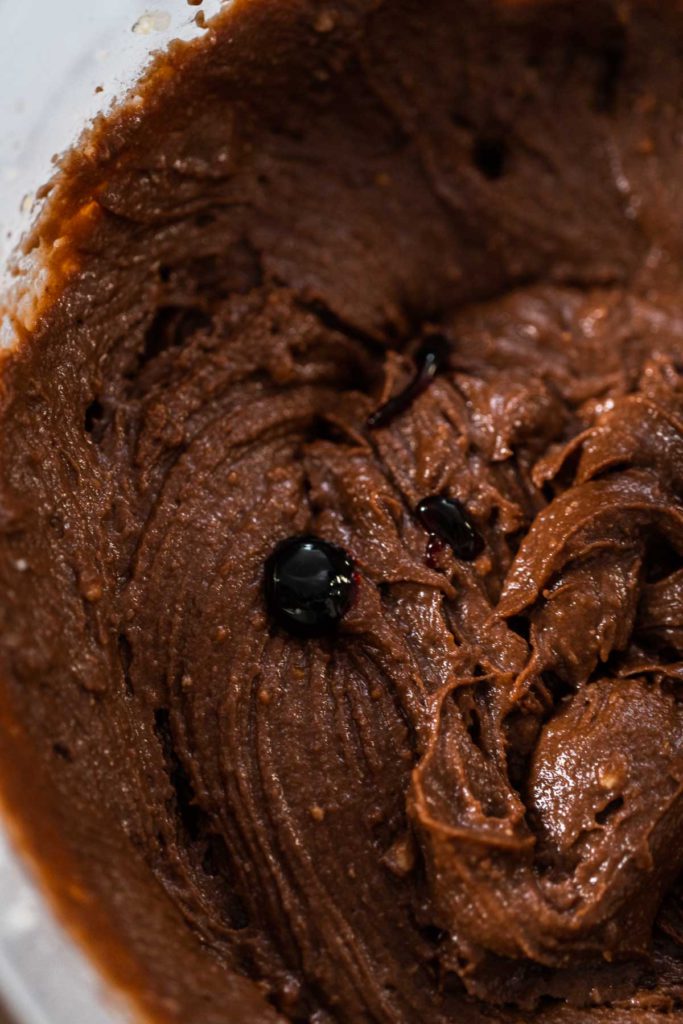
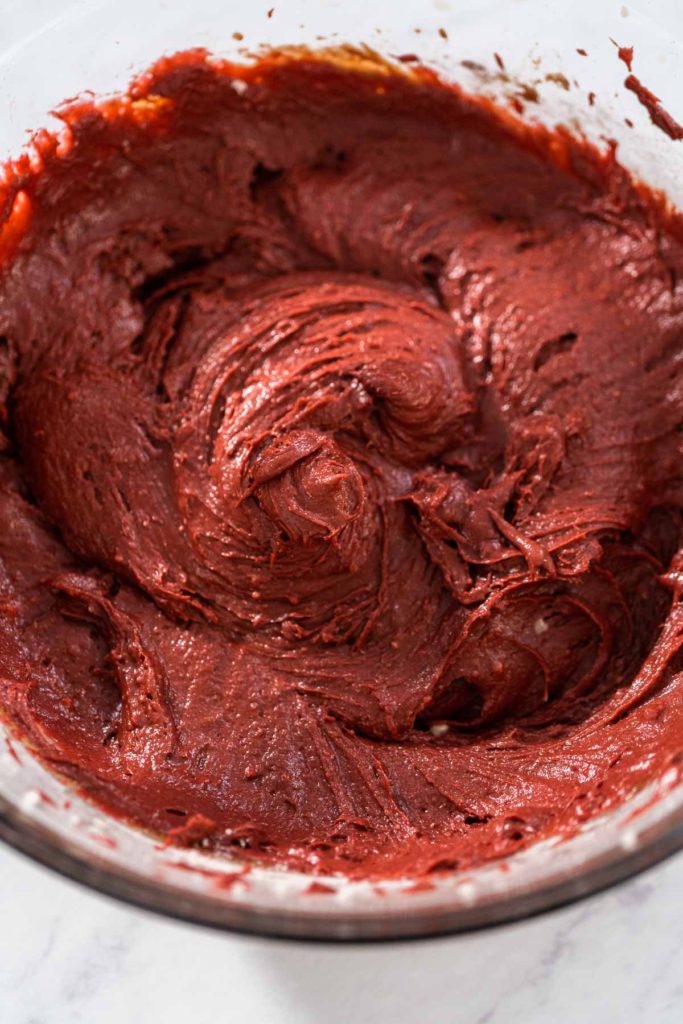
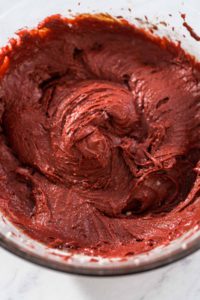
- Next, drop a small amount of red food coloring into the batter.
- Mix well and adjust the color until you reach the desired shade of red.
Making the Cream Cheese Filling:
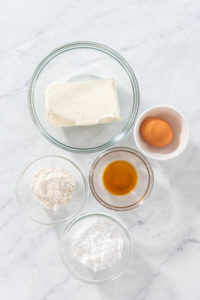
- First, measure out all of the filling ingredients.
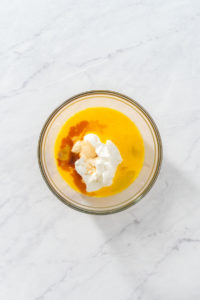
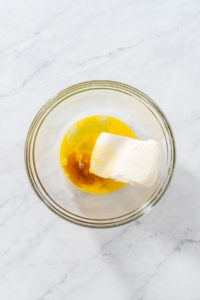
- In a large mixing bowl, combine the cream cheese, egg, and vanilla extract.
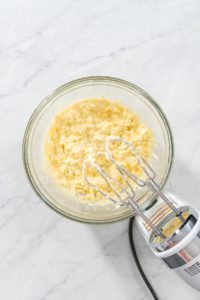
- Beat the ingredients with the hand mixer until completely combined.
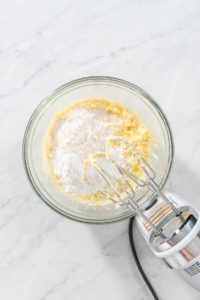
- Next, add in the powdered sugar and flour.
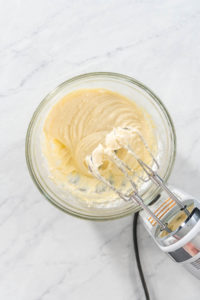
- Beat the mixture again until smooth and creamy.
Coating the Bundt Cake Pan and Baking the Cake:
- First, I recommend covering your hands with disposable gloves or a small ziploc bag. Then, grease the bundt cake pan with the vegetable shortening.
- Make sure to get in all the corners and crevices of the pan.
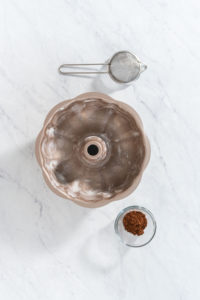
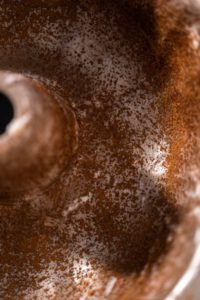
- Next, very lightly coat the inside of the pan with cocoa powder, then dump out any excess powder.
- If you put too much it will burn in the baking process and it will break your heart so be careful.
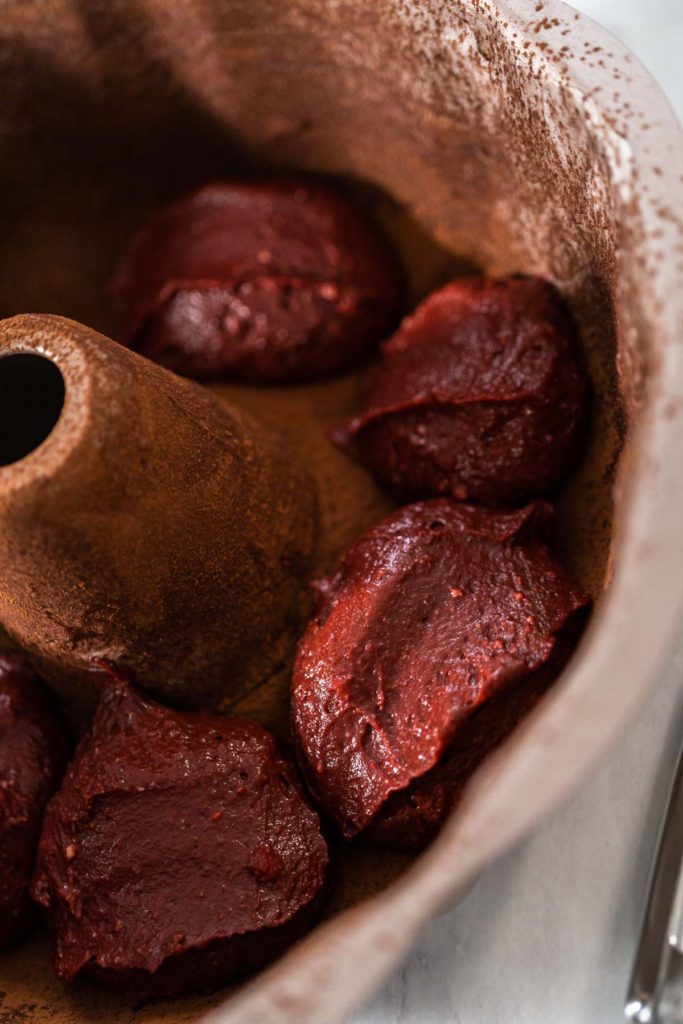
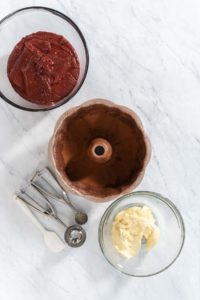
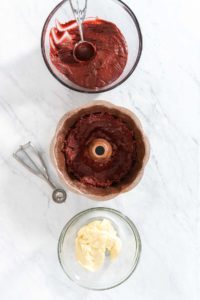
- Grab the coated pan, cake batter, cream cheese filling, 2 dough scoops (one big and one small), and a rubber spatula.
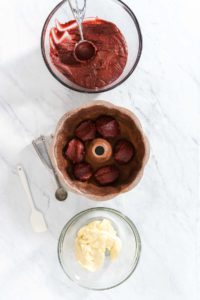
- Then, using the big scoop, scoop about 6 full scoops of batter into the bottom of the cake pan.
- Spread the first layer with the rubber spatula.
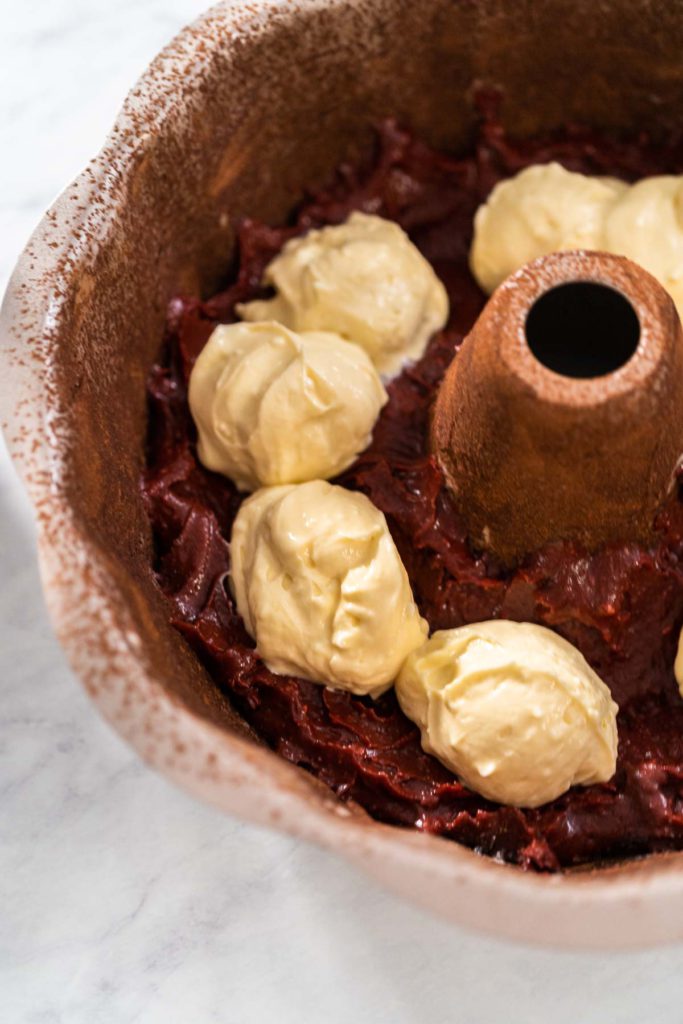
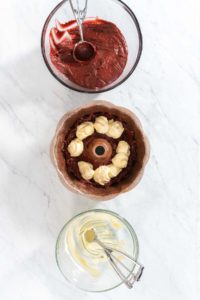
- Next, using the smaller scoop, scoop the cream cheese filling on top of the first layer of cake batter.
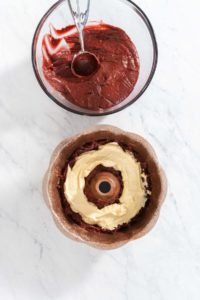
- Spread the layer with a clean, rubber spatula.
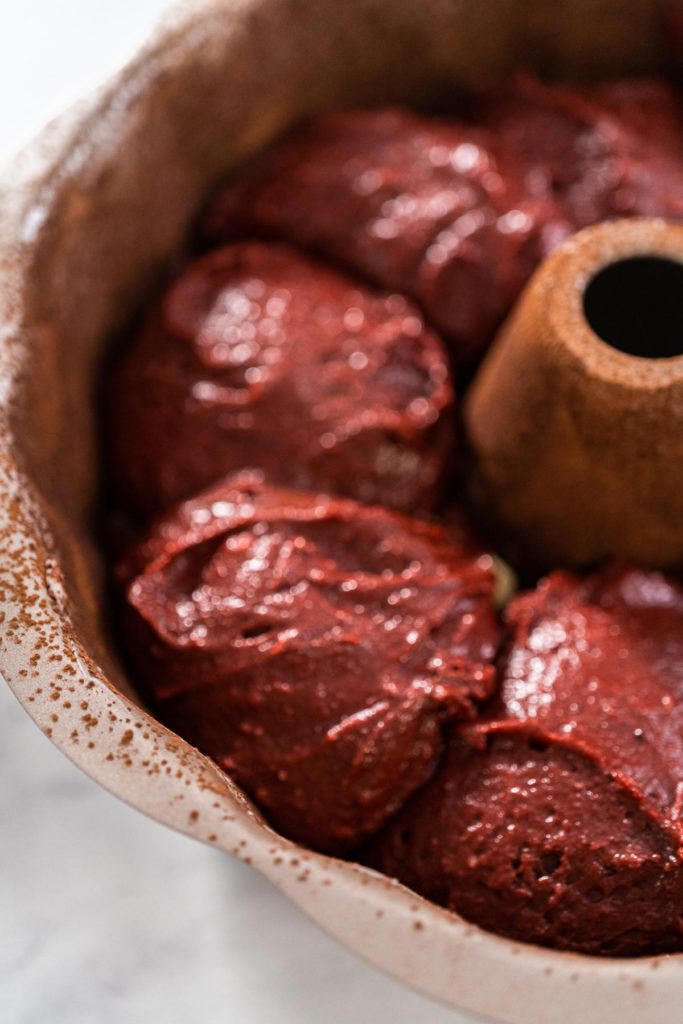
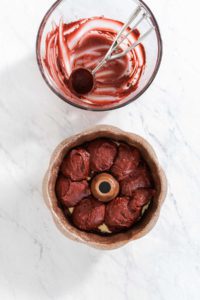
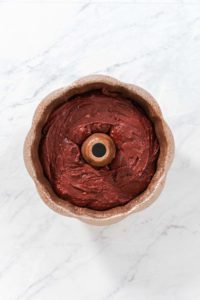
- Then, scoop the remainder of the cake batter on top of the filling, then spread out evenly.
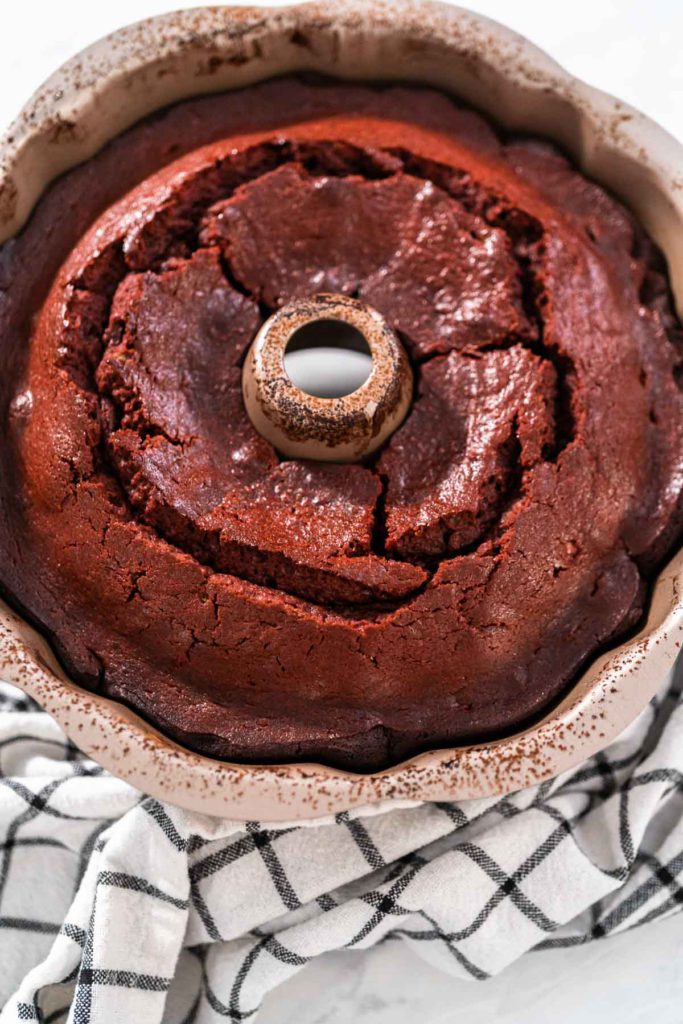
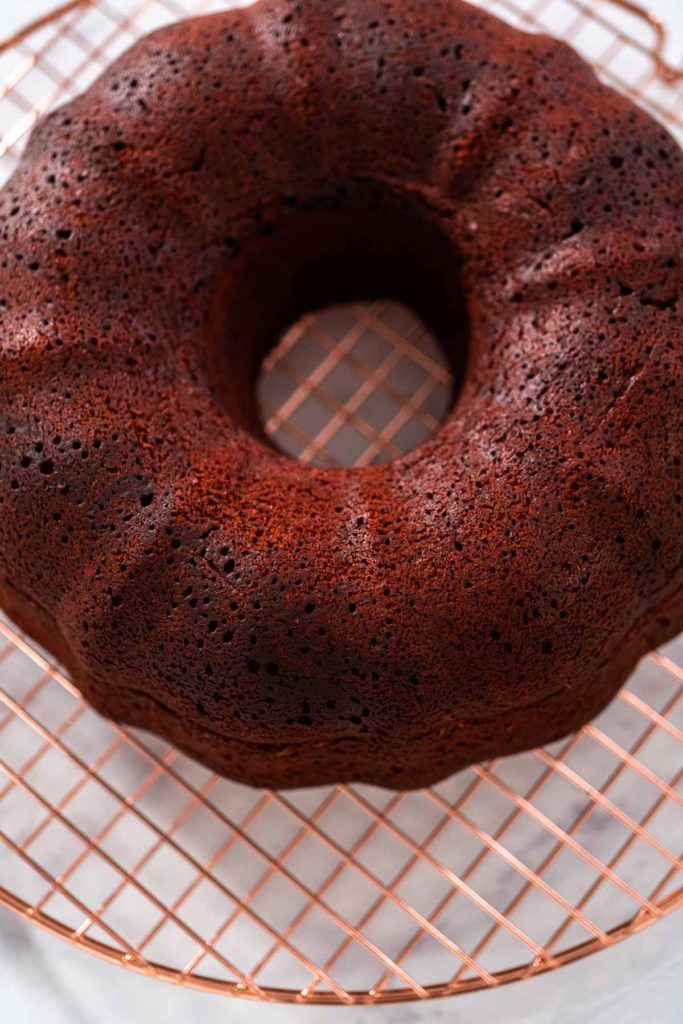
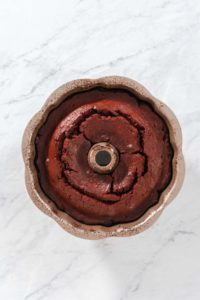
- Bake the filled bundt cake for 50-65 minutes, or until a toothpick inserted in the center comes out clean. The bundt cake will rise when it is almost ready.
- After removing from the oven, let the cake cool inside the pan for 10 minutes.
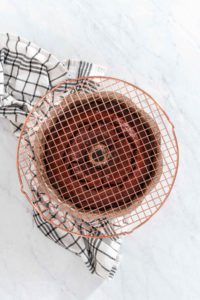
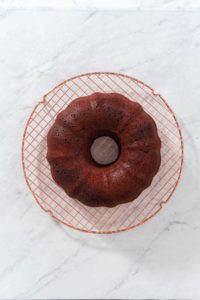
- Then, place a round wire rack on the opening of the cake pan.
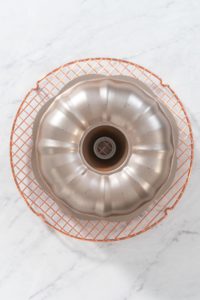
- Flip the pan upside down on top of the wire rack.
- Finally, gently remove the cake from the pan and let it cool completely, about 1 hour, before drizzling with the frosting.
Whipping Up the Cream Cheese Frosting:
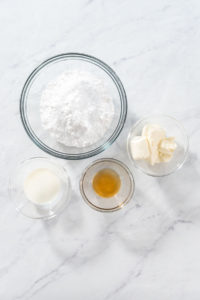
- First, measure out all of the frosting ingredients.
- Next, in a medium mixing bowl, combine the cream cheese, powdered sugar, milk, and vanilla extract.
Finally, beat the mixture with a hand mixer until it is light, fluffy, and smooth.
Making the Chocolate Heart Cake Toppers:
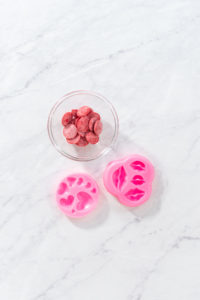
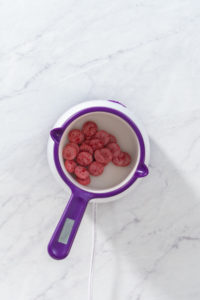
- First, gather the red candy melts, silicone molds, and the candy melt pot.
- Pour the red candy melts into the candy melt pot.
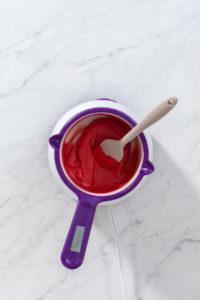
- Heat and stir the candy melts until completely melted and smooth.
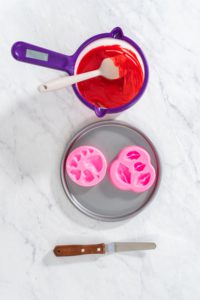
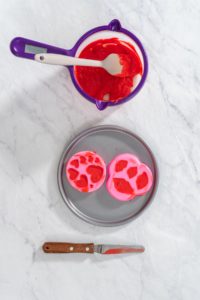
- Next, set the silicone molds on a small baking sheet to keep them flat.
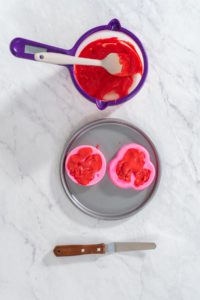
- Then, spoon the melted chocolate into the molds and tap the tray gently to make sure no air bubbles get trapped. Use a cake spatula to scrape away any excess chocolate from the top of the molds.
- Freeze the tray of molds completely flat for 10 minutes.
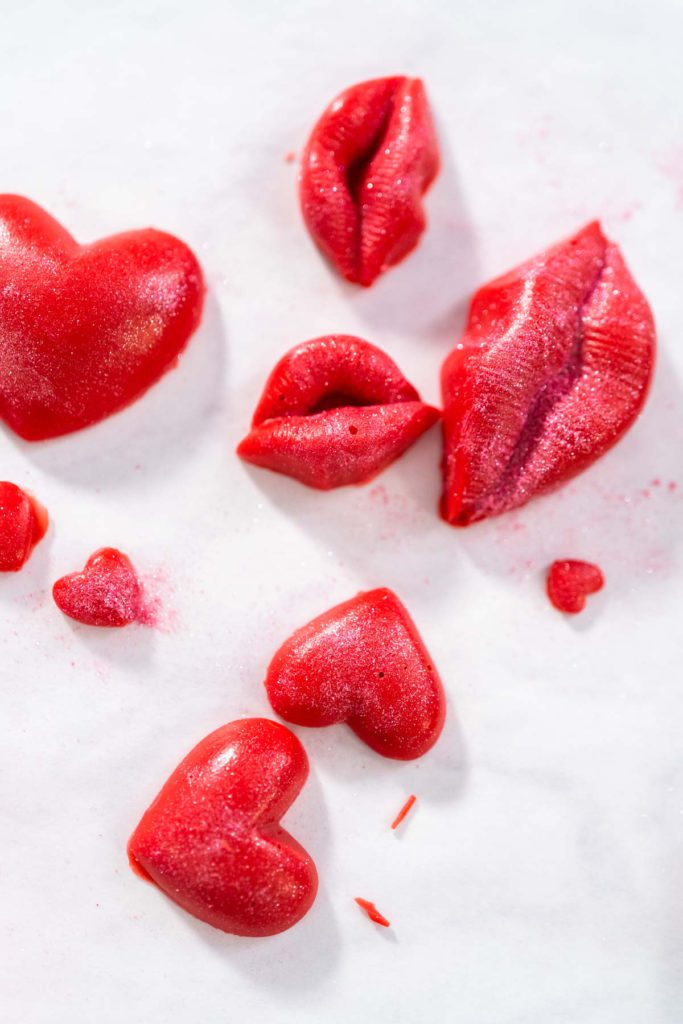
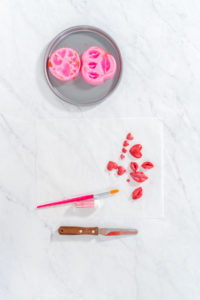
- Next, spread out a sheet of parchment paper. Gently remove the hardened chocolates from the molds and transfer to the parchment paper. Repeat this molding process 3 times to get enough chocolates to decorate the entire bundt cake.
- Use disposable gloves when removing the chocolates so they don’t start melting from the heat of your hands.
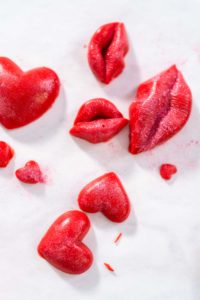
- After hardening, dust all of the chocolate hearts and lips with the Pink Luster Dust.
Decorating a Valentine Bundt Cake:
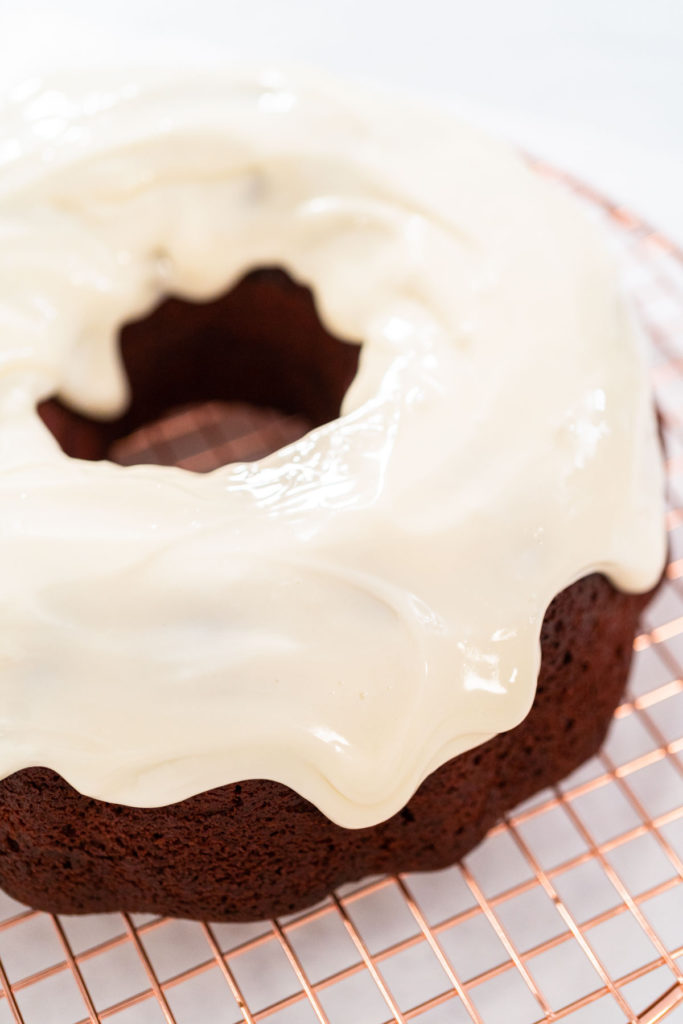
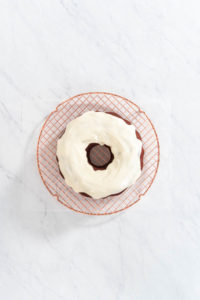
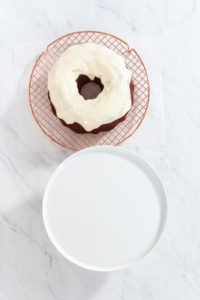
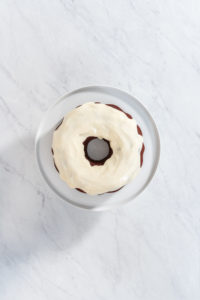
- First, slide a sheet of parchment paper underneath the cooling rack to collect any messes. Spread the cream cheese frosting over the entire top of the red velvet bundt cake.
- Then, grab a plate, cake stand, or cake lift, and a clean cake spatula.
- Use the cake spatula to carefully and safely transfer the frosted bundt cake to a plate or cake stand.
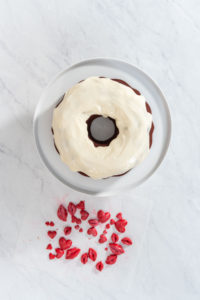
- Grab the chocolate hearts and lips cake decorations.
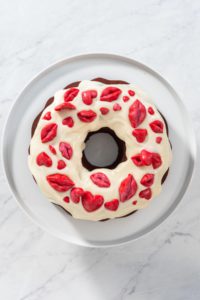
- Finally, finish this Valentine's bundt cake by gently sticking the chocolates into the cream cheese frosting over the entire bundt cake. Serve and enjoy!
- Remember to use disposable gloves whenever handling homemade chocolates so they don’t melt.
- I like to store my bundt cakes in tall wilton plastic containers.
Alternative Chocolate-Melting Method
If you don’t have a nifty candy melting pot in your kitchen collection, here is a simple microwave melting method that will work for anyone!
How to Melt Candy Melts in the Microwave:
- First, pour the candy melts into a heat-safe bowl or silicone measuring cup.
- Then, heat the candy melts in the microwave at 50% power, or on a defrost setting, for 1 minute.
- Next, stir the candies thoroughly.
- Use a towel or an oven mitt to protect your hand from the heat when handling the bowl or cup.
- Then, continue to microwave the candies at the same low setting in 15-30 second intervals, stirring in between each interval, until the candy is almost melted.
- Finally, let the candy sit for about 1 minute to let the residual heat take care of any small unmelted pieces of candy leftover.
- If you try another interval of cooking at this point, the candy could overcook and burn so it’s better to let the candy sit and take care of itself.
For more chocolate-melting methods and tips, check out my simple guide on How to Melt Candy Melts.
Storing Your Bundt Cake: Ensuring Freshness and Flavor
Whether you’re enjoying leftovers or preparing your cake in advance, here’s how to keep it tasting fresh:
- At Room Temperature:
For short-term storage (up to three days), keep the cake under a cake dome or wrapped in plastic wrap on the counter. Your Bundt cake will stay fresh for up to 3 days. This method is perfect for cakes that will be eaten in a short period. - Refrigerate for Longevity:
Wrap the cake tightly in plastic wrap or store it in an airtight container if you need to keep it fresh for up to five days. It can last up to 5 days in the refrigerator. Remember to let it come back to room temperature before serving to ensure the best flavor. - Freeze for Future Enjoyment:
Freezing is ideal for extended storage. Wrap your Bundt cake securely in plastic wrap, followed by aluminum foil, and freeze. Before freezing, mark the packaging with a Sharpie to note the date. Your cake will remain fresh for up to 3 months in the freezer. Thaw it in the refrigerator overnight and allow it to reach room temperature before enjoying. This method is ideal for planning ahead or keeping leftovers tasting as good as new.
By following these detailed serving and storage tips, you can enjoy your Bundt cake at its best, whether it's freshly baked or saved for later. Proper storage ensures every bite remains moist, flavorful, and just as satisfying as when it first came out of the oven.
Valentine's Day Recipes
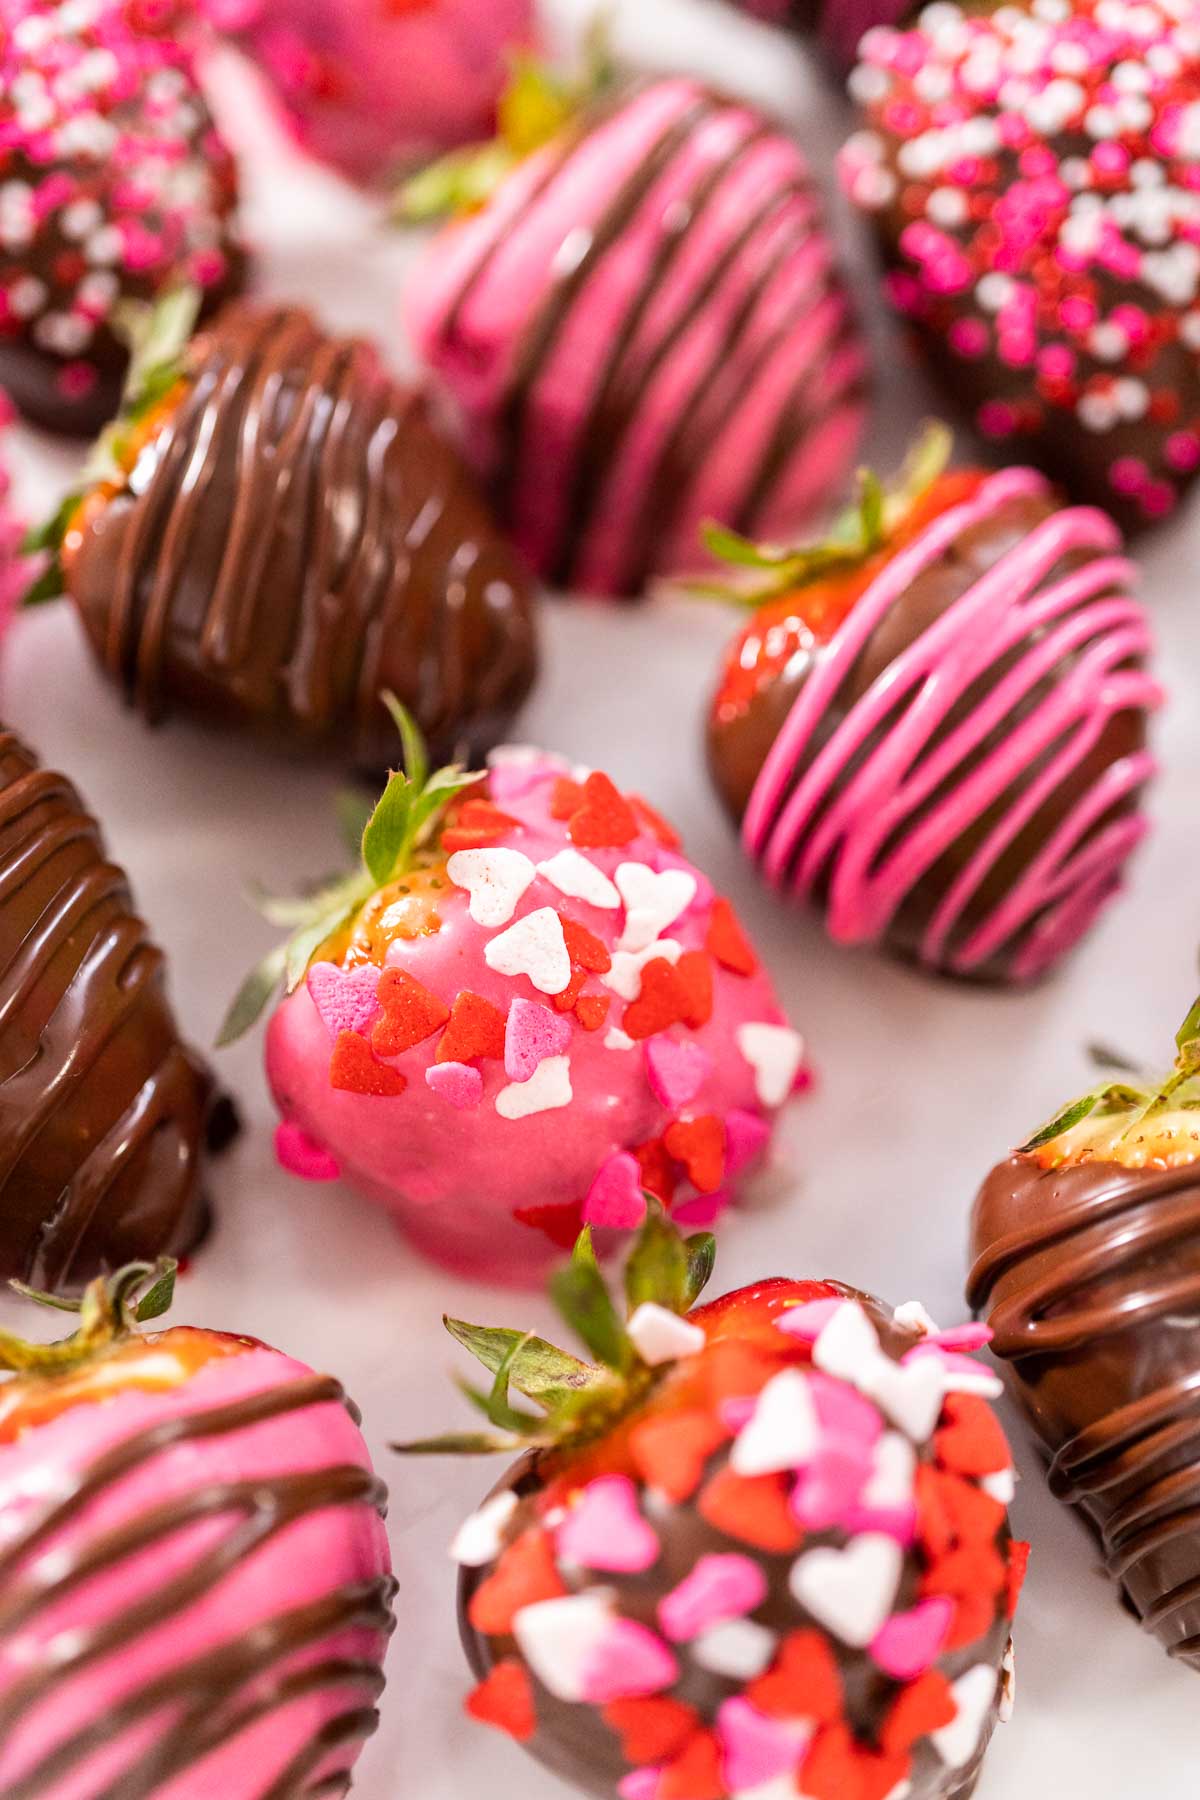
- How to Make Chocolate Dipped Strawberries That Look Professional
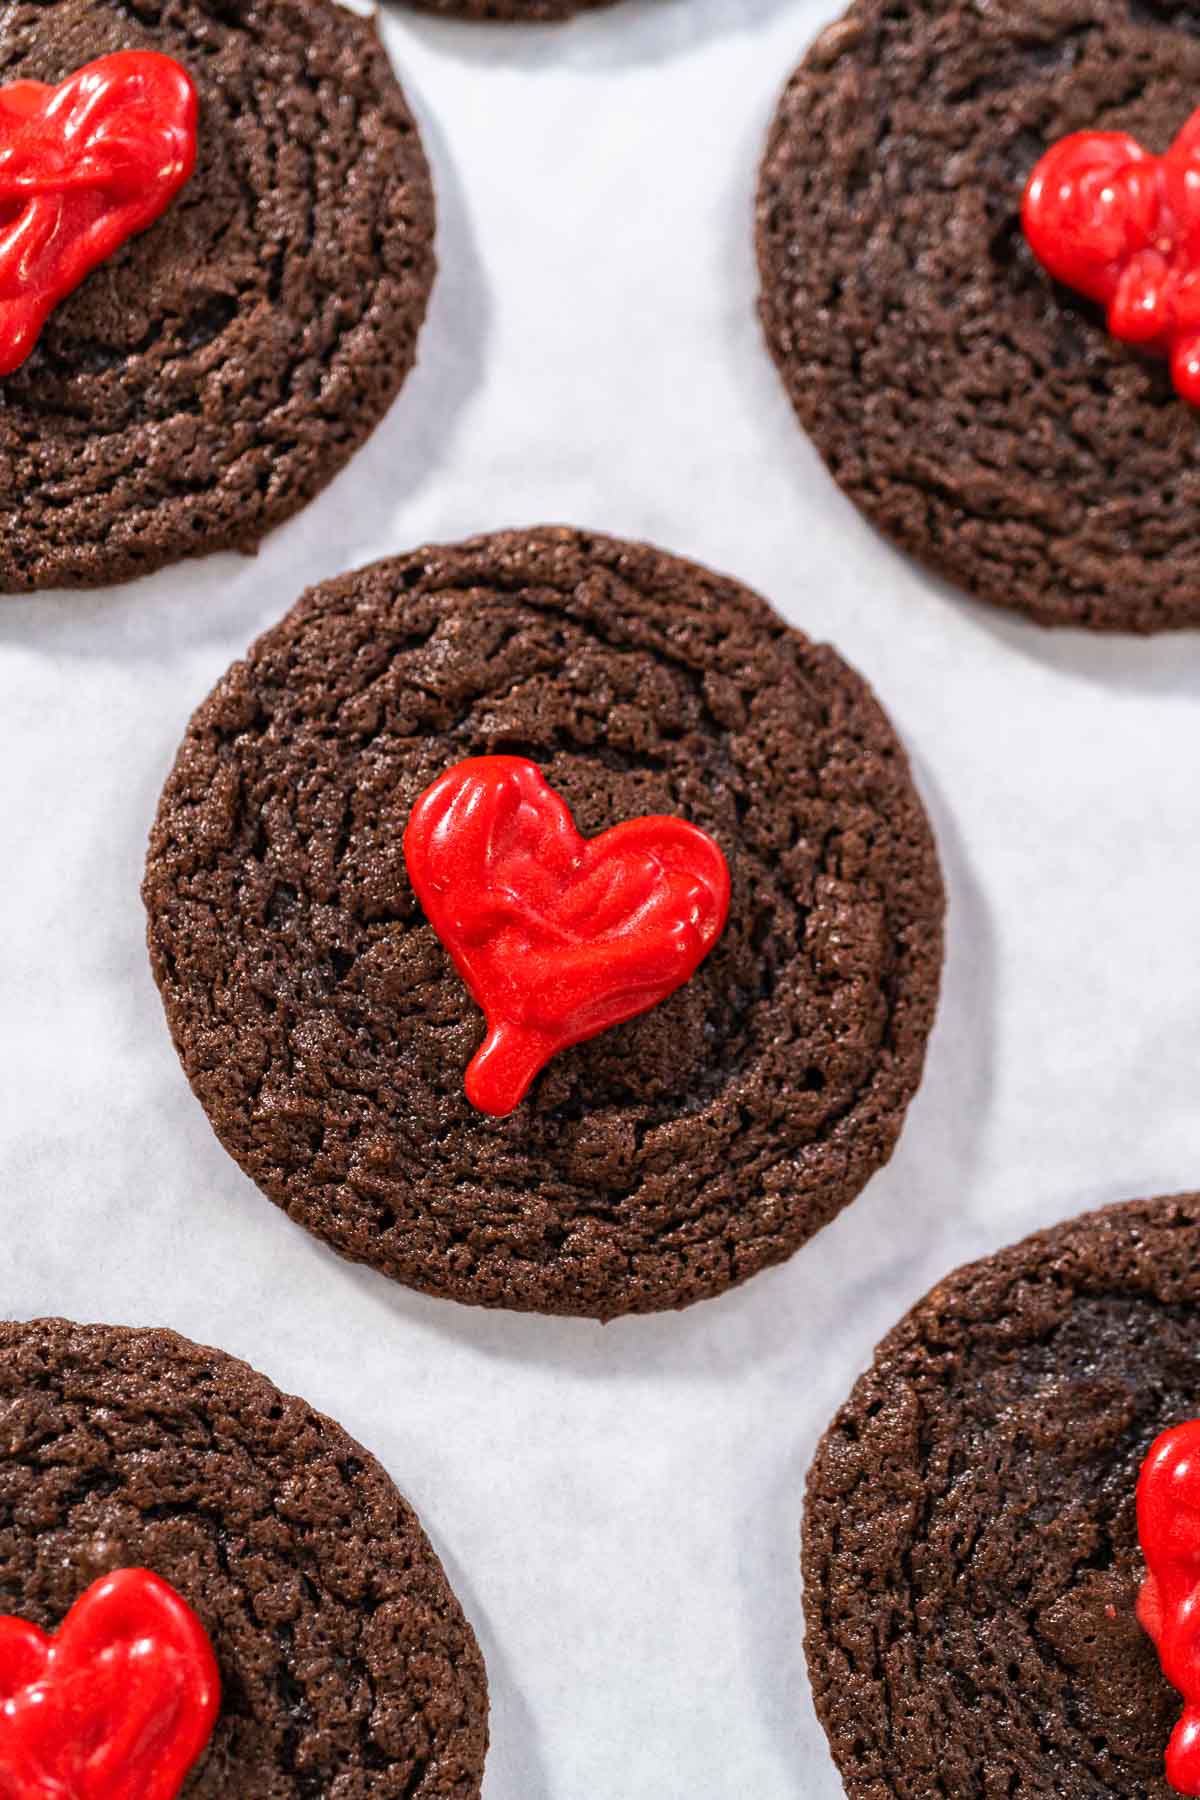
- Chocolate Cookies with Chocolate Hearts for Valentine’s Day
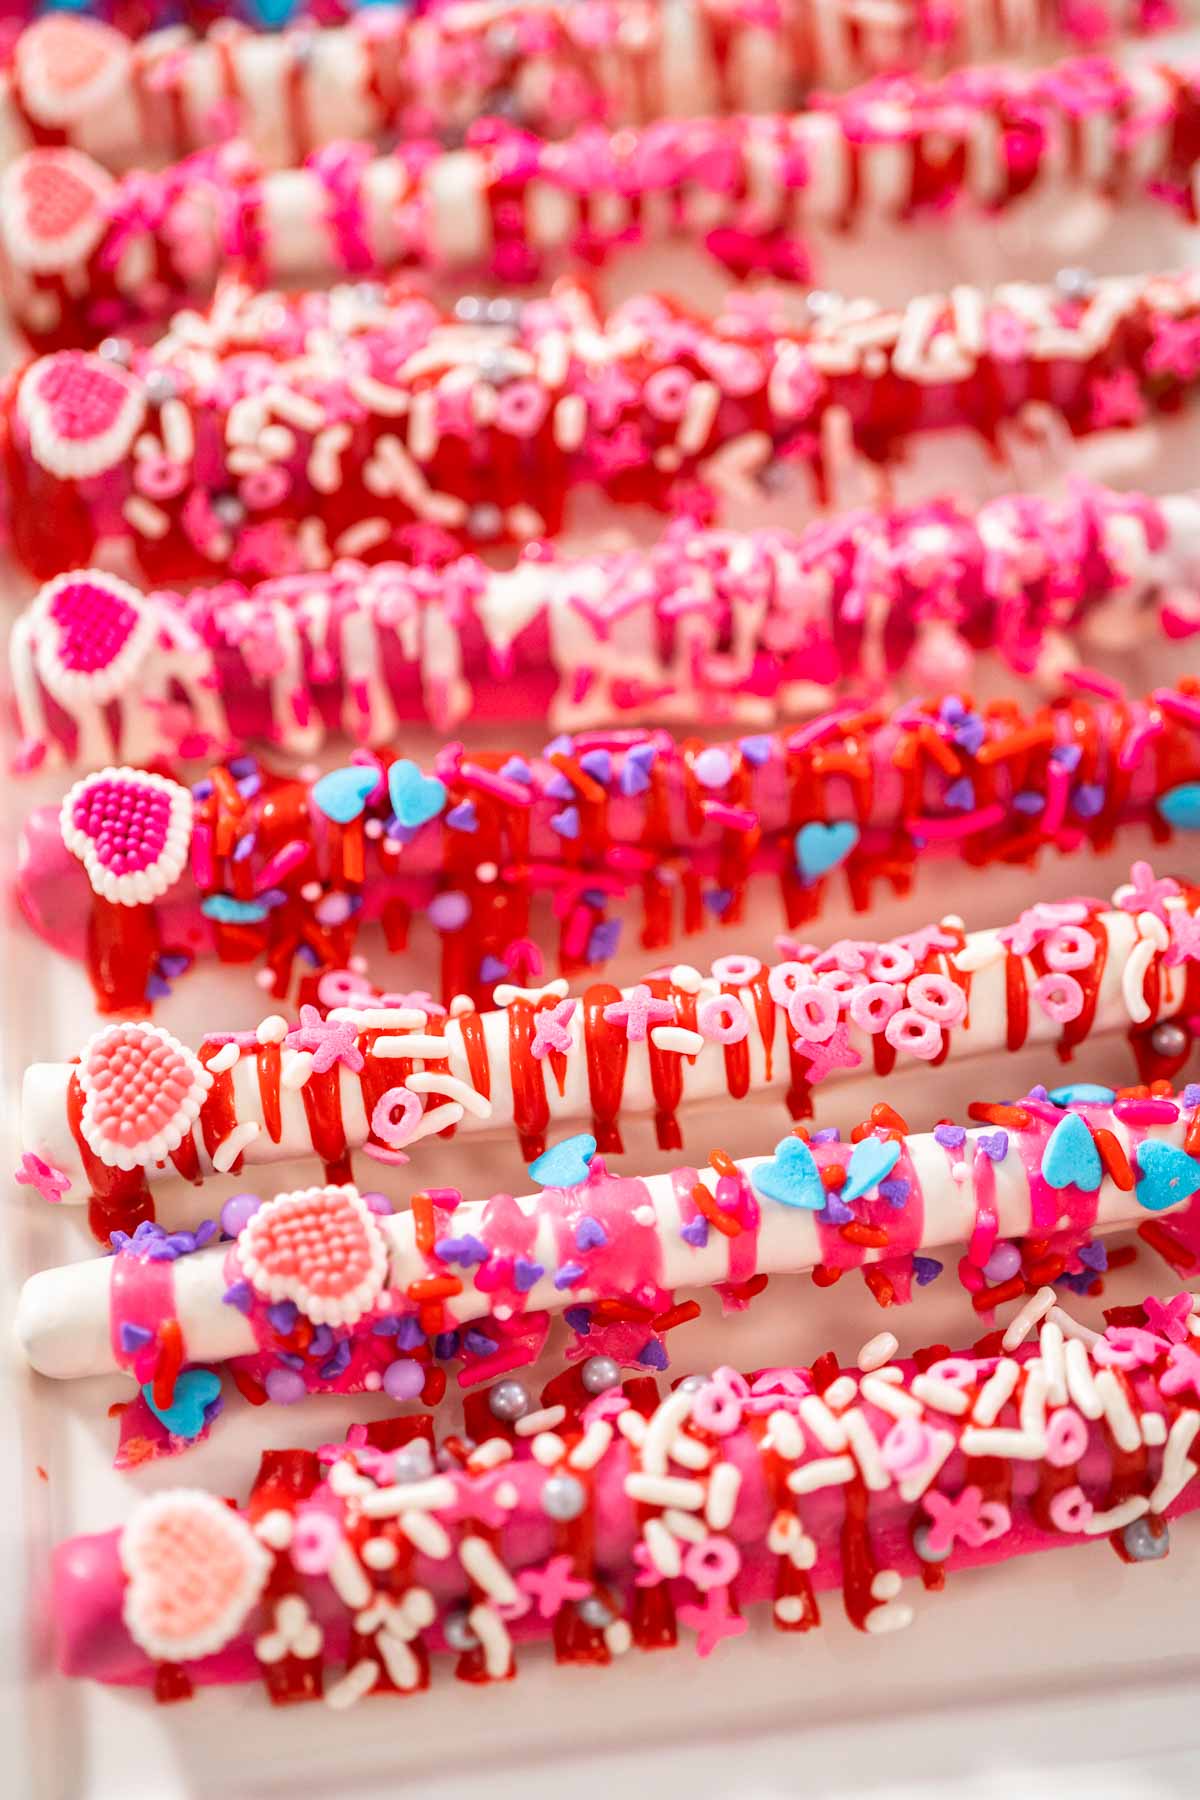
- Valentine’s Day Chocolate Covered Pretzel Rods with Heart Sprinkles
- Red Velvet Valentines Day Cupcakes
- Baking Valentine’s Day Sugar Cookies with the Whole Family
- Red Velvet Bundt Cake with Strawberries and Cream Cheese Glaze
Perfect Valentine Treats
Looking for some easier or more simple Valentine recipes? Then check out some of my sweet and simple Valentine’s Day concoctions, along with some of my favorite holiday-inspired bundt cakes:
- Valentine’s Charcuterie Board
- Valentine’s Chocolate-Covered Pretzel Rods
- Chocolate-Dipped Strawberries
- Chocolate Hearts and Lips
- Nutella Mug Cakes
- Funfetti Bundt Cake
Bundt Cakes for Every Holiday:
- 4th of July Bundt Cake
- Christmas Chocolate Bundt Cake
- Lemon Bundt Cake
- Cranberry and Lemon Bundt Cake
- Pumpkin Bundt Cake with Cream Cheese Frosting
- Chocolate Pumpkin Bundt Cake with Toffee Glaze
Red Velvet Bundt Cake with Chocolate Hearts
Video
Equipment
Ingredients
- 2 Cups All-purpose flour
- ½ teaspoon Salt
- 1 teaspoon Baking powder
- ½ cup Cocoa powder unsweetened
- 4 Eggs
- 1 cup Yogurt
- 2 teaspoon Vanilla extract
- 1 cup unsalted butter room temperature
- 2 cups Sugar
- 1 ½ teaspoon Red food coloring
Cream cheese filling
- 8 oz cream cheese one package 8 oz, room temperature
- 1 Egg
- 1 teaspoon vanilla extract
- ½ cup powdered sugar
- 2 tablespoon all-purpose flour
Bundt cake pan coating
- 1 tablespoon Vegetable shortening
- 1 tablespoon unsweetened cocoa powder
Cream cheese glaze
- 4 oz cream cheese room temperature
- ½ teaspoon Vanilla extract
- 4 tablespoon milk
- 2 cup Powdered sugar
Chocolate hearts
Instructions
Making the Red Velvet Bundt Cake
- First, use the measuring cups and spoons to prepare the ingredients and preheat the oven to 350°F.
- In a medium-size glass mixing bowl, combine the flour, baking powder, cocoa powder, and salt.
- Mix the dry ingredients together with a blending whisk.
- Then, in a separate medium bowl, combine the eggs, yogurt, and vanilla extract.
- Mix the wet ingredients together with a clean blending whisk.
- Next, in a separate large mixing bowl, combine the butter and sugar together.
- Use a hand mixer to beat the ingredients together until smooth and pale in color.
- Then, pour the mixture of wet ingredients into the big bowl of the butter mixture.
- Mix with the hand mixer until completely combined.
- Then, add the dry ingredient mixture, ⅓ at a time, into the large bowl with the wet ingredients.
- Mix well between each addition.
- Keep mixing until all ingredients are completely combined and the cake batter is smooth.
- Next, drop a small amount of red food coloring into the batter.
- Mix well and adjust the color until you reach the desired shade of red.
Making the Cream Cheese Filling
- First, measure out all of the filling ingredients.
- In a large mixing bowl, combine the cream cheese, egg, and vanilla extract.
- Beat the ingredients with the hand mixer until completely combined.
- Next, add in the powdered sugar and flour.
- Beat the mixture again until smooth and creamy.
Coating the Bundt Cake Pan and Baking the Cake
- First, I recommend covering your hands with disposable gloves or a small ziploc bag. Then, grease the bundt cake pan with the vegetable shortening.Make sure to get in all the corners and crevices of the pan.
- Next, very lightly coat the inside of the pan with cocoa powder, then dump out any excess powder.If you put too much it will burn in the baking process and it will break your heart so be careful.
- Grab the coated pan, cake batter, cream cheese filling, 2 dough scoops (one big and one small), and a rubber spatula.
- Then, using the big scoop, scoop about 6 full scoops of batter into the bottom of the cake pan.
- Spread the first layer with the rubber spatula.
- Next, using the smaller scoop, scoop the cream cheese filling on top of the first layer of cake batter.
- Spread the layer with a clean, rubber spatula.
- Then, scoop the remainder of the cake batter on top of the filling, then spread out evenly.
- Bake the filled bundt cake for 50-65 minutes, or until a toothpick inserted in the center comes out clean. The bundt cake will rise when it is almost ready.
- After removing from the oven, let the cake cool inside the pan for 10 minutes.
- Then, place a round wire rack on the opening of the cake pan.
- Flip the pan upside down on top of the wire rack.
- Finally, gently remove the cake from the pan and let it cool completely, about 1 hour, before drizzling with the frosting.
Whipping Up the Cream Cheese Frosting
- First, measure out all of the frosting ingredients.
- Next, in a medium mixing bowl, combine the cream cheese, powdered sugar, milk, and vanilla extract.
- Finally, beat the mixture with a hand mixer until it is light, fluffy, and smooth.
Making the Chocolate Heart Cake Toppers
- First, gather the red candy melts, silicone molds, and the candy melt pot.
- Pour the red candy melts into the candy melt pot.
- Heat and stir the candy melts until completely melted and smooth.
- Next, set the silicone molds on a small baking sheet to keep them flat.
- Then, spoon the melted chocolate into the molds and tap the tray gently to make sure no air bubbles get trapped. Use a cake spatula to scrape away any excess chocolate from the top of the molds.
- Freeze the tray of molds completely flat for 10 minutes.
- Next, spread out a sheet of parchment paper. Gently remove the hardened chocolates from the molds and transfer to the parchment paper. Repeat this molding process 3 times to get enough chocolates to decorate the entire bundt cake.Use disposable gloves when removing the chocolates so they don’t start melting from the heat of your hands.
- After hardening, dust all of the chocolate hearts and lips with the Pink Luster Dust.
Bundt cake decoration
- First, slide a sheet of parchment paper underneath the cooling rack to collect any messes. Spread the cream cheese frosting over the entire top of the red velvet bundt cake.
- Then, grab a plate, cake stand, or cake lift, and a clean cake spatula.
- Use the cake spatula to carefully and safely transfer the frosted bundt cake to a plate or cake stand.
- Grab the chocolate hearts and lips cake decorations.
- Finally, finish this Valentine's bundt cake by gently sticking the chocolates into the cream cheese frosting over the entire bundt cake. Serve and enjoy!Remember to use disposable gloves whenever handling homemade chocolates so they don’t melt.I like to store my bundt cakes in tall wilton plastic containers.
Notes
Nutrition
Food Photography & Video Tips from My Studio
Here’s a peek at the tools, gear, and camera setups I use to film my recipe videos and photograph food at home. Over the years, I’ve tested dozens of different setups, and now I’m sharing what actually works for me—whether I’m filming overhead shots for YouTube or styling still photos for my blog. If you’re curious about how I create the content you see here, these posts are a great place to start.









Leave a Reply