How to Make Patriotic Pinwheel Cookies for an Independence Day Celebration
This post contains affiliate links.
In stock photography, it’s important to cover all of the holidays and have a shoot for the most popular ones. As the 4th of July is one of the most popular holidays in the U.S., I find it’s especially important to have a photoshoot for Independence day. Though I had an outdoor photoshoot for grilling hotdogs and corn, I couldn’t help myself but have a cookie shoot for the 4th of July. I talked about this concept in stock photography and the outdoor photoshoot here.
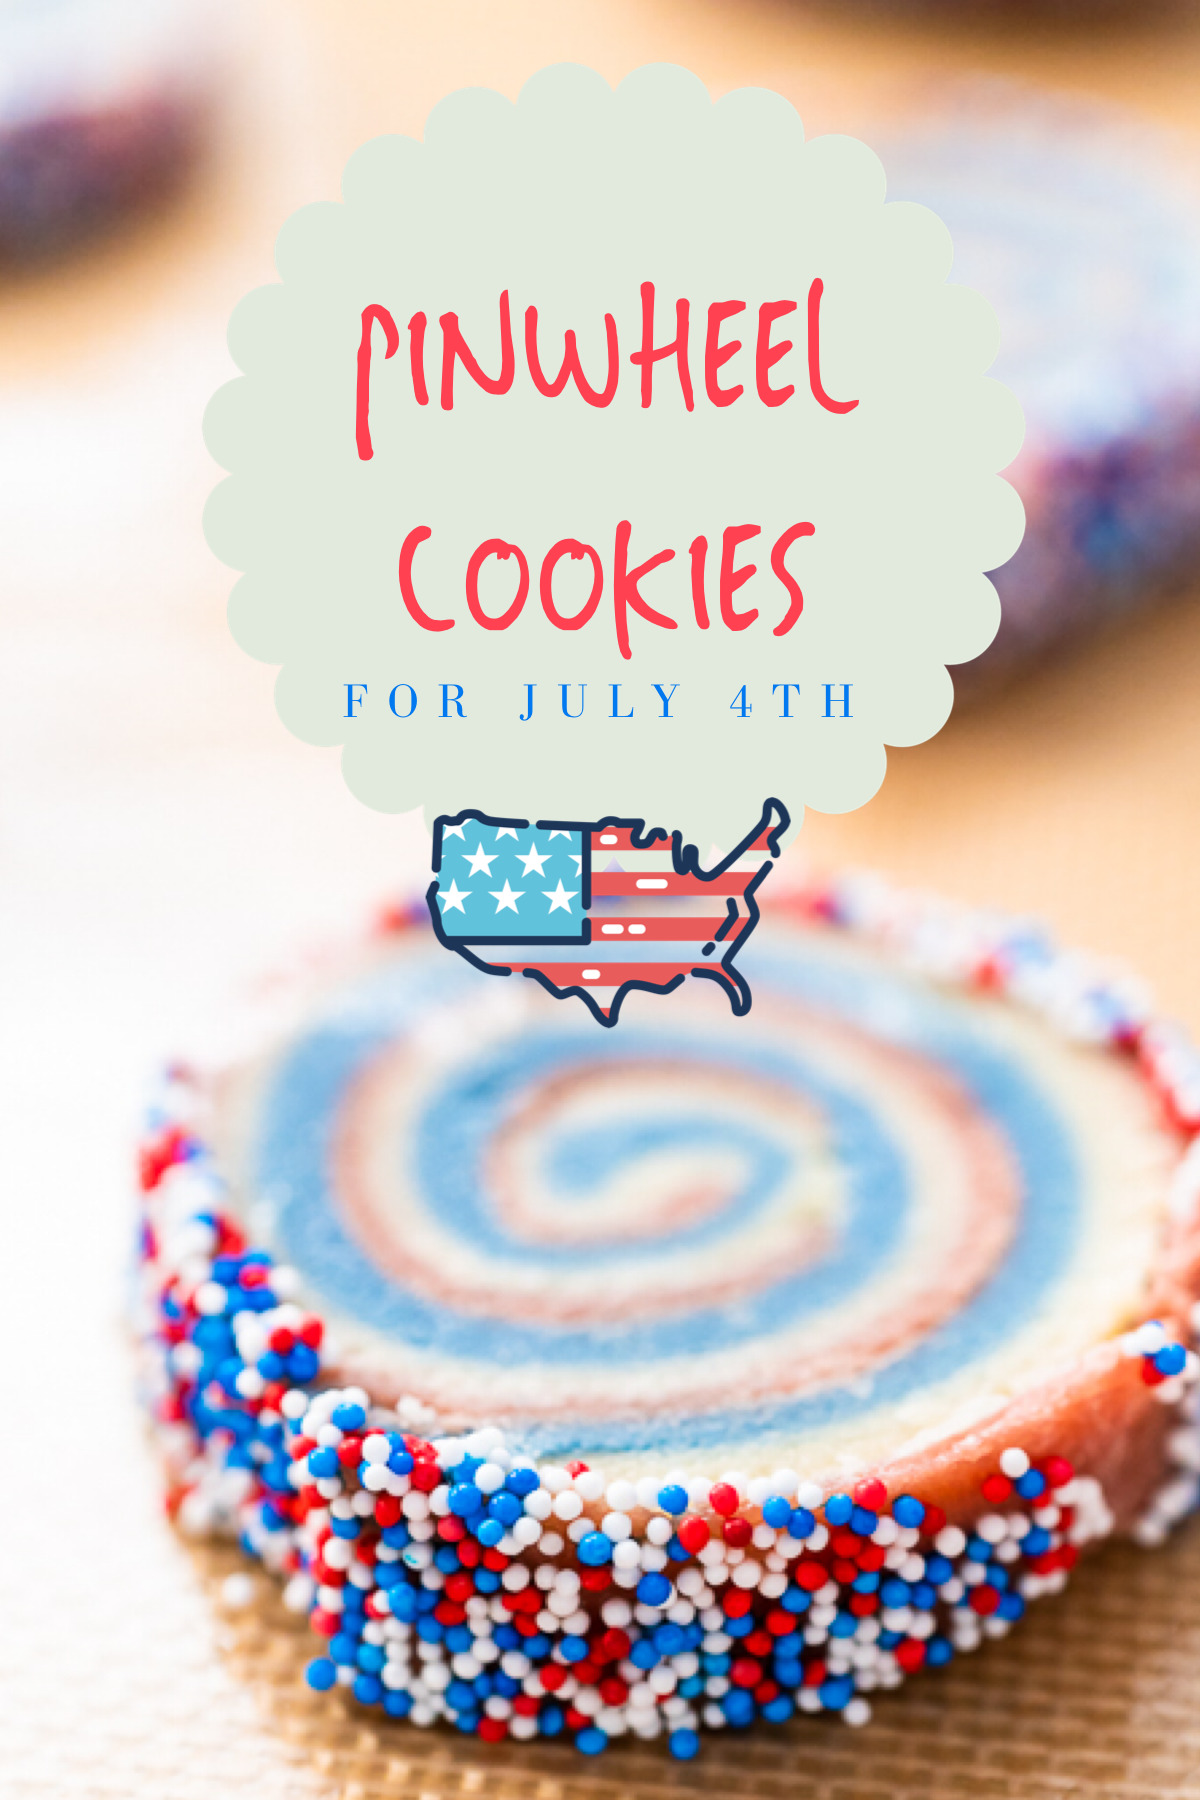
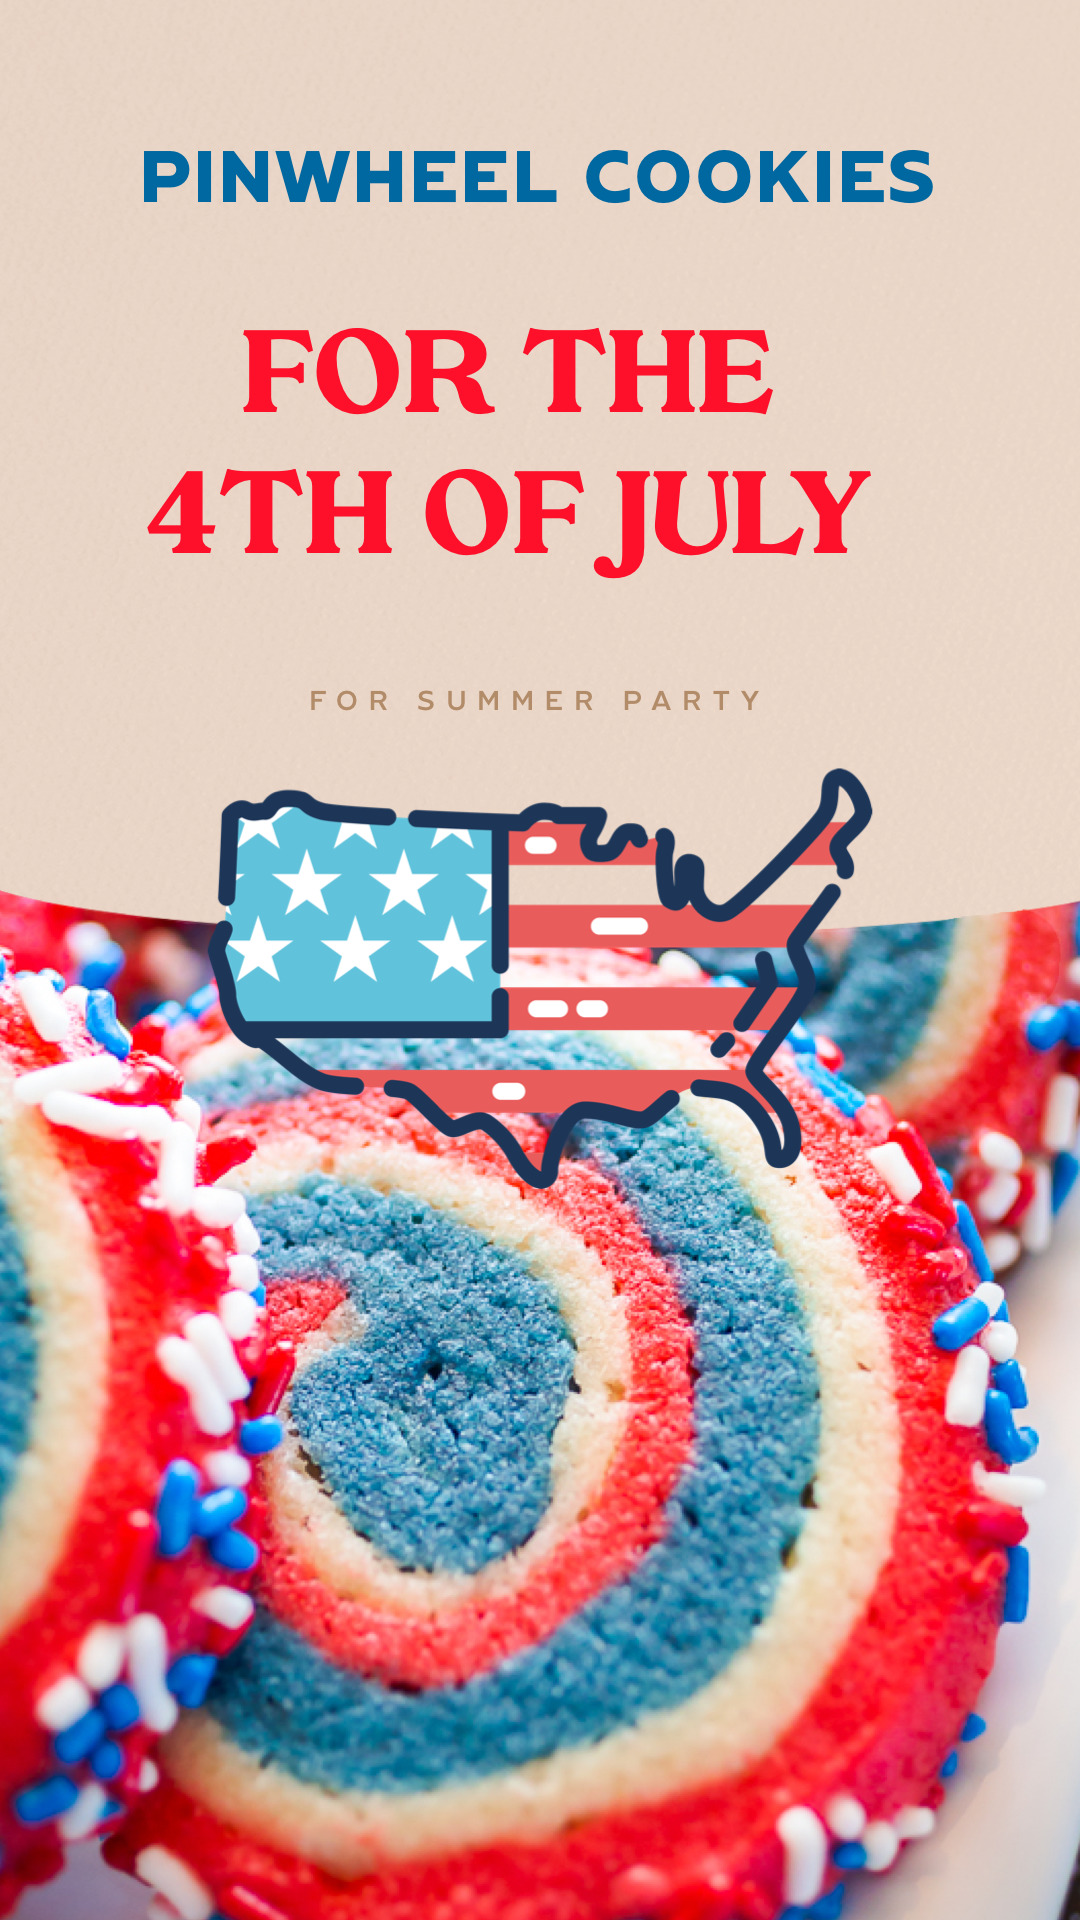
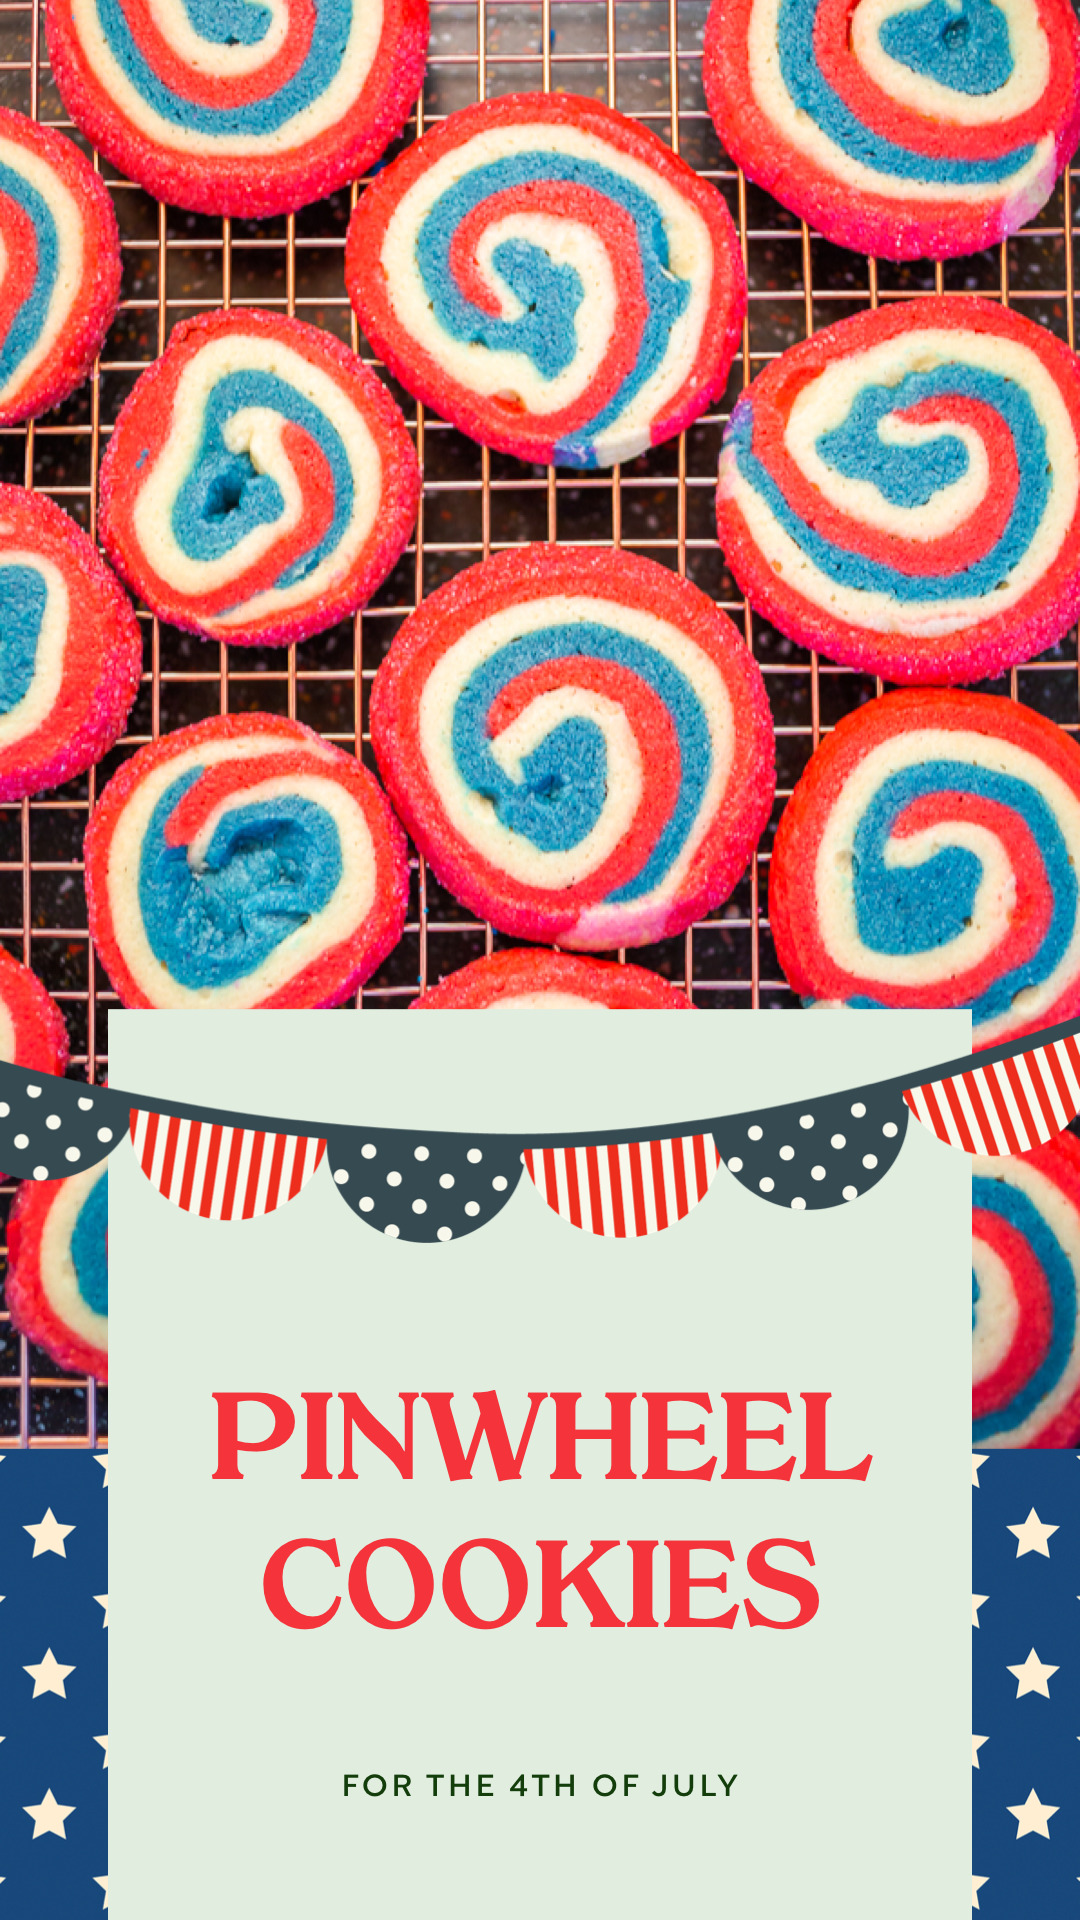
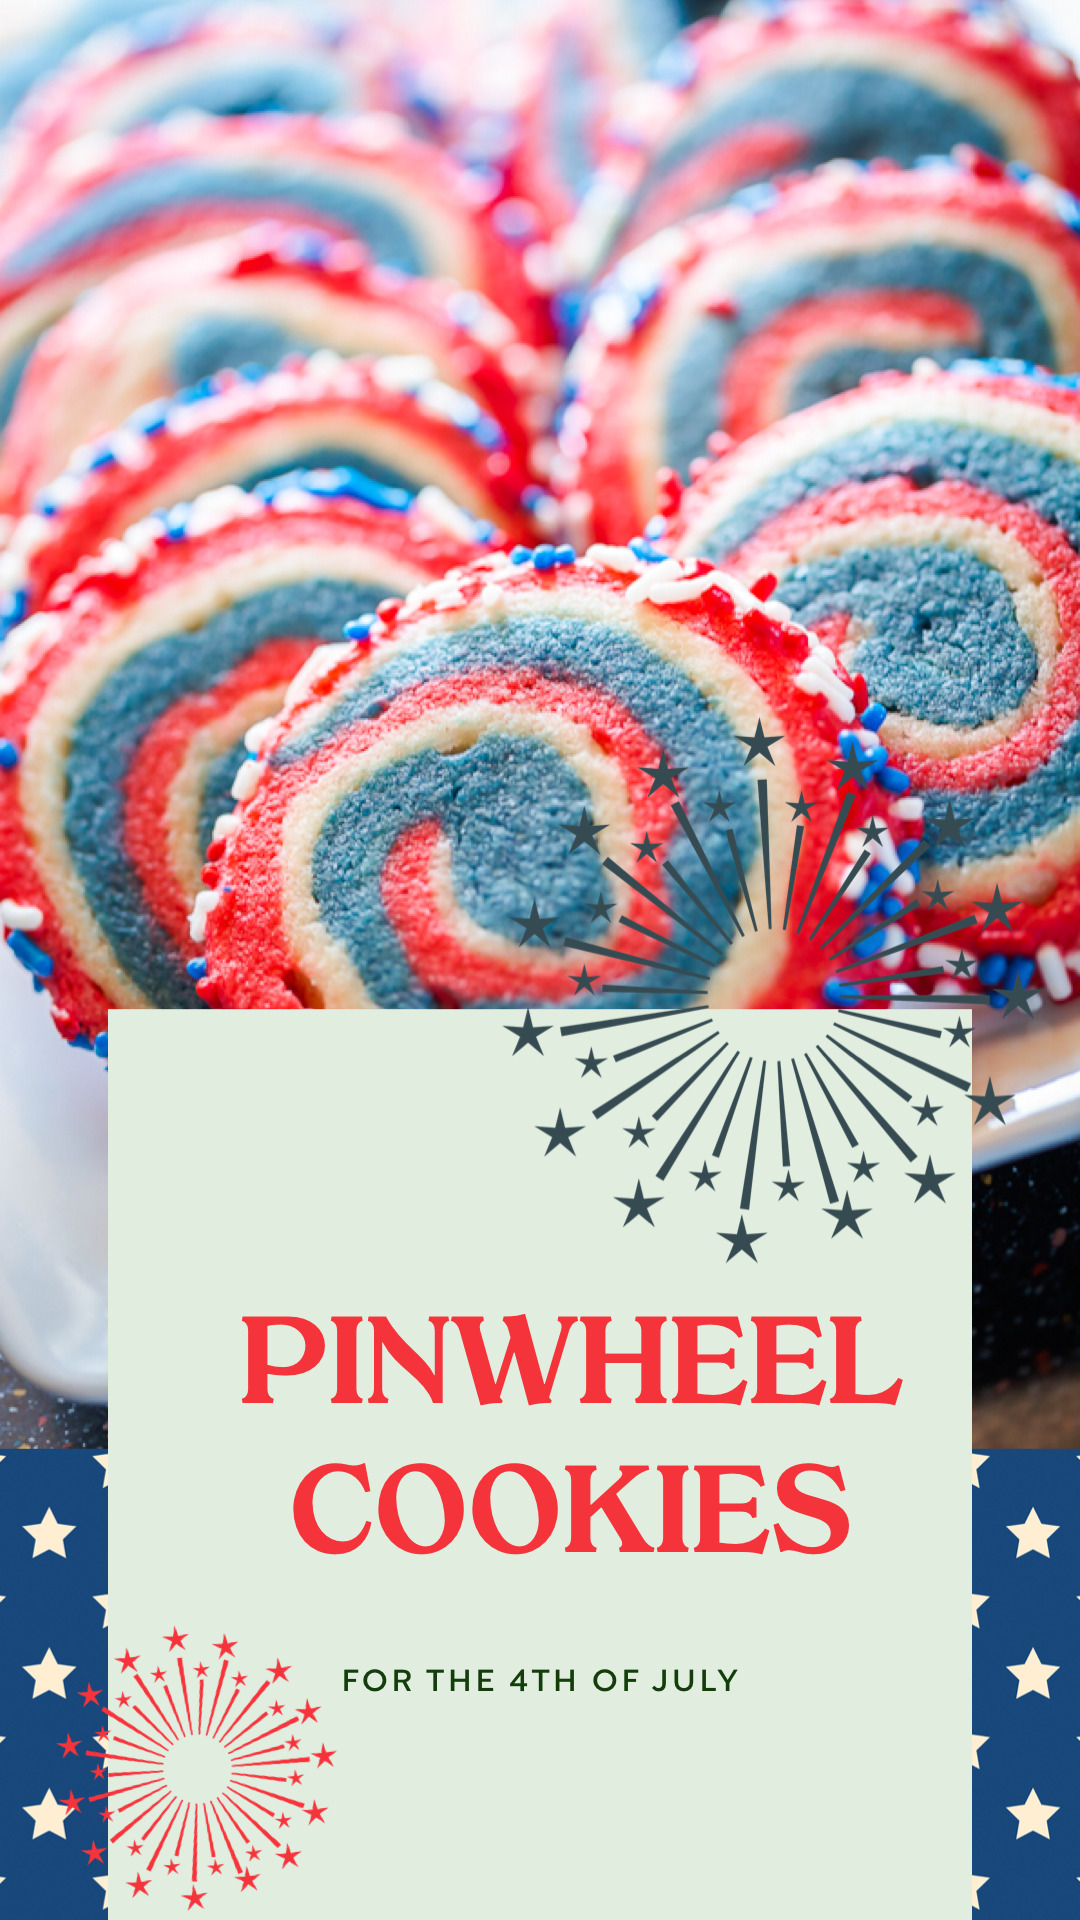
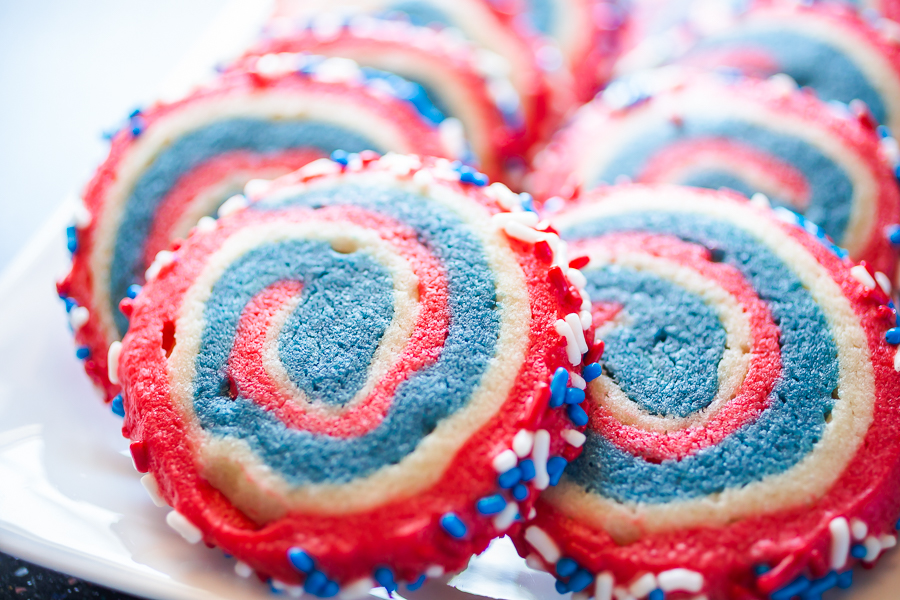
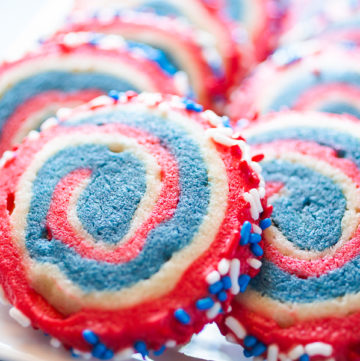
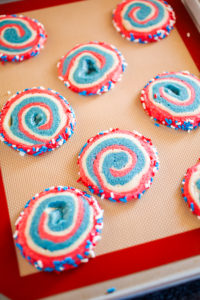
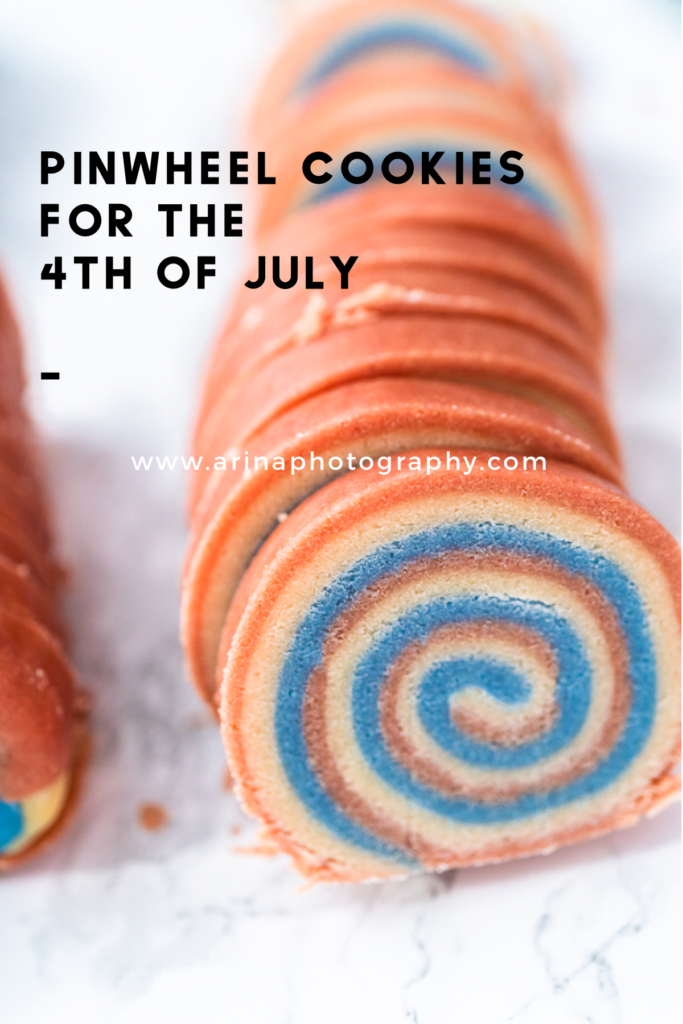
Instead of doing a normal sugar cookie with icing like I do with many other holidays, I decided to try a new recipe and type of cookie. This 4th of July pinwheel cookies have a traditional sugar cookie base but have a different presentation and cooking process.
Though this recipe has many steps, it is quite easy to make for such a great looking cookie. Pinwheel cookies are very eye-catching and are different looking from most desserts that would be commonly made for a 4th of July celebration. These cookies are great to make with and for kids, as the bright colors are fun to both eat and bake.
When I’m baking, I find myself using my stand mixer quite often. This takes a lot of the tedious and hard work out of baking, and can do everything from whisking, beating, and mixing, so it’s perfect for larger baking projects. This mixer comes with many different attachments, so you don't have to worry about having to do everything by hand. When baking things such as sugar cookies, the dough can often become quite thick and hard to work with, but this mixer is able to handle the thick dough with ease. I also recommend using an adjustable rolling pin instead of a normal rolling pin, so that you can have smooth, consistent cookies. Using this doesn't only make the cookies look better, but makes them cookie better as the cookie will be uniformly cooked, instead of the thinner sides cooking and possibly burning first. This rolling pin is also useful for projects such as these, where the 3 pieces of dough should be the same thickness so the cookies look uniform. To cut the cookies uniformly, I used a chop cutter, so that the cookies come out evenly, and are cut easier than when using a knife. After baking any of my cookies, I always like to use a wire cooling rack to let them dry. These help the cookies cool quickly and evenly, and are a nice place to put them before and after decorating since they can easily hold many cookies. If you bake regularly or make cookies every holiday, I would recommend using a silicone mat for baking instead of using parchment paper. The silicone mat is easy to clean with just a rag and warm water during multiple batches and can be reused. I’ve been using these silicone mats for over a year, and I’m very pleased with their durability, especially with how much I bake, and how easy they are to clean and use.
July 4th Theme
Pinwheel Cookies for the 4th of July
Ingredients
- 3 Cups All-Purpose Flour
- ½ teaspoon Baking Powder
- ½ teaspoon Salt
- 1 Cup Unsalted Butter
- 1 ⅓ Cups Sugar
- 2 Eggs
- 2 teaspoon Vanilla Extract
- Red & Blue Food Coloring
- Red, White & Blue Sprinkles
Instructions
- In a bowl, mix together all of the dry ingredients.
- In a stand mixer bowl, beat the butter until it’s smooth. Add the sugar and continue beating for 3 minutes, then add the eggs one at a time, beating in between eggs, then add the vanilla.
- Add the dry ingredients slowly and in batches, mixing in between.
- Remove the dough from the bowl, and separate into three equal parts. Take one part out and flatten it into a ¾ inch slab, wrapping that part in saran wrap, and keeping that part in the fridge.
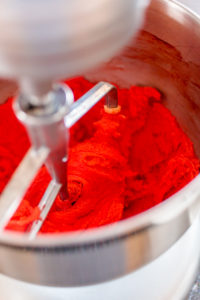
- Add one part back to the mixer bowl, and beat in the red food coloring until you get your desired color.
- Take this part out of the mixer, roll the dough into a ball, then squeeze the dough into a ¾ inch-thick disk.
- Wrap the disk in saran wrap, and place it into the fridge for 1 hour.
- Repeat the last two steps for the blue food coloring.
- Take each part out of the fridge, letting them sit outside for 15 minutes.
- On a lightly floured surface, roll out each piece of dough ¼ inches thick.
- Place each piece of dough on top of each other, and lightly roll the pieces together.
- Cut the excess dough off of the edges into a rectangular shape.
- Tightly roll the pieces together, ensuring that there’s no space between each slab of dough, into a cylinder shape.
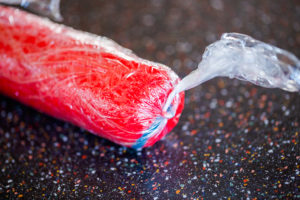
- Wrap the cylinder in saran wrap, and tightly wrap the ends off so the roll doesn't unravel.
- Refrigerate the roll for 1 hour, occasionally taking them out and rolling them on a flat surface, to ensure that the roll doesn't become flat.
- Preheat the oven to 350°F, and line a baking sheet with parchment paper or a silicone mat.
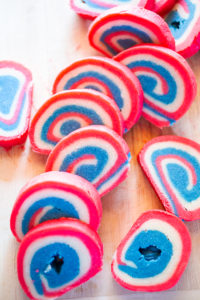
- Take the roll out of the fridge and the saran wrap, and cut the roll vertically into ¼ inch slices.
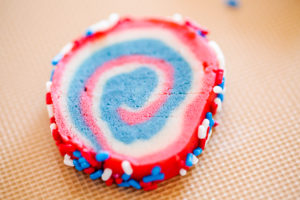
- Roll the edges of the cookie in small or medium sized sprinkles.
- Place the cookies onto the baking sheet, and cook for 8-10 minutes.
Notes
- It can be beneficial to make the dough the night before you are planning to make cookies.
- You may freeze the roll of dough, which will stay good for 3 months, only defrosting the dough in the fridge before baking. Likewise, you can freeze the already baked cookies.
Food Photography & Video Tips from My Studio
Here’s a peek at the tools, gear, and camera setups I use to film my recipe videos and photograph food at home. Over the years, I’ve tested dozens of different setups, and now I’m sharing what actually works for me—whether I’m filming overhead shots for YouTube or styling still photos for my blog. If you’re curious about how I create the content you see here, these posts are a great place to start.
#foodstyling#foodphotography#foodvideography#videorecipe #july4yh #4thofjuly #independenceday #usa #july4thpartyidea #cookies #sugarcookies #pinwheelcoookies #redwhiteandblue #patriotic








Leave a Reply