How to successfully shoot cooking videos with one camera or your smartphone!
This post contains affiliate links.
Like most others, when I first started experimenting with food photography and cooking videos I had no idea what equipment to start with or where to begin. There can be a lot of questions that run through your mind when you decide you want to start shooting cooking videos or other tutorial videos. Do I need to buy a ton of equipment? Is there a certain camera position that works best? What do I need to start with? How much will it cost?
The questions are endless! But I’m here to answer some of these questions for you, help you figure out where to start, and break down some details so you know which direction to head in. Let’s start with How to Shoot Cooking Videos with One Camera!
Yes, you heard that right. You can successfully shoot beautiful cooking videos, or tutorials of just about any kind, with just one DSLR camera or even just your smartphone! This simple set-up is actually what I recommend for beginners, or if you produce cooking videos just for yourself, or just for fun. You don’t want to pour all of your money into investing in any kind of hobby without being sure it’s something you want to do long-term.
Recording with this one camera set-up is actually the most effective way to shoot cooking videos since it requires way less equipment, there’s no complex set-up, and you can use just natural lighting! Sounds like a pretty perfect scenario for a beginner, right? You can pretty much start experimenting with what you have on hand, like your phone, and build from there!
To help you get an idea of where to start I’m breaking down the pros and cons of shooting with one camera, my favorite camera positioning, and my must-have equipment, and I’m going to break down some of the equipment costs. Here’s how to shoot cooking videos with just one camera!
Pros and Cons of Shooting Videos with One Camera
Let’s start with the pros and cons of shooting videos with 1 camera. There is a good bit to consider here, but the most important things to take into consideration are your budget and your available space.
Most of the time you can work around things like compact space and make the most with the bare minimum of equipment. Here are some things to take into consideration when it comes to shooting cooking videos with just 1 DSLR camera or a smartphone:
Pros:
- Can start simple with a smartphone or a single DSLR camera
- Can work with fewer lights, even opting for just using natural light
- Less equipment means the set-up is way less expensive (about half the cost of a 2 camera set-up)
- Fewer cameras to manage during the shooting process
- Fewer cameras to replace if broken
- Sometimes you can’t even get a replacement if the company stops making that model. See what I mean in my article Best Camera for Cooking Videos.
- Requires less physical space to shoot
Cons:
- Slow production of recipe videos.
- The recipe will mostly be shot from just one angle. That’s not always a problem but it is something to keep in mind.
- When working with only natural light, you may have to skip out on recording on rainy or cloudy days due to a lack of natural lighting.
- To shoot from different angles, you have to constantly either move the camera around or repeat the recipe process to record again.
- In these cases, food could lose its fresh look, get old, melt, or get soggy. Or it can take up a lot of time just for the recording process!
- Let’s not forget, that you’ll have to edit these shots later on too which will also take a lot of time.
- In order to shoot the same moment of the recipe process from a different angle, you have to repeat the recipe.
- Again, extremely time-consuming!
- It’s more difficult to add diversity to your video shots.
- Less equipment to play with, fewer angles to switch between, less light to work with for different angles/shots/effects.
With all of the pros and cons taken into consideration, I still highly recommend that beginners start out as small, simple, and as cheap as possible. At least until you get the hang of it or develop some regular clients.
Camera Positioning
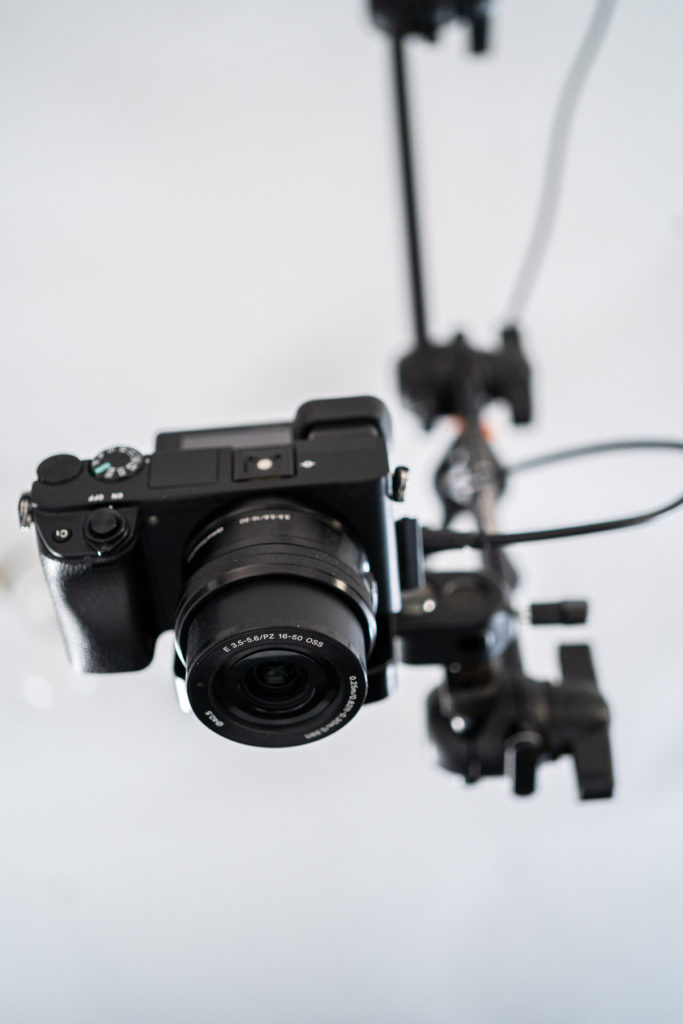
Ok, now let’s talk about camera positioning. In my opinion, the best position for a single camera is the overhead position. For me, this is the winning position for a cooking video since this angle allows the viewer to see everything that’s happening during the cooking process without any obstacles getting in the way. Especially if you want to shoot a video when cooking with an instant pot or other similar deep dishes or pots.
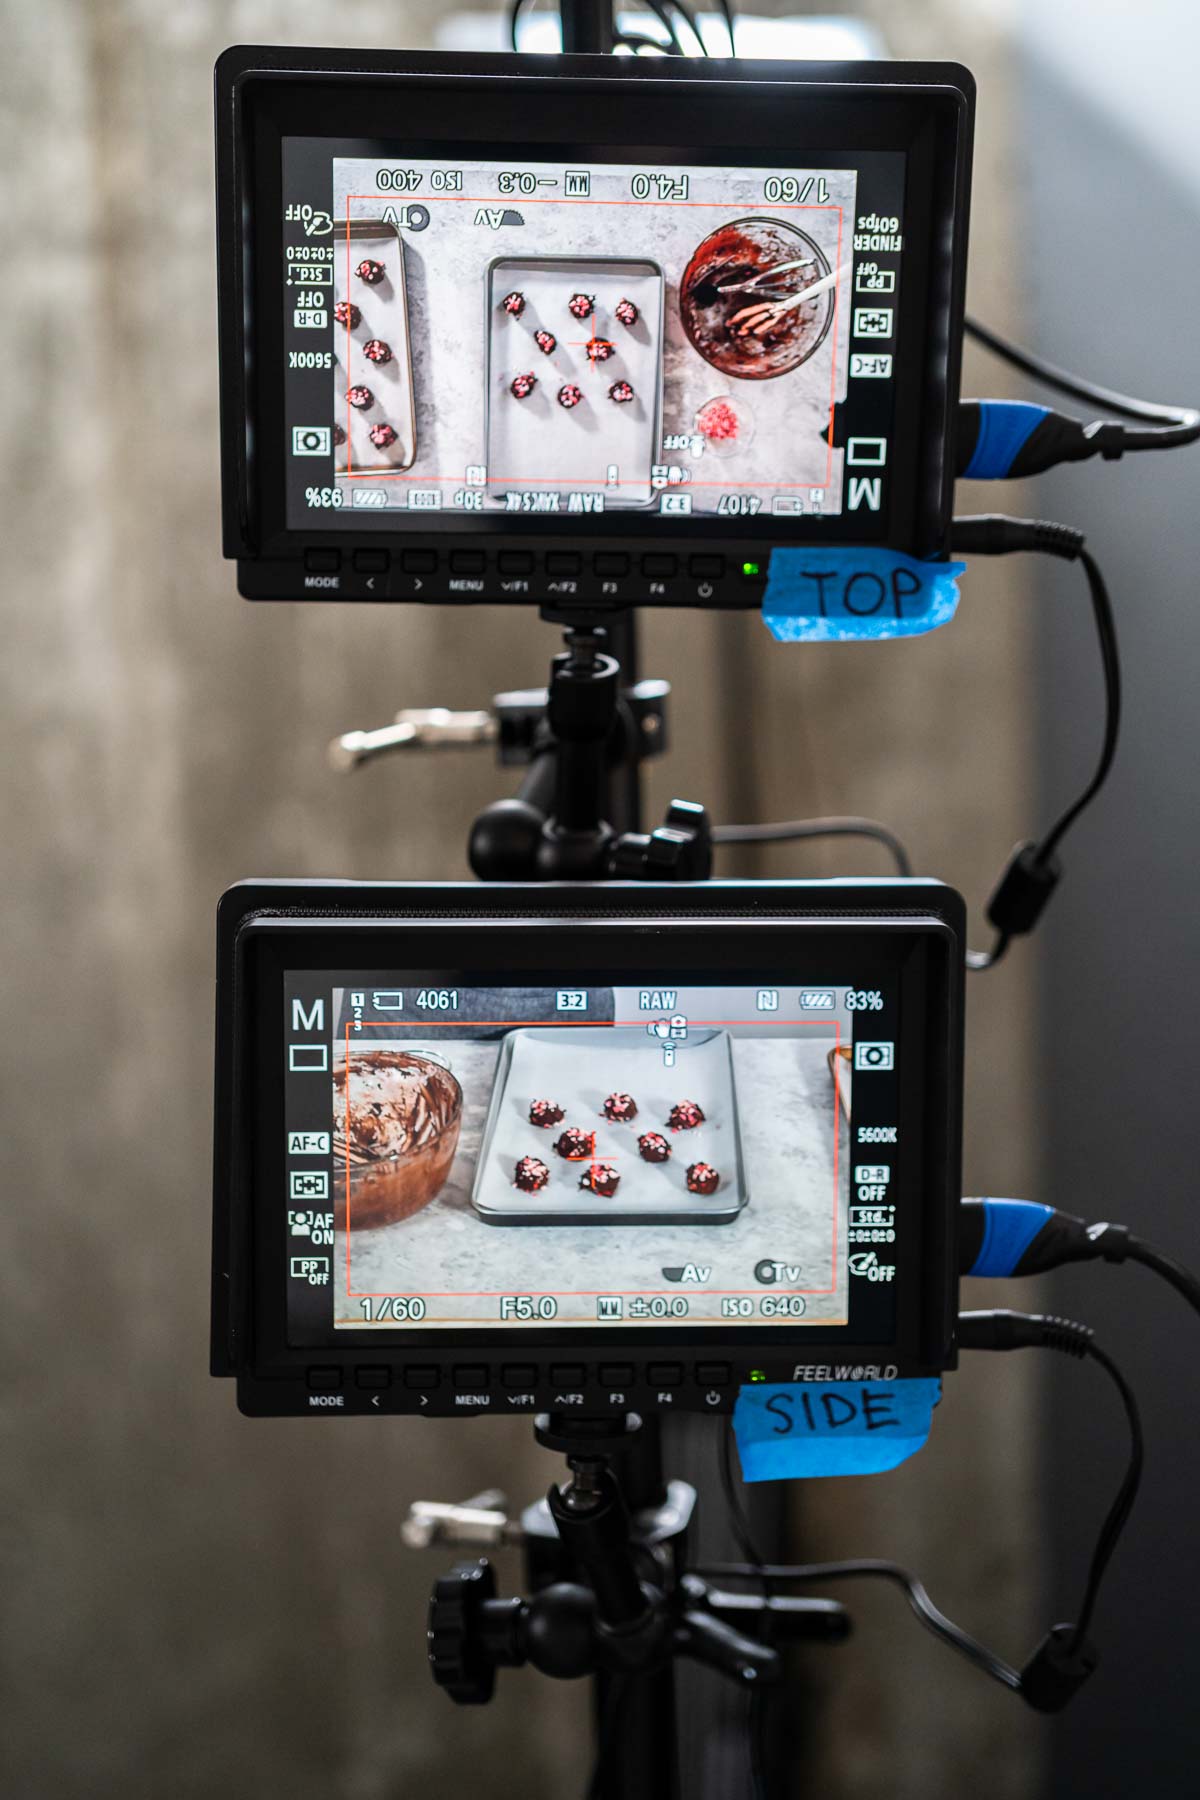
You can capture the most content clearly, without worrying about different angles at the beginning of your cooking video journey. However, when you decide it’s time to invest in more equipment, I recommend checking out a field monitor or external camera to go with your overhead camera.
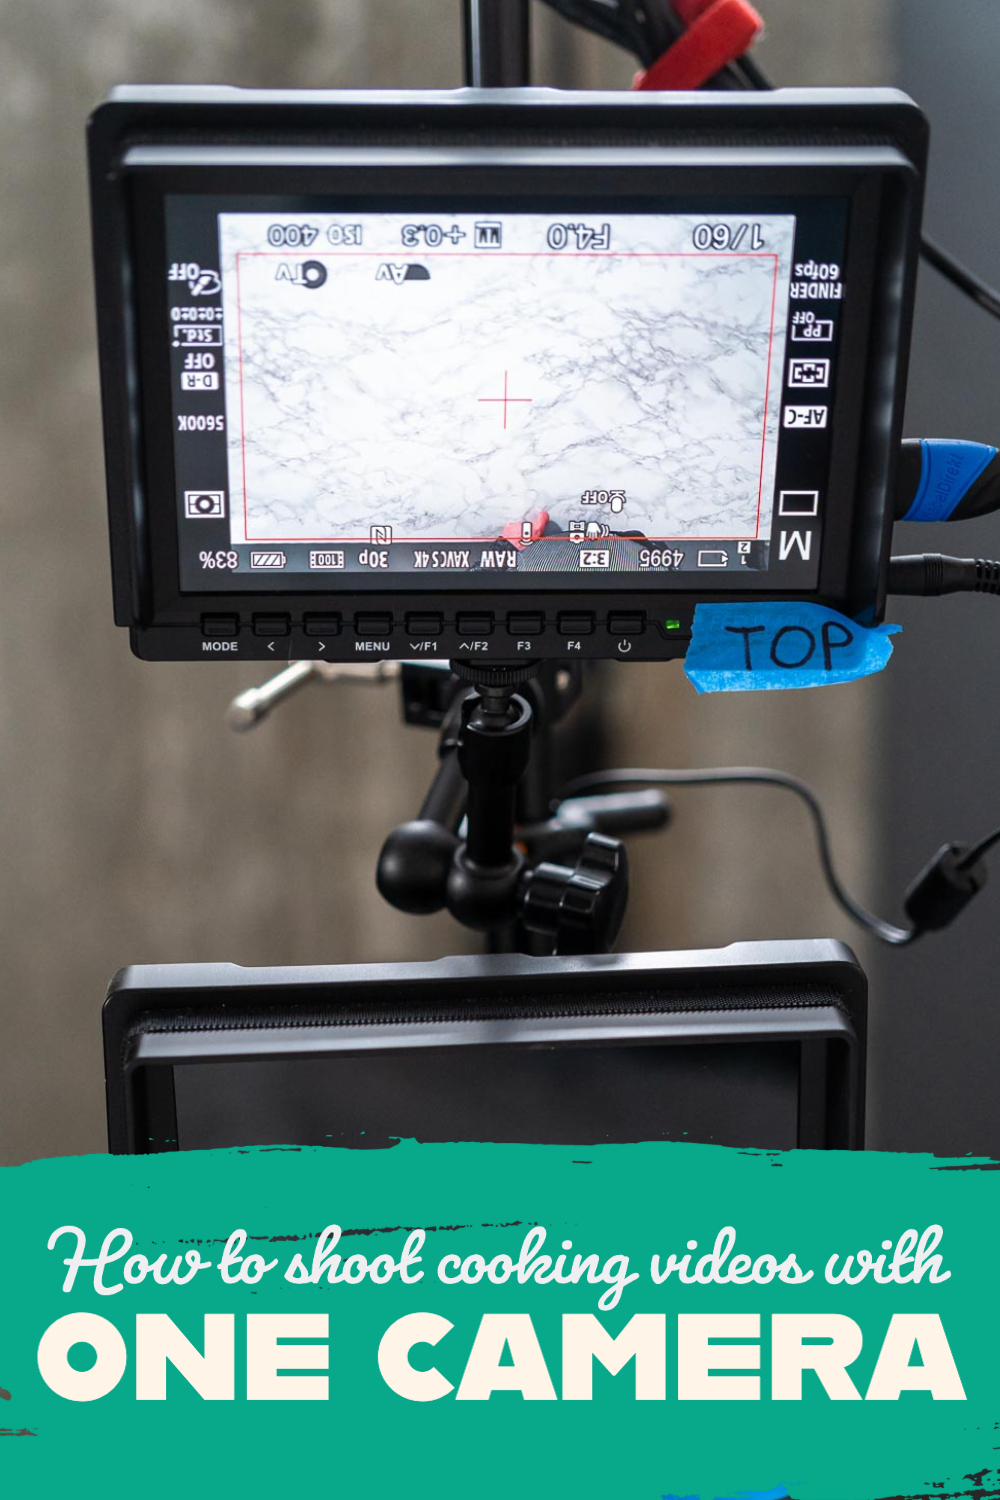
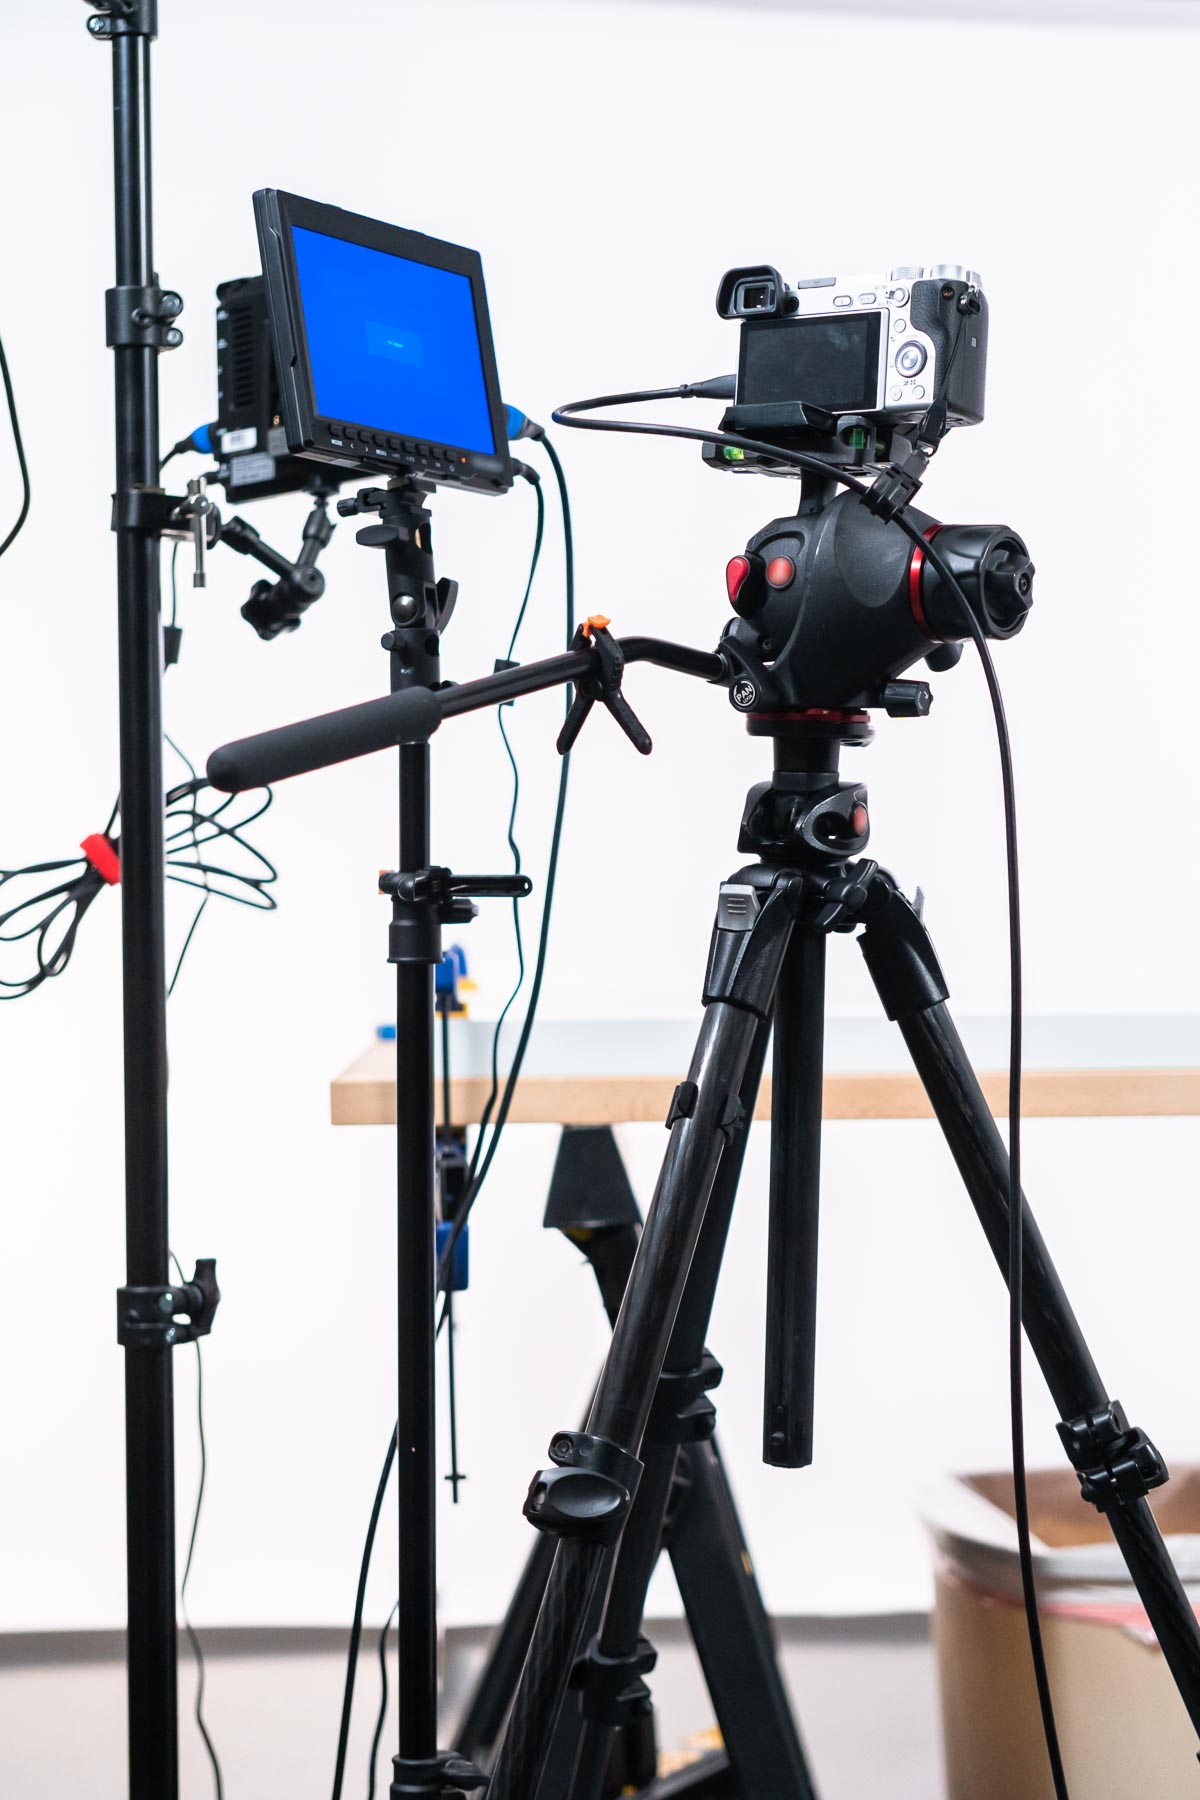
A field monitor will make the process of recording easier since you won’t have to jump on a step stool or chair to look into the overhead camera monitor to make sure your recipe shot will be in the frame. I highly, highly recommend using an external monitor when you’re ready to take your recording to the next step.
Cooking Video Equipment for 1 Camera
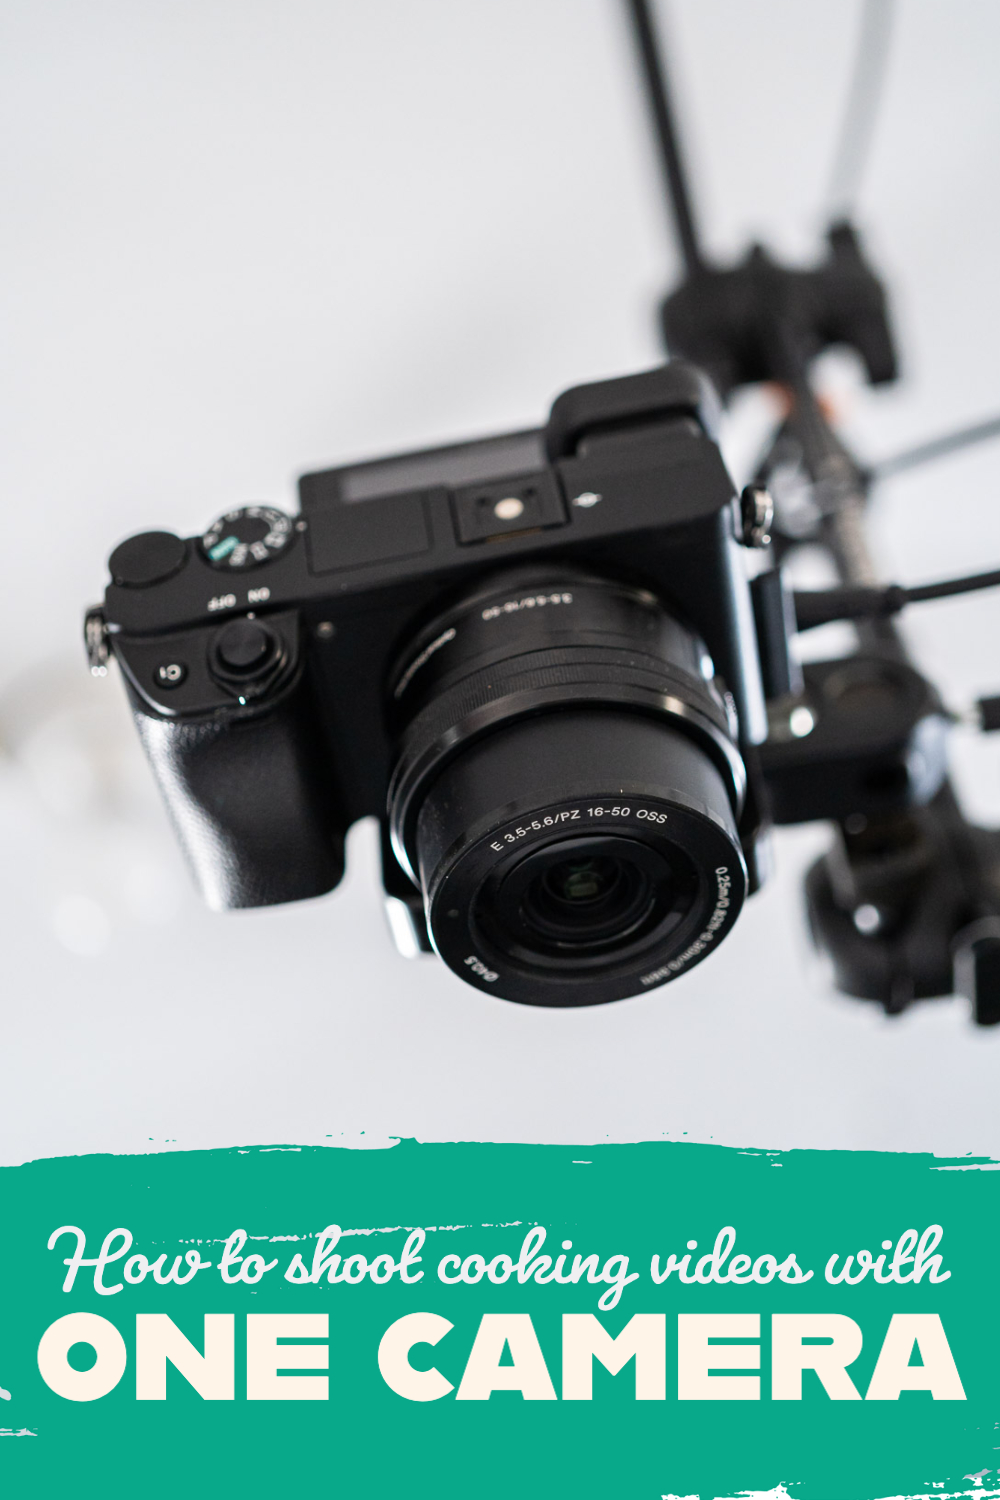
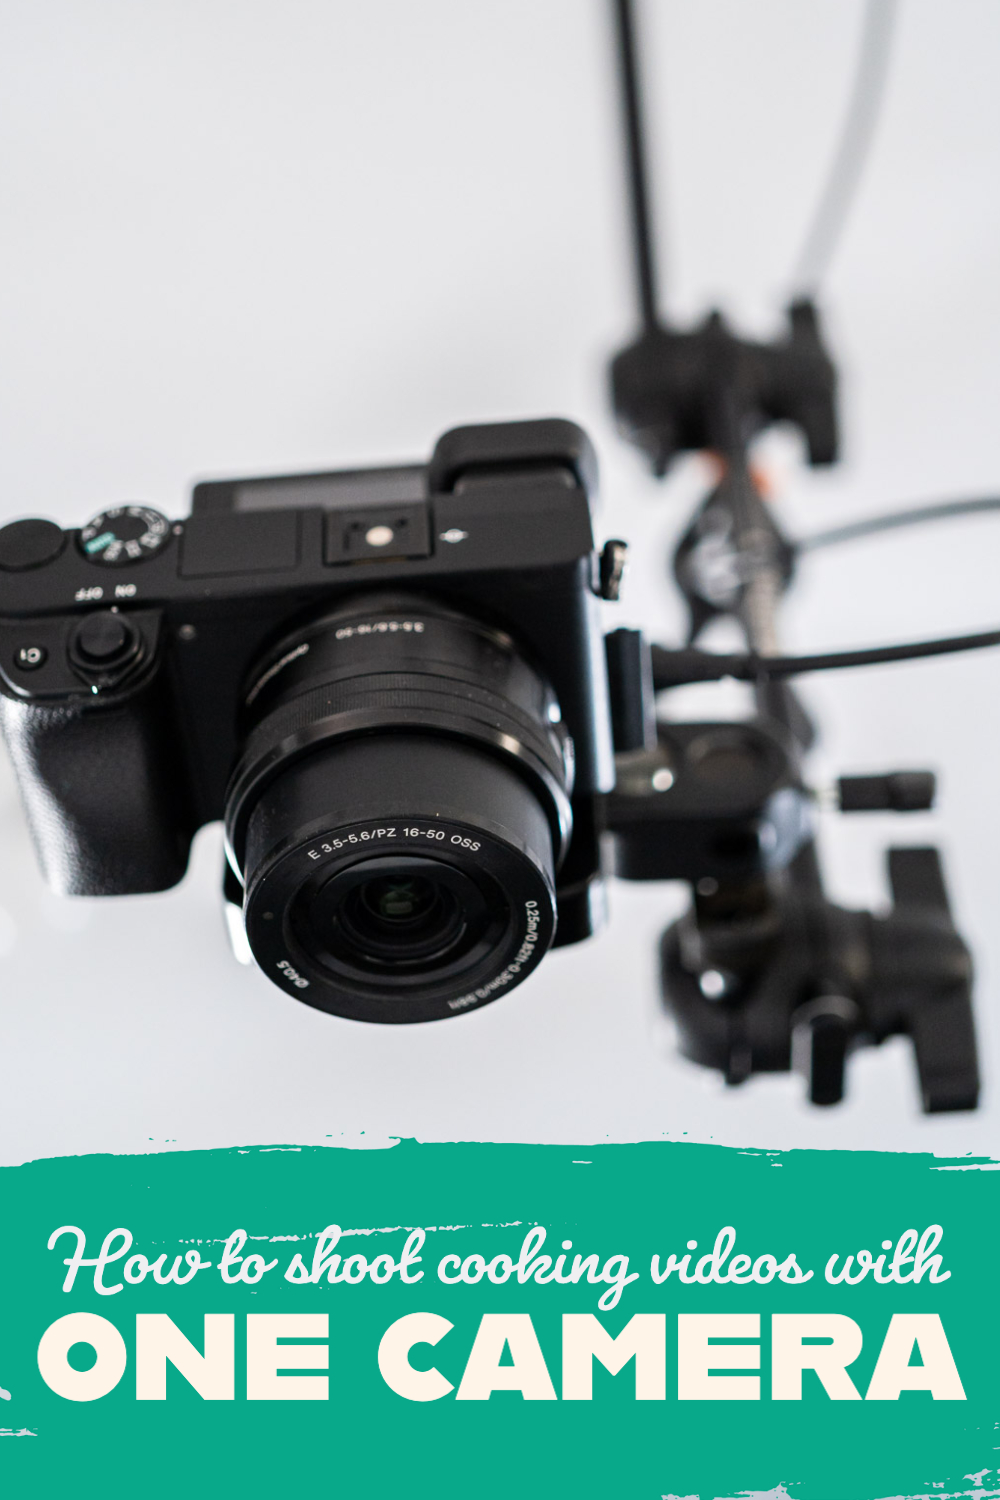
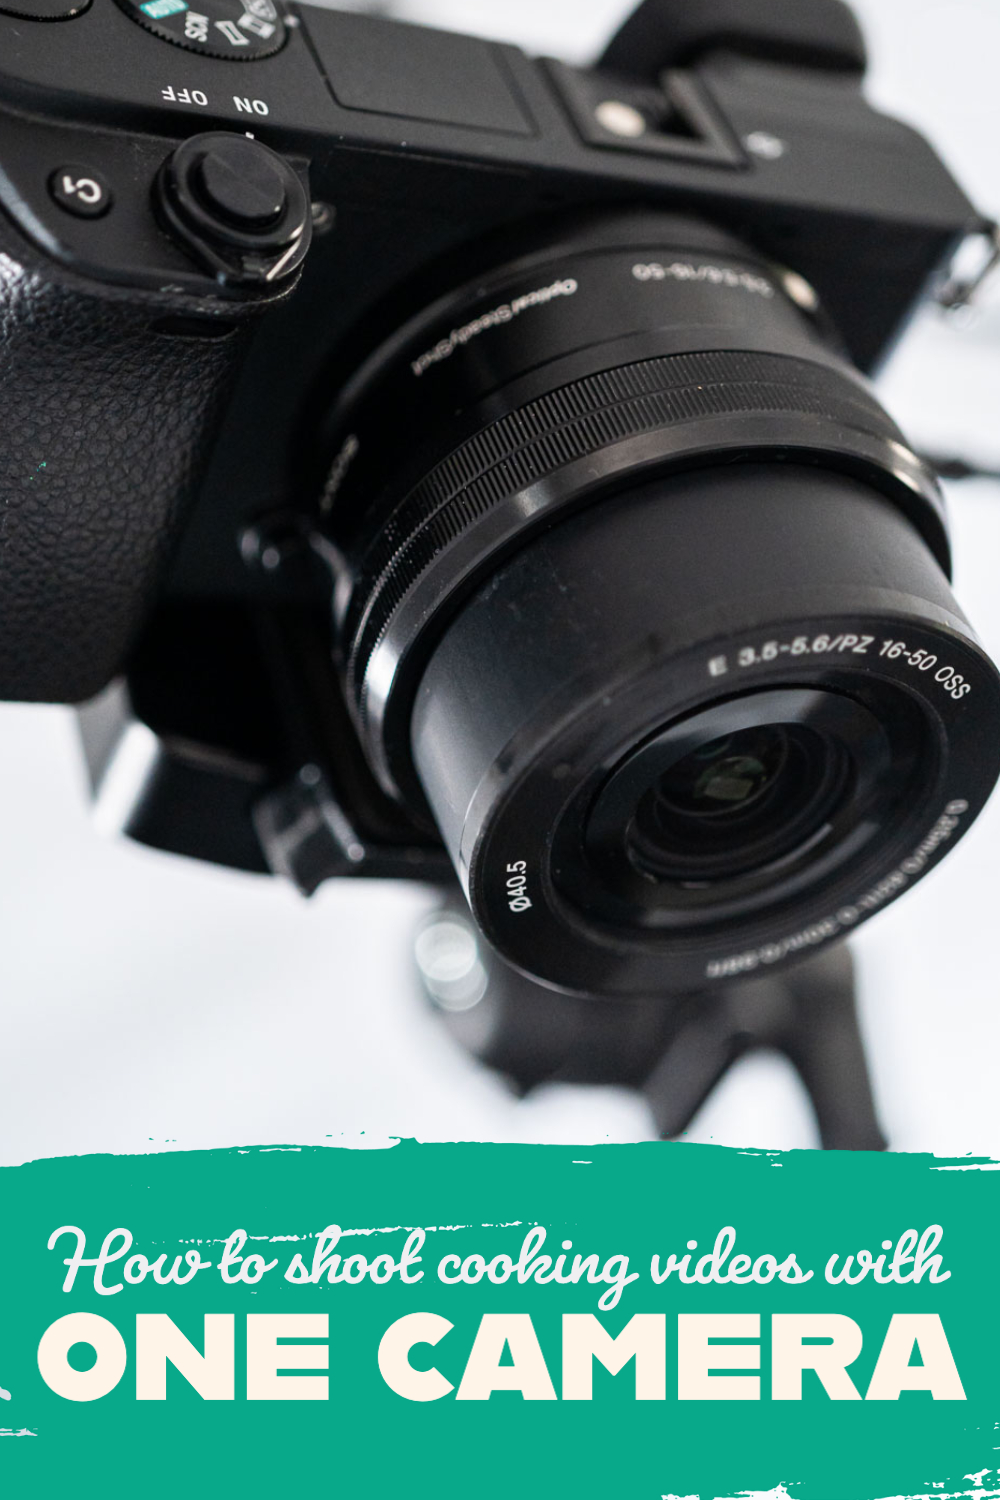
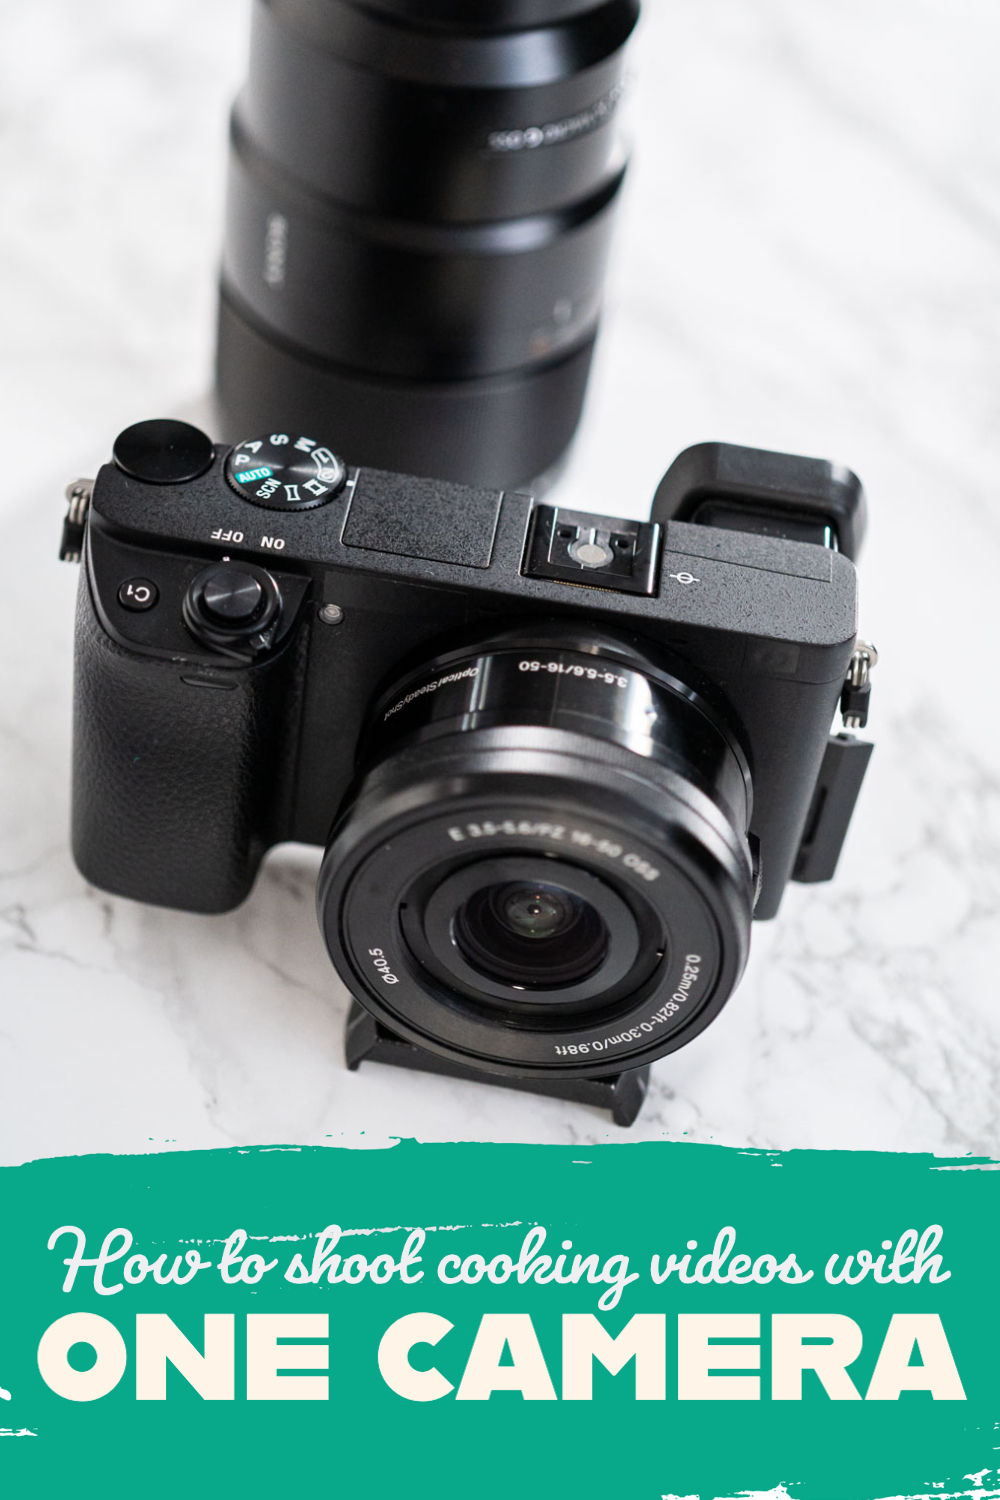
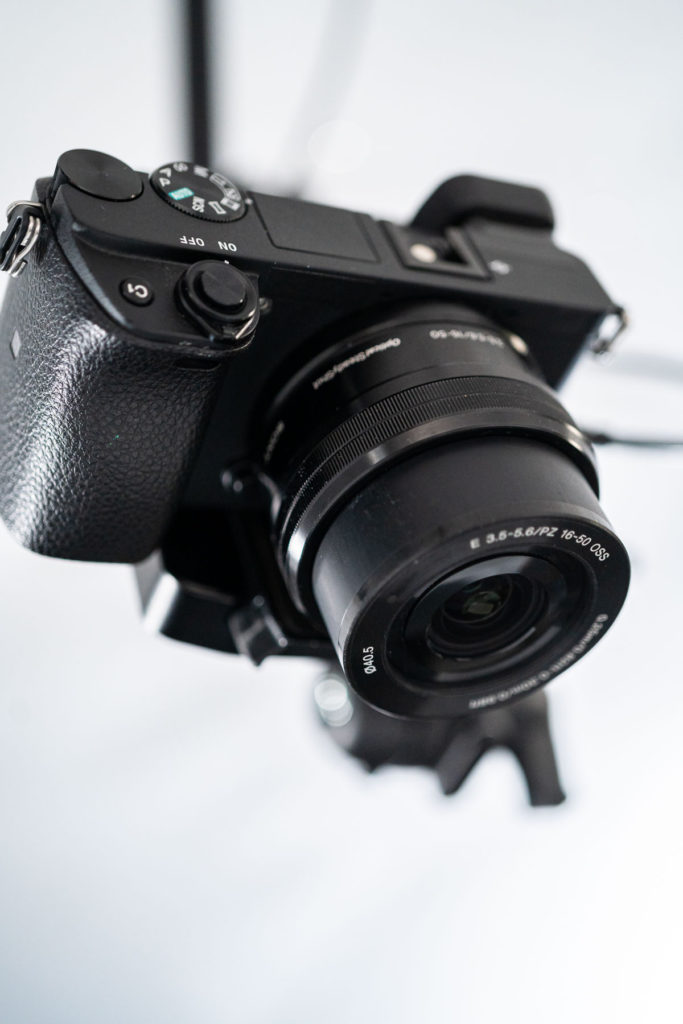
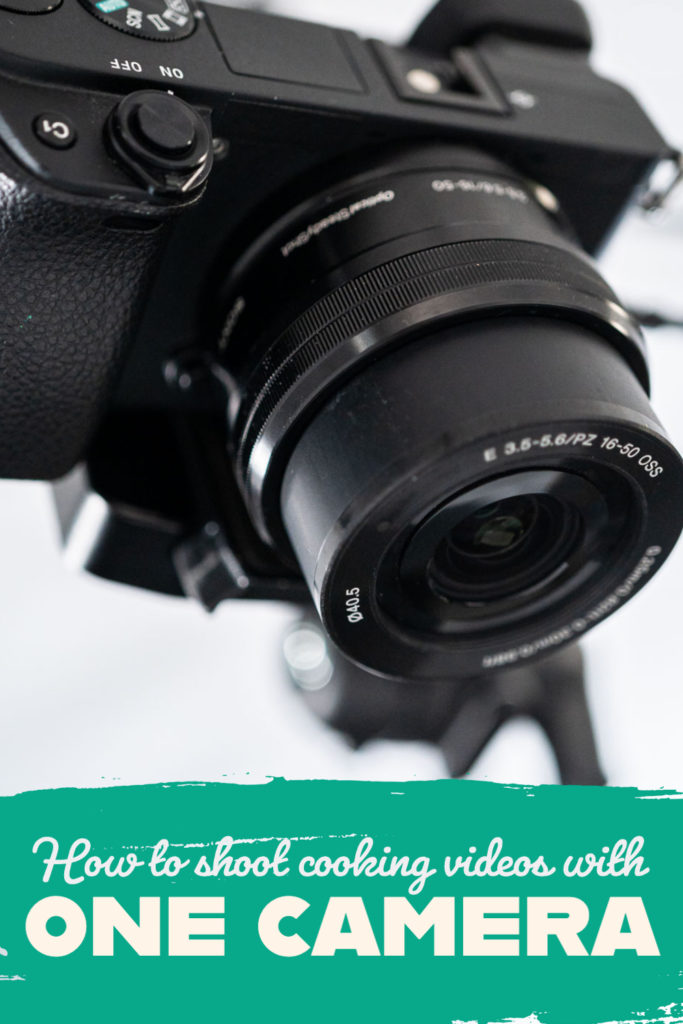
So what about other equipment? To start shooting videos with the bare minimum you need: a DSLR camera or smartphone, something to hold your camera overhead, some kind of sturdy background, and some kind of lighting. Those are the basics.
However, over the years of my experimenting with videos, techniques, and equipment, I have found a few other tools that have become my must-haves for recording my cooking videos. I will share those with you too and help break down which ones you will or won’t need to start out with. Here’s my equipment breakdown:
Video Equipment for 1 Camera:
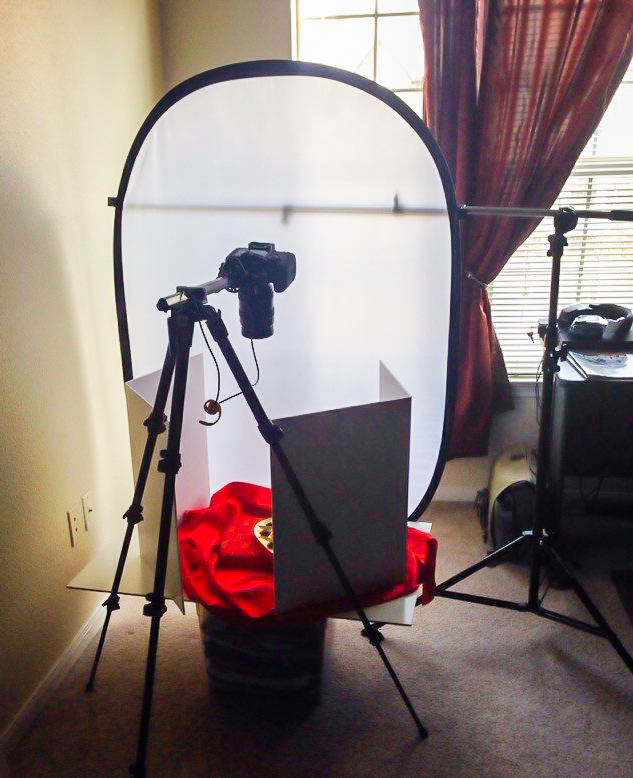
- Tripod or c-stand - This is what holds your camera while recording. This one is pretty much mandatory but you might be able to get creative with some household items to get you started.
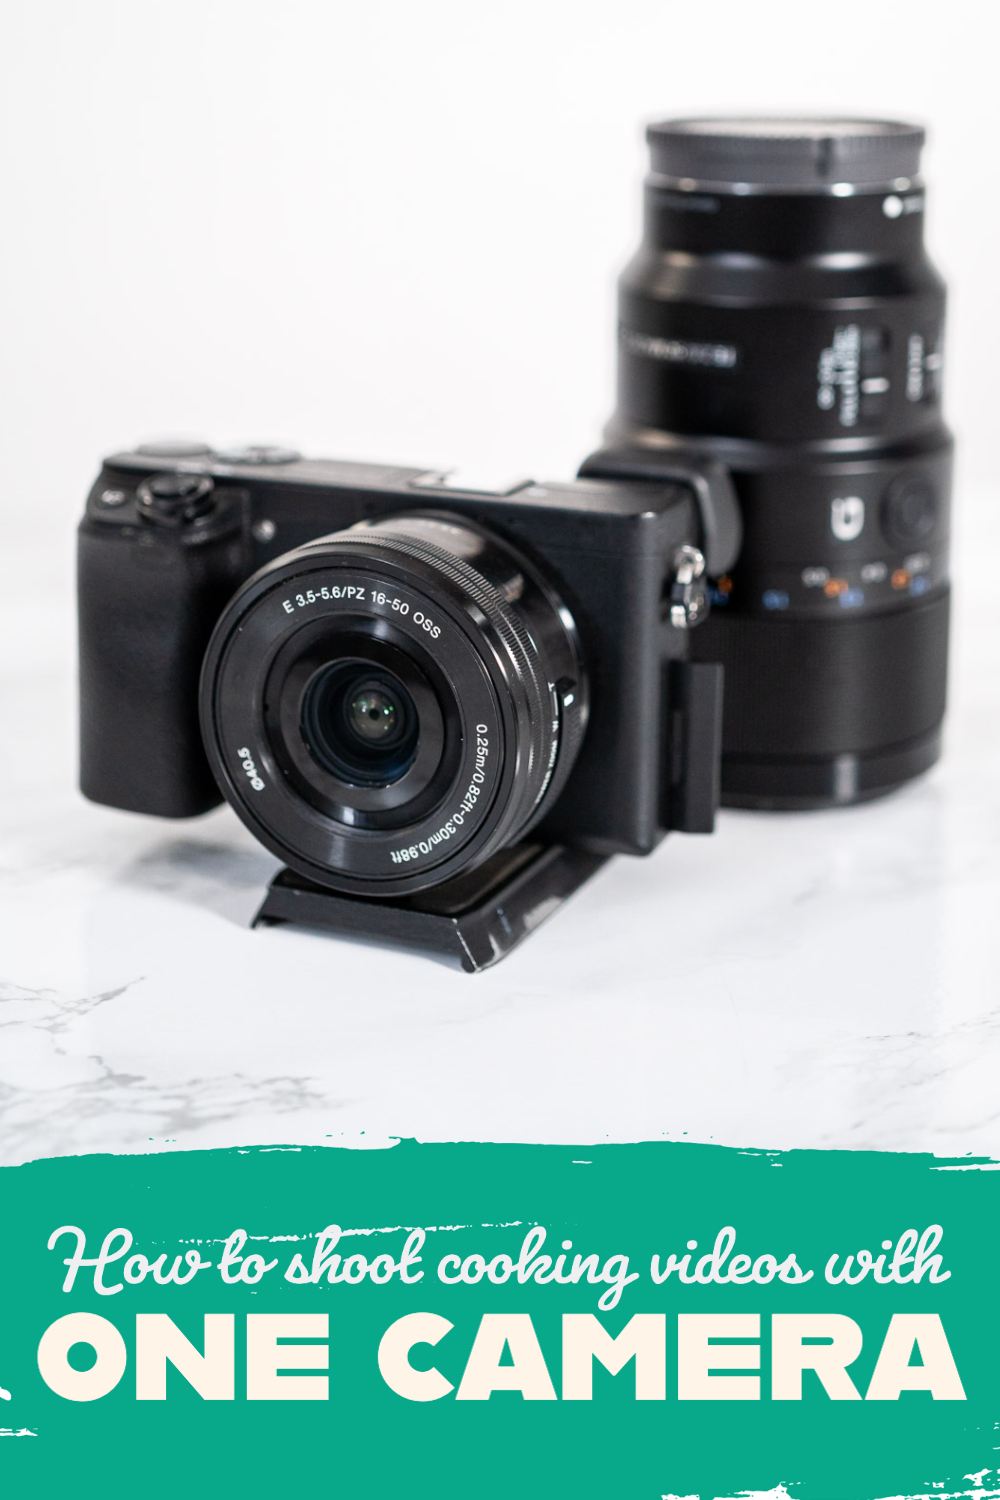
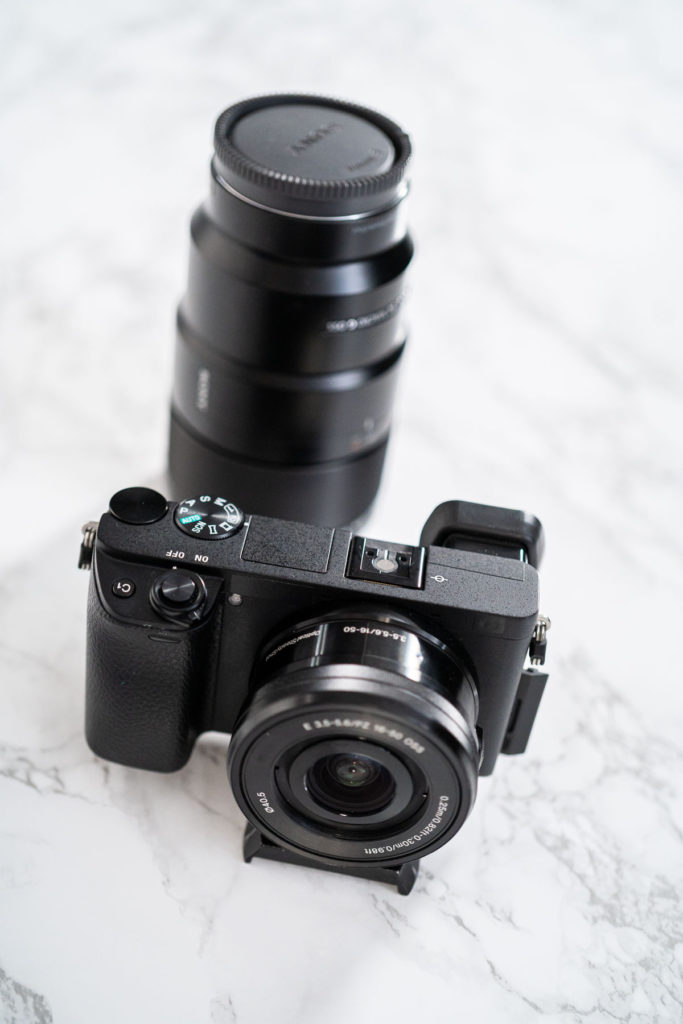
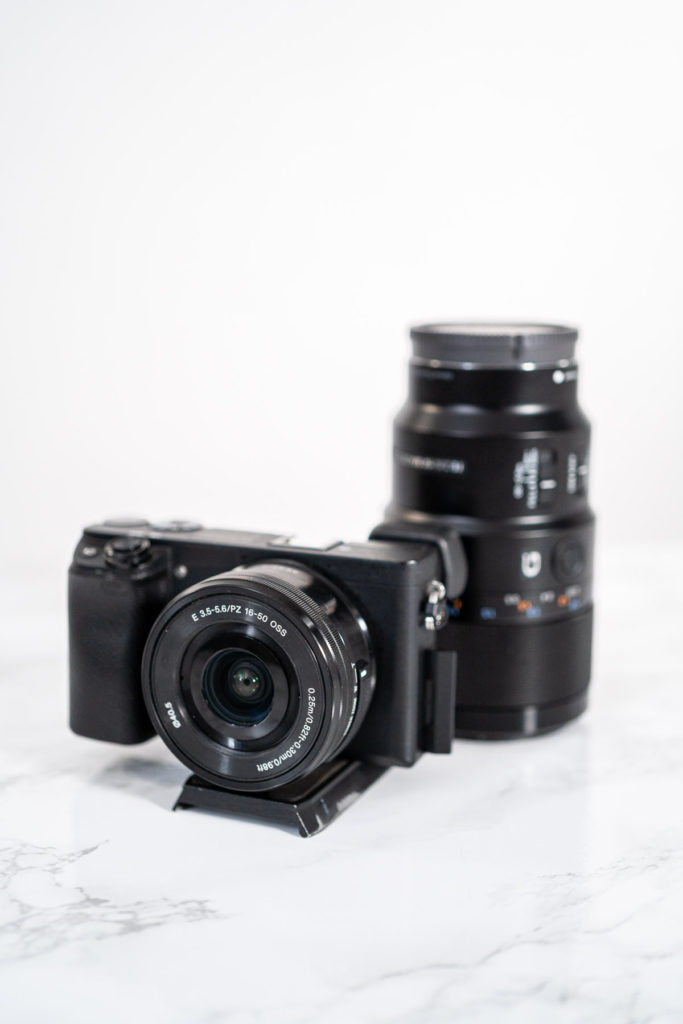
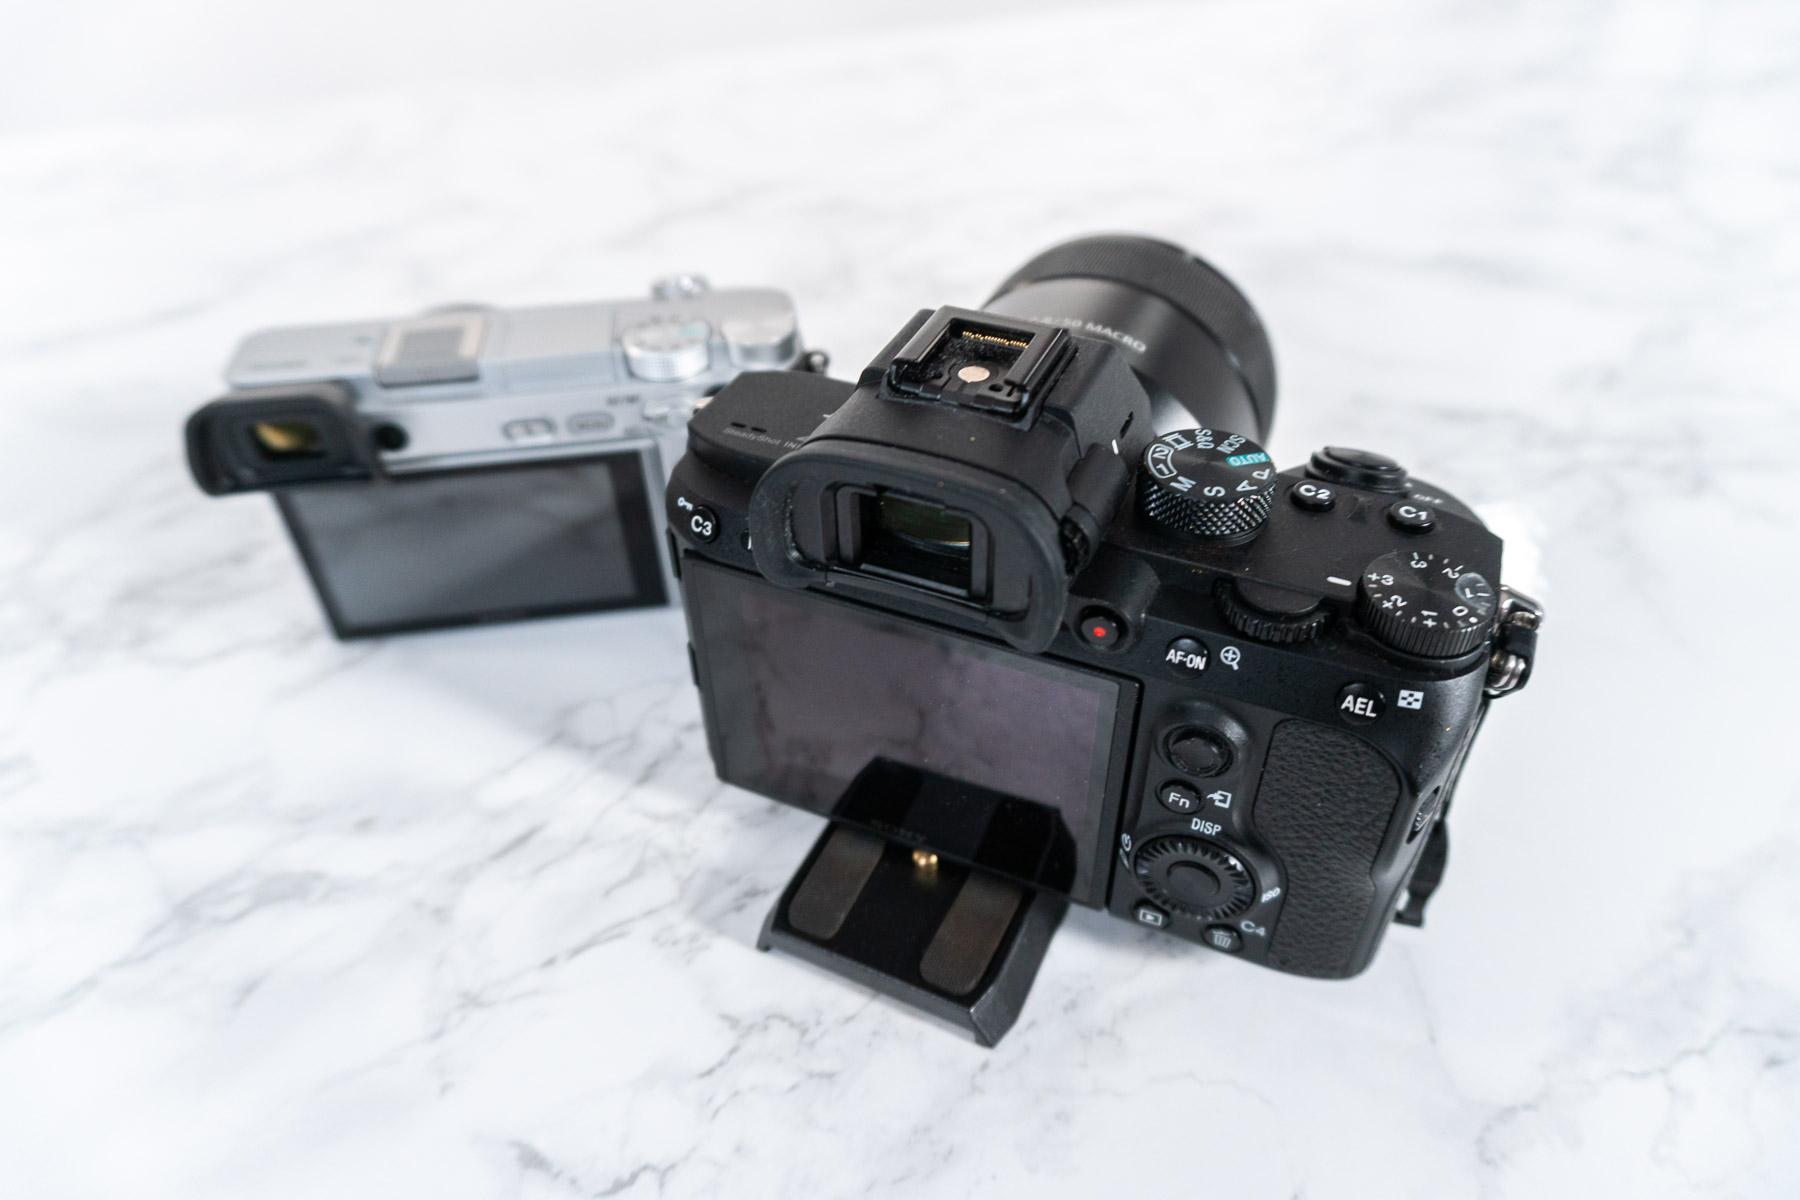
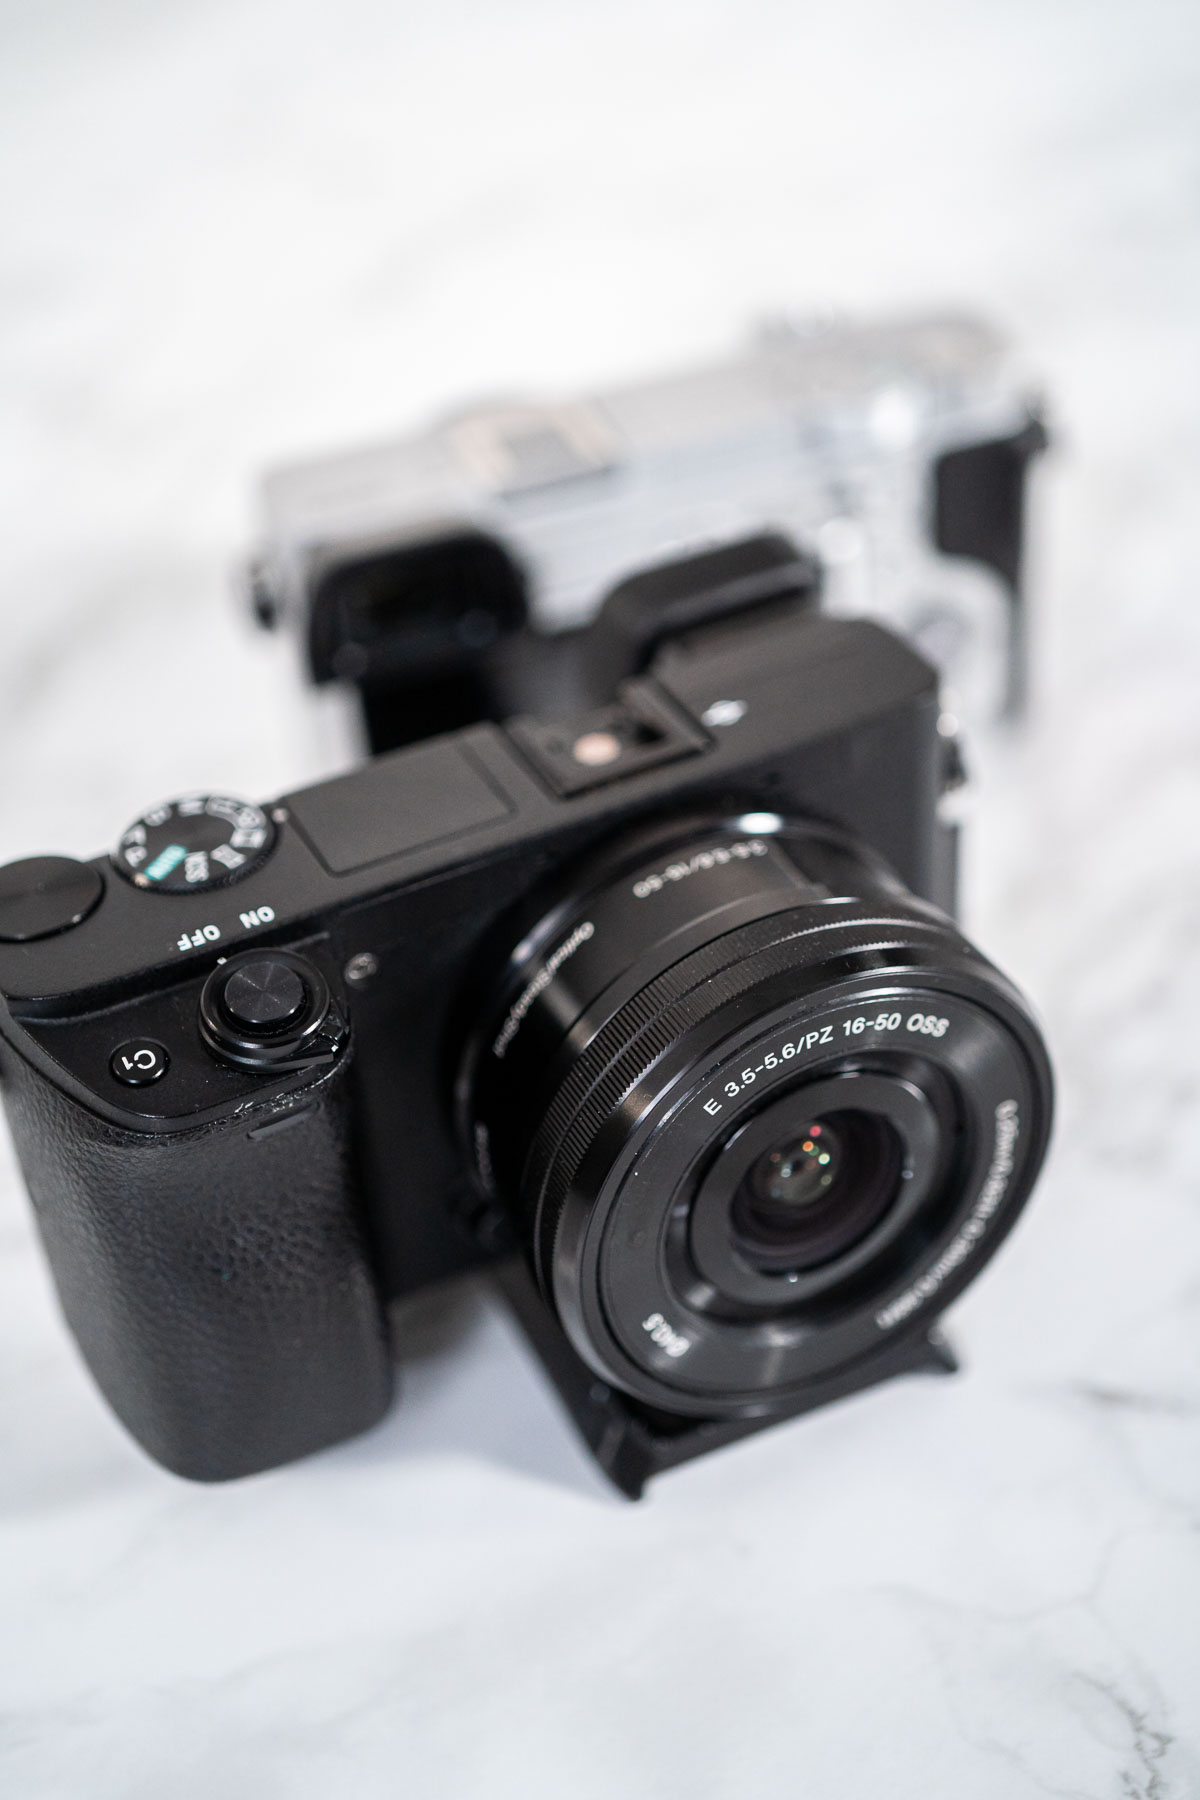
- Camera (DSLR) or smartphone - This is mandatory, obviously, but here are some optional tools that I like to use and recommend checking out:
- Camera zoom lenses
- Field monitor and cables
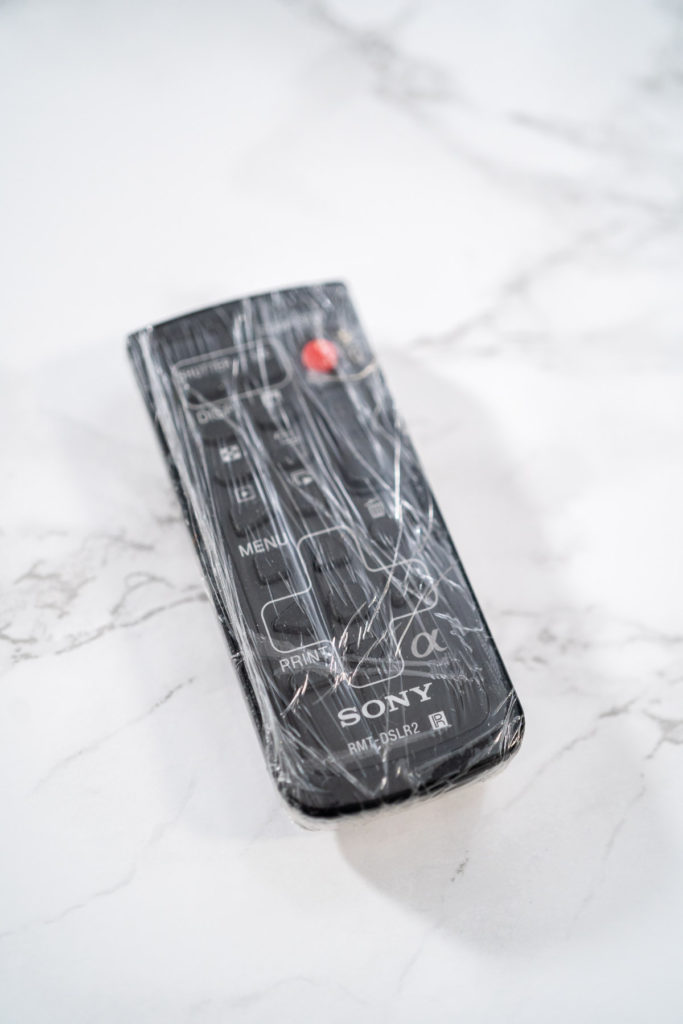
- Remote control - This is for when you start working with multiple cameras to start recording on both at the same time with one push of a button.
- Lighting
- Natural light- Which is absolutely free!
- Led lights- These are what I like to use but it’s not necessary to get started with one camera.
- Background
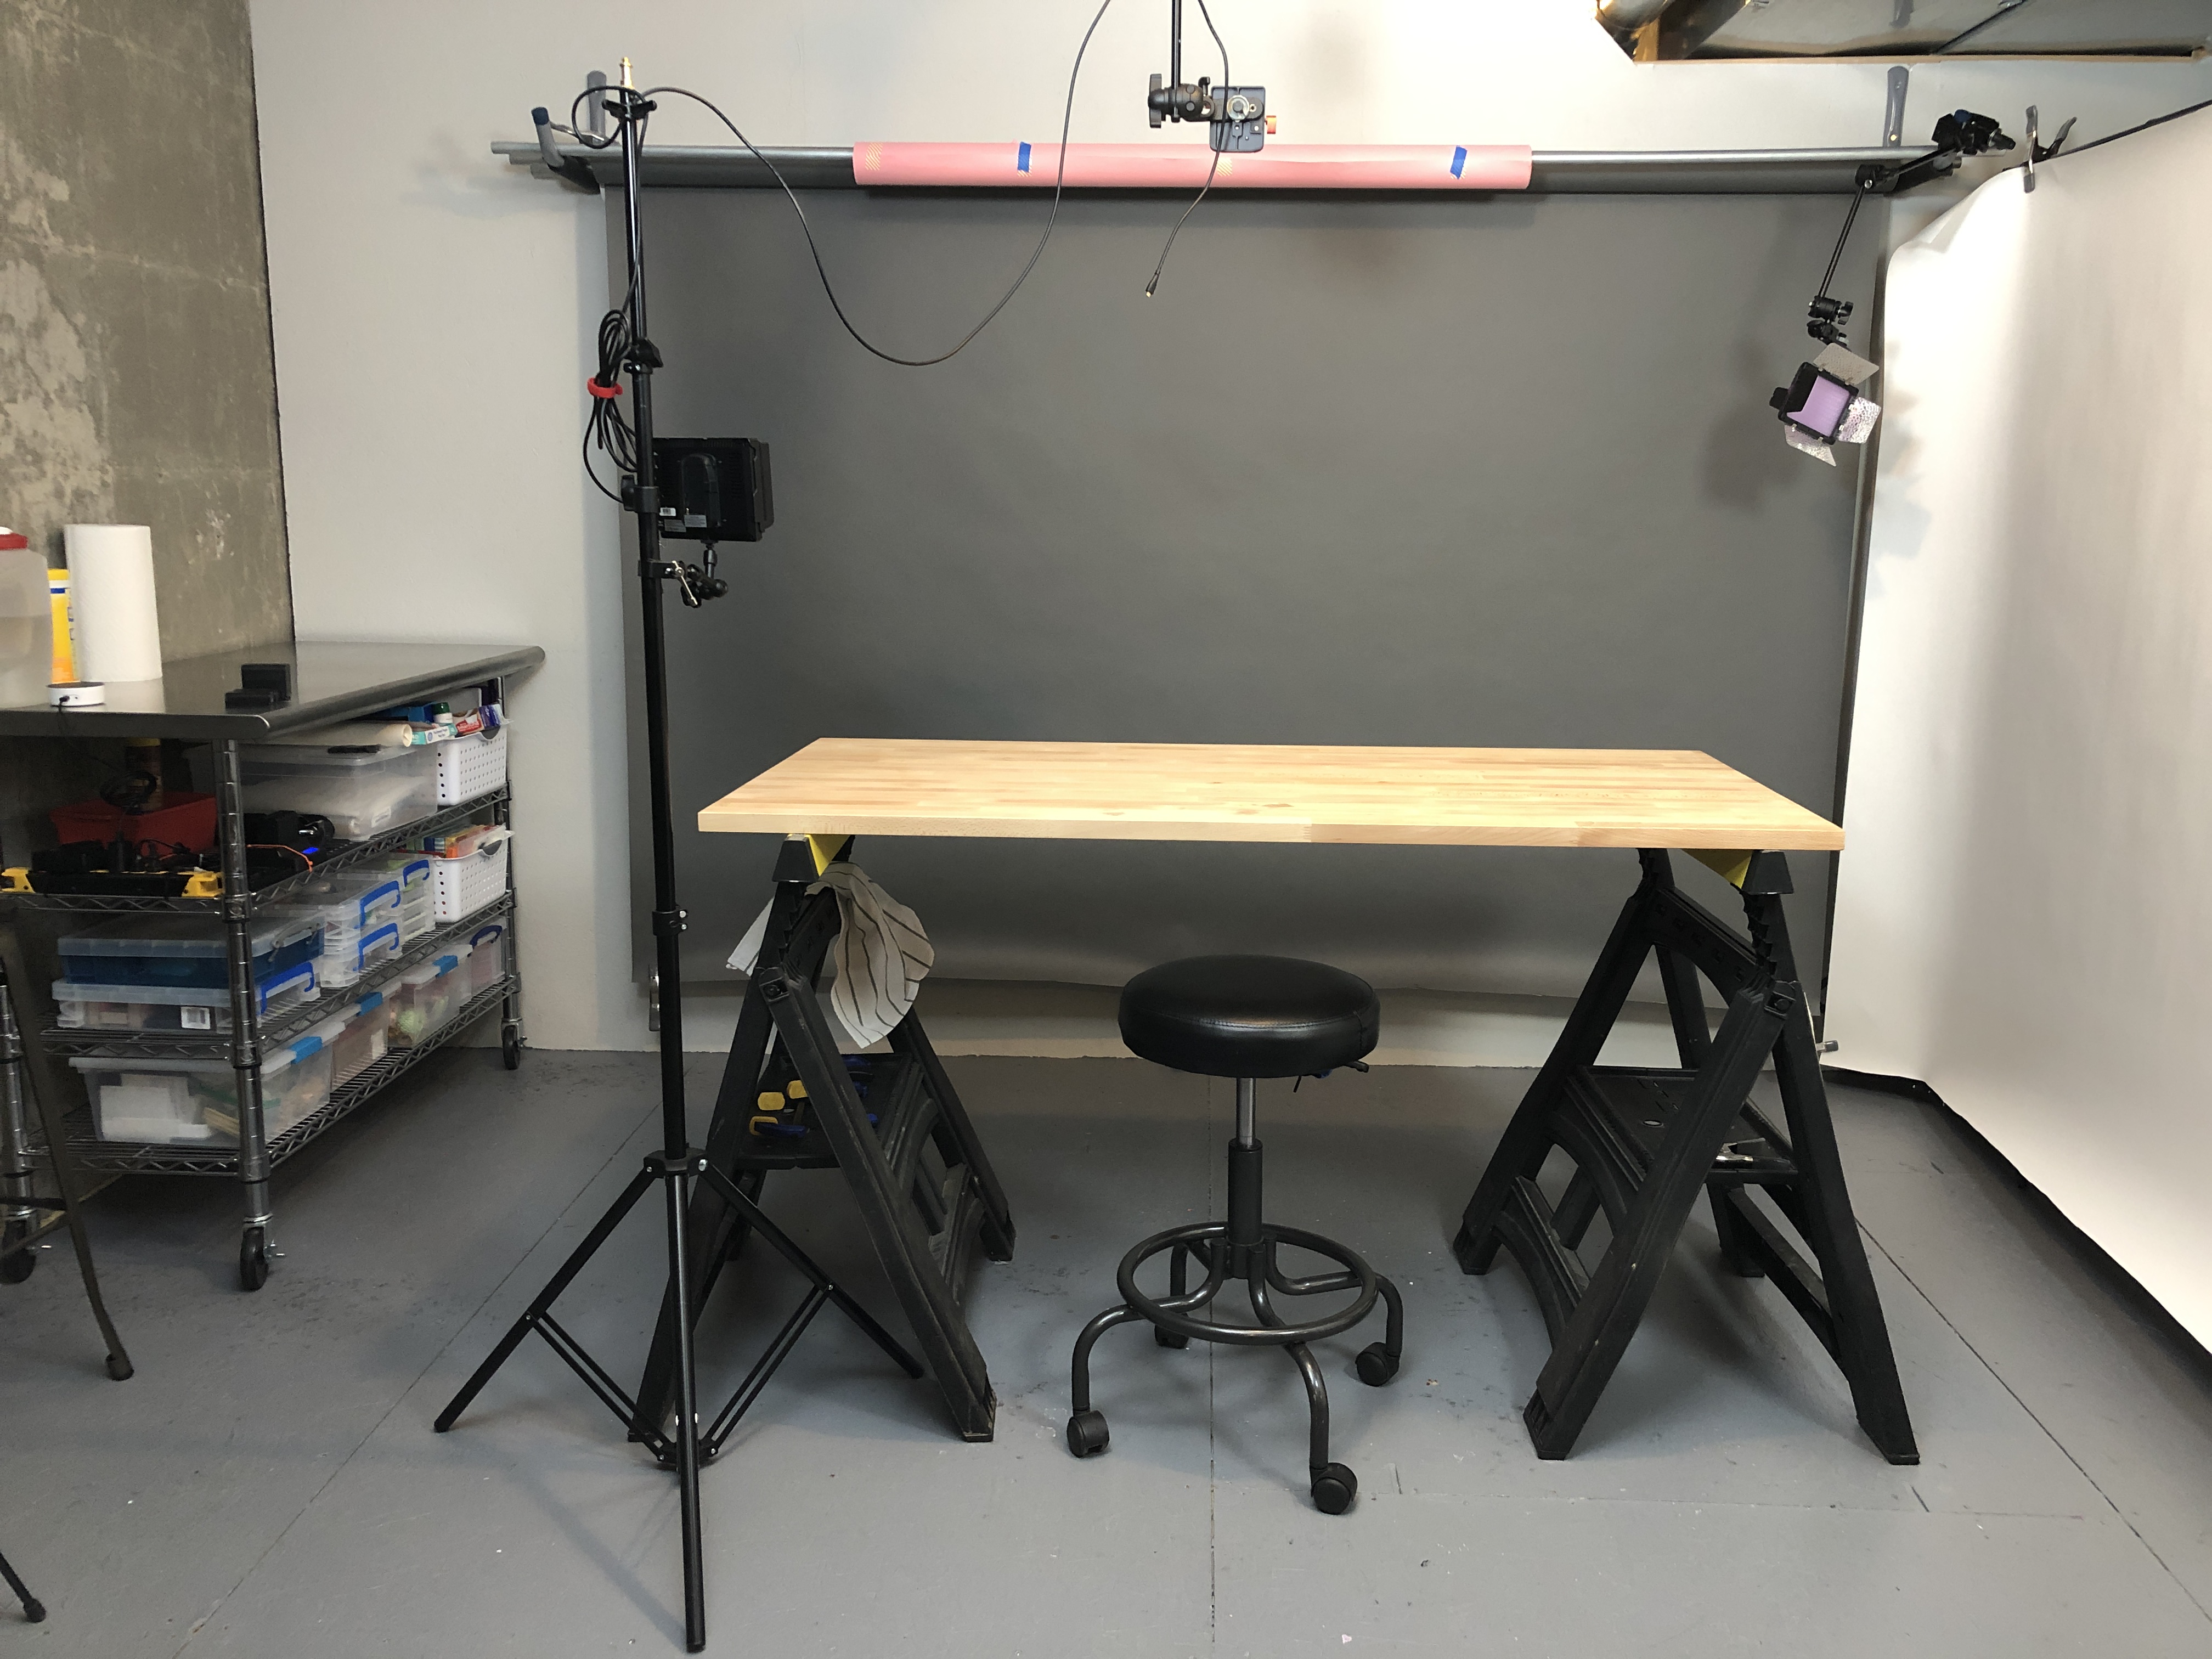
- Could start by using the dining table or a large cutting board. I prefer to use a dedicated background for still food photos and for most of my cooking videos.
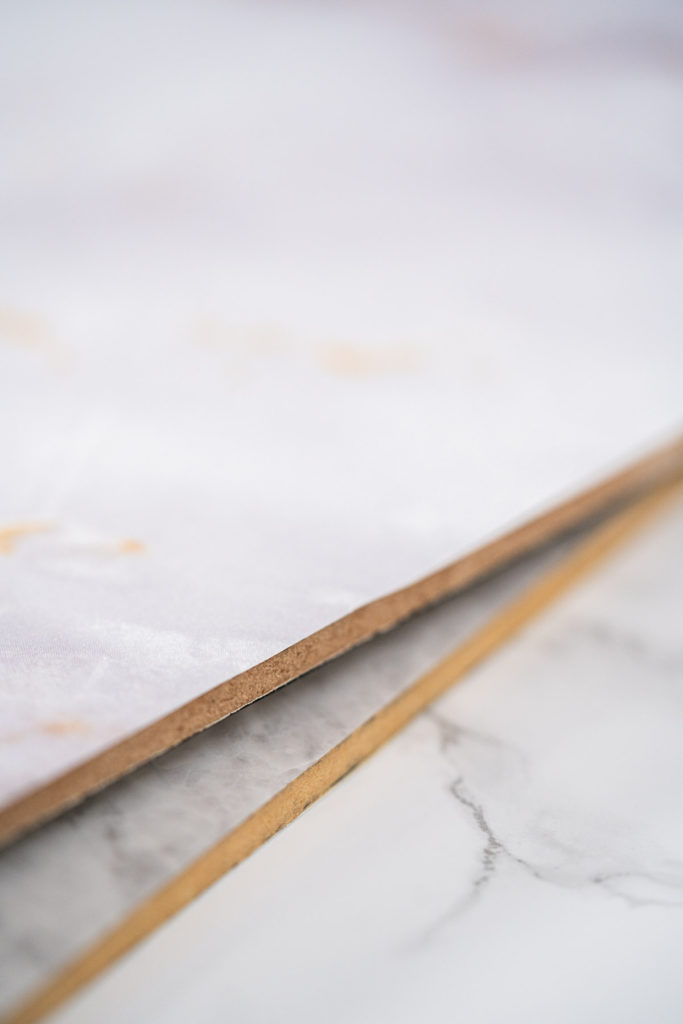
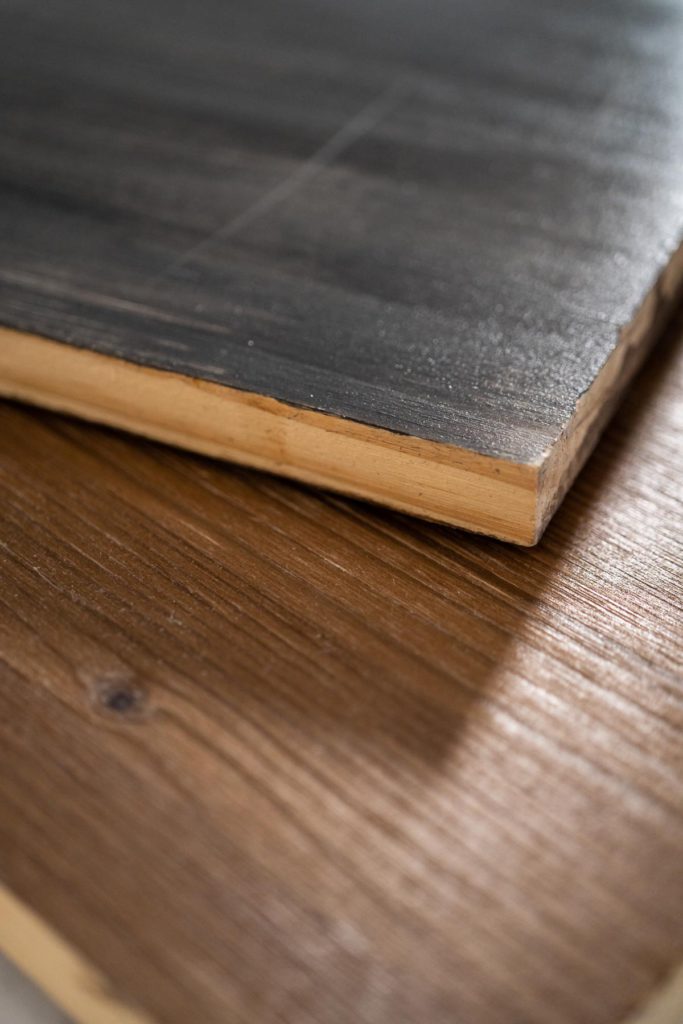
- My go-to background I actually make myself with MDF board and vinyl contact paper. I go over more DIY backgrounds and my process in Best Backgrounds for Cooking Videos.
- You can save a lot of time and research on backgrounds by checking out some of my background experiments:
For a full list and breakdown of my recipe video equipment, check out Best Equipment for Video Recipes and My Favorite Cooking Video Tools!
Comparing Costs
I’ve mentioned a few times how much more cost-efficient it is to record with just one camera. The overall starting out costs are really low compared to a multiple camera operation. All in all, it comes out to be about half the cost of a 2 camera set-up.
This is the absolute best option for beginners and hobbyists on a budget. Here’s a more thorough comparison of the costs (both mandatory and optional) between a one-camera set-up and a two-camera set-up:
More Tips for Cooking Videos
Tips for Shooting Cooking Videos
Looking for as much advice as you can get your hands on so you can get started with smooth sailing? Then you’ve come to the right place! I’ve got you covered with breakdowns on equipment specs, tools and tips, backgrounds, and organization:
- How to Shoot Cooking Videos with Two Cameras
- One vs. Two Cameras for Shooting Cooking Videos
- Best Camera for Cooking Videos
- What to Wear for Food Photography and Cooking Videos
- My Favorite Cooking Video Tools
- Best Equipment for Video Recipes
- 7 Tips for Studio Equipment Safety
- 5 Ways to Improve Studio Organization
- Best Backgrounds for Video Recipes
- Storing Backgrounds for Food Photography
- Backdrops and Backgrounds
Food Photography & Video Tips from My Studio
Here’s a peek at the tools, gear, and camera setups I use to film my recipe videos and photograph food at home. Over the years, I’ve tested dozens of different setups, and now I’m sharing what actually works for me—whether I’m filming overhead shots for YouTube or styling still photos for my blog. If you’re curious about how I create the content you see here, these posts are a great place to start.







Leave a Reply