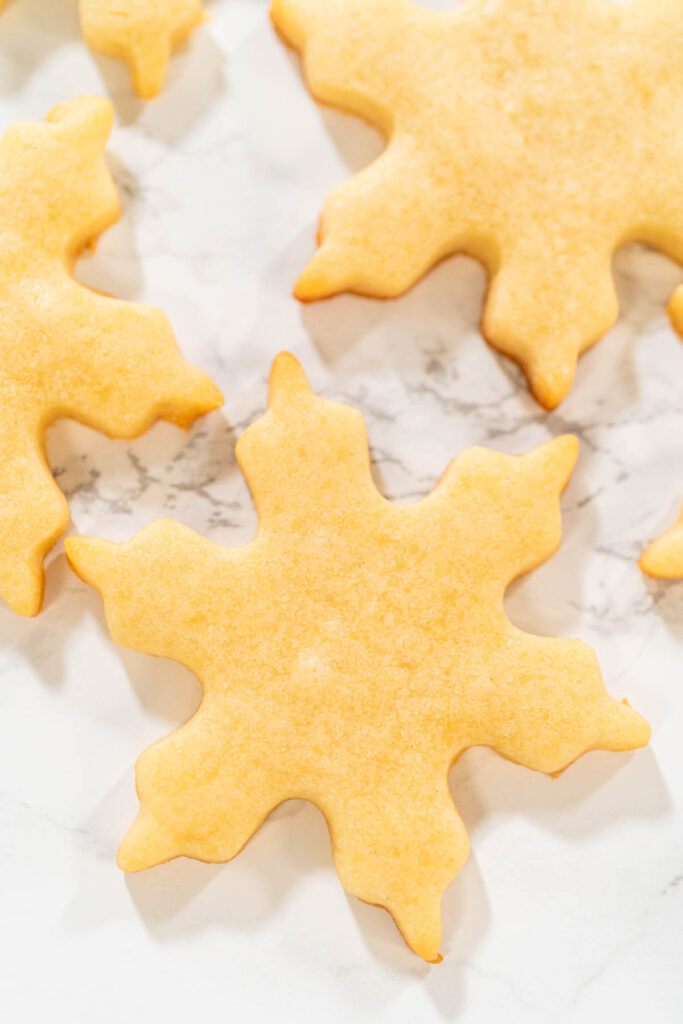
This classic cut-out sugar cookie dough holds its shape beautifully, with a soft, buttery texture and just the right sweetness—perfect for decorating and sharing.
This post contains affiliate links.
Let me set the scene: it’s holiday season chaos. The air smells like sugar and butter, the kitchen counter is covered in a fine dusting of flour, and my trusty stand mixer is working overtime. This is the heart of my home when it’s time to whip up a batch of my Classic Cut-Out Sugar Cookies. These cookies are my go-to for every occasion—Christmas, birthdays, Valentine’s Day, you name it. They’re like the little black dress of cookies: classic, versatile, and always a crowd-pleaser.
Over the years, this recipe has become a staple in my family. It’s been the star of many baking marathons with my kids, who started out as little helpers sneaking dough and are now pros at rolling and cutting their favorite shapes. From unicorns for Sophia’s birthday to Christmas snowflakes and heart-shaped Valentine’s cookies, these cookies have been part of every celebration. If you’ve ever baked with kids, you know the mess is inevitable—but the memories make it all worth it.
This recipe is a product of trial and error. I’ve burnt, spread, and over-floured my way through enough batches to perfect it. Trust me, I’ve made the mistakes so you don’t have to! I’ll share all my tips, like how chilling the dough makes those shapes hold beautifully and how a dash of cornstarch keeps them from spreading in the oven. Whether you’re new to baking or a seasoned pro, these tips will ensure your cookies come out looking like edible works of art.
And let’s talk about versatility! These cookies are the ultimate blank canvas. Whether you’re into intricate royal icing designs (I’ve got a blog post on How to Flood Sugar Cookies with Royal Icing) or prefer the simplicity of sprinkles or chocolate drizzles, there’s something for everyone. The dough itself is buttery, soft, and perfectly sweetened, so they’re just as delicious plain as they are decorated.
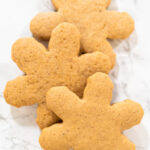
For me, holiday baking starts weeks in advance. I love planning it out—making dough in September, freezing it, and then rolling and cutting cookies throughout October and November. By December, the focus shifts to decorating, which is always the most fun. If you’re juggling multiple batches and flavors like I do (check out my recipes for Amber Gingerbread Cookies or Pale Gingerbread Dough), these sugar cookies are the perfect addition to your baking lineup.
So, if you’re ready to fill your kitchen with the warm smell of cookies, create some holiday magic, and maybe even start a new family tradition, grab your mixer and let’s dive in! I promise, these Classic Cut-Out Sugar Cookies will become a staple in your kitchen too. Happy baking!
Why I Love This Recipe (and You Will Too)
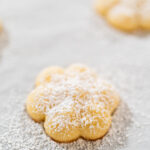
These cookies are the real deal. They’re soft but sturdy enough to hold their shape, and they taste just as good plain as they do decorated. The balance of sweetness, buttery goodness, and vanilla makes them irresistible. Plus, they don’t puff up or spread, which means no cookie cutter regrets.
What sets these cookies apart is the little tweaks I’ve added over the years. A dash of cornstarch keeps them from spreading, and chilling the dough before baking is non-negotiable—it’s the secret to cookies that look as good as they taste. And honestly, there’s something so satisfying about creating a batch of perfectly shaped cookies. It’s like edible art, but way more fun to share.
My Must-Have Tools for Sugar Cookie Success
Before we dive into the dough, let’s take a moment to talk about tools. The right equipment makes baking these Classic Cut-Out Sugar Cookies a breeze. Here’s what I rely on for smooth sailing in the kitchen:
- Measuring Spoons and Measuring Cups: Precision is everything in baking—no eyeballing allowed!
- Glass Mixing Bowl: I love being able to see how well everything is combined.
- Blending Whisk: Essential for whisking dry ingredients together evenly—no clumps allowed in my dough!
- KitchenAid Mixer: My stand mixer is a total lifesaver, especially when I’m doubling batches during holiday baking marathons. It handles thick dough like a champ.
- Silicone Spatulas: Perfect for scraping every bit of dough from the bowl—waste not, want not!
- Food Wrap: To keep the dough fresh while it chills.
- Adjustable Rolling Pin: My secret weapon for evenly rolled dough. Consistency is key!
- Baking Sheets and Parchment Paper Sheets: Parchment paper prevents sticking and ensures even baking every time.
- Cooling Rack (optional): Helps cookies cool evenly and keeps their bottoms from getting soggy.
- Cake Spatula (optional): Ideal for transferring delicate cutouts onto the baking sheet without losing their shape.
- Dredge Shaker (optional): Great for lightly flouring the work surface without overdoing it.
- Christmas Cookie Cutters: Whether it’s trees, stars, or snowflakes, these are what give cookies their festive charm.
Having these tools on hand makes the entire process so much easier—and way more fun. Let’s set up our kitchen and get ready to bake!
The Ingredients (and a Few Healthier Substitutions)
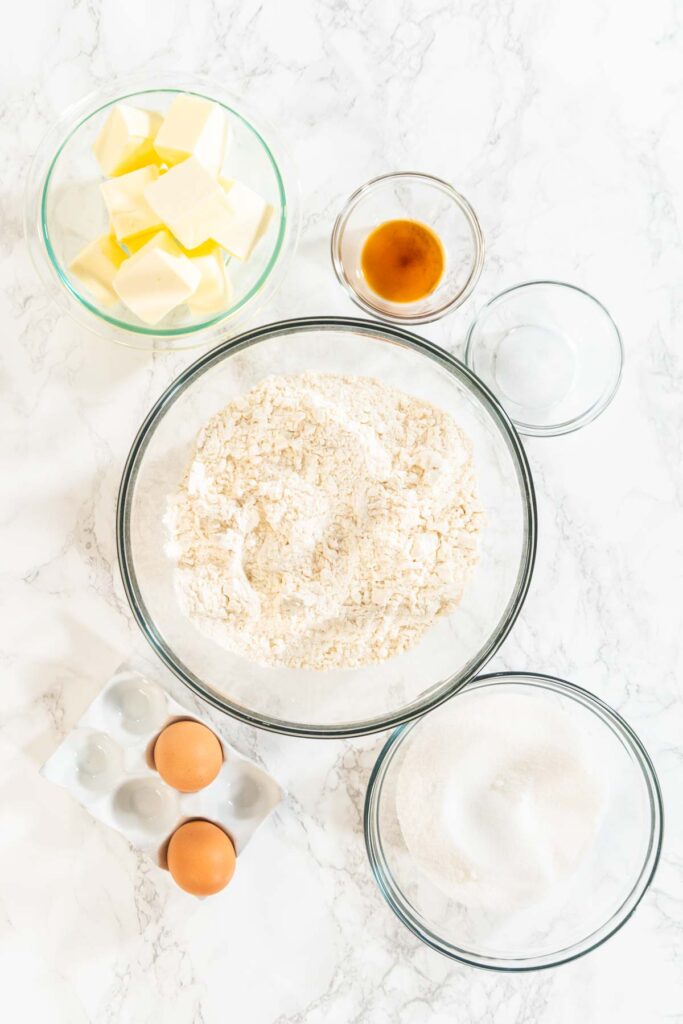
This Classic Cut-Out Sugar Cookie recipe is built on simple, reliable pantry staples. But don’t let the simplicity fool you—these cookies pack a buttery, vanilla-flavored punch. Here’s what you’ll need, along with some healthier swaps to experiment with:
- 2 ½ cups all-purpose flour (sifted): This is the backbone of the dough. If you’re looking for a healthier option, you can substitute whole wheat flour for a nuttier flavor. Keep in mind, the cookies will have a slightly firmer texture.
- ½ teaspoon salt: It might not seem like much, but salt is the unsung hero that enhances sweetness and balances the flavors.
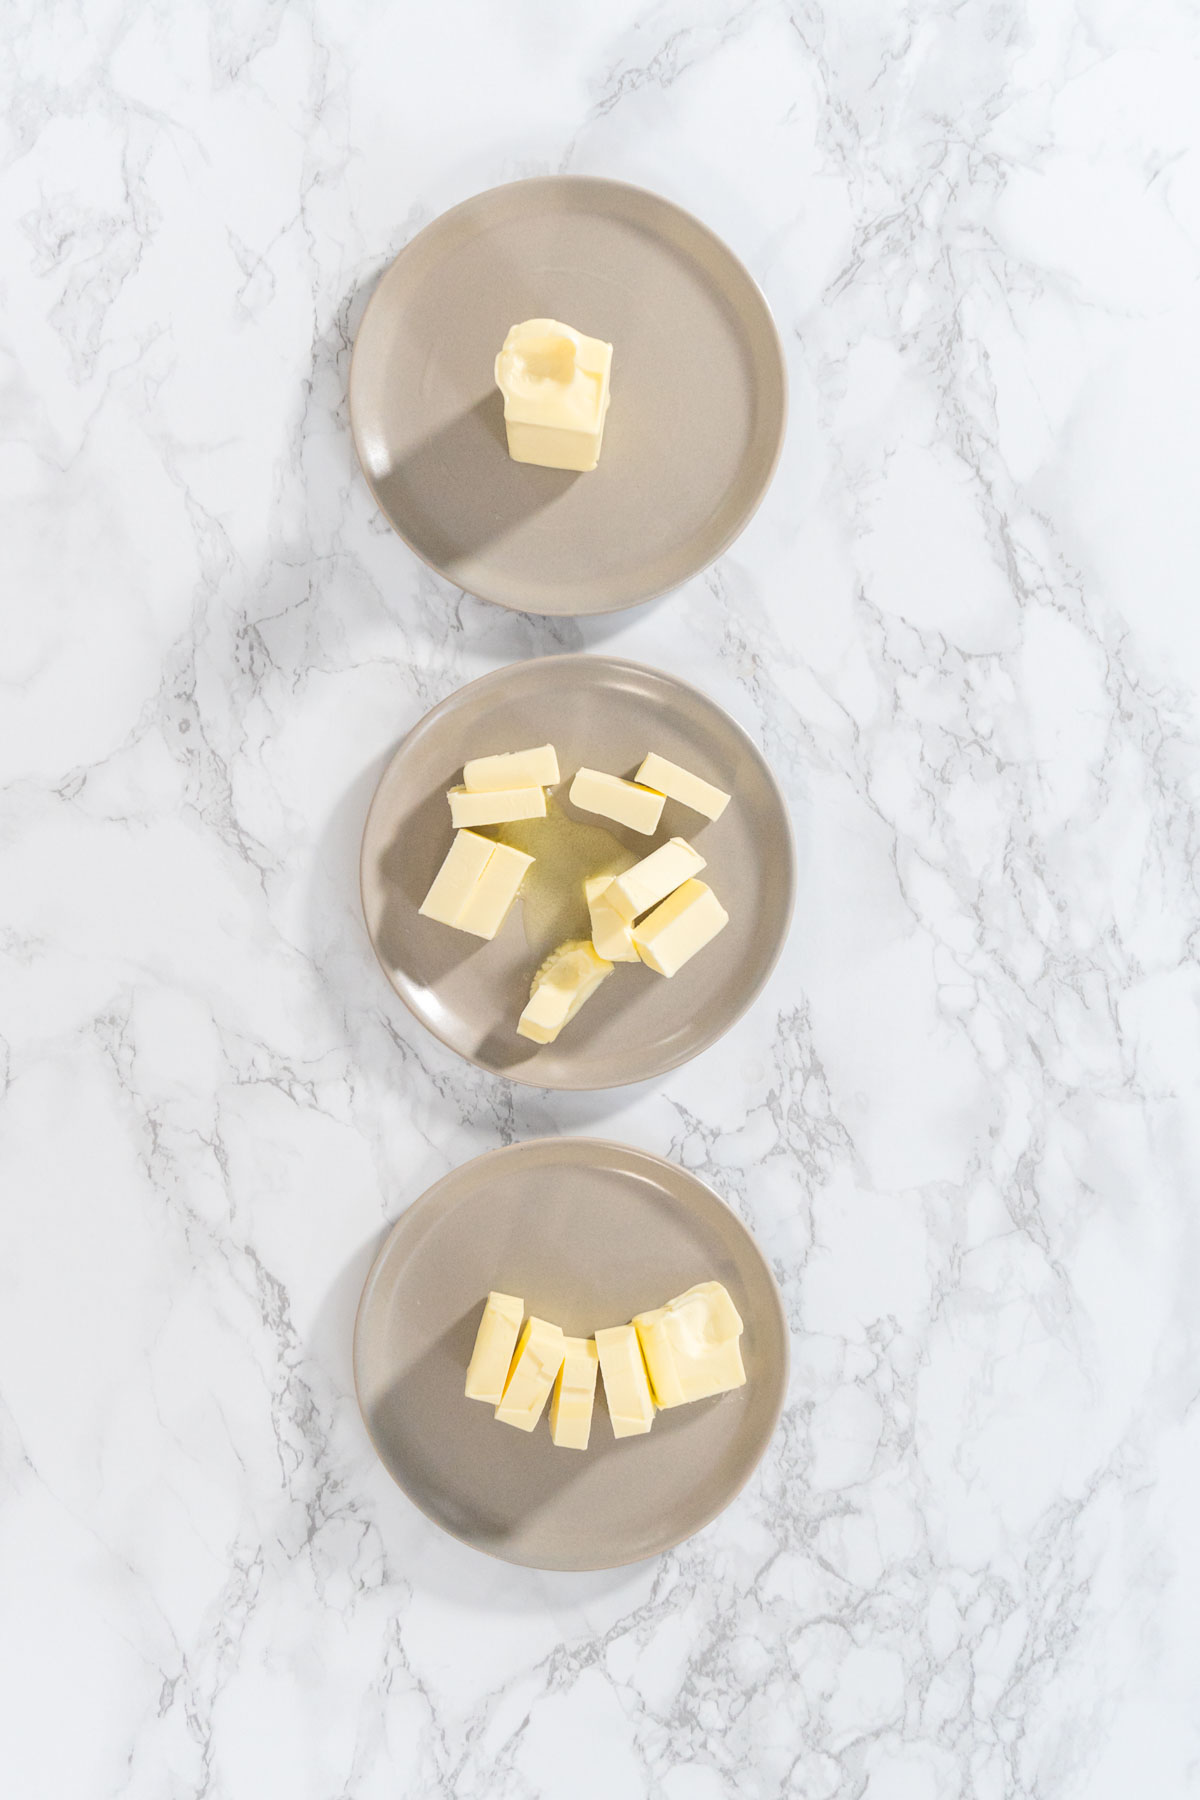
- 1 cup unsalted butter (softened): Butter makes these cookies rich and tender. For a lighter version, try substituting plant-based butter or coconut oil, but note that the texture and flavor will vary slightly.
- ⅔ cup granulated sugar: Adds just the right amount of sweetness and helps create that slight crunch on the cookie edges. For a lower-sugar option, consider swapping in coconut sugar or a 1:1 sugar substitute like erythritol.
- 1 large egg: The egg binds everything together and adds richness. If you’re baking vegan cookies, you can use a flaxseed egg (1 tablespoon of flaxseed meal mixed with 2.5 tablespoons of water) as a replacement.
- 1 teaspoon vanilla extract: Vanilla is the MVP of cookie flavor. For a creative twist, try swapping in almond extract for a nutty undertone.
- 1 tablespoon cornstarch (optional): This little trick helps prevent the cookies from spreading and keeps the cut-out shapes sharp and defined.
These ingredients come together to create a dough that’s soft, pliable, and perfect for rolling. Whether you stick to the classic recipe or try a few substitutions, these cookies are guaranteed to be delicious!
Step-by-Step: Let’s Make Some Cookie Magic
Here’s how I make my favorite Classic Cut-Out Sugar Cookies. With the right tools and techniques, these cookies turn out perfectly every time!
Step 1: Prepare Your Ingredients
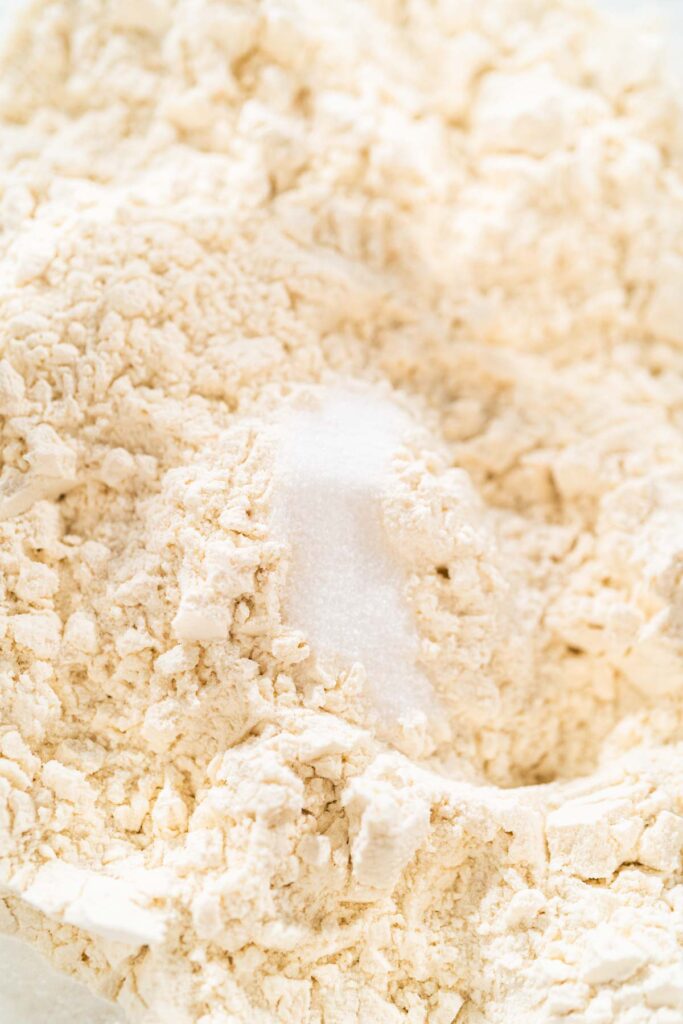
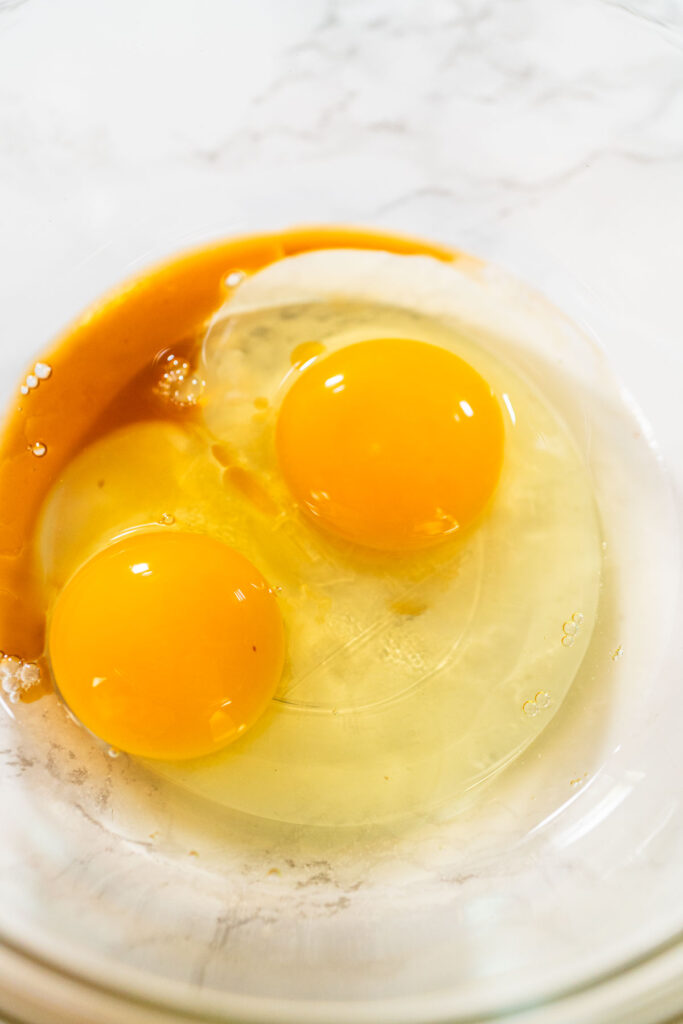
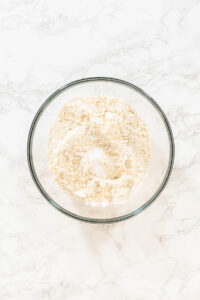
Before starting, measure and sift 2 ½ cups of all-purpose flour for best results. Sifting keeps the cookies light and tender. Whisk together the flour and ½ teaspoon of salt in a glass mixing bowl, then set aside. In another bowl, whisk together 1 large egg and 1 teaspoon of vanilla extract until smooth. This prep work ensures a stress-free baking process.
Step 2: Cream Butter and Sugar
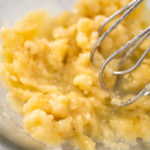
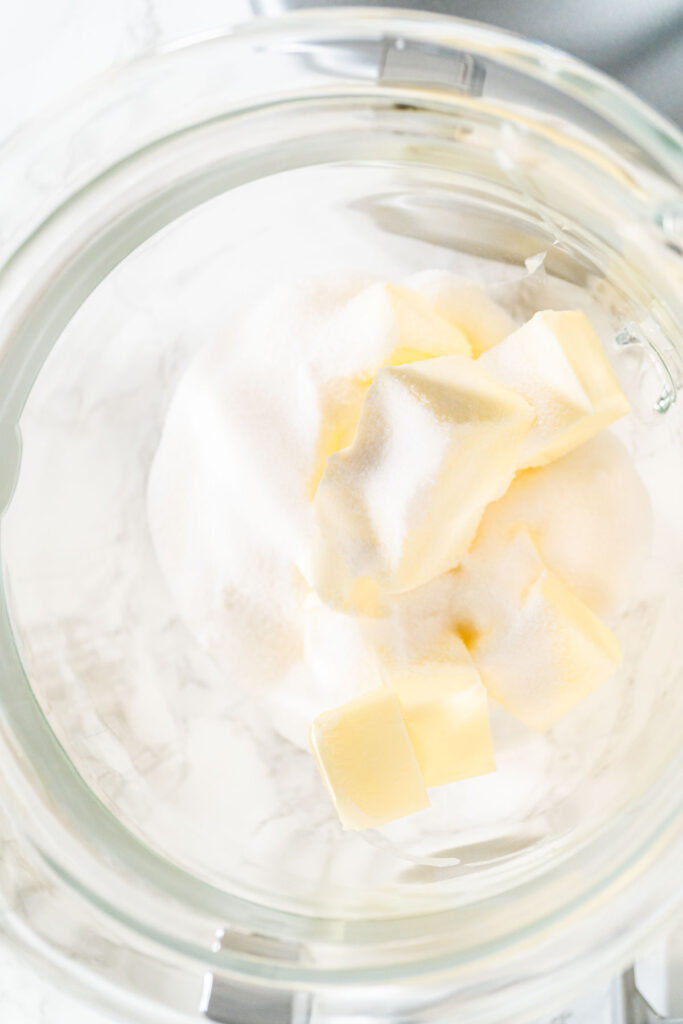
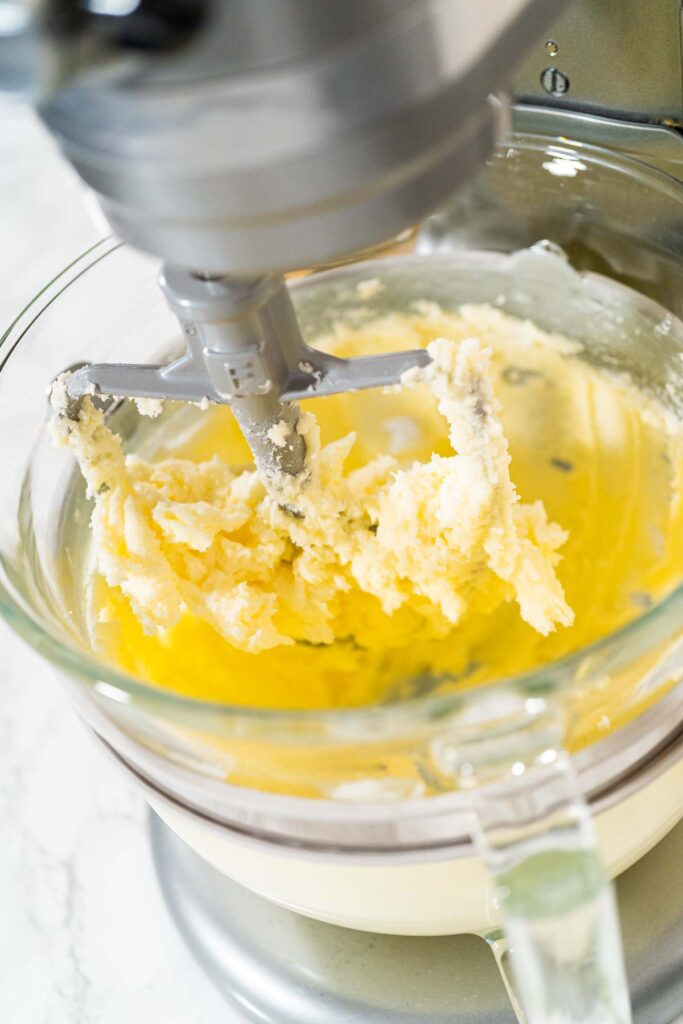
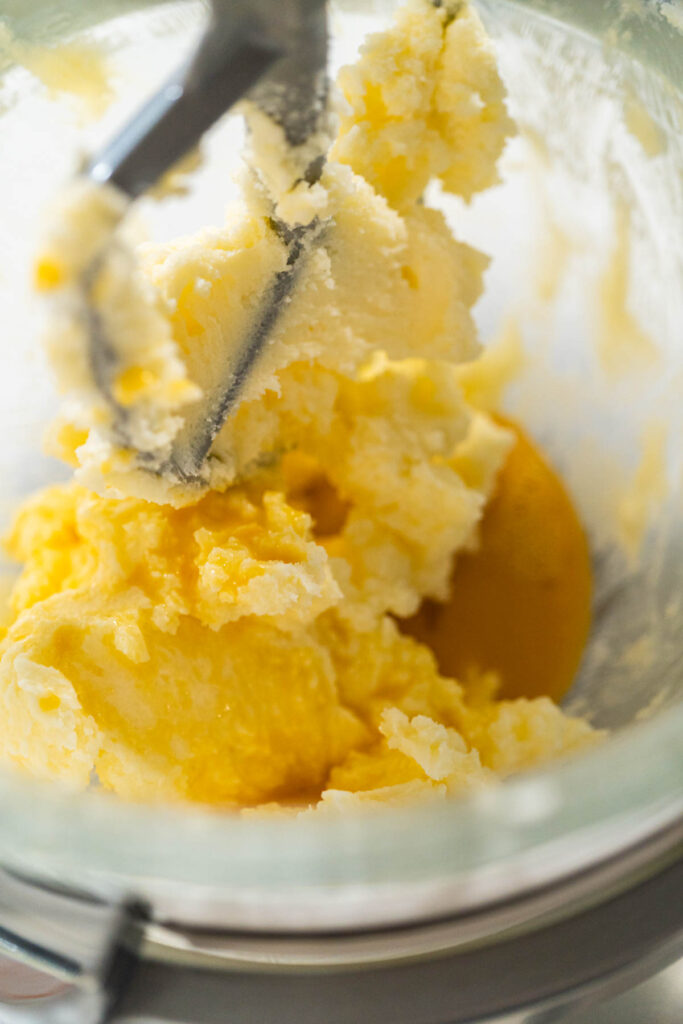
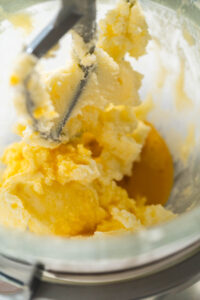
In the bowl of your KitchenAid mixer, add 1 cup of softened unsalted butter and ⅔ cup of granulated sugar. Using the paddle attachment, cream them together on medium speed for 2-3 minutes until the mixture is light and fluffy. Scrape down the sides of the bowl with a silicone spatula to make sure everything is evenly mixed. Then, pour in the egg and vanilla mixture and continue mixing until fully combined.
Step 3: Combine Wet and Dry Ingredients
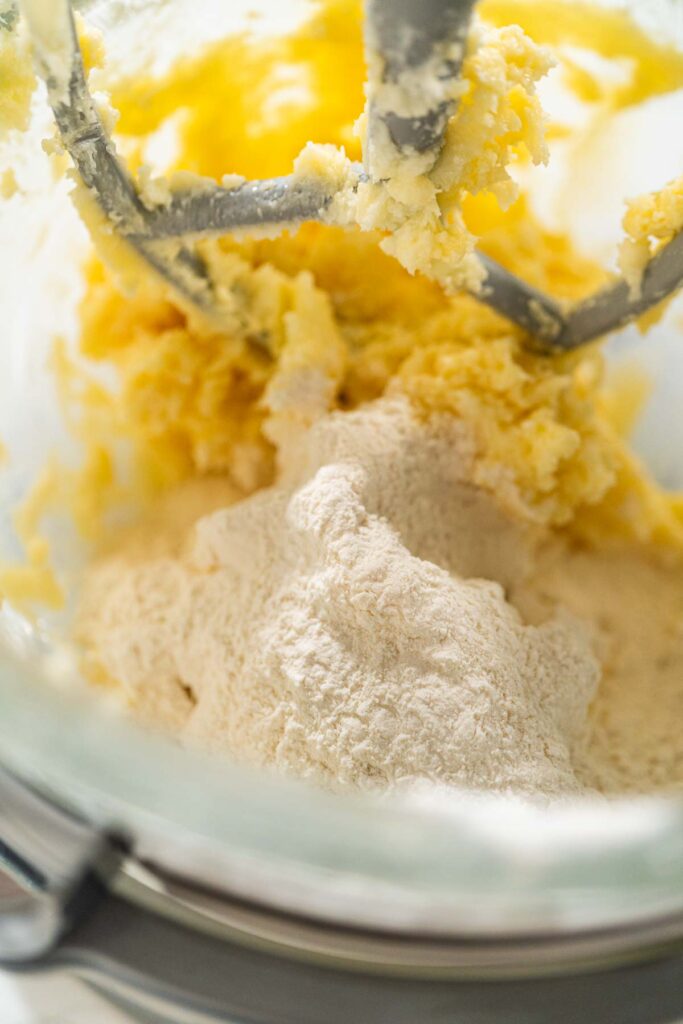
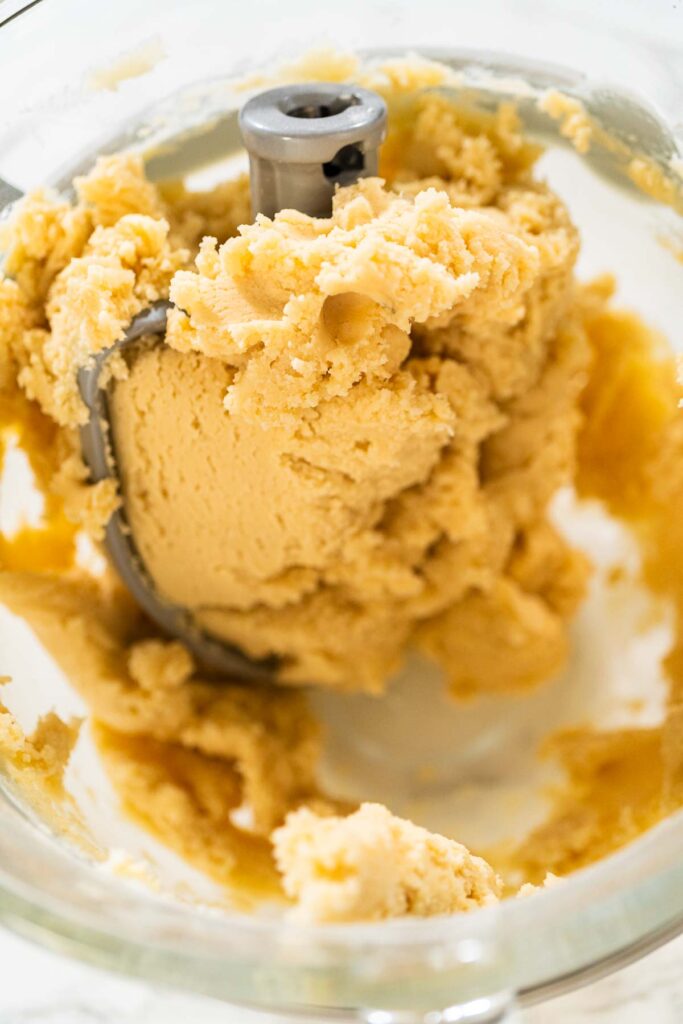
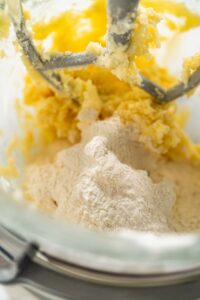
Gradually add the dry ingredients (flour and salt) to the wet mixture, about a third at a time. Keep the mixer on low speed to avoid a flour cloud, and mix just until a smooth dough forms. If the dough feels sticky, add a little more flour, one tablespoon at a time.
Step 4: Chill the Dough
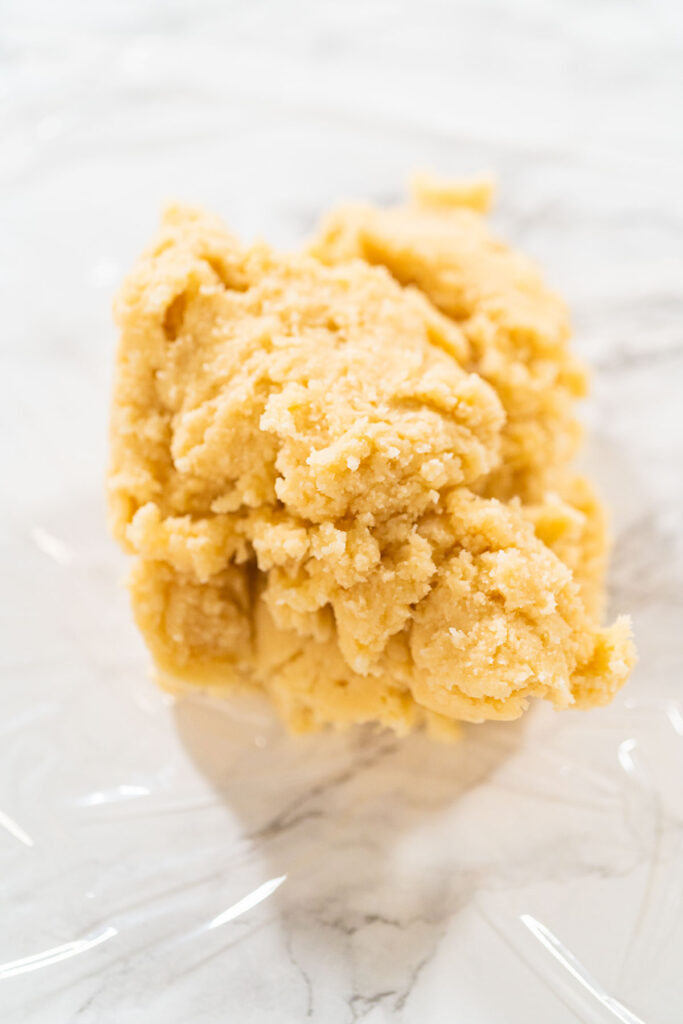
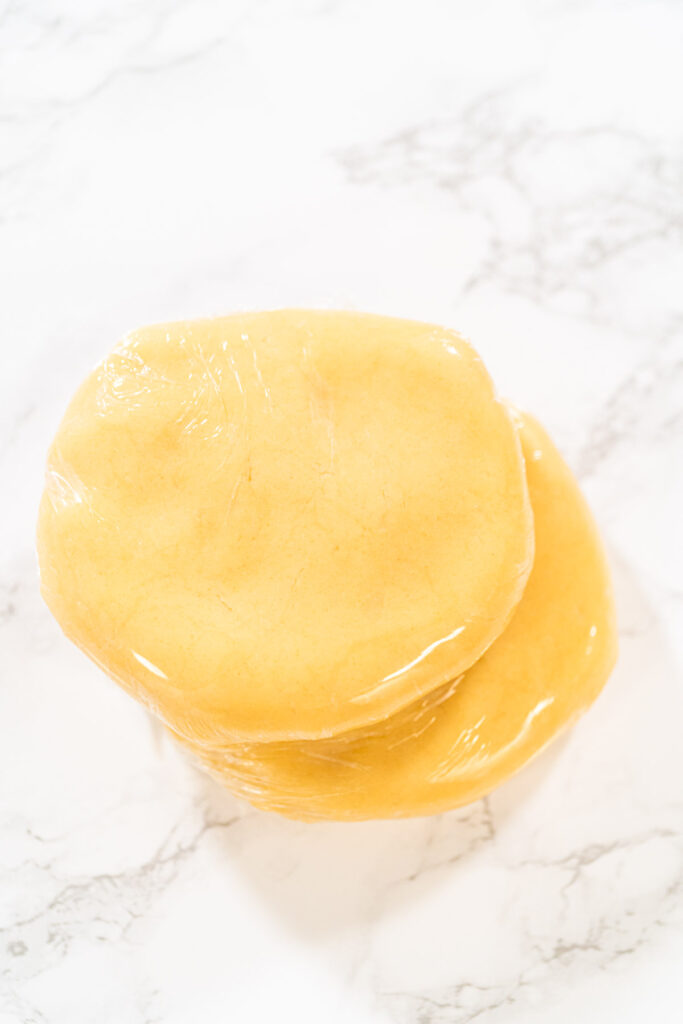
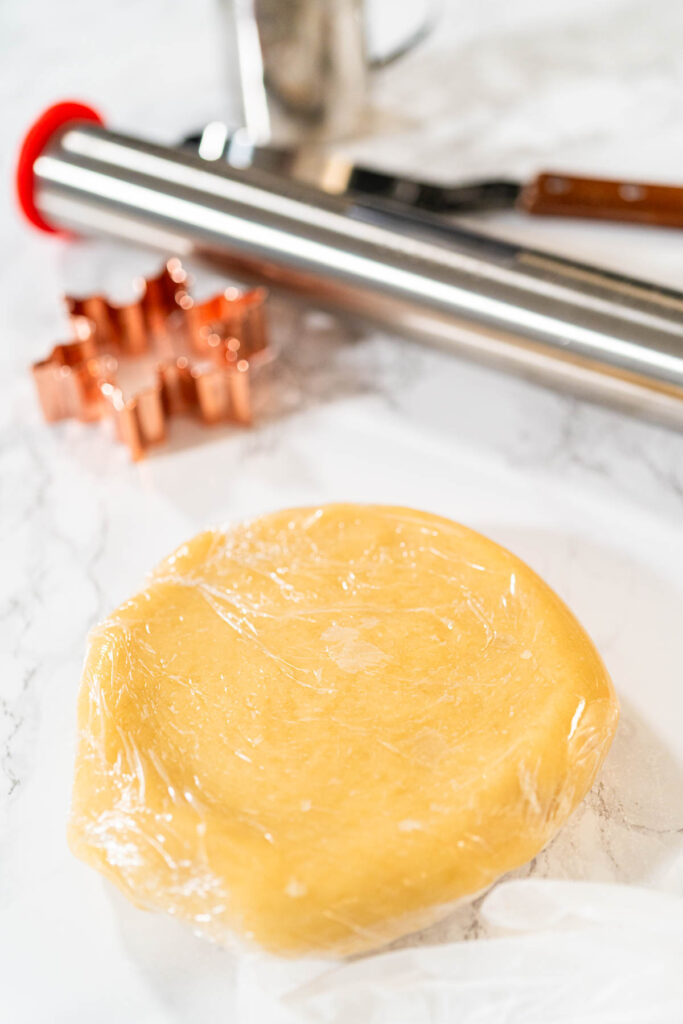
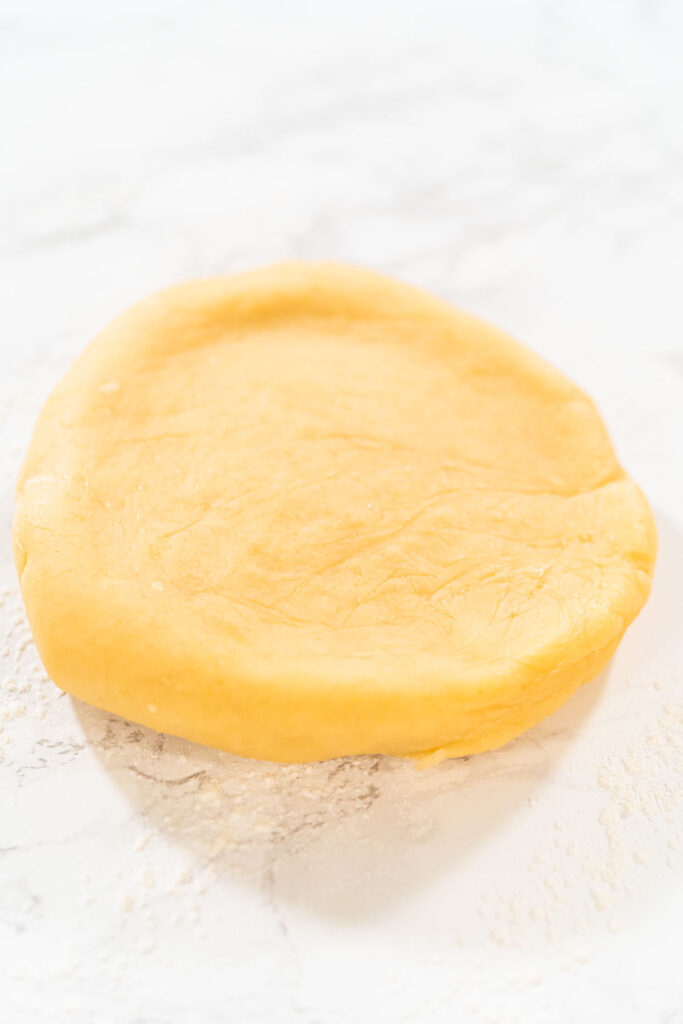
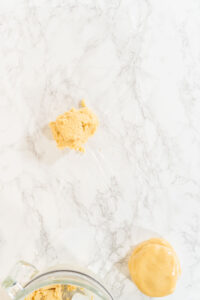
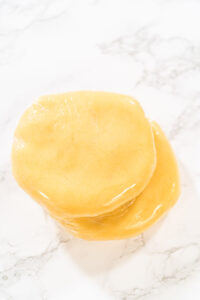
Divide the dough into two equal portions. Using a silicone spatula, scoop each portion onto a piece of food wrap. Loosely wrap the dough, then flatten it into a disk. This keeps your hands clean and makes rolling easier later. Place the wrapped disks in the refrigerator to chill for at least an hour. Chilling helps firm up the dough, making it easier to roll and cut, and ensures the cookies hold their shape during baking.
Step 5: Preheat and Prepare Baking Sheets
While the dough chills, preheat your oven to 350°F (175°C). Line your baking sheets with parchment paper sheets or silicone mats to prevent sticking.
Step 6: Roll Out and Cut
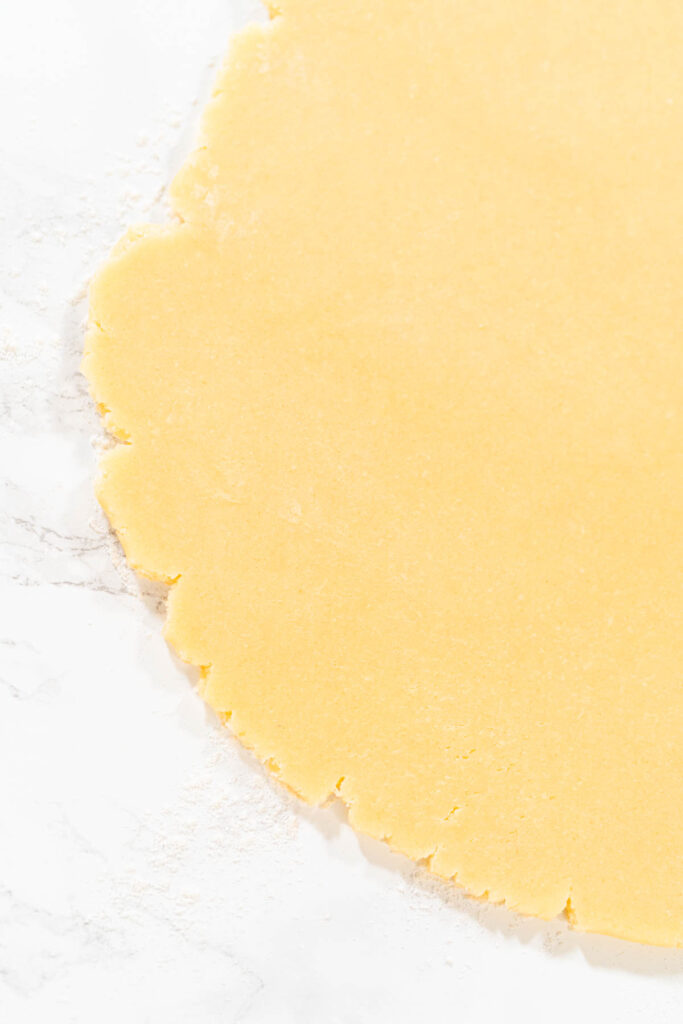
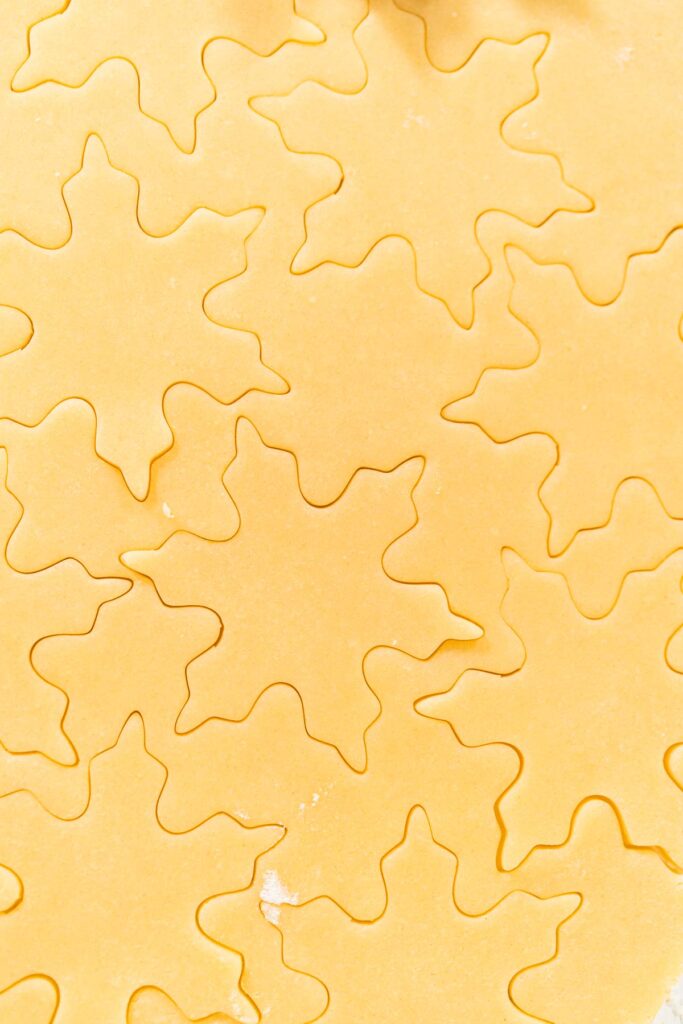
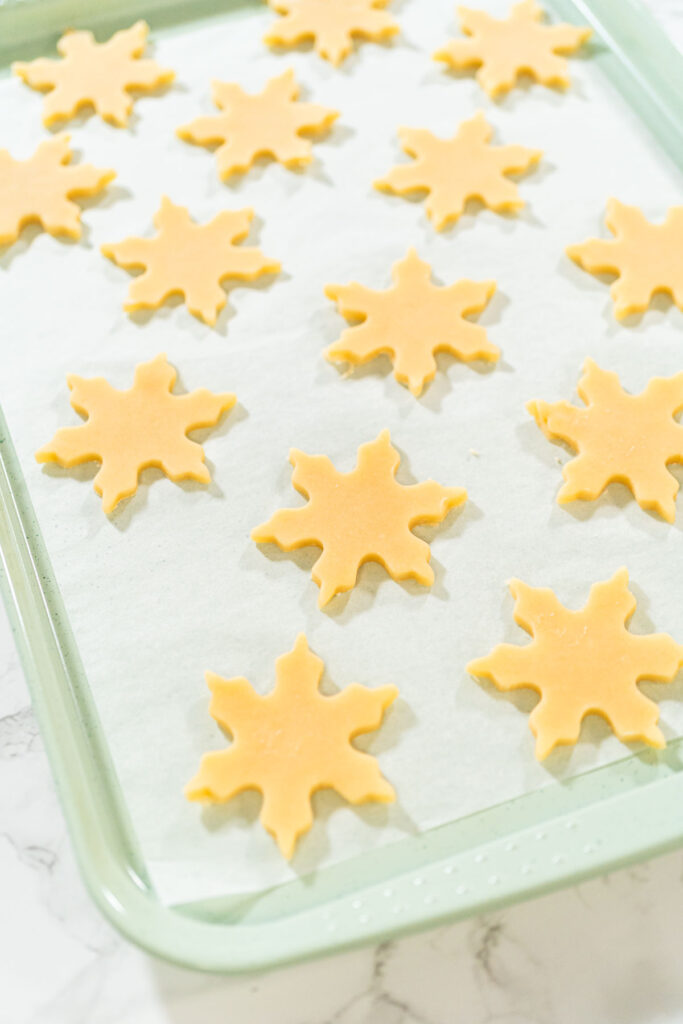
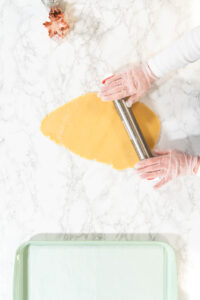
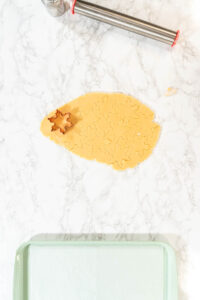
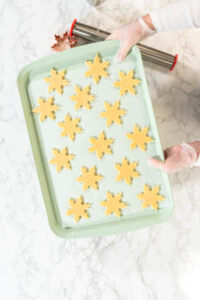
Remove one dough disk from the refrigerator and let it sit at room temperature for about 10 minutes to soften slightly—this makes rolling much easier. Lightly flour your work surface and adjustable rolling pin, then roll the dough out to about ¼-inch thickness. Use your favorite cookie cutters to cut out shapes and carefully transfer the cut-outs to the prepared baking sheets, leaving about 1 inch of space between each cookie. Chill the cut-outs in the refrigerator for another 10 minutes to help them hold their shape while baking.
Step 7: Bake to Perfection
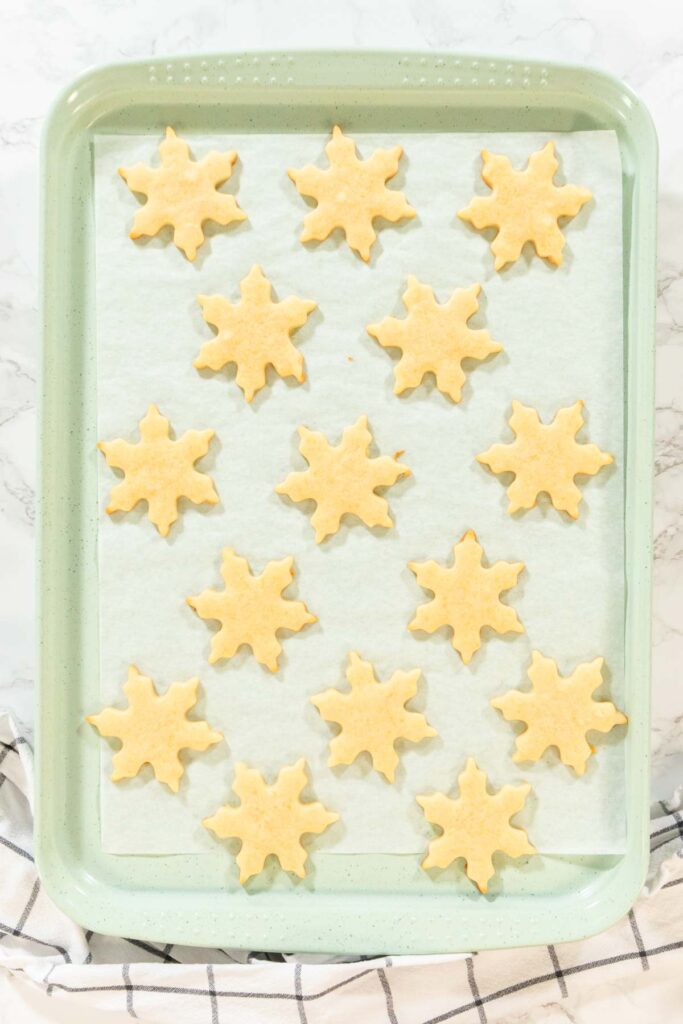
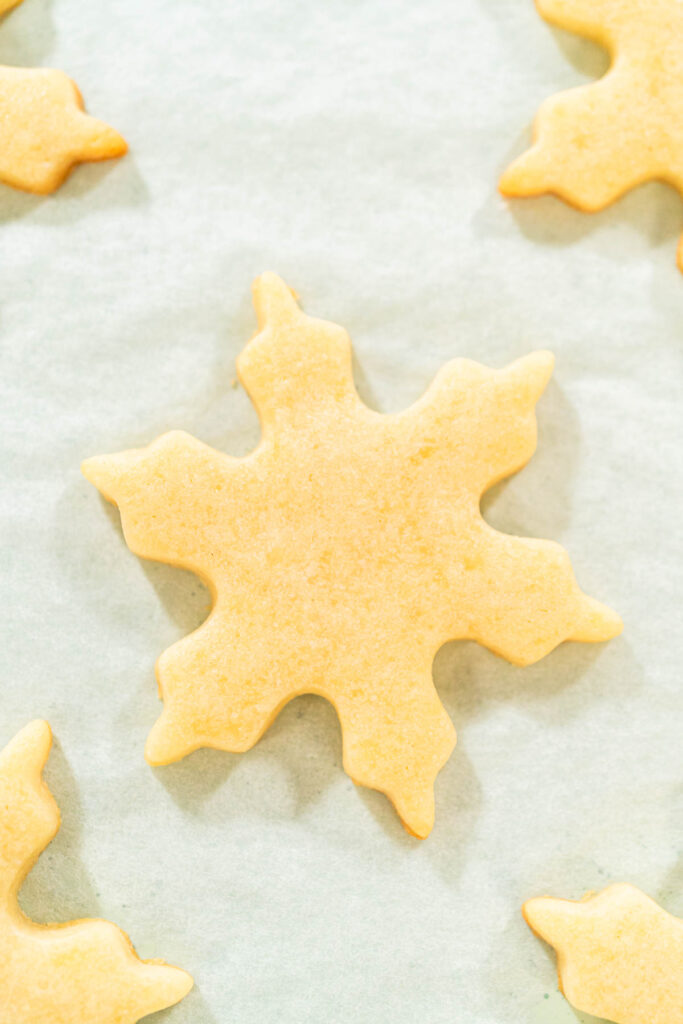
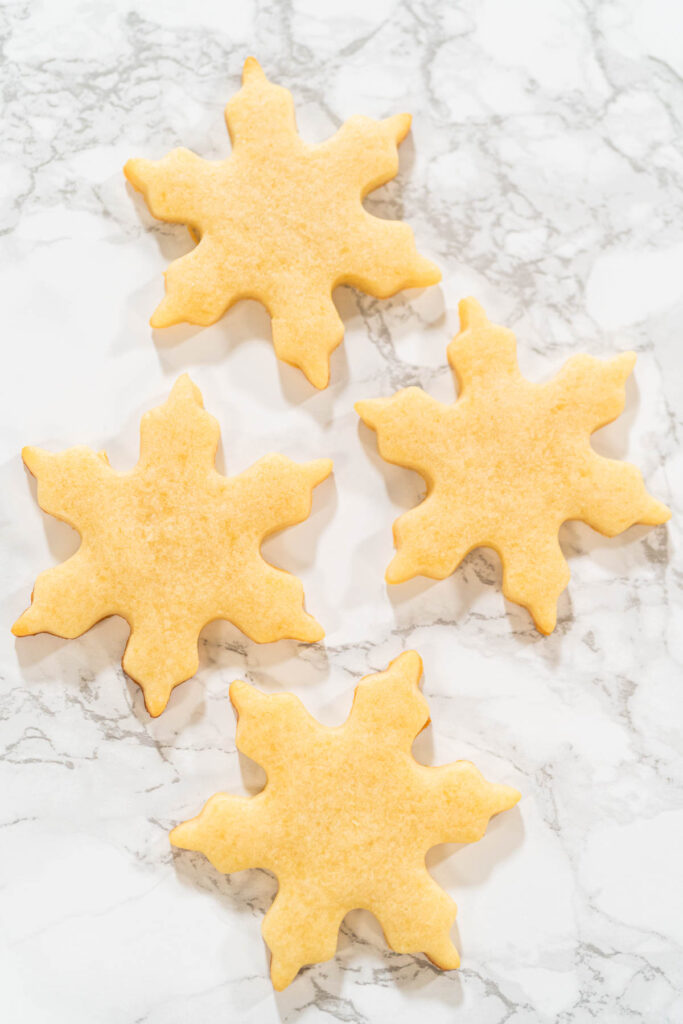
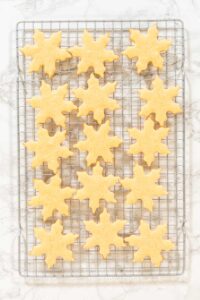
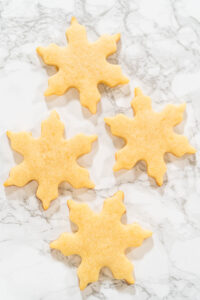
Bake the cookies for 8-10 minutes, or until the edges are lightly golden. The centers should remain slightly soft, as they will firm up while cooling. Once baked, let the cookies cool on the baking sheet for about 5 minutes before transferring them to a cooling rack to cool completely.
Step 8: Repeat
Repeat the rolling, cutting, and baking steps with the remaining dough. If the dough softens too much, simply chill it again for a few minutes before rolling.
With these simple steps and tools, you’ll have perfectly shaped, buttery sugar cookies ready for decorating or enjoying plain. Happy baking!
Troubleshooting Common Issues with Cutout Cookie Dough
Even with the best recipes and careful preparation, sometimes things don’t go as planned in the kitchen. But don’t worry! I’ve encountered plenty of baking hiccups, and I’m here to share some tips to help you troubleshoot common issues with cutout cookie dough.
Dough Too Sticky
If your dough feels sticky and hard to handle, it might need a little extra flour. This can happen due to slight measurement variations or even humidity in the kitchen. Start by adding one tablespoon of all-purpose flour at a time, gently kneading it into the dough until it’s firm but still pliable. Be careful not to add too much flour, as it can make the cookies dry.
Dough Cracking While Rolling
Sometimes chilled dough can feel a bit too stiff and crack when rolled out. If this happens, let the dough sit at room temperature for 10-15 minutes to soften slightly. The high butter content in the dough makes it firm when cold, but letting it warm up a bit will make rolling much easier.
Cookies Spreading During Baking
If your cookies lose their shape in the oven, it’s often due to insufficient chilling. After cutting out your cookies, place them back in the fridge or freezer for 10-15 minutes before baking. This step helps the dough hold its shape and prevents spreading.
Another trick is to add a teaspoon of cornstarch to the dry ingredients. Cornstarch reduces spreading during baking and keeps the cookies nice and sturdy for decorating.
Uneven Baking
Uneven baking can happen if the cookies are different sizes or if multiple trays are stacked in the oven. To avoid this, make sure your cutout cookies are all the same thickness and bake one tray at a time on the middle rack. This ensures even heat distribution and perfectly baked cookies every time.
Overbaked or Burnt Edges
If your cookies are coming out with dark edges, they may have baked too long. Keep an eye on them as they bake—most cookies are done when the edges are set but the centers still look slightly soft. Start checking a minute or two before the recommended baking time to ensure they don’t overbake.
Dough Too Soft to Cut
If the dough is too soft when you’re cutting out shapes, it likely hasn’t chilled long enough. Pop it back in the fridge for another 20-30 minutes to firm up before trying again. Patience is key for perfectly shaped cookies!
Personal Tip
Don’t get discouraged if things don’t go perfectly the first time. Baking is as much about learning as it is about enjoying the process. I’ve had my share of “oops” moments, but each one taught me something new. And honestly, even the imperfect cookies still taste amazing!
Troubleshooting is just part of the fun when baking, and with a little patience and these tips, you’ll have beautiful, delicious cut-out cookies ready to share. Let’s move on to the best part—enjoying these delightful creations!
Preserving Cutout Cookie Dough: Storage and Freezing Tips
Proper storage and freezing are key to preserving the quality of cutout cookie dough, ensuring it’s just as good when you’re ready to bake as it was when you first made it. Whether you’re chilling dough for a short period or freezing it for future use, these methods are essential for maintaining flavor and texture. This section provides practical tips and techniques to help you efficiently store and extend the life of your cookie dough.
Storing Dough in the Refrigerator
If you’re planning to bake within the next few days, store the dough in the refrigerator. After dividing the dough into two portions, wrap each one tightly in plastic wrap and place it in the fridge. Chilling the dough for at least an hour firms it up, making it easier to roll and cut into shapes. You can store the dough in the refrigerator for up to three days.
Freezing Dough for Longer Storage
For longer storage, freezing the dough is a fantastic option. Here’s how I do it:
1. Wrap each dough disk in an extra layer of plastic wrap or aluminum foil to protect it from freezer burn.
2. Place the wrapped disks into a freezer-safe zip-top bag for extra protection.
3. Label the bag with the date and the name of the dough using a Sharpie. This avoids any confusion when you’re digging through the freezer later!
The dough will keep beautifully in the freezer for up to three months.
Thawing Dough for Use
When you’re ready to bake, simply transfer the dough from the freezer to the refrigerator and let it thaw overnight. By the next day, it will be chilled and ready to roll. If the dough feels too firm after thawing, let it sit on the counter for 10-15 minutes to soften slightly before rolling.
Freezing Baked Cookies
If you’re planning to bake ahead of time, you can also freeze the baked cookies. Once the cookies have cooled completely, layer them between sheets of parchment paper in a freezer-safe container. This prevents them from sticking together. Just like the dough, label the container with the date and flavor so you can stay organized.
When you’re ready to serve or decorate, let the cookies thaw at room temperature for about 30 minutes.
Staying Organized During Holiday Baking
My holiday baking season gets busy fast, so freezing dough and baked cookies is my secret weapon. I usually start making my dough in September, bake in October or November, and decorate in December. This timeline helps me stay ahead of the holiday rush while still having plenty of fresh, delicious cookies to share.
With these storage tips, you can make your holiday baking stress-free and enjoy the process just as much as the results!
Decorating Cutout Cookies: Techniques and Tips
Once my cutout cookies are baked and cooled, it’s time for my favorite part—decorating! This is where I can transform these tasty cookies into beautiful treats for any occasion. Whether I’m using royal icing, chocolate icing, or dipping them in chocolate, decorating is where creativity and tradition converge in my kitchen.
Getting Ready to Decorate
First, I always make sure my cookies are completely cooled before decorating. Trying to decorate warm cookies is a recipe for disaster—melting icing and smudged designs are no fun. Let them cool completely for the best results.
I like to set up my decorating area with everything I need organized and ready:
• Royal icing in piping bags with fine tips for detailed designs.
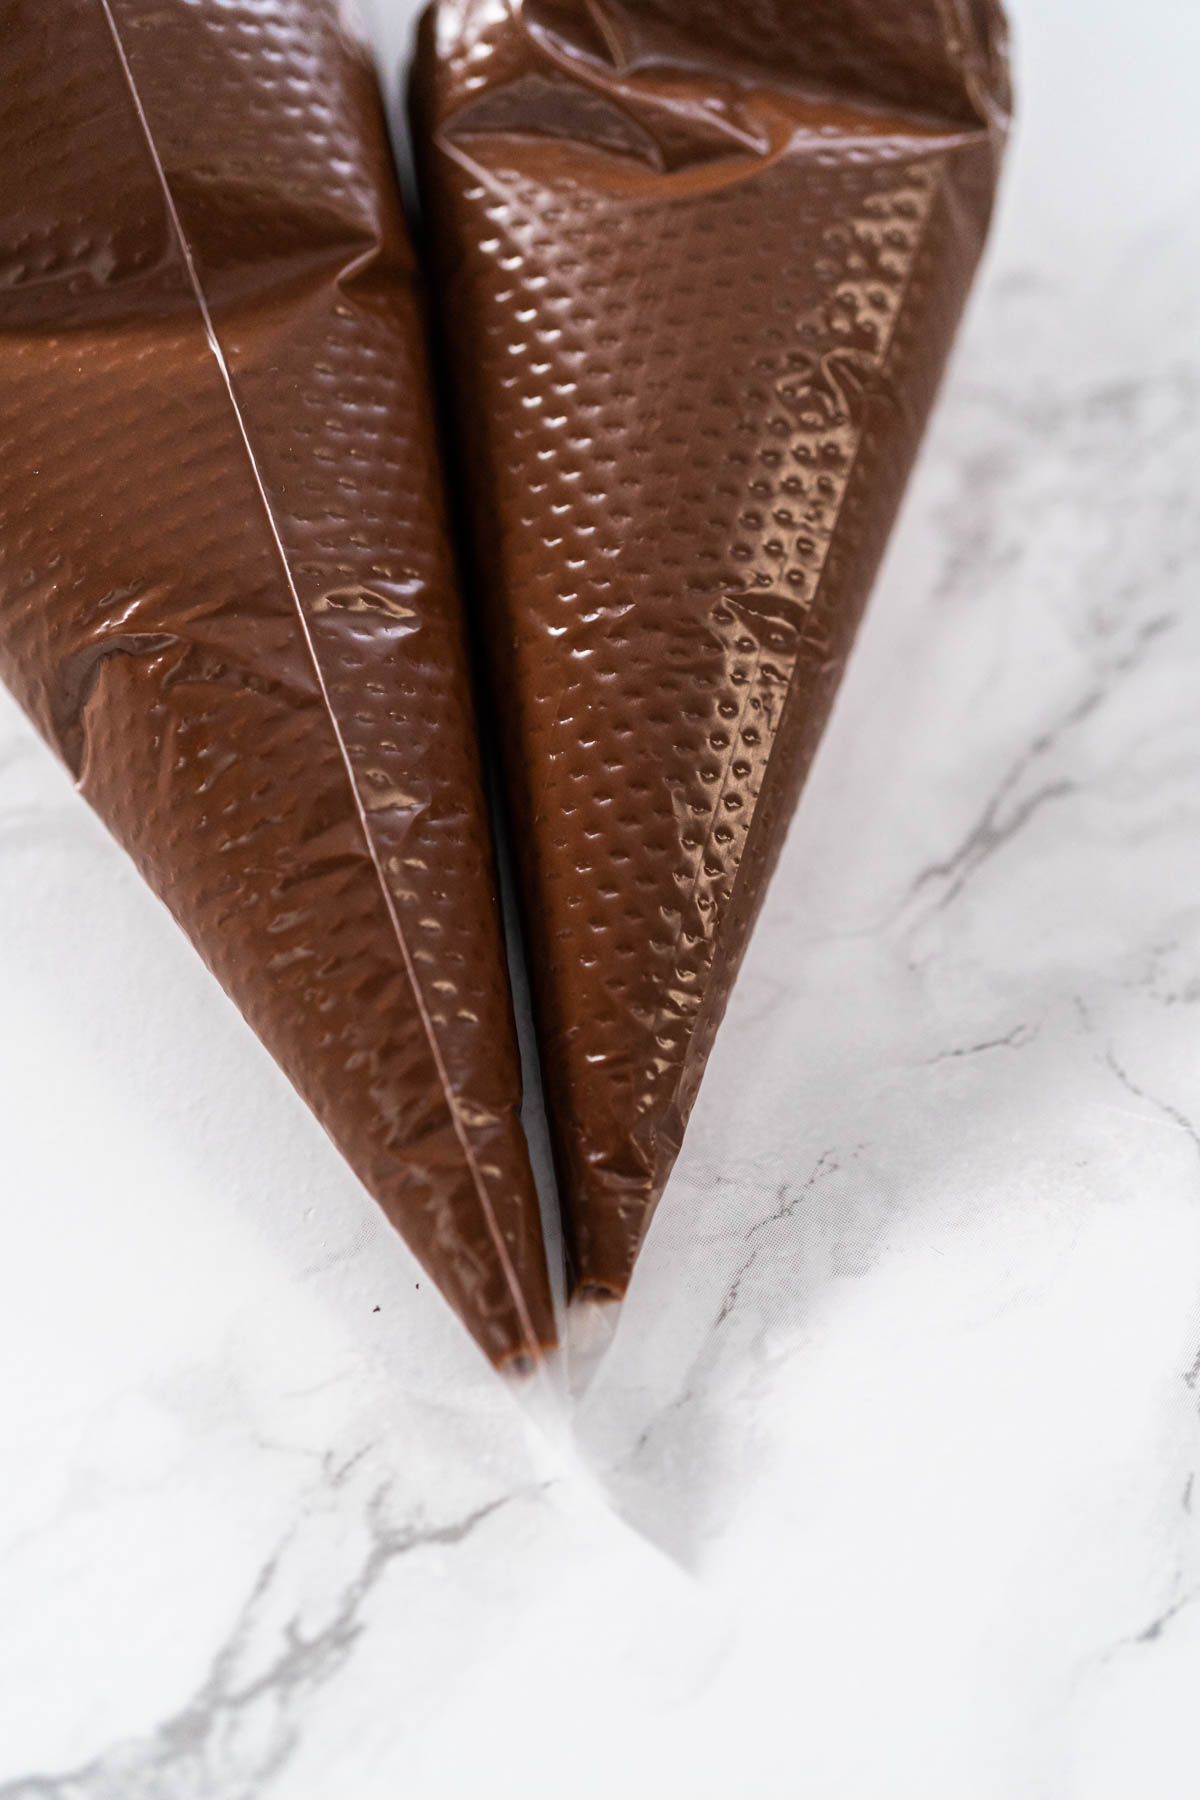
• Chocolate icing in piping bags, used just like royal icing for piping intricate patterns or designs.
• Dipped in chocolate for adding a glossy finish to cookies.
• Sprinkles, crushed nuts, or crushed peppermint candy canes for decorating dipped cookies.
• Edible markers for writing or drawing directly on the cookies.
I also line my workspace with parchment paper, which keeps cookies from sticking and makes cleanup easy.
Decorating with Royal Icing
Royal icing is my go-to for that smooth, polished cookie look. I start by outlining the cookie with a thicker consistency icing, then flood the center with a thinner icing. A toothpick is perfect for spreading the icing evenly and popping any air bubbles.
If I’m layering colors or adding details, patience is key! A light design or piping dries in about 24 hours, but fully flooded cookies can take up to 48 hours to dry completely. For a detailed guide on working with royal icing, check out my blog post How to Flood Cookies with Royal Icing. It’s packed with tips and tricks to make your cookies look professionally decorated!
Decorating with Chocolate Icing
Chocolate icing works similarly to royal icing—it’s piped on top of the cookies using a piping bag. It’s great for adding intricate patterns or creating fun, festive designs. You can use dark chocolate, milk chocolate, or white chocolate, depending on the look and flavor you’re going for.
Unlike dipped chocolate, chocolate icing dries with a slightly glossy finish and is ready to handle in about 30 minutes to an hour, depending on the thickness of the design. I go into more detail about working with chocolate icing in my blog post Chocolate Cookie Decorating Tips, so be sure to check it out for inspiration!
Dipped in Chocolate
Another fun and simple method is dipping cookies in melted chocolate. I dip half of the cookie into the chocolate for a two-tone effect, which looks both elegant and festive.
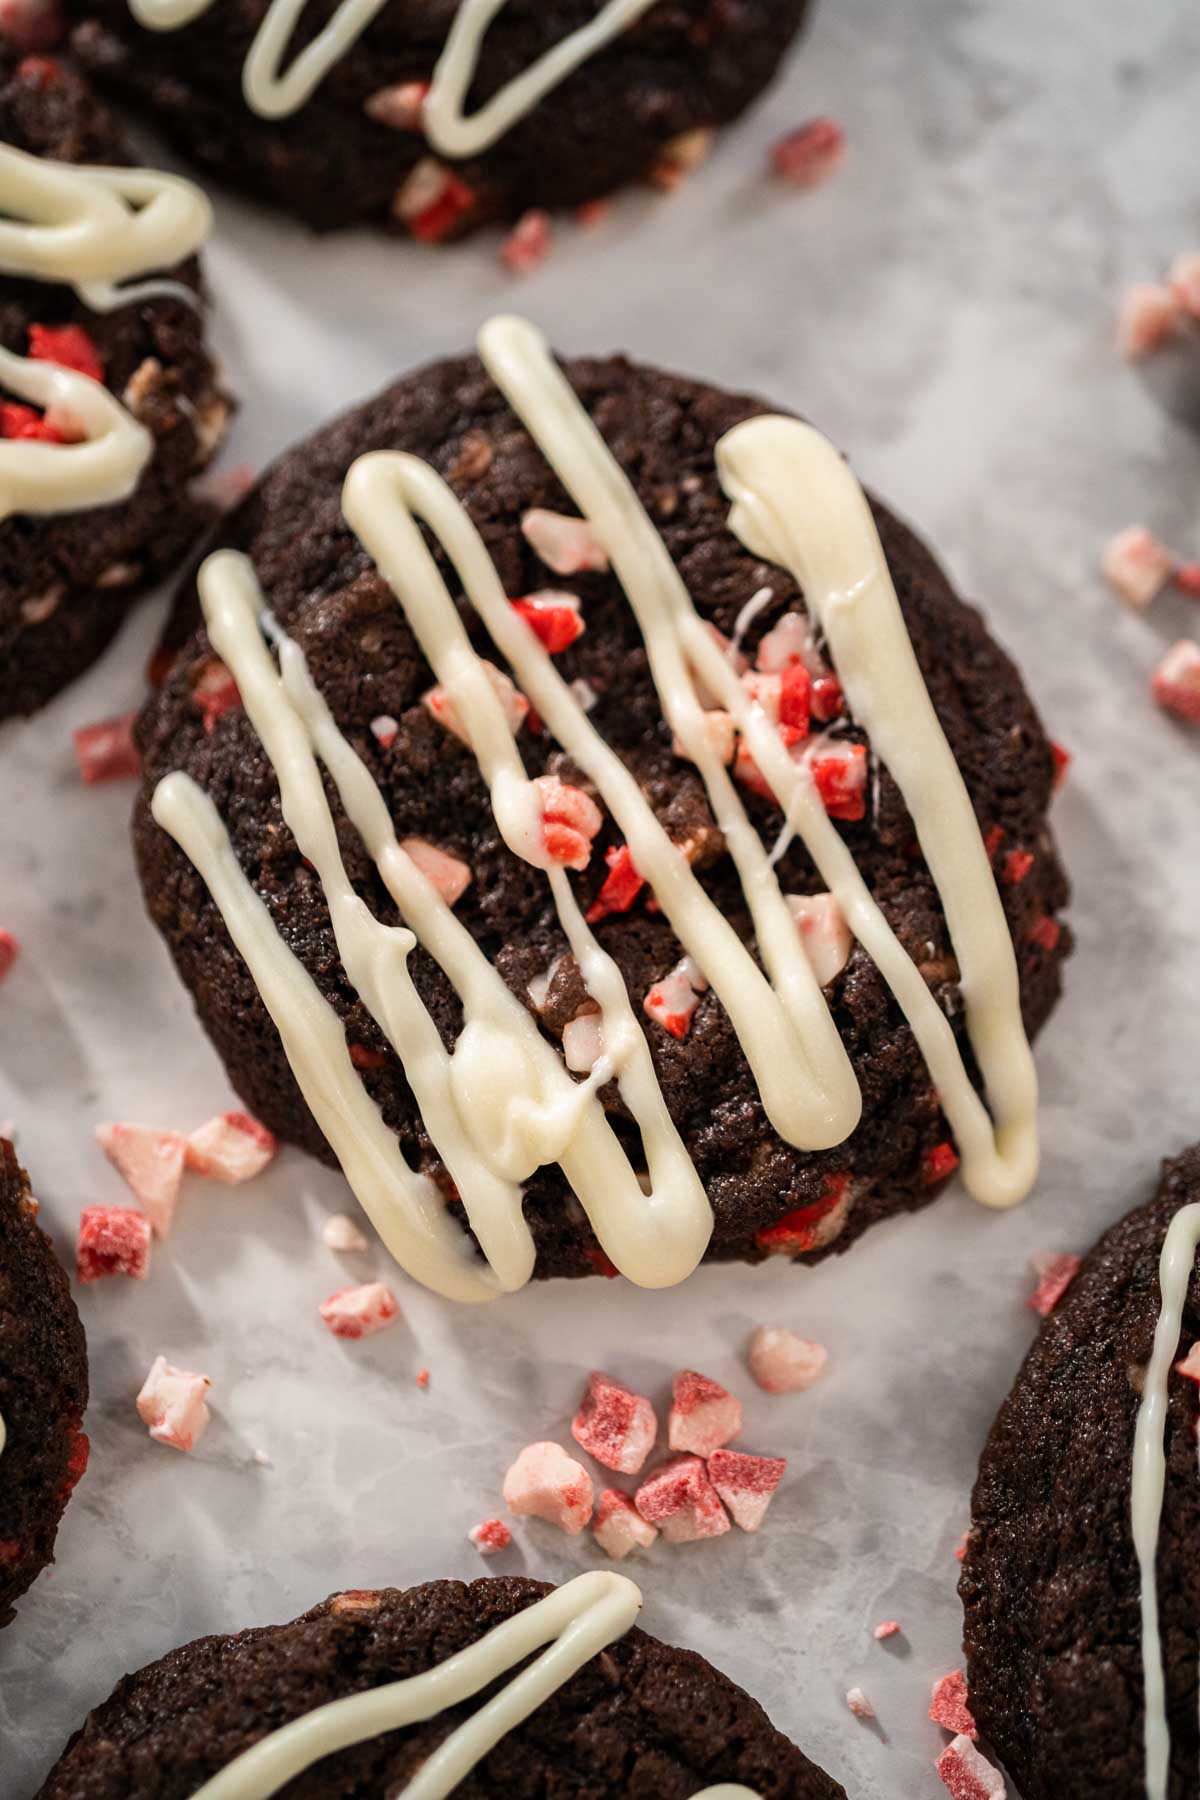
While the chocolate is still wet, I sprinkle the dipped side with holiday sprinkles, crushed nuts, or crushed peppermint candy canes. This method adds texture, color, and a burst of flavor to every bite. Unlike piped chocolate icing, dipped chocolate works as a base for these fun toppings. If you’re curious about how to achieve the perfect dipped cookie, check out my blog post How to Decorate Cookies with Melted Chocolate for a step-by-step guide.
Dipped cookies dry much faster than royal icing—typically within 30 minutes to an hour, depending on how thick the chocolate layer is.
Storing Decorated Cookies
Once decorated, I let the cookies dry completely before stacking or packaging. For royal icing, I allow up to 48 hours for flooded cookies to set, while chocolate icing or dipped cookies are usually ready in about an hour.
For gifting, I individually wrap each cookie in self-sealing plastic bags. This keeps them fresh, prevents decorations from smudging, and makes them look beautifully presentable.
More Cookies Recipes
Conclusion: A Classic for Every Occasion
And there you have it—Classic Cut-Out Sugar Cookies that are as versatile as they are delicious. Whether you're baking for the holidays, a birthday, or just because cookies sound like a great idea (spoiler: they always do), this recipe is a must-have in your baking repertoire. These cookies are perfect for decorating with your favorite icings and sprinkles, but they’re just as irresistible plain, with their buttery, soft texture and hint of vanilla.
For me, these cookies aren’t just a recipe—they’re a tradition. Every year, my kitchen transforms into a cookie-making workshop, complete with flour-covered counters, the hum of my trusty stand mixer, and the laughter of my family as we roll, cut, and decorate together. It’s not just about the cookies themselves; it’s about the memories made in the process. And honestly, there’s something magical about seeing a tray of beautifully shaped cookies come out of the oven, knowing you created them from scratch.
I hope this recipe finds its way into your family traditions too. Whether you’re baking with kids, gifting cookies to loved ones, or just indulging in a little me-time with a warm tray of cookies fresh from the oven, this recipe is here to make your life sweeter—literally.
And if you’re looking for more baking inspiration, don’t forget to check out my other recipes for decorating ideas, icing tutorials, and even some fun flavor variations to mix things up. Thanks for baking with me—happy baking, and may your cookies always hold their shape and your house always smell like butter and vanilla!
Classic Cut-Out Sugar Cookies
Video
Equipment
- Cooling rack optional
- Cake Spatula optional
- Dredge shaker optional
Ingredients
- 2 ½ cups all-purpose flour sifted
- ½ teaspoon salt
- 1 egg
- 1 teaspoon vanilla Extract
- 1 cup unsalted butter softened
- ⅔ cup sugar
Instructions
- Before starting, measure and prepare all of your ingredients. Sift the flour for best results. This will ensure the process runs smoothly and efficiently.I’m making a double portion here, so feel free to adjust if you’re making a smaller batch.
- In a large mixing bowl, whisk together the sifted flour and salt until fully combined. Set the bowl aside.
- In a medium bowl, whisk together the egg and vanilla extract until smooth and fully combined. Set aside.
- In the bowl of your kitchen mixer, add the softened unsalted butter and granulated sugar. Using the paddle attachment, cream them together on medium speed for about 2-3 minutes, until the mixture becomes light and fluffy.
- Scrape down the sides of the bowl with a silicone spatula, then add the egg and vanilla mixture. Continue mixing on medium speed until everything is fully incorporated and the mixture is smooth.
- Gradually add the dry ingredients (flour and salt) to the wet mixture, about ⅓ at a time, mixing on low speed after each addition. Mix until a smooth dough forms.
- Once the dough is fully mixed, divide it into two equal portions. Flatten each portion into a disk and wrap in food wrap.
- Place the dough in the refrigerator to chill for at least 1 hour. This helps firm up the dough, making it easier to roll and cut.
- As the dough chills, preheat your oven to 350°F (175°C). Line your baking sheets with silicone baking mats to prevent sticking.
- After chilling, remove one disk from the refrigerator. Lightly flour your work surface and rolling pin. Roll the dough out to about ¼-inch thickness using the adjustable rolling pin for even consistency. If the dough starts to get too soft or sticky, chill it again briefly.
- Use your cookie cutter to cut out shapes from the rolled dough. Carefully transfer the cut-out shapes onto the prepared baking sheets, leaving about 1 inch of space between each cookie.
- Place the cut-out cookies in the refrigerator for an additional 10 minutes to help them hold their shape while baking.
- Place the baking sheets in the preheated oven and bake the cookies for 8-10 minutes, or until the edges are lightly golden. The centers should remain slightly soft as they will firm up while cooling.
- Once baked, remove the cookies from the oven and let them cool on the baking sheet for about 5 minutes. Afterward, transfer them to a cooling rack to cool completely.
- Repeat the rolling, cutting, and baking steps with the remaining dough.
Notes
Nutrition
Food Photography & Video Tips from My Studio
Here’s a peek at the tools, gear, and camera setups I use to film my recipe videos and photograph food at home. Over the years, I’ve tested dozens of different setups, and now I’m sharing what actually works for me—whether I’m filming overhead shots for YouTube or styling still photos for my blog. If you’re curious about how I create the content you see here, these posts are a great place to start.





















Leave a Reply