How to Effectively Use and Store Vinyl Backgrounds for Food Photography and Product Photography
This post contains affiliate links.
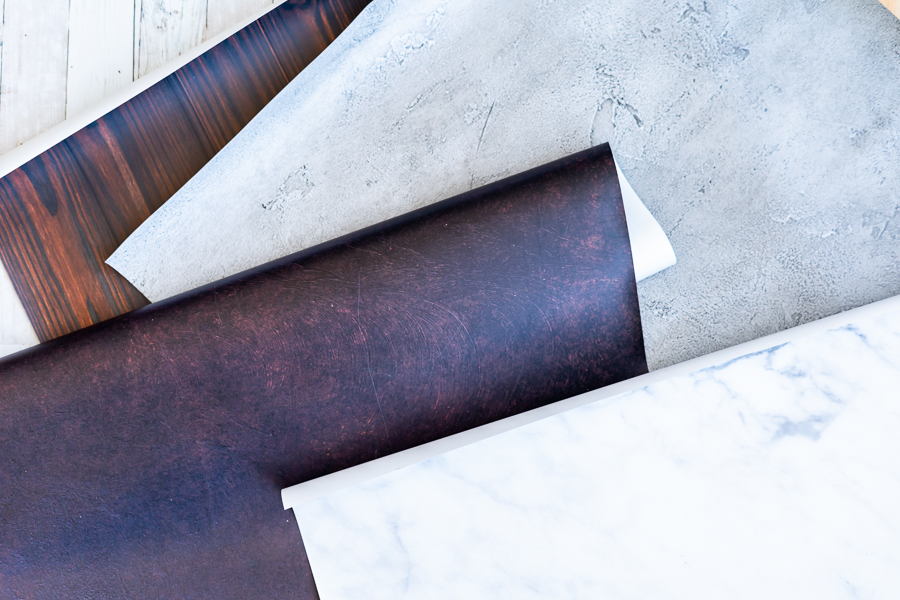
One of the most important parts of being a food photographer is being able to control your backdrops and backgrounds. As they can change entire shoots, it is important to use backgrounds as effectively as possible to make sure you’re getting the most out of your shoots. In this blog, I’ll talk about vinyl backgrounds and how I use them in my studio.
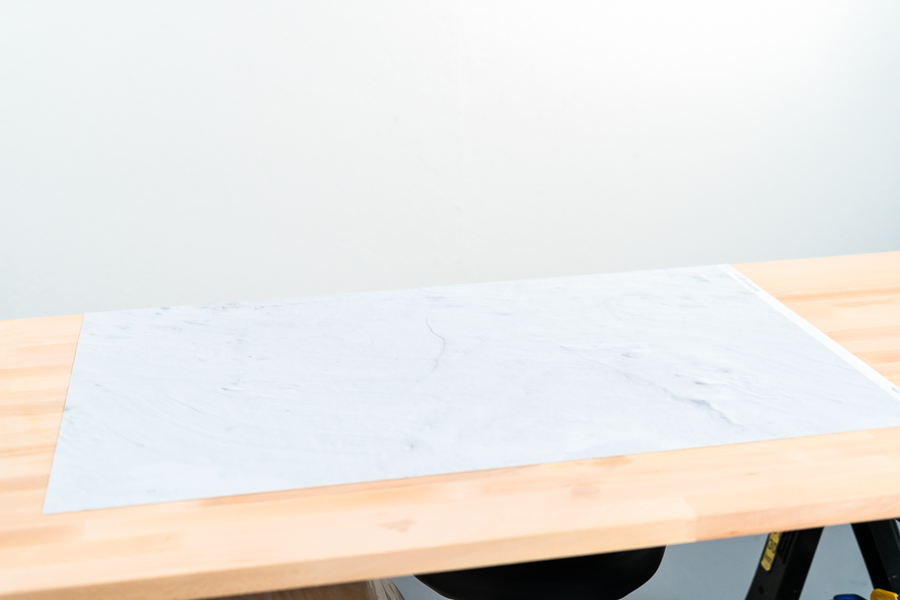
Table set up for food photography or flat lay:
As I was starting photography, I had a very large collection of boards to use as backdrops and backgrounds. I would make all these boards myself from real wood, screws, and nails, and I would paint or stain each board myself. Doing this took a few days, due to how much work it took to make a new board. It seems every week I was making another board for a different shoot, so I started to form a pretty big collection. At that point, I had only a home studio so storage was a bit tricky, and I had to line all my boards up on the wall around my living room. After moving to larger studio spaces, I began to use more effective storage methods such as using wire shelves (which I talk about here), but boards were still too big and bulky when moving studio spaces or in everyday shoots. I also had to make each board, which was nice because I had full creative control on the style of board, but this became quite expensive and boards take a while to make. In order to use my space more effectively, I had to change my system of backdrops.
I had considered using vinyl backgrounds before, but I had two concerns for using vinyl: I didn’t think they were durable enough for repeated use, and that they didn’t show enough texture in close-up shots. However, after buying a large plain table from IKEA, my ability to use vinyl backgrounds was greatly improved. Whenever I want to use a vinyl background, I just attach a background to my sturdy IKEA table and the background is perfect for any shoot. When using vinyl for this, which is usually a pretty delicate material, I find that small-scale messes are pretty easy to clean and don’t leave any marks on the vinyl. Using the IKEA table is also nice because of its weight, which makes the vinyl background pretty stable and hard to move around. Using vinyl is also a much more cost-effective background, as they cost around $25 for each background, while it cost around $100 to make a single board.
Securing the vinyl background was also an issue. I had tried to attach the background to the table with, large metal clamps, which worked pretty well, but I started to have issues with the clamps casting shadows onto my shooting area. I also had some issues with the background curling in the areas that weren’t secured, which was causing issues with my shoots. When preparing my daughter’s Ice Skating themed birthday party, I was using, double-sided adhesive tape to attach decorations to the wall and got the idea to use this tape for my vinyl backgrounds. After attaching the background to the table with this tape, I knew that this was the perfect way to keep the backdrop steady while shooting. The tape is non-destructive, so I’m able to remove the background without hurting both the vinyl or my table.
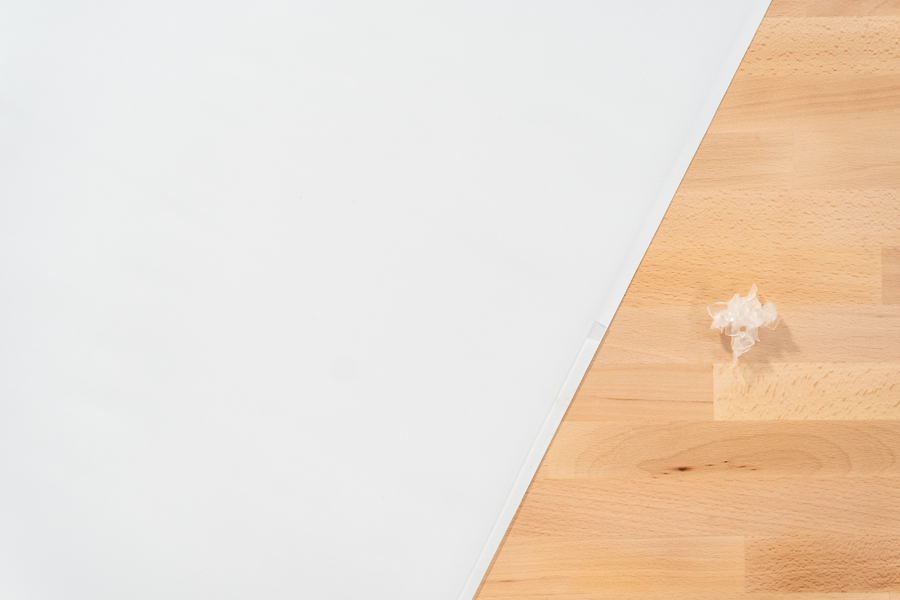
However, after about a month of leaving the tape attached to the vinyl background, I ran into another difficulty- over time, the tape will become hard as the adhesive dries on the table and vinyl background. This causes the vinyl to become stuck to the table, which is pretty tough to remove without damaging the vinyl or the table. My recommendation to solve this is to change out the tape every week, just so that the adhesive doesn’t get too attached to the vinyl.
Storing the vinyl backgrounds is also a challenge, as the vinyl is quite delicate and can quickly bubble or becomes deformed if not stored correctly. To store my backgrounds, I just use an old gift-wrap tube and wrap the vinyl backgrounds around them and store them onto my background shelf. I go more in-depth on how to store vinyl backgrounds and other backdrops in this blog.
View of a vinyl background mounted on the wood tabletop after one week.
Removing double-sided tape from the vinyl background.
Food Photography & Video Tips from My Studio
Here’s a peek at the tools, gear, and camera setups I use to film my recipe videos and photograph food at home. Over the years, I’ve tested dozens of different setups, and now I’m sharing what actually works for me—whether I’m filming overhead shots for YouTube or styling still photos for my blog. If you’re curious about how I create the content you see here, these posts are a great place to start.





Leave a Reply