How a food photographer can shoot their own portrait
This post contains affiliate links.
As a food photographer, I feel most comfortable being behind a camera and some food, so shooting my own self-portrait becomes a very challenging and terrifying process.
A portrait is quite important as it provides a face to potential customers and is always my first impression, so keeping them updated is important. After realizing that my current headshot was 4 years old, I reached out to some of my photographer friends but proved to be impossible to find any times that worked between our schedules. The worst came to pass, and I had to bite the bullet of shooting my own self-portrait, a task I saw as most daunting.
I tried to plan this shoot just like how I plan for any other shoot. I prepared backdrops and various outfits, and thought about how I would pose, and planned the logistics of the shoot. I put my camera on manual settings with autofocus, then placed my camera on a tripod connected to an external monitor right above the camera so I could see the shot and be looking at the right place. A wireless remote allows me to control the camera. Taking photos with a wireless remote control while I’m in front of the camera feels unfamiliar, scary, and quite uncomfortable. This shoot is what made me feel sorry for all the non-professional models I’ve used in previous shoots; there is quite a large difference between what feels right to the body and what looks good on camera. I’m so used to being behind the camera and asking my models to pose in a specific way that looks best, that I never understood how uncomfortable it is to be striking those poses.
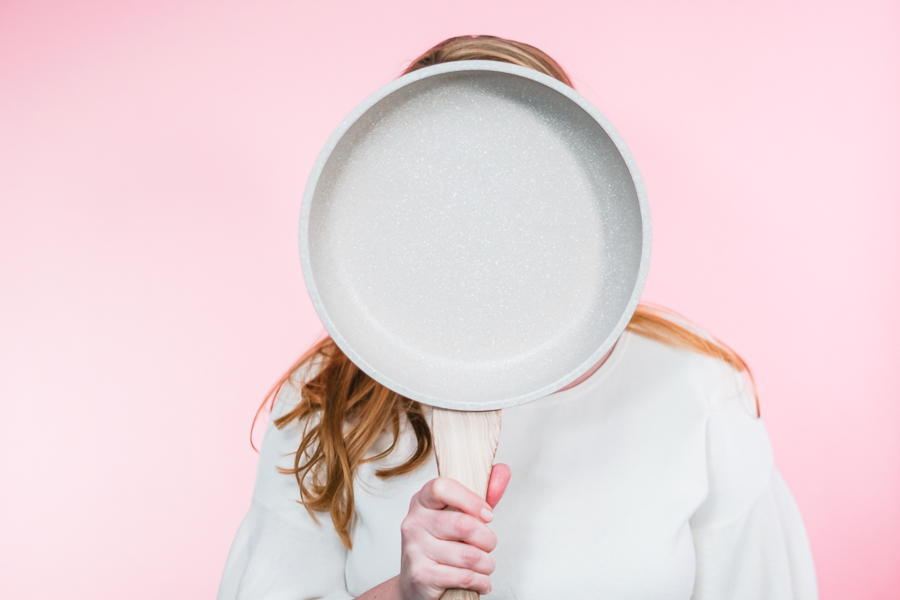
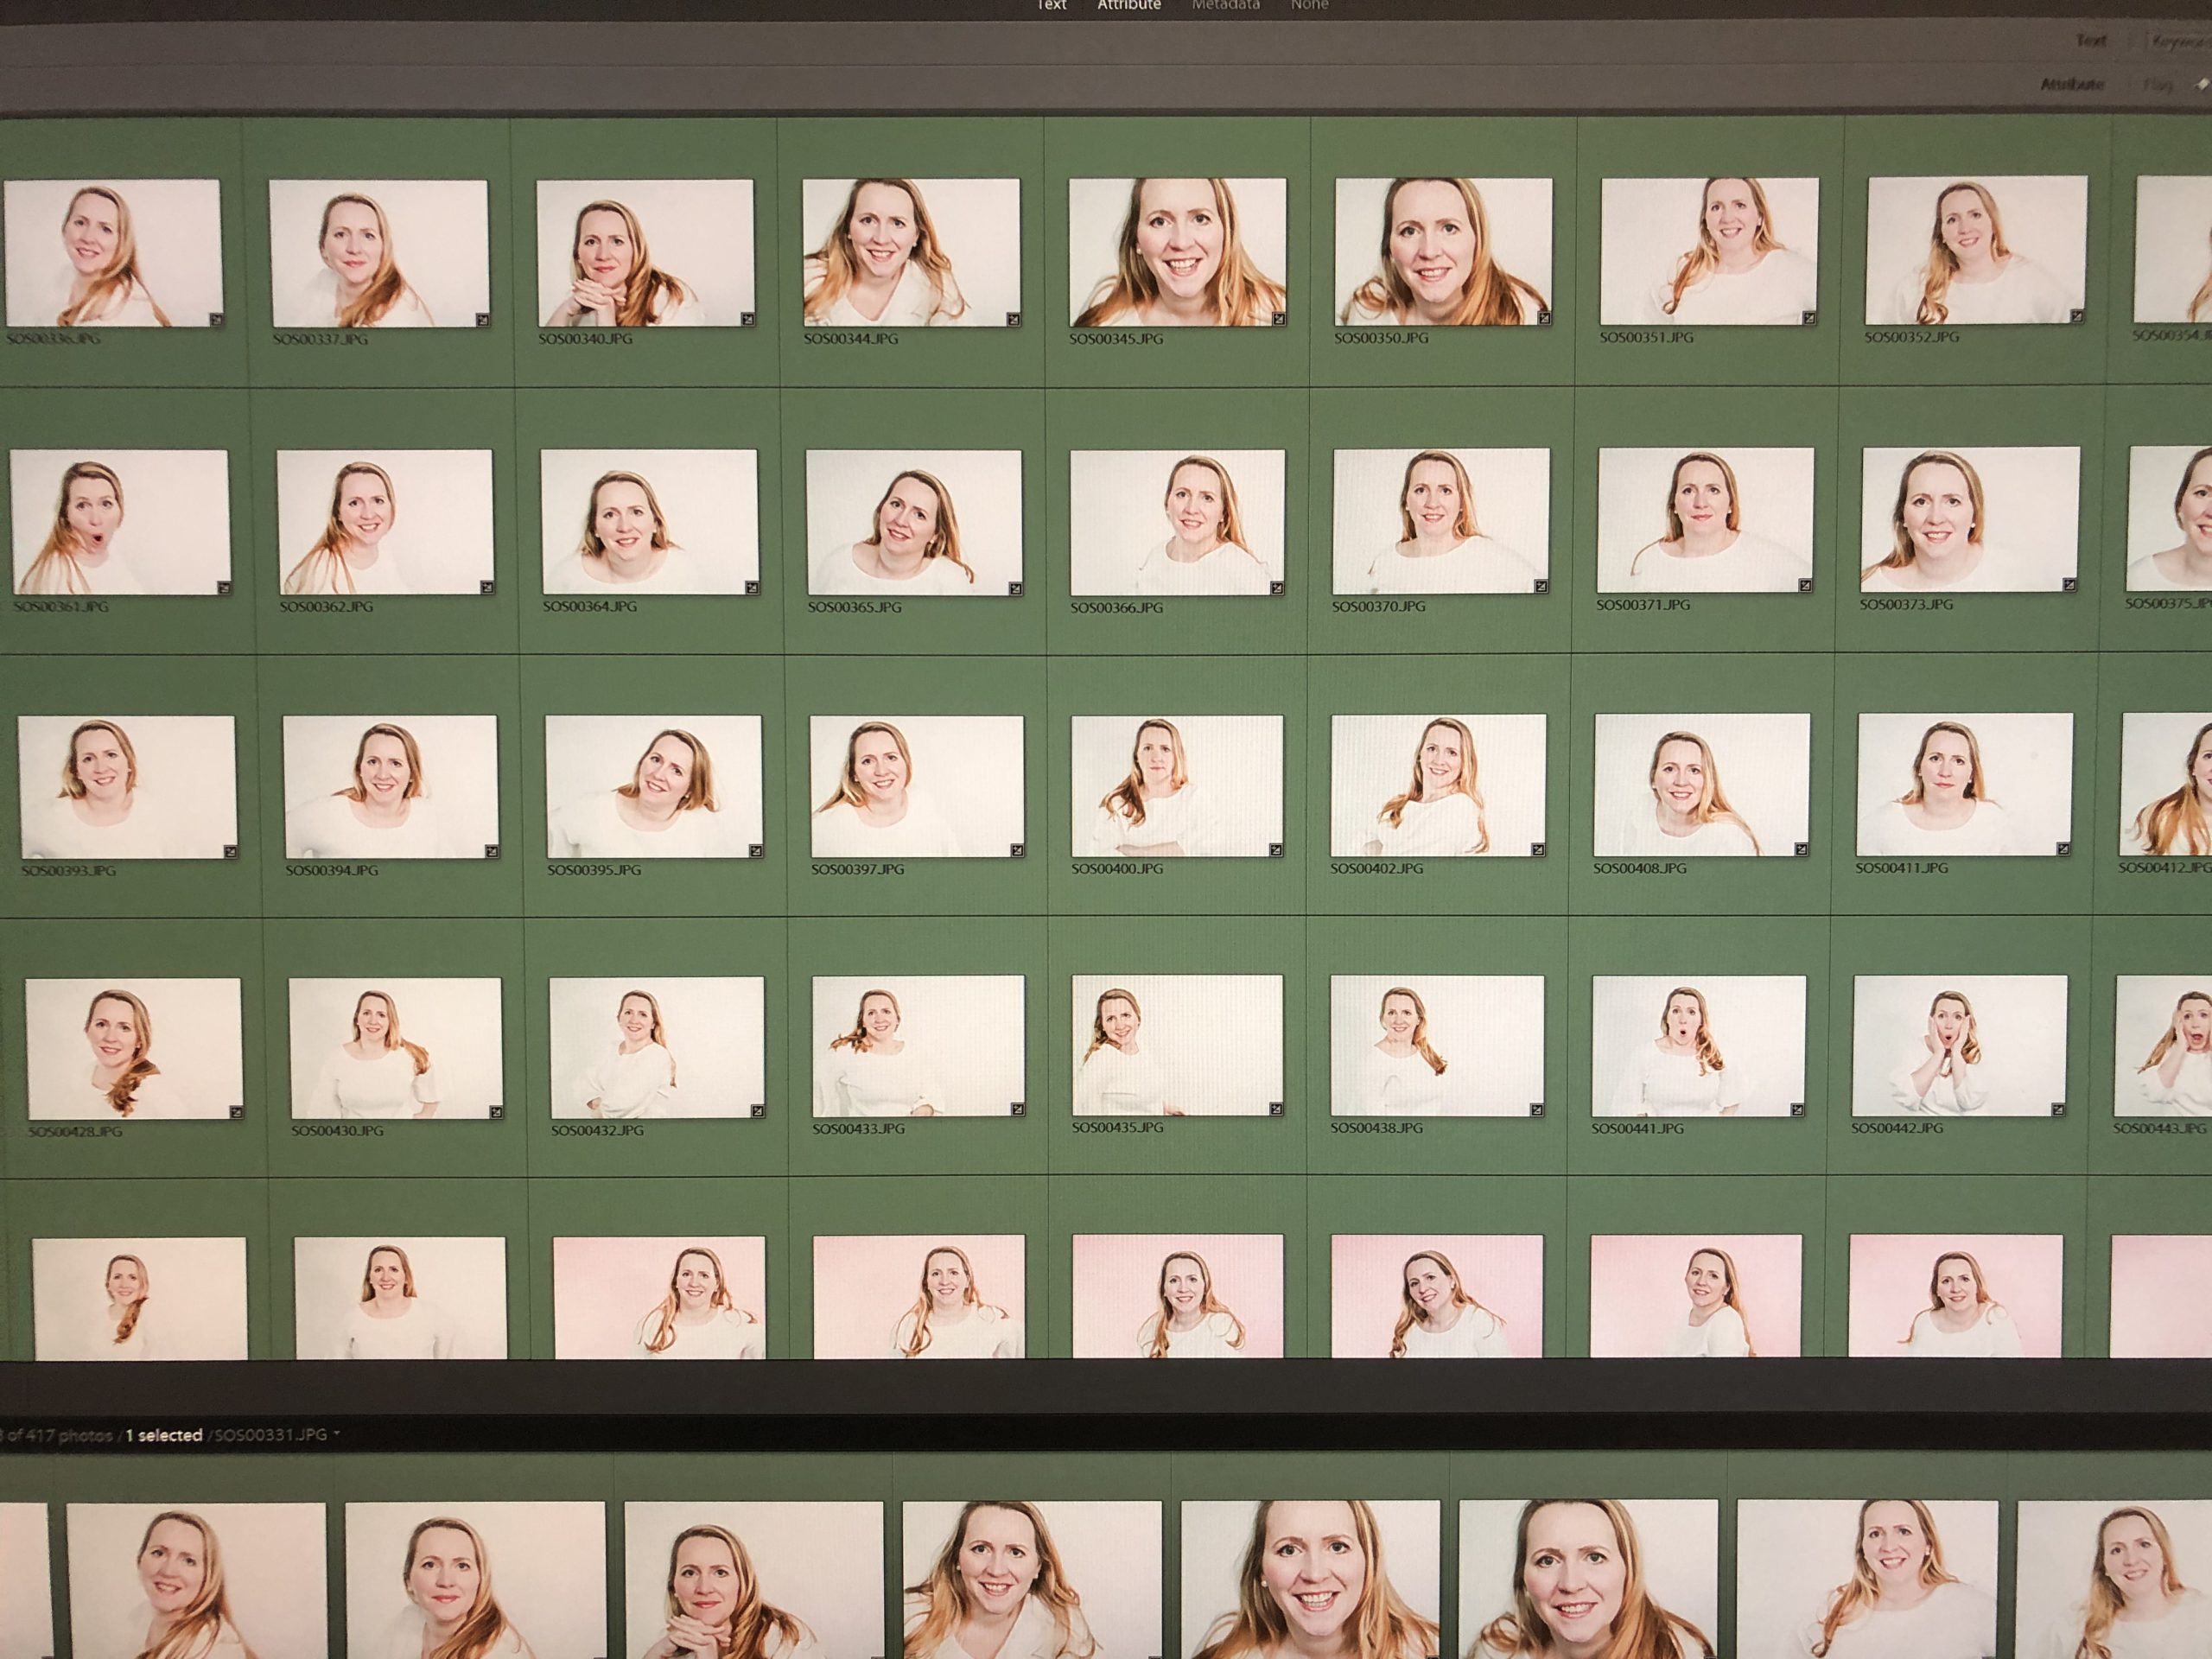
This shoot took a bit longer than I thought it would at one and a half hours. As the shoot went on, I began to understand what I was doing and how to improve as both a portrait photographer and a model. Near the end of the shoot, I even began to enjoy figuring out what poses looked the best on camera for me. At the end of the shoot, I had taken around four hundred unprocessed images, and of course, I disliked most of them; I saw fake smiles and poses that looked unnatural, but I finally found a picture that I really liked.
Must-Have Equipment for a Self Portrait
Tripod
The tripod makes the shoot far less complex than it already is, and helps ensure consistent shots. A tripod also allows for mobility in the shoot- if you want a different angle or closer/further shot, you can move the camera around with ease.
Remote
The wireless remote, helps you take photos or videos without even touching your camera, making it easy to pose and take a photo without moving at all. A wireless remote ensures that you have even more mobility in the studio, and when used with the external monitor, you can take perfect shots from anywhere.
External Monitor
The external monitor is the most important- you’ll be able to see what you’re doing in terms of poses or focus and be able to see what kind of poses look best without having to take a photo and go back to the camera to see how it came out.
In my normal shoots, I am both the photographer, model, and cook, but this shoot was wildly different from those, in that I’m the sole focus of the shoot. Now that I understand what kind of techniques to use in this type of shoot, I’m going to try to shoot a new portrait every six months. Despite the challenge and fear I had of this shoot, it turned out to be most interesting and quite fun.
Equipment used in this photoshoot
Manfrotto Photo-Movie Head with Q5 Quick Release System for Tripods and Cameras
Feelworld FW759 Screen Camera Field Monitor 1280x800 IPS Screen (7 Inch)
Jerkstopper Tether Tools Tethering Camera Support
Micro HDMI to HDMI Cable, 15 feet. For Sony
Dracast DRP-LK-2x1000-BG 2 X LED1000 Bi-color
Background Paper, Super White, 107" x 36'
Background Paper, pink, 53" x 36'
Food Photography & Video Tips from My Studio
Here’s a peek at the tools, gear, and camera setups I use to film my recipe videos and photograph food at home. Over the years, I’ve tested dozens of different setups, and now I’m sharing what actually works for me—whether I’m filming overhead shots for YouTube or styling still photos for my blog. If you’re curious about how I create the content you see here, these posts are a great place to start.
#selfportrait #photography #portraitphotography #foodphotography #foodphotographyandstyling #selfie #selfies #selfportraitphotography #selfportraiture





Leave a Reply