An easy and fun kids craft activity to enjoy for spring or summer break!
This post contains affiliate links.
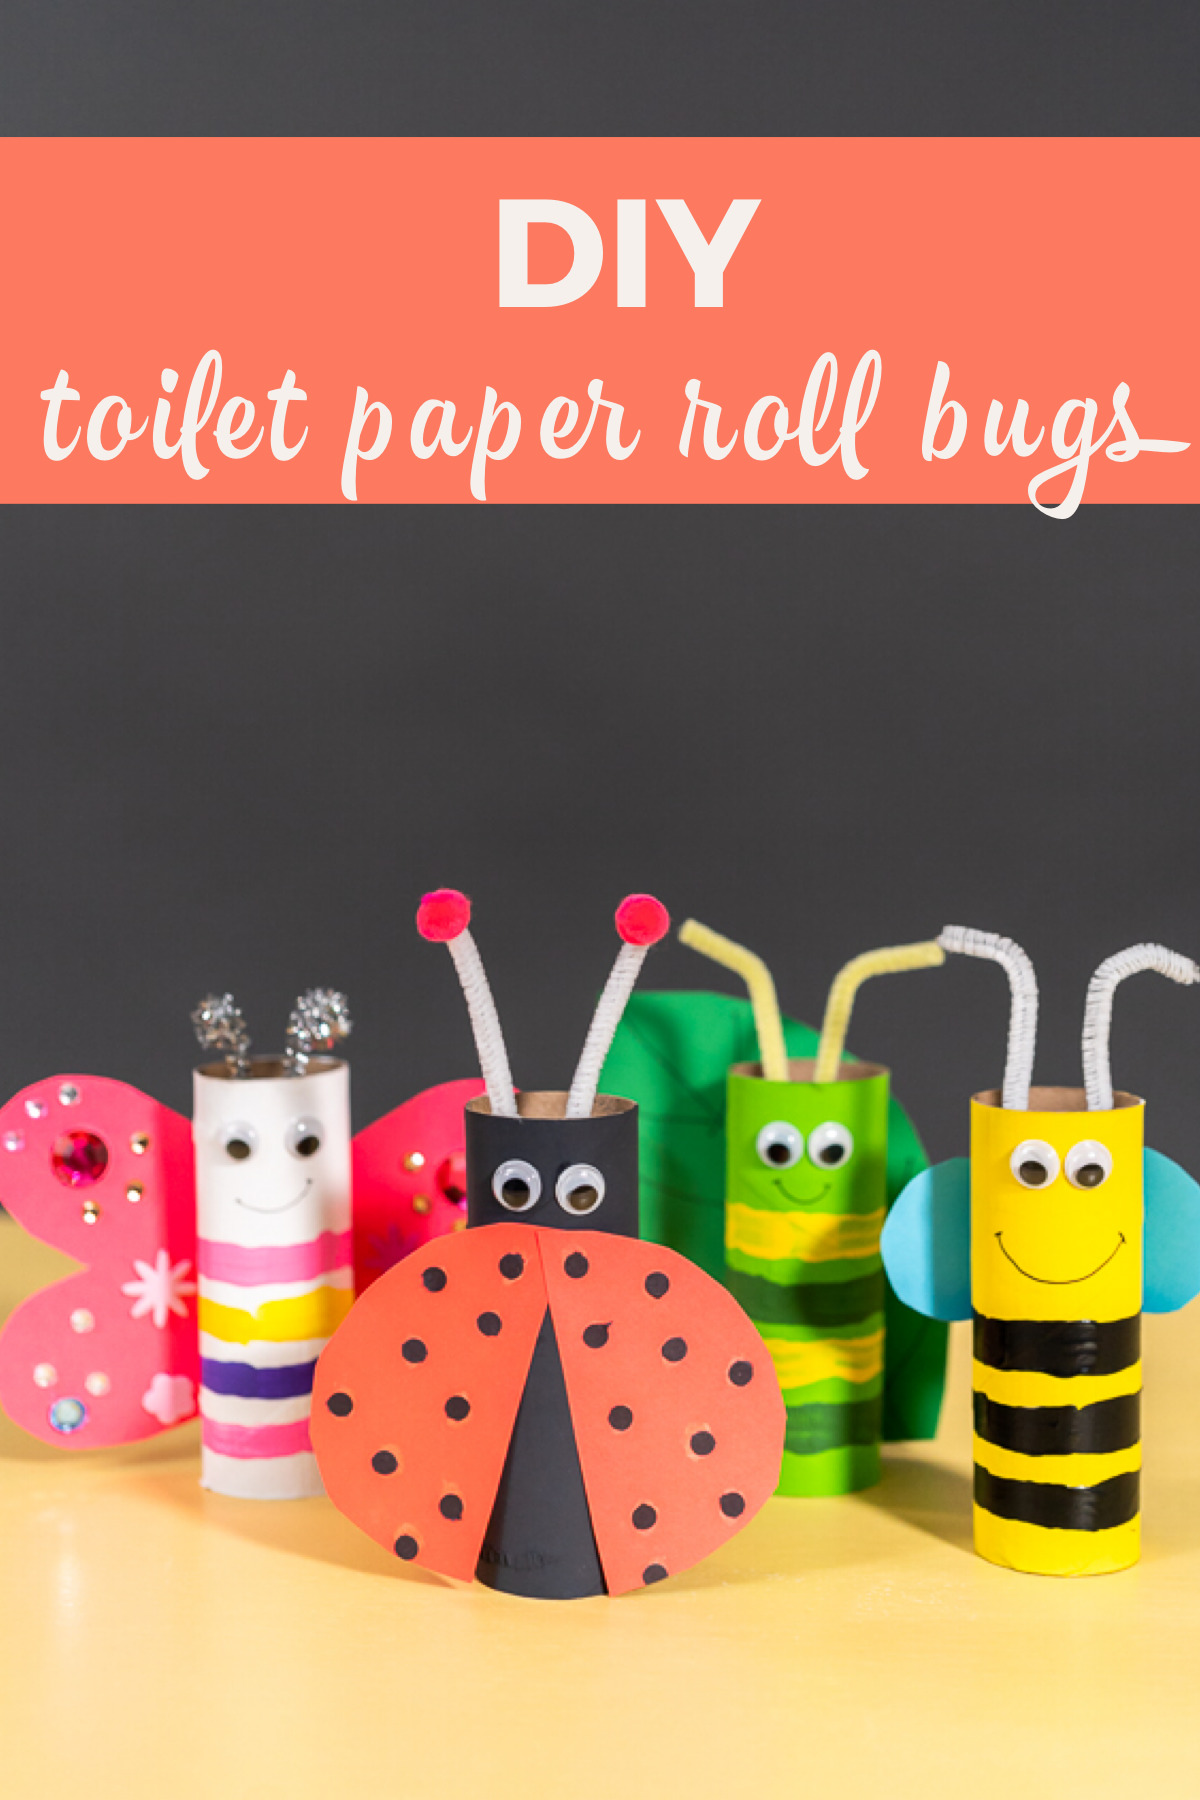
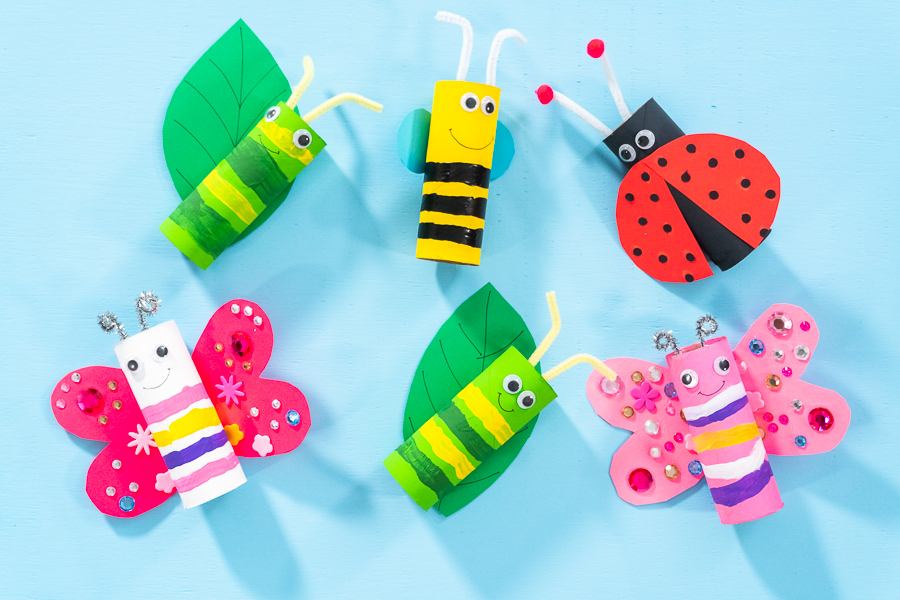
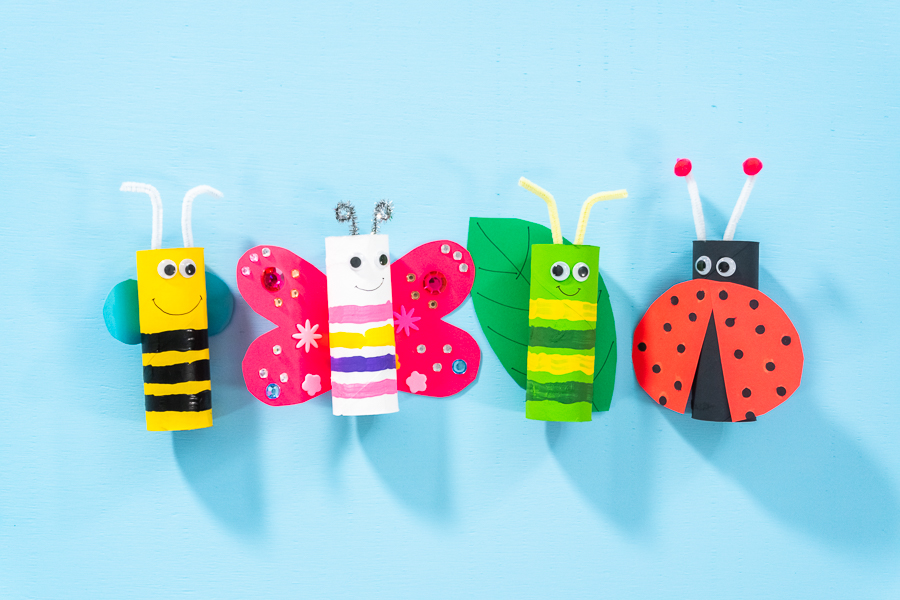
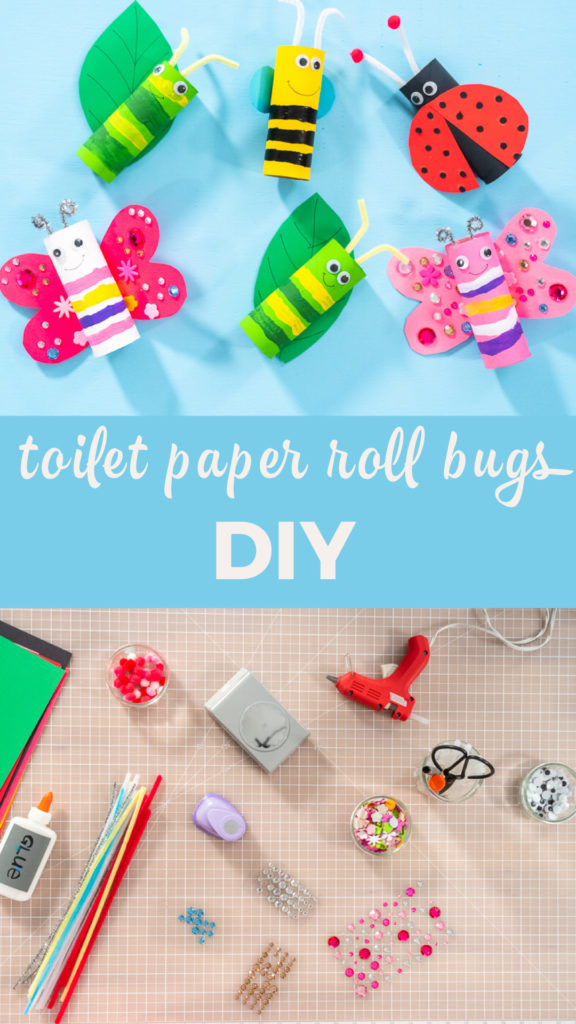
Spring is finally knocking at the door bringing with her some lively sunshine, fresh flowers, and warmer days. Not too far behind is the week that school children have been waiting for since Christmas vacation...spring break! A little taste of the summer vacation that lies just a few more weeks ahead. But while the kiddos are jumping for joy and bursting with excitement about their mini vacation, you might be trying to figure out what to do to keep the little ones active and creative while they’re at home. Or maybe you are usually pretty good at that but now you are searching for some fresh ideas on fun spring activities to do with the kids. Instead of just sending the kids outside to play and stretch their legs, try setting them up with a fun and easy kids craft like these adorable DIY Toilet Paper Roll Bugs!
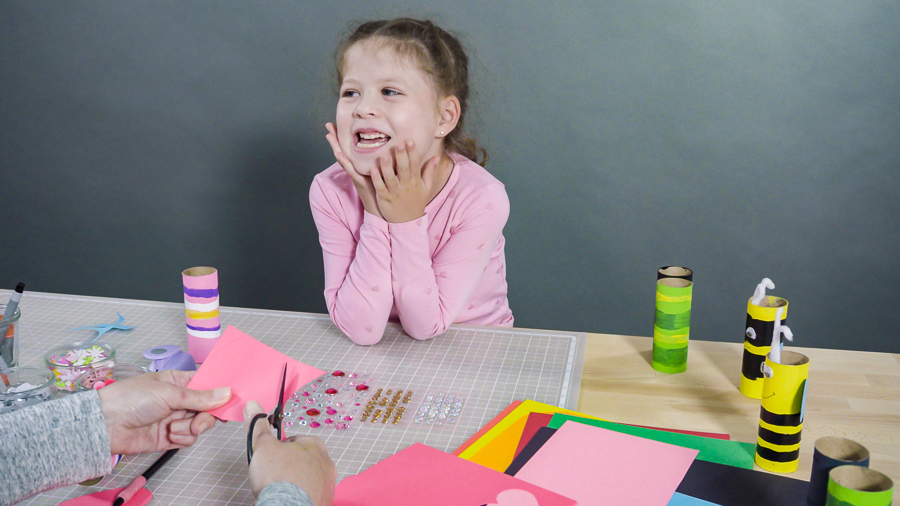
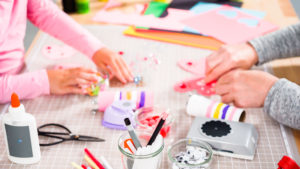
This is an easy project to do with toddlers, as a fun spring or summer craft idea to do around the house, or as an exciting kids birthday party activity! Not only is this hands-on craft project great for kids to do as a family project, you can also set them up to do this while you catch up on work or cleaning house. Plus you get the added bonus of teaching your little ones how interesting and crafty recycling can be since this project involves reusing empty toilet paper rolls. If you have some other cardstock and construction paper scraps this is an excellent opportunity to put them to good use too. All around, this kids craft is a great option for your kiddos to have fun while keeping their mind and creativity active during school breaks.
DIY Toilet Paper Roll Bugs Tools and Materials
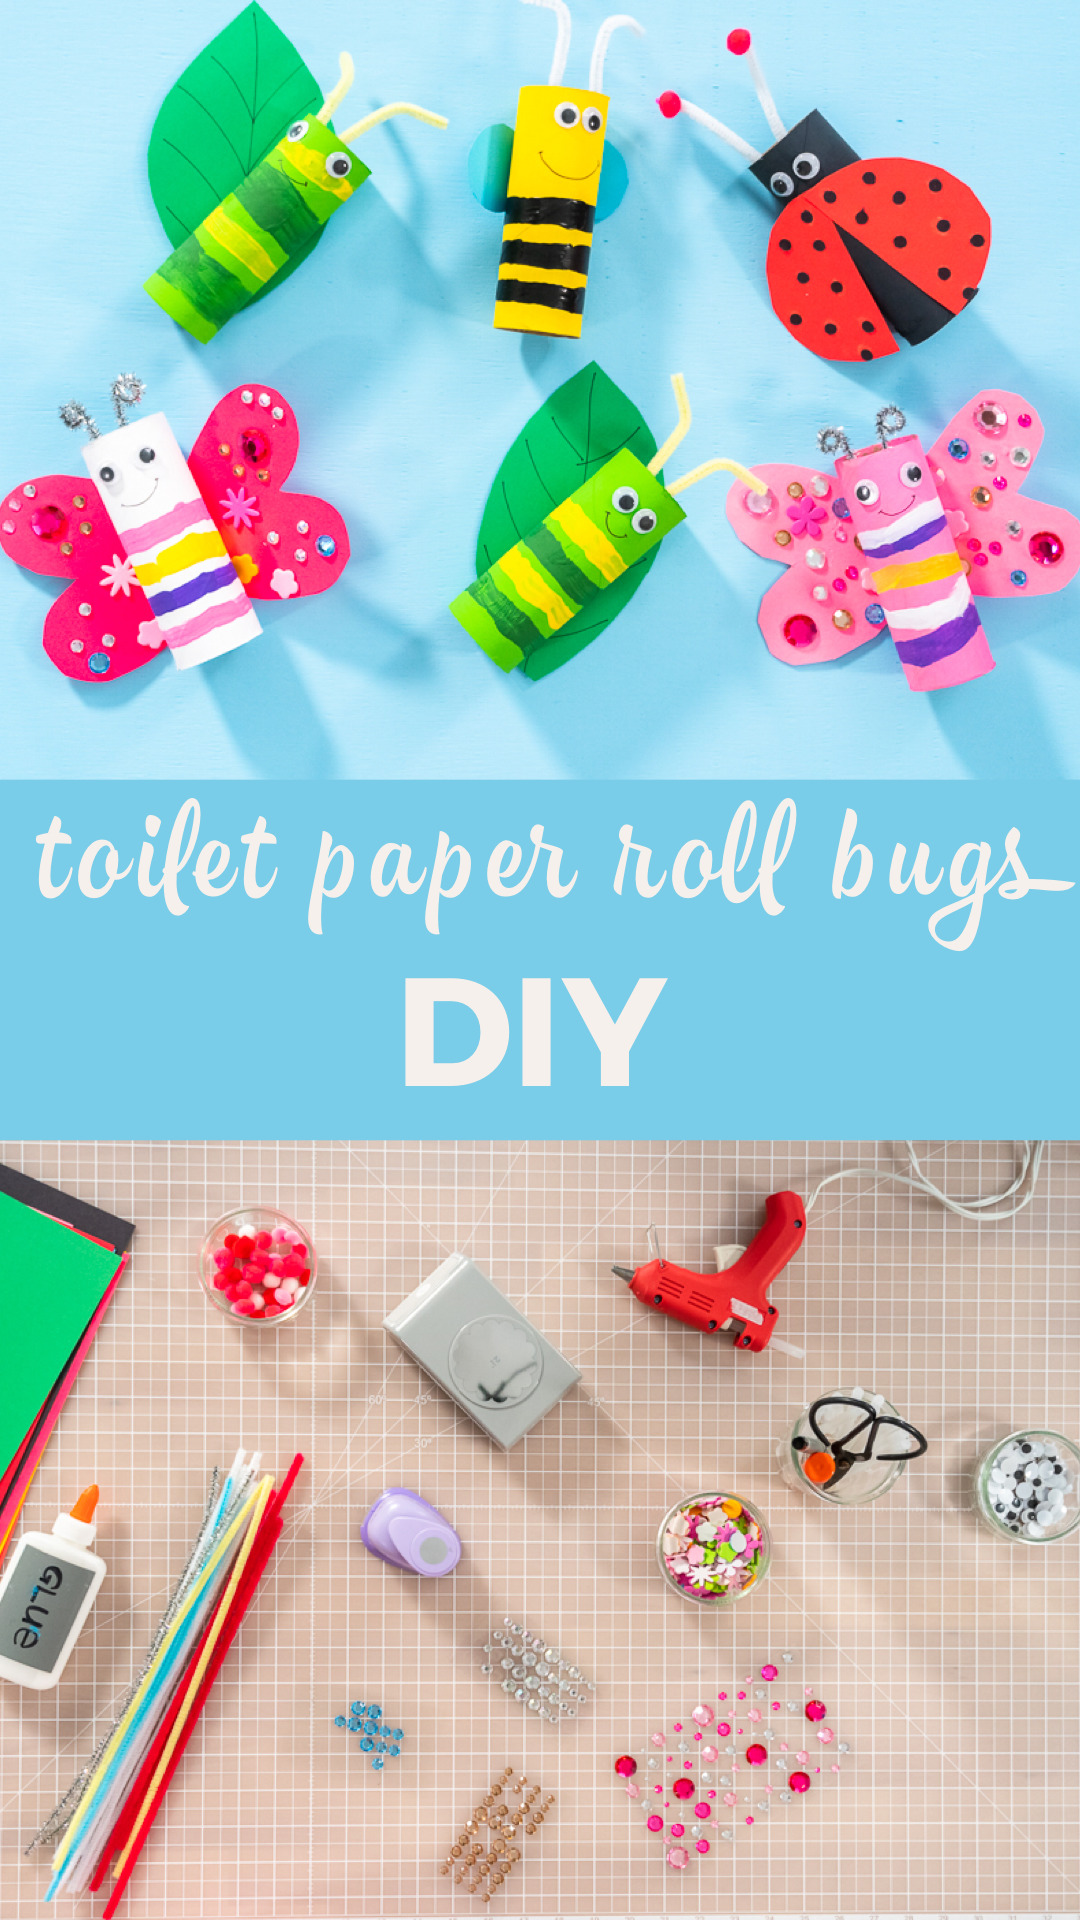
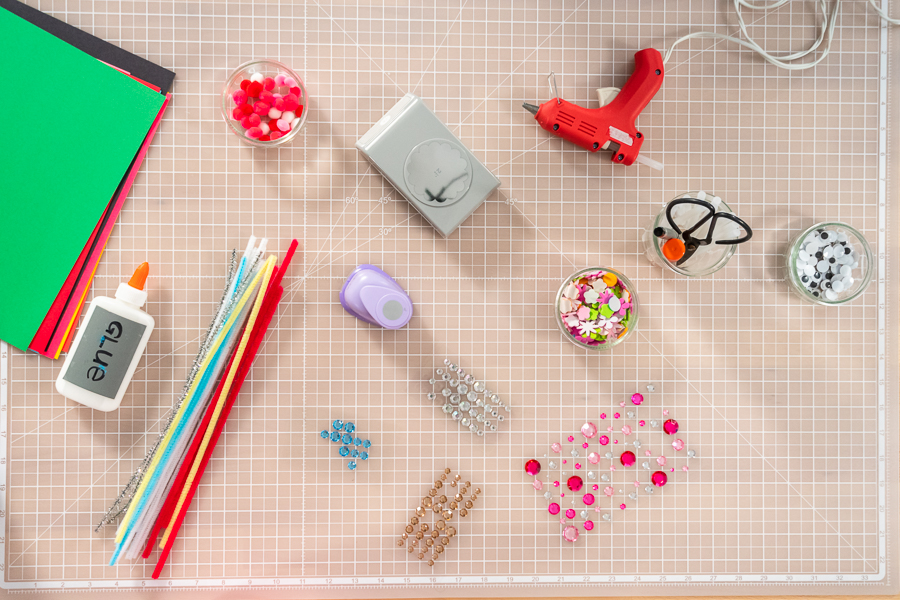
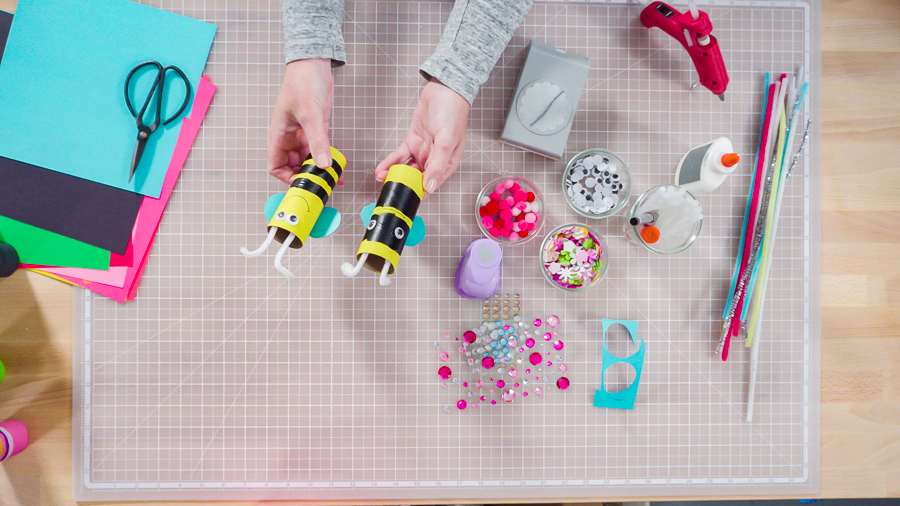
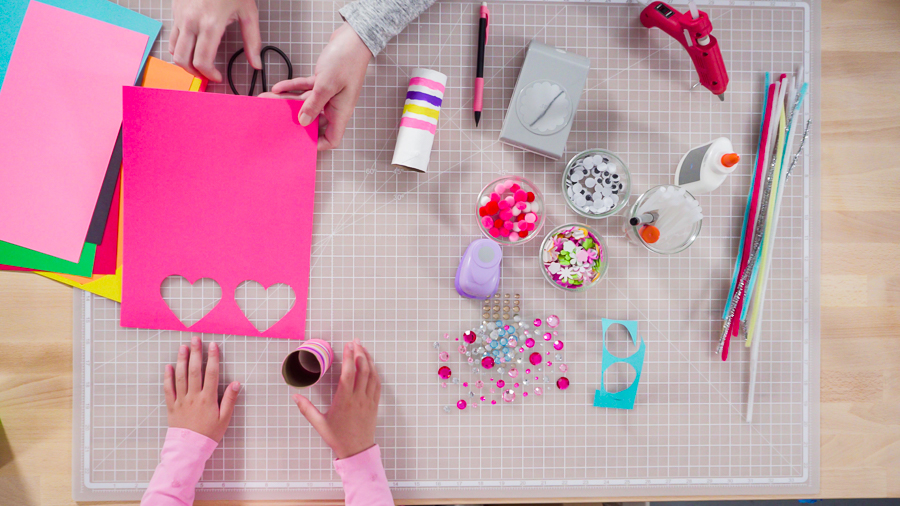
The first step for this kids recycling craft is to gather up the materials you need for this activity. The materials and tools needed for this toilet paper roll craft are just typical craft materials you may already have laying around the house. If you don’t have all the items you need then they can be found in stores easily and are usually cost effective making this a budget-friendly craft.
Materials Needed for Crafting Toilet Paper Roll Bugs:
- Empty toilet paper rolls or craft rolls
- Cardstock paper (with other paper scraps, if desired)
- Scissors (opt for kid-safe scissors if your kiddos want to do this project on their own)
- Glue
- Acrylic paint (or craft paint)
- Paint brushes & pallets
- Large translucent cutting mat
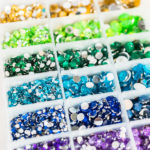
- Rhinestone Stickers
- Craft pom poms
- Chenille Stems
- Googly Eyes
- Black sharpie
- Hole punch
Crafting the Cute Toilet Paper Bugs
Now that you and your little ones have rounded up the materials and crafting items for this family activity, we can move on to constructing these cute little DIY craft bugs. This is a project that is super easy and fun for young kids, even for toddlers, so it is perfect for making quality family time easier than ever, no TV required.
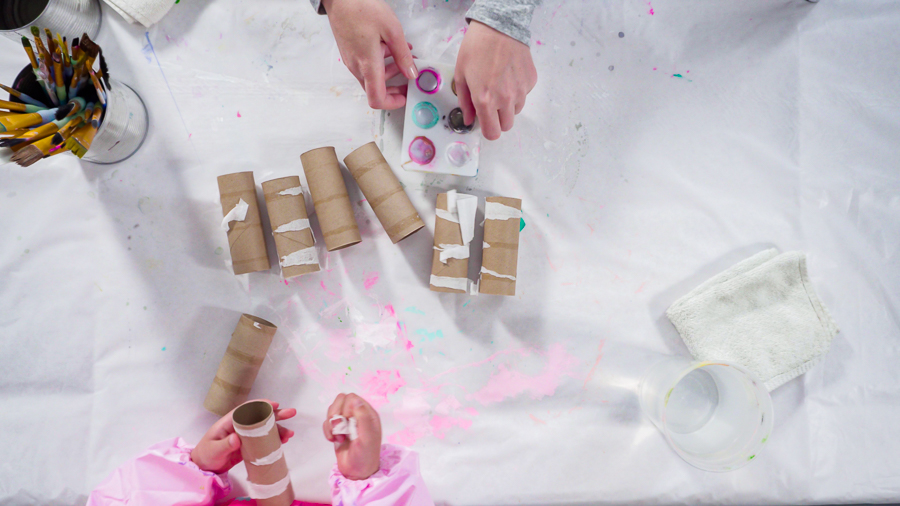
- First, remove any excess glue and paper from the empty toilet paper rolls.
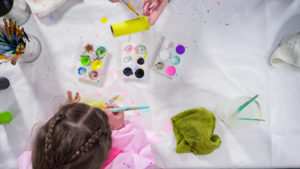
- Then, choose the base color of your bug or bugs and squeeze some acrylic craft paint out onto the palette.
- Use a large paint brush to paint the base color onto the outside of the empty toilet paper rolls.
- You might need a few coats of this color to make sure the paint is solid and that the tube is completely coated.
- Let the base coat of paint dry for a full hour. While those are drying make sure to rinse the palette so the paint doesn’t stick to it.
- Some acrylic paints can be very difficult to remove later if they are allowed to dry out completely on the palette.
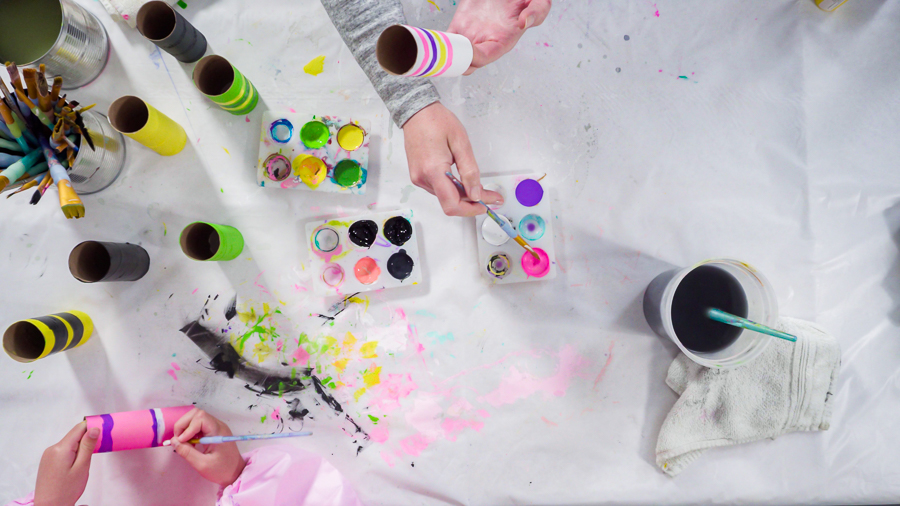
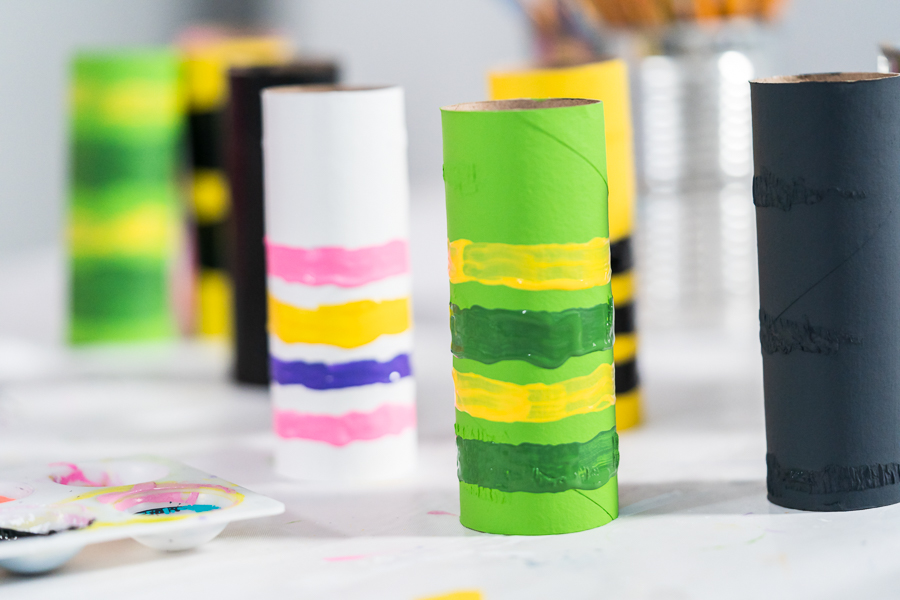
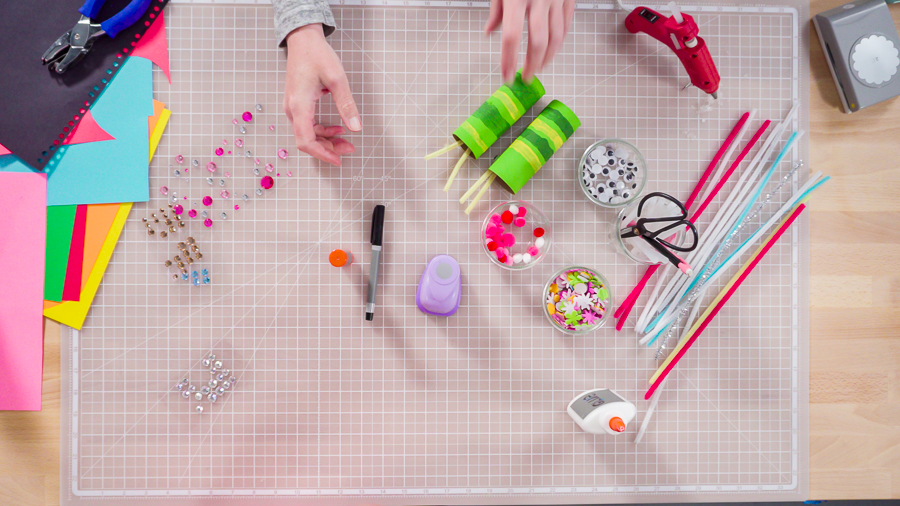
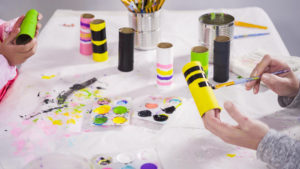
- Next, use a smaller paintbrush to paint some horizontal stripes onto the craft bugs using a few different paint colors that have been squeezed out onto the clean (and dry) palette.
- Now it’s time to make the antennae. To do this, just bend a few chenille stems into the "V" shape, one stem for each toilet paper roll bug, and glue a pom pom to both ends.
- Then, glue the antennas to the inside of the toilet paper roll bugs, right behind where the bug face will go.
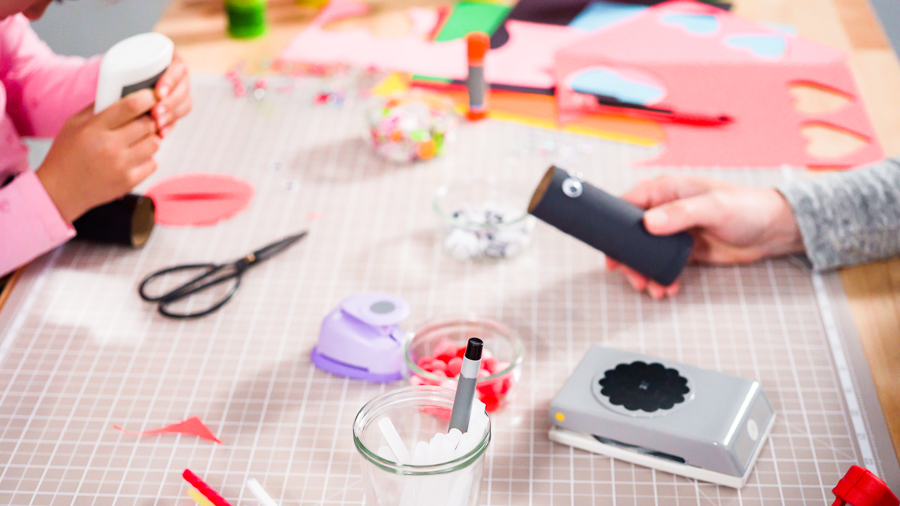
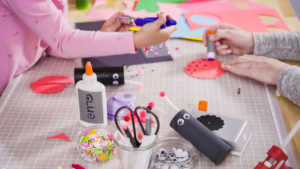
- After the antennae, it’s time to create the face. Glue a pair of googly eyes to the top of the paper roll and draw a sweet smile using a black sharpie.
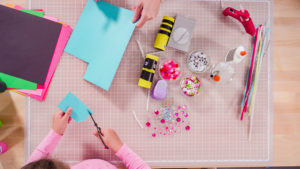
- Next, trace out the wing shapes on the cardstock paper, a pair for each bug, then carefully cut them out using a pair of scissors.
- You may want to use a translucent cutting mat to make this step easier.
- If you don’t mind your bugs having some wildly colored wings then this is a good chance to use up some leftover scrap paper.
- If you are making ladybugs then use a hole punch to cut a few dots from a piece of black cardstock paper.
- Then, glue a pair of wings to the backside of each craft bug. Use tiny amounts of glue to attach the black dots to the ladybug wings.
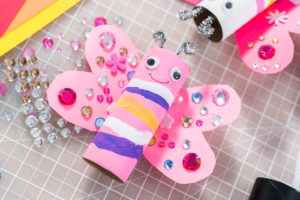
- Finally, decorate as many of the bug wings with rhinestone stickers as your heart desires! Ta-da!
The Perfect Kid’s Craft Activity for Spring or Summer!
This adorable recycling craft project is obviously a great idea to do at home during school breaks in the warmer months. But this is also a perfect kids activity for many other occasions and gatherings too! Here are a few ideas:
- Perfect outdoor spring/summer activity to do in the sunshine.
- Awesome indoor activity to do on rainy or stormy days.
- A creative kid’s birthday party activity.
- Fun craft project for playdates or at family cookouts.
- A wonderful way to keep the kiddos occupied while grilling up some yummy dishes.
- This is also a fun craft project that teachers of young students may want to bring into the classrooms as spring and summer approach.
So final thoughts? This toilet paper roll project is an excellent craft to do with young kids or toddlers, especially if you’re looking for budget-friendly activities to do at home this year. Whether it’s during spring break, summer break, or a birthday party this is not just a wonderful way to keep your young one’s mind active and bursting with creativity, but also a fabulous way to introduce them to the wonders of recycling and reducing waste!
DIY Toilet Paper Roll Bugs
Equipment
Instructions
- Clean off the toilet paper rolls of any excess glue and toilet paper.
- With a large brush, paint the tubes any color that you want your bug to be. You might need a few coats of paint to make a solid color.
- Let paint dry for an hour.
- With a smaller brush, paint horizontal stripes.
- Bend chenille stems into "V" shape and glue pompoms to the ends.
- Glue antennas to the inside of the paper roll.
- Glue googly eyes at the top of the paper roll and draw a mouth with a black sharpie.
- Cut out the wings. For ladybug, use a hole punch to cut dots from the black cardstock paper.
- Glue wings to the body of a bug.
- Decorate wings with rhinestone stickers.
Food Photography & Video Tips from My Studio
Here’s a peek at the tools, gear, and camera setups I use to film my recipe videos and photograph food at home. Over the years, I’ve tested dozens of different setups, and now I’m sharing what actually works for me—whether I’m filming overhead shots for YouTube or styling still photos for my blog. If you’re curious about how I create the content you see here, these posts are a great place to start.











Leave a Reply