How to make irresistible chocolate peanut butter fudge!
This post contains affiliate links.
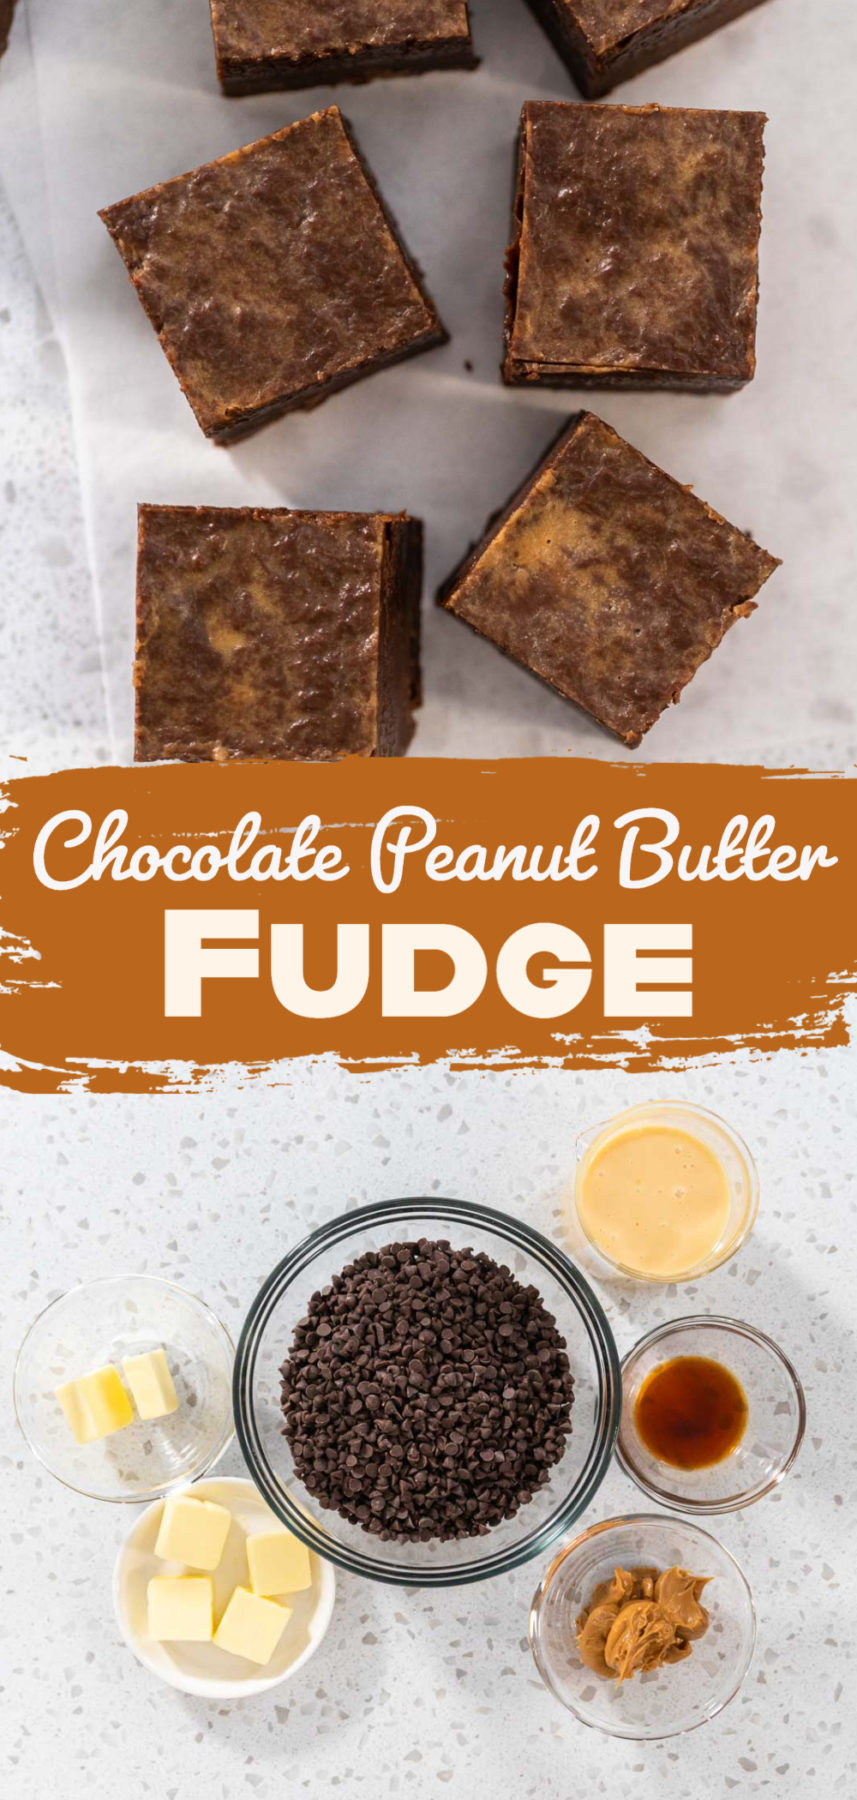
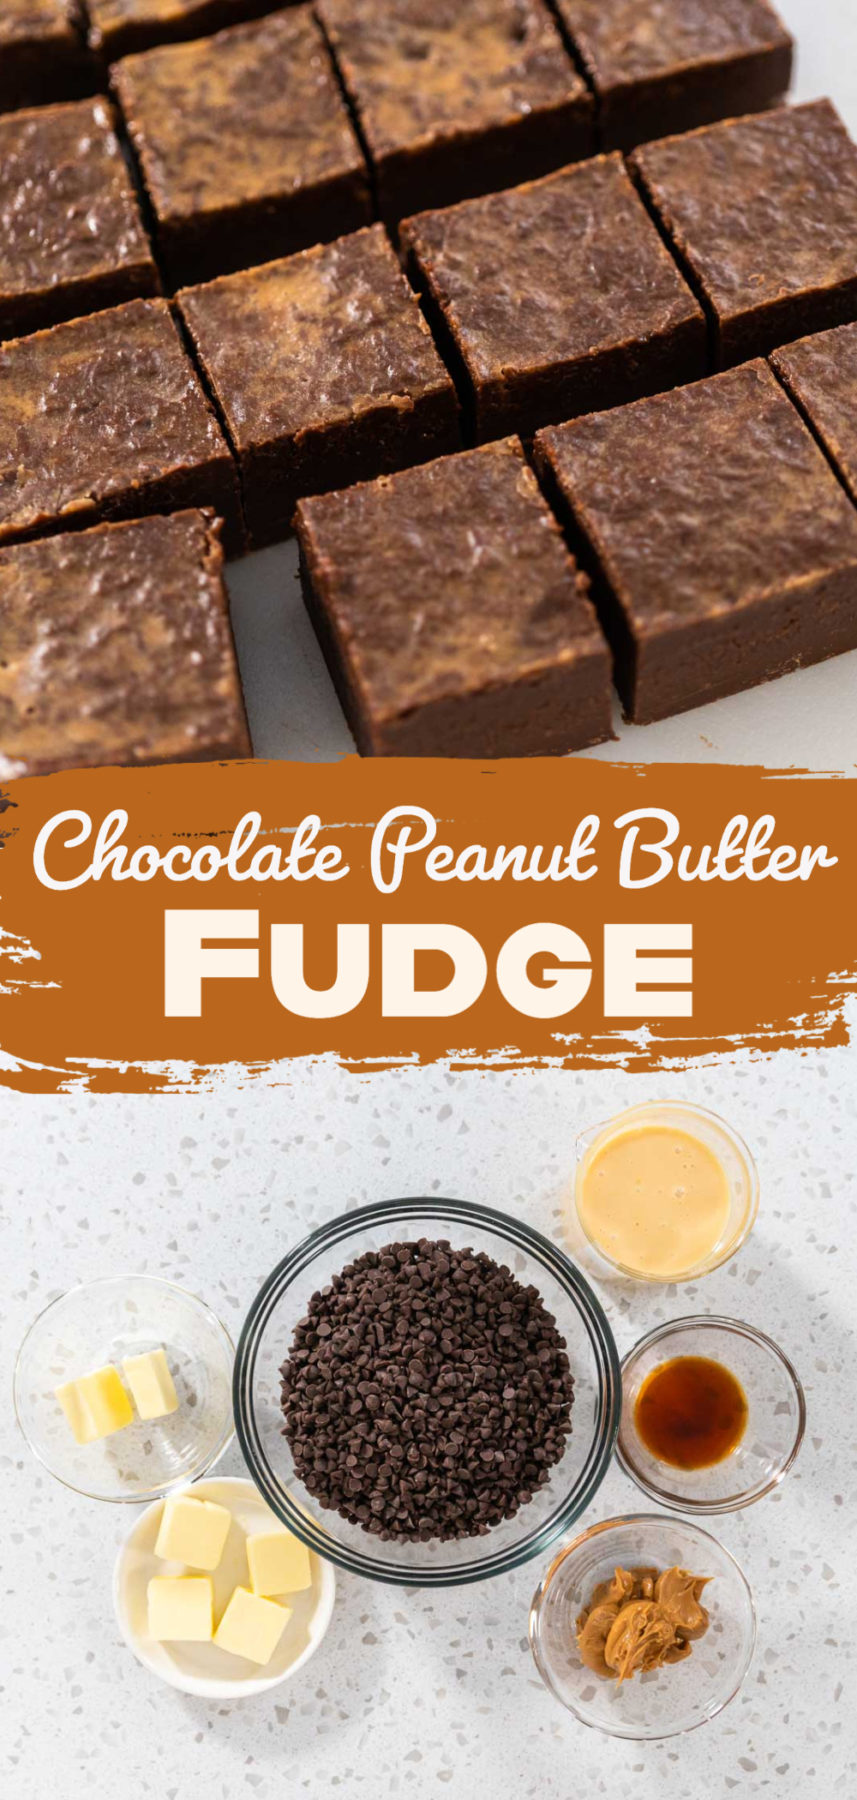
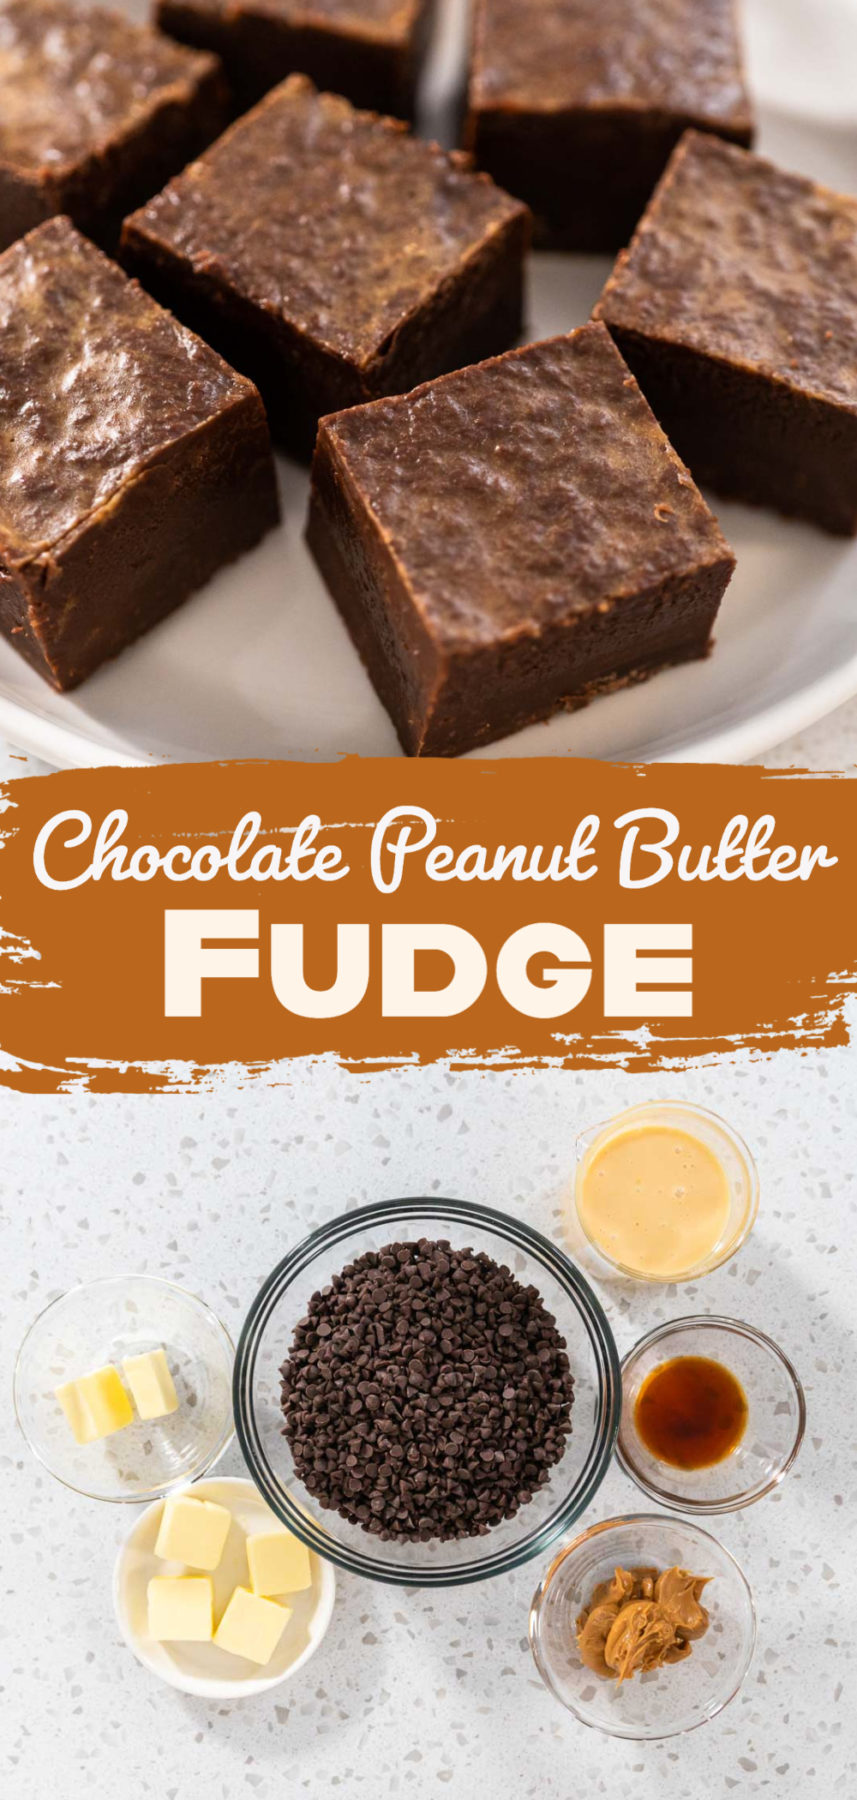
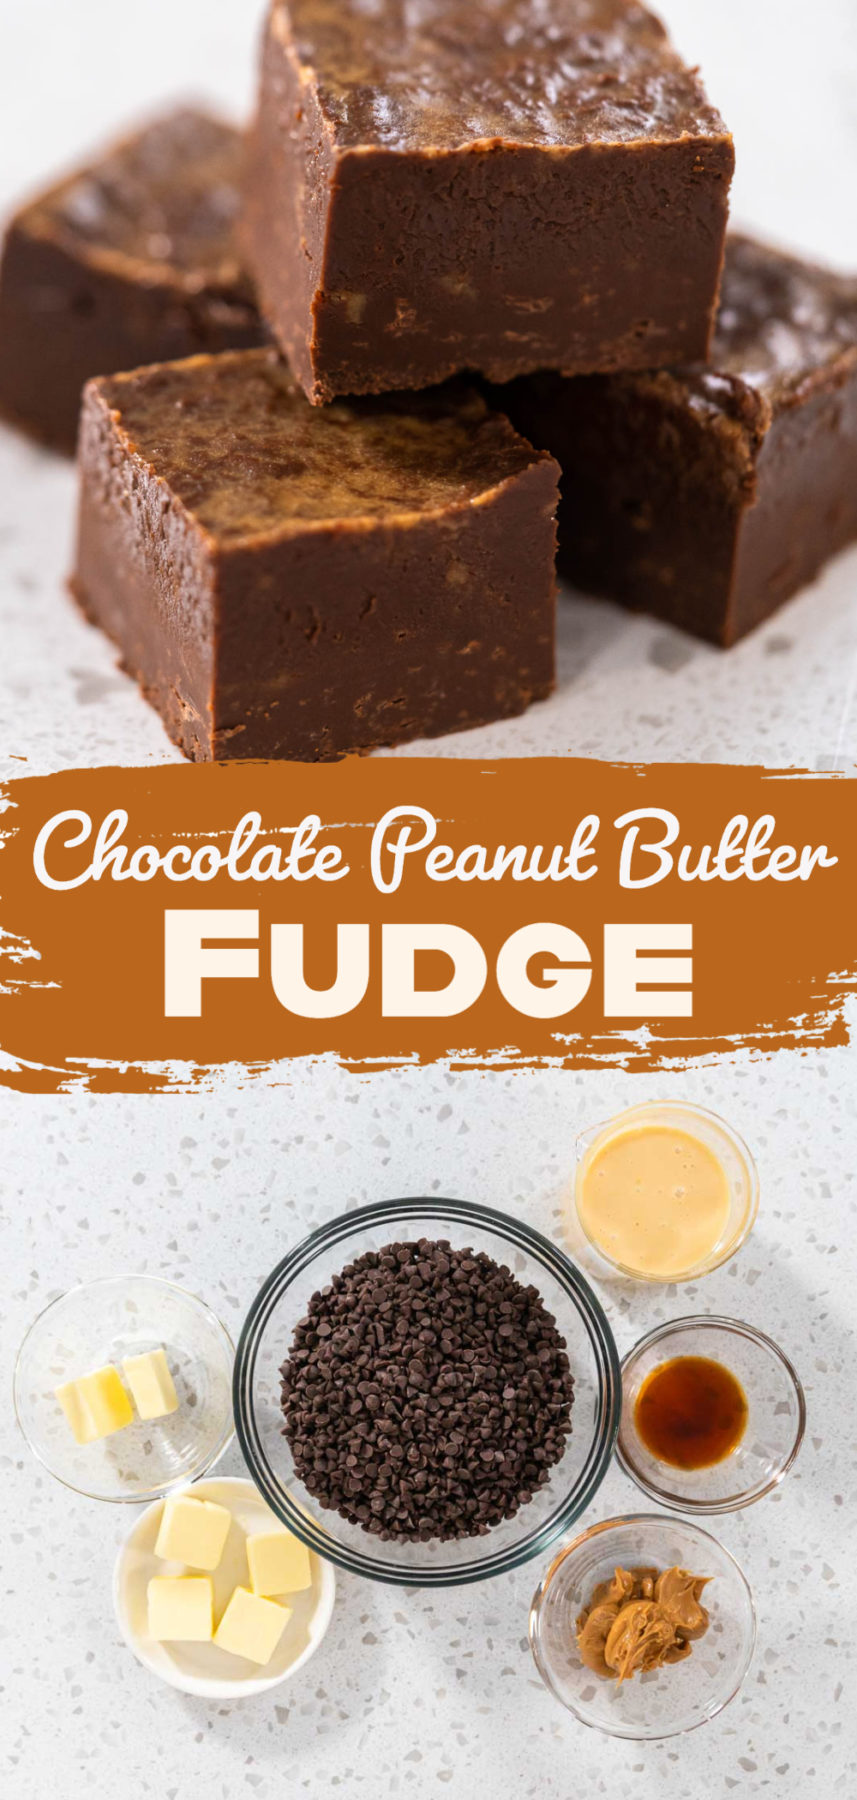
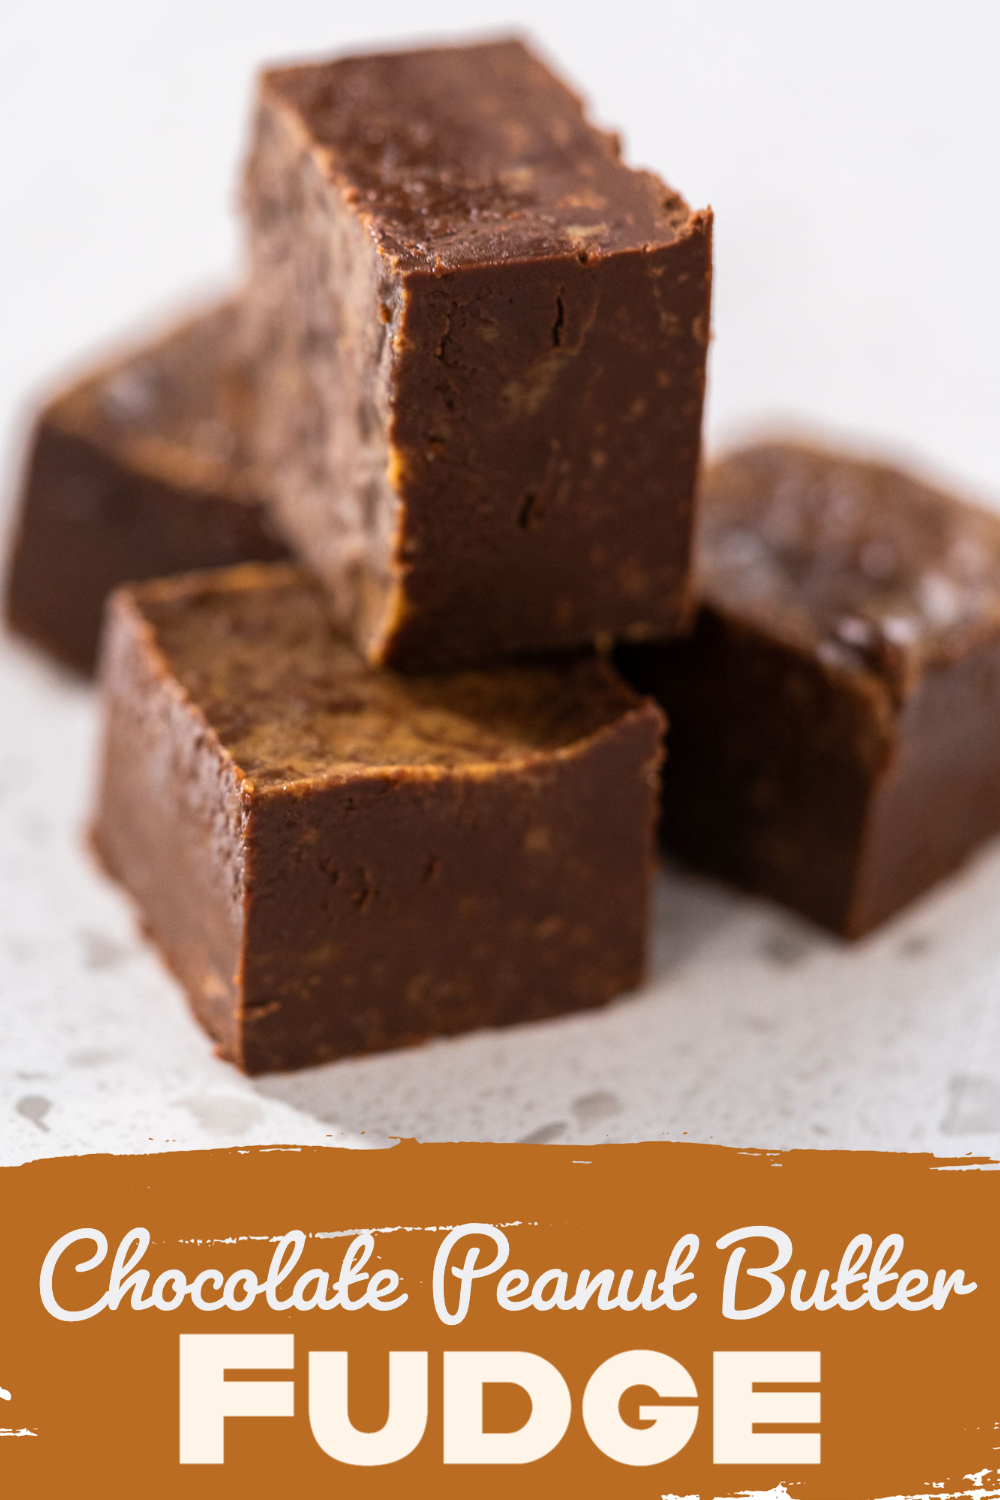
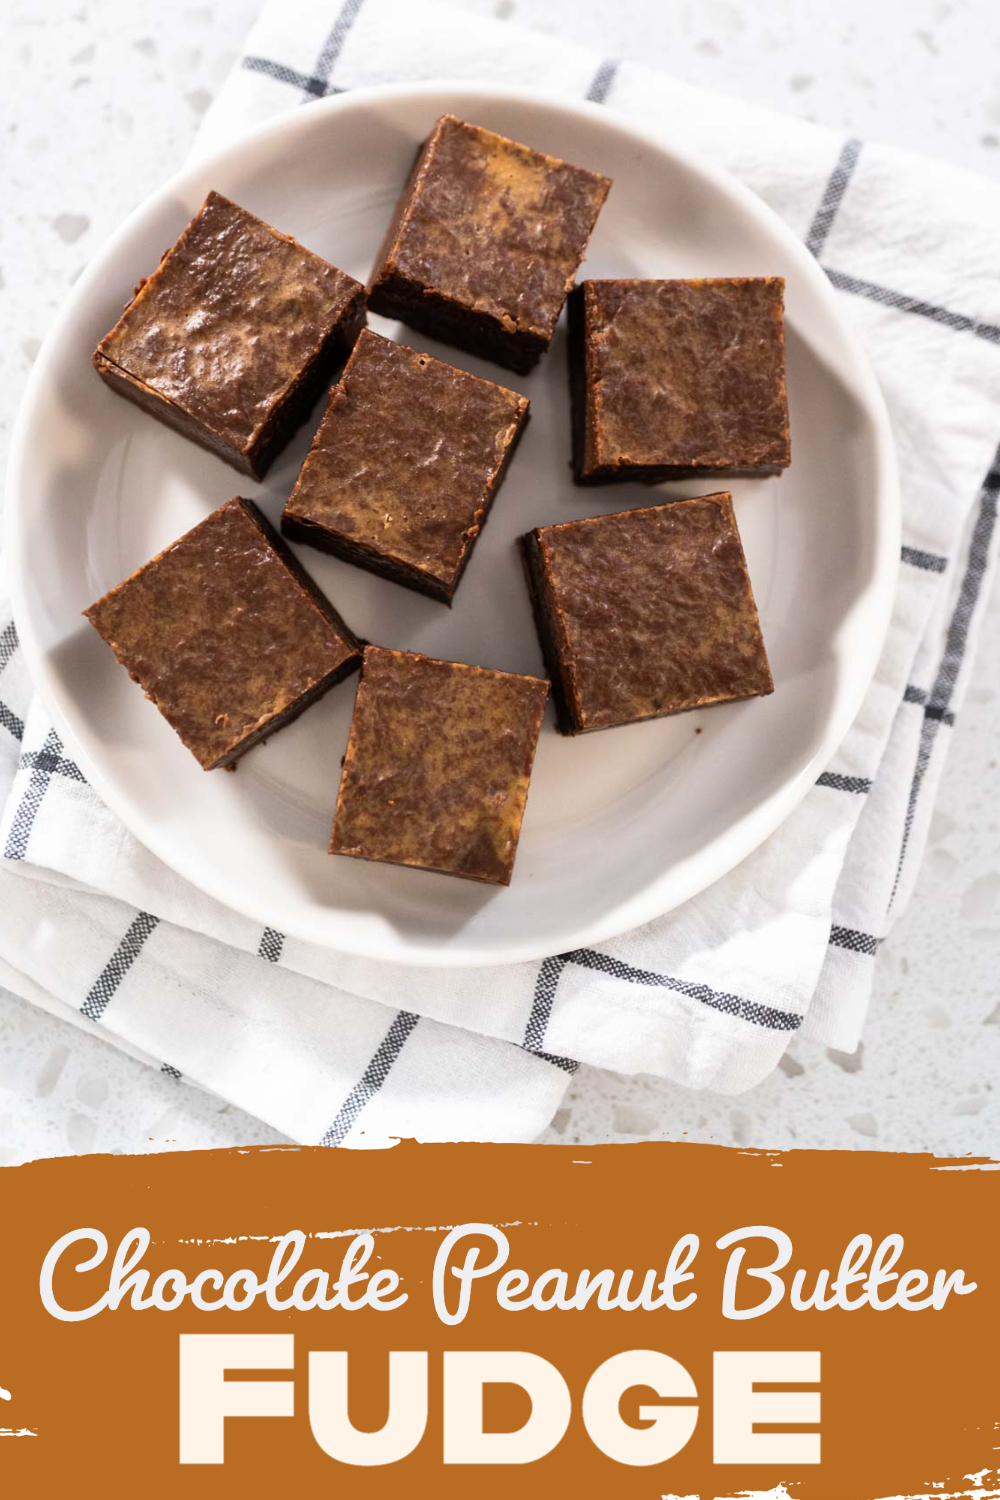
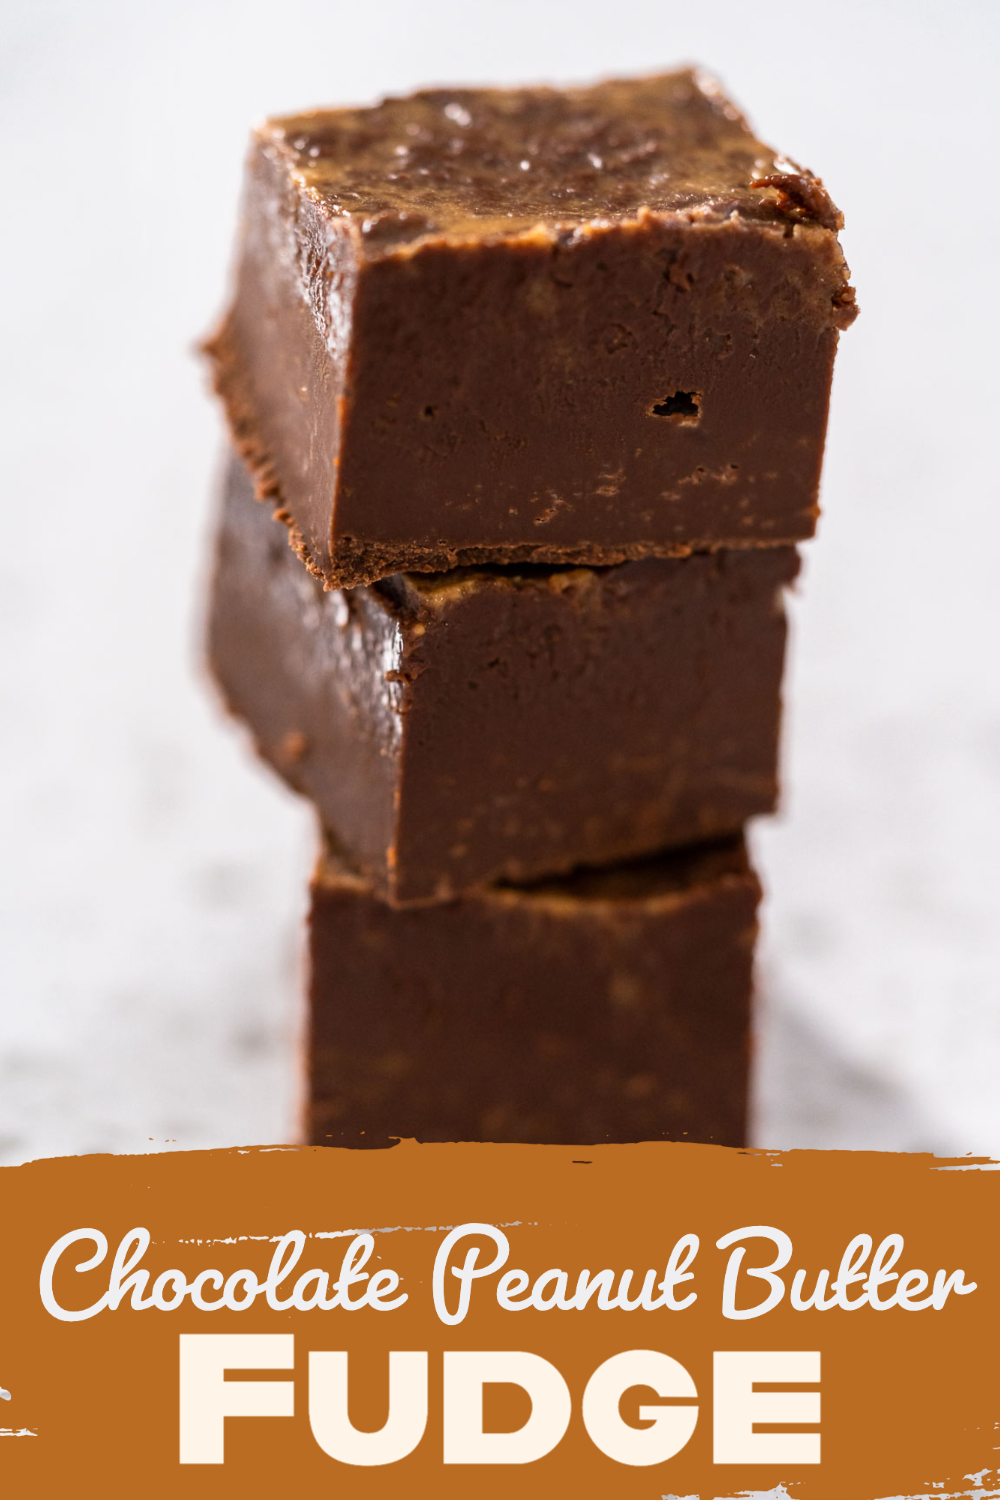
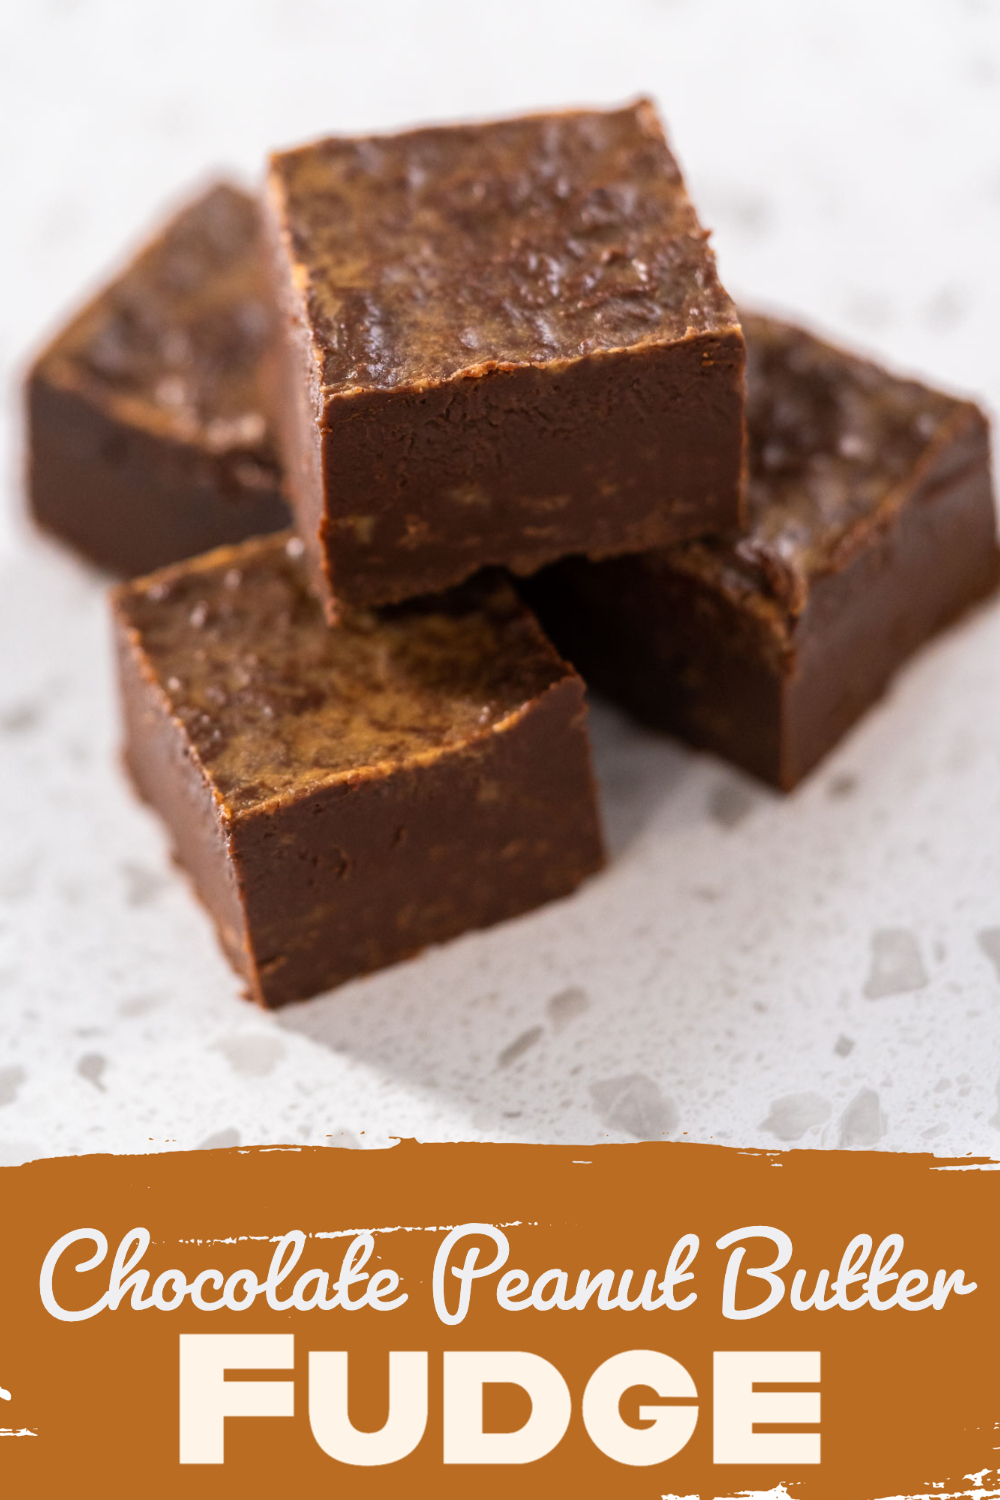
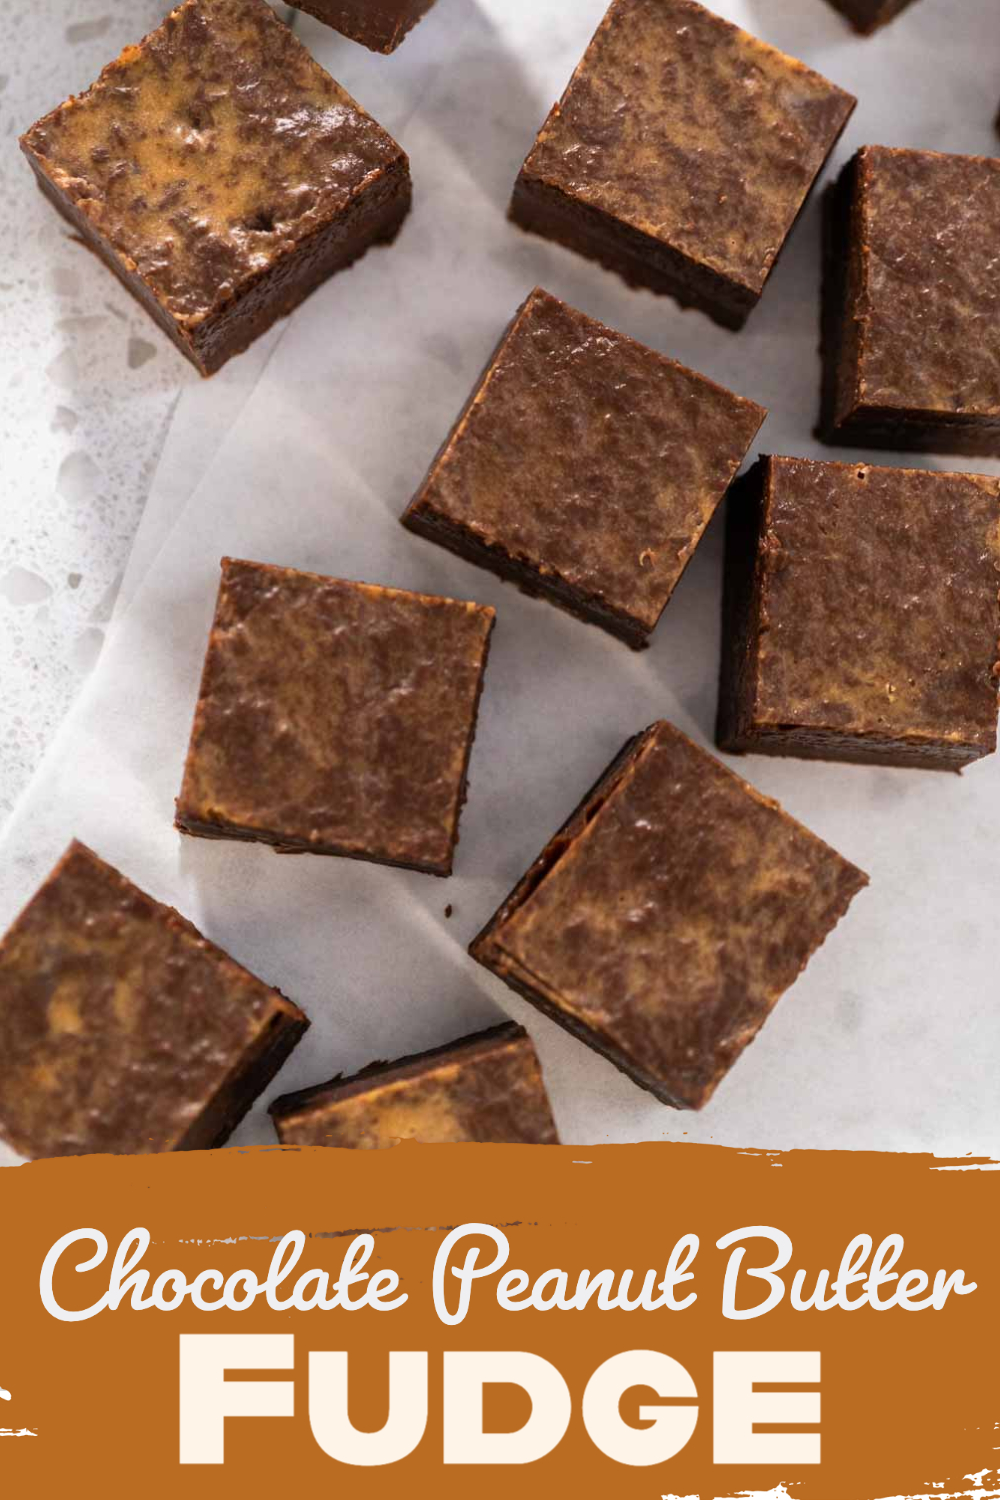
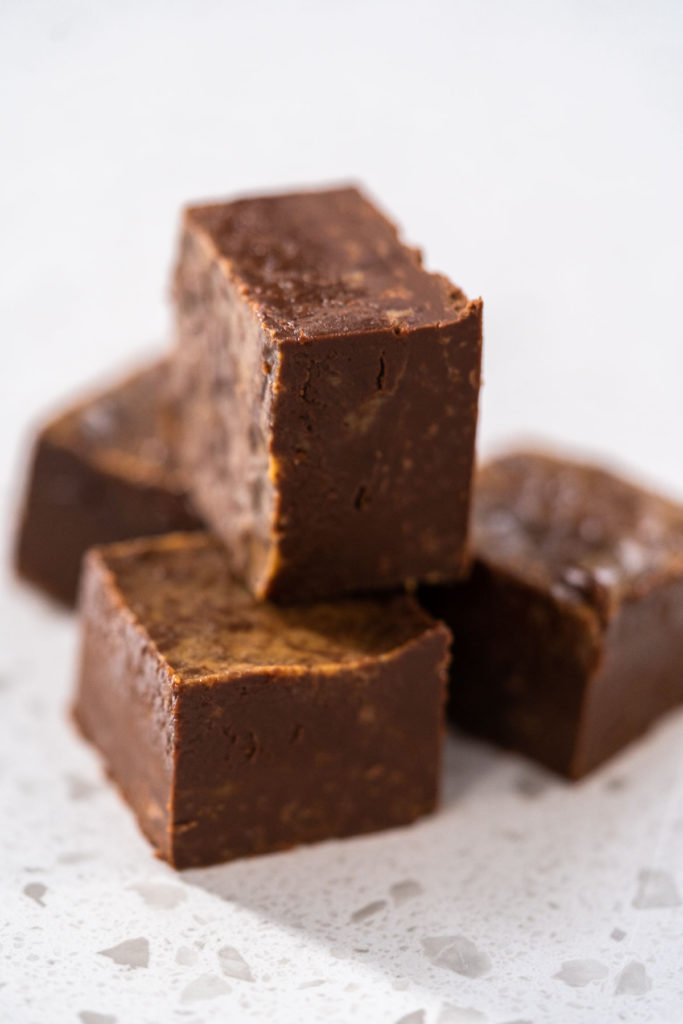
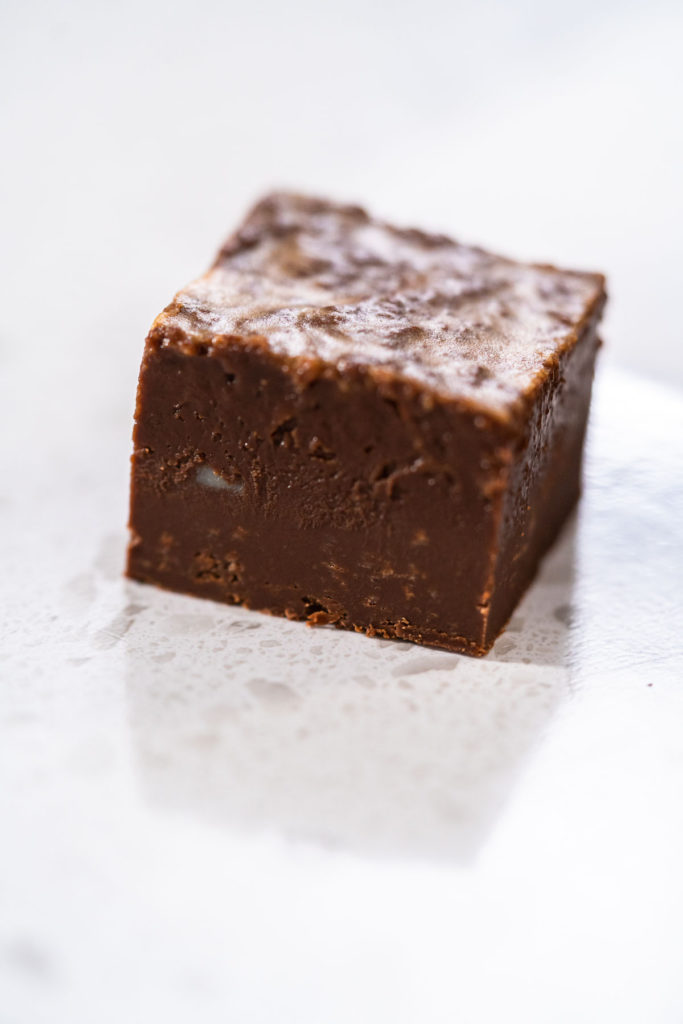
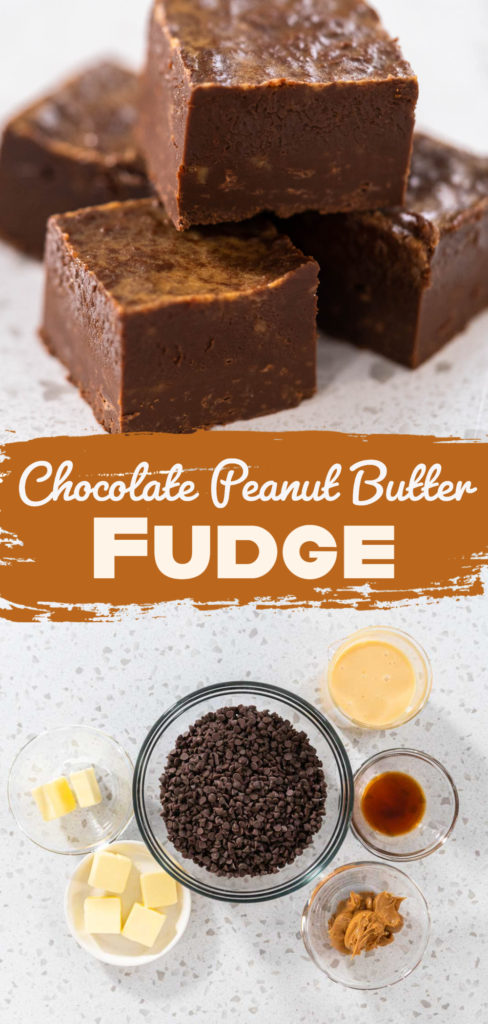
There’s probably not a more well-known dynamic duo than chocolate and peanut butter! Together they are a true classic beloved by a lot of people over many decades. So it’s no surprise that my easy and scrumptious Chocolate Peanut Butter Fudge is a huge hit every time I make it!
I like to make this scrumptious fudge every so often throughout the year, but I especially like to make it a couple of months before the holiday season starts at the end of the year. In fact, I make several batches of different fudges and freeze them until I’m ready to gift them or snack on them!
I make everything from White Chocolate Cranberry Pecan Fudge to Eggnog Fudge and even another version of this chocolate and peanut butter fudge. In the other version, Chocolate Fudge with Peanut Butter Swirl, I swirl a peanut butter layer on top of the chocolate fudge instead of mixing the flavors together as I do in this recipe.
This easy and irresistible fudge is one of my favorite food gifts to make, along with some Christmas Hot Chocolate Bombs or my Homemade Hot Chocolate Mix! Ready to give it a try? Then, here’s how to make chocolate peanut butter fudge.
Fudge Chocolatier Equipment
Let’s start this fun fudge project by going over the tools and materials needed for this recipe. Nothing out of the ordinary to worry about, just some typical bakeware and kitchen materials. Here’s what I use to make chocolate peanut butter fudge:
- Measuring Cup
- Measuring spoons
- Glass mixing bowl large
- Spatulas
- 8x8 Glass baking pan
- 2 Parchment paper sheets
- White cutting board
- Knife
Dough Cutter - Saucepan
Chocolate Peanut Butter Fudge Ingredients
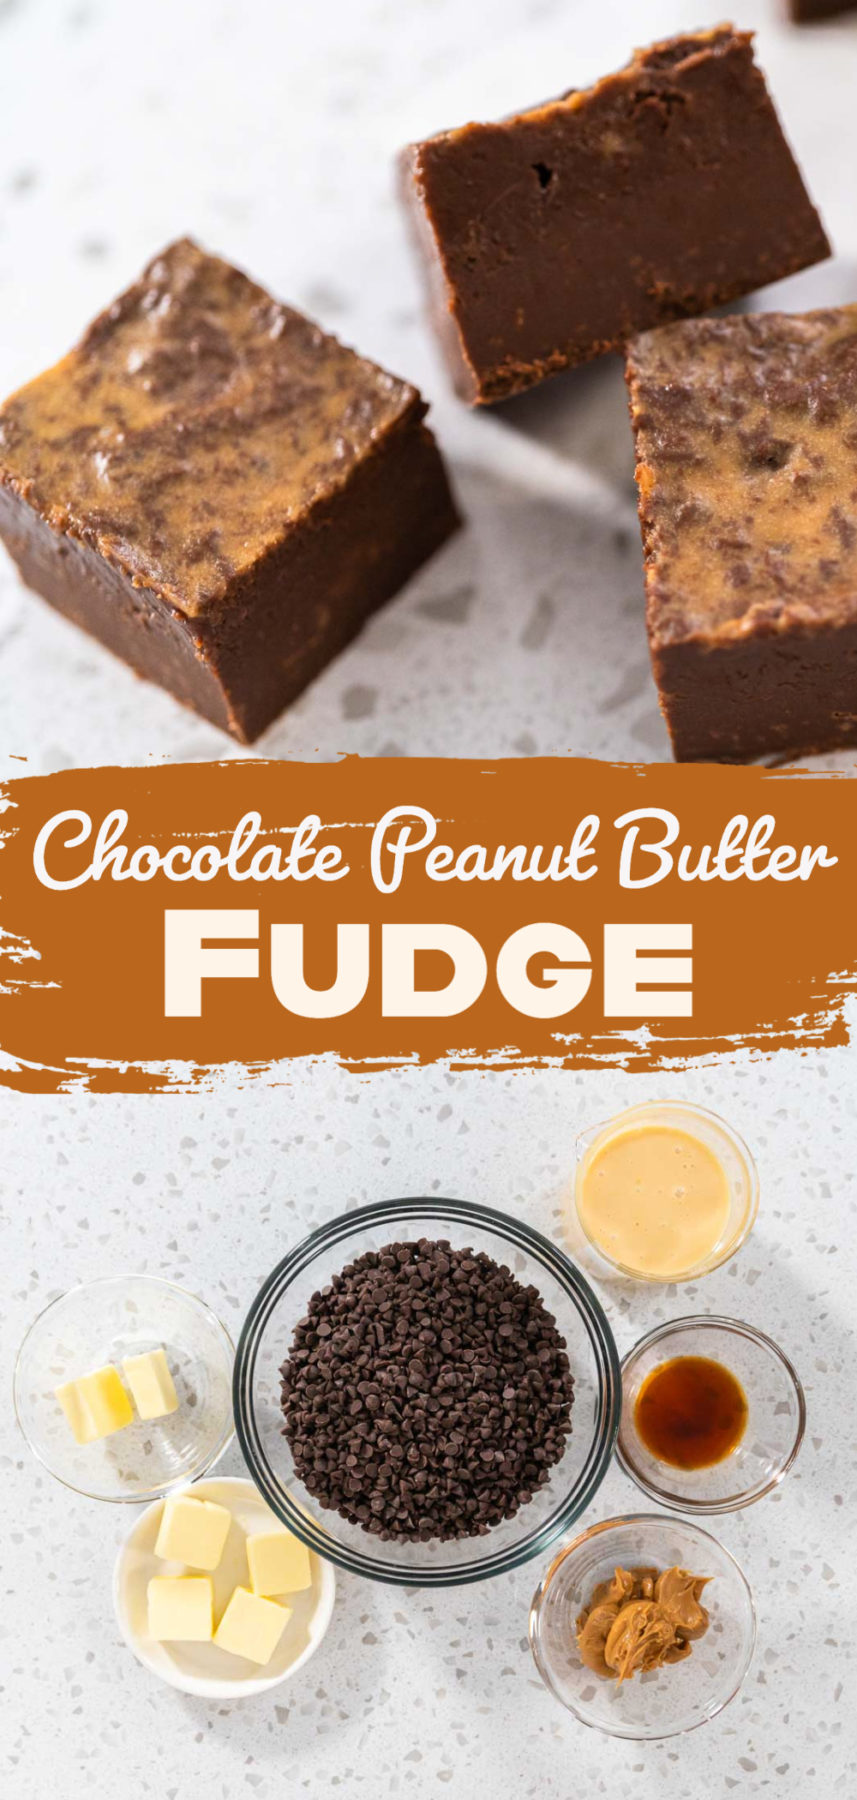
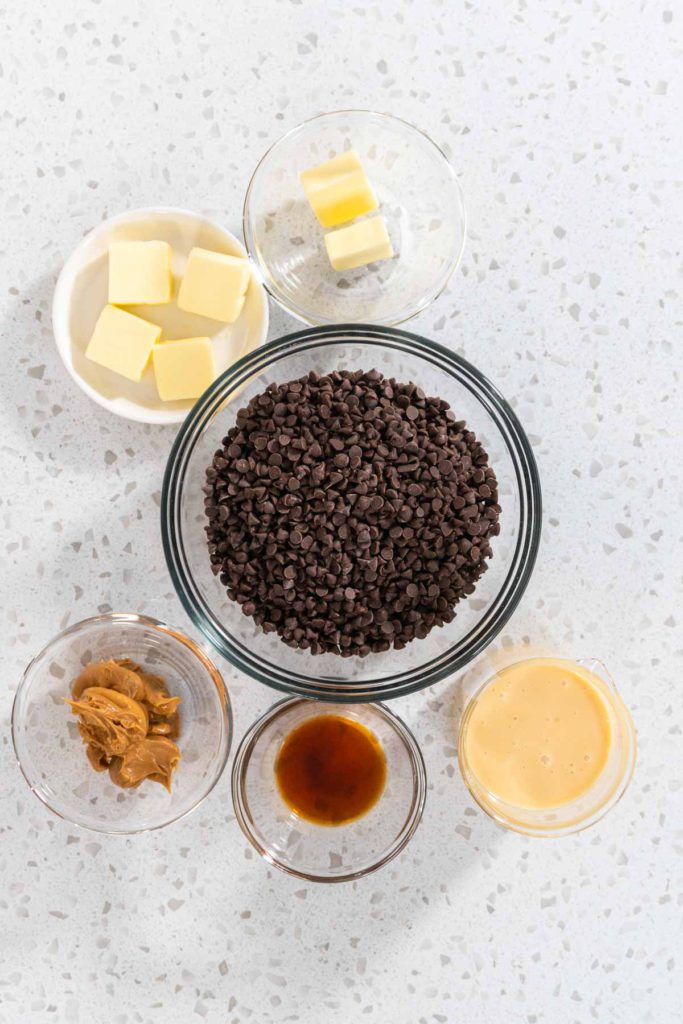
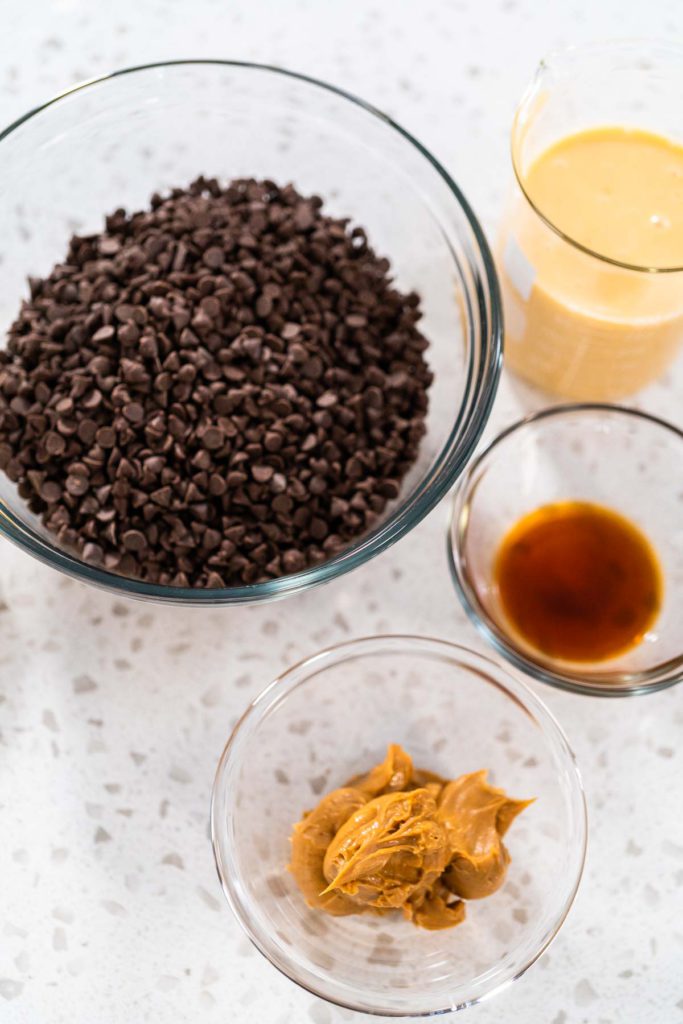
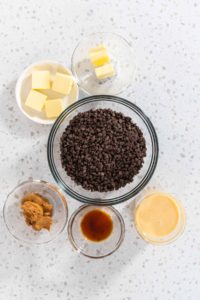
Next, let’s talk about my simple and short ingredient list. There’s not a lot to worry about here either, as I only use 6 ingredients to make this beloved fudge! Here are the ingredients I use to make this chocolate peanut butter fudge:
Chocolate Part:
- Water (enough to fill up the saucepan ½ way)
- 3 cups Semi-Sweet Chocolate Chips
- 1 can- 14 oz sweetened condensed milk
- ¼ cup unsalted butter
- 1 teaspoon vanilla extract
Peanut Butter Part:
- 4 tablespoon Creamy peanut butter
- 2 tablespoon unsalted butter
How to Make Chocolate Peanut Butter Fudge
Once you’ve gathered the ingredients and materials, it’s time to make some kitchen magic happen! Let’s make some beloved, mouth-watering chocolate and peanut butter treats! Here’s how to make chocolate peanut butter fudge:
- First, measure out all the chocolate and peanut butter fudge ingredients with the measuring cup and spoons.
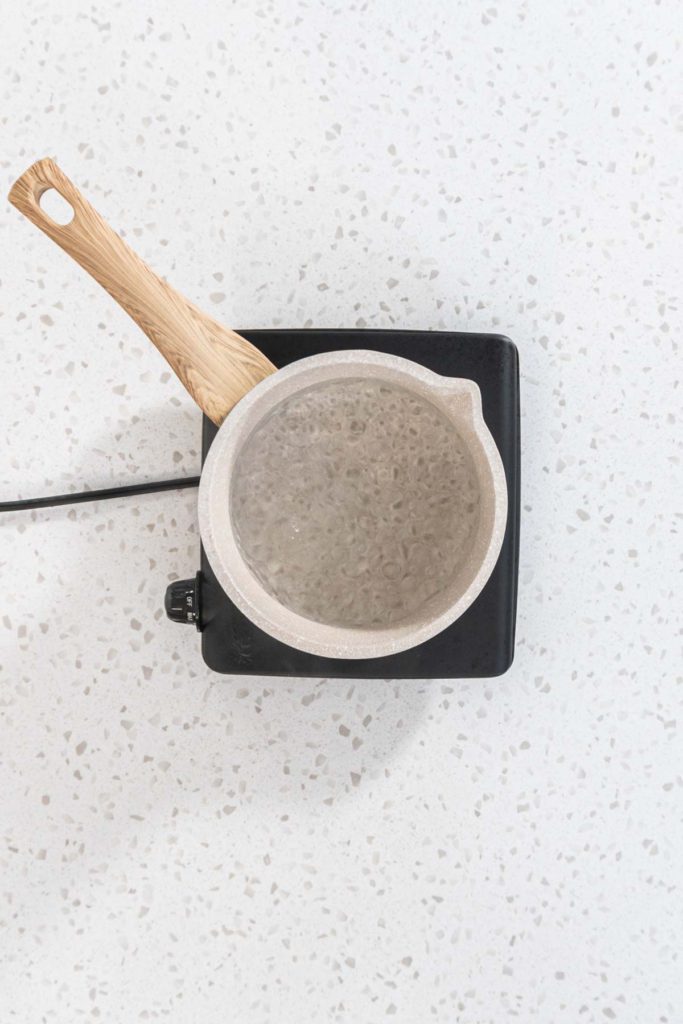
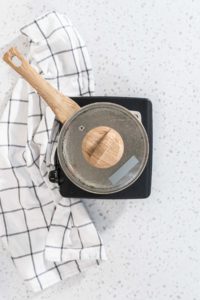
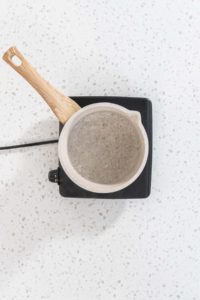
- Then, fill the saucepan ½ way full of water, cover with a lid, and bring it to boil over high heat.
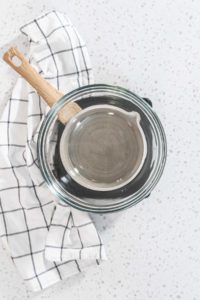
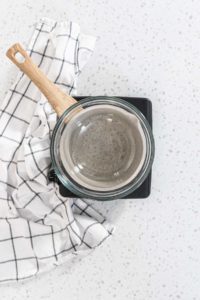
- Reduce the heat to medium-low and carefully position a large glass bowl in the saucepan over the boiling water.
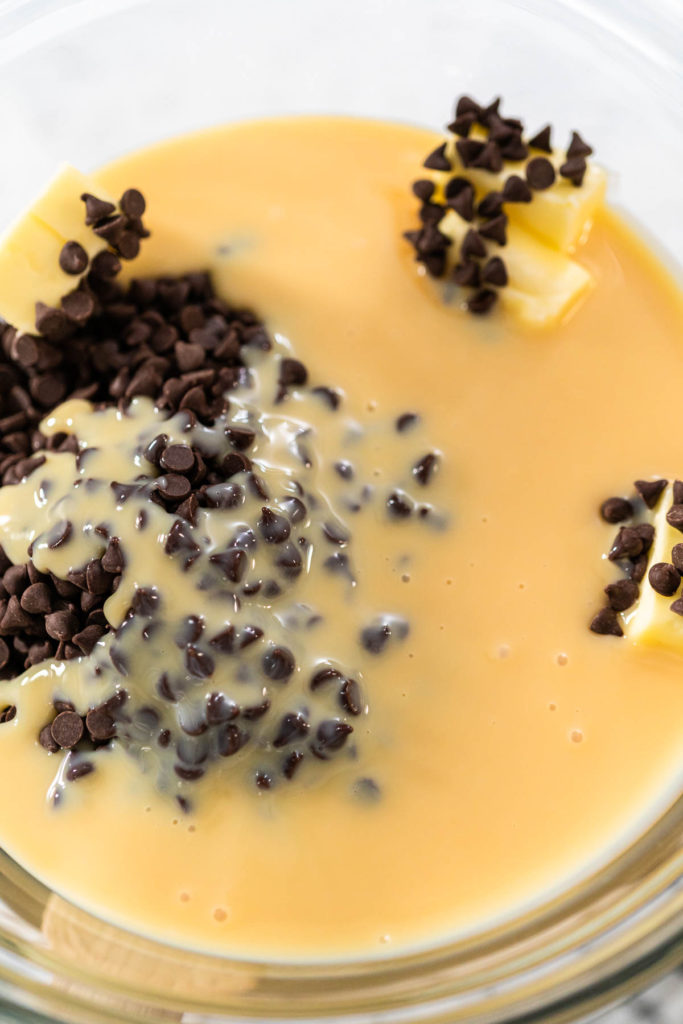
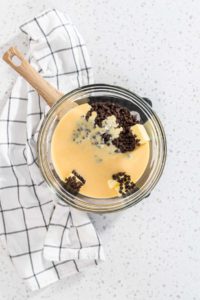
- Pour in the chocolate chips, condensed milk, vanilla, and butter.
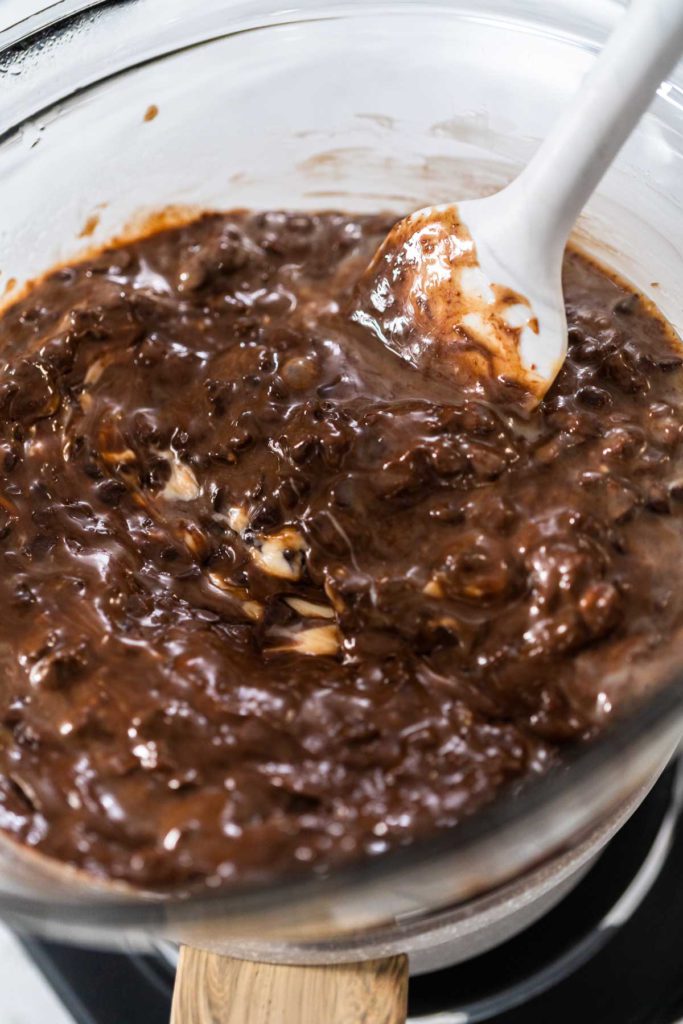
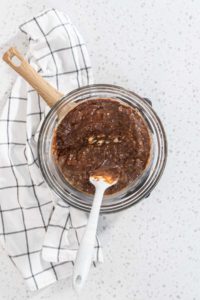
- Continuously mix and stir the fudge with a spatula while the ingredients melt together.
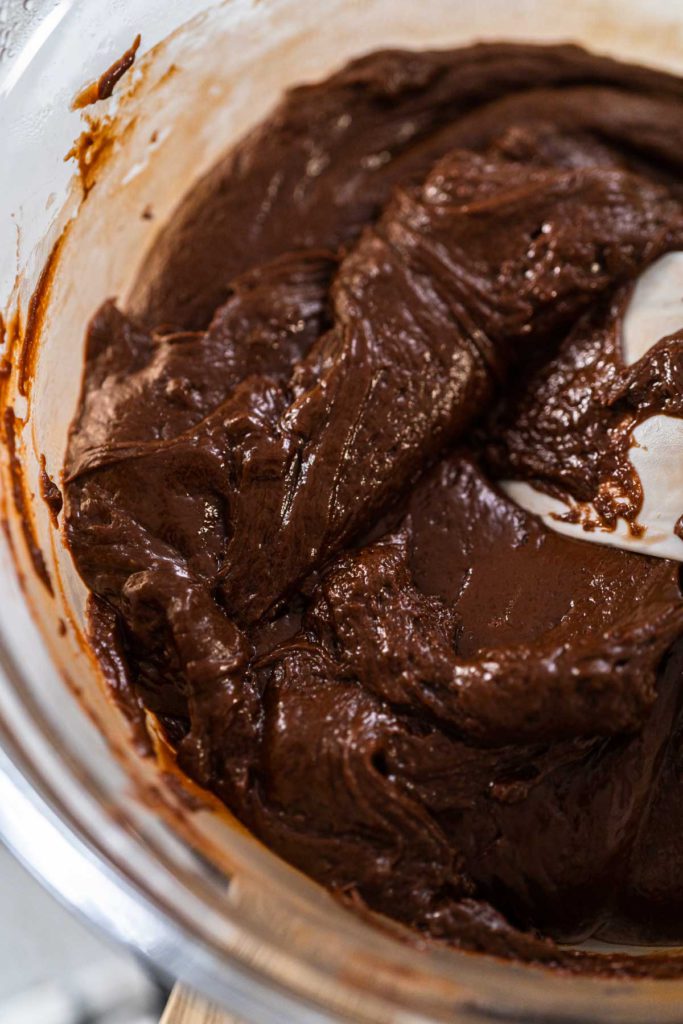
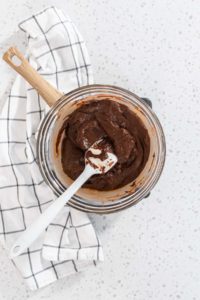
- Keep stirring until all the ingredients have melted together and the fudge mixture is smooth. Then, carefully remove the bowl from the saucepan but keep the water hot.
- If needed, bring the water back up to boil.
- Then, position another clean large glass mixing bowl on top.
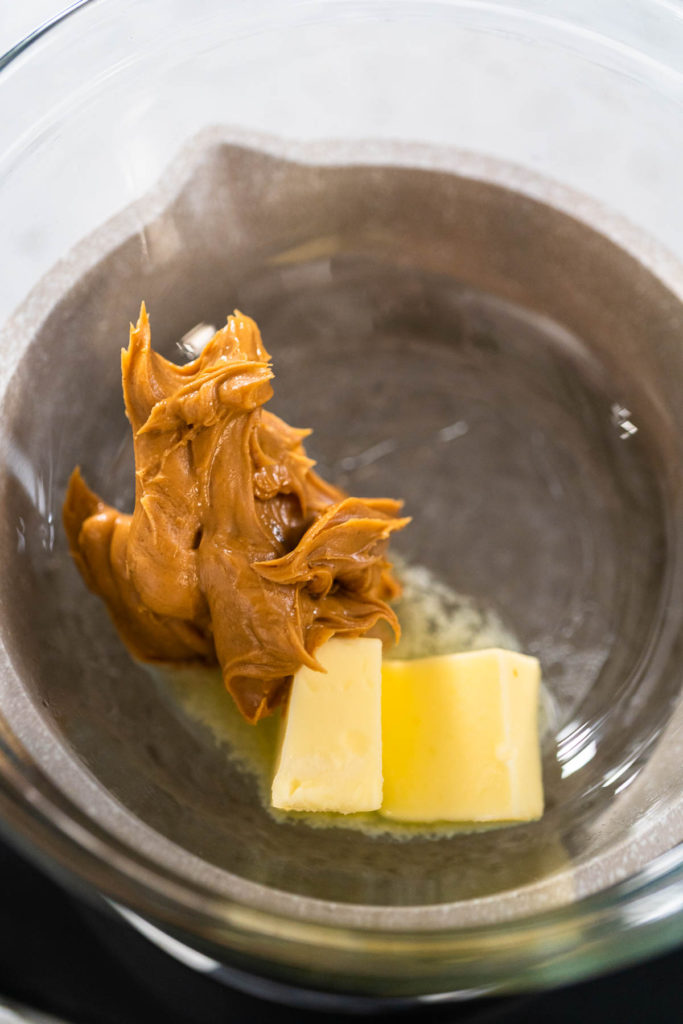
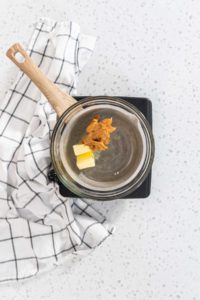
- Drop in the peanut butter and butter.
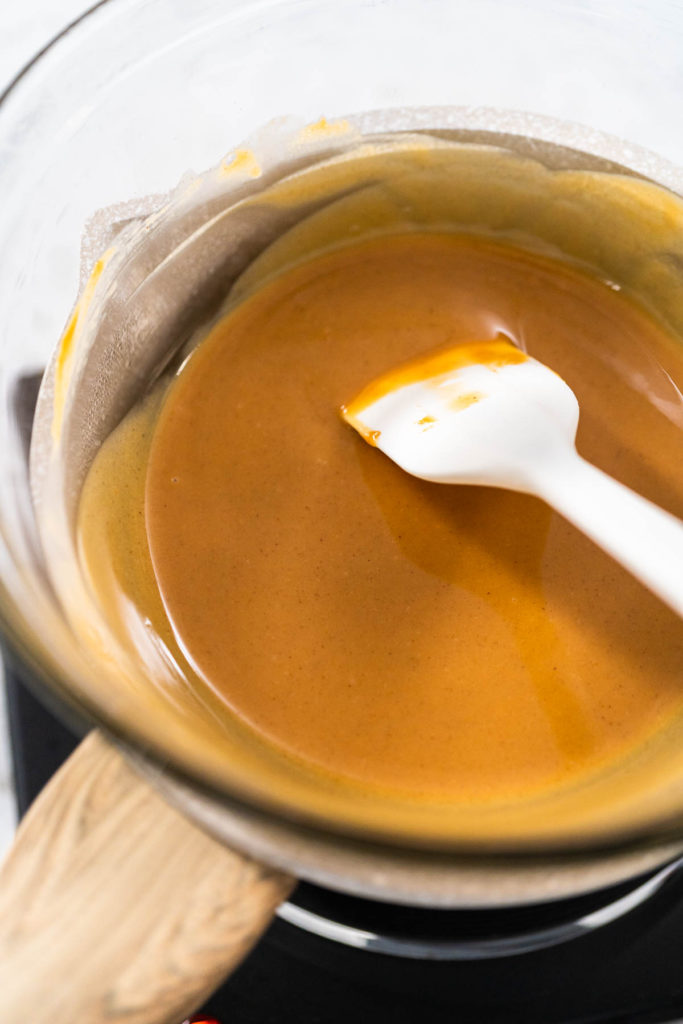
- Melt and mix the ingredients together until they’re completely mixed and smooth.
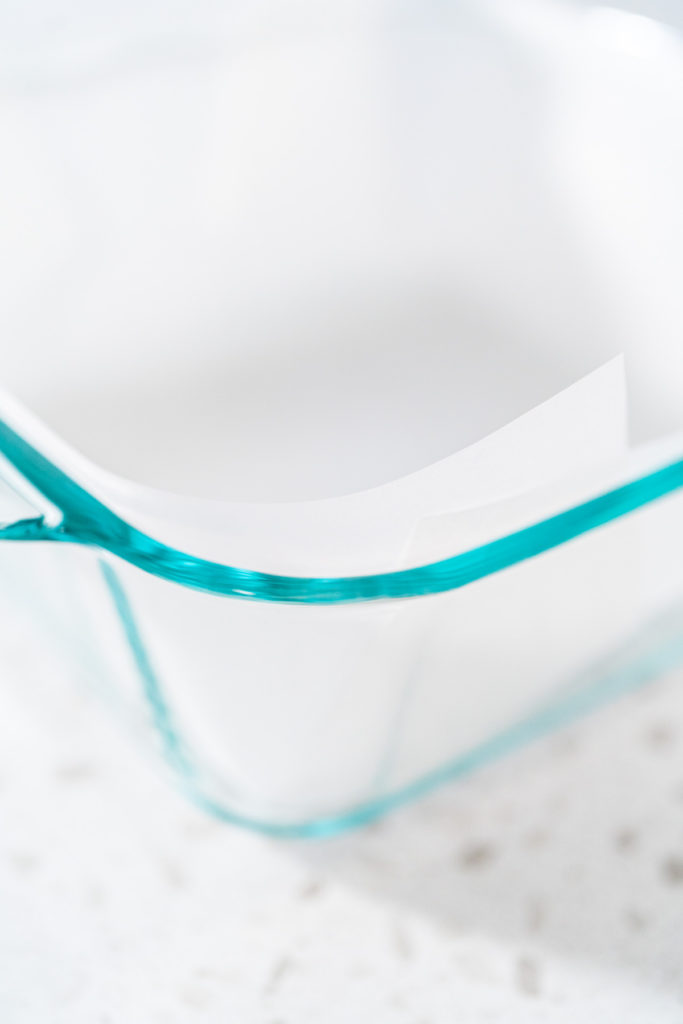
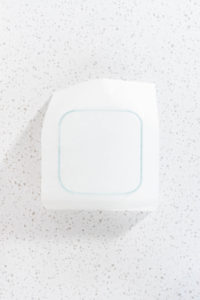
- Next, grab a glass baking dish and measure out a piece of parchment paper over the top of the dish.
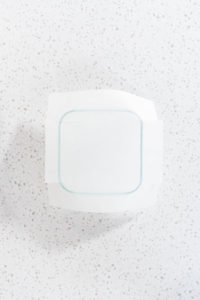
- Cut the paper, so it is about 1.5- 2 inches wider than the baking pan. Then, cut one slit at each of the 4 corners across from each other.
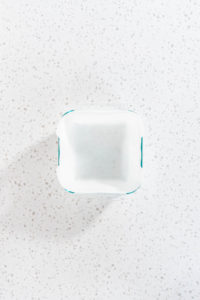
- Simultaneously fold the corners in while pushing the parchment paper into the glass dish, so the paper fits securely.
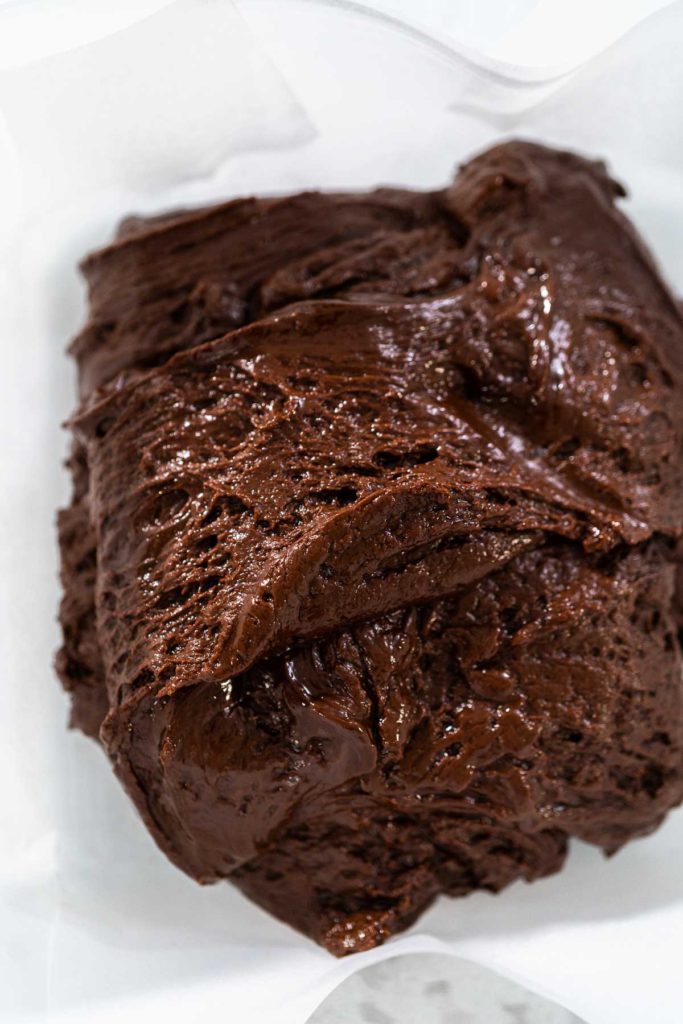
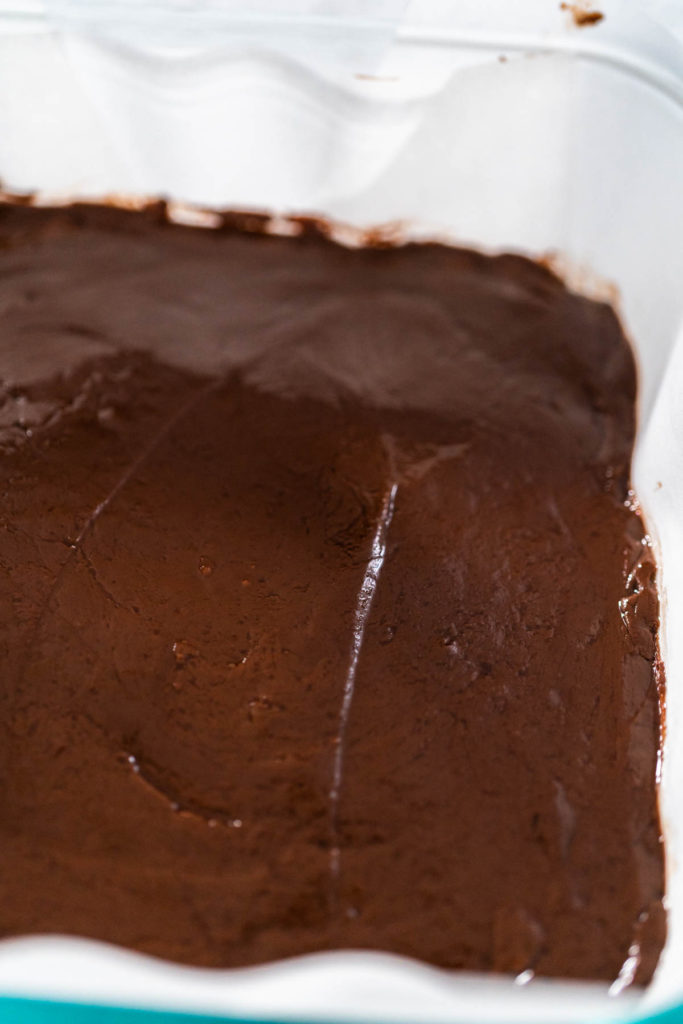
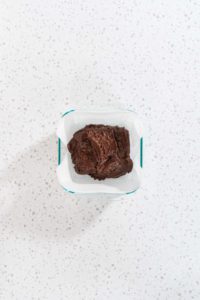
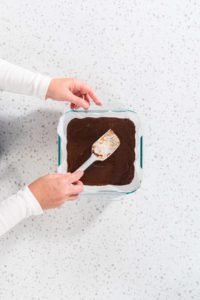
- Next, scoop the chocolate part of the fudge into the lined dish.
- Spread it around evenly and smoothly with a spatula.
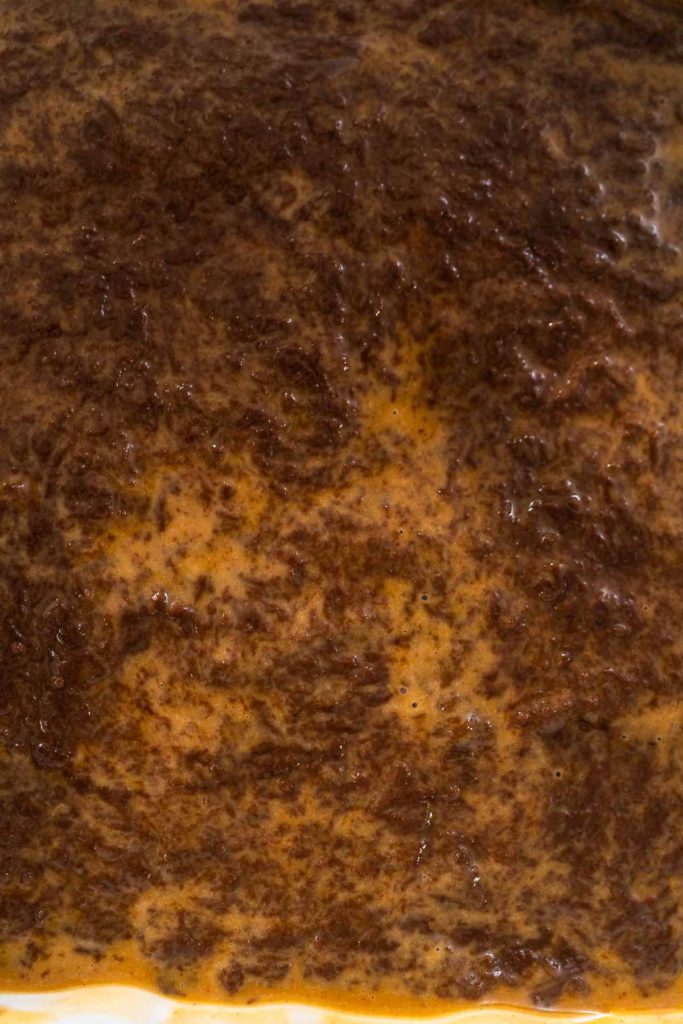
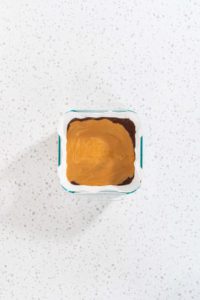
- Then, pour the peanut butter part on top of the chocolate fudge.
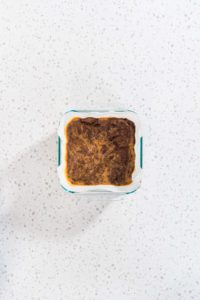
- Mix the peanut butter into the chocolate with a butter knife.
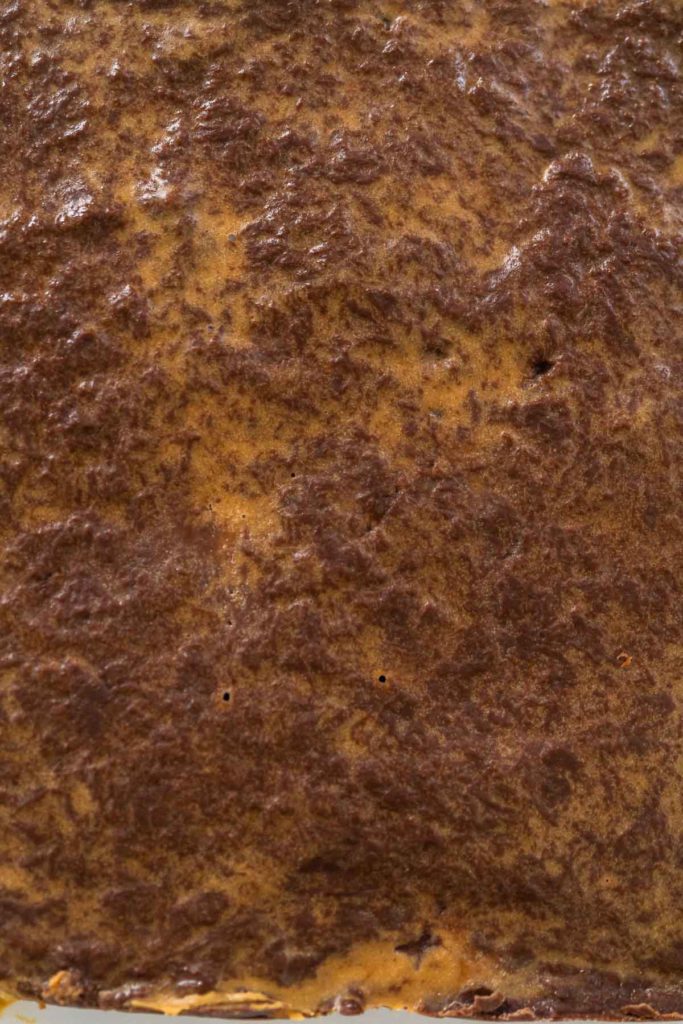
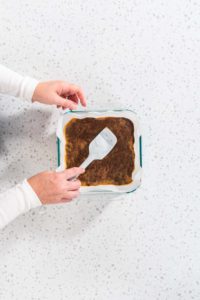
- Smooth out the top of the fudge again.
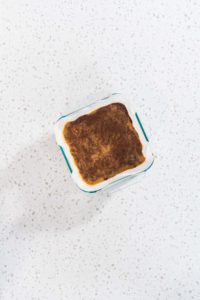
- Refrigerate the fudge for at least 2 hours, or for best results, leave it overnight.
Cutting Fudge:
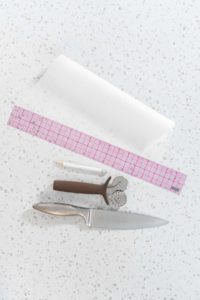
- First, gather the fudge-cutting equipment.
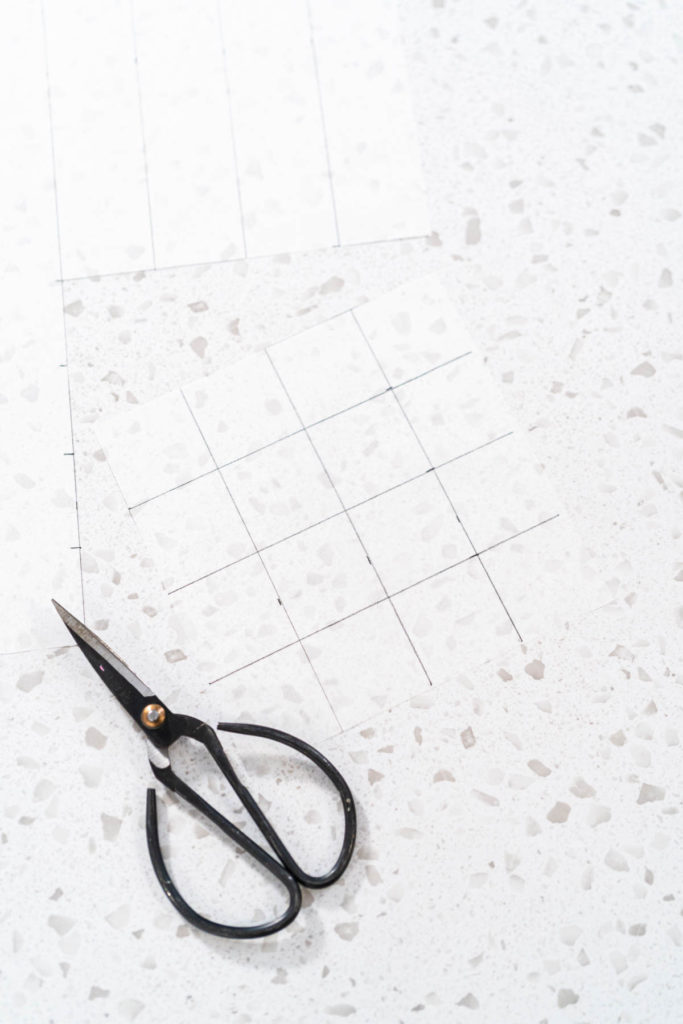
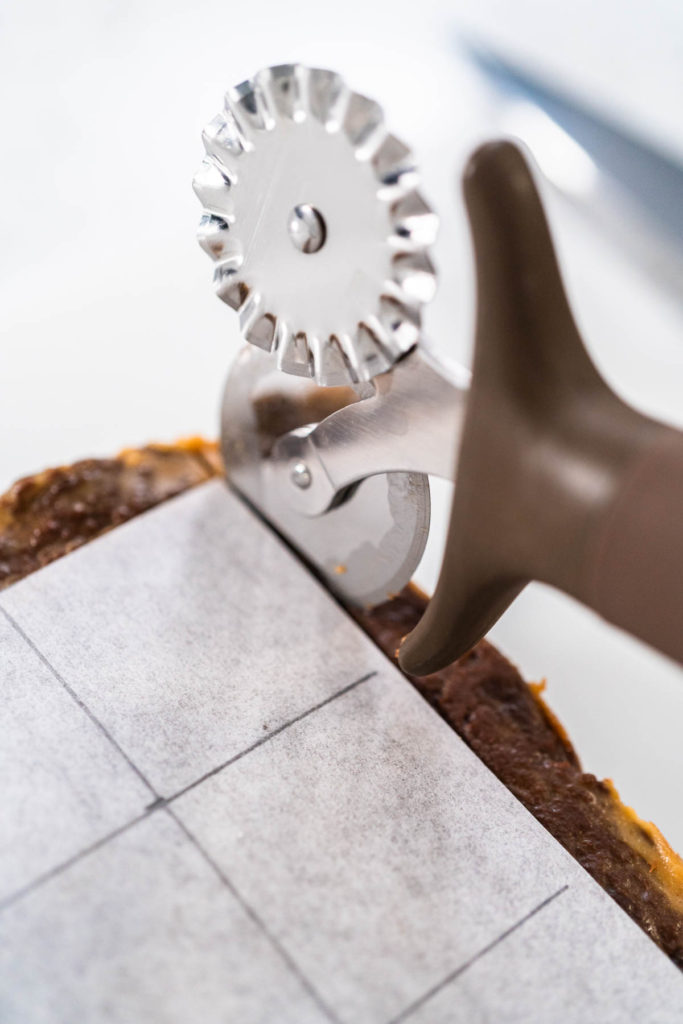
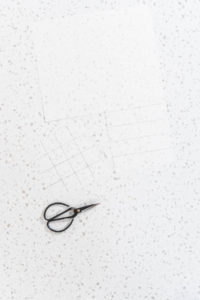
- Then, create a template on parchment paper with 1.5 inch columns vertically and horizontally to make a grid of even squares.
- For more in-depth instructions, check out How to Cut Fudge into Perfect Squares.
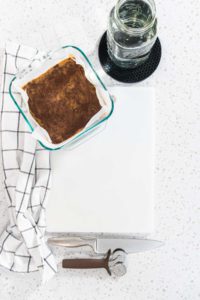
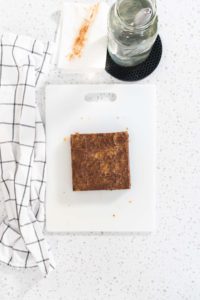
- Prepare a jar of hot water and grab some paper towels, a pastry cutter or knife, and the fudge. Remove the fudge from the pan and the parchment paper.
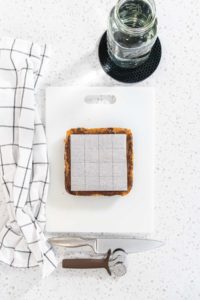
- Then, place the fudge on a cutting board with the parchment paper template on top.
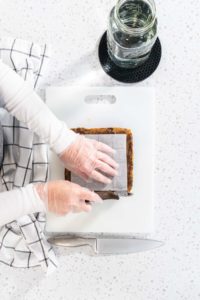
- Use the pastry cutter to score, or mark out, the outer edge of the template.
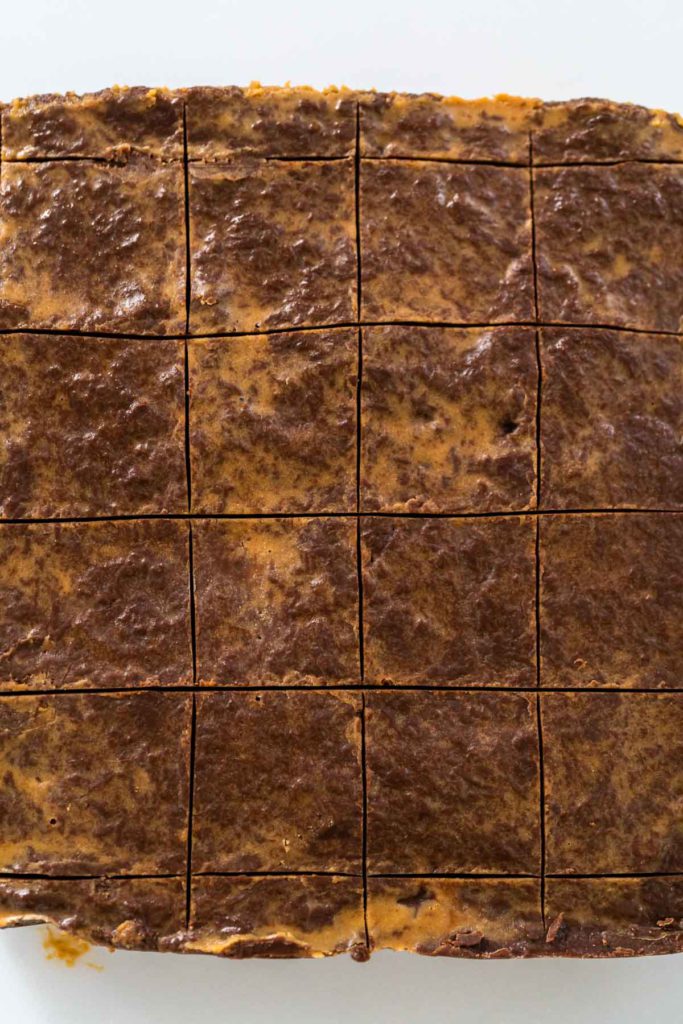
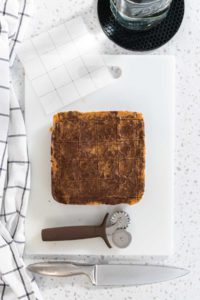
- Next, use the template to mark out the columns of the grid squares.
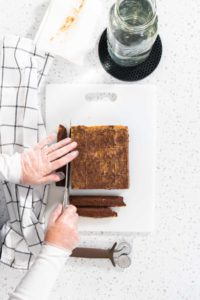
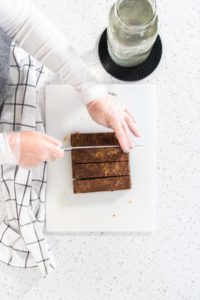
- Cover your hands with gloves. Then, dip a large knife in hot water, wipe it dry, and begin cutting off the outer template lines along the edges of the fudge.
- Repeat the process of dipping the knife in hot water and wiping it before each cut.
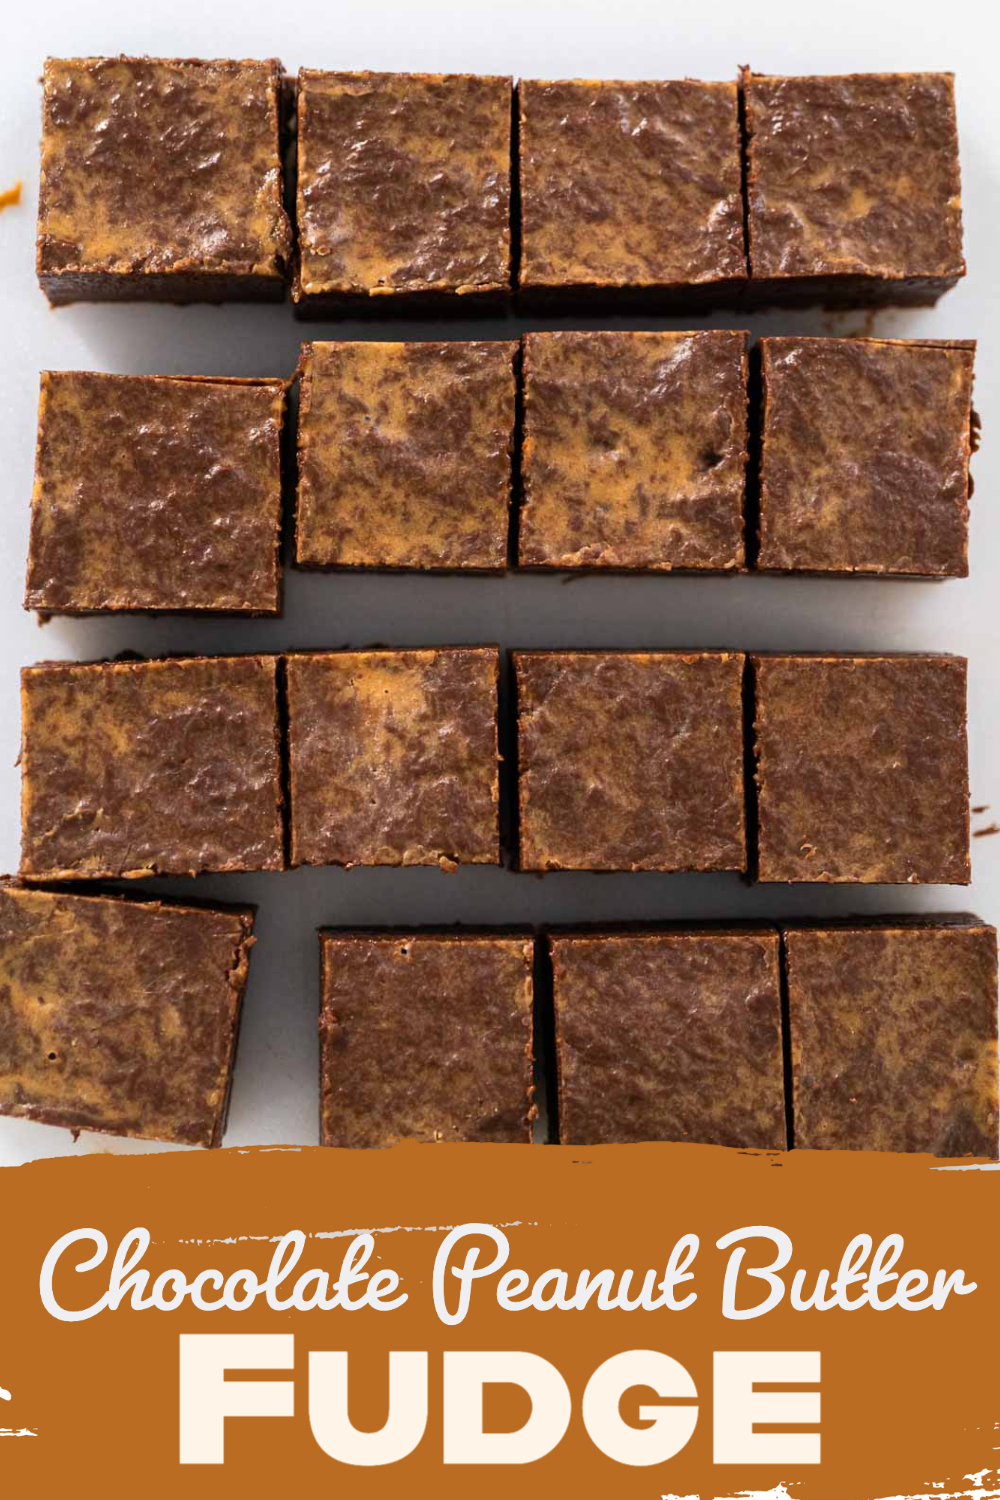
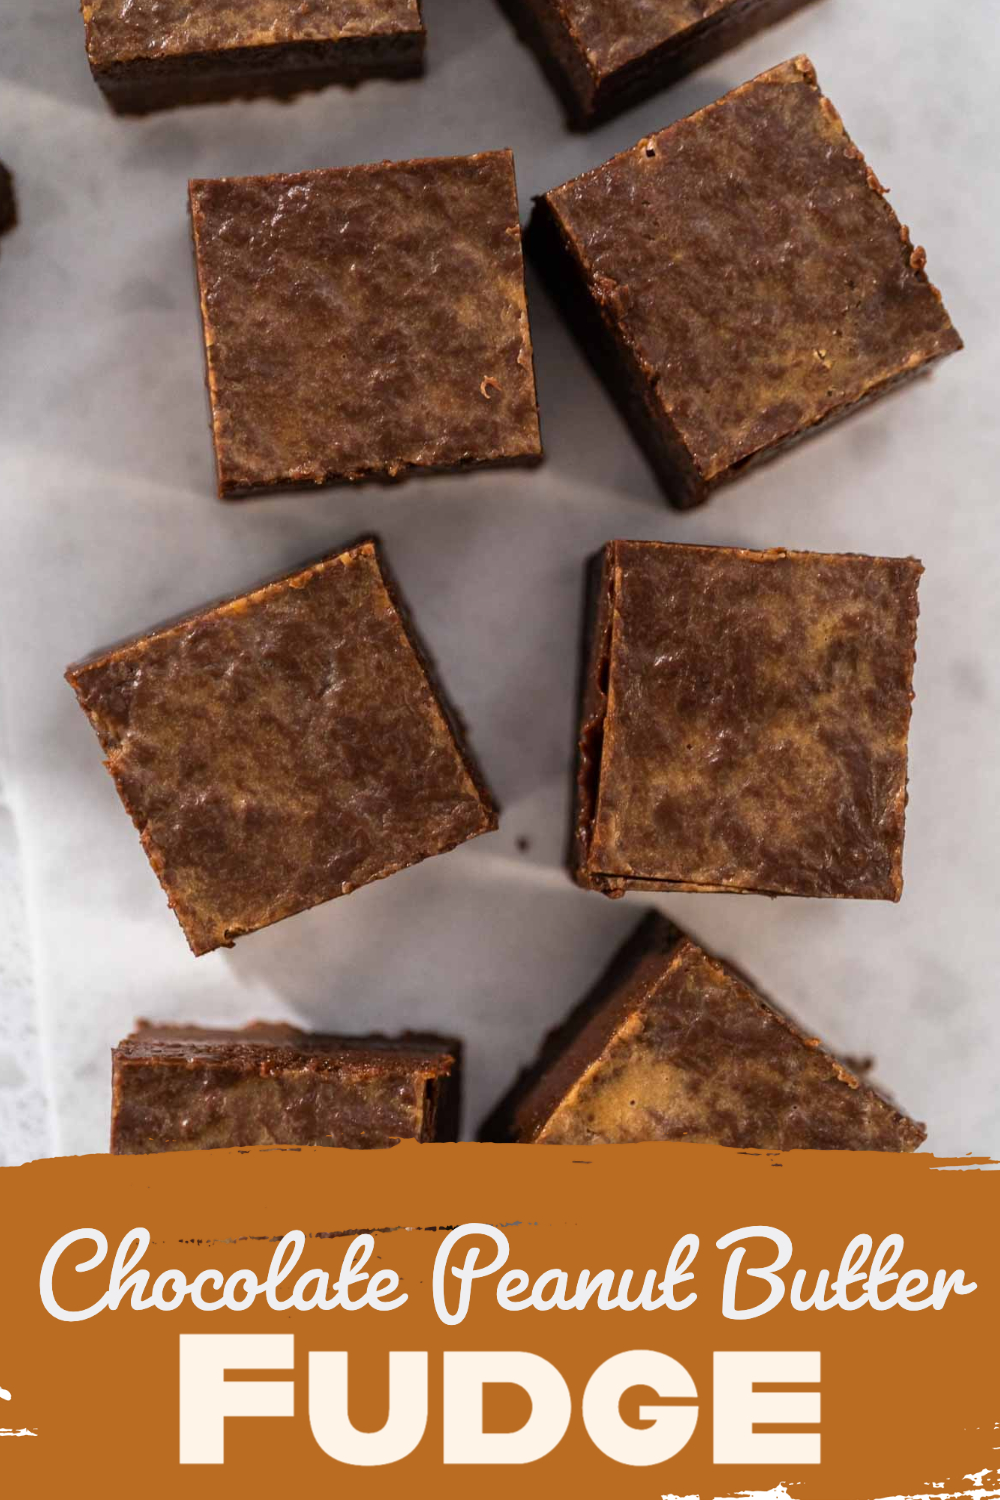
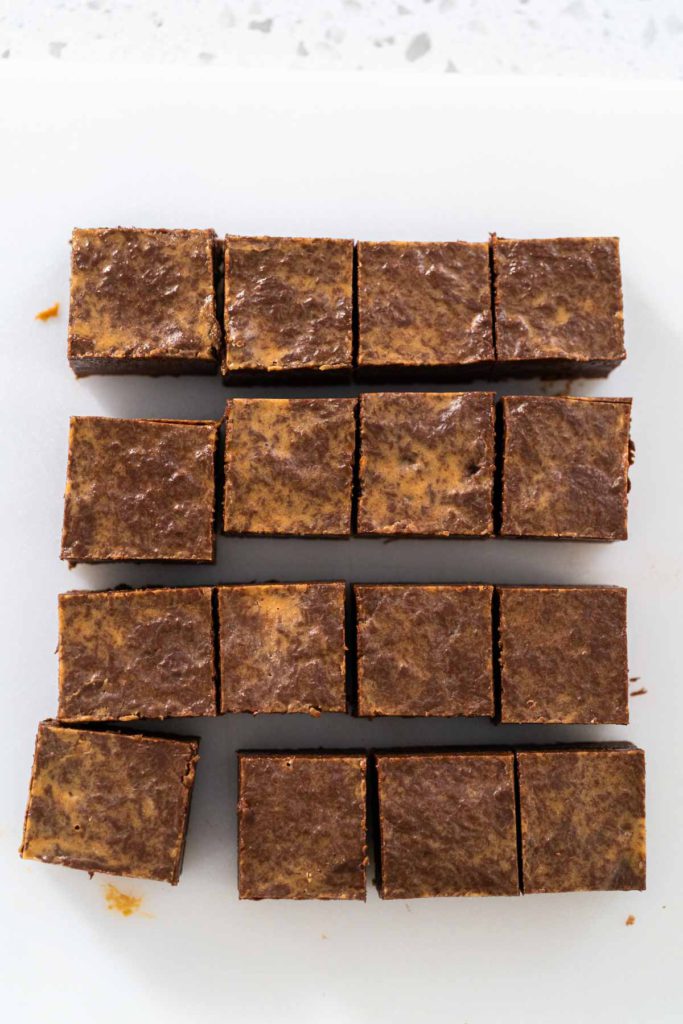
- You should have a perfectly square block of fudge with even edges all the way around.
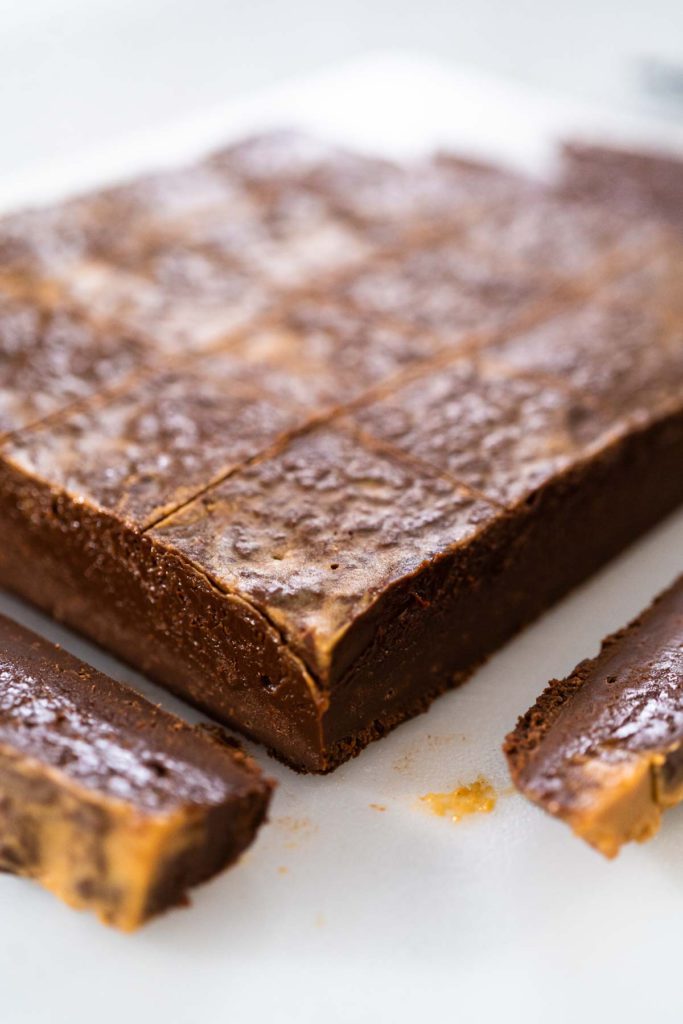
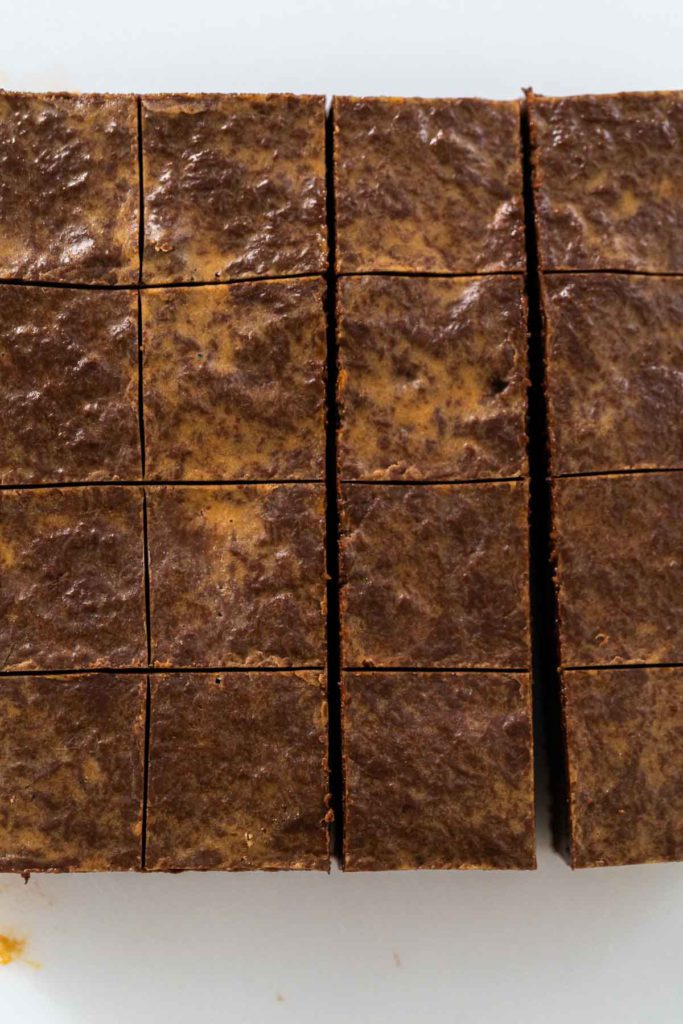
- Then, cut the first set of columns going vertically. Remember to heat and wipe the knife every time for smooth cutting.
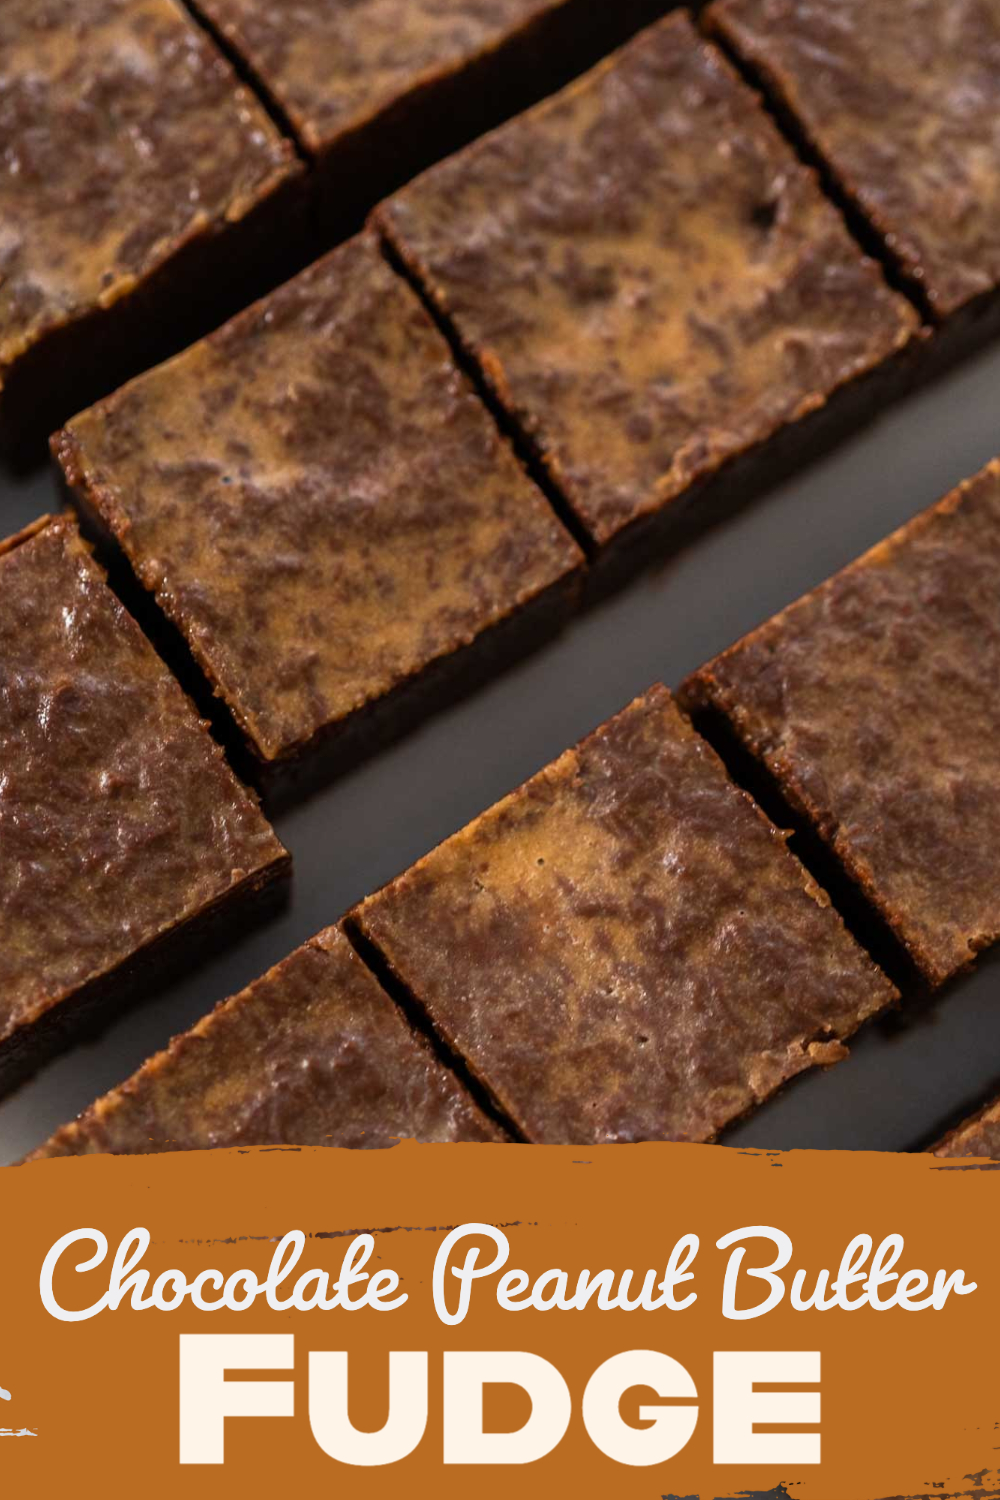
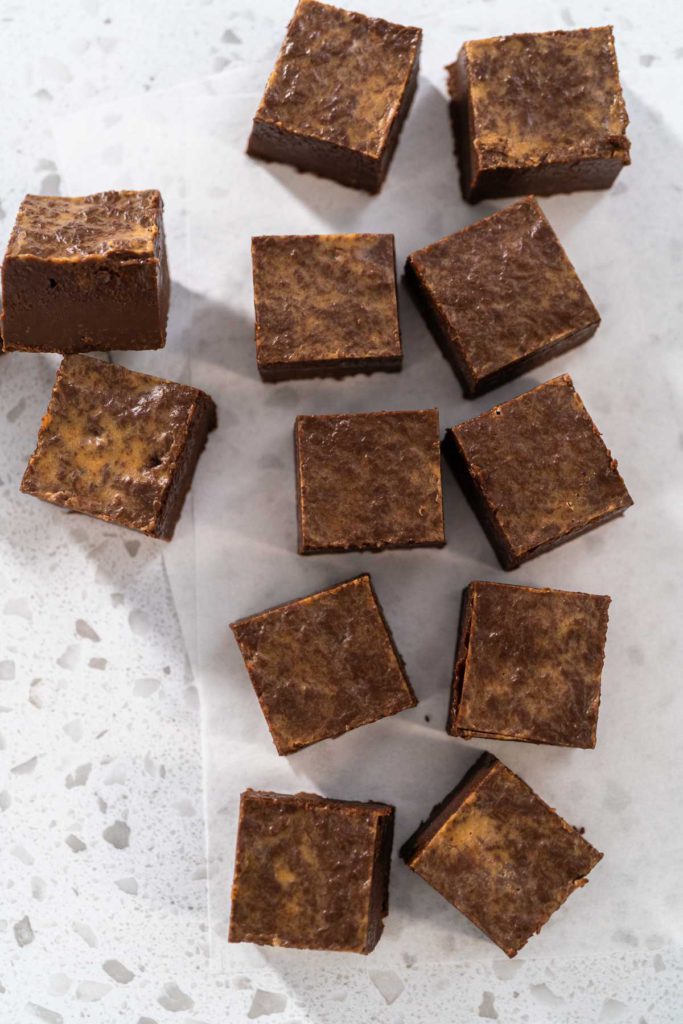
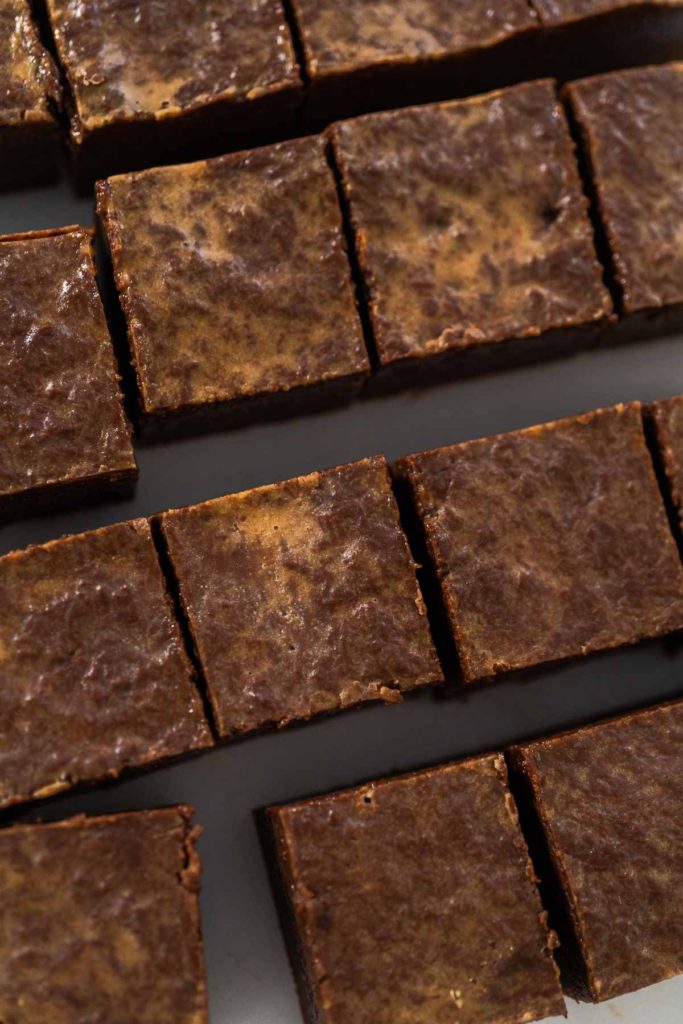
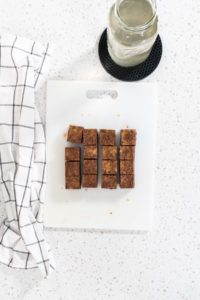
- Repeat the process for the horizontal columns to create perfectly square pieces.
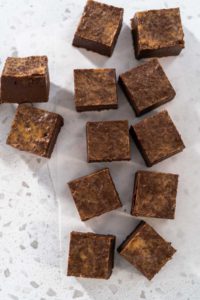
- Finally, serve and enjoy this delectable chocolate peanut butter fudge!
Storing Fudge
To store fudge: first, wrap it securely in parchment paper or transfer it to an airtight container. Then, label the date on the outside of the wrapping and store it at room temperature for up to 2-3 weeks.
To freeze uncut fudge: first, grab a freezer-safe Ziploc bag and label the date on the outside. Transfer the block of fudge to the bag and release the extra air while sealing the bag closed. Store the fudge in the freezer for 2-3 months. Move the frozen fudge to the fridge to thaw for 2 days before cutting and serving.
More Fudge Recipes
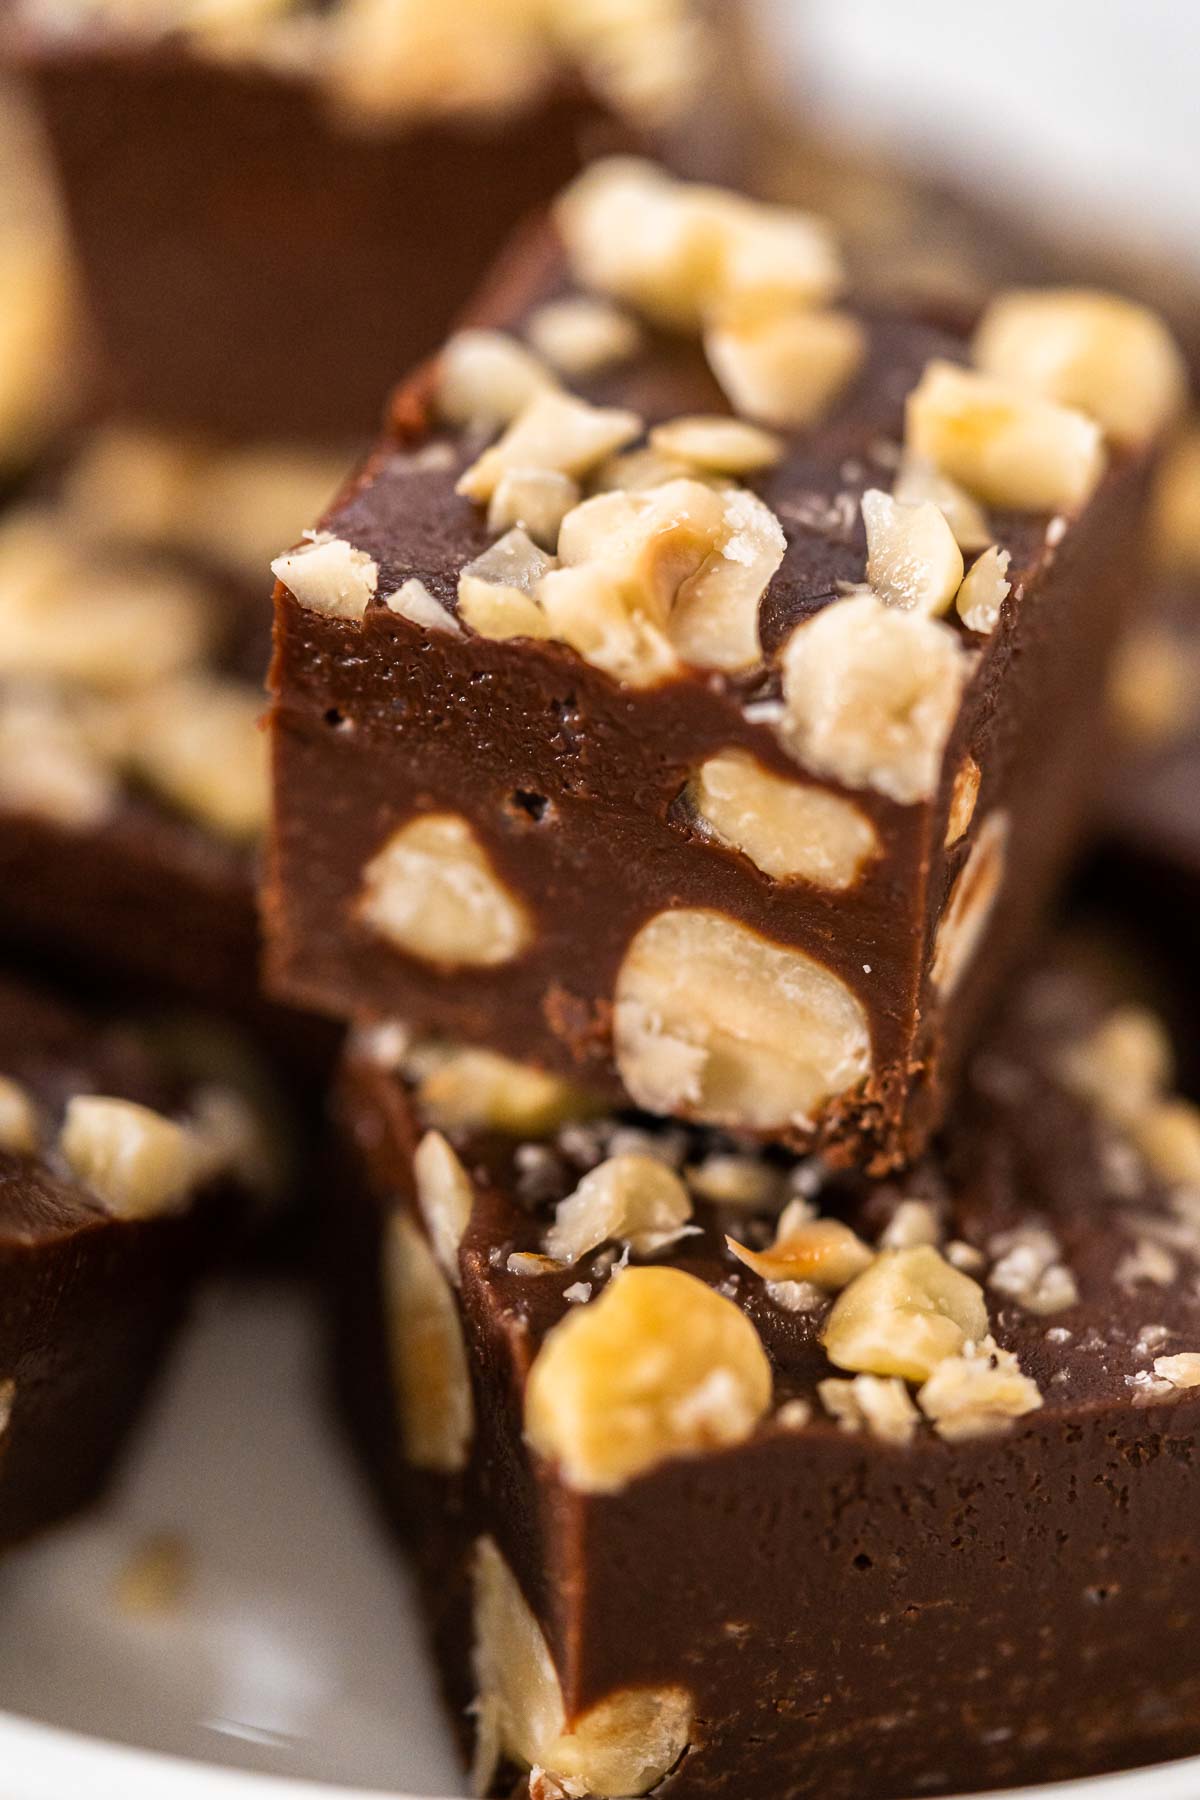
- Chocolate Hazelnut Fudge – Rich, Creamy, and Nutty
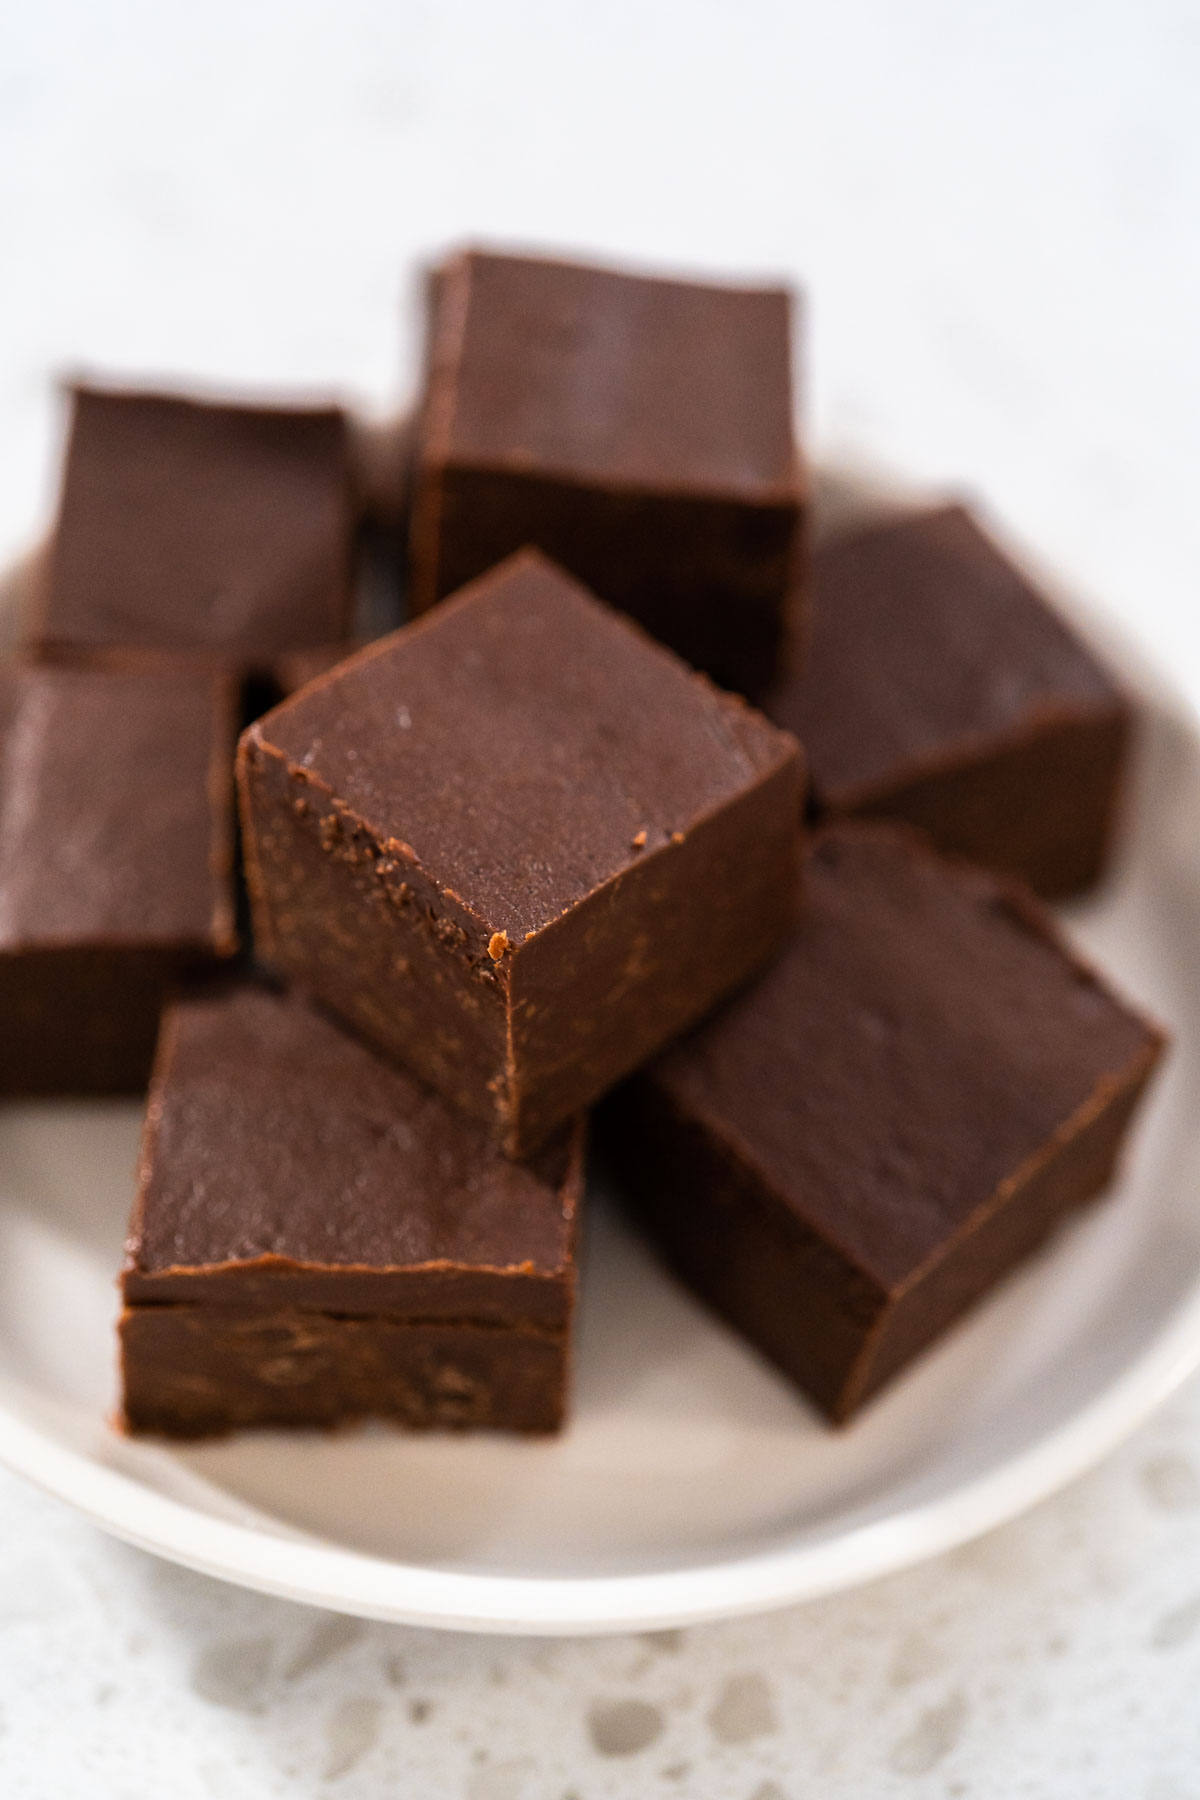
- Classic Chocolate Fudge – Rich, Creamy, and Easy to Make
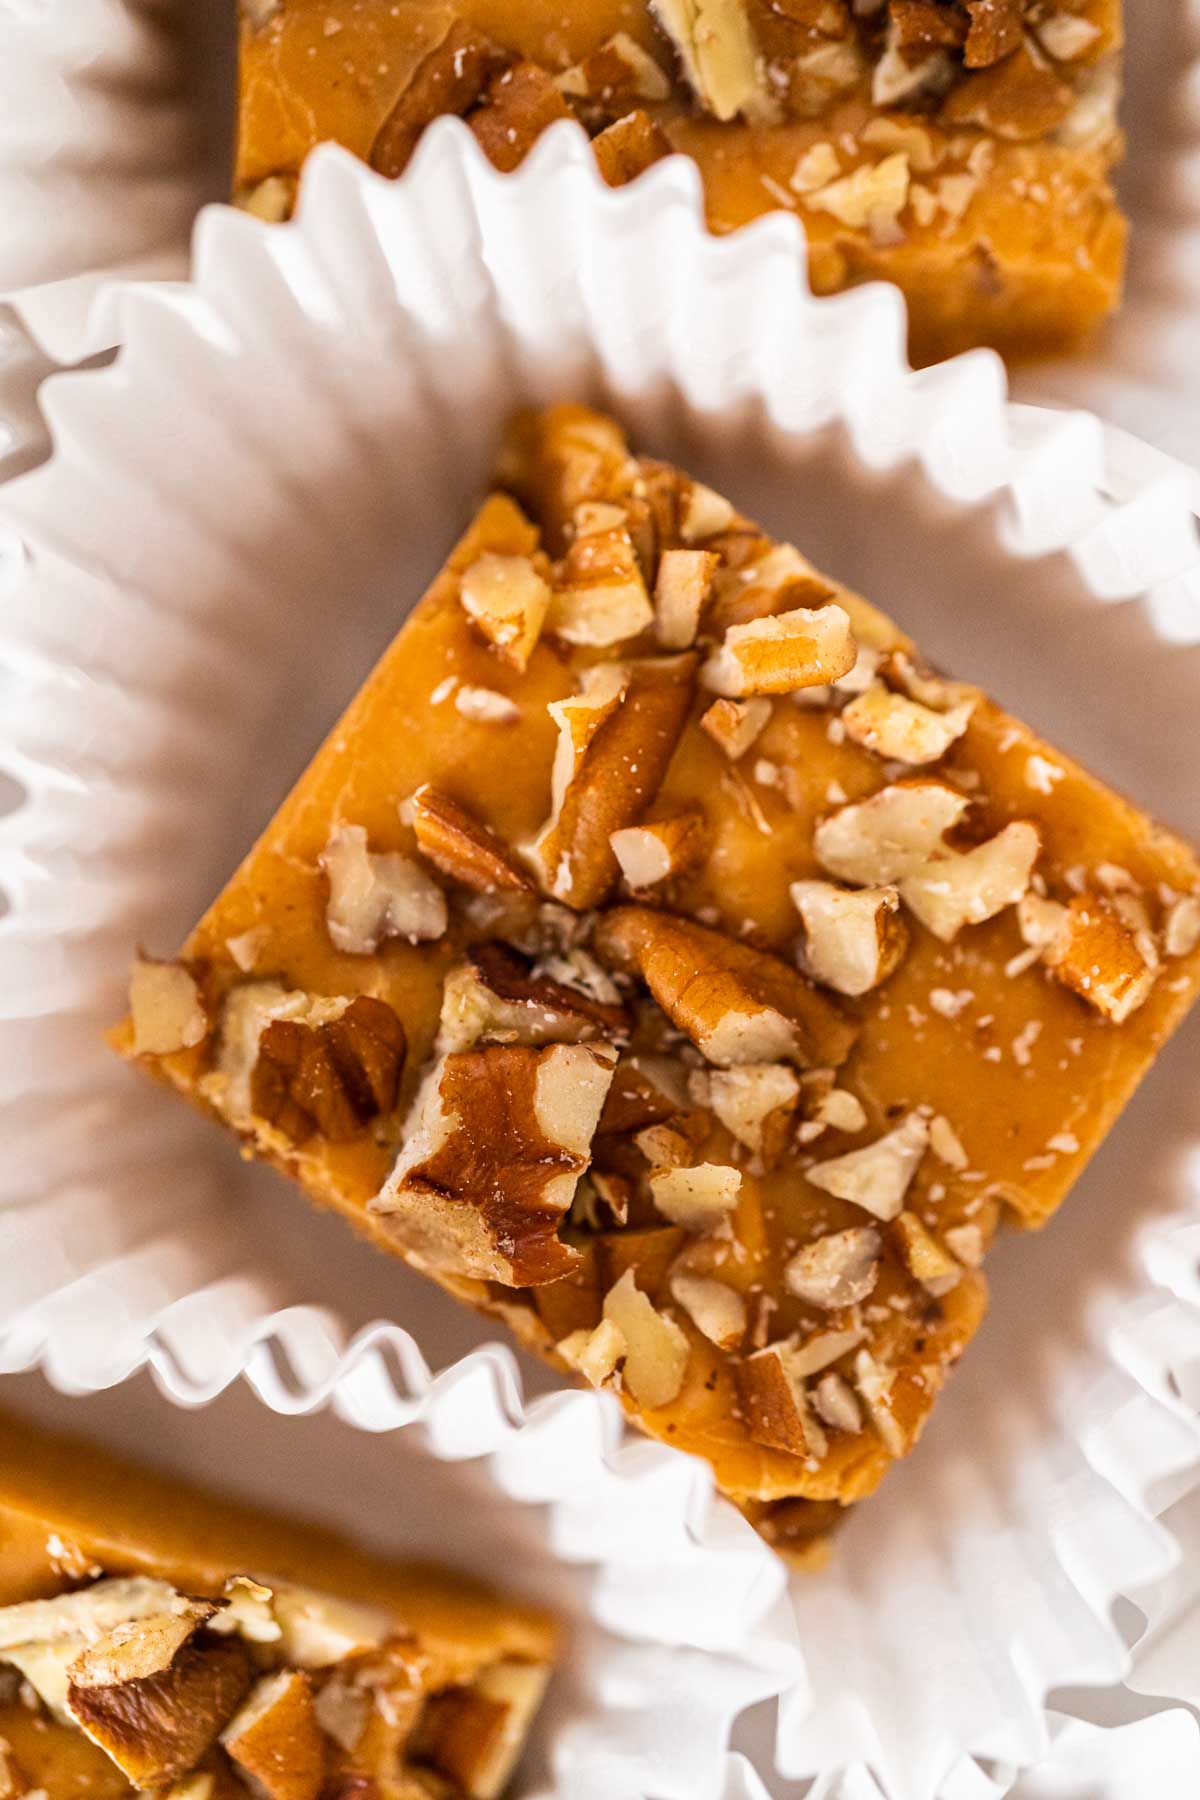
- How to Make Pumpkin Spice Fudge with Crushed Pecans
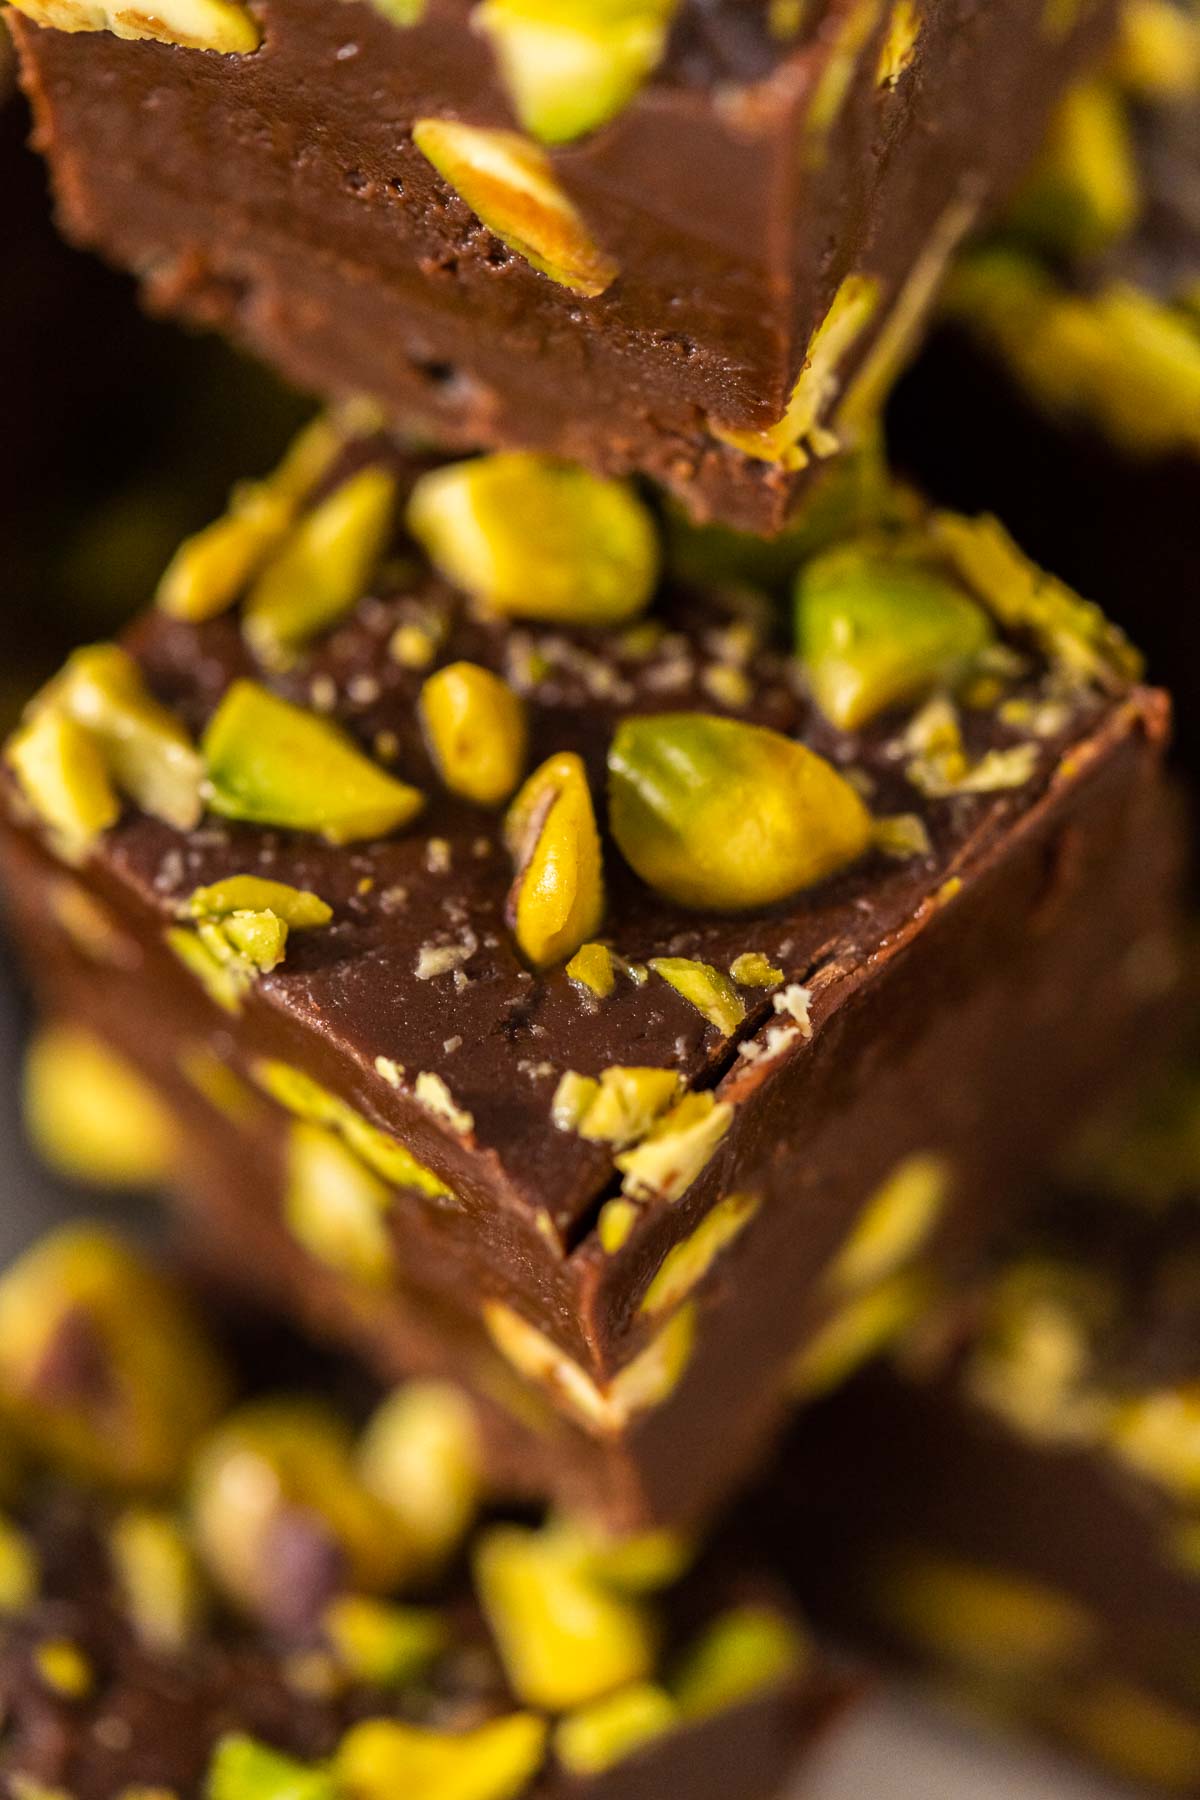
- How to Make Chocolate Pistachio Fudge (Easy No Bake Recipe)
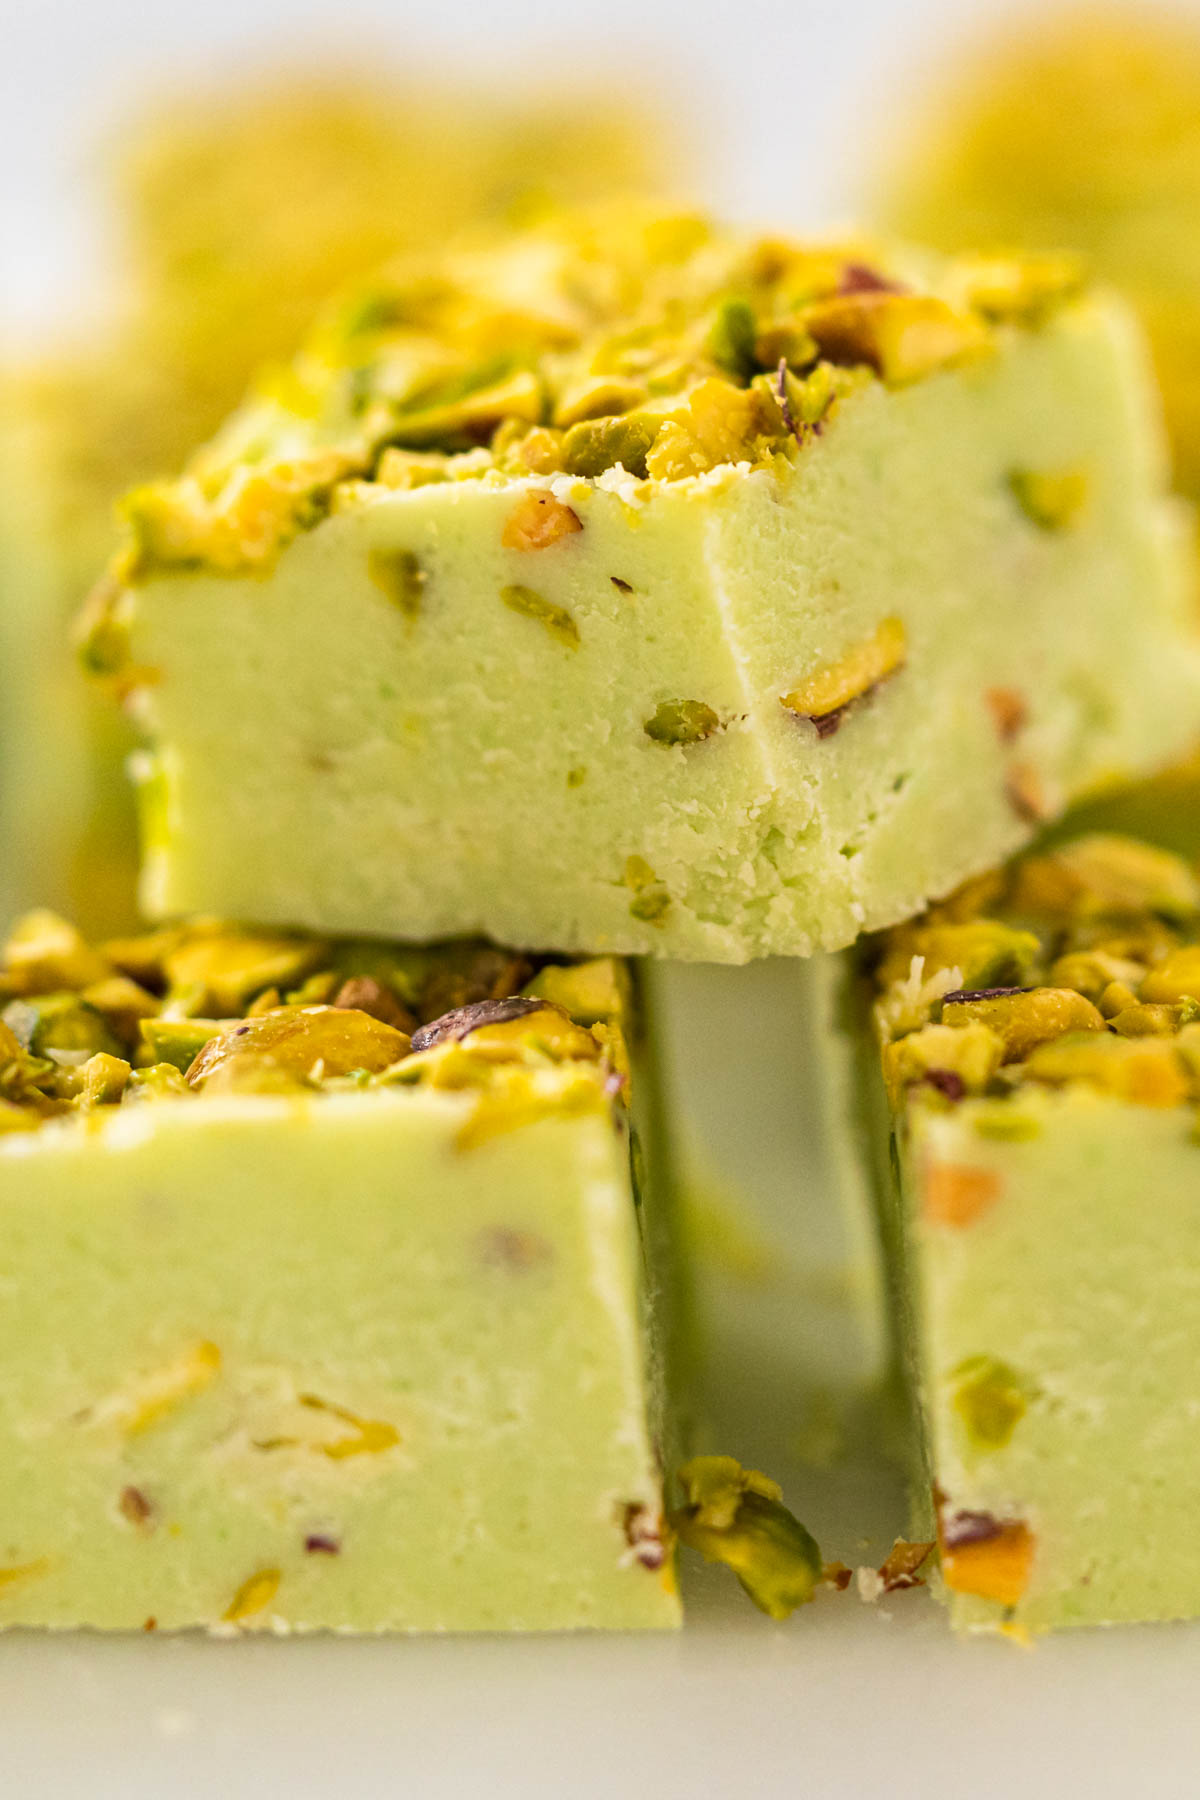
- How to Make Pistachio Fudge with White Chocolate
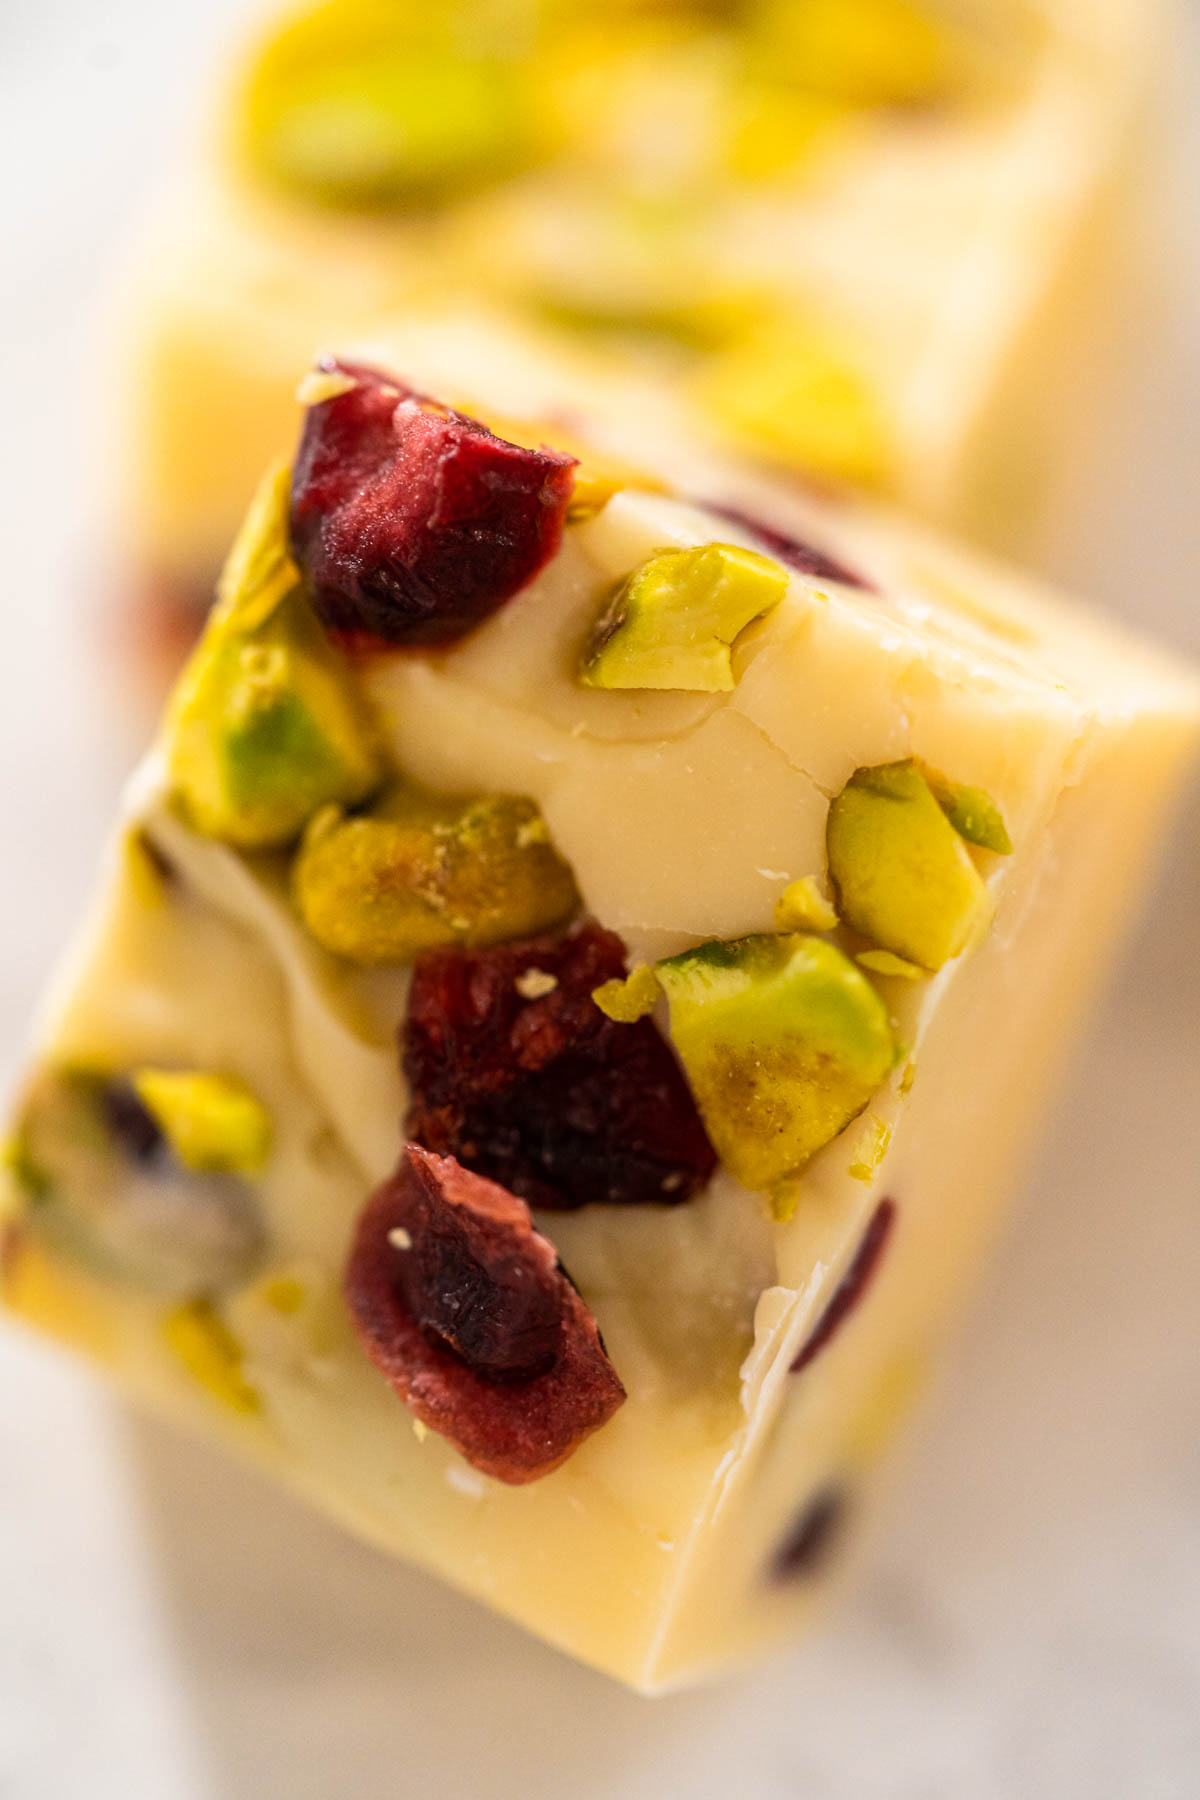
- Christmas Cranberry Pistachio Fudge – Perfect for Gifting
Fetching Fudge Recipes
Looking for even more fudge fun to try out? Here are a few more creative and festive fudge recipes for the holidays and year-round food gift-giving:
- Classic Chocolate Fudge
- White Chocolate Cranberry Pecan Fudge
- Chocolate Fudge with Peanut Butter Swirl
- Candy Corn Fudge
- Eggnog Fudge
- Caramel Fudge
- Pistachio Fudge
Chocolate Peanut Butter Fudge
Video
Equipment
- 1 Glass mixing bowl large
- Knife large
Ingredients
Chocolate part of the fudge
- water to fill cooking pot ½ way
- 14 oz sweetened condensed milk
- ¼ cup unsalted butter room temperature
- 1 teaspoon vanilla extract
- 3 cups Semi-Sweet Chocolate Chips
Peanut butter part of the fudge
- 2 tablespoon unsalted butter
- 4 tablespoon Creamy peanut butter
Instructions
- First, measure out all the chocolate and peanut butter fudge ingredients with the measuring cup and spoons.
- Then, fill the saucepan ½ way full of water, cover with a lid, and bring it to boil over high heat.
- Reduce the heat to medium-low and carefully position a large glass bowl in the saucepan over the boiling water.
- Pour in the chocolate chips, butter, vanilla, and condensed milk.
- Continuously mix and stir the fudge with a spatula while the ingredients melt together.
- Keep stirring until all the ingredients have melted together and the fudge mixture is smooth. Then, carefully remove the bowl from the saucepan but keep the water hot.
- If needed, bring the water back up to boil.
- Then, position another clean large glass mixing bowl on top.
- Drop in the peanut butter and butter.
- Melt and mix the ingredients together until they’re completely mixed and smooth.
- Next, grab a glass baking dish and measure out a piece of parchment paper over the top of the dish.
- Cut the paper, so it is about 1.5- 2 inches wider than the baking pan. Then, cut one slit at each of the 4 corners across from each other.
- Simultaneously fold the corners in while pushing the parchment paper into the glass dish, so the paper fits securely.
- Next, scoop the chocolate part of the fudge into the lined dish.
- Spread it around evenly and smoothly with a spatula.
- Then, pour the peanut butter part on top of the chocolate fudge.
- Mix the peanut butter into the chocolate with a butter knife.
- Smooth out the top of the fudge again.
- Refrigerate the fudge for at least 2 hours, or for best results, leave it overnight.
Cutting fudge
- First, gather the fudge-cutting equipment.
- Then, create a template on parchment paper with 1.5 inch columns vertically and horizontally to make a grid of even squares.For more in-depth instructions, check out How to Cut Fudge into Perfect Squares.
- Prepare a jar of hot water and grab some paper towels, a pastry cutter or knife, and the fudge. Remove the fudge from the pan and the parchment paper.
- Then, place the fudge on a cutting board with the parchment paper template on top.
- Use the pastry cutter to score, or mark out, the outer edge of the template.
- Next, use the template to mark out the columns of the grid squares.
- Cover your hands with gloves. Then, dip a large knife in hot water, wipe it dry, and begin cutting off the outer template lines along the edges of the fudge.Repeat the process of dipping the knife in hot water and wiping it before each cut.
- You should have a perfectly square block of fudge with even edges all the way around.
- Then, cut the first set of columns going vertically. Remember to heat and wipe the knife every time for smooth cutting.
- Repeat the process for the horizontal columns to create perfectly square pieces.
- Finally, serve and enjoy this delectable chocolate peanut butter fudge!
Notes
Nutrition
Food Photography & Video Tips from My Studio
Here’s a peek at the tools, gear, and camera setups I use to film my recipe videos and photograph food at home. Over the years, I’ve tested dozens of different setups, and now I’m sharing what actually works for me—whether I’m filming overhead shots for YouTube or styling still photos for my blog. If you’re curious about how I create the content you see here, these posts are a great place to start.








Leave a Reply