How to protect your equipment from accident, wear and tear, and mess
This post contains affiliate links.
Whether you’re an amateur photographer with one camera or a seasoned veteran with a multi-camera setup, it is undeniable that photography can be an expensive hobby or career. So, in order to protect my valuable equipment in the studio, I have developed some techniques over the years to ensure safety in the studio. These are all suggestions and techniques that I use, so it’s important to know that these tips are things that I personally believe, though every photographer prefers different things to keep their equipment safe. These tips also only apply to those in a studio environment- these may not apply to those photographing outside or not in a controlled studio.
Must have camera safety gear
Camera Strap https://amzn.to/2MS7dAq
Jerkstopper Tether Tools Tethering Camera Support https://amzn.to/2t8kNGx
Feelworld FW759 Screen Camera Field Monitor 1280x800 IPS Screen (7 Inch) https://amzn.to/2Img2C6
Small fan https://amzn.to/2OVeNv5
Studio sandbags https://amzn.to/2F36HgJ
Wireless Remote for Sony https://amzn.to/2GpExgU
Gaffers tape https://amzn.to/2VxS5eM
Tip 1: Camera Straps
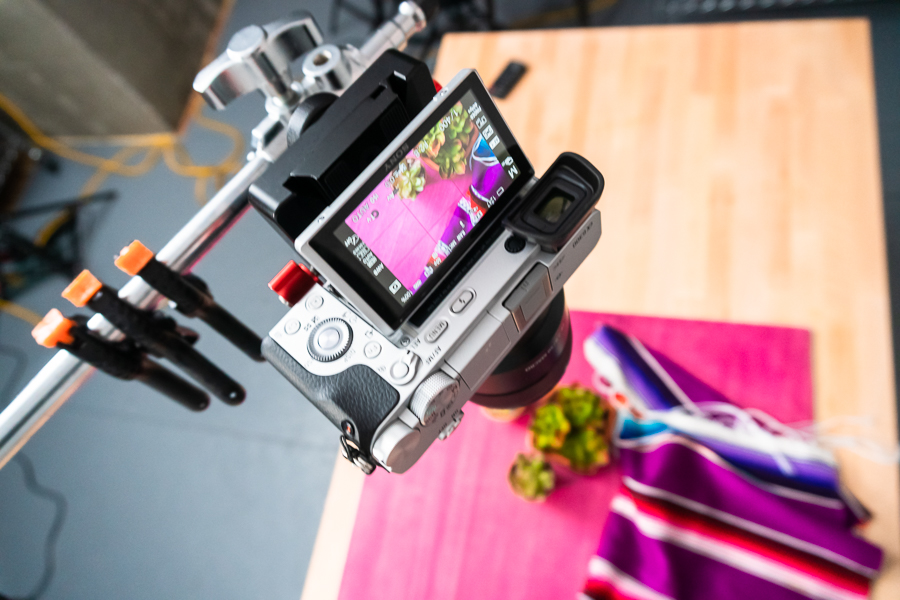
Contrary to proper belief, I have found that using camera straps is far more dangerous than using them. The camera strap proves to be more of a safety hazard when in the studio, in that the strap can get caught on things around it. Or, when moving around the studio, one could accidentally get caught in the strap and bring down the camera with the tripod or c-stand as the camera loses balance. This is the greatest hazard when using a camera strap in the studio, but there are other issues with it. The strap has some significant weight to it, especially when shooting, so if any air movement moves the strap, the camera moves with it and will ruin the shot. To remedy the issues caused by traditional camera straps, if I absolutely need to use a camera strap, I use a lighter strap with a quick-release on it to prevent things from getting caught onto it. However, I always try to limit the number of things I attach to my camera to reduce the risk of accidents.
Tip 2: Filters
Many photographers use filters on their cameras to enhance their images and protect their lenses, however, it is a debatable subject as some photographers prefer to not use filters. I prefer not to use filters in the studio. The only time I will use a filter is a polarized lens filter for shiny objects that would otherwise ruin a shot. Filters, in my opinion, reduce the quality of images in videos in that a filter is usually lower-grade glass than that of the lens. Filters also pose a hazard as the space between the lens and the filter creates a small area to trap dirt and dust and ruin images, whereas not having a filter would just allow dirt and dust to be cleared from the lens. Filters are sometimes a choice in protecting lenses, but I have found that the opposite happens. I have dropped a camera a handful of times, and the times that I was using a filter, it did not sufficiently protect my lens. Indeed, the drop damaged both the lens and filter, creating unnecessary costs. I have also experienced a time in which the filter was damaged so badly that it was the cause of the lens is damaged, which would have otherwise been fine. It’s still important to understand that this is mostly for a studio environment, with controlled lighting environments, which can sometimes fill in the purpose of filters.
Tip 3: Using Sandbags
The studio can sometimes be a minefield of stands, tripods, and wires that are prone to be tripped over if one isn't careful. To help create some extra stability around the multiple light stands, tripods, and c-stands that I use, I put sandbags over the stands’ legs. These help the equipment on top be more balanced if one were to accidentally bump into or get caught on the equipment, which would usually make for a very messy and expensive accident. This is especially useful for tripods, as cameras can be quite heavy with a lens, and sandbags will ensure that it won’t fall over. I fill the sandbags up with medium-sized rocks for added weight, though this makes them quite hard to move around. Another drawback to using sandbags is that repositioning equipment becomes a bit harder during shoots, but since it is somewhat rare that I reposition my equipment, I find it worth the trouble just for a bit more safety.




Leave a Reply