The best food photography tips to keep your modeling hands and nails clean, crack-free, and naturally beautiful.
This post contains affiliate links.
When it comes to food photography and blogging there are many components to keep in mind to achieve flawless and appetizing snapshots. Not only do you need tasty-looking food, an eye-pleasing background, and well-placed props but you also need a lovely model, or rather a lovely pair of modeling hands. Now, this may not always be the case. Sometimes the mouthwatering food and flattering props are enough on their own for a particular project or set of photos; however, if you intend to create video recipes or tutorials then healthy hands are an absolute must! Because they act as the narrators of your food story, visually-appealing hands are a crucial part of making sure your photos and video recipes come out clean and professional. To give you a helping hand, I have composed my 5 best tips on food photography modeling to help make sure your story-telling hands are well taken care of, in tip-top shape, and always ready for the camera.
There are two options for using hand modeling in your food photography and tutorial videos. One is to find an actual hand model that you can hire, the other is the same person modeling, as in using your own hands. If you plan on going that route, as I have, then you need to know what it takes to make sure your hands and nails are well-groomed and easy to look at before you even get started.
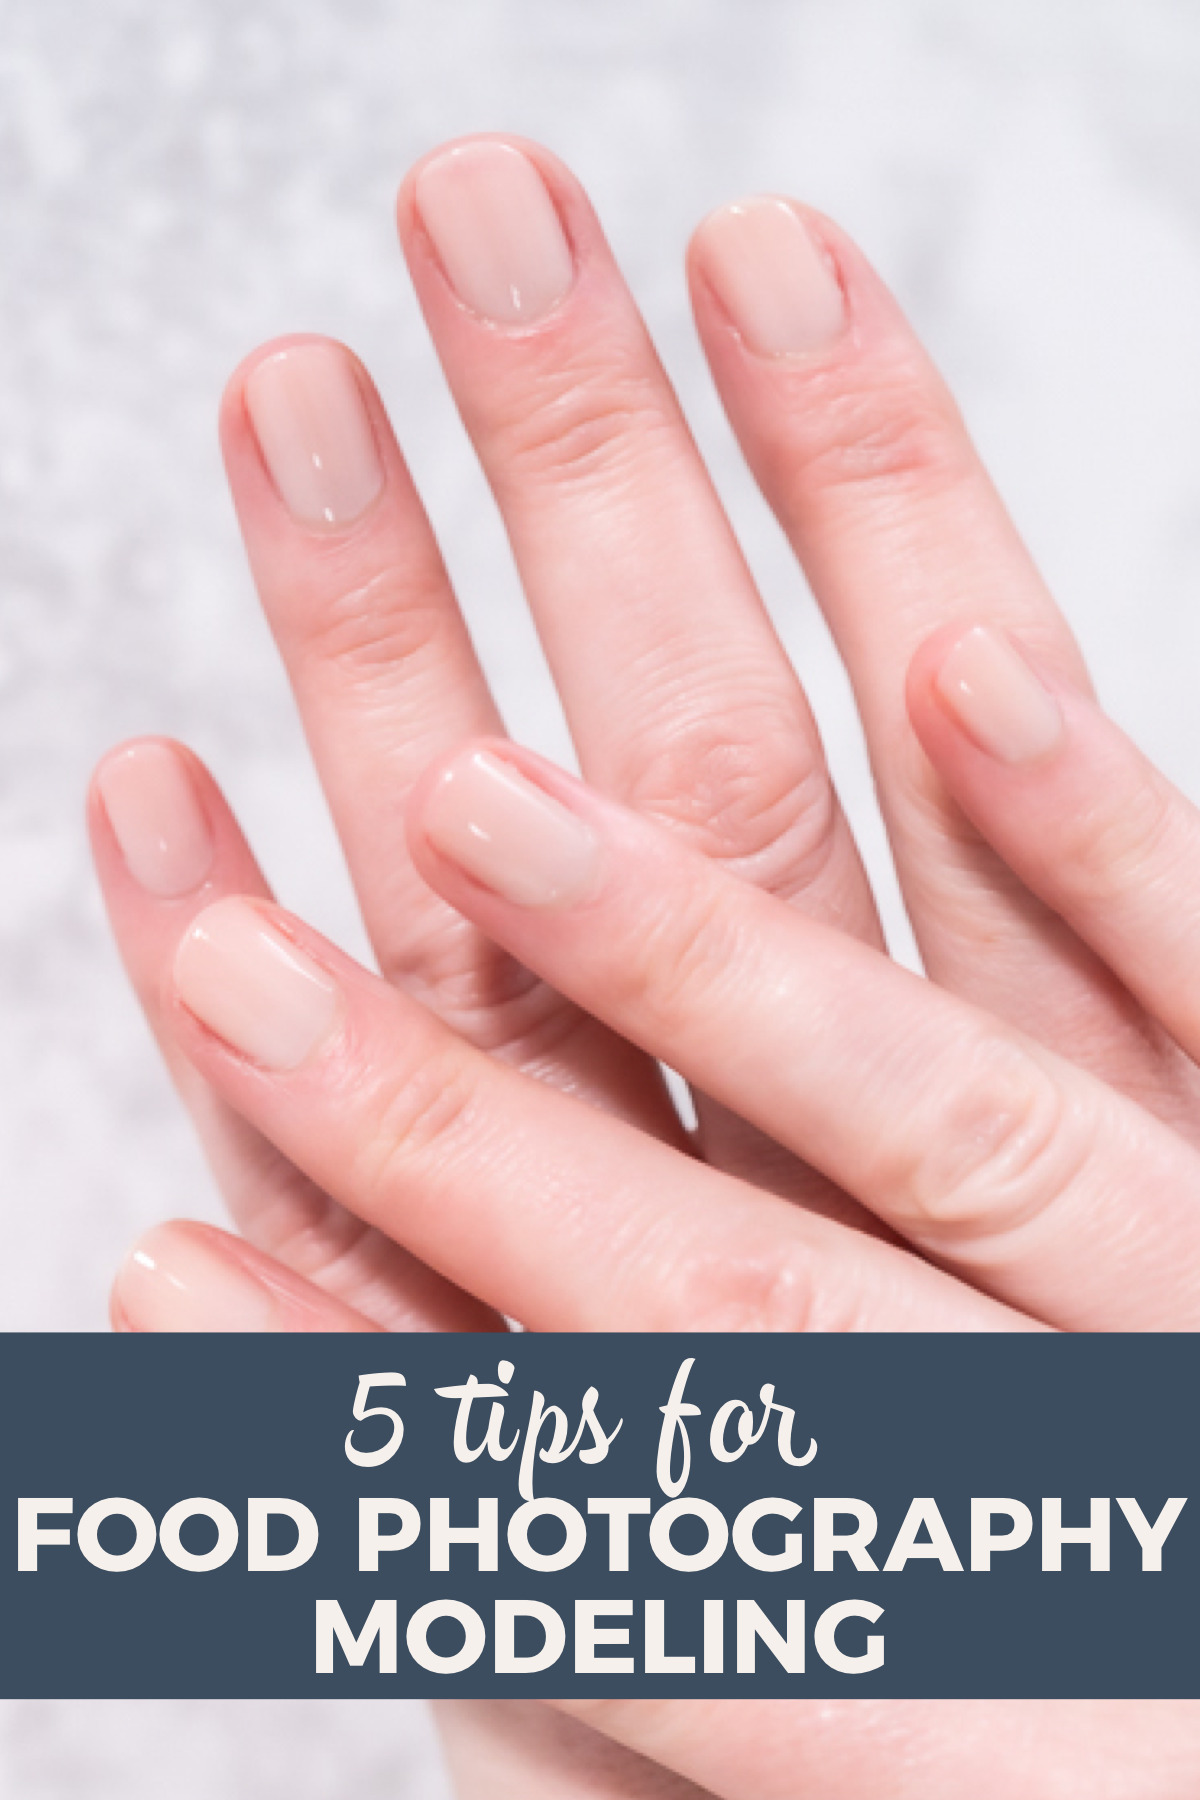
The ideal food photography hand models are free of cracks, dryness, rough edges, oddly shaped nails, and have an overall naturally pleasing appearance. My 5 tips on keeping those hands camera-friendly will save you from all of that and put you on the right path for food photography success.
Tip #1 Fend Off Pesky Stains.
Anyone who has worked with food photography, or with cooking food in general, knows that prepping some fruits and veggies can come with a price: stains! There are beets and berries galore that can and will temporarily dye your skin if you do not use some kind of protective barrier. You should avoid this as much as you possibly can. To prevent this from happening, I wear a pair of food-safe, powder-free gloves like these Disposable Vinyl Gloves from Sunset Brands to do all of my prep work before I start rolling the camera. Not only do they protect against those unsightly stains but they help keep my hands dry between cutting and rinsing multiple foods which can reduce overworking and stripping of the moisture from my hands. They also help protect my skin against highly acidic foods (like lemons and limes) that can cause damage and accelerate drying out. This is a great photography trick but do not forget to remove your gloves prior to starting any camera work; you want neither stained nor gloved hands in any of your food photos or recipe videos.
Tip #2 Overnight Damage Control.
One of the biggest problems concerning your modeling hands is that when working with food your hands are bound to dry out quicker. Even daily moisturizing and protective gloves can only help so much when you are consistently cutting, rinsing, and washing during your food prep and clean up afterwards. There have probably been a few times where you have been right in the middle of camera work and have had to stop and readjust some of the food or prop placement and before returning to the camera you have to wash up again. Maybe that happens to you often. If that is the case, I suggest keeping your disposable gloves nearby and using them off-camera to do any food corrections. Even so, your poor hands may still end up getting overworked and dry out to the point they start cracking. Lucky for you my next tip will take care of that problem overnight! To quickly heal cracked, dry hands I spread a thin coat of Neosporin over the cracks and cover them with Water-Resistant Kid Bandages and leave them on overnight to work their magic. By the next morning, my hands are as good as new! I specifically opt for the kid band-aids because they have a less powerful adhesive that will not leave behind marks or residue; this is an important photography tip for keeping your hands clean and camera-ready at all times.
Tip #3 Take Care of Those Cuticles!
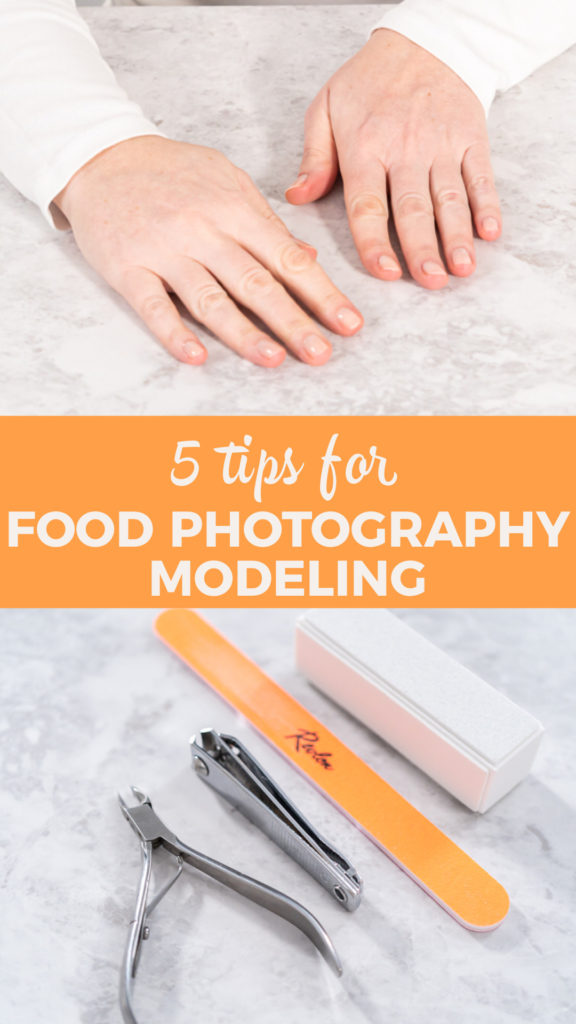
It may not seem like much of a big deal but your fingernails' appearance play a big part of the overall healthy nature your hands need to portray beside the food in your photos or videos. Your goal is to create scrumptious-looking content that will leave your viewers hungry for more, not to scare them away with unsightly nails. To keep from unintentionally grossing anyone out, you need to develop and practice a good nail care routine. After trimming and filing down the edges, I like to use my handy Revlon Cuticle Nipper to make sure my nails are free from any excess cuticle skin or bothersome hangnails. Once they are pleasantly groomed, I follow up with the OPI Pro Spa Nail & Cuticle Oil to help protect my cuticles from tearing and to replenish and strengthen my nails. I practice this routine at least every 2 weeks to keep my nails healthy, happy, and distraction-free.
Tip #4 Buff Up!
No, I don't mean hand exercises. I'm talking about buffing away those rough edges on your nails! Not only are those jagged edges unappealing, but they can also snag easily and possibly create more of a mess than you were expecting to deal with. You also want to keep in mind that weird or unusual nail shapes can be off-putting for some people and that can hinder how far your photos and tutorial videos go. If your overall goal in your food photography is to reach people from as many different regions, cultures, and backgrounds as possible then you want to have universally pleasing nails that really do not pull attention away from the food subject or recipe. Try using a Revlon Nail Shaper to file down any harsh edges. I also like to add a little buffering into my nail care routine with my Onsen Professional Nail Buffer. This is a 3-way buffer that not only helps me achieve a more natural, rounded-edge nail shape but it also works to help strengthen and polish my nails giving them a glossy sheen on their own without needing extra attention.
Tip #5 Go Bare or Go Neutral!
You may be thinking, “Okay well, what about nail polish color?” My best photography tip for you, in this case, is to go for a neutral look. Let me reiterate, you do not want to distract the viewer's focus from the cuisine or recipe to admire your nails for any reason. Yes, you want them to have a clean and professional appearance but no, you do not want your nails to become the center of attention. Avoid bold, bright colors and go for something similar to this shade of Rose-Colored Glasses from ORLY. This shade is perfect for adding an extra flair of femininity and personality without pulling the eye of the viewer from the subject at hand (or in hand, in this case). If you do choose to add a neutral color to your nails then upkeep and refinishing are both necessary. When I opt to use nail polish I don't just slap the color on there, I have a process I stick to.
Once my nails are groomed to my pleasing I start with a base coat like this OPI Nail Strengthener Treatment which can also be used on it's own for days when there is not enough time to refinish color. After the base, my next step is to add just one coat of my chosen color. Once my color is dry I finish with my OPI High-Shine Top Coat to add extra protection to my nail color and reduce the chances of chipping. Chipped nail polish must be avoided at all costs when it comes to food photography. People across the internet are scolded every day for sharing any kind of photographic evidence of chipped nails because they are just considered unappealing and unprofessional in general. You most certainly do not need that kind of negative impact when you are handling any type of food in your photos or video recipes. To keep this from happening to me, I refinish my nail color every 4 to 5 days. Now as a busy mom myself I know there is not always time to go through the whole process of refinishing and repainting my nails as much as I would like to.
On those extra busy days it is better to just go clean and bare rather than letting chipped nail polish make an unprofessional appearance in your work. That buffer I referred to earlier really comes in handy on those busy days to help add a pleasant shine to bare nails.
If you are curious about my exact nail care routine step for step it goes like this: I start by cutting my nails to a pleasant length; then I file down any sharp edges leftover; next I nip away any extra skin or hangnails; after that comes the buffer; and I follow that up with my cuticle oil. If I decide to paint my nails I start by cleaning them really well with acetone, then I use a base coat, followed by one coat of color, and finish with my protective top coat. This routine has worked wonders for me and I am happy to share my discoveries with you to free you from unnecessary stress.
Whether you are a food blogger, a video recipe specialist, a hand model, doing work for a client, or are just starting out on your photography adventures, following my 5 unique tips for food photography modeling will save you all the time and hassle of figuring it out the hard way and steer you towards victory. Take it from me and save yourself from the trouble. Just keep in mind the key factors for professional and pleasant food photography modeling and blogging: glove up for skin protection, moisturize daily and heal damage quickly, groom those cuticles, trim and shape those nails, buff out any rough edges, and polish up.
Food Photography & Video Tips from My Studio
Here’s a peek at the tools, gear, and camera setups I use to film my recipe videos and photograph food at home. Over the years, I’ve tested dozens of different setups, and now I’m sharing what actually works for me—whether I’m filming overhead shots for YouTube or styling still photos for my blog. If you’re curious about how I create the content you see here, these posts are a great place to start.




Leave a Reply