How to figure out what type of background is best for your cooking videos!
This post contains affiliate links.
One of the most important aspects of creating eye-catching food content and cooking videos is something that not many people put a lot of focus on: the background. Yes, you need mouth-watering ingredients and well-placed props but the background surface that the food is presented on is just as important for creating the desired visual effects. It can help to either “make” or “break” a video recipe.
Experimenting with recipe video background surfaces has played a huge part in my videography career. When I first started my food photography business, I constantly ran into issues with everything from background storage to mobility to durability to pesky stains, and so on. After years of extensive research and experimenting to find the perfect video background, I found that it really all came down to figuring out what would meet my specific needs exactly.
To figure out what kind of background surface works best for me -and for you to figure out what kind will be the best for you- there are many factors to take into consideration. Factors such as cost, size, weight, durability, longevity, captured quality on film or photos, time to make, and reusability are the big key players when it comes to picking out the best video backgrounds for your specific needs.
A recipe videographer needs a background surface that not only looks appealing, but that can handle working with food. What I mean by this is that working with food can get quite messy so a background that is stain-resistant is pretty much necessary. On top of that, the background needs to be durable enough to handle heavy cooking equipment and sometimes high temperatures, while also needing to be lightweight enough for easy mobility and storage.
To help you narrow down your search, I am breaking down the specs and the pros and cons for 3 types of backgrounds that I have personally put to the test: printed vinyl background, wood background, and an MDF board with contact paper. All of the research I am sharing in this blog is based entirely on my own personal experience. Again, what works best for me may not be the best solution for you personally.
Food Photography & Video Tips from My Studio
Here’s a peek at the tools, gear, and camera setups I use to film my recipe videos and photograph food at home. Over the years, I’ve tested dozens of different setups, and now I’m sharing what actually works for me—whether I’m filming overhead shots for YouTube or styling still photos for my blog. If you’re curious about how I create the content you see here, these posts are a great place to start.
Due to every food videographer’s needs being different, such as studio space, equipment, and financial factors, any one of these background boards may be more suitable compared to the others. To find what will work best for you, I recommend the age-old formula of comparing the pros and cons of each background board with how that will or won’t work in your studio. Studying the attributes of each backdrop while also understanding your studio and video needs is key to finding the Best Backgrounds for Video Recipes.
Keep in mind, though, that shooting food photography and creating recipe videos are totally different and require different techniques. Photos can easily be edited in photoshop to remove a mistake or add something in. With videos it is a lot more complex and very time consuming, since one second of video contains 30 images. The backgrounds I want to cover are made specifically for creating videos and video content.
[ninja_tables id="21109"]For my cooking video content, an MDF board with adhesive vinyl, or contact paper, is the best background for creating my video recipes. MDF board backgrounds are lightweight, easy to store, inexpensive, easy to make, durable, and look excellent on camera!
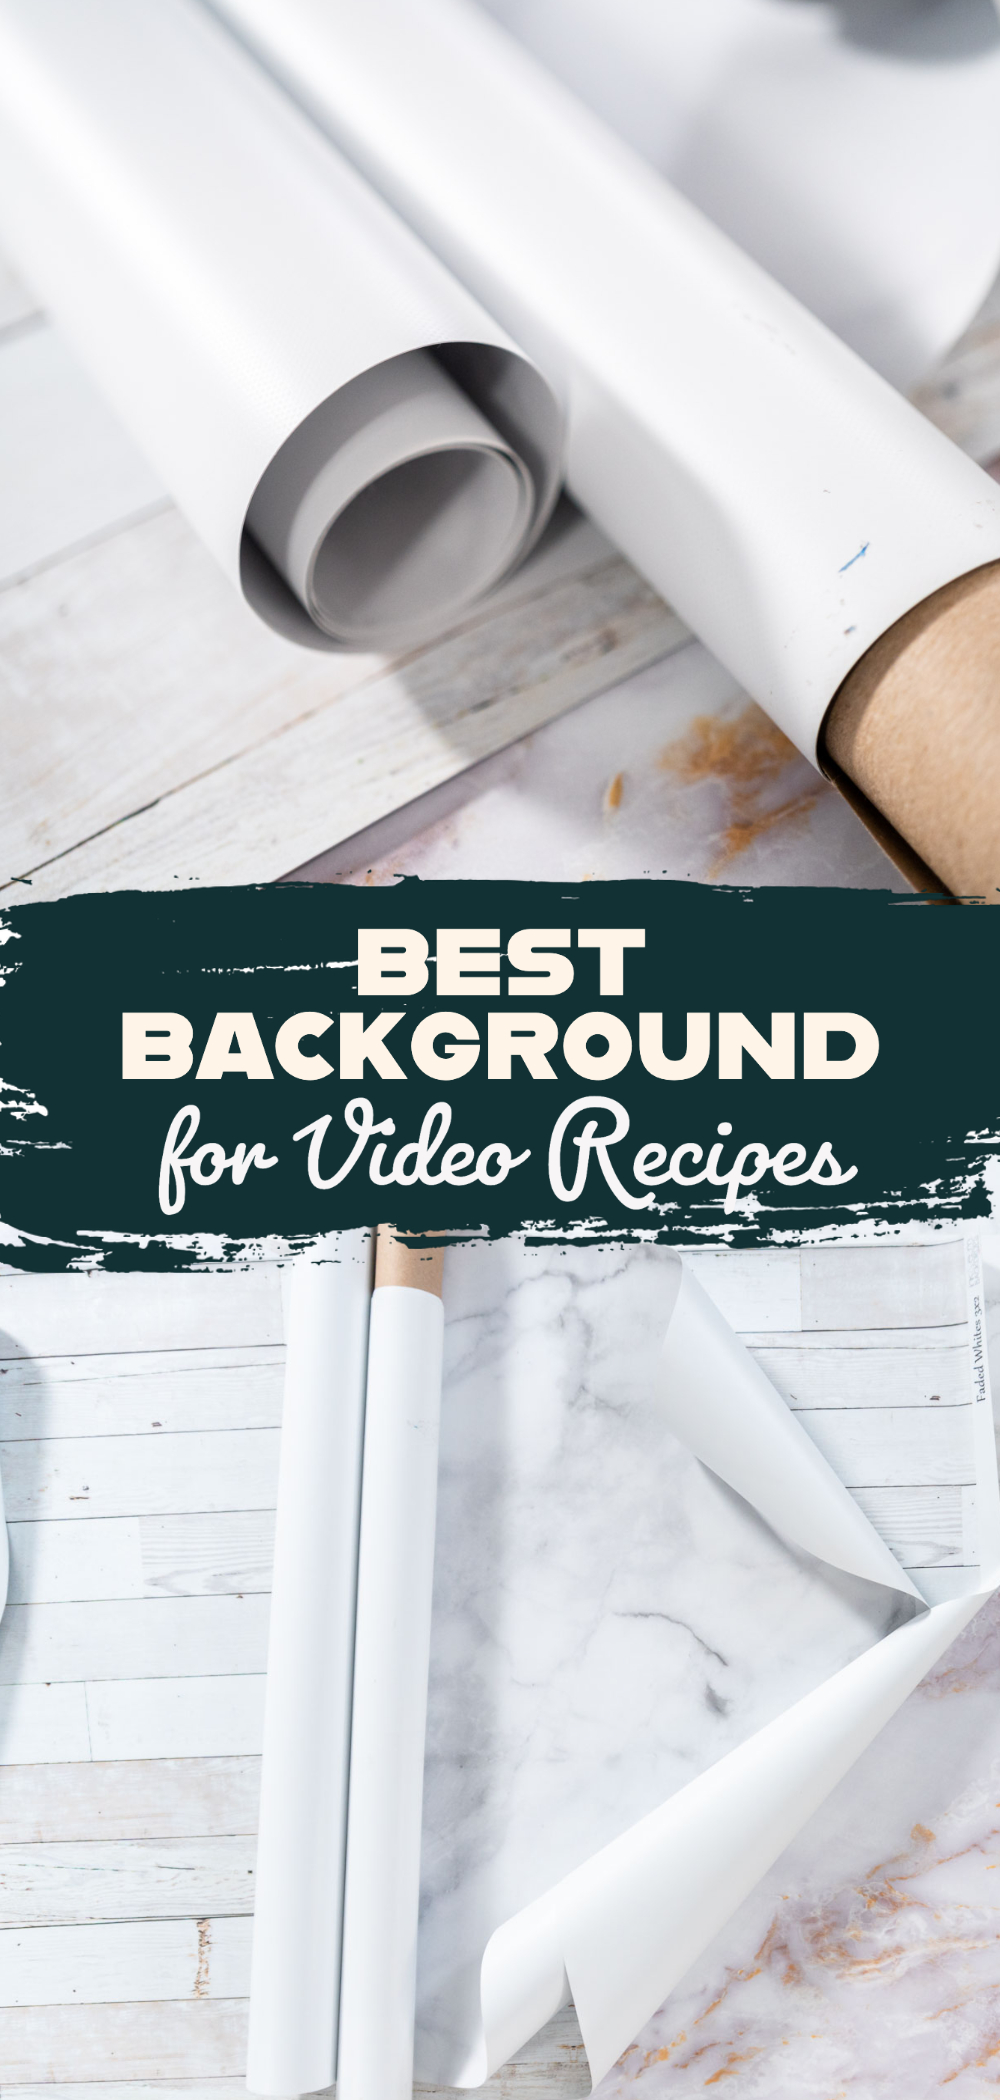
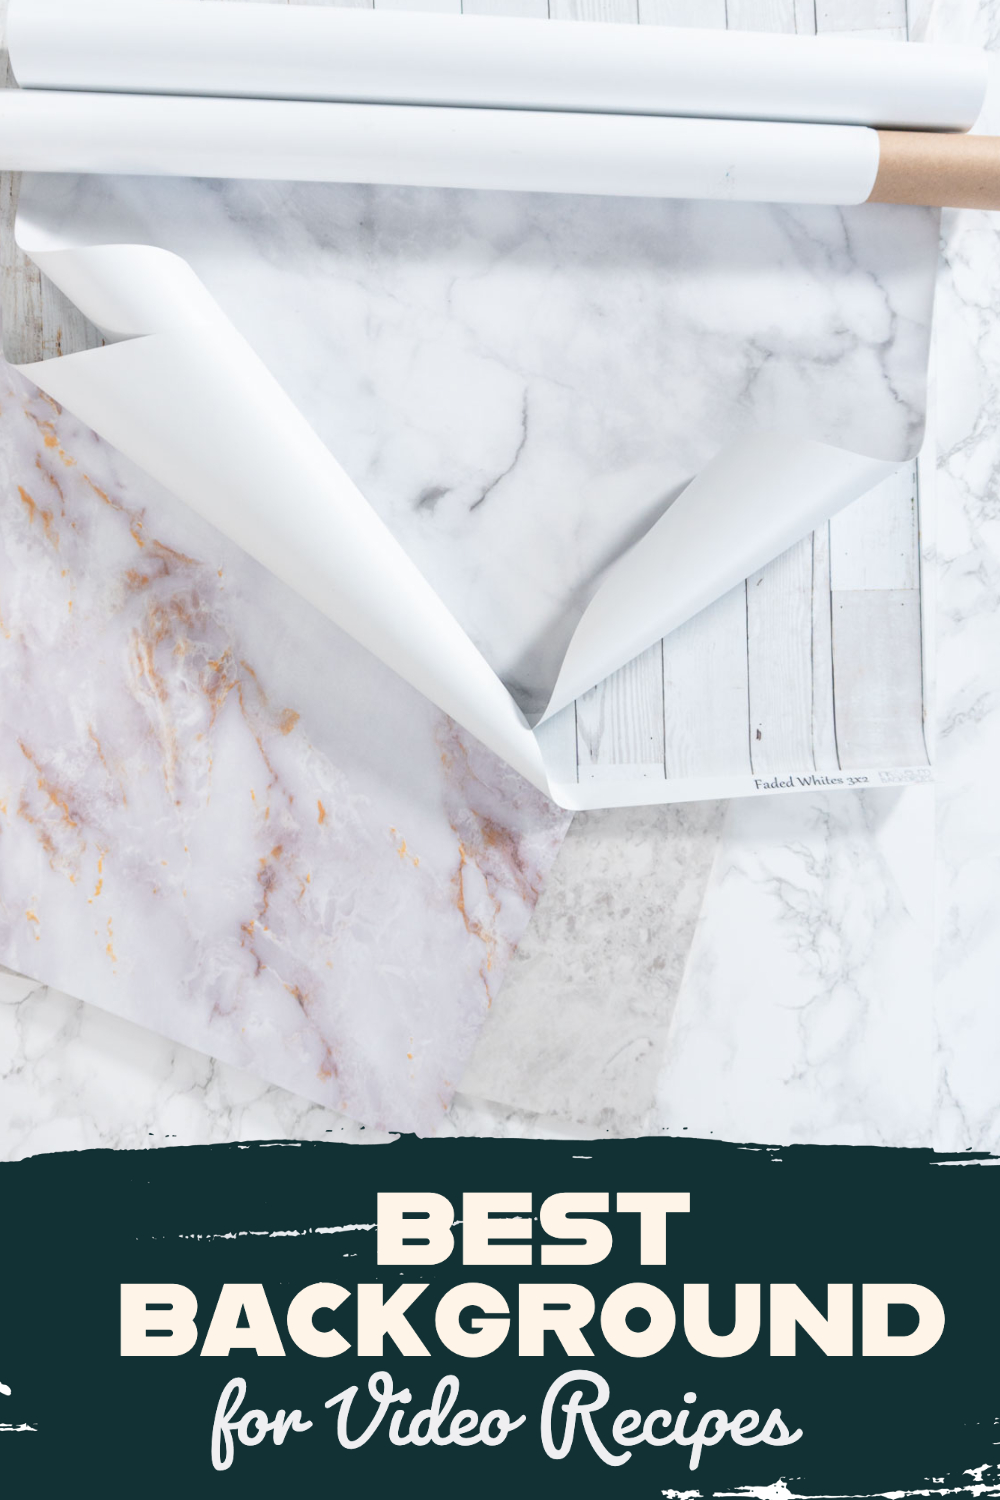
Printed Vinyl Background
First, let me break down the printed vinyl background. This is the simple, stylish, fabric background used for most professional photos like school pictures and family photos. This kind of background is great when it comes to stylish designs and easy storage. On the down side, the surface of printed vinyl does not do so well when it comes to durability or longevity, even when it’s attached to a board. While printed vinyl is made to look the best for photos, it does not hold up the best for cooking videos.
Printed Vinyl Background Pros:
- Very stylish.
- Design variety.
- High-quality on camera for still photos.
- Easily rolled up for storage.
- Lightweight so perfect for mobility.
- Plenty of size options.
Printed Vinyl Background Cons:
- Not very durable
- Does not do well with heavy cooking equipment, a lot of movement, sharp objects, or high heat.
- Stains easily.
- Can easily be damaged.
- Does not last for long, usually only months even when used and stored gently.
- Not cost efficient enough for the lack of longevity.
Printed Vinyl Specs:
- Dimensions: 2ft. x 3ft. Is what I use but there are other sizes available.
- Thickness: As thin as paper.
- Good for food photography use? Yes.
- Good for video recipes? No.
- Double sided? No.
- Customizable color or texture? Yes.
- Stain proof? No.
- Time needed to make this background: Shipping time, since printed vinyl has to be ordered.
- How long will it last with regular use? 1-2 months.
- Quality of backdrop image in image: Good.
- Quality of backdrop image in video: Poor.
- Can it be repurposed into a different backdrop? No.
- Total background cost (before local tax and shipping costs): $32.95
Food Photography & Video Tips from My Studio
Here’s a peek at the tools, gear, and camera setups I use to film my recipe videos and photograph food at home. Over the years, I’ve tested dozens of different setups, and now I’m sharing what actually works for me—whether I’m filming overhead shots for YouTube or styling still photos for my blog. If you’re curious about how I create the content you see here, these posts are a great place to start.
Wooden Board Background
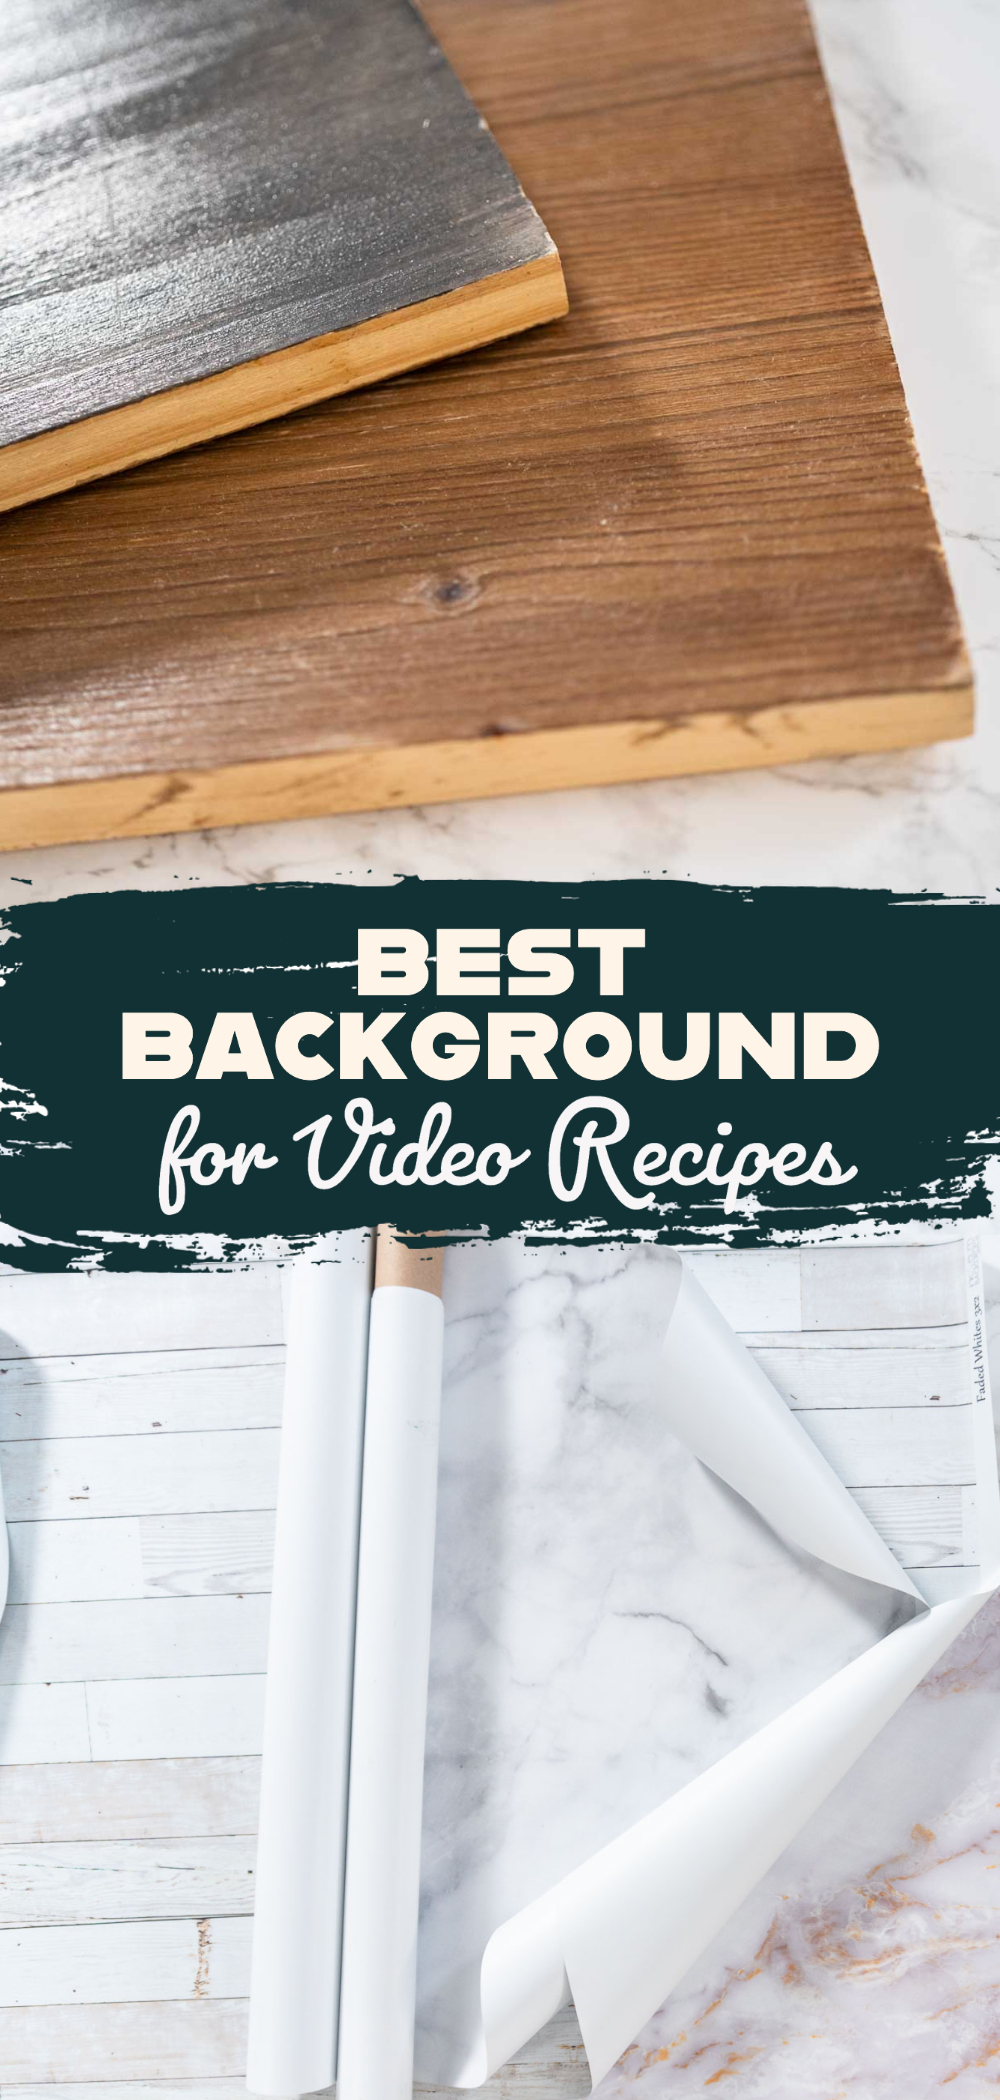
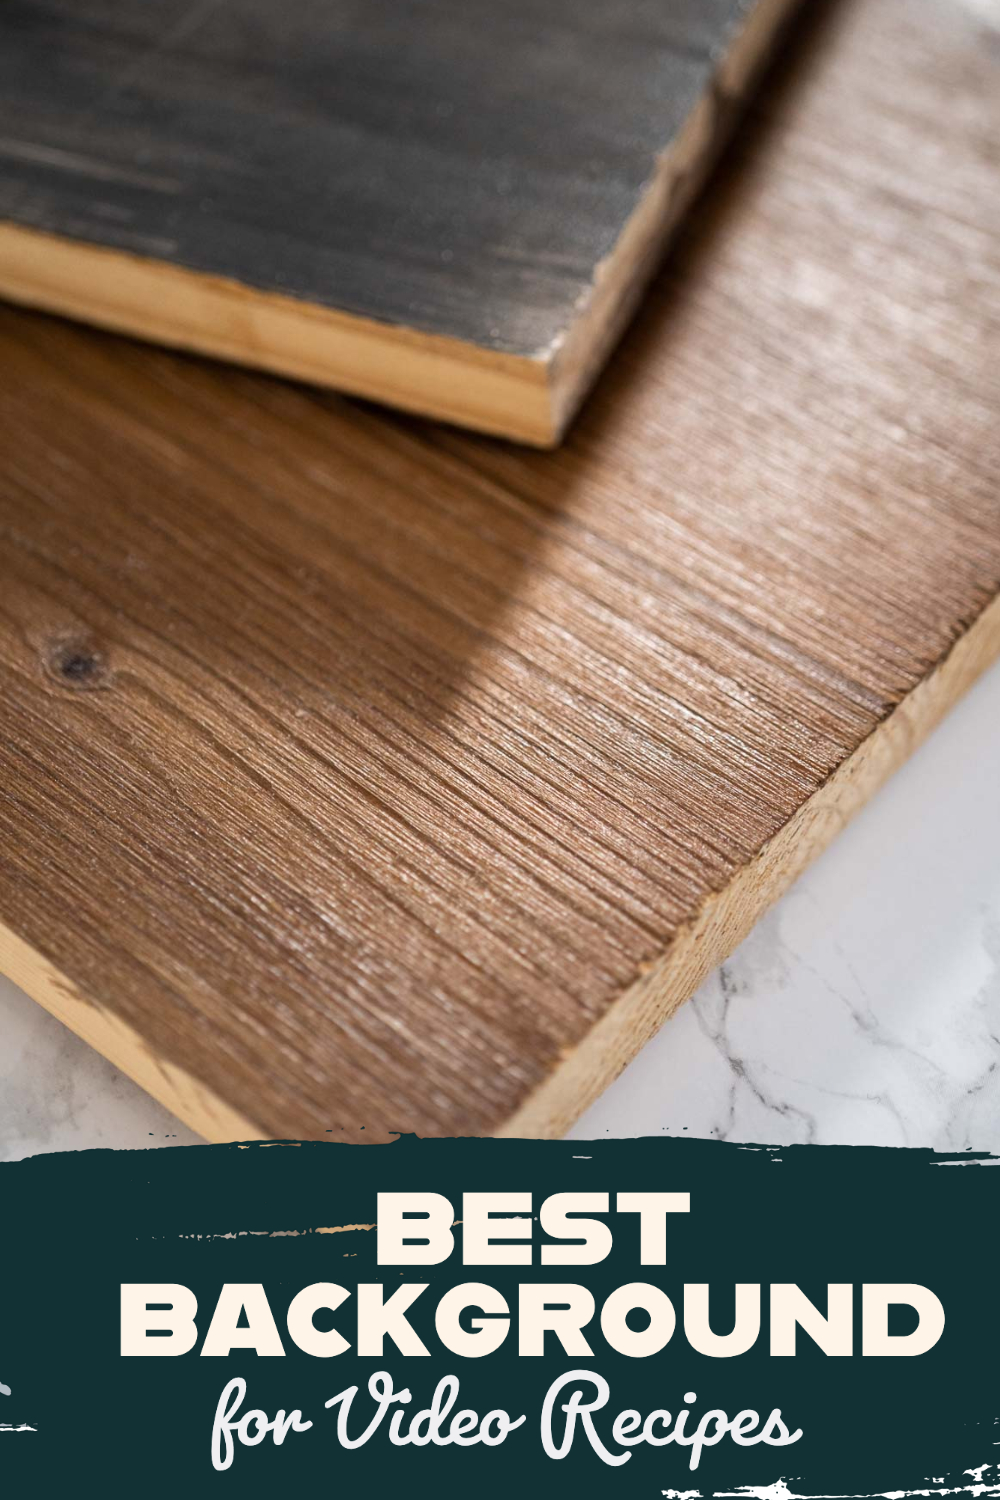
Next, let’s go over the pros and cons of using a wooden board surface for a recipe video background. Wood, though not as stylish as vinyl designs, can look very classy and inviting all on its own so it’s almost always a good go-to. It also happens to be extremely heavy-duty and can last for a very long time! However, when it comes to spills they can easily stain or become damaged from absorbing liquids, which can affect their future usefulness.
Wood Background Pros:
- Extremely durable.
- Has no problems holding up to heavy kitchen equipment, movement, high heat, or sharp objects.
- Great longevity.
- Easily customizable on both sides with paint or wood stain.
- High-quality on camera for photos and videos.
- Very cost effective for the board’s longevity.
Wood Background Cons:
- Stains easily.
- Soaks up spills which can lead to damage and unsightly stains.
- Tough to store.
- Heavy to move.
- Takes up a lot of room.
Wood Background Specs:
- Board dimensions: 2ft. x 4ft.
- Thickness: ½ inch.
- Weight: 14lbs.
- Good for food photography use? Yes.
- Good for cooking videos? Yes.
- Double sided? Yes.
- Customizable color or texture? Yes.
- Stain proof? No.
- Time needed to make this background: 1 hour.
- How long will it last with regular use? 5+ years.
- Quality of backdrop image in image: Excellent!
- Quality of backdrop image in video: Excellent!
- Can it be repurposed into a different backdrop? Yes.
- Total background cost (before local tax and shipping costs): $47.47
MDF Board with Decorative Contact Paper
Now let’s go over my personal favorite DIY background surface solution: an MDF board with decorative contact paper. Contact paper is a different type of adhesive vinyl that is much more durable and workable. It’s what people stick in the bottom of kitchen drawers or on countertops to give that fancy marble look without having to pay the high price for the real stuff. Since this adhesive vinyl is made specifically for kitchen use, it is literally the perfect background surface for cooking videos!
Take it from me, these decorated MDF boards are the best of both worlds when it comes to combining style, durability, and on-camera quality! These MDF boards are more lightweight and thinner than the wood boards but just as durable when it comes to handling heavy equipment if they’re used properly. And the contact paper not only comes in stylish designs, but is super easy to clean, doesn’t damage easily, and looks great in photos and videos alike!
It needs to be kept in mind though that this type of background needs to be placed on top of a heavy table during use, otherwise it will start to bend. My set-up is sawhorses holding up my heavy Ikea table top, then my decorated MDF board on top.
Food Photography & Video Tips from My Studio
Here’s a peek at the tools, gear, and camera setups I use to film my recipe videos and photograph food at home. Over the years, I’ve tested dozens of different setups, and now I’m sharing what actually works for me—whether I’m filming overhead shots for YouTube or styling still photos for my blog. If you’re curious about how I create the content you see here, these posts are a great place to start.
MDF Board with Contact Paper Pros:
- Lightweight yet sturdy.
- Very durable.
- Handles heavy kitchen equipment, sharp objects, and high heat very well.
- Stain-resistant thanks to the easily cleanable surface of contact paper.
- Easy to lift and store.
- Both sides are easily customizable.
- Very cost efficient!
- Looks great for photos and videos both.
MDF Board with Contact Paper Cons:
- Takes up more space than a roll of vinyl fabric.
- Doesn’t last quite as long as the wood board alone. In my experience, these last for about 2 years with heavy use.
MDF Board with Contact Paper Specs:
- Board dimensions: 2ft. X 4ft.
- Thickness: 3/16 inch.
- Weight: 10lbs.
- Good for food photography use? Yes.
- Good for cooking videos? Yes.
- Double sided? Yes.
- Customizable color or texture? No.
- Stain proof? Yes.
- Time needed to make this background: 30 minutes.
- How long will it last with regular use? 1-2 years.
- Quality of backdrop image in image: Good.
- Quality of backdrop image in video: Good.
- Can it be repurposed into a different backdrop? Yes.
- Total background cost (before local tax and shipping costs): $32.38
How to make recipe videos
Food Photography & Video Tips from My Studio
Here’s a peek at the tools, gear, and camera setups I use to film my recipe videos and photograph food at home. Over the years, I’ve tested dozens of different setups, and now I’m sharing what actually works for me—whether I’m filming overhead shots for YouTube or styling still photos for my blog. If you’re curious about how I create the content you see here, these posts are a great place to start.
Final Thoughts
Drum roll, please! And the winner is… Well I pretty much said who the winner is for me. The MDF board with contact paper is the overall best solution for me, my video content, and my studio set-up thus far. It is the most cost efficient option and it perfectly combines the right amount of durability and stylishness that I want for my cooking videos and food content.
But that doesn’t mean that the printed vinyl or wood board backgrounds are bad options. On the contrary, I’ve had success with both of them, just in different areas. Printed vinyl works best for food photography rather than for busy cooking videos. Wood is the most durable and will last the longest... if you can manage not to damage it, that is.
You may have different videography or studio needs than I do so it’s really up to you to decide which option is best for you. You have to take your specific needs into consideration along with my breakdown of the pros and cons of each option, and the specifics of each of the backgrounds.
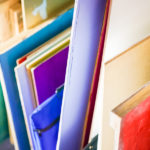
Check out some of my other blogs to find out more on my video background and backdrop experiments and to see how I manage to store all of this equipment:
- Backdrops and Backgrounds
- 7 Tips for Studio Equipment Safety
- 5 Ways to Improve Studio Organization
- Storing Backgrounds for Food Photography
Food Photography & Video Tips from My Studio
Here’s a peek at the tools, gear, and camera setups I use to film my recipe videos and photograph food at home. Over the years, I’ve tested dozens of different setups, and now I’m sharing what actually works for me—whether I’m filming overhead shots for YouTube or styling still photos for my blog. If you’re curious about how I create the content you see here, these posts are a great place to start.






Leave a Reply