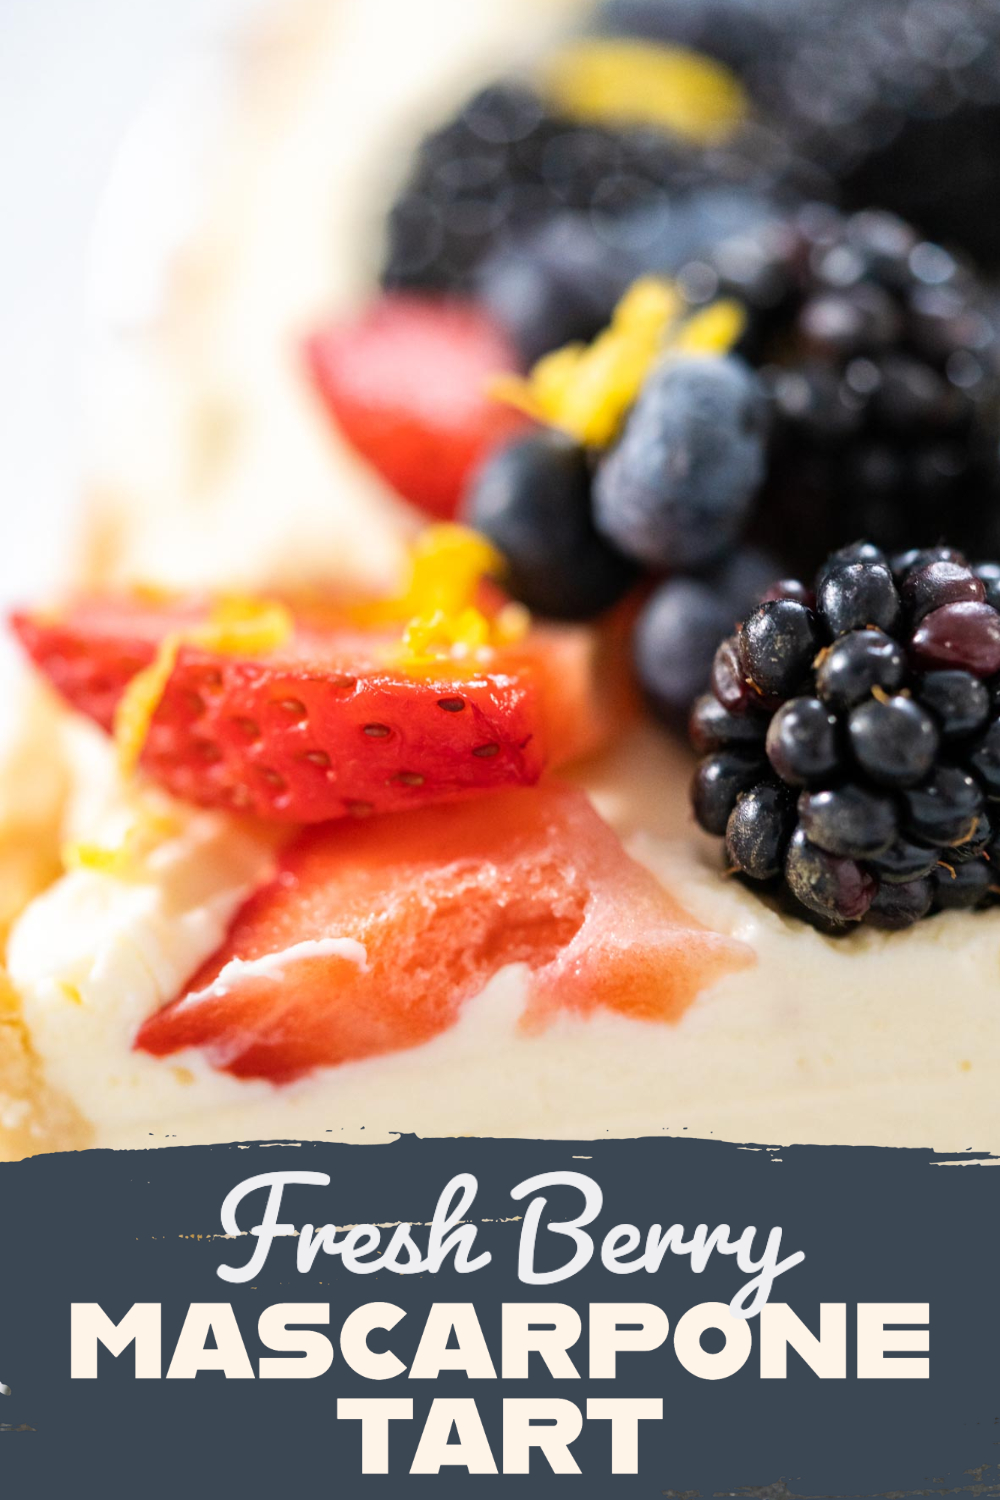
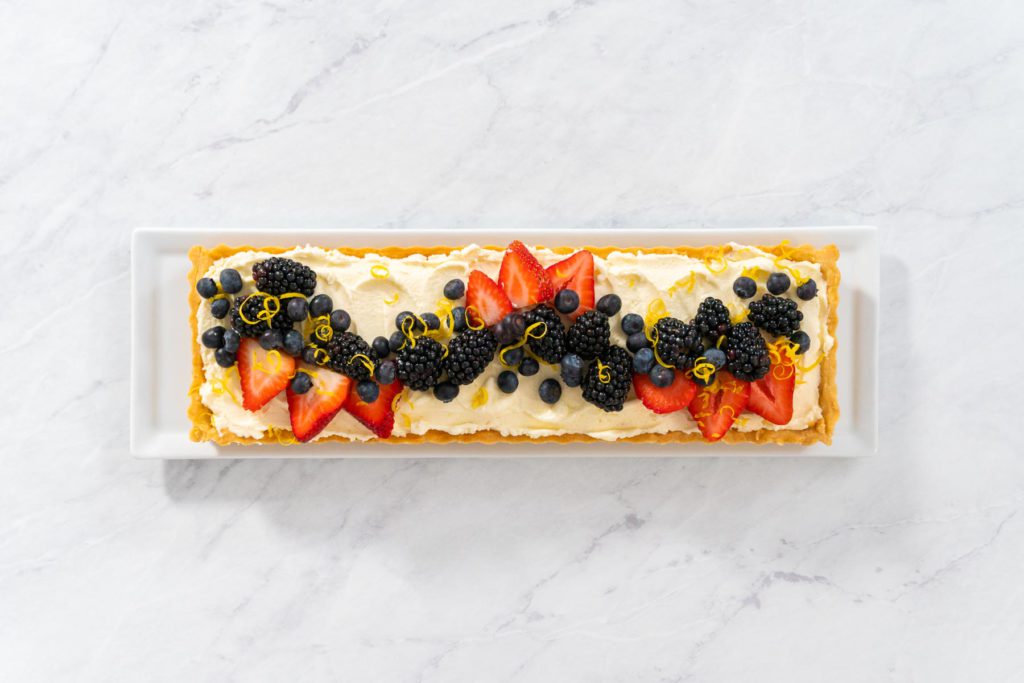
How to make a mouthwatering mascarpone tart dressed with fresh berries and lemon zest.
This post contains affiliate links.
I love to keep homemade sweets around for me and my family to enjoy throughout the year. Crafting my homemade treats is like my way of celebrating all the special moments in life, no matter how big or small they are! But one thing I have discovered over the years of baking is that in the summertime heat, desserts can sometimes feel heavier on the stomach which leads to a kind of puffy feeling for some people. So I wanted to find a way for us to enjoy those beloved sweets in the summertime without that heavy feeling afterwards. I found that the solution to this problem was to opt for making lighter, more refreshing desserts like this Berry Mascarpone Tart!
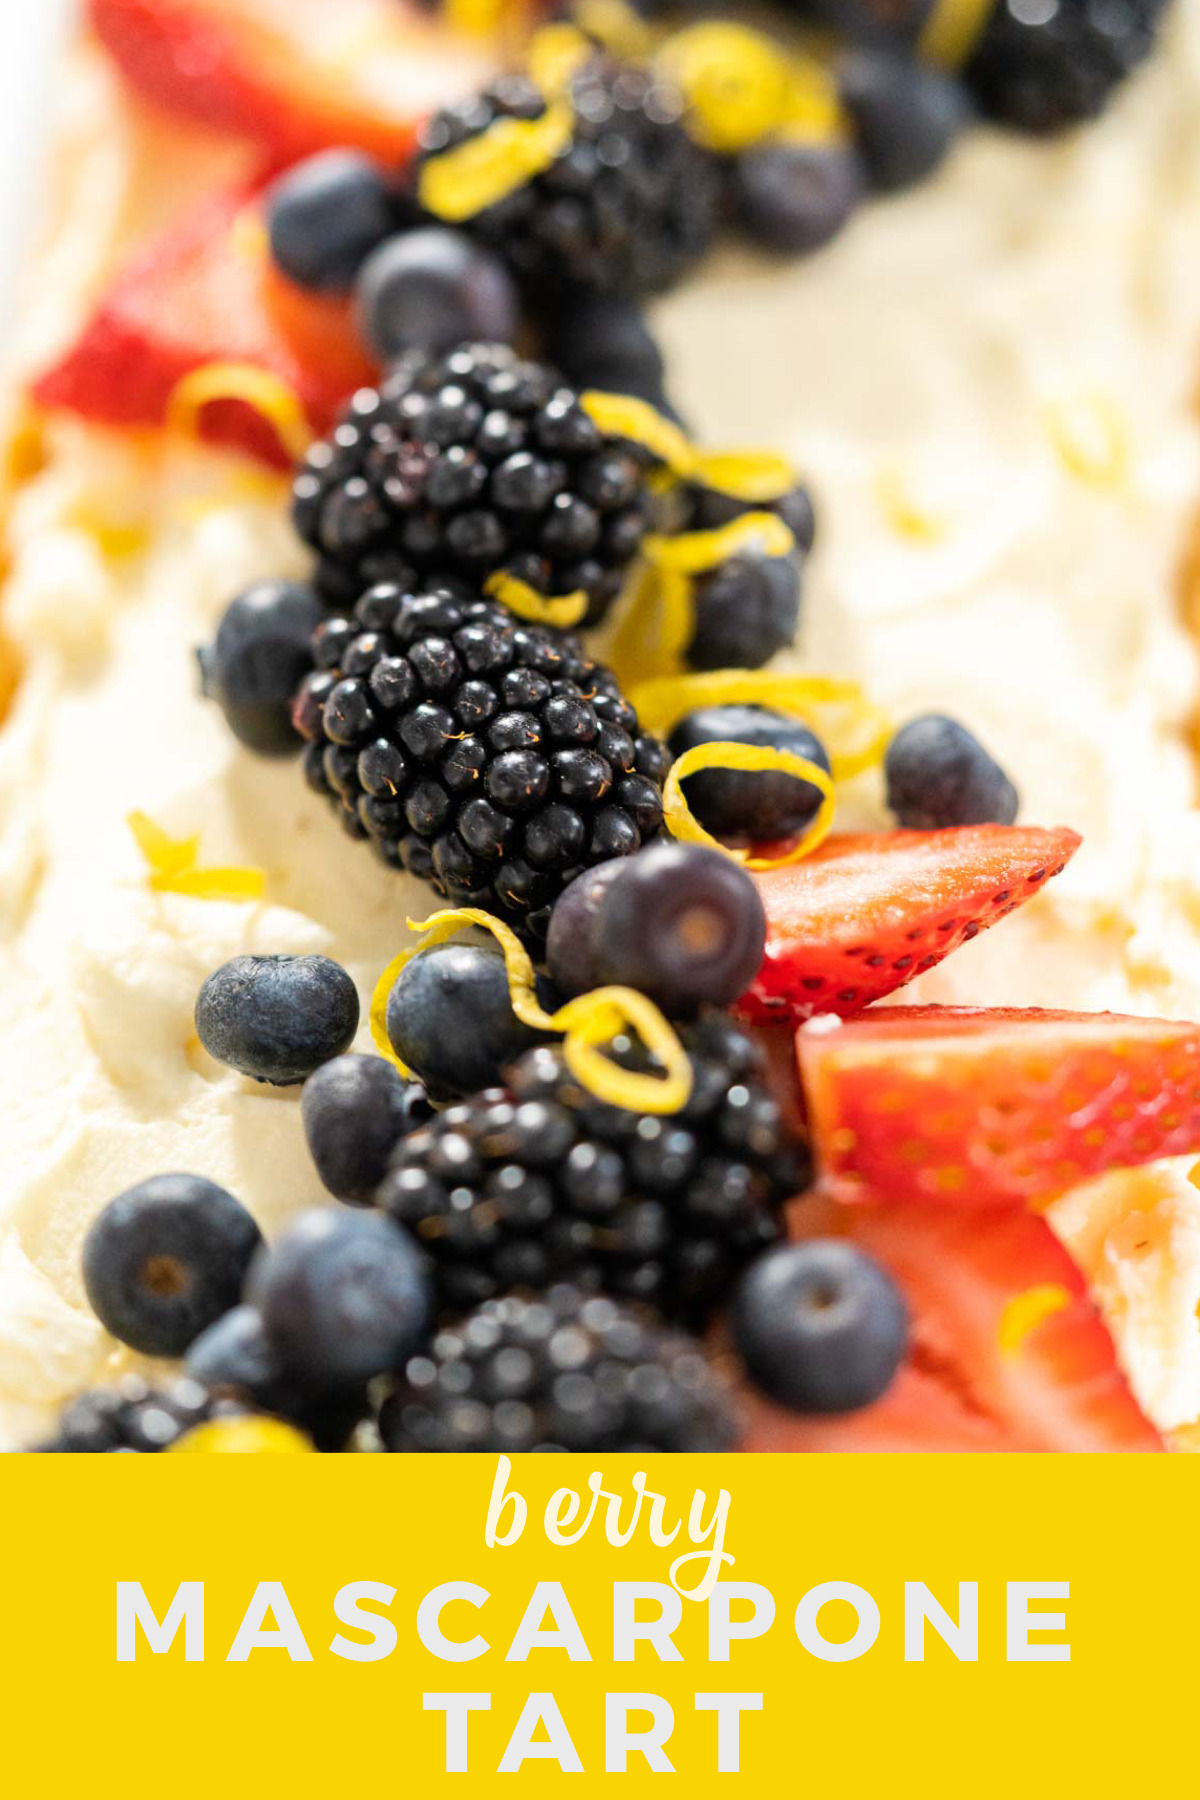
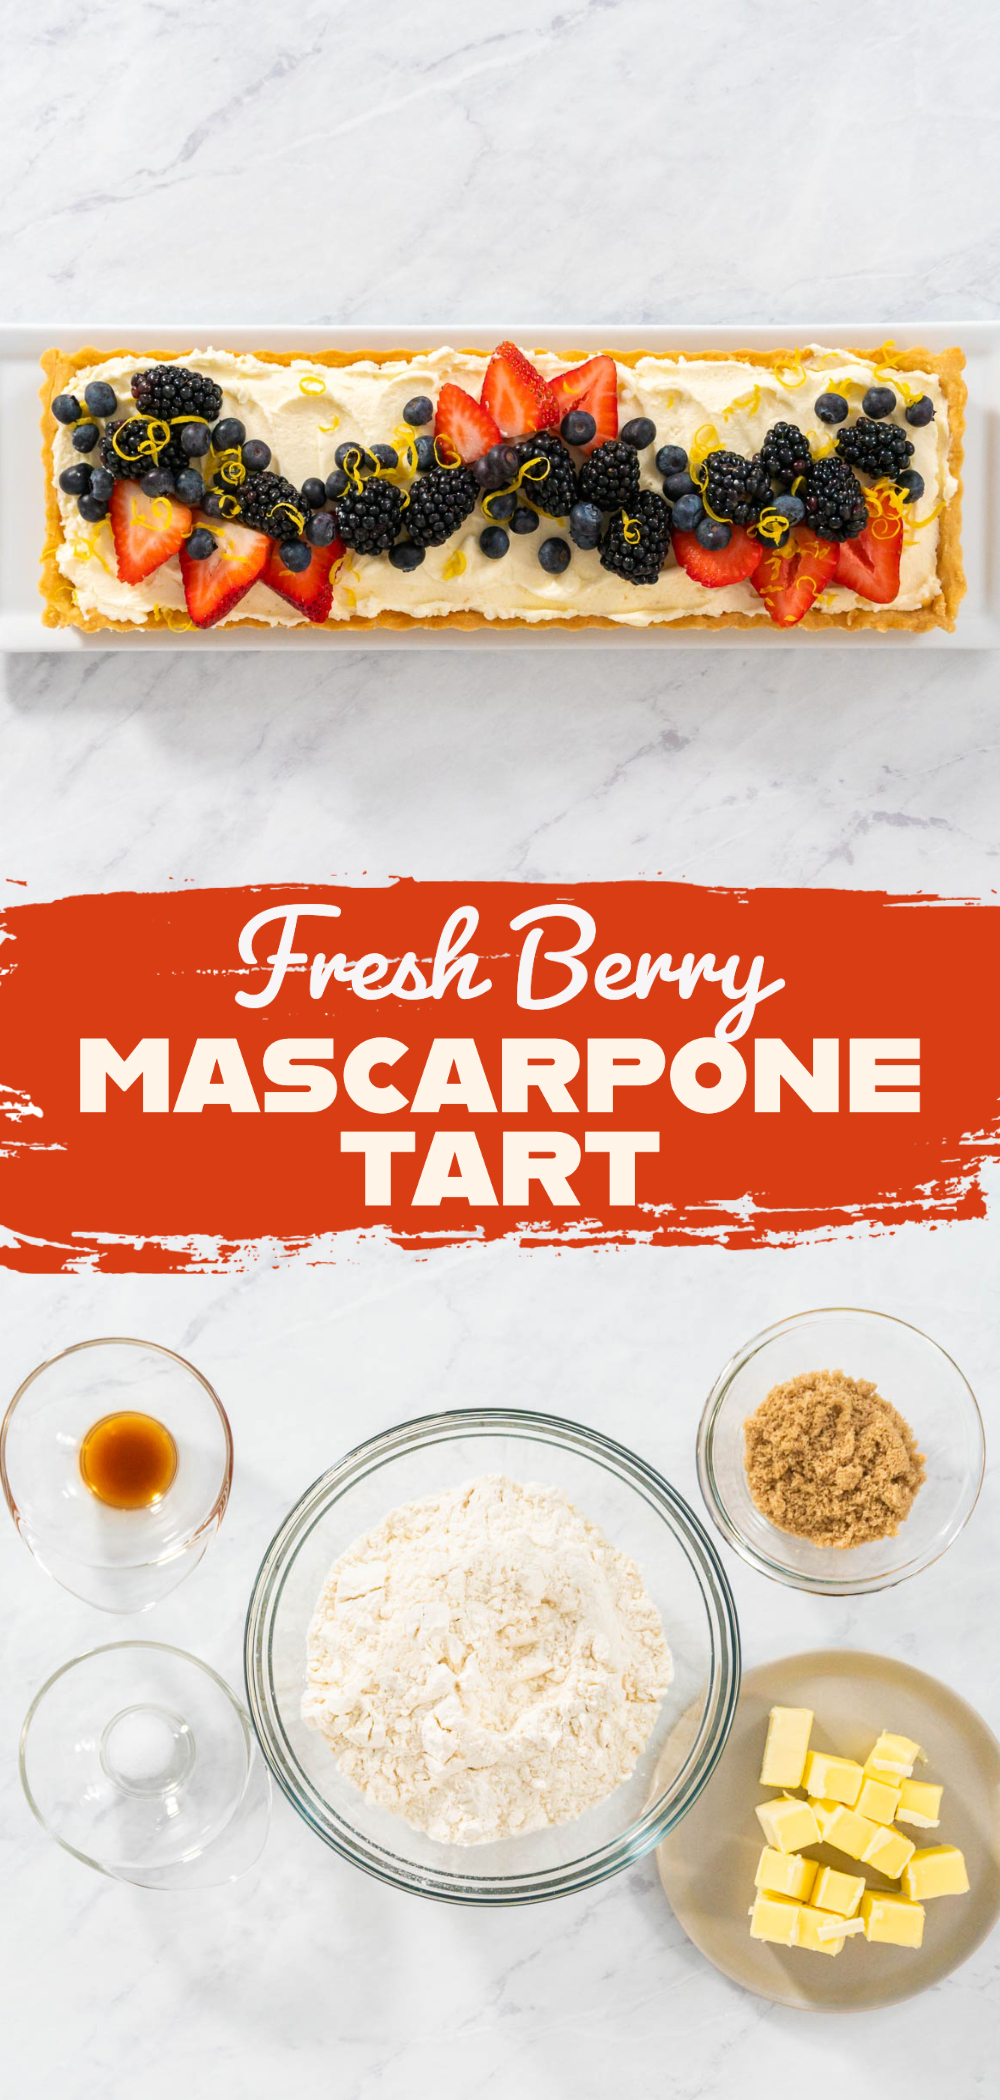
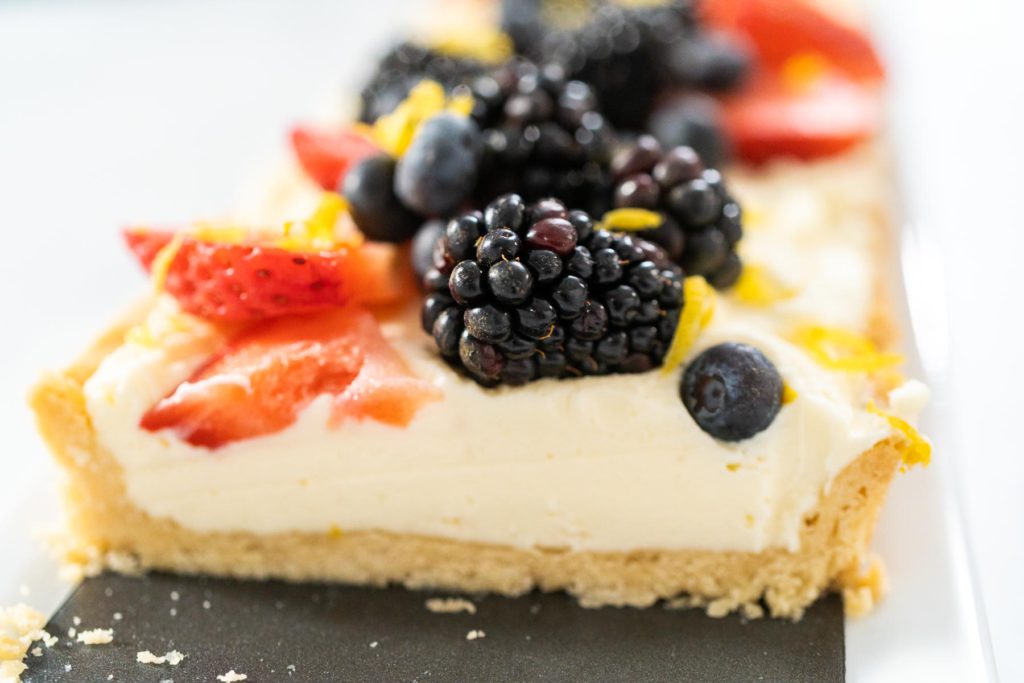
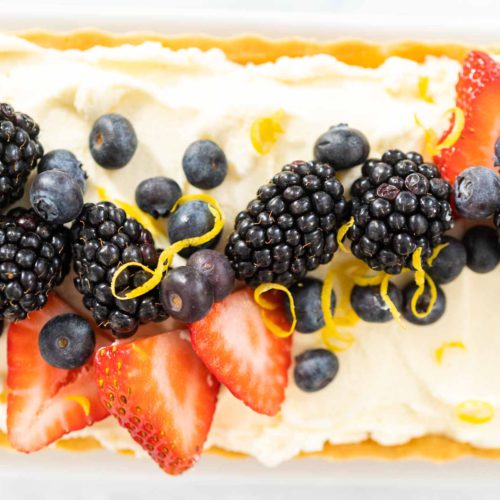
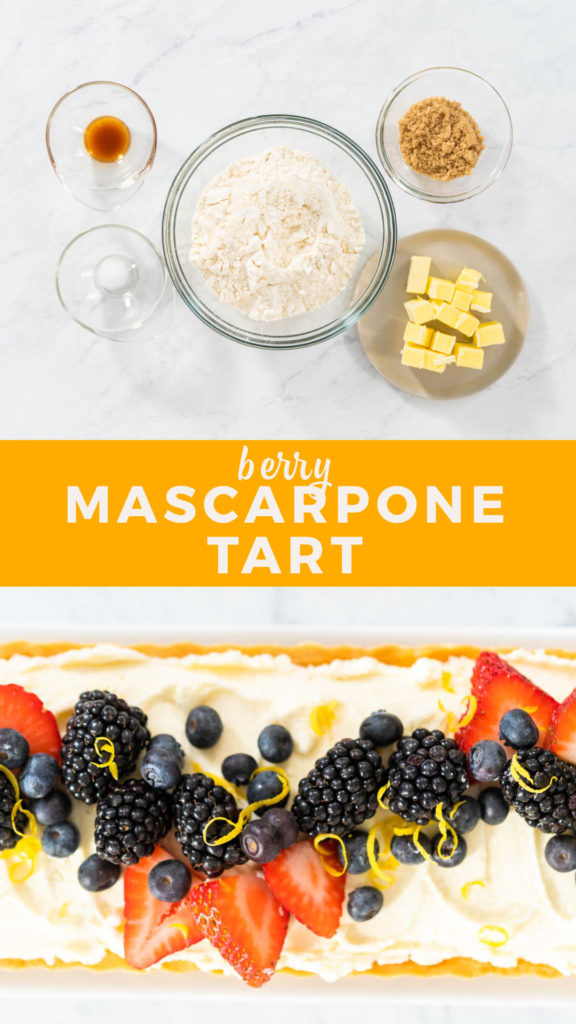
This tantalizing tart is made with a buttery crust base, a yummy mascarpone filling, topped with fresh strawberries, blueberries, and blackberries, and then sprinkled with fresh lemon zest. Talk about a berry refreshing sweet treat! This berry mascarpone tart is absolutely perfect for helping to beat the heat on those fun summer days without having to face that heavy feeling later on. So whether you want to make this sweet snack for summer holiday celebrations or you just want to celebrate the simple days, this homemade berry mascarpone tart is the sweet solution for this summer season.
Tart- Making Tools and Equipment
One of the great things about this simple summer dessert recipe is that you don’t need a lot of complicated equipment to make it. All you do need is just some common kitchen tools along with a few handy utensils for this tart- making process.
- Glass mixing bowls
- Zester
- Silicone spatulas
- Cake Spatula
- Extra long tart pan
- Hand mixer
- Blending whisk
- French rolling pin
- Dredge shaker
Berry Good Ingredients
Surprisingly, you don’t need a ton of ingredients to make this mascarpone tart either! But luckily for us, the ingredients we do need are mostly fresh and yummy delights that are ready to pep us up with those refreshing flavors.
Ingredients for the Buttery Crust:
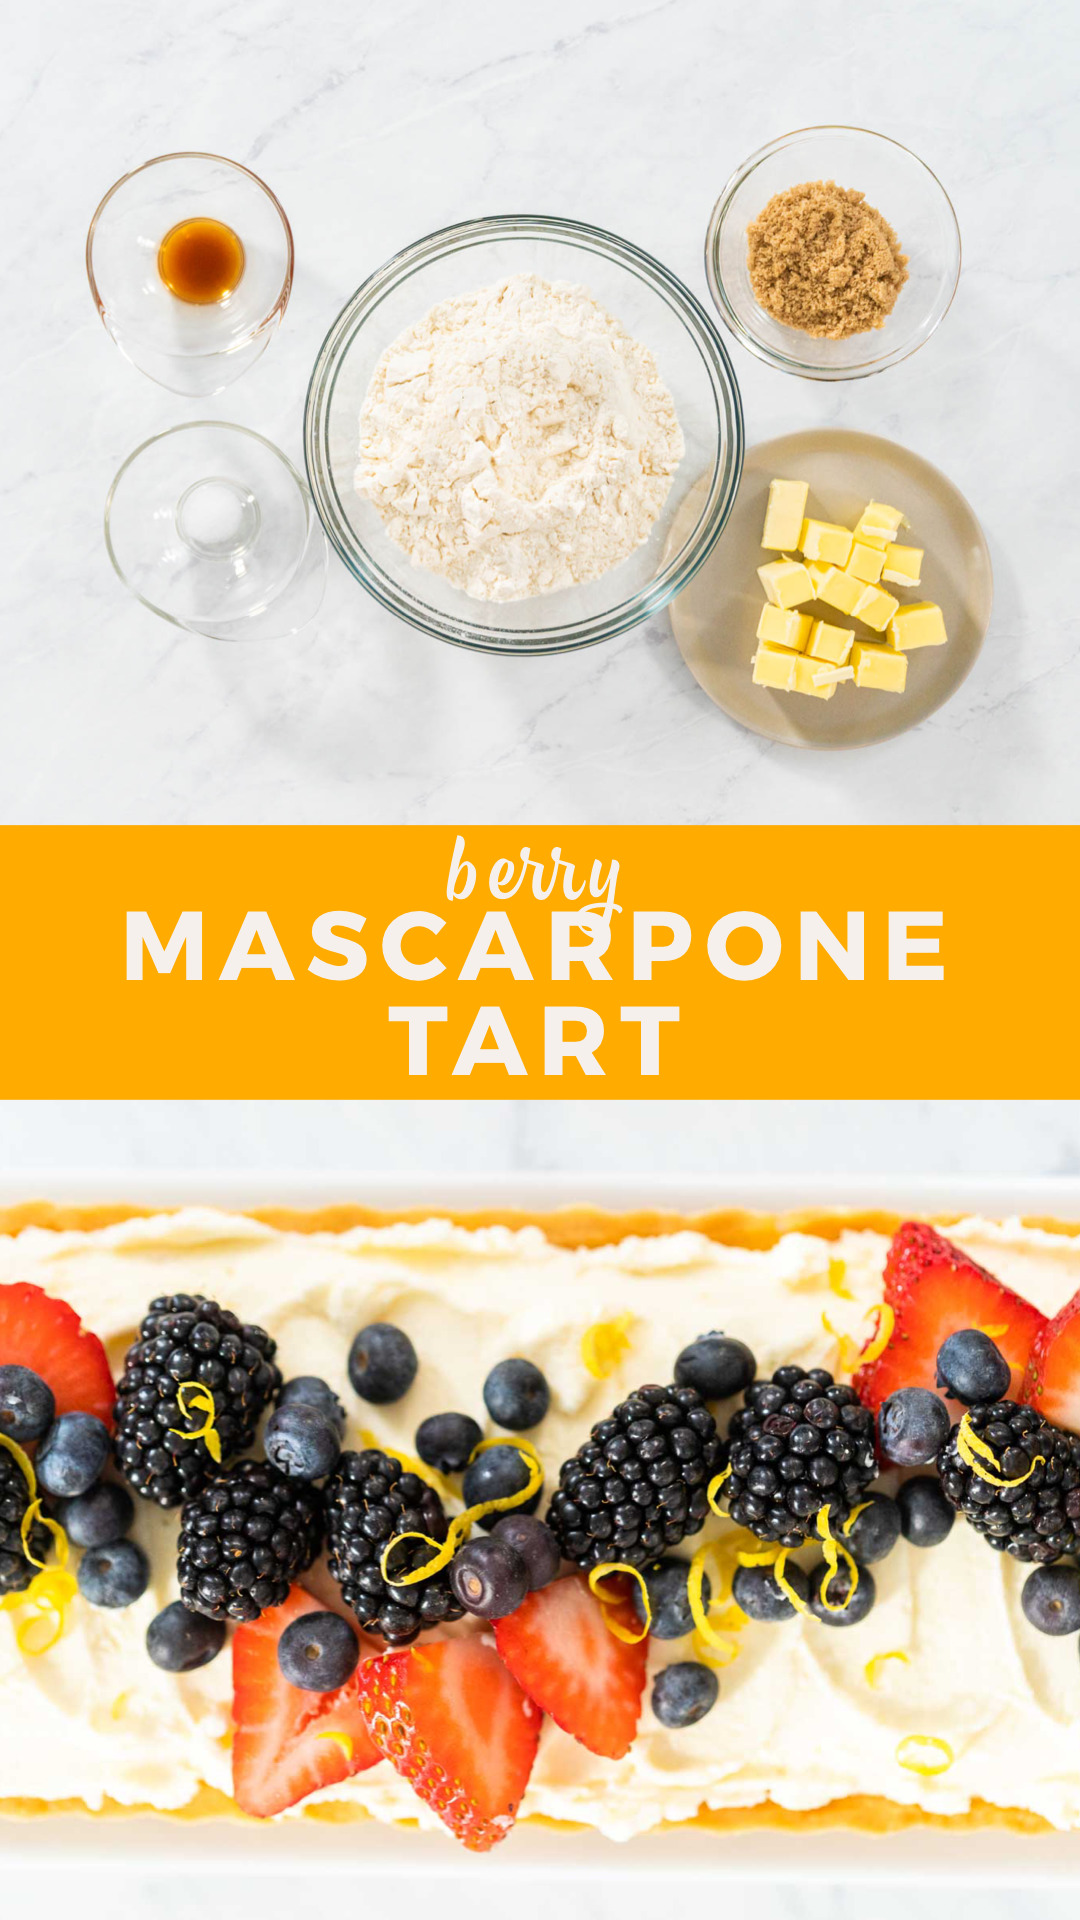
- ½ cup butter, softened
- ¼ cup brown sugar
- ½ teaspoon vanilla extract
- 2 cup flour
- ½ teaspoon salt
- ½ tablespoon Vegetable shortening
For the Yummy Filling:
- 8 oz mascarpone cheese
- ¾ cup powdered sugar
- 1 tsp vanilla extract
- ¾ cup heavy cream
Gorgeous Garnishes:
- 1 lemon- for lemon zest
- ½ cup Fresh strawberries
- ½ cup Blueberries
- ½ cup blackberries
How to Make A Gorgeous Berry Mascarpone Tart
Now we can move on to constructing this lovely summer dessert! This tart- making process is pretty simple and fun to do so you don’t have to worry about it being too much of a challenge. Just follow along while I help guide you step by step on how to make your very own homemade mascarpone tart!
Making the Crust:
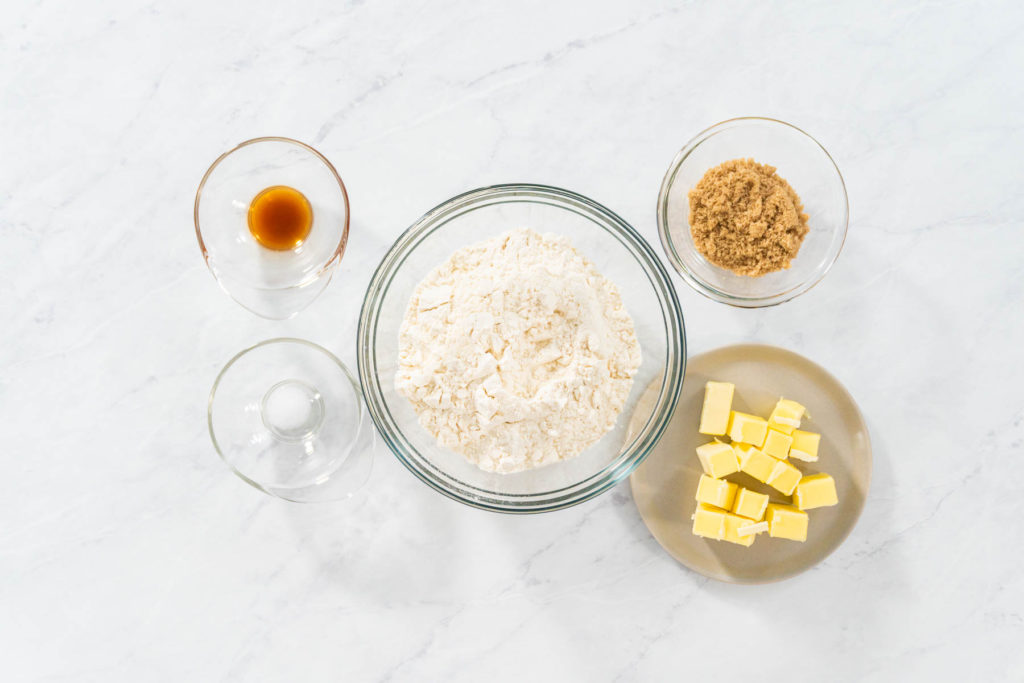
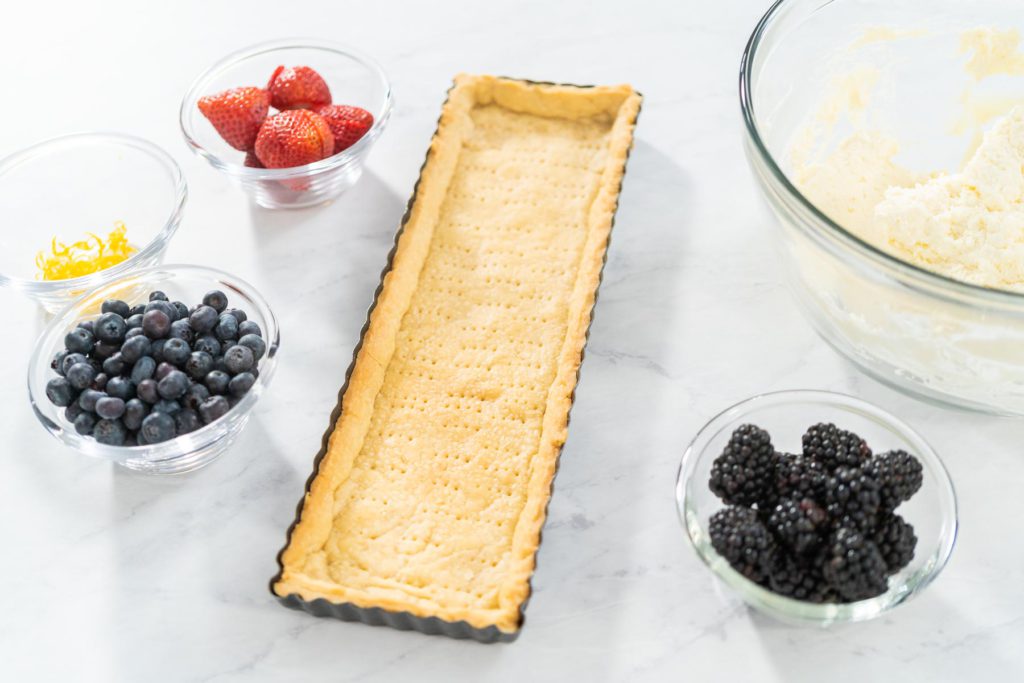
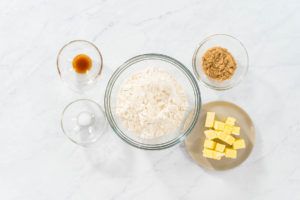
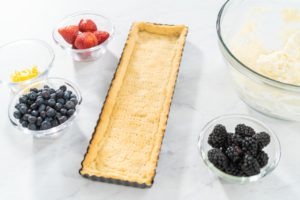
- First, gather up and measure out all of your buttery crust ingredients.
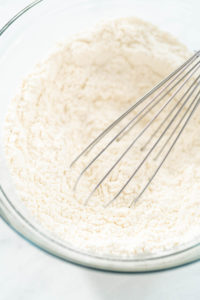
- Next, use a blending whisk to mix together the flour and salt in a glass mixing bowl.
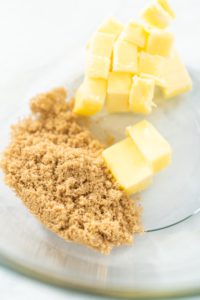
- Then, in a separate glass mixing bowl, drop in the brown sugar and the cubed, softened butter.
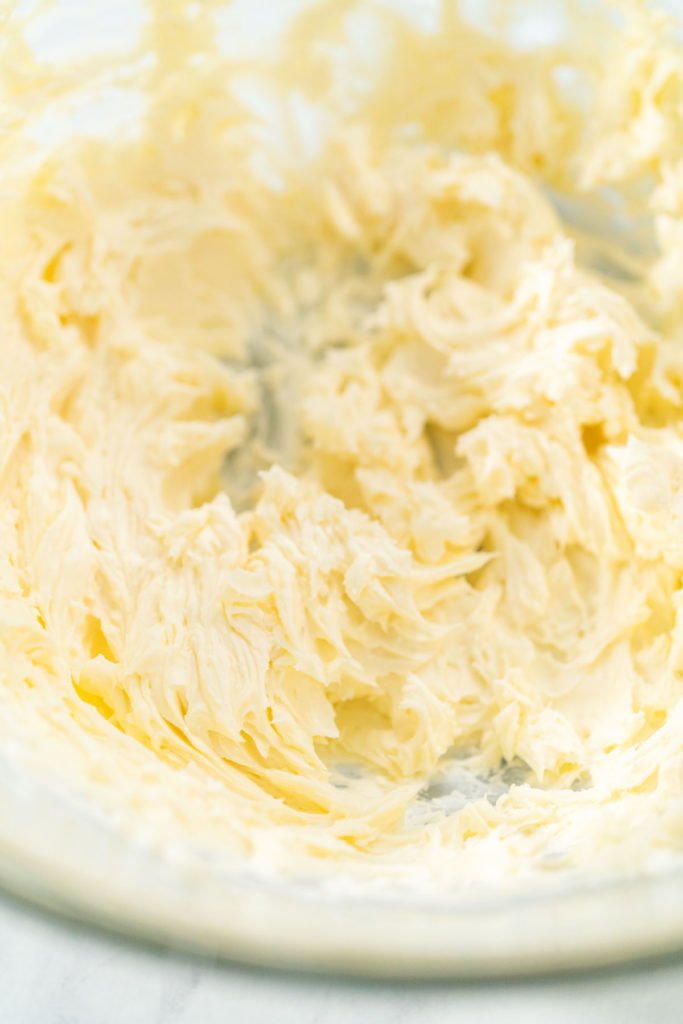
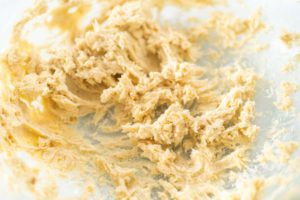
- Use an electric hand mixer to cream together the softened butter and brown sugar until fluffy. Then, mix in the vanilla extract.
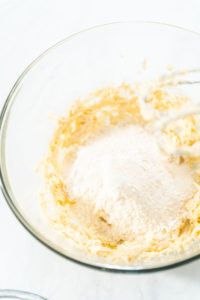
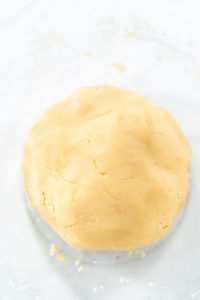
- Next, slowly pour the dry ingredient mixture into the butter mixture and beat together on low speed until just incorporated. Be careful not to over mix the dough. When it’s ready it should come together and pull away from the sides of the bowl.
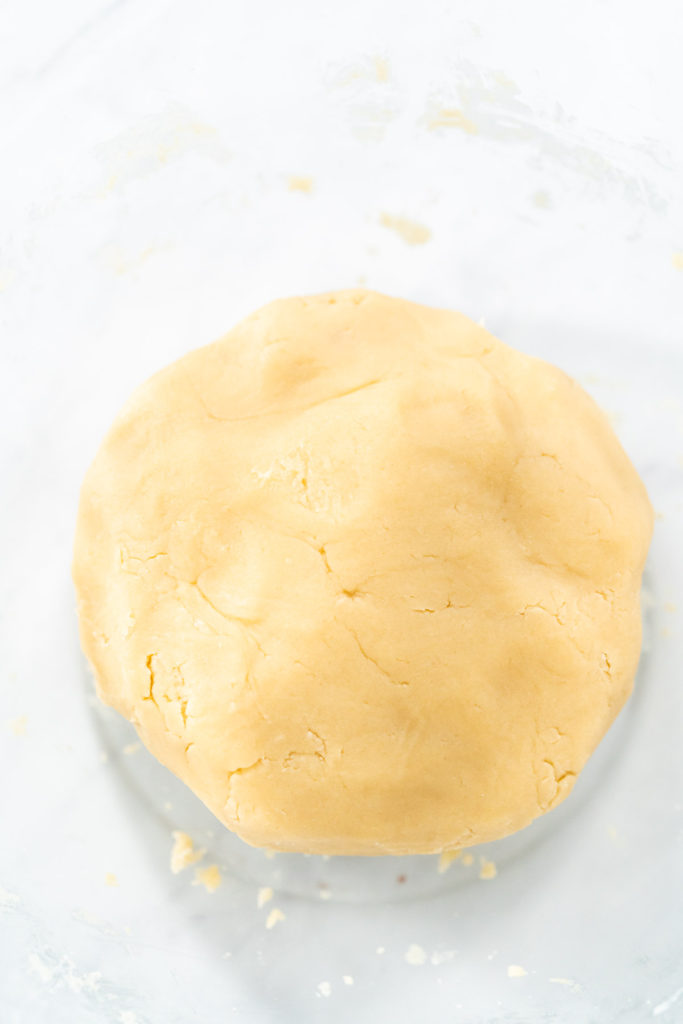
- Then, knead the dough slightly and use your hands to shape the dough into a ball.
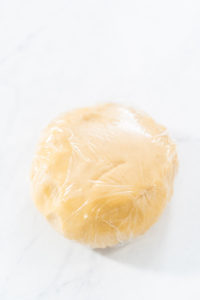
- Wrap the dough in plastic food wrap and transfer to the refrigerator for 30 minutes.
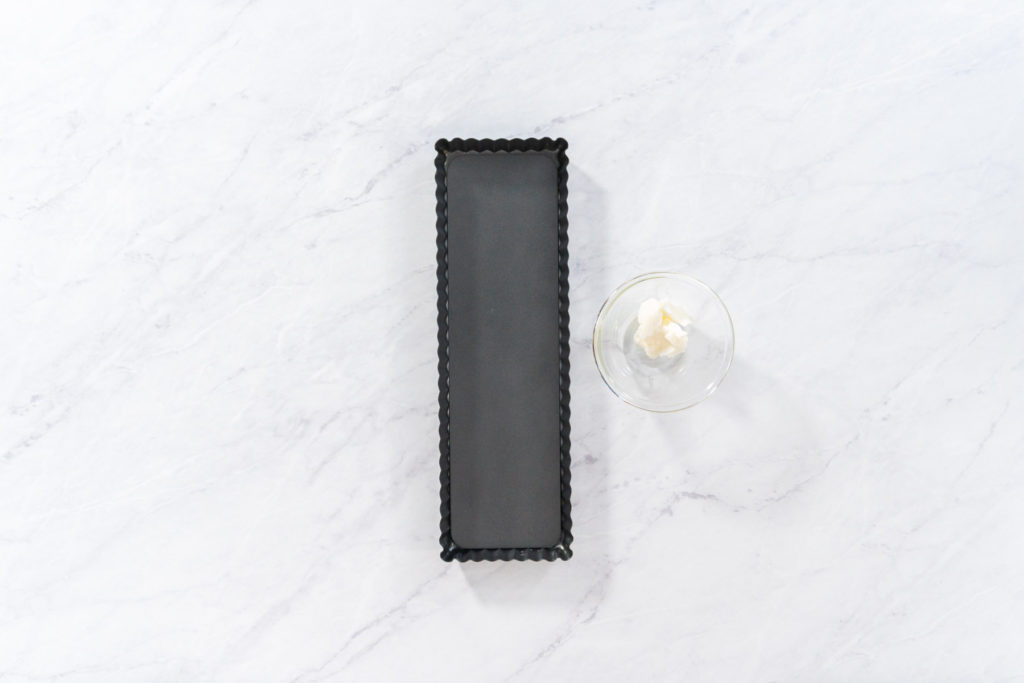
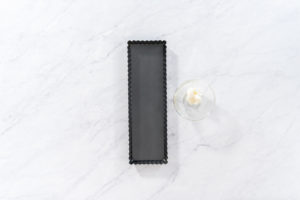
- While the dough is chilling, preheat the oven to 350°F and round up the Extra long tart pan and the vegetable shortening.
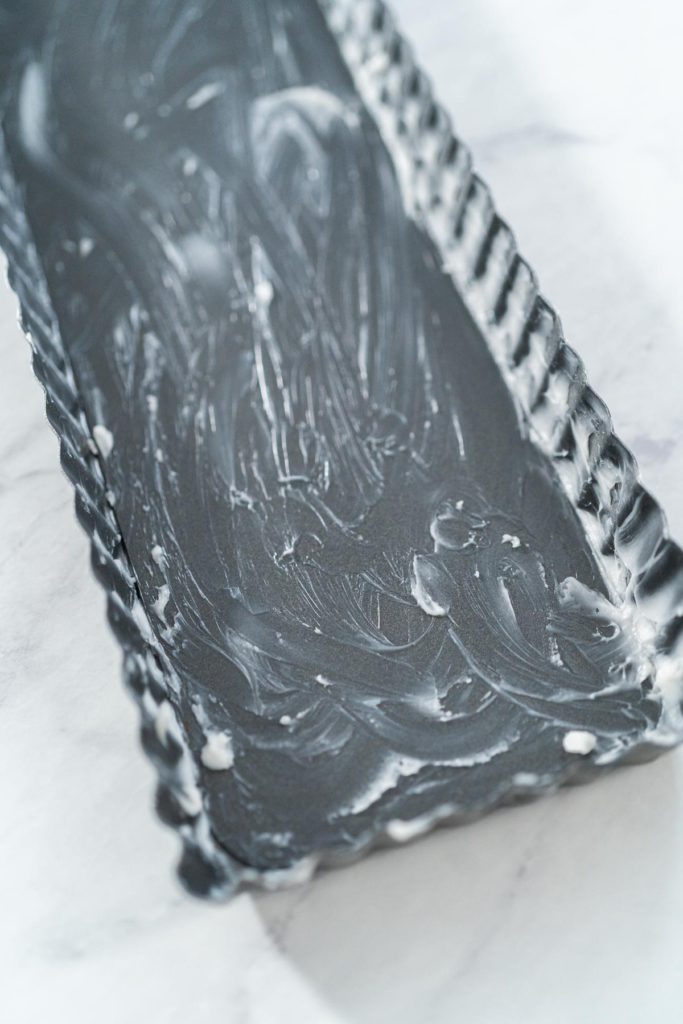
- Then, use the shortening to thoroughly grease the entire inside of the long tart pan.
- You can protect your hands with food- safe disposable gloves or a ziploc bag for this step to save your hands from getting greasy if you prefer.
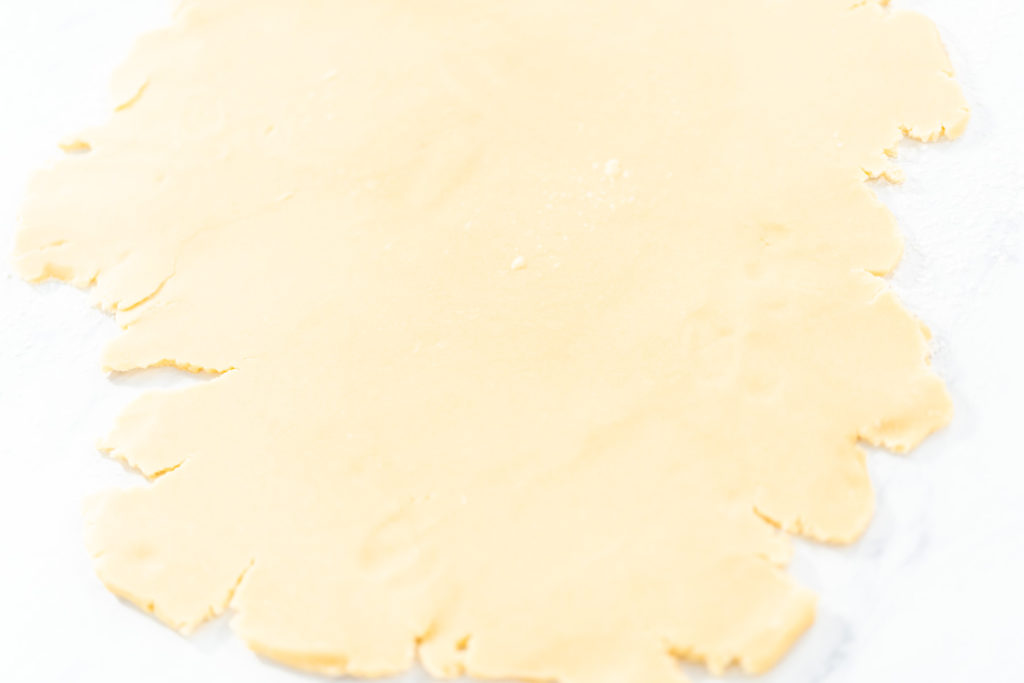
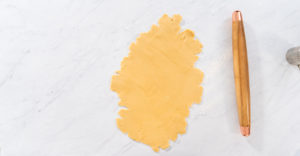
- Once the dough has properly chilled, unwrap the dough ball and use a rolling pin to roll it out evenly.
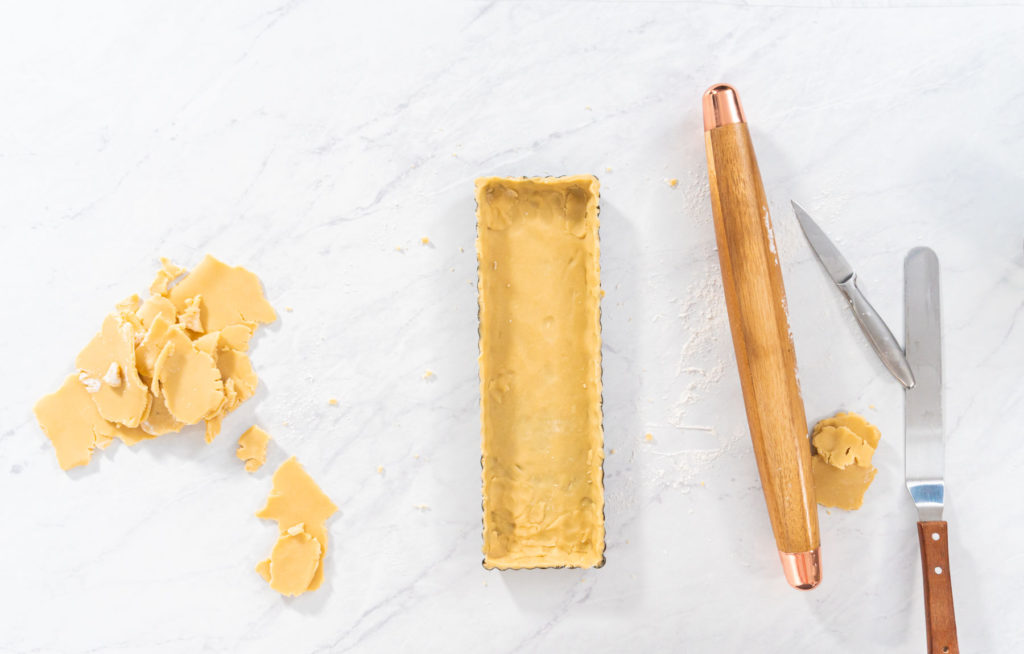
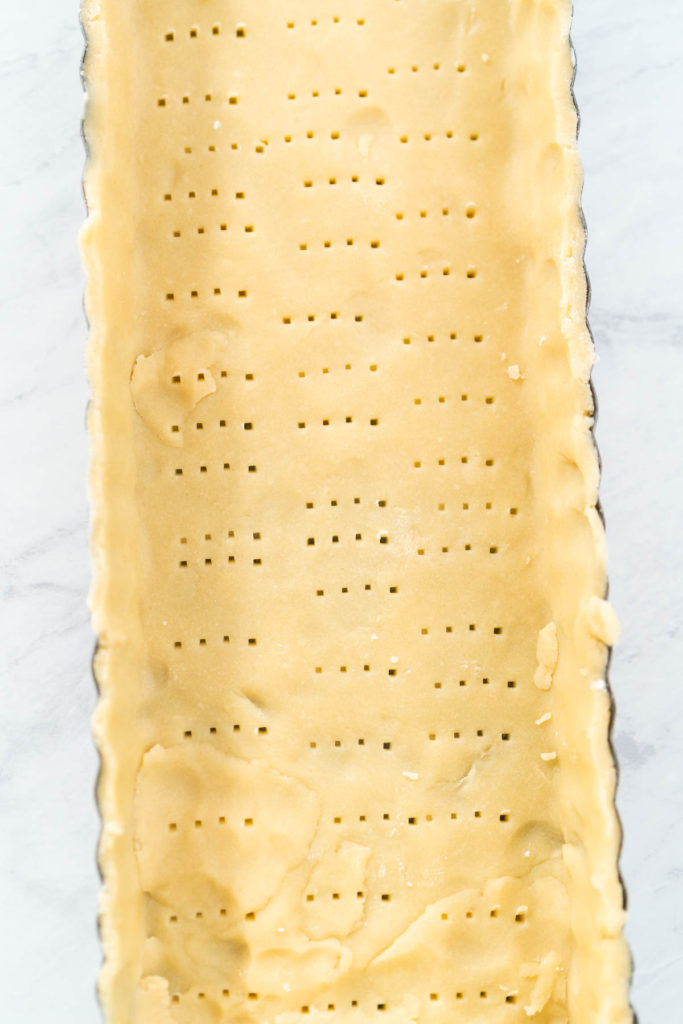
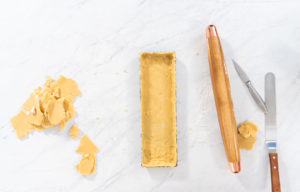
- Then, press the dough into the tart pan, making sure to press in the corners and up the sides well. Use a knife to cut away the excess dough from the edges.
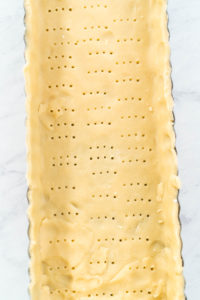
- Next, use a fork to poke several holes in the dough to keep it from rising and puffing up while baking.
- Lastly, bake the dough crust for approximately 15 minutes, or until the edges begin to brown lightly. Let the crust cool completely in the pan before adding in the filling, this should take about 30 min.
- If the crust got too puffy while baking, just press it back down lightly with the backside of a spoon right after removing it from the oven.
Whipping Up the Filling:
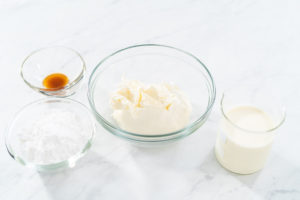
- First, gather and measure out all of the yummy filling ingredients.
- Next, in a separate mixing bowl, beat the heavy cream with the hand mixer for a few minutes until stiff peaks form.
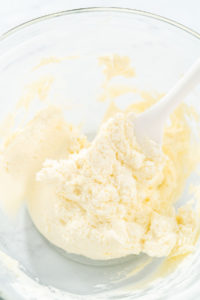
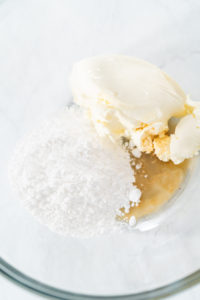
- Then, in a separate large bowl, combine the mascarpone cheese, powdered sugar, and vanilla extract in a glass mixing bowl. Beat them all together with an electric hand mixer until smooth.
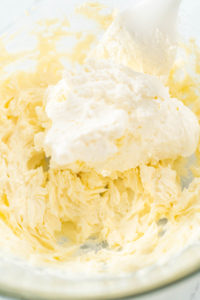
- Fold the whipped cream into the mascarpone mixture and mix together well with a silicone spatula.
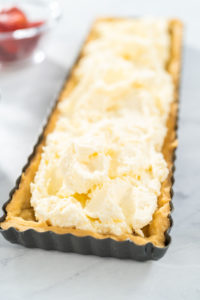
- Then, spoon the mascarpone filling into the cooled tart crust.
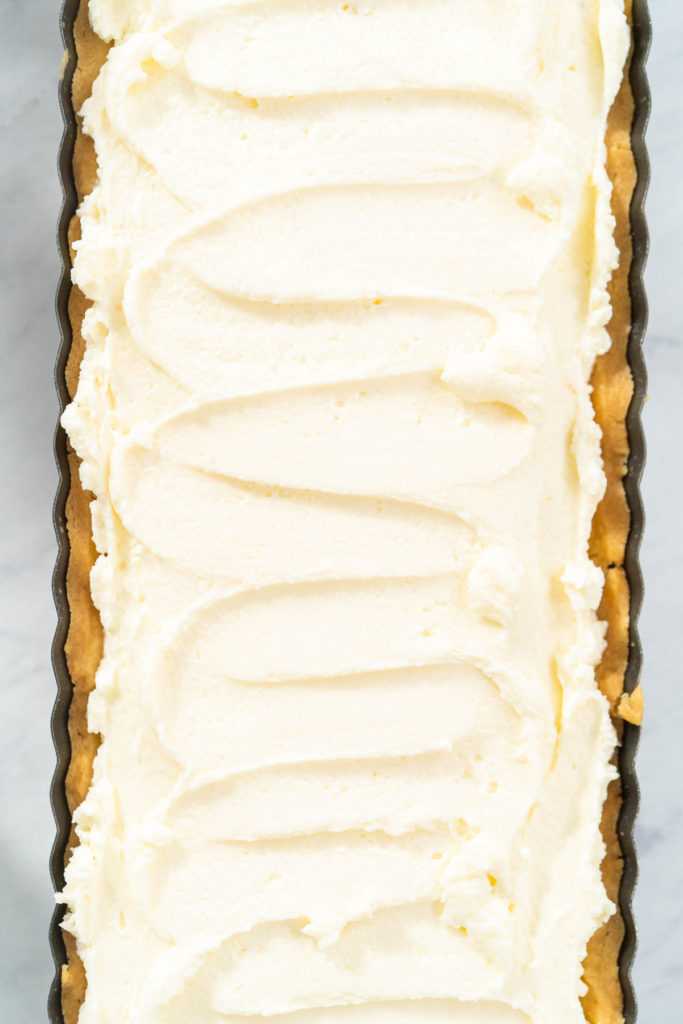
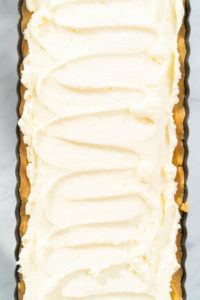
- Spread the filling evenly into the crust and use a cake spatula to make a cute swirl or design on top.
Garnishing with the Goods:
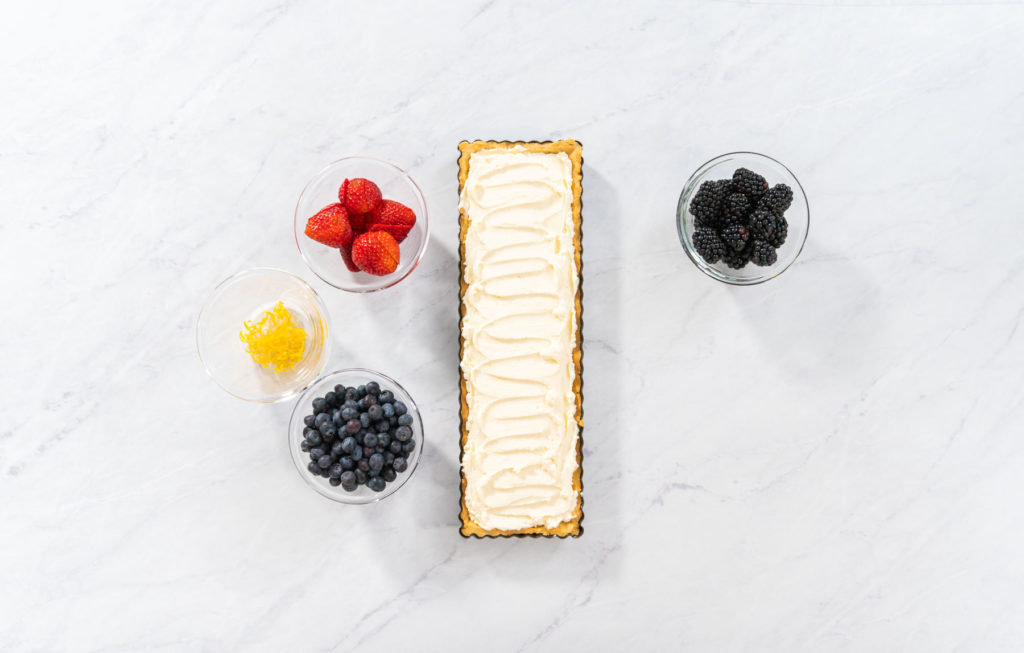
- To prepare the garnishes, start by zesting the lemon with a zester.
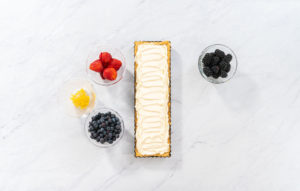
- Then, wash and prepare the other fruits and berries. I like to slice my fresh strawberries before garnishing with them.
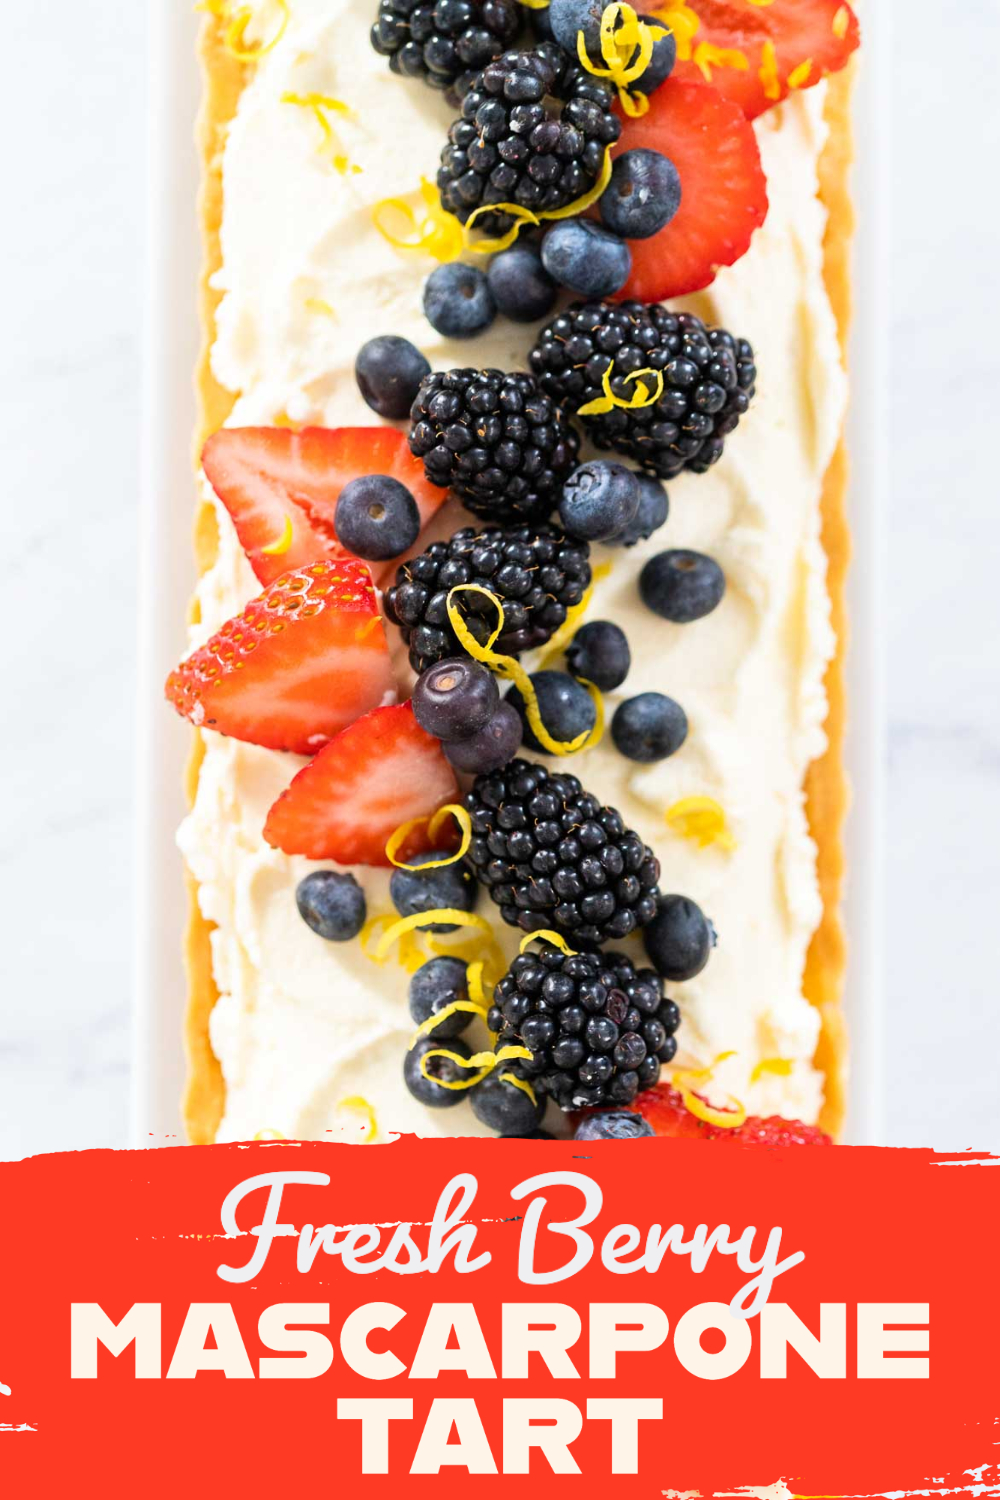
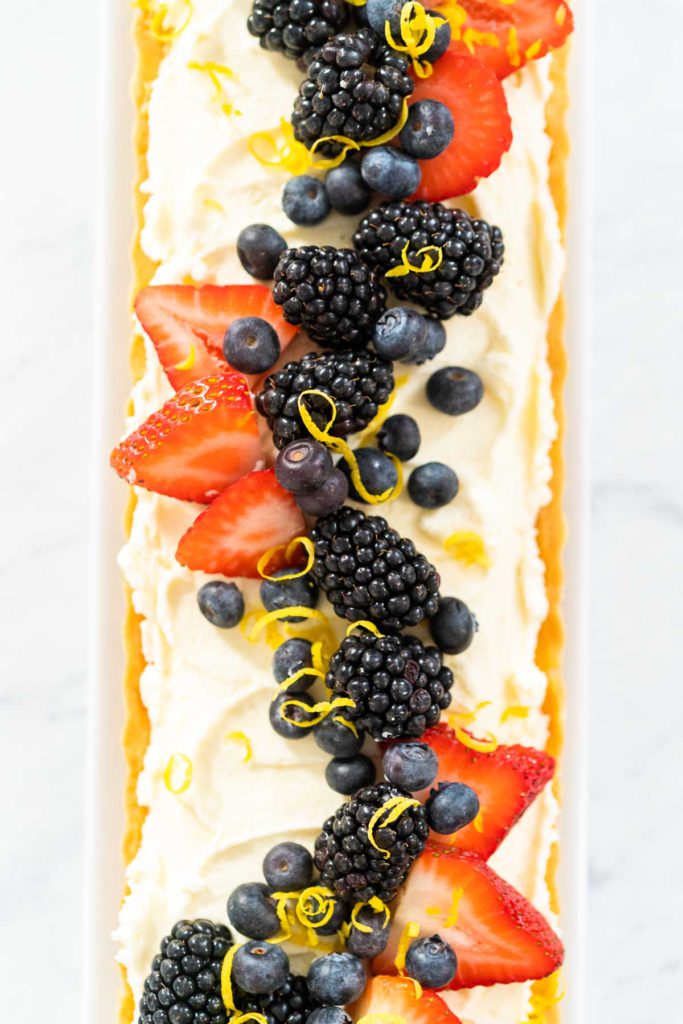
- Finally, garnish and decorate your homemade mascarpone tart with the fresh strawberries, blueberries, and blackberries. Top with the fresh lemon zest, serve and enjoy!
Proper Mascarpone Tart Storage
If you happen to have any of this refreshing summer snack leftover, or if you want to prepare this treat ahead of time, you have a couple of options on how to safely store it. If you do plan on making this recipe ahead of time, I recommend waiting to add the fresh berries until you’re ready to actually serve the tart. Here’s what you can do:
- Cover the homemade mascarpone tart tightly with plastic wrap and keep it refrigerated. The tart will stay good for up to 3 days like this.
- Or you can store this homemade treat in the freezer! Just wrap the whole tart tightly with plastic wrap, then again with aluminum foil and transfer the whole thing to the freezer. This tart can stay good in the freezer for up to 3 months.
- Thaw overnight in the refrigerator before serving.
- Always mark the date when storing to keep up with freshness.
More summer recipes
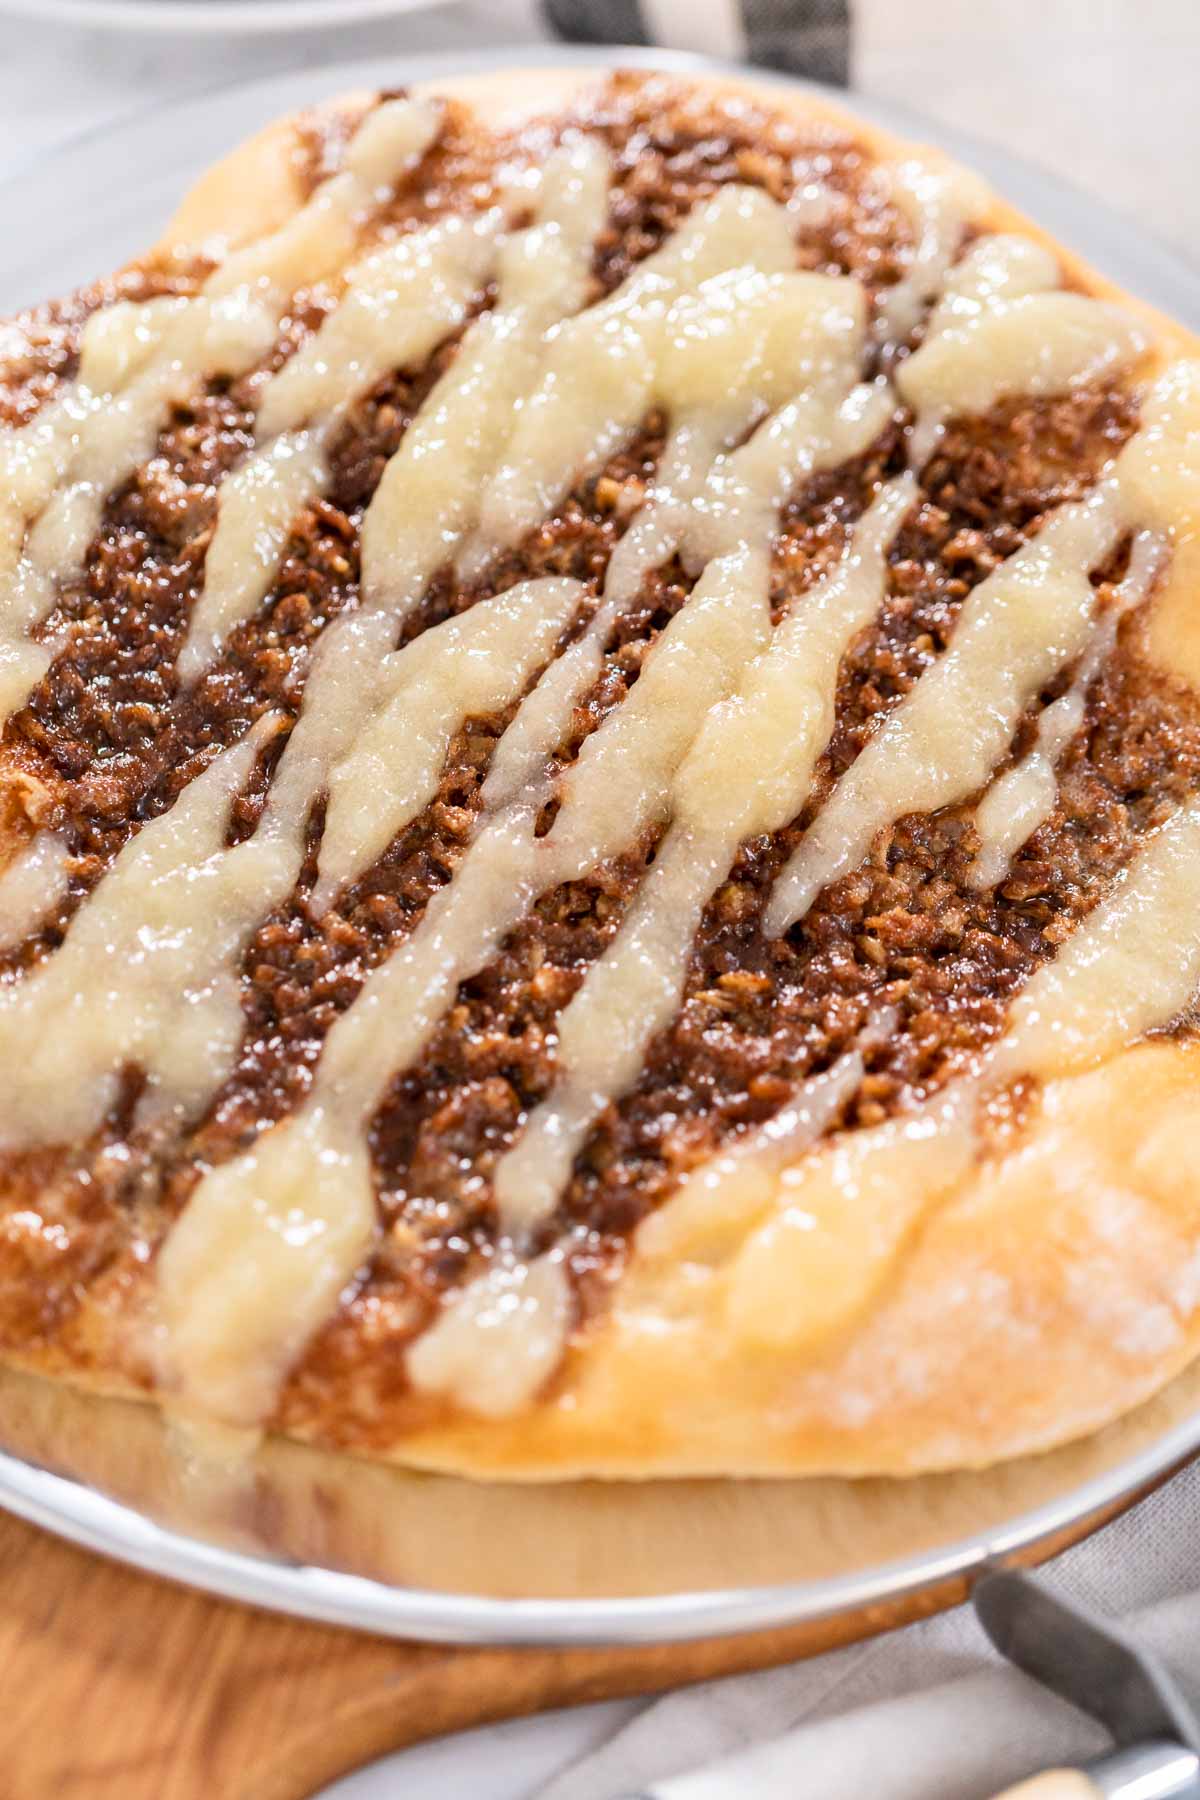
- Copycat Papa Murphy’s Sweet Pizzas with Cinnamon and Glaze
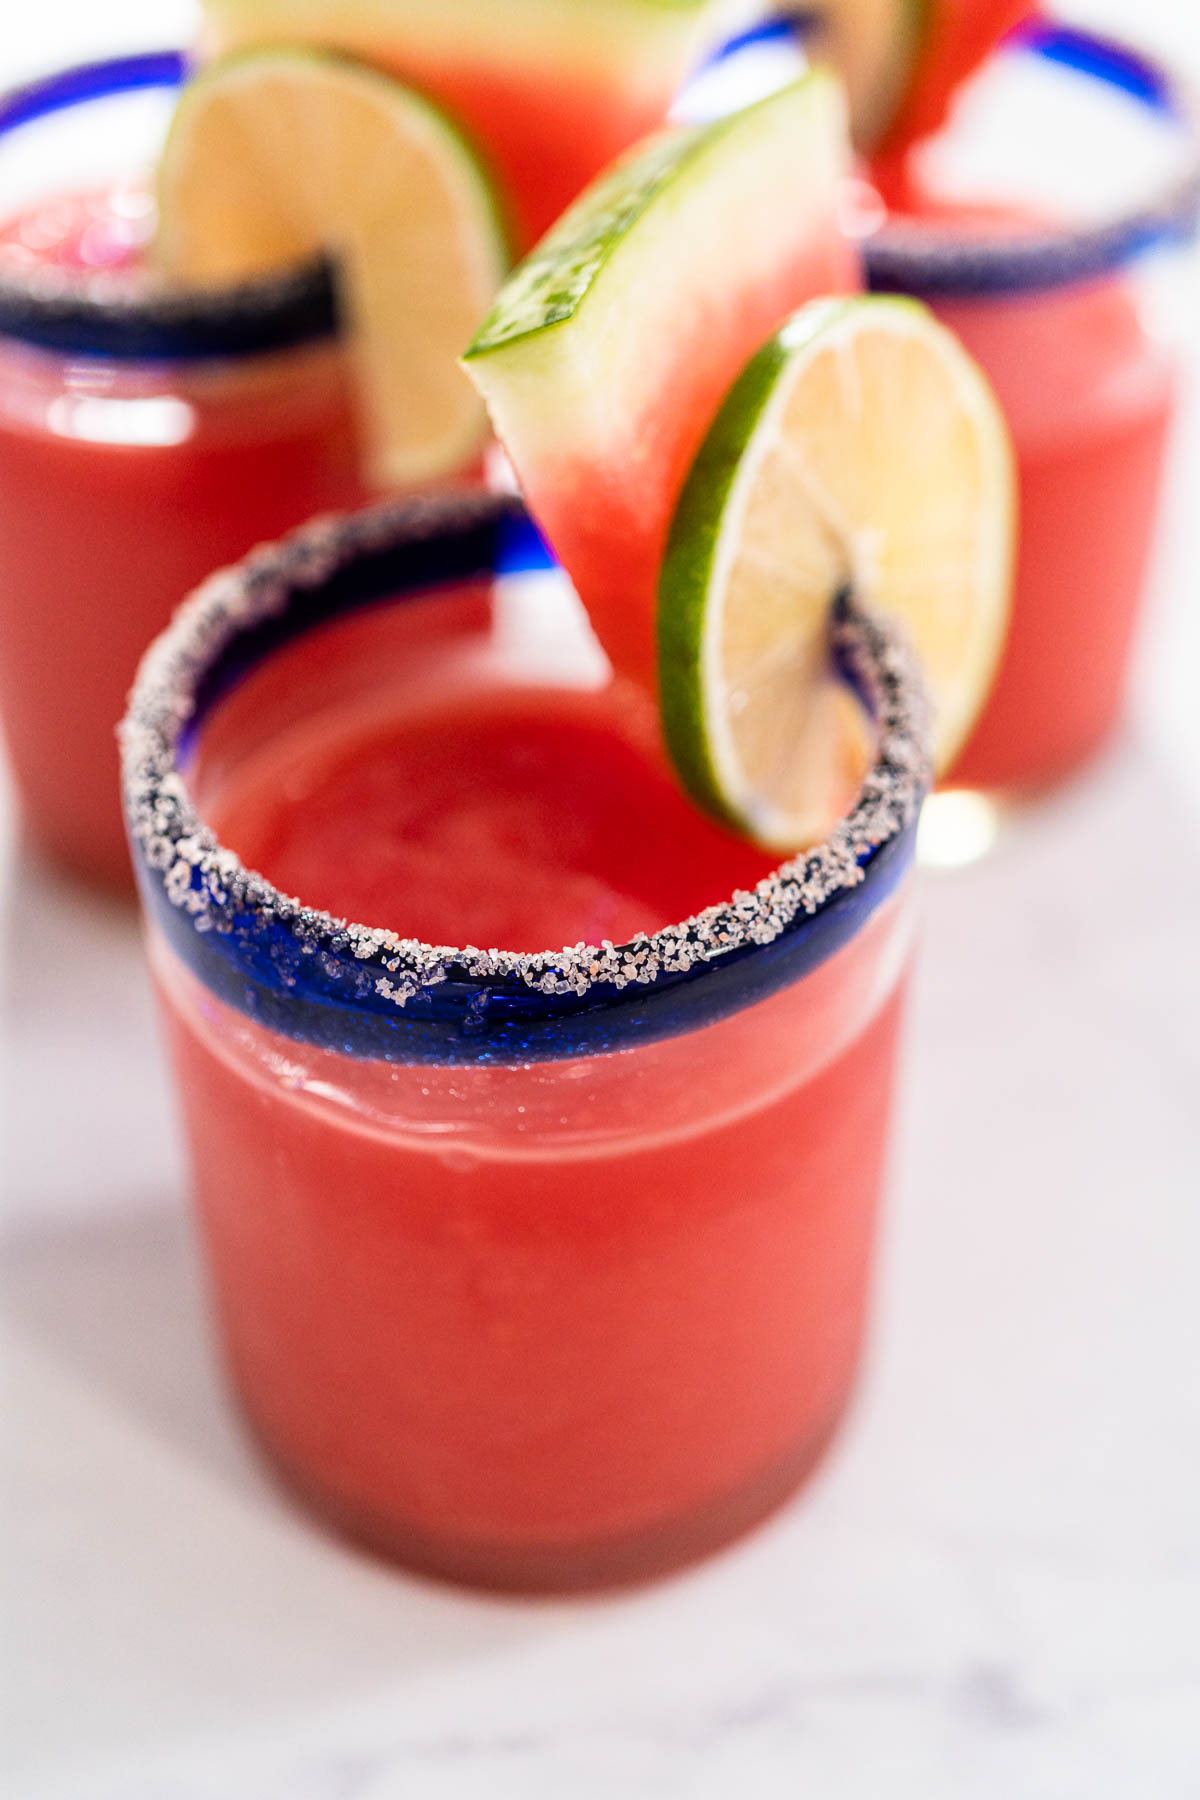
- How to Make a Watermelon Margarita with Frozen Watermelon
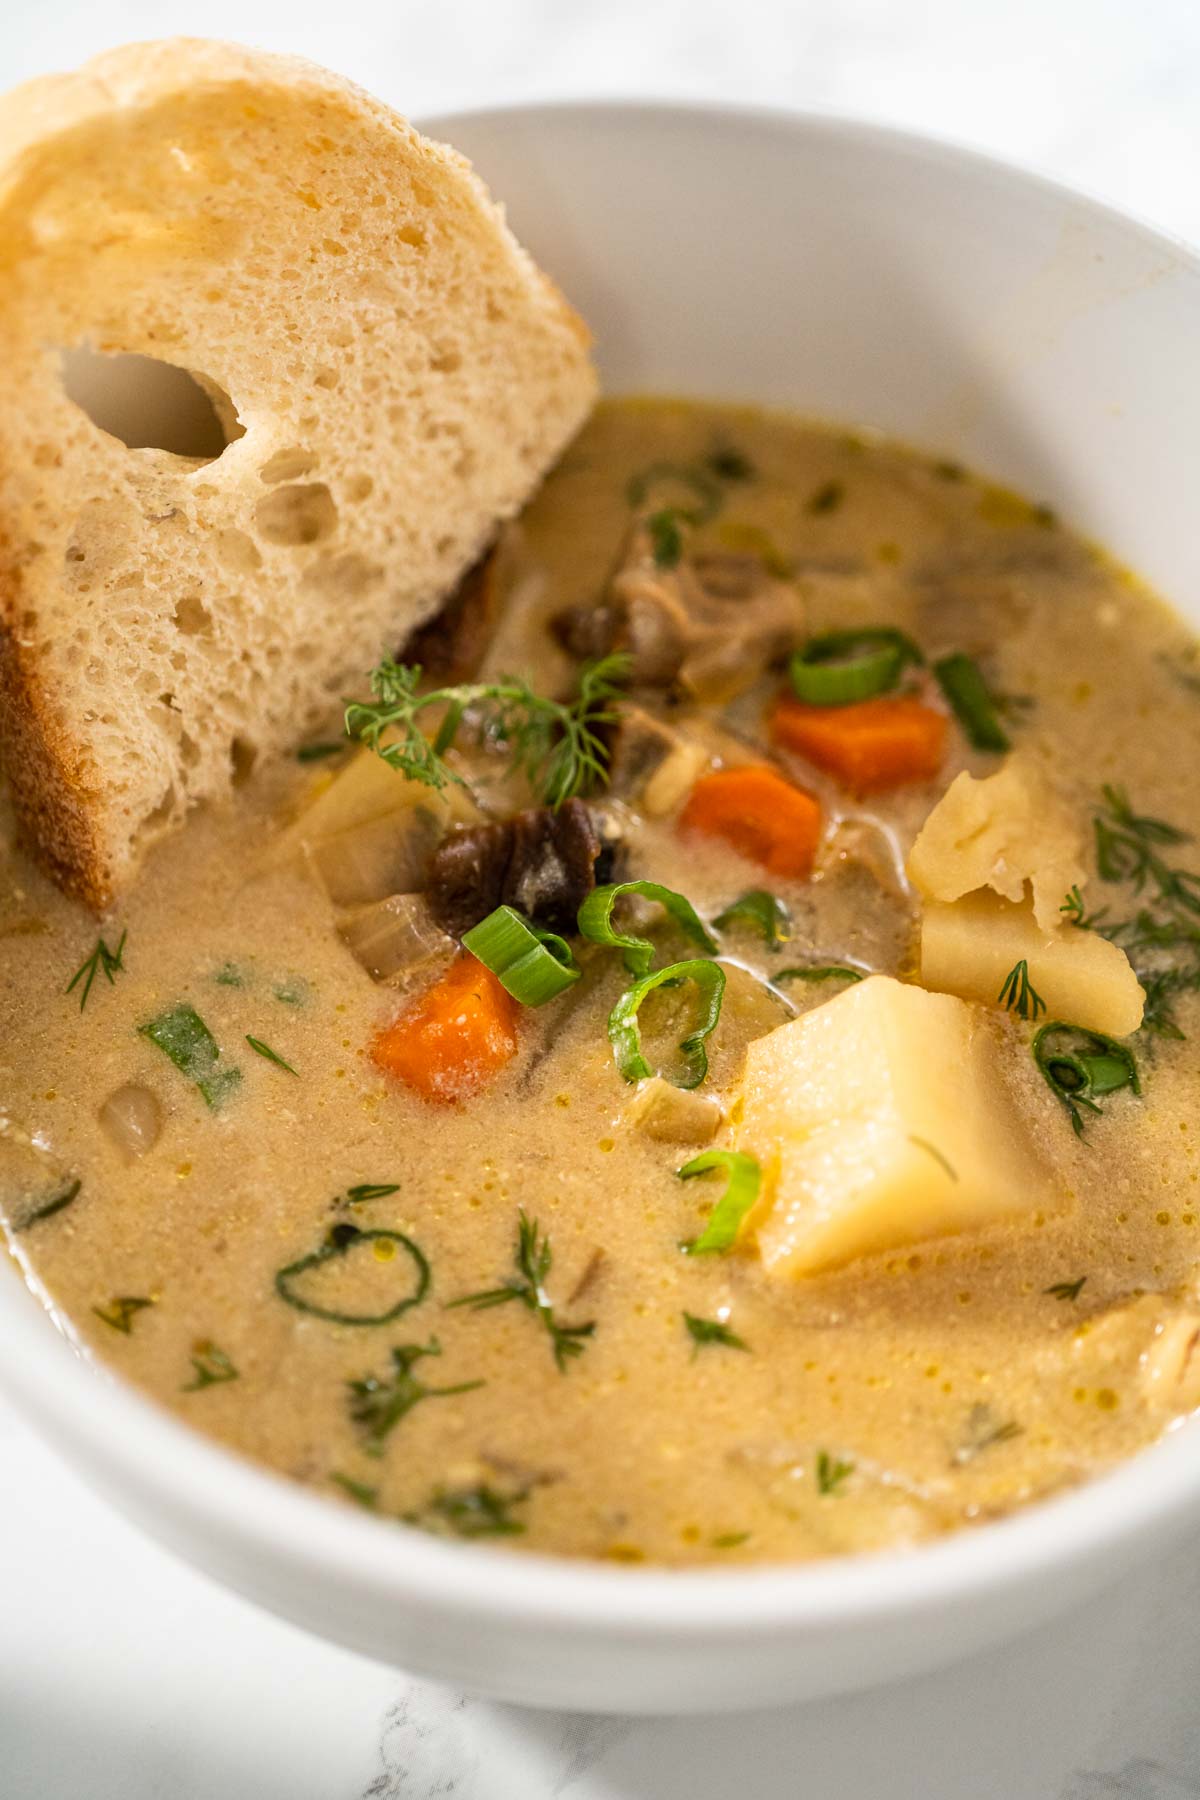
- How to Make Creamy Wild Mushroom Soup with Fresh Herbs
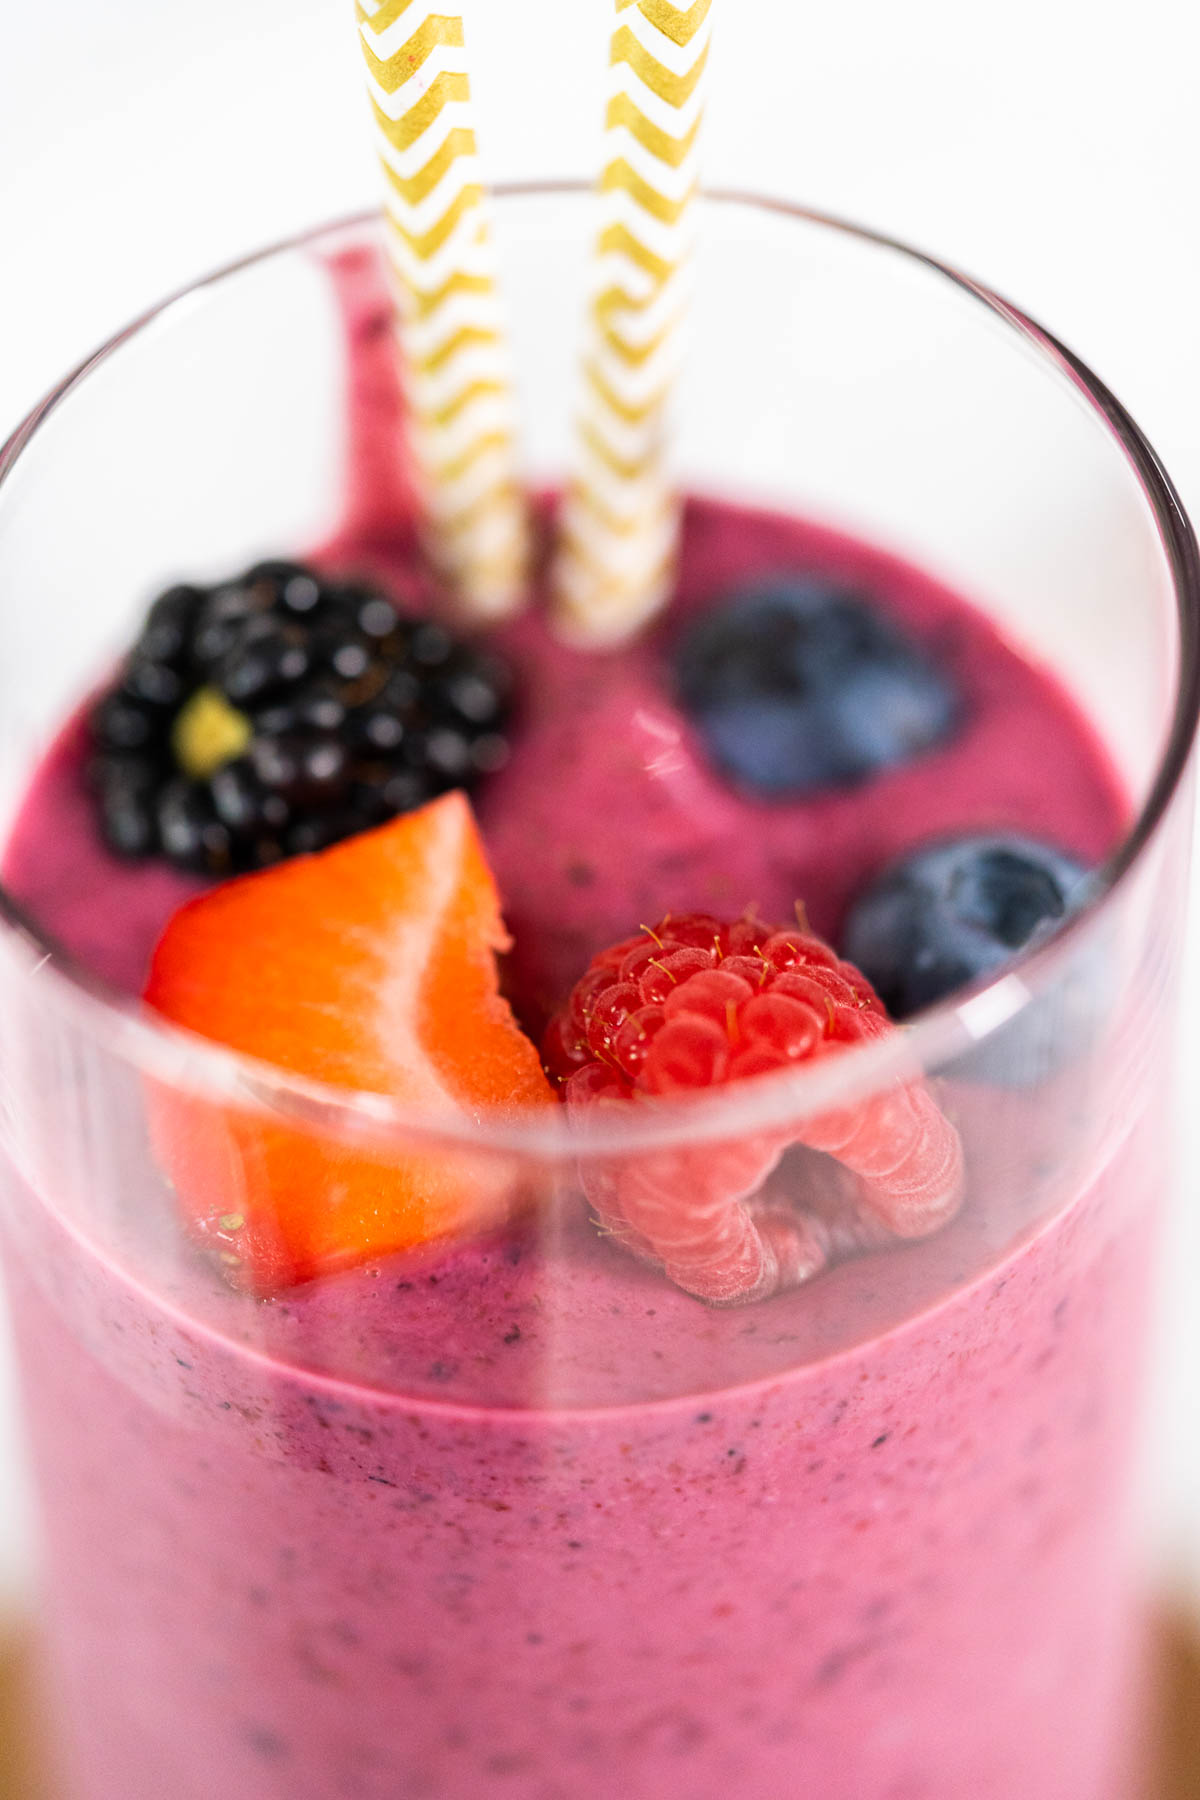
- Mixed Berry Smoothie – Healthy, Fruity, and Quick
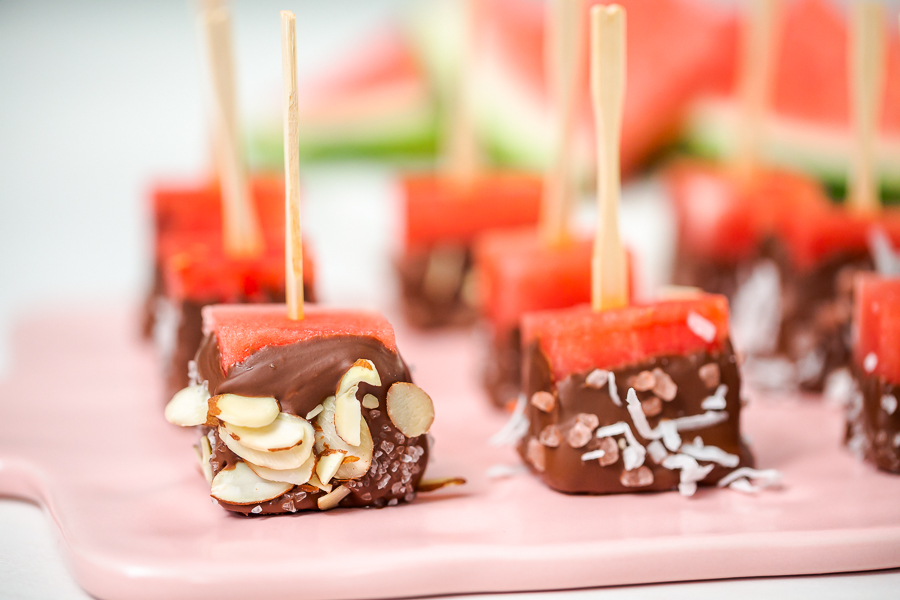
- Watermelon Bites Dipped in Chocolate – Easy No-Bake Summer Dessert for Kids & Parties
- How to Steam Asparagus (Perfectly Tender and Bright Green)
Other Berry Refreshing Recipes
There are all kinds of ways to enjoy refreshing treats in the summertime heat! All it takes is using the right fresh ingredients and a little bit of love, of course. Here are a few more of my favorite refreshing berry-infused summer recipes:
- Fruit- Infused Water
- Fruit and Vegetable Snack Board
- July 4th Charcuterie Board
- I love to pack out this snack board with fresh berries, fruits, and veggies! This delectable snack board pairs perfectly with this homemade mascarpone tart for a refreshing summer holiday!
- Try this tart recipe with a homemade Fruit Compote topping to go along with the fresh berries.
Need some tips on how to keep those strawberries from going bad too soon? Then here’s my easy guide on How to Keep Strawberries Fresh!
Other refreshing summer favorite recipes:
- Summer Cucumber Salad
- Watermelon Bites Dipped in Chocolate
- Watermelon Popsicles with Chocolate Drizzle
Barry mascarpone tart
Video
Equipment
Ingredients
Crust
- ½ cup butter melted
- ¼ cup brown sugar
- ½ teaspoon vanilla extract
- 2 cup flour
- ½ teaspoon salt
- ½ tablespoon Vegetable shortening
Filling
- ¾ cup heavy cream
- 8 oz mascarpone cheese
- ¾ cup powdered sugar
- 1 teaspoon vanilla extract
Garnish
- 1 lemon lemon zest
- ½ cup Fresh strawberries
- ½ cup Blueberries
- ½ cup blackberries
Instructions
Crust
- First, gather up and measure out all of your buttery crust ingredients.
- Next, use a blending whisk to mix together the flour and salt in a glass mixing bowl.
- Then, in a separate glass mixing bowl, drop in the brown sugar and the cubed, softened butter.
- Use an electric hand mixer to cream together the softened butter and brown sugar until fluffy. Then, mix in the vanilla extract.
- Next, slowly pour the dry ingredient mixture into the butter mixture and beat together at low speed until just incorporated. Be careful not to over mix the dough. When it’s ready it should come together and pull away from the sides of the bowl.
- Then, knead the dough slightly and use your hands to shape the dough into a ball.
- Wrap the dough in plastic food wrap and transfer to the refrigerator for 30 minutes.
- While the dough is chilling, preheat the oven to 350°F and round up the Extra long tart pan and the vegetable shortening.
- Then, use the shortening to thoroughly grease the entire inside of the long tart pan.You can protect your hands with food- safe disposable gloves or a ziploc bag for this step to save your hands from getting greasy if you prefer.
- Once the dough has properly chilled, unwrap the dough ball and use a rolling pin to roll it out evenly.
- Then, press the dough into the tart pan, making sure to press in the corners and up the sides well. Use a knife to cut away the excess dough from the edges.
- Next, use a fork to poke several holes in the dough to keep it from rising and puffing up while baking.
- Lastly, bake the dough crust for approximately 15 minutes, or until the edges begin to brown lightly. Let the crust cool completely in the pan before adding in the filling, this should take about 30 min.If the crust got too puffy while baking, just press it back down lightly with the backside of a spoon right after removing it from the oven.
Filling
- First, gather and measure out all of the yummy filling ingredients.
- Next, in a separate mixing bowl, beat the heavy cream with the hand mixer for a few minutes until stiff peaks form.
- Then, in a separate large bowl, combine the mascarpone cheese, powdered sugar, and vanilla extract in a glass mixing bowl. Beat them all together with an electric hand mixer until smooth.
- Fold the whipped cream into the mascarpone mixture and mix together well with a silicone spatula.
- Then, spoon the mascarpone filling into the cooled tart crust.
- Spread the filling evenly into the crust and use a cake knife to make a cute swirl or design on top.
Garnish
- To prepare the garnishes, start by zesting the lemon with a zester.
- Then, wash and prepare the other fruits and berries. I like to slice my fresh strawberries before garnishing with them.
- Finally, garnish and decorate your homemade mascarpone tart with the fresh strawberries, blueberries, and blackberries. Top with the fresh lemon zest, serve and enjoy!
Nutrition
Food Photography & Video Tips from My Studio
Here’s a peek at the tools, gear, and camera setups I use to film my recipe videos and photograph food at home. Over the years, I’ve tested dozens of different setups, and now I’m sharing what actually works for me—whether I’m filming overhead shots for YouTube or styling still photos for my blog. If you’re curious about how I create the content you see here, these posts are a great place to start.














Leave a Reply