How to Make Amber Gingerbread Cookie Dough for Perfect Holiday Treats
This post contains affiliate links.
Amber Gingerbread Cookie Dough: A Holiday Baking Essential
The holidays in my home always start in the kitchen, and this year is no exception! Today, I’m sharing my recipe for Amber Gingerbread Cookie Dough—a unique twist on the classic gingerbread cookie that combines rich chocolate, warm spices, and the subtle sweetness of maple syrup. This dough is perfect for festive cutout cookies that look as good as they taste!
Here’s a little behind-the-scenes secret: I made this batch for my holiday gifting, so in the video and images, you’ll notice I’m working with double the ingredients. The recipe below, however, is for a single batch. When doubling, I always use my 7-quart stand mixer—it’s a lifesaver for handling thicker, larger batches of dough without overworking the motor. If you’re planning to double the recipe too, I highly recommend using a stand mixer with enough capacity to manage the extra dough effortlessly. Trust me, it makes the process so much easier!
Let me share a little story. A few years ago, during one of my holiday baking seasons, I stumbled across a library book that changed everything—Modern Gingerbread by Sandra Mongar. This book opened my eyes to the artistry and endless possibilities of gingerbread cookies. It wasn’t just about the classic gingerbread men anymore; it was about modern twists, creative designs, and unique flavor profiles.
Inspired, I dove deeper and started exploring gingerbread traditions from around the world. That’s how my passion for creating and experimenting with different gingerbread recipes began. From chocolate gingerbread to amber gingerbread, I’ve been baking my way through these incredible flavors ever since.
You can find all of my gingerbread recipes on my website, where I share tips and tricks for making each batch special. Whether you’re a gingerbread enthusiast or just starting your journey, there’s something for everyone!
Why Amber Gingerbread Cookie Dough Is My Favorite
This recipe has a special place in my heart—and my kitchen—because it brings together the best of both worlds: classic holiday flavors with a unique twist. The maple syrup is the star here, giving the dough its rich amber hue and a subtle caramel-like sweetness that plays so perfectly with the warm spices. It’s like the cozy hug of gingerbread, but with a little extra flair. Plus, the dough is firm enough to hold its shape for intricate cutouts but still pliable and easy to work with—no cookie disasters here!
Holiday baking has always been a family affair in my house. My kids and I turn our kitchen into cookie central, with flour dusting the counters, cookie cutters everywhere, and the occasional “test cookie” mysteriously disappearing. (Who’s counting?) We spend hours rolling, cutting, and decorating cookies together, making memories that are as sweet as the treats themselves.
This particular recipe has become a go-to favorite for those moments. It holds up beautifully, even when little hands are helping. And when you finally take that first bite, you’ll taste more than just cookies—you’ll taste the love, laughter, and maybe a sprinkle of chaos that went into every single one. That’s what makes it truly special!
Essential Tools You’ll Need
Before diving in, it’s important to have the right tools on hand to make the process as smooth as possible. Here’s what I recommend:
• Measuring Cups and Measuring Spoons: Accuracy is key in baking, and these ensure you get every measurement just right.
• Glass Mixing Bowls: I love using clear bowls so I can see how well everything is combined.
• Blending Whisk: Perfect for evenly mixing your dry ingredients.
• Silicone Spatulas: A must for scraping every last bit of dough from your bowl.
• Kitchen Mixer: For creaming the butter and sugar effortlessly, especially with a double batch like I’m making in this post.
• Food Wrap: Keeps your dough fresh while it chills.
Having these tools ready makes the process efficient and stress-free, leaving you more time to enjoy the holiday spirit!
Ingredients Overview
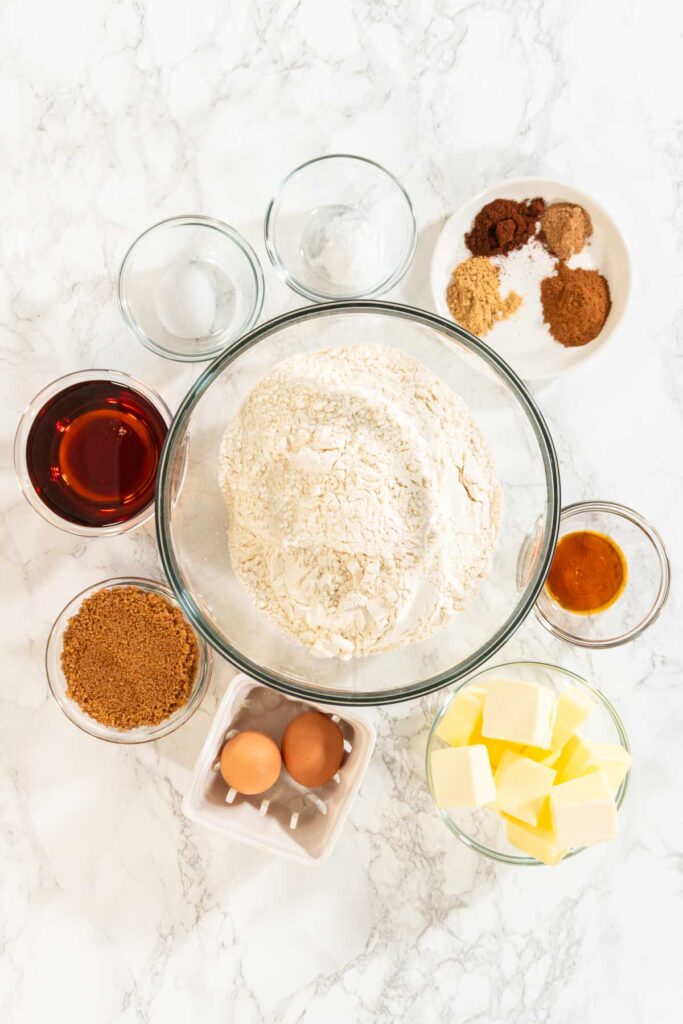
Let’s talk about the star ingredients that make this Amber Gingerbread Cookie Dough so special. Each one plays an important role in bringing out the rich flavor and perfect texture of these cookies. Plus, I’ll share some healthier substitutions you can try without sacrificing taste!
• All-Purpose Flour: This is the foundation of the dough, giving it structure and making it easy to roll and cut. For a healthier twist, you can substitute up to half the flour with whole wheat flour for added fiber and nutrients.
• Unsweetened Cocoa Powder: Adds a deep, chocolatey richness that pairs beautifully with the warm spices. Use dark cocoa powder if you’re looking for a richer, more intense chocolate flavor.
• Ground Cinnamon and Ground Ginger: These are the spices that give the dough its cozy, festive flavor. Stick with the real thing here—spices are already a healthy way to add flavor without extra calories!
• Ground Cloves and Ground Nutmeg: They add depth and that classic holiday aroma to every cookie.
• Baking Soda: This gives the cookies just the right amount of lift, making them soft but sturdy enough to decorate.
• Salt: Enhances all the other flavors and balances the sweetness perfectly. You can reduce the amount slightly if you’re watching sodium intake, but don’t skip it entirely—it’s key to flavor!
• Maple Syrup: The game-changer! It adds a subtle caramel-like sweetness and a gorgeous amber hue to the dough. For a lower-sugar option, you could substitute with honey or a reduced-sugar maple syrup, but be aware it may slightly alter the flavor.
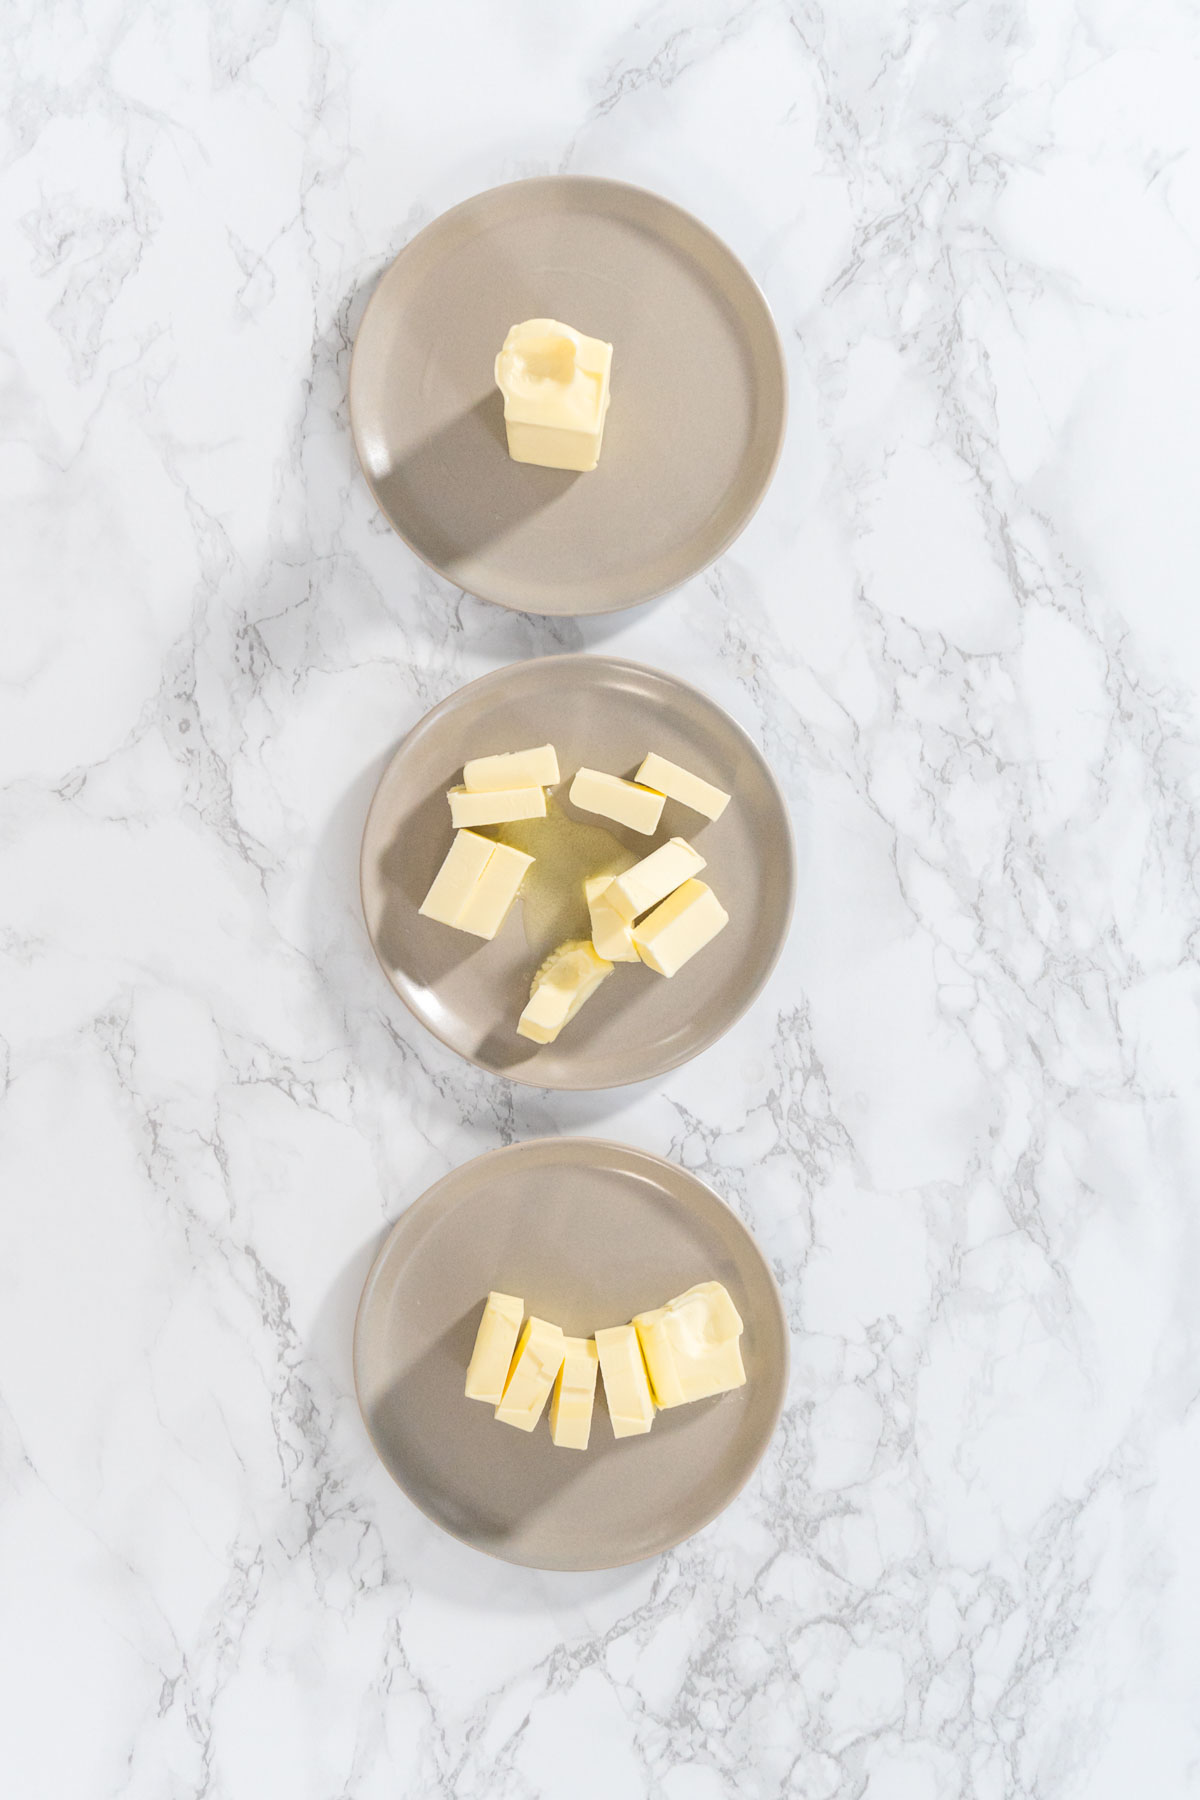
• Unsalted Butter: Room-temperature butter is essential for creating a soft, creamy dough. You can try substituting with coconut oil for a dairy-free option, but it will slightly change the texture and flavor.
• Brown Sugar: Adds sweetness and a hint of molasses flavor, which complements the spices perfectly. For a healthier alternative, use coconut sugar for a lower-glycemic option.
• Vanilla Extract: A little touch of vanilla brings out the warmth in all the other flavors.
• Egg: The binder that holds it all together and gives the dough its smooth texture. For an egg-free option, you could try using a flaxseed egg (one tablespoon ground flaxseed mixed with three tablespoons water), though the texture may differ slightly.
These simple yet flavorful ingredients come together to create a dough that’s perfect for holiday baking. Whether you stick to the classic recipe or try some of the healthier substitutions, this dough is sure to deliver festive, delicious cookies every time!
Instructions for Amber Gingerbread Cookie Dough
1. Measure and prepare all your ingredients before starting to keep the process smooth and stress-free. Make sure your butter and egg are at room temperature for the best results.
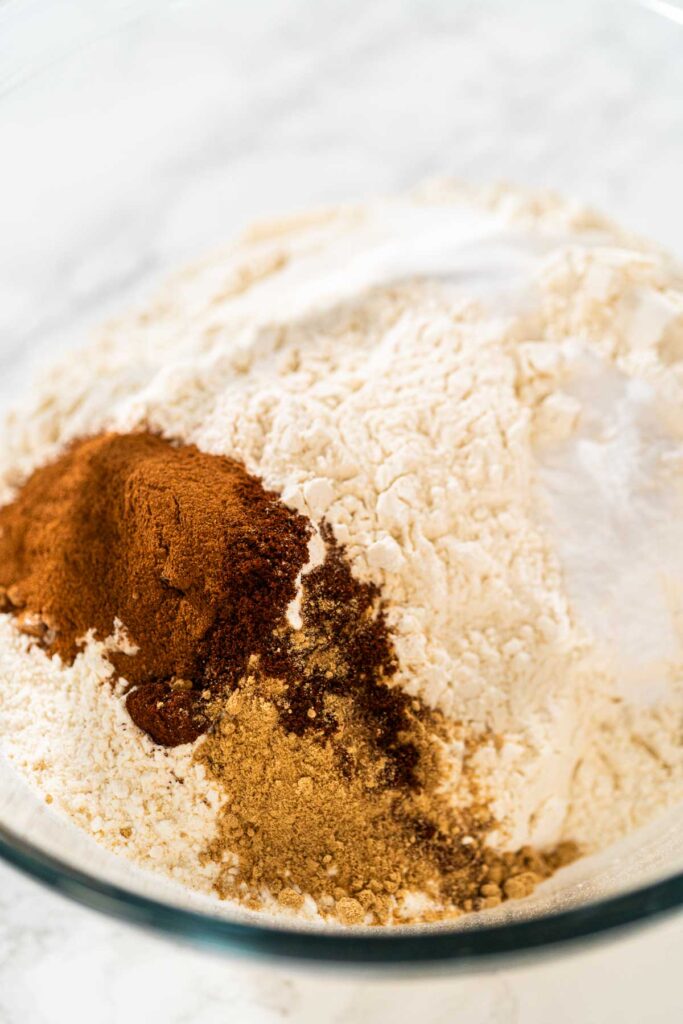
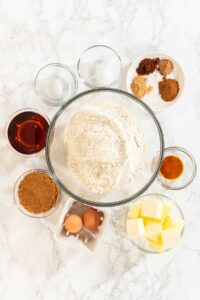
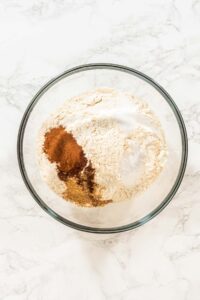
2. In a large mixing bowl, combine the all-purpose flour, unsweetened cocoa powder, ground cinnamon, ground ginger, ground cloves, ground nutmeg, baking soda, and salt. Whisk the ingredients thoroughly until everything is evenly combined. If preferred, you can sift the dry ingredients for a finer mix. Set the bowl aside.
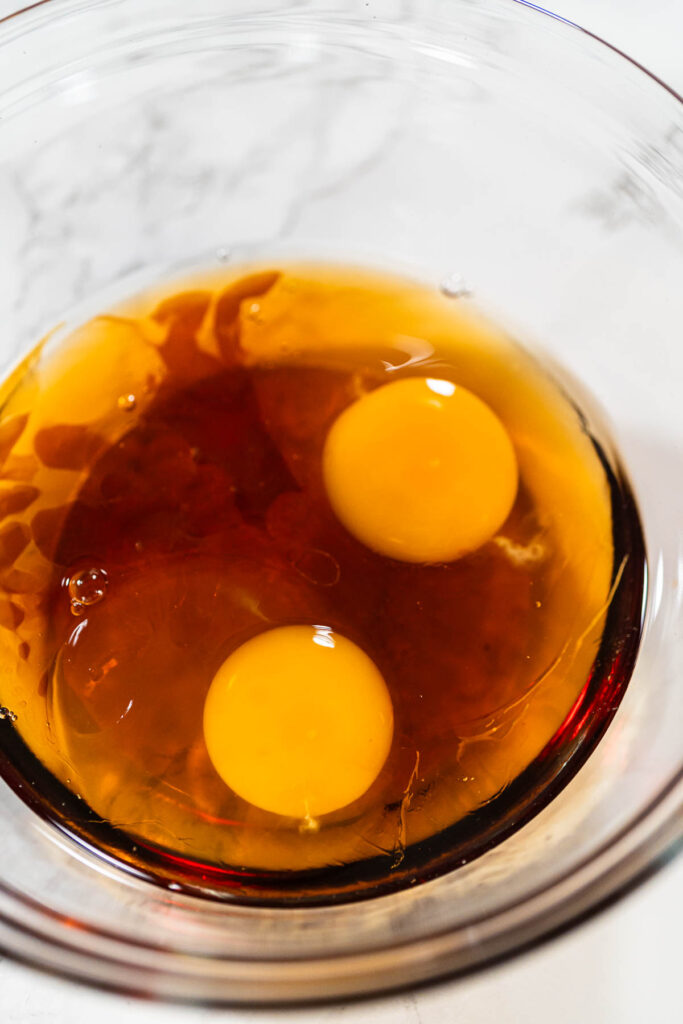
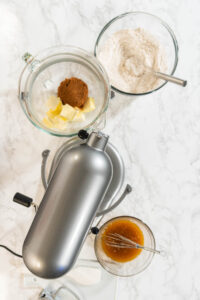
3. In a glass mixing bowl, whisk together the egg, maple syrup, and vanilla extract until smooth and fully blended. To quickly bring your egg to room temperature, place it in a bowl of warm water for a few minutes. Set this bowl aside.
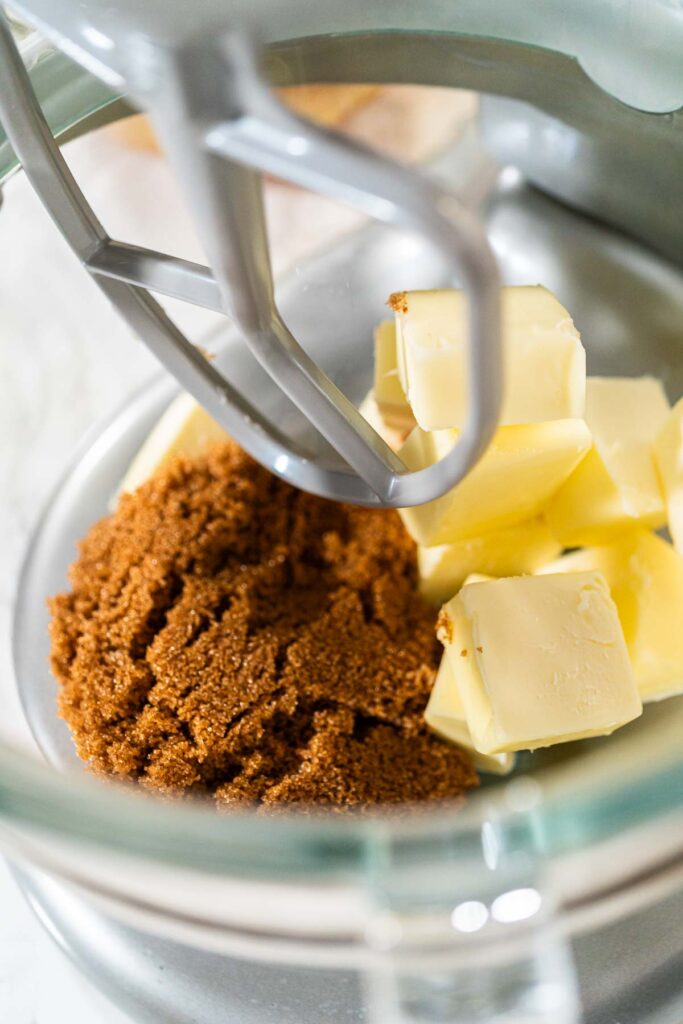
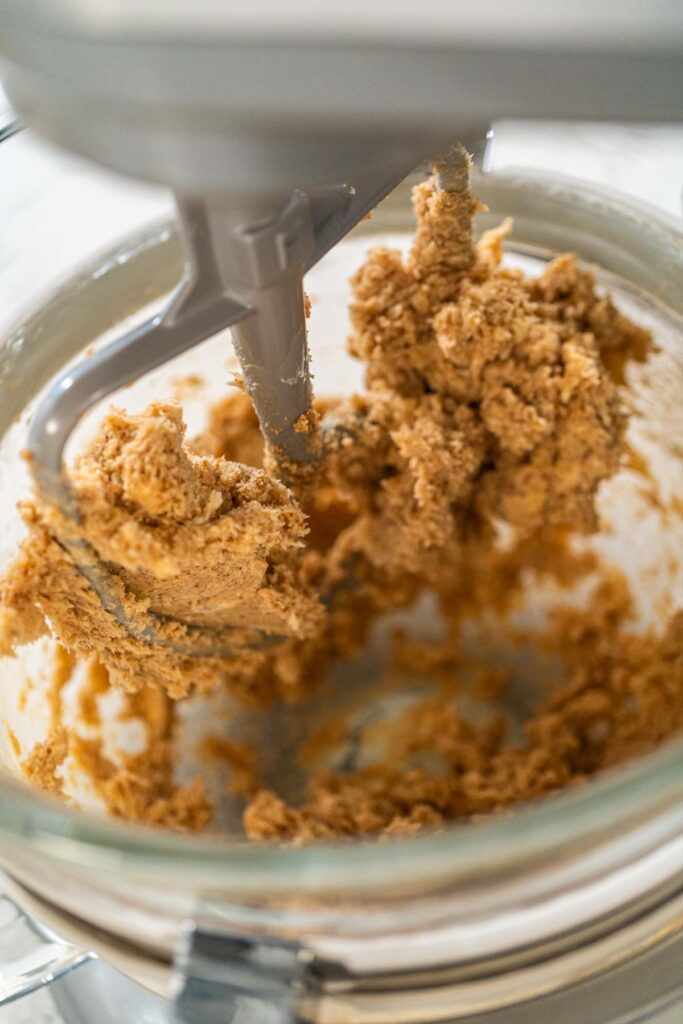
4. In your kitchen mixer, add the softened unsalted butter and brown sugar. Using the paddle attachment, start the mixer on low speed to avoid a sugar cloud, then gradually increase to medium. Cream the butter and sugar together for 2-3 minutes until light and fluffy.
5. Scrape down the sides of the bowl with a silicone spatula to make sure everything is evenly incorporated.
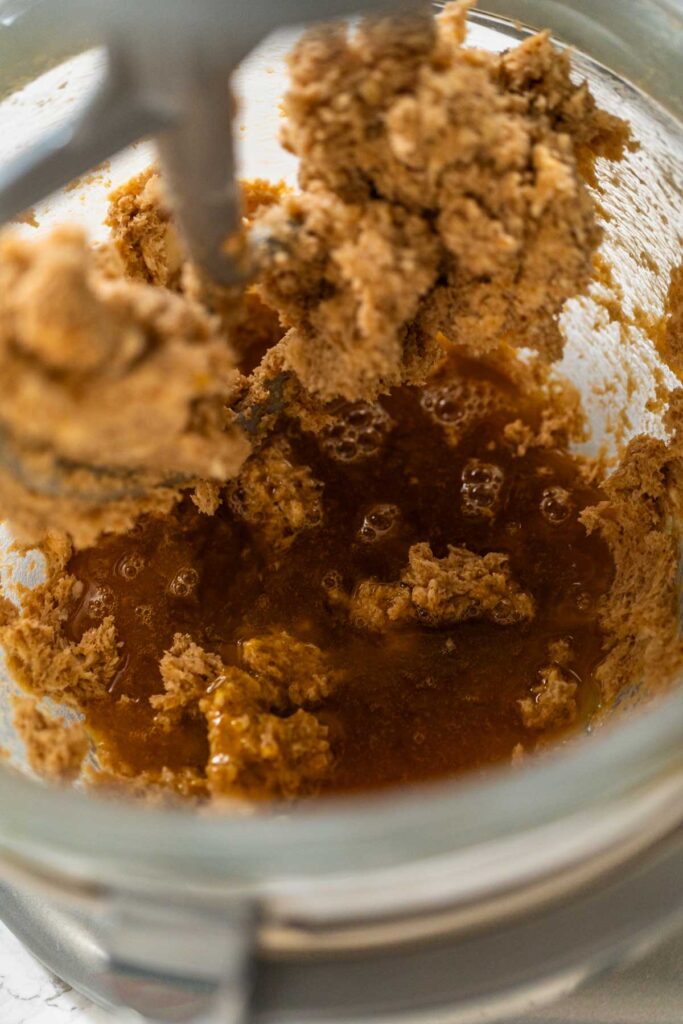
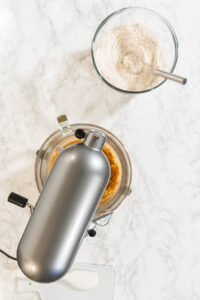
6. Pour the egg, maple syrup, and vanilla extract mixture into the creamed butter and sugar. Mix on medium speed until smooth and fully combined.
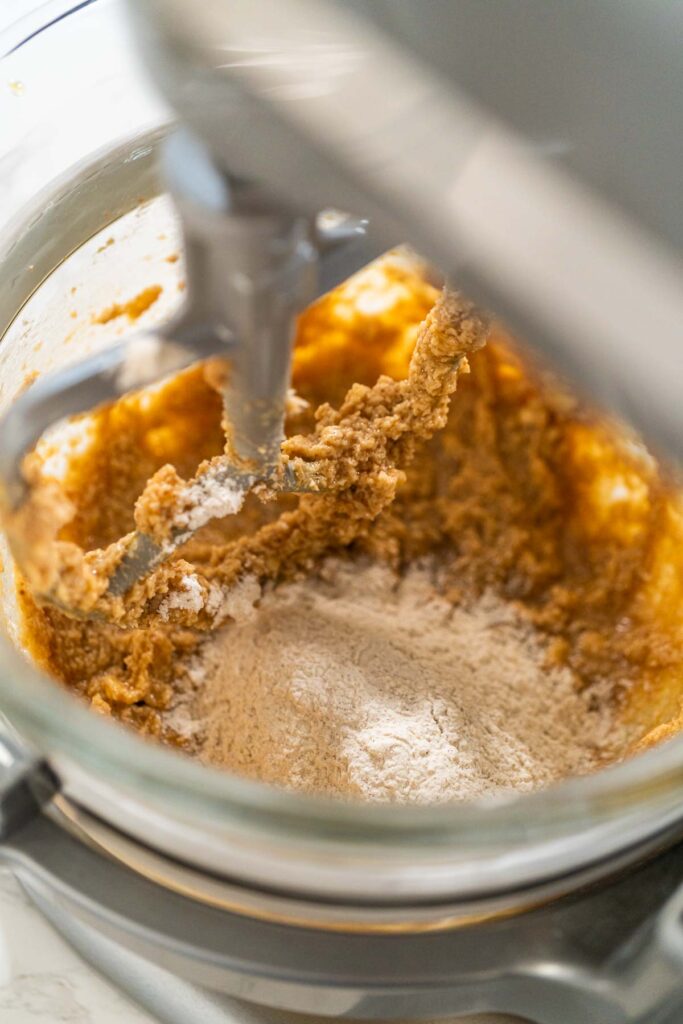
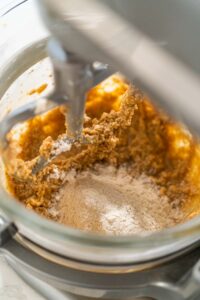
7. Gradually add the dry ingredients to the wet mixture in thirds, mixing on low speed after each addition. Keep the mixer on low to prevent overworking the dough and to avoid flour from flying everywhere.
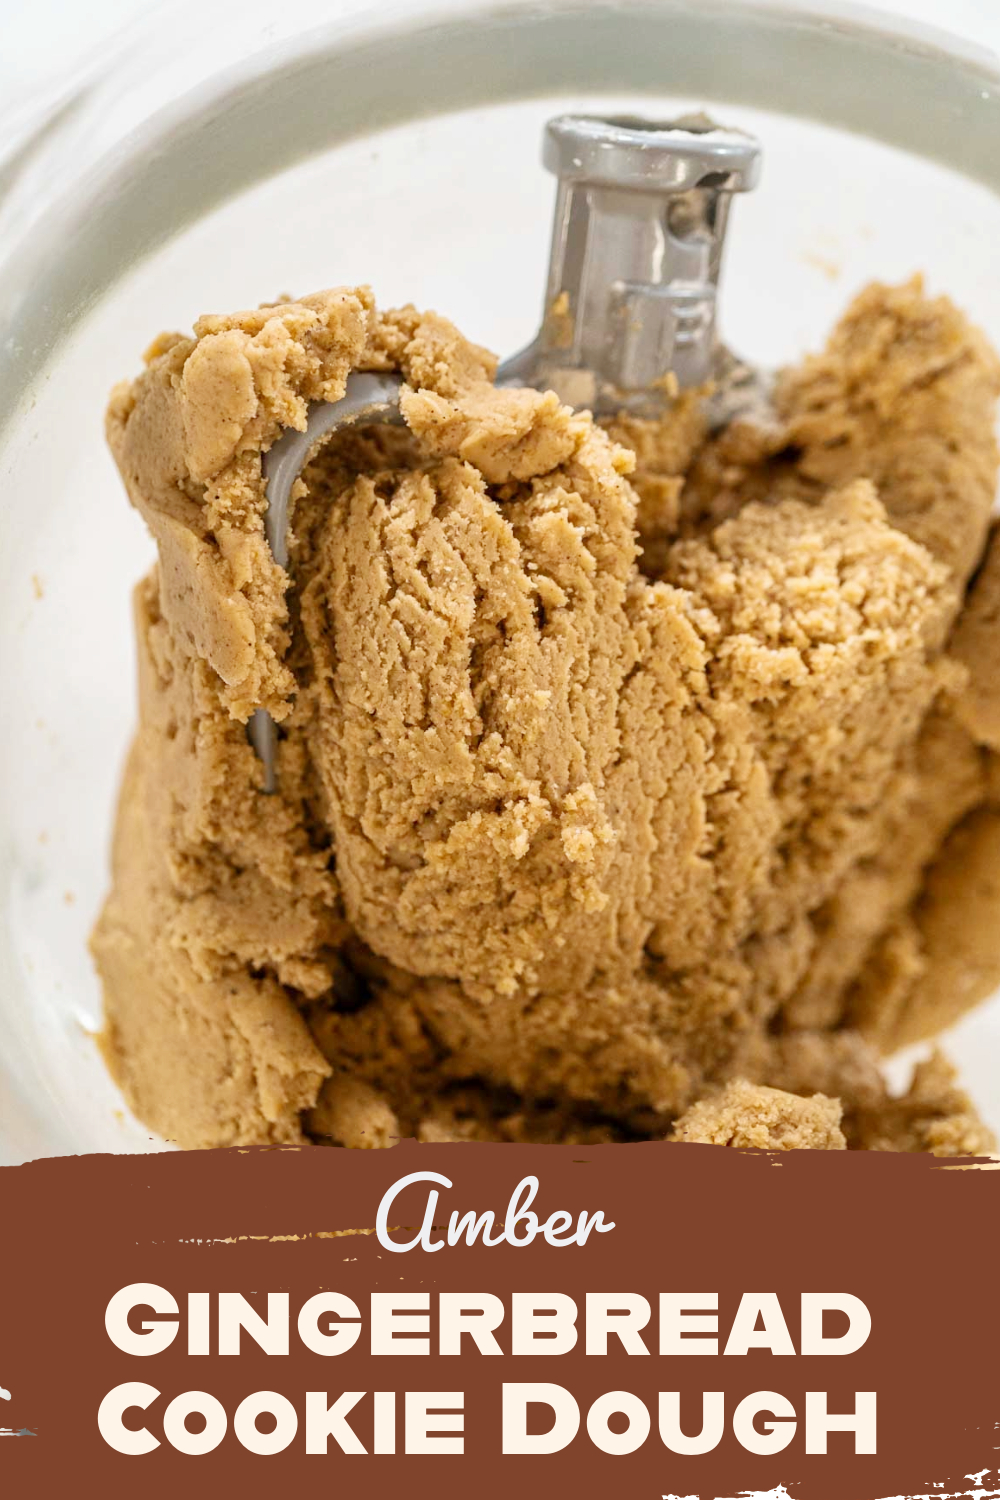
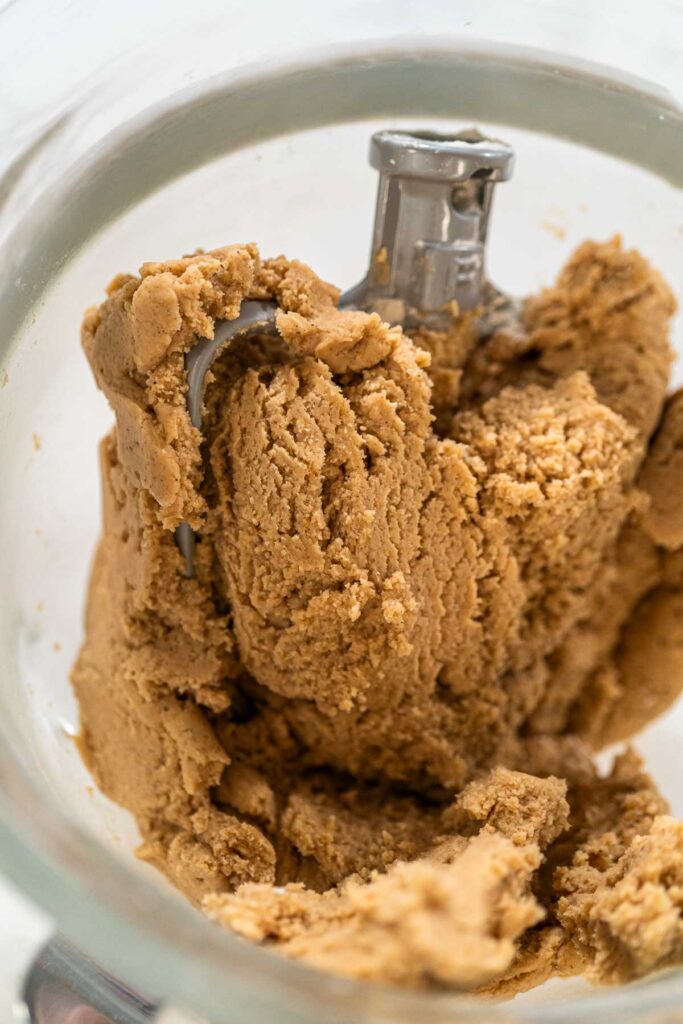
8. Check the dough consistency. The dough should be thick and slightly firm, holding together without being sticky. If it feels too sticky, add a tablespoon of flour at a time until it reaches the right consistency.
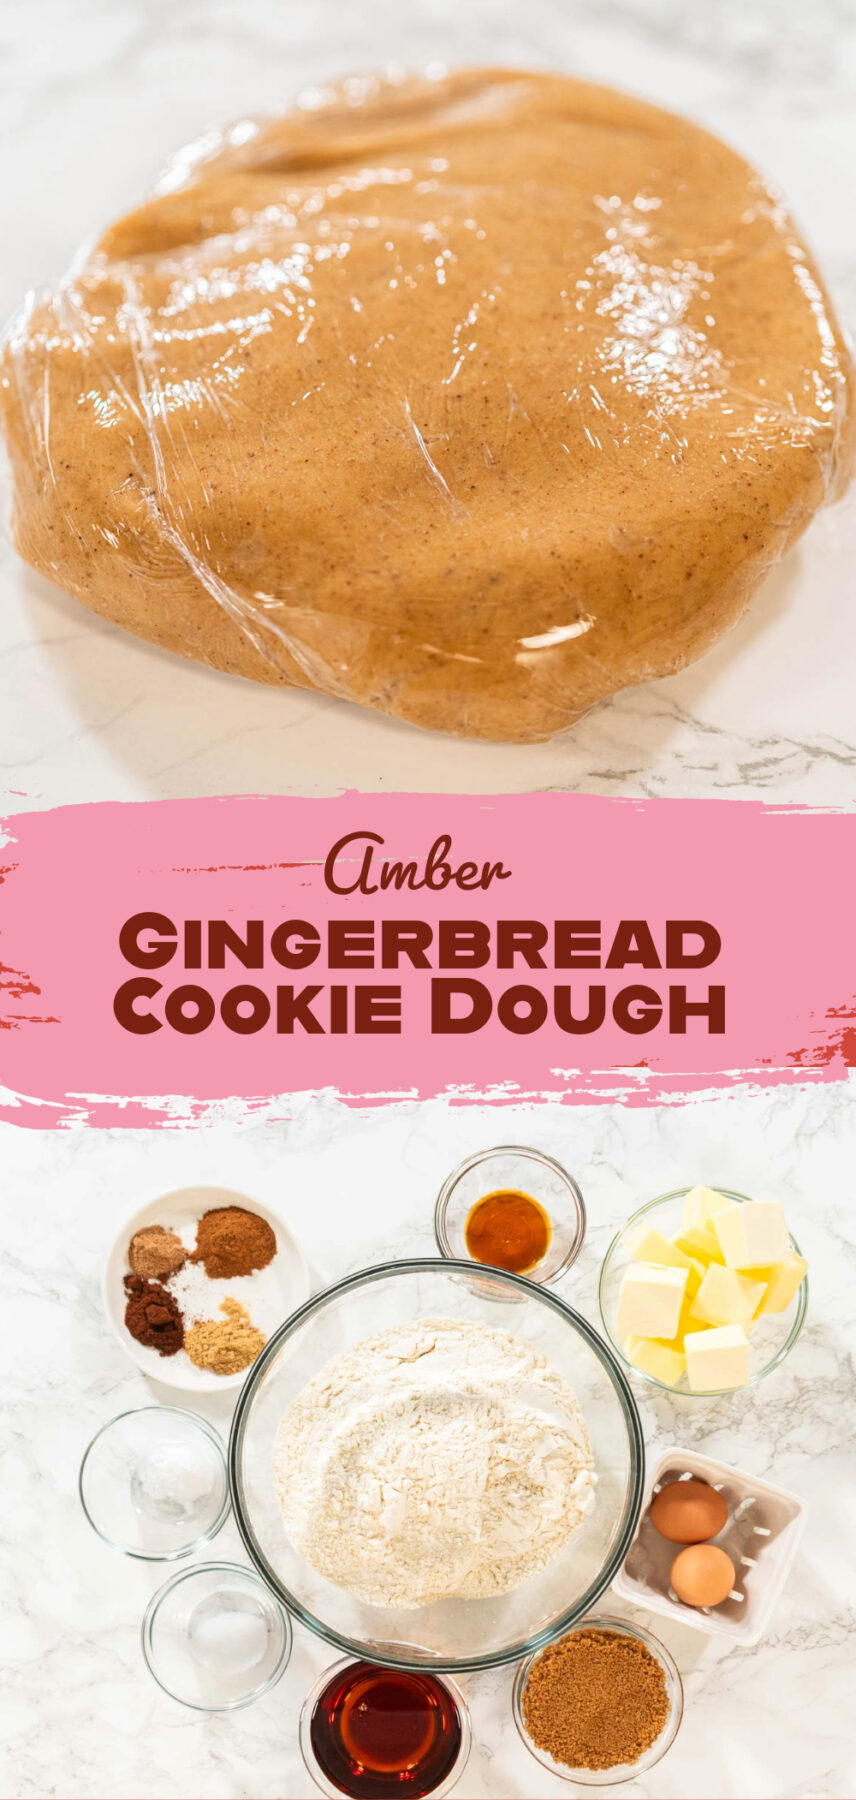
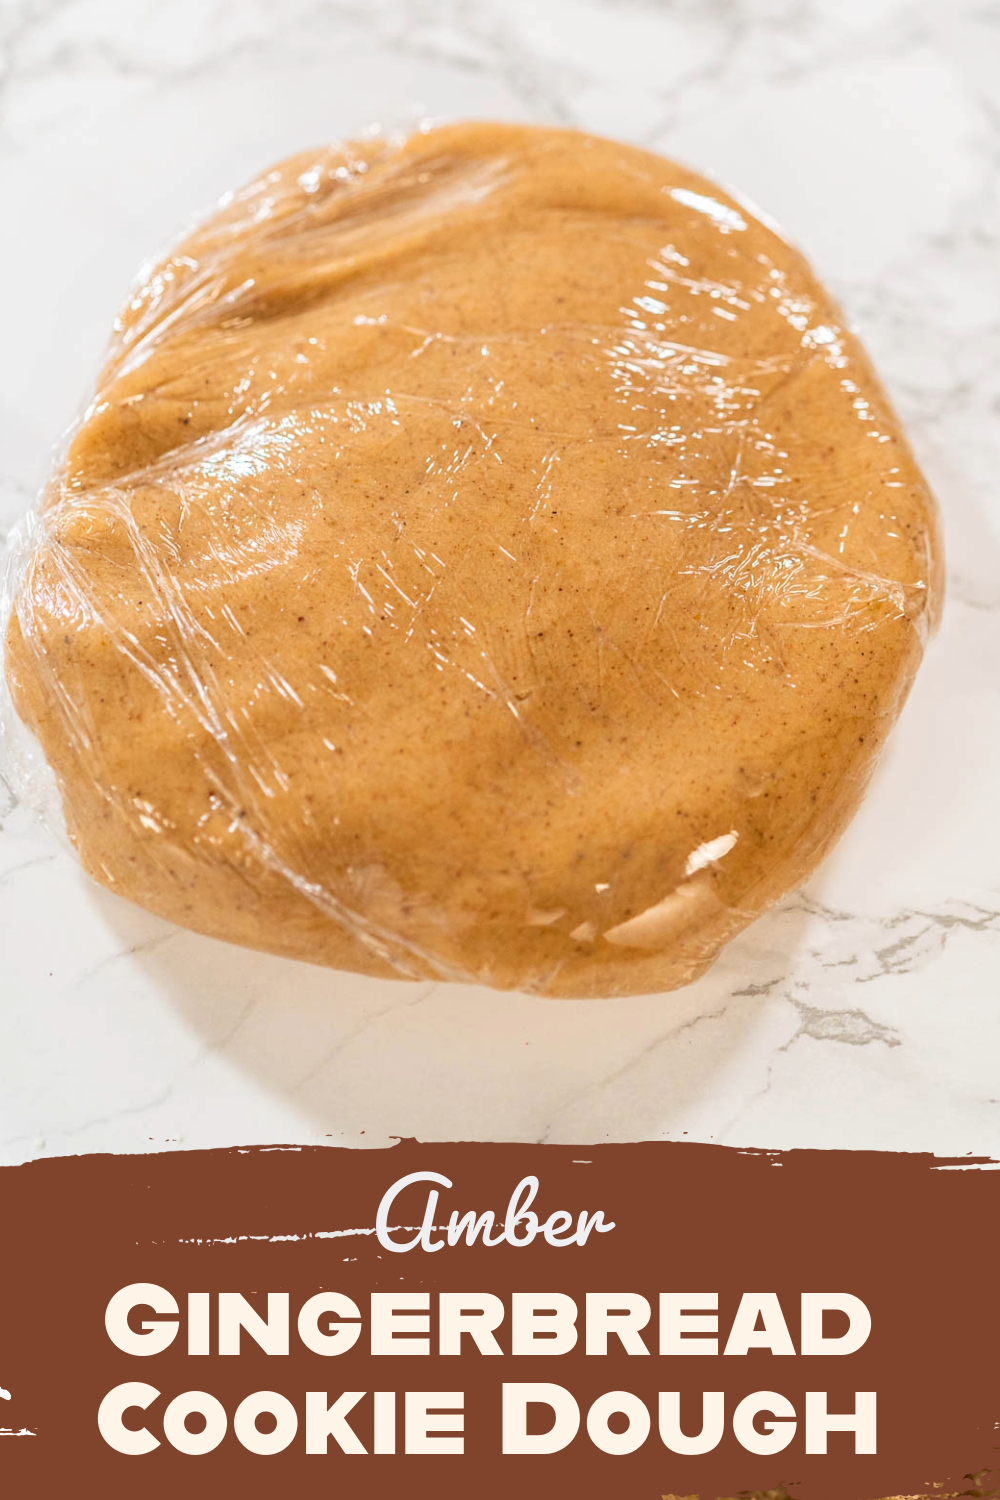
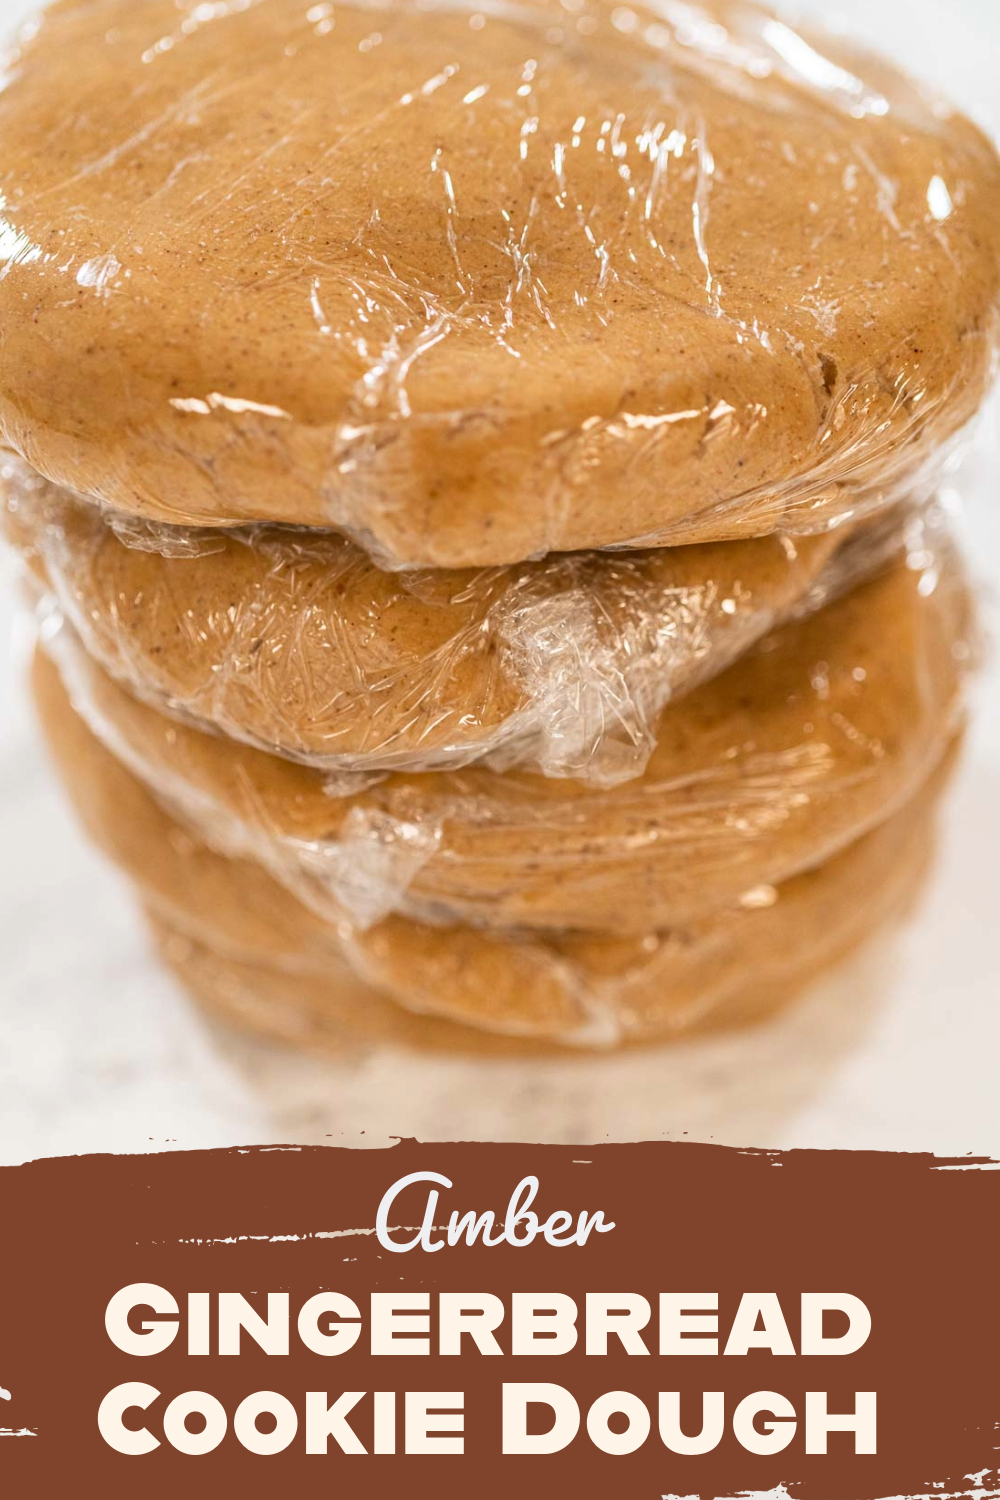
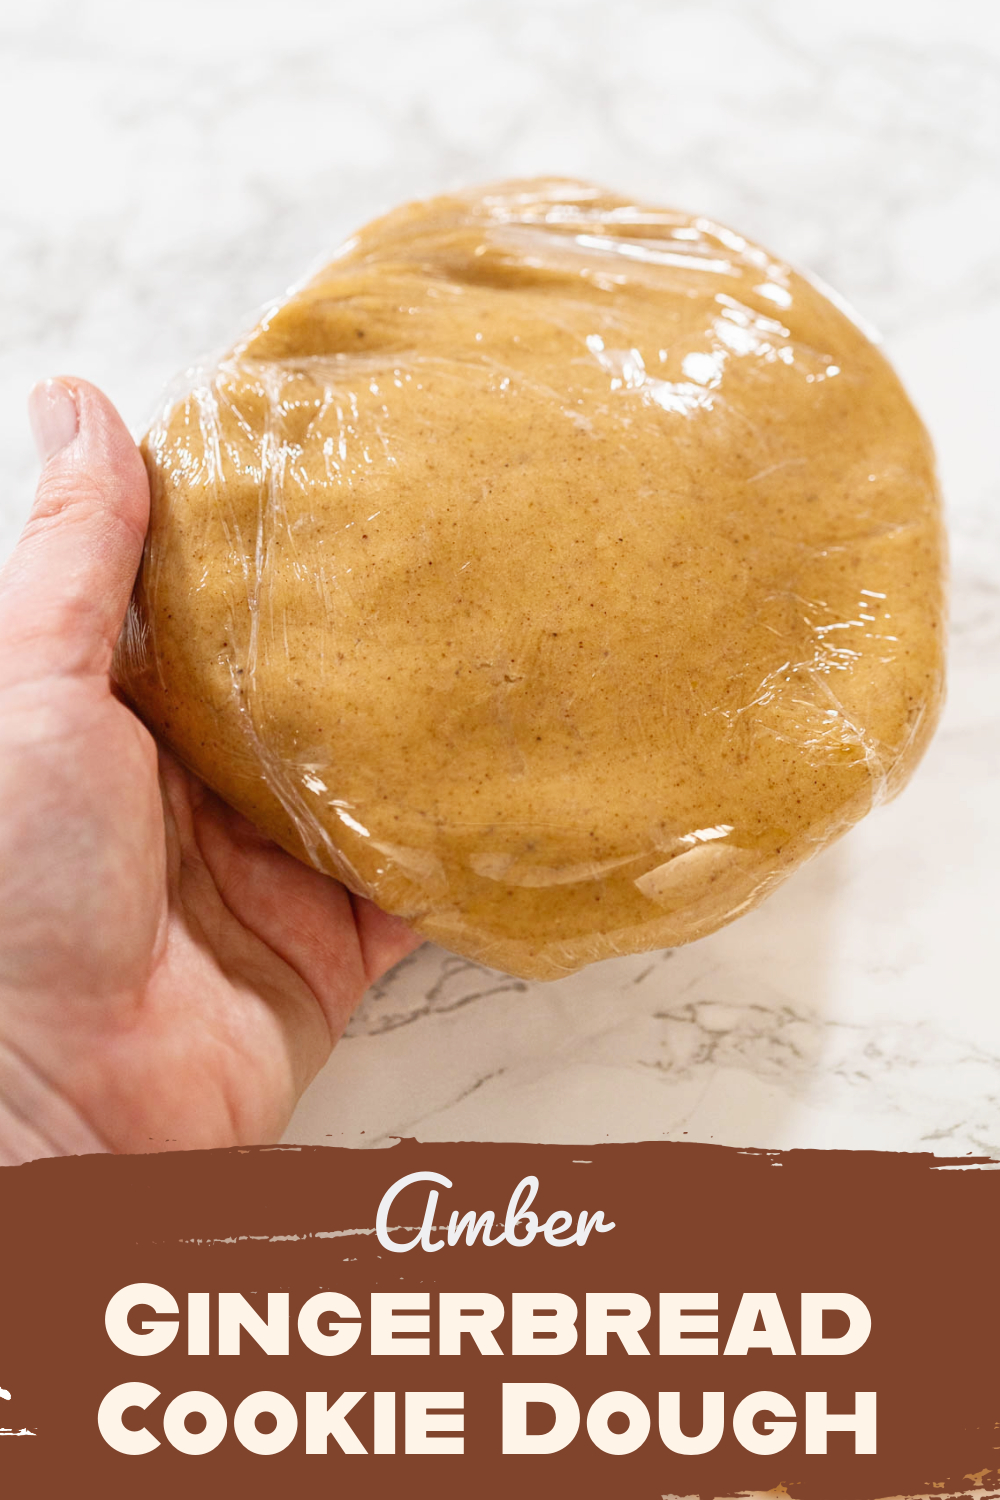
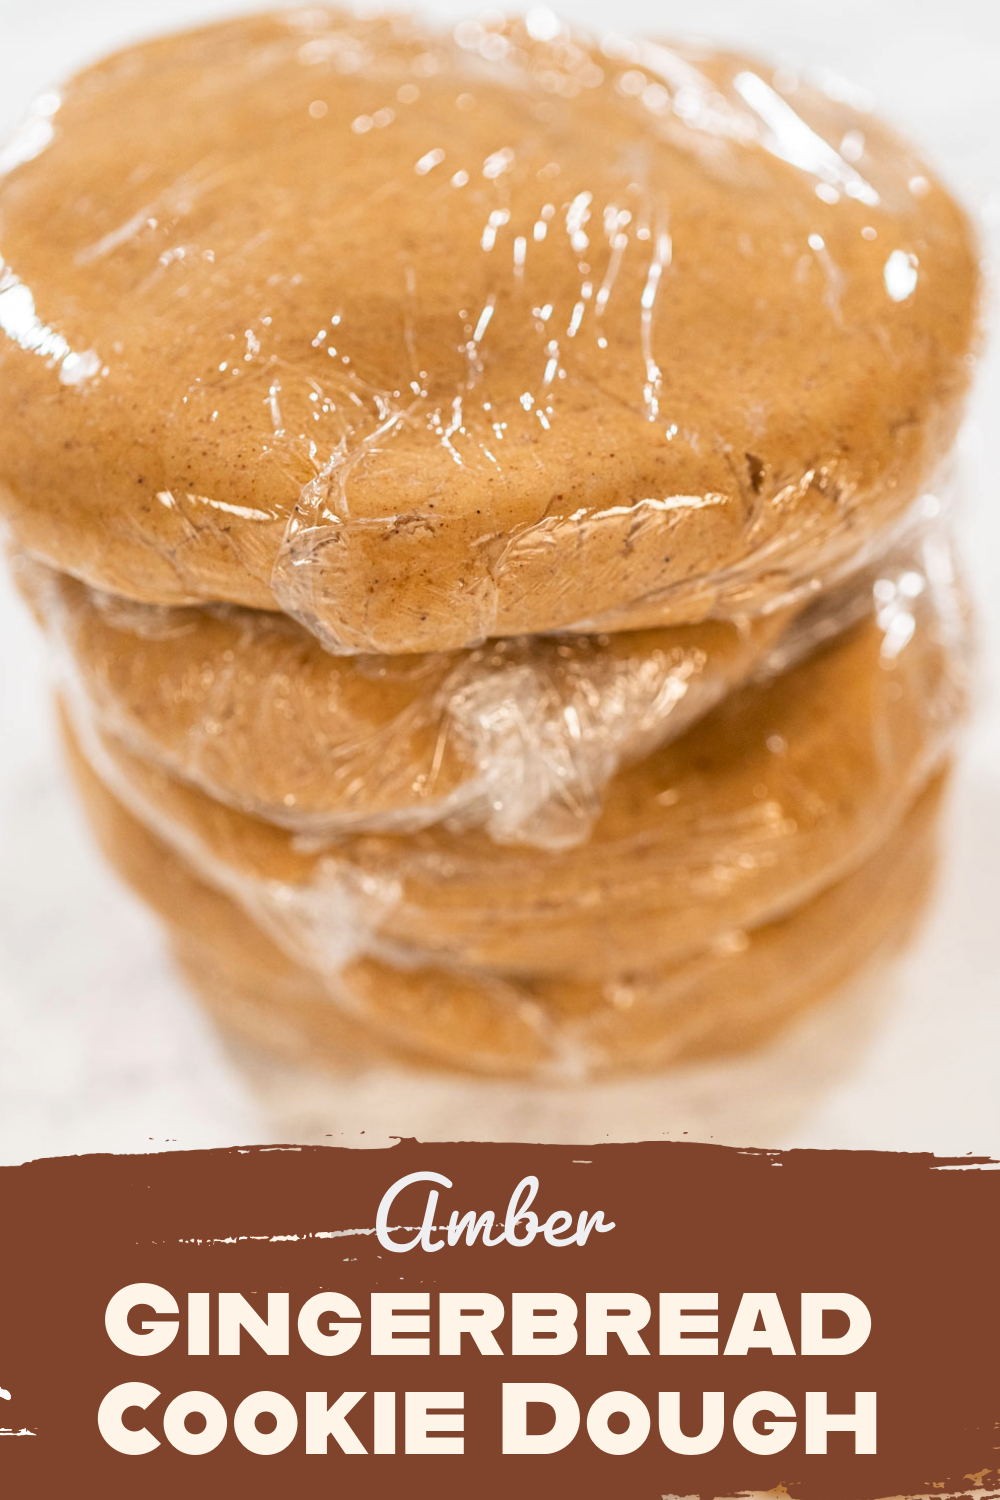
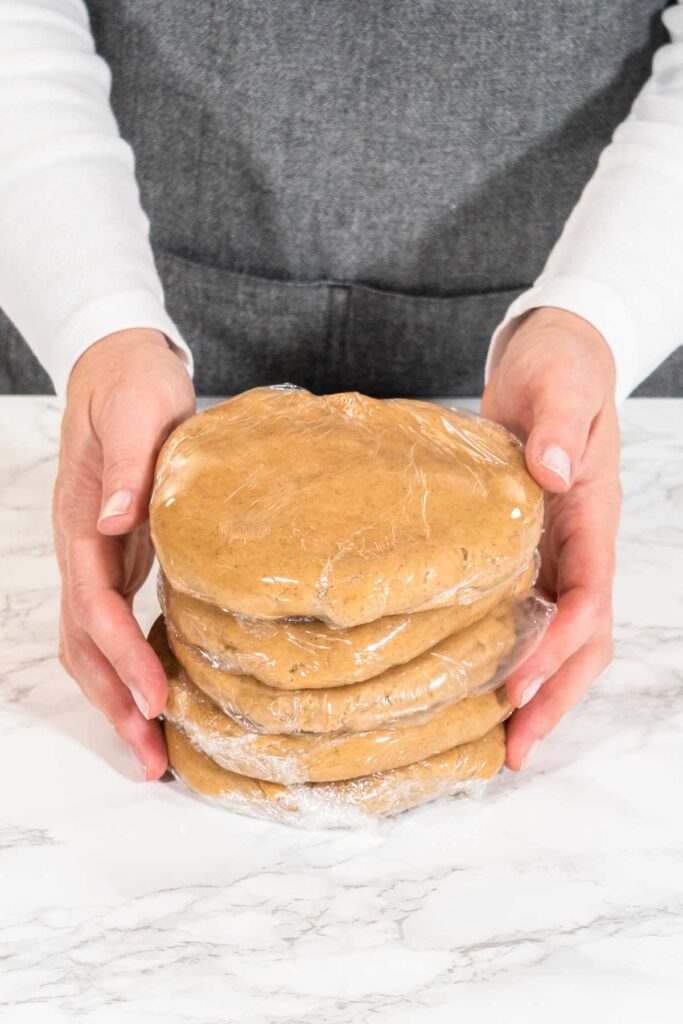
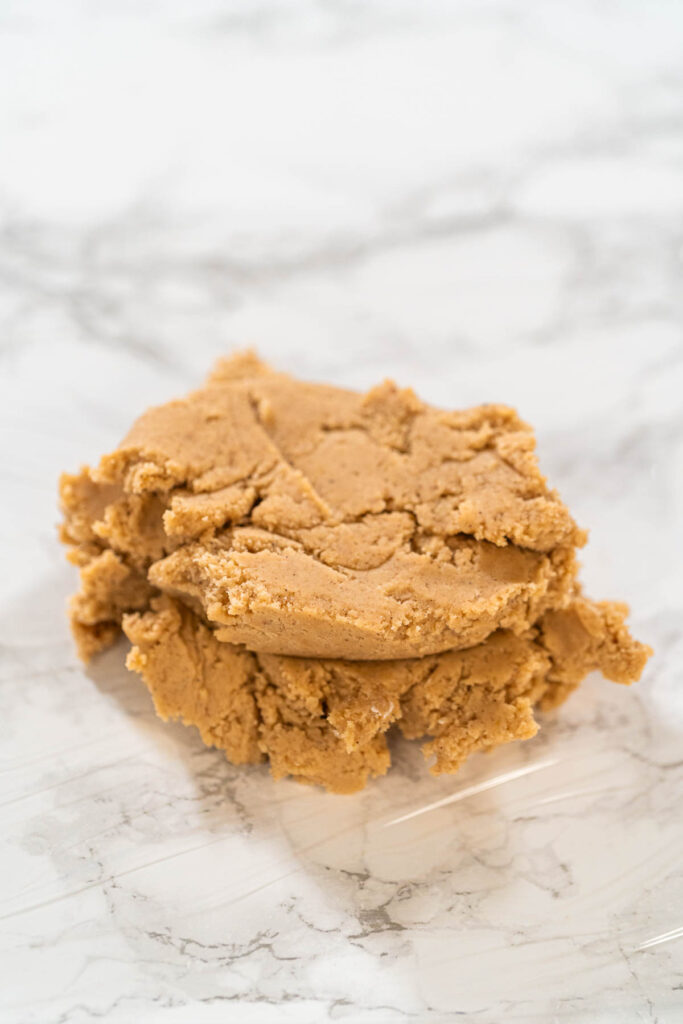
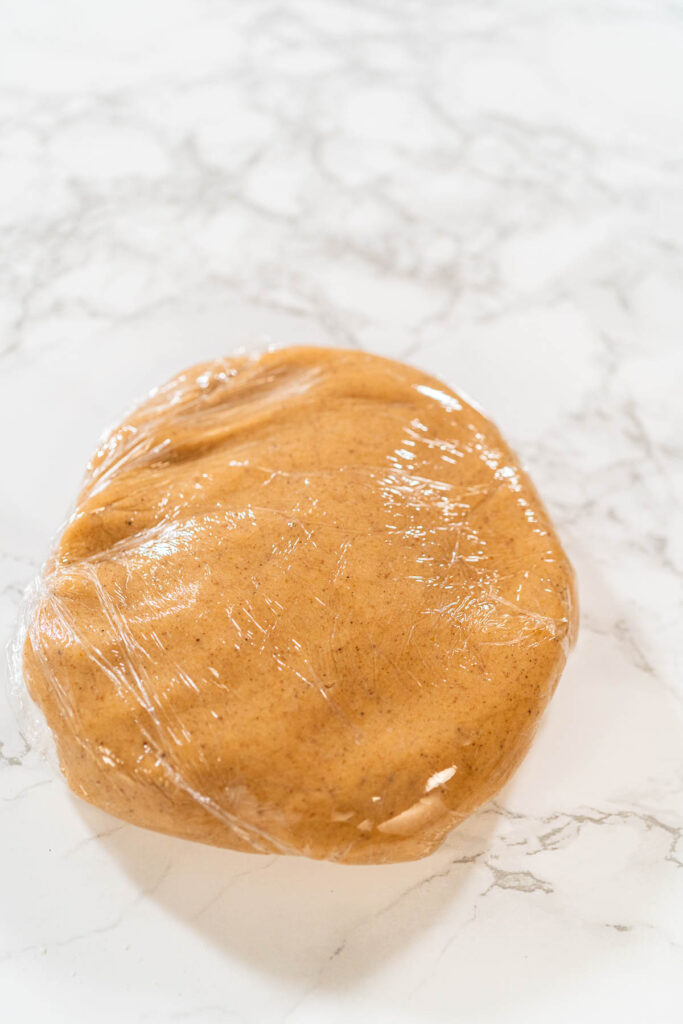
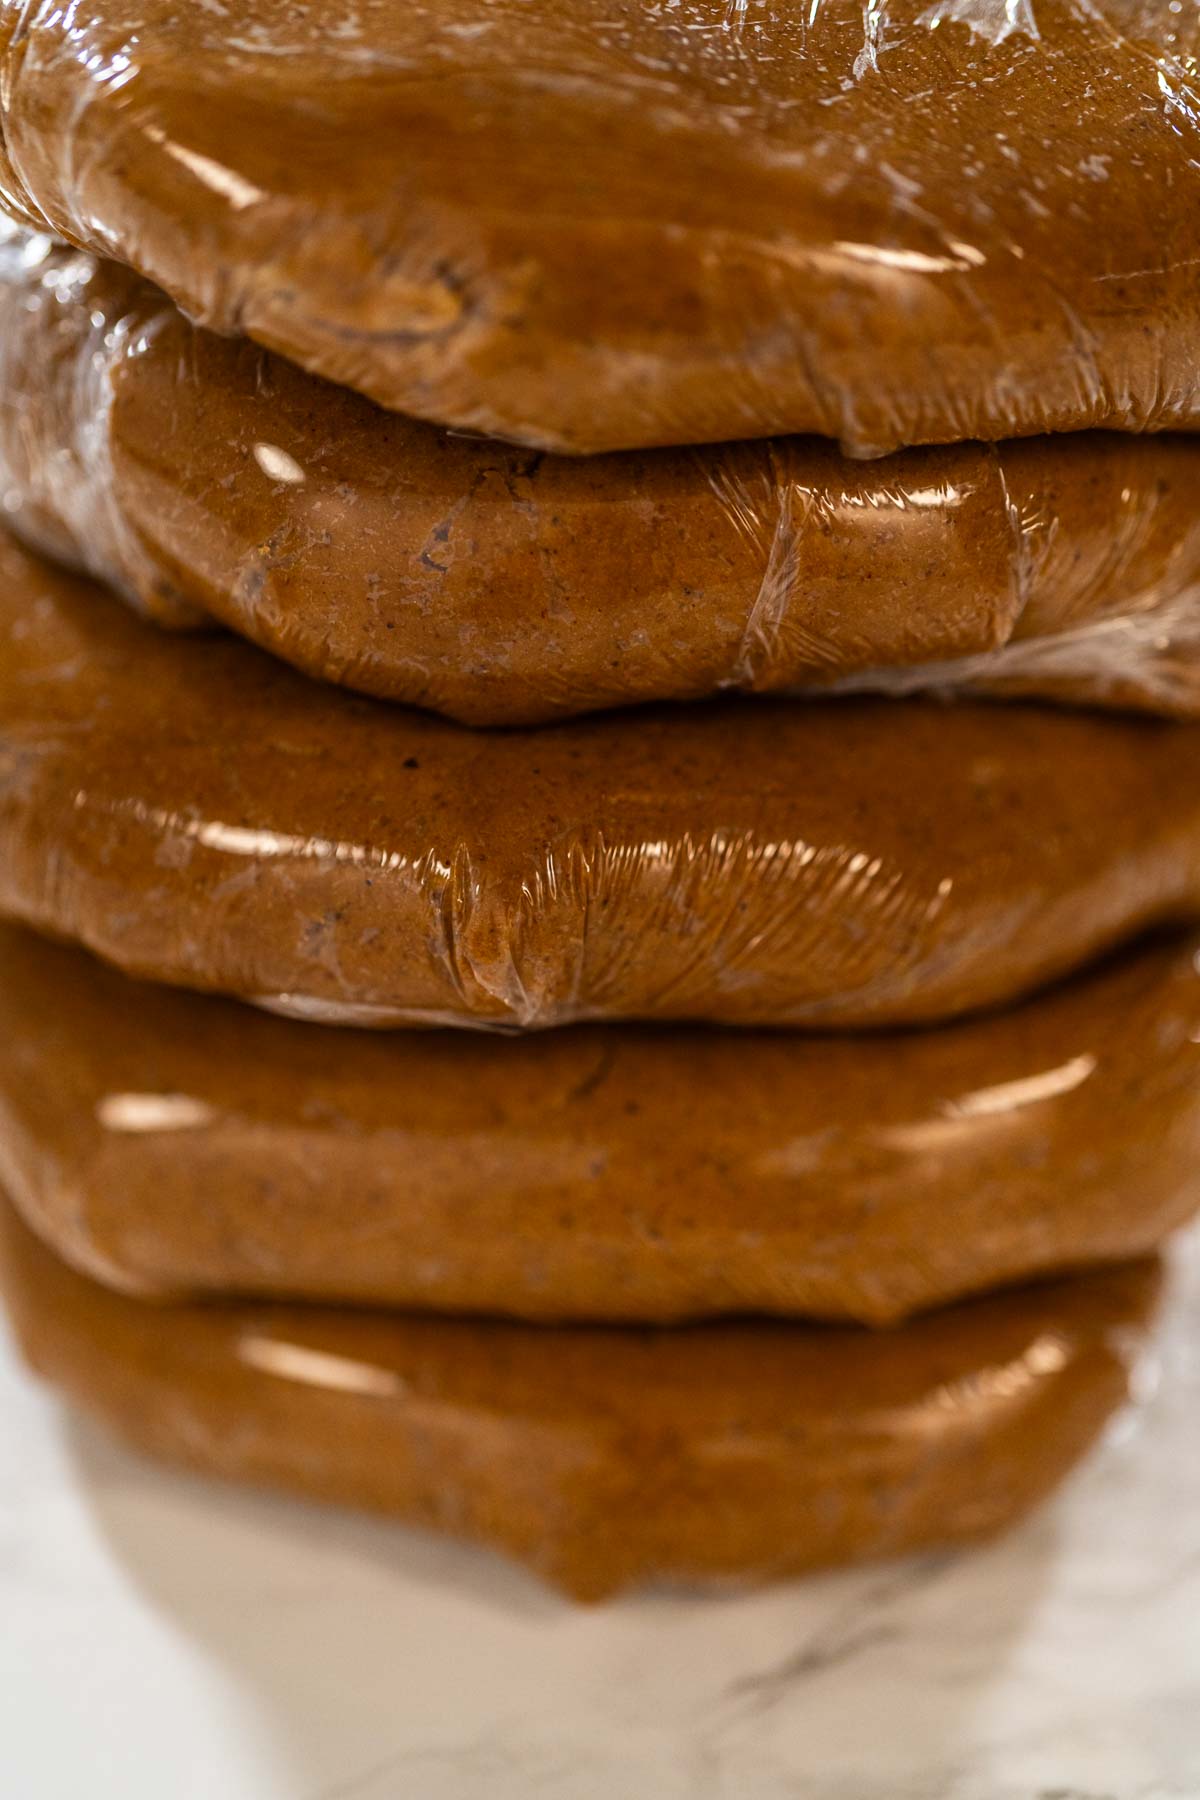
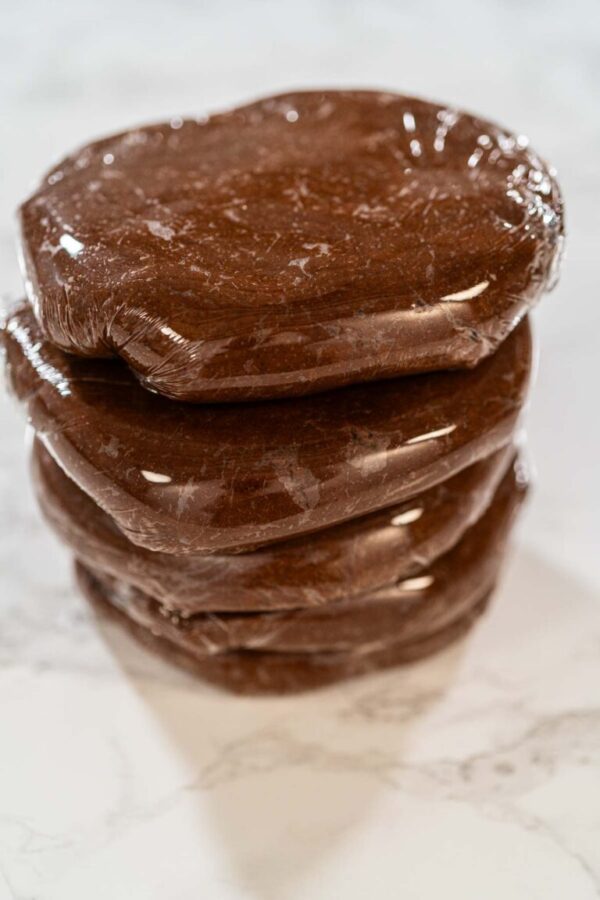
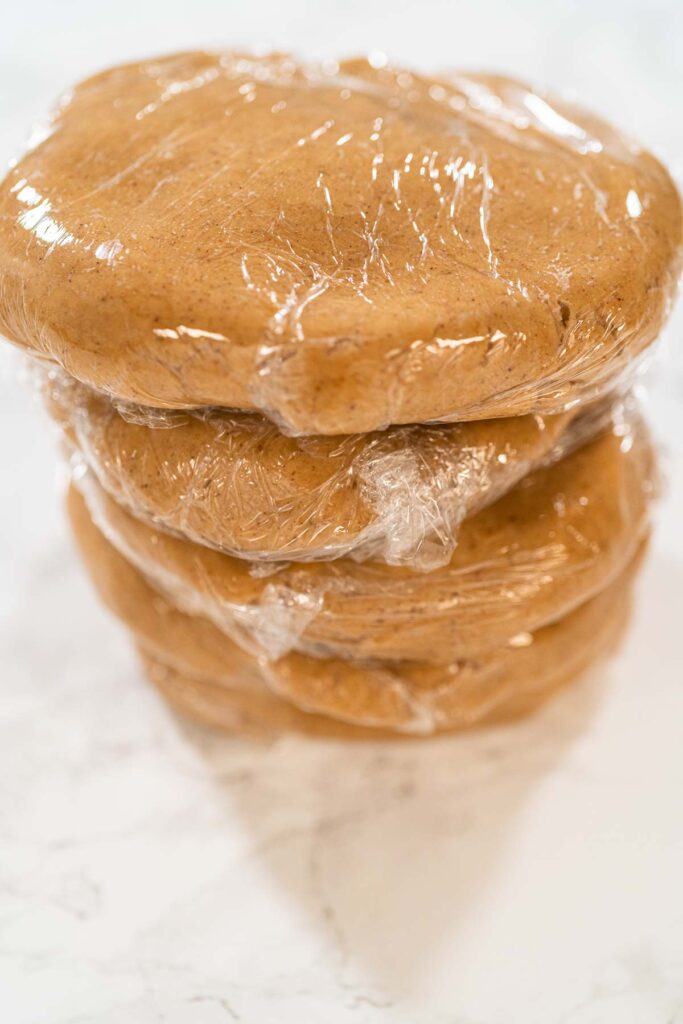
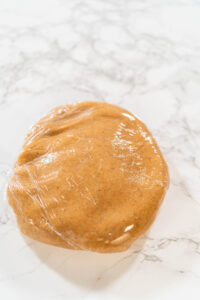
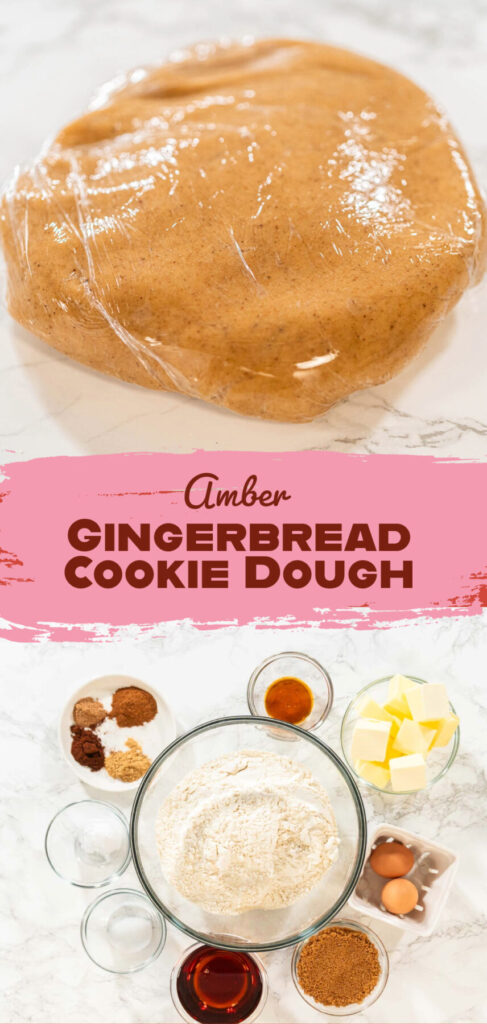
9. Divide the dough into two portions. Using a silicone spatula, scoop each portion onto a piece of plastic wrap. Loosely wrap each portion, then press it into a flat disk.
10. Place the disks in the refrigerator to chill for at least 1 hour. Chilling helps firm up the dough, making it easier to roll and cut into shapes without sticking or losing shape in the oven.
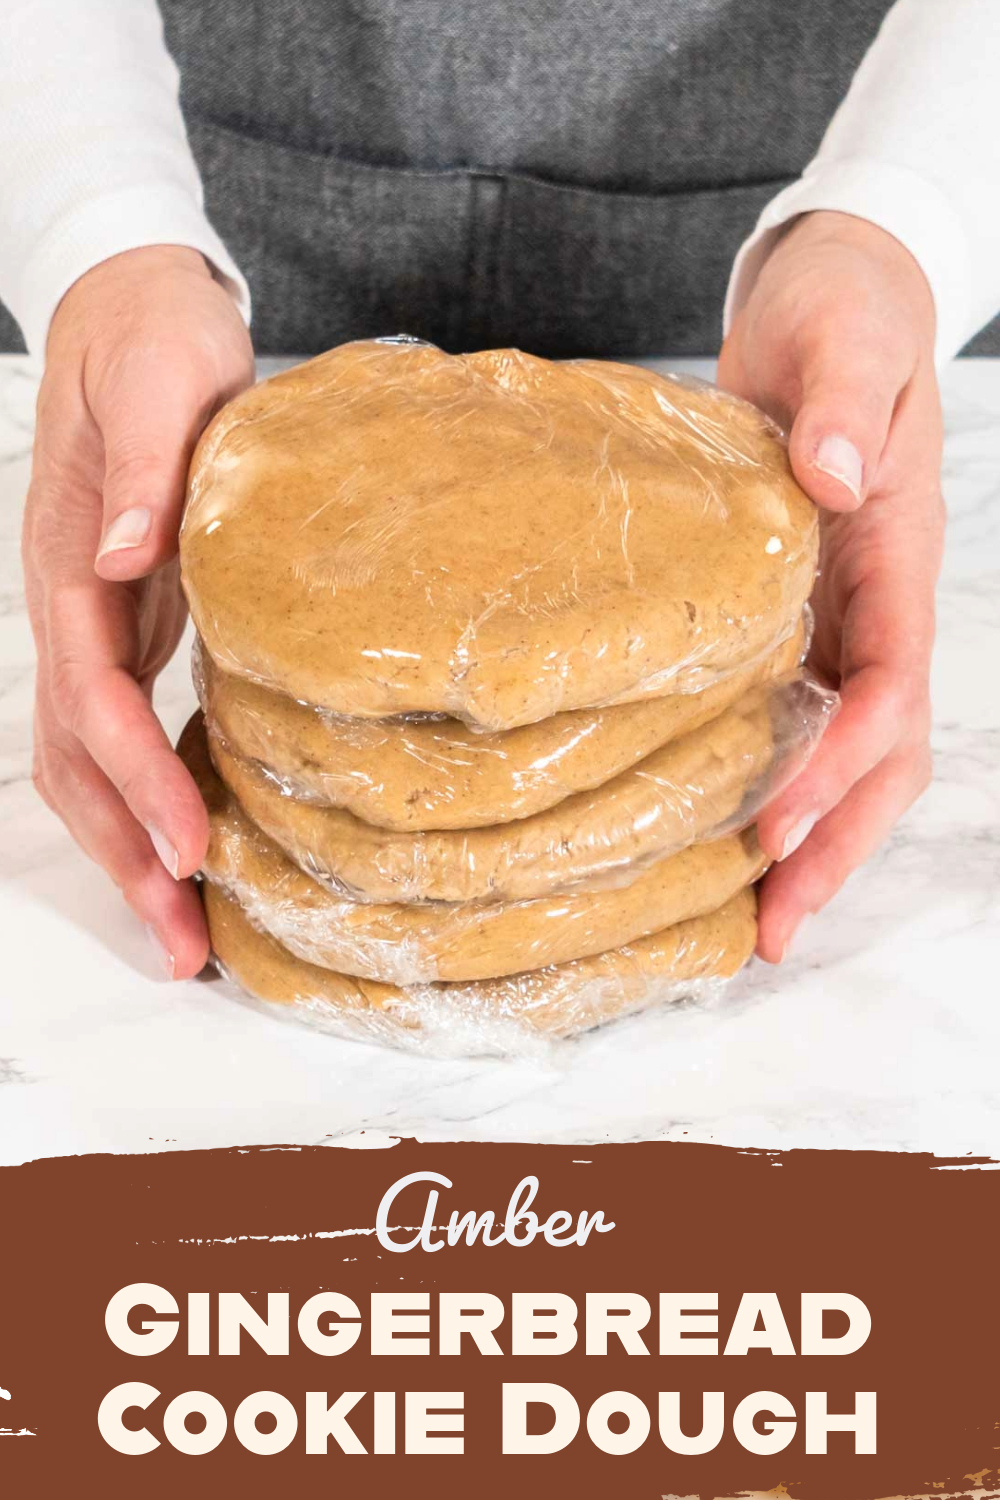
11. If you’re not planning to bake immediately, freeze the dough for up to 3 months. Wrap each disk in an extra layer of plastic wrap or aluminum foil, then place them in a freezer-safe bag. Label the bag with the date and “Amber Gingerbread Dough.” When ready to bake, thaw the dough overnight in the refrigerator before rolling and cutting.
Tips for Rolling, Cutting, and Baking Amber Gingerbread Cookies
Once your Amber Gingerbread Cookie Dough has chilled, it’s time to transform it into beautiful cookies! This is one of my favorite parts of the process—it’s where creativity meets tradition. But rolling, cutting, and baking cookies can come with its own set of challenges, so here are some tips to help you get the best results.
Preparing Your Workspace
Start by setting up your rolling area. I like to use a clean, flat surface, such as my countertop or a large cutting board. Dust the surface lightly with flour to prevent sticking, but don’t overdo it—too much flour can toughen the dough.
Here’s a tip: If your dough feels too firm straight out of the fridge, let it sit on the counter for 10-15 minutes to soften slightly. This is especially helpful since the high butter content makes the dough hard as a brick when fully chilled.
Rolling the Dough
Using an adjustable rolling pin is a game-changer for ensuring even thickness. I aim for about ¼ inch thick for most cookies, as this gives a nice balance between sturdiness and softness. If you’re making cookies with intricate designs, you might want to roll the dough slightly thicker to keep them from breaking.
Personal tip: Roll out one portion of dough at a time and keep the remaining dough in the fridge. This helps maintain the firmness of the dough and prevents it from getting too soft to work with.
Cutting Out Shapes
Choose your favorite cookie cutters, whether they’re classic stars and snowflakes or something more unique. Since I bake a variety of gingerbread flavors, I like to assign one shape per flavor to avoid mix-ups later—like hearts for Amber Gingerbread and stars for classic gingerbread. If you’re only baking one flavor, try cutting out cookies of the same size per baking sheet to ensure even baking.
Transferring the cutouts to the baking sheet can be tricky. I use a cake spatula to lift the cookies gently from the surface without distorting their shape. A pancake spatula works well too if you don’t have a cake spatula handy.
Chilling Before Baking
To keep your cookies from spreading in the oven, place the cutouts back in the fridge to chill for another 10-15 minutes before baking. This step is key for maintaining sharp edges and well-defined shapes.
Baking the Cookies
Preheat your oven to the temperature specified in the recipe. Bake one sheet of cookies at a time on the middle rack to ensure even baking. Avoid stacking trays in the oven, as this can lead to uneven heat distribution and inconsistent results.
Since I bake at a high altitude, my cookies usually need the full 10 minutes to bake perfectly. However, every oven is different, so I recommend starting with the lowest bake time and checking for doneness. The cookies should be set around the edges but still soft in the center.
Cooling the Cookies
Once baked, let the cookies cool on the baking sheet for a few minutes before transferring them to a cooling rack. This allows them to firm up slightly and prevents breaking during the transfer.
With these tips, your Amber Gingerbread Cookies will turn out beautifully every time, ready for decorating or enjoying as they are!
Preserving Cutout Cookie Dough: Storage and Freezing Tips
Proper storage and freezing are key to preserving the quality of cutout cookie dough, ensuring it’s just as good when you’re ready to bake as it was when you first made it. Whether you’re chilling dough for a short period or freezing it for future use, these methods are essential for maintaining flavor and texture. This section provides practical tips and techniques to help you efficiently store and extend the life of your cookie dough.
Storing Dough in the Refrigerator
If you’re planning to bake within the next few days, store the dough in the refrigerator. After dividing the dough into two portions, wrap each one tightly in plastic wrap and place it in the fridge. Chilling the dough for at least an hour firms it up, making it easier to roll and cut into shapes. You can store the dough in the refrigerator for up to three days.
Freezing Dough for Longer Storage
For longer storage, freezing the dough is a fantastic option. Here’s how I do it:
1. Wrap each dough disk in an extra layer of plastic wrap or aluminum foil to protect it from freezer burn.
2. Place the wrapped disks into a freezer-safe zip-top bag for extra protection.
3. Label the bag with the date and the name of the dough using a Sharpie. This avoids any confusion when you’re digging through the freezer later!
The dough will keep beautifully in the freezer for up to three months.
Thawing Dough for Use
When you’re ready to bake, simply transfer the dough from the freezer to the refrigerator and let it thaw overnight. By the next day, it will be chilled and ready to roll. If the dough feels too firm after thawing, let it sit on the counter for 10-15 minutes to soften slightly before rolling.
Freezing Baked Cookies
If you’re planning to bake ahead of time, you can also freeze the baked cookies. Once the cookies have cooled completely, layer them between sheets of parchment paper in a freezer-safe container. This prevents them from sticking together. Just like the dough, label the container with the date and flavor so you can stay organized.
When you’re ready to serve or decorate, let the cookies thaw at room temperature for about 30 minutes.
Staying Organized During Holiday Baking
My holiday baking season gets busy fast, so freezing dough and baked cookies is my secret weapon. I usually start making my dough in September, bake in October or November, and decorate in December. This timeline helps me stay ahead of the holiday rush while still having plenty of fresh, delicious cookies to share.
With these storage tips, you can make your holiday baking stress-free and enjoy the process just as much as the results!
Decorating Cutout Cookies: Techniques and Tips
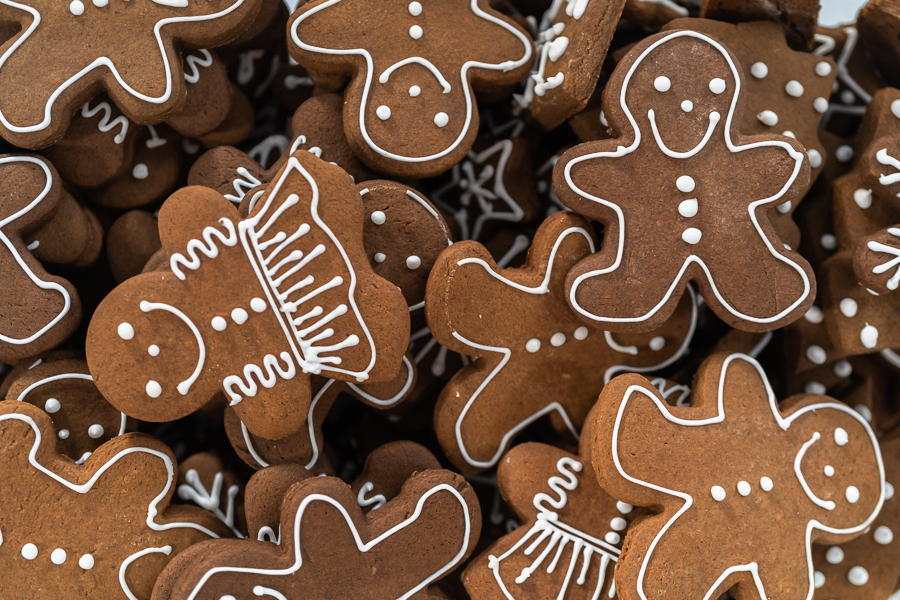
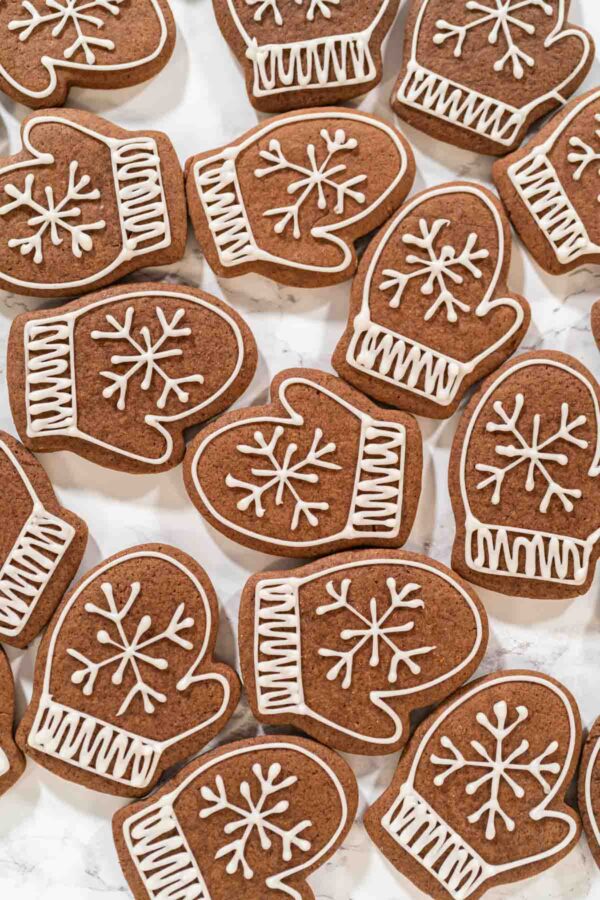
Once my cutout cookies are baked and cooled, it’s time for my favorite part—decorating! This is where I can transform these tasty cookies into beautiful treats for any occasion. Whether I’m using royal icing, chocolate icing, or dipping them in chocolate, decorating is where creativity and tradition converge in my kitchen.
Getting Ready to Decorate
First, I always make sure my cookies are completely cooled before decorating. Trying to decorate warm cookies is a recipe for disaster—melting icing and smudged designs are no fun. Let them cool completely for the best results.
I like to set up my decorating area with everything I need organized and ready:
• Royal icing in piping bags with fine tips for detailed designs.
• Chocolate icing in piping bags, used just like royal icing for piping intricate patterns or designs.
• Dipped in chocolate for adding a glossy finish to cookies.
• Sprinkles, crushed nuts, or crushed peppermint candy canes for decorating dipped cookies.
• Edible markers for writing or drawing directly on the cookies.
I also line my workspace with parchment paper, which keeps cookies from sticking and makes cleanup easy.
Decorating with Royal Icing
Royal icing is my go-to for that smooth, polished cookie look. I start by outlining the cookie with a thicker consistency icing, then flood the center with a thinner icing. A toothpick is perfect for spreading the icing evenly and popping any air bubbles.
If I’m layering colors or adding details, patience is key! A light design or piping dries in about 24 hours, but fully flooded cookies can take up to 48 hours to dry completely. For a detailed guide on working with royal icing, check out my blog post How to Flood Cookies with Royal Icing. It’s packed with tips and tricks to make your cookies look professionally decorated!
Decorating with Chocolate Icing
Chocolate icing works similarly to royal icing—it’s piped on top of the cookies using a piping bag. It’s great for adding intricate patterns or creating fun, festive designs. You can use dark chocolate, milk chocolate, or white chocolate, depending on the look and flavor you’re going for.
Unlike dipped chocolate, chocolate icing dries with a slightly glossy finish and is ready to handle in about 30 minutes to an hour, depending on the thickness of the design. I go into more detail about working with chocolate icing in my blog post Chocolate Cookie Decorating Tips, so be sure to check it out for inspiration!
Dipped in Chocolate
Another fun and simple method is dipping cookies in melted chocolate. I dip half of the cookie into the chocolate for a two-tone effect, which looks both elegant and festive.
While the chocolate is still wet, I sprinkle the dipped side with holiday sprinkles, crushed nuts, or crushed peppermint candy canes. This method adds texture, color, and a burst of flavor to every bite. Unlike piped chocolate icing, dipped chocolate works as a base for these fun toppings. If you’re curious about how to achieve the perfect dipped cookie, check out my blog post How to Decorate Cookies with Melted Chocolate for a step-by-step guide.
Dipped cookies dry much faster than royal icing—typically within 30 minutes to an hour, depending on how thick the chocolate layer is.
Storing Decorated Cookies
Once decorated, I let the cookies dry completely before stacking or packaging. For royal icing, I allow up to 48 hours for flooded cookies to set, while chocolate icing or dipped cookies are usually ready in about an hour.
For gifting, I individually wrap each cookie in self-sealing plastic bags. This keeps them fresh, prevents decorations from smudging, and makes them look beautifully presentable.
Adding a Personal Touch
Decorating cookies is such a personal and joyful experience. Whether you’re using the smooth elegance of royal icing, the bold designs of chocolate icing, or the simple beauty of dipped cookies, these Amber Gingerbread Cookies are the perfect holiday canvas. And if you want to master royal icing techniques, don’t forget to check out my next video, where I show you how to flood cookies like a pro. Happy decorating!
Gingerbread Recipes
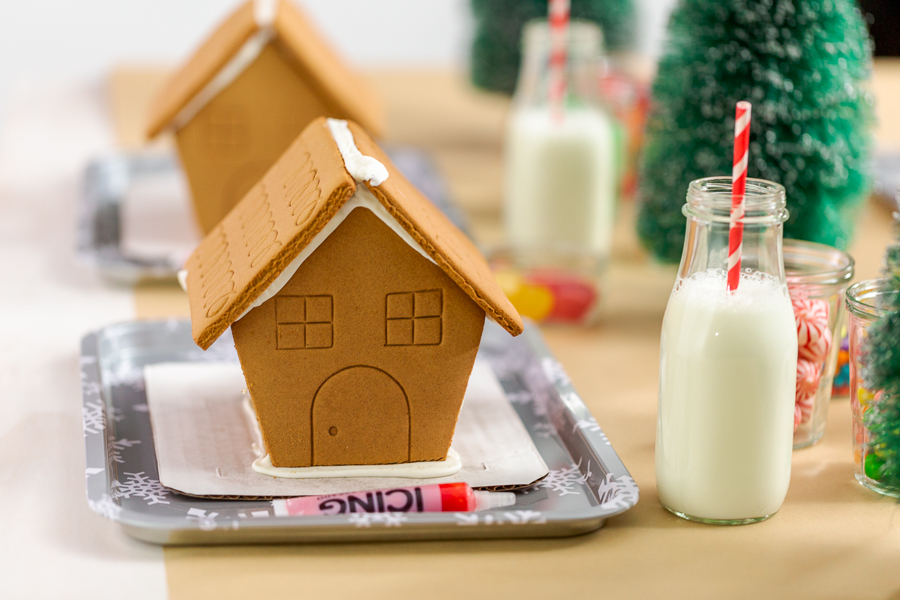
- How to Host a Gingerbread House Decorating Party at Home
- Gingerbread Cookies with Royal Icing for Christmas Baking and Decorating
- Classic Gingerbread Cookie Dough – Perfect for Holiday Cutouts
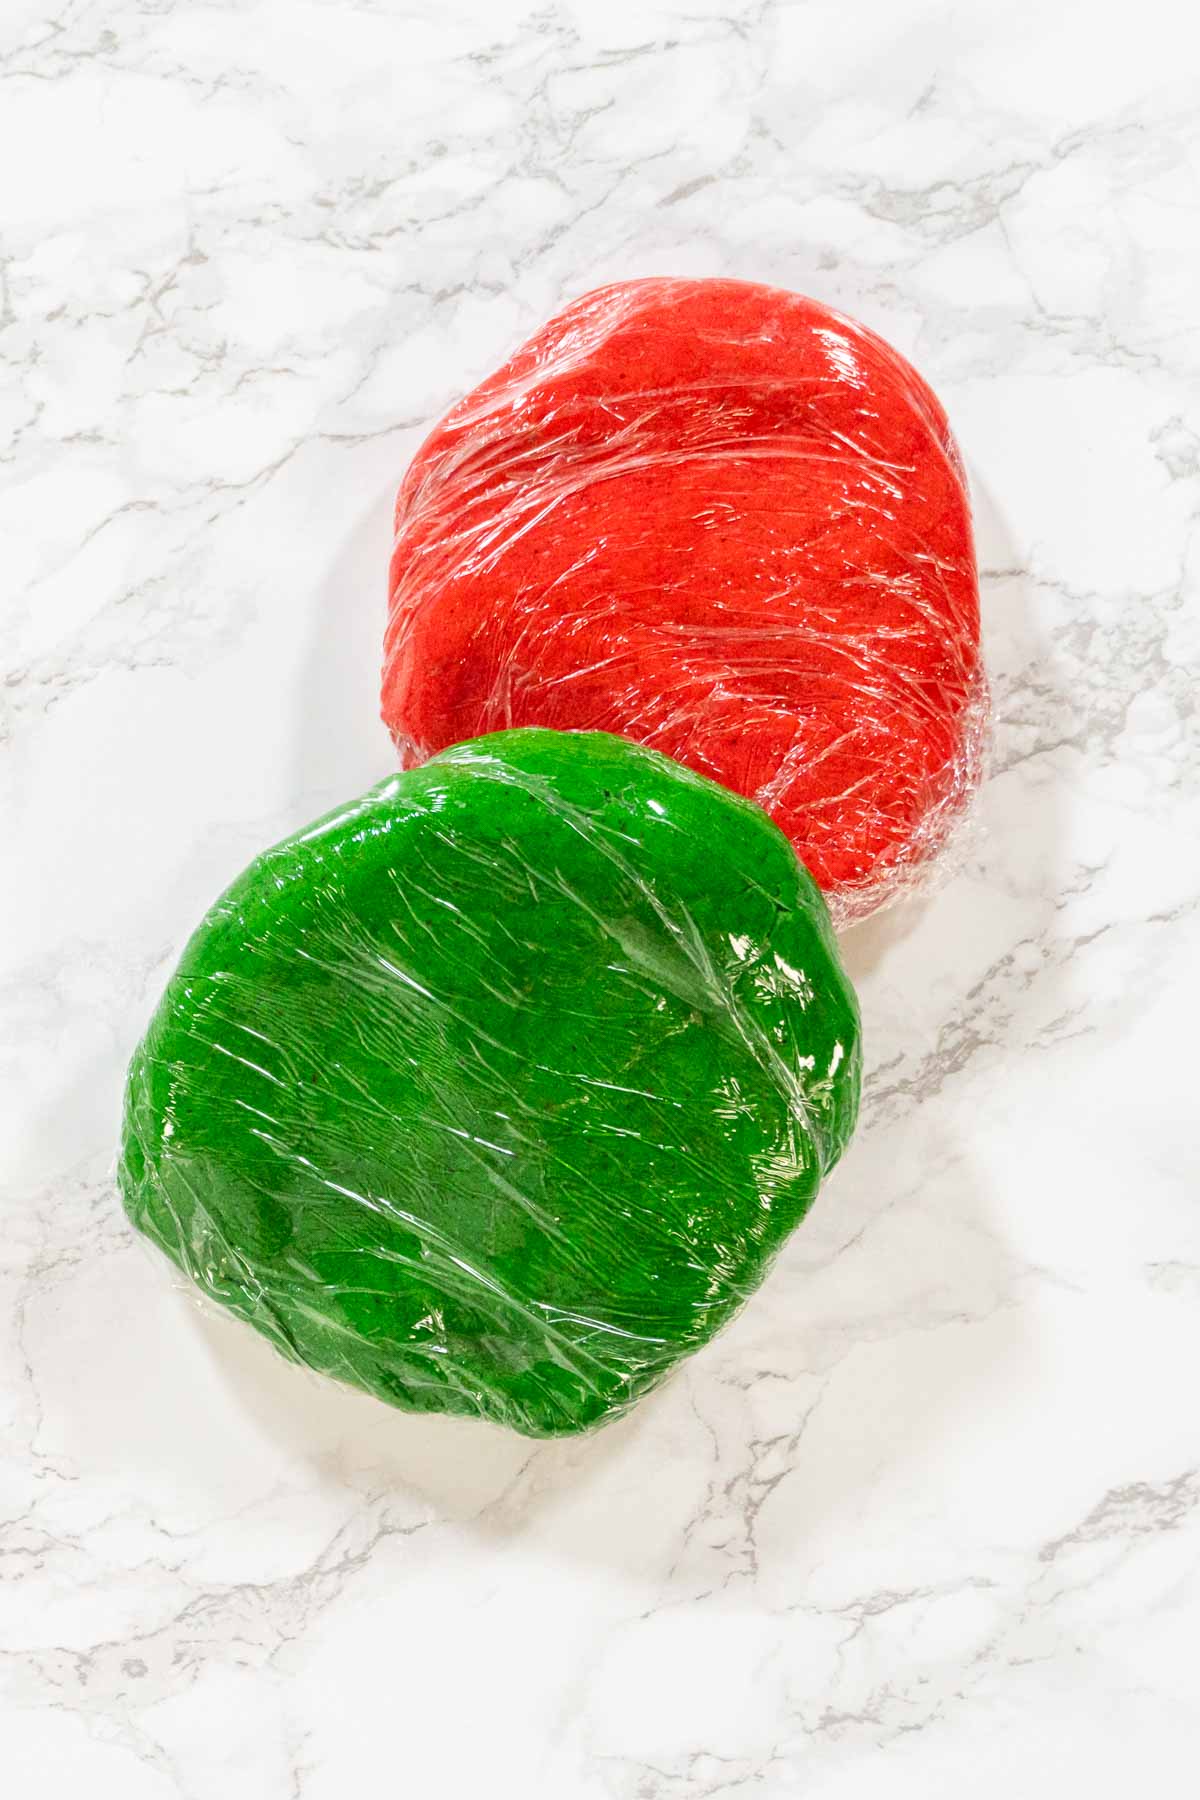
- Colored Gingerbread Cookie Dough
- How to Make Chocolate Gingerbread Cookie Dough for Holiday Cutout
- How to Decorate Mitten Sugar Cookies (Simple Winter Design)
Troubleshooting Common Issues with Cutout Cookie Dough
Even with the best recipes and careful preparation, sometimes things don’t go as planned in the kitchen. But don’t worry! I’ve encountered plenty of baking hiccups, and I’m here to share some tips to help you troubleshoot common issues with cutout cookie dough.
Dough Too Sticky
If your dough feels sticky and hard to handle, it might need a little extra flour. This can happen due to slight measurement variations or even humidity in the kitchen. Start by adding one tablespoon of all-purpose flour at a time, gently kneading it into the dough until it’s firm but still pliable. Be careful not to add too much flour, as it can make the cookies dry.
Dough Cracking While Rolling
Sometimes chilled dough can feel a bit too stiff and crack when rolled out. If this happens, let the dough sit at room temperature for 10-15 minutes to soften slightly. The high butter content in the dough makes it firm when cold, but letting it warm up a bit will make rolling much easier.
Cookies Spreading During Baking
If your cookies lose their shape in the oven, it’s often due to insufficient chilling. After cutting out your cookies, place them back in the fridge or freezer for 10-15 minutes before baking. This step helps the dough hold its shape and prevents spreading.
Another trick is to add a teaspoon of cornstarch to the dry ingredients. Cornstarch reduces spreading during baking and keeps the cookies nice and sturdy for decorating.
Uneven Baking
Uneven baking can happen if the cookies are different sizes or if multiple trays are stacked in the oven. To avoid this, make sure your cutout cookies are all the same thickness and bake one tray at a time on the middle rack. This ensures even heat distribution and perfectly baked cookies every time.
Overbaked or Burnt Edges
If your cookies are coming out with dark edges, they may have baked too long. Keep an eye on them as they bake—most cookies are done when the edges are set but the centers still look slightly soft. Start checking a minute or two before the recommended baking time to ensure they don’t overbake.
Dough Too Soft to Cut
If the dough is too soft when you’re cutting out shapes, it likely hasn’t chilled long enough. Pop it back in the fridge for another 20-30 minutes to firm up before trying again. Patience is key for perfectly shaped cookies!
Personal Tip
Don’t get discouraged if things don’t go perfectly the first time. Baking is as much about learning as it is about enjoying the process. I’ve had my share of “oops” moments, but each one taught me something new. And honestly, even the imperfect cookies still taste amazing!
Troubleshooting is just part of the fun when baking, and with a little patience and these tips, you’ll have beautiful, delicious cut-out cookies ready to share. Let’s move on to the best part—enjoying these delightful creations!
Amber Gingerbread Cookie Dough
Video
Equipment
Ingredients
- 3 cups All-Purpose Flour
- 1 teaspoon Ground Cinnamon
- 1 teaspoon Ground Ginger
- ¾ teaspoon Ground Cloves
- ½ teaspoon Ground Nutmeg
- ¾ teaspoon Baking Soda
- ½ teaspoon Salt
- 1 Large Egg
- 1 teaspoon Vanilla Extract
- ½ cup Maple syrup
- ¾ cup Unsalted Butter at room temperature
- ½ cup Brown Sugar packed
Instructions
- Before starting, measure and prepare all of your ingredients. This will ensure the process runs smoothly and efficiently.
- In a large mixing bowl, combine the flour, cinnamon, ginger, baking soda, cloves, nutmeg, and salt. Whisk these dry ingredients until fully combined and set the bowl aside.
- In a separate bowl, whisk together the egg, maple syrup, and vanilla extract until smooth and fully combined.
- In the bowl of your kitchen mixer, add the room-temperature unsalted butter and packed brown sugar. Using the paddle attachment, cream them together on medium speed for about 2-3 minutes, until the mixture becomes light and fluffy.
- Scrape the butter mixture from the sides of the bowl using a silicone spatula, then add the egg and maple syrup mixture. Mix on medium speed until fully combined.
- Gradually add the dry ingredients to the wet mixture, about ⅓ at a time, mixing on low speed after each addition. Continue mixing until a smooth, slightly firm dough forms. The dough should hold together but not be sticky.
- Divide the dough into two equal portions, flatten them into disks, and wrap each one tightly in plastic wrap. Place the dough in the refrigerator to chill for at least 1 hour; this helps firm the dough, making it easier to roll and cut.If you're not planning to use the dough right away, you can also freeze it for up to 3 months. To freeze, wrap each disk in an extra layer of plastic wrap or aluminum foil to prevent freezer burn. I like to place the wrapped disks into a freezer-safe zip-top bag and label it with the date and type of dough using a Sharpie. When you're ready to bake, simply thaw the dough overnight in the refrigerator, and it will be ready to roll and cut into your favorite shapes.
Nutrition
Food Photography & Video Tips from My Studio
Here’s a peek at the tools, gear, and camera setups I use to film my recipe videos and photograph food at home. Over the years, I’ve tested dozens of different setups, and now I’m sharing what actually works for me—whether I’m filming overhead shots for YouTube or styling still photos for my blog. If you’re curious about how I create the content you see here, these posts are a great place to start.








Leave a Reply