How to Make a Funfetti Birthday Cake with Fondant Decorations and Homemade Lollipops. 8 inch round and 3 layers.
This post contains affiliate links.
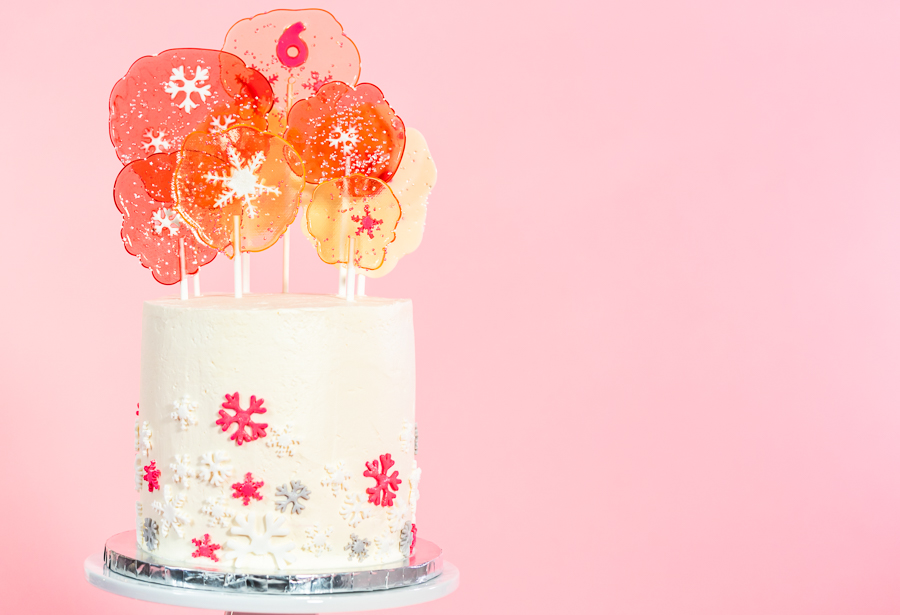
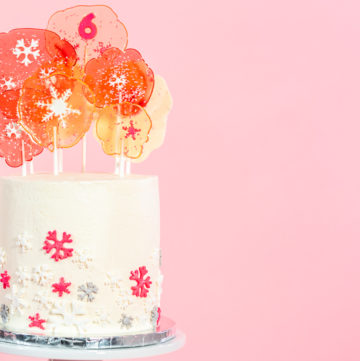
For my daughter’s birthdays, I always try to make as much as possible at home- last year, I did unicorn cookies, a unicorn cake, and unicorn cupcakes for her unicorn-themed birthday party, which turned out to be very successful. This year, I tried my hand once again at creating a birthday party, this year’s theme being ice skating. Since my daughter and most of her friends are ice skaters, I thought it would be appropriate to have a figure skating-themed party hosted at an ice rink. I handmade some winter-themed lollipops for favors and to adorn the centerpiece of every birthday party; the cake. I handmade a pink funfetti-style cake with fondant snowflakes, with both Italian buttercream and regular buttercream, topped with my homemade lollipops.
Homemade Lollipops Recipe
When preparing the cake, I found it was best to use two different types of buttercream icing. Italian buttercream is far silkier (and not as sweet) than traditional buttercream, but it is not as sweet. Due to it being fluffier, it’s quite risky to use as the icing between each layer of funfetti cake because it is not as stable as traditional buttercream and would cause some issues with the transport of the cake. I still used Italian buttercream as the outside icing on the cake. When making the buttercream, I like to use fresh buttercream without freezing or refrigerating it for the finished product.
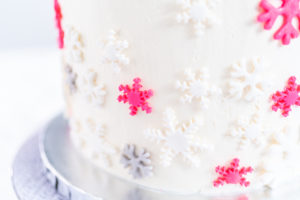
For the fondant decorations, I just used special cookie cutters to get the desired sizes and shapes that I needed to put on the cake. Using cookie cutters makes it easy to make any kind of shape you want for a cake, which is perfect for themed birthday parties. To save time, I just bought fondant packets instead of making my own fondant, which would add some time to the recipe. I used these very same fondant shapes to use in the lollipops, so I didn’t have to use multiple shapes at different times.
In terms of constructing the cake, I found it to be extremely effective to do it in stages and far in advance of the event. Preparing and constructing everything took about a week without rushing anything, so I could be prepared before the event. First, I made the lollipops, as they would stay good the longest without any special treatment such as freezing or staying in an airtight container. Next, I made the individual layers of the cake 1 month before the event. They stay good in the freezer when wrapped in saran wrap and tin foil for up to 3 months. Lastly, I prepared the fondant decorations next. They can stay good in an air-tight container for three weeks, so I prepared them a couple of days before the event. When constructing the cake, I always like to apply the buttercream icing while each cake is frozen. When doing this, the buttercream won’t crumble when applying the icing, which is a common issue when making cakes.
Cakes
- 3-Layer Mermaid Cake with Pastel Colors in Under 1 Hour
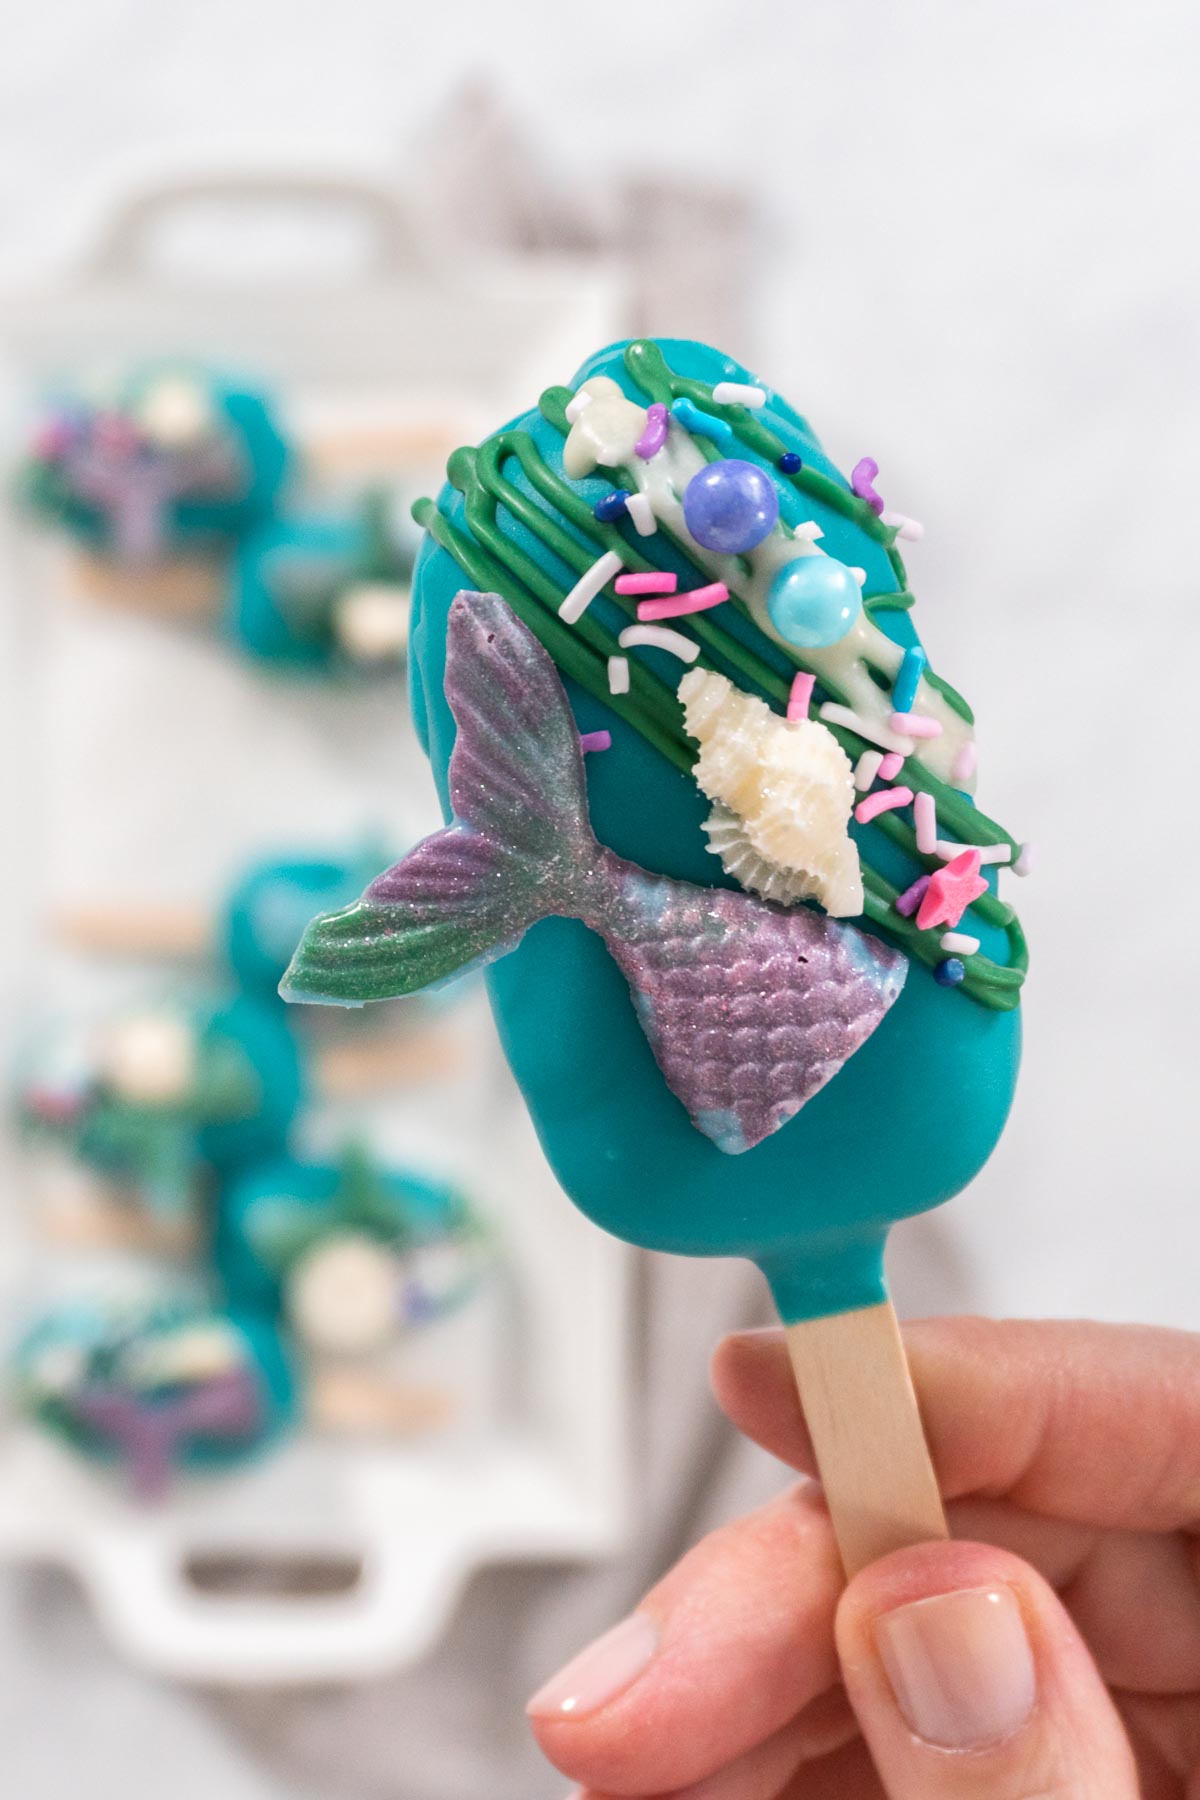
- Whimsical Mermaid Cake Popsicles with Sprinkles and Shells
- How to Make Simple Syrup (2-Ingredient Sugar Syrup Recipe)
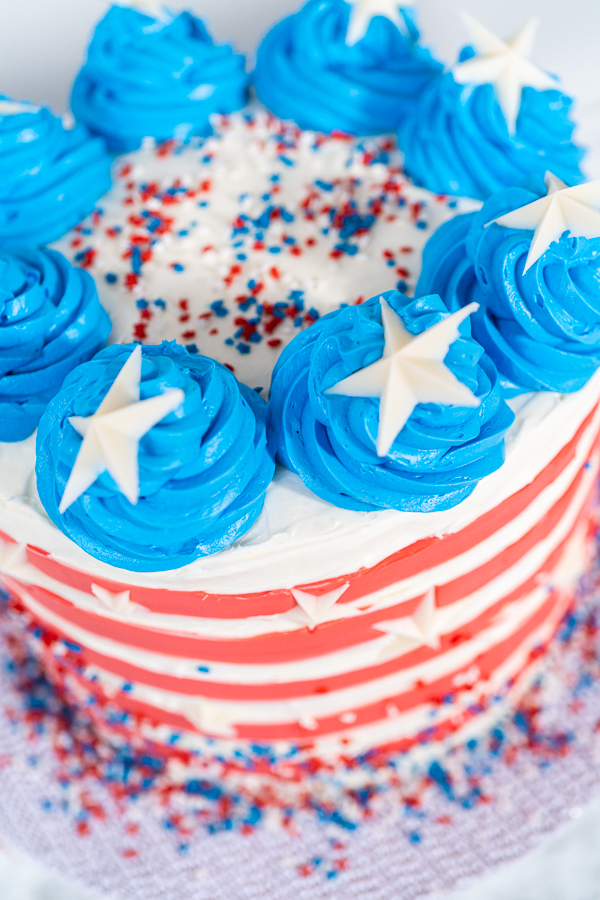
- 1-Hour Patriotic Cake Recipe with Three Colorful Layers
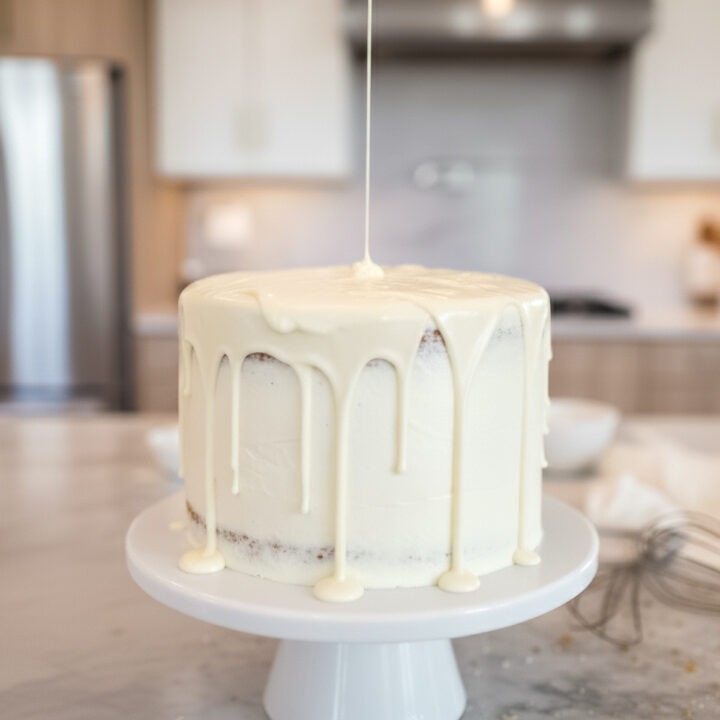
- White Chocolate Ganache for Drizzling Over Cakes and Desserts
- Fast Homemade Vanilla Cake Recipe – Bake and Frost in 3 Hours
The day before the event, I put together the cake, starting with the cake layers. They don’t need to be defrosted or anything, so I just layered them and put the icing on the cake. Soon after icing the cake, I placed on the fondant decorations. After that, I placed the cake in a large plastic container that was tall enough to fit the cake, and let it de-freeze overnight at room temperature. On the morning of the event, I placed the final decorations on- the lollipops.
Making a birthday party from scratch may seem like a daunting task, but it is quite easy (though stressful) once you’ve done it a couple of times. With enough planning and pre-making everything, any birthday party can be made perfectly by hand- especially the cake.
Winter Themed Funfetti Cake With Lollipops
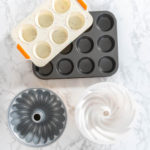
Equipment
Ingredients
- 3 ¾ cups Cake Flour sifted before measuring
- 1 tablespoon Baking Powder
- ¾ teaspoon Baking Soda
- 1 ½ teaspoon Salt
- 1 ⅛ cup Unsalted Butter room temperature
- 2 ½ cup Granulated White Sugar
- 5 Eggs room temperature
- ¾ cup Sour Cream
- 1 ½ tablespoon Vanilla Extract
- 1 ½ cup Whole Milk
- ¾ cup Rainbow Sprinkles
- 1 ½ tablespoon All-Purpose Flour
Italian Buttercream Icing
- 4 Large Egg Whites
- 2 ¼ cups Sugar
- 1 ½ pinch Kosher Salt
- 3 cups Unsalted Butter
- 1 ½ teaspoon Vanilla Extract
Buttercream Icing
- 2 cups Unsalted Butter
- 4 cups Confectioners Sugar
- ½ cup Whole Milk
- 2 tablespoon Vanilla Extract
Lollipops
- 3 cups Sugar
- ¾ cup Water
- ½ cup Corn Syrup
- 2 teaspoon Lemon Extract or other flavorins
- 1 teaspoon Vanilla Extract
Instructions
- Funfetti Cake. Preheat the oven to 350F. Prepare 5 8-inch cake pans by greasing the sides with room-temperature butter, and a wax paper circle fitted to the bottom of the pan. Or, you can grease and lightly flour the pans.
- Sift the cake flour, and add the cake flour, baking powder, baking soda, and salt into a bowl and whisk to combine. Set aside.
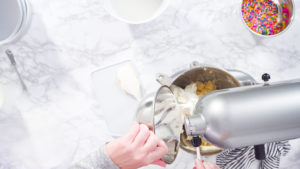
- In a stand mixer bowl, cream the butter for on high for two minutes until light and fluffy.
- Add in the sugar and continue to mix on medium-high for two minutes, scraping down the sides of the bowl and the paddle as needed.
- Add in the eggs, one at a time, mixing thoroughly after each addition.
- Add vanilla and the sour cream, and mix for one minute on high speed, scraping down the sides of the bowl as needed.
- With the mixer on low speed, add in the dry ingredients, and alternating mixing with the milk, and mix until just combined, scraping down the sides of the bowl. If there are lumps in the batter, stir the mixture until they are gone.
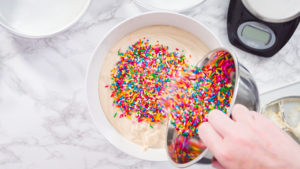
- In a small bowl, coat the rainbow sprinkles with 1 ½ tbsp. of all-purpose flour. Gently fold in the rainbow sprinkles into the batter by hand. The batter will be thick, but pourable.
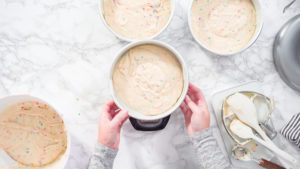
- Using a kitchen scale, measure out the total amount of batter. Divide the total weight by five, and measure out equal amounts of batter into 5 cake pans using the kitchen scale.
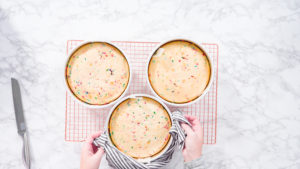
- Bake for 35-40 minutes. Check to see if they’re done by inserting a toothpick into the center, and checking to see if it comes out clean with no batter on it.
- Let the cakes cool in the pan for 5 minutes, then turn them out onto a wire rack for additional cooling. When room temperature, you may apply icing to the cakes and layer them.
Italian Buttercream Icing
- Place the egg whites and ⅓ of the sugar a stand mixer bowl, and beat with a whisk attachment at medium-high speed, until the egg whites form soft peaks.
- Meanwhile, pour the remaining sugar and ⅓ cup water in a medium saucepan over medium heat. Using a candy thermometer and not stirring, heat until 240F.
- Continue to whip the egg whites on medium-high speed, and slowly drizzle in the hot syrup, in between the side of the bowl and the beaters. Continue to whip until both the bottom of the bowl and the mixture are cool, or about 10 to 15 minutes.
- When the mixture is thick and forming peaks, beat in the salt.
- While still beating, add the butter a few pieces at a time. As the butter is added, the buttercream will thin out until all of the butter is added.
- Beat in the vanilla extract. If the buttercream is still too loose, beat on high speed.
- Use right away, or refrigerate in an airtight container.
Buttercream Icing
- Beat the butter at high speed until creamy, around 5 minutes, scraping the sides of the bowl.
- Gradually add sugar and milk alternatively, while beating at a low speed.
- Add in vanilla extract, then beat for 8 - 10 minutes on high speed, scraping the sides of the bowl into the mixture.
Lollipops
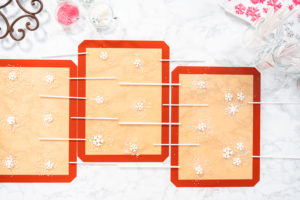
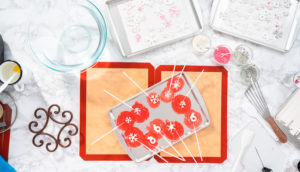
- Place 3 large silicone mats onto a flat surface.
- Place the fondant decorations face down on the silicone mats, with enough space to form full lollipops.
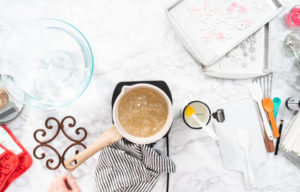
- Pour the sugar, water, and corn syrup in a medium saucepan over medium heat.
- Gently stir until the mixture comes to a boil, making sure to not splash the mixture around the sides of the bowl.
- Once boiling, stop stirring (and do not stir for the rest of the cooking) and use a silicone brush moistened with warm water to wipe down the sides of the saucepan, to wash away any crystals forming.
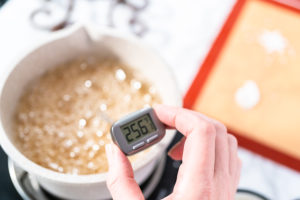
- With a candy thermometer, check the temperature of the mixture. When at 300F, take the saucepan and put the bottom into a tub of room-temperature water for 30 seconds.
- Mix in the flavor extracts and colorings that you want into the saucepan.
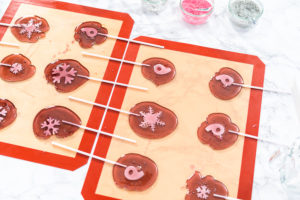
- Pour out the mixture onto the cookie sheet on top of the fondant decorations.
- Lay the lollipop sticks in the center of the lollipop, and spin the stick so it is completely surrounded by candy.
- Repeat with remaining candy, doing 3 at a time.
- Let harden for 20 minutes.
Cake assembly
- Take the cakes out of the freezer, but do not defrost them.
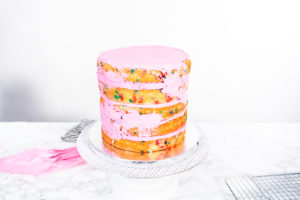
- Using a lazy susan or cake decorating turntable, and place a cake base on top. Apply a little buttercream to the cake base, and take a single layer of cake and ice the top with the traditional buttercream. Place another layer on top, and repeat until you have a full 5-layered cake.
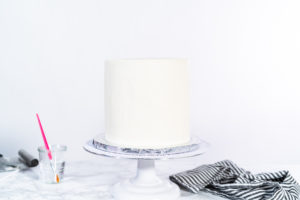
- With the lazy susan, ice the entirety of the outside with the italian buttercream using an icing smoother.
- Soon after icing, apply the fondant snowflakes to the cake.
- Set the near-finished cake into a plastic container to unfreeze the night before serving, or for 10 hours to completely defrost.
- When defrosted, stick the lollipops into the top of the cake.
Food Photography & Video Tips from My Studio
Here’s a peek at the tools, gear, and camera setups I use to film my recipe videos and photograph food at home. Over the years, I’ve tested dozens of different setups, and now I’m sharing what actually works for me—whether I’m filming overhead shots for YouTube or styling still photos for my blog. If you’re curious about how I create the content you see here, these posts are a great place to start.
#bakingwithkids #baking # buttercream #buttercreamfrosting #cake #baking #vanillacake #easybaking #birthdaycake #layercake #kidscake #dessert #sweet #cakes #wintercake #lollipops #funfetticake #funfetti





















Leave a Reply