|
This post contains affiliate links.
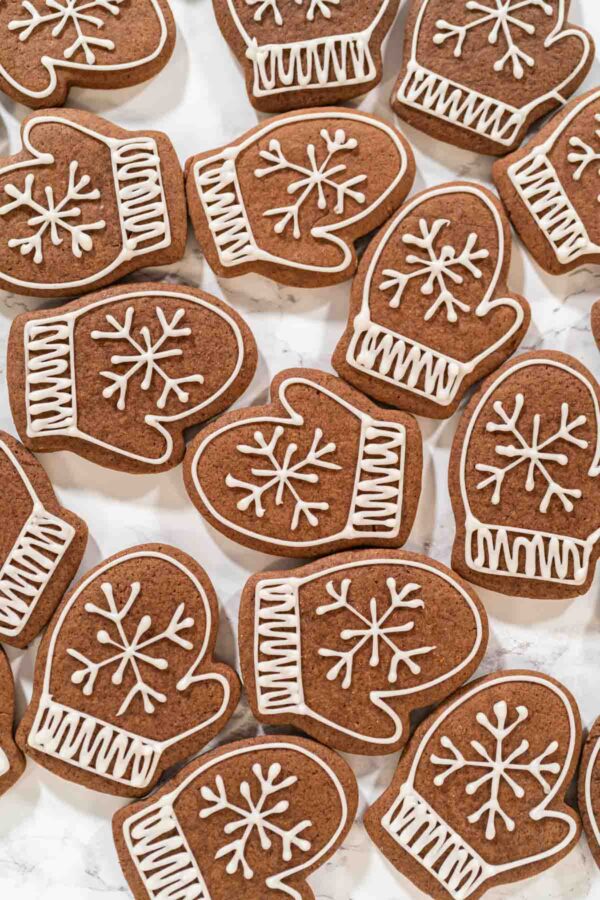
Spiced gingerbread cookie dough is the true scent of the holidays in my kitchen. Whenever I start making this recipe, it instantly reminds me of winter evenings with warm tea and a tray of cut-out cookies cooling by the window. This version of gingerbread dough isn’t just about cinnamon and cloves—it has a peppery twist that gives it depth and just the right amount of heat.
I created this variation when I wanted something just a little bolder than the usual gingerbread. It started with an extra dash of ginger, then a pinch of black pepper, and suddenly the cookies had a beautiful complexity that made everyone pause and say, "Wait…what is that?" That’s when I knew it was a keeper. They’ve been part of our cookie boxes ever since, right alongside our Red Gingerbread Cookies, Green Gingerbread Cookies, and my family favorite, the Classic Gingerbread Cookies with Royal Icing.
Why You’ll Love This Recipe
- Balanced spice: Warm spices like cinnamon, ginger, nutmeg, and allspice with a hint of pepper.
- Perfect for cutouts: Rolls smoothly and holds shape while baking.
- Holiday classic with a twist: A bold upgrade to traditional gingerbread.
This dough is reliable, rich, and easy to work with. Whether you’re making hearts, stars, or trees, the cookies come out with clean edges and a soft center. If you decorate cookies with kids or enjoy giving edible gifts, this dough will become your new go-to.
Watch how I make this recipe
Tools That Make It Easier
- Kitchen Mixer: Essential for creaming butter and sugar until light and fluffy, which helps create a soft, even-textured dough.
- Silicone Spatula: Great for scraping the bowl clean and folding ingredients gently without overmixing.
- Adjustable Rolling Pin: Ensures your dough is rolled to a uniform thickness so all cookies bake evenly.
- Parchment Paper Sheets: Keeps cookies from sticking and protects your baking sheets from residue.
- Metal Christmas Cookie Cutters: Make clean, defined shapes and cut easily through chilled dough without bending.
- Cooling Rack: Allows air to circulate around cookies, helping them cool evenly and preventing sogginess.
What You’ll Need From Your Pantry
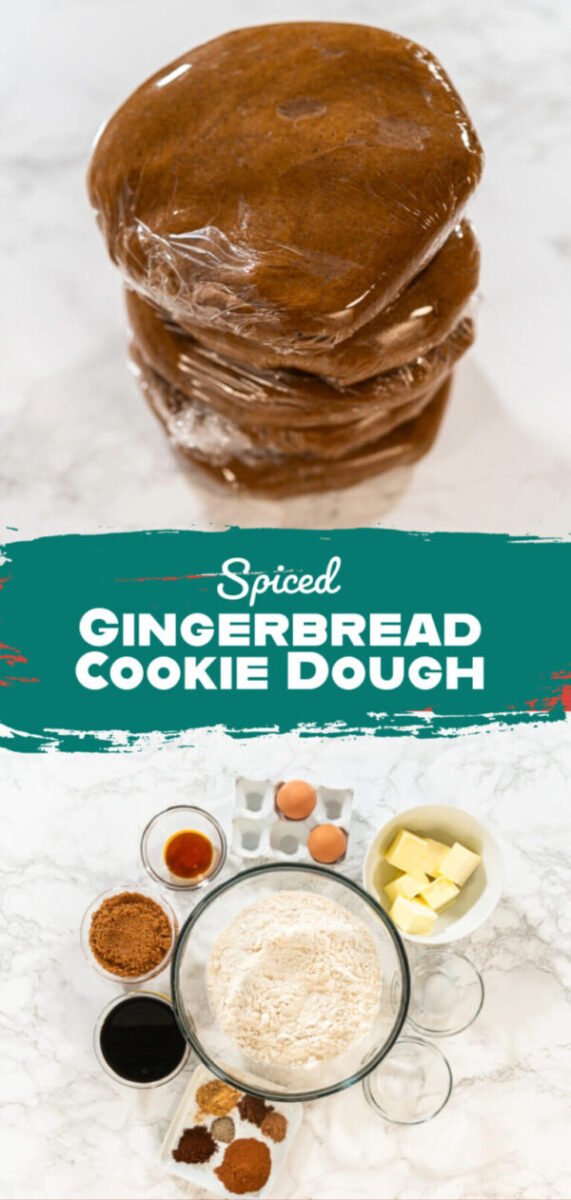
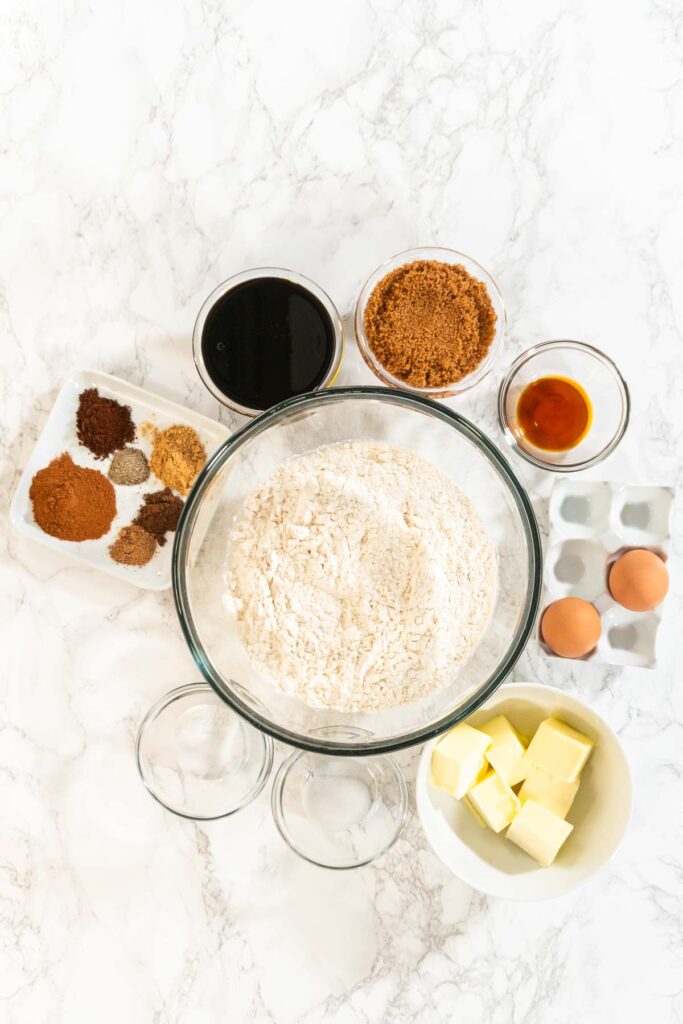
- 3 cups All-Purpose Flour
- ¾ teaspoon Baking Soda
- ½ teaspoon Salt
- 1 teaspoon Ground Cinnamon
- 2 teaspoon Ground Ginger
- ½ teaspoon Ground Cloves
- ¼ teaspoon Ground Nutmeg
- ¼ teaspoon Ground Allspice
- ¼ teaspoon Ground Pepper
- 1 Large Egg
- 1 teaspoon Vanilla Extract
- ½ cup Molasses
- ½ cup Unsalted Butter (room temperature)
- ½ cup Brown Sugar (packed)
Before You Start: My Quick Tip
- Prep ahead: I usually double the batch and freeze one. Just thaw in the fridge overnight before using.
- Don’t skip the chill: Chilling helps lock in shape and prevents spreading.
- Pepper matters: Don’t overdo it. Just a quarter teaspoon gives you a subtle kick.
- Roll between sheets: I often roll the dough between two pieces of parchment to avoid adding too much flour.
Latest Video
Let’s Make It Together
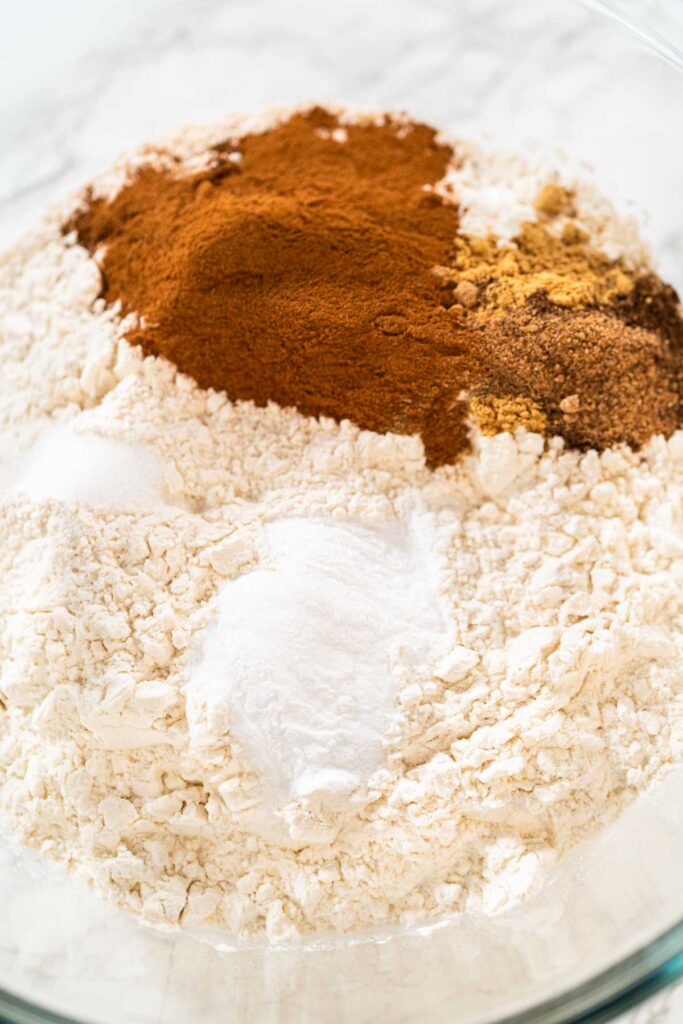
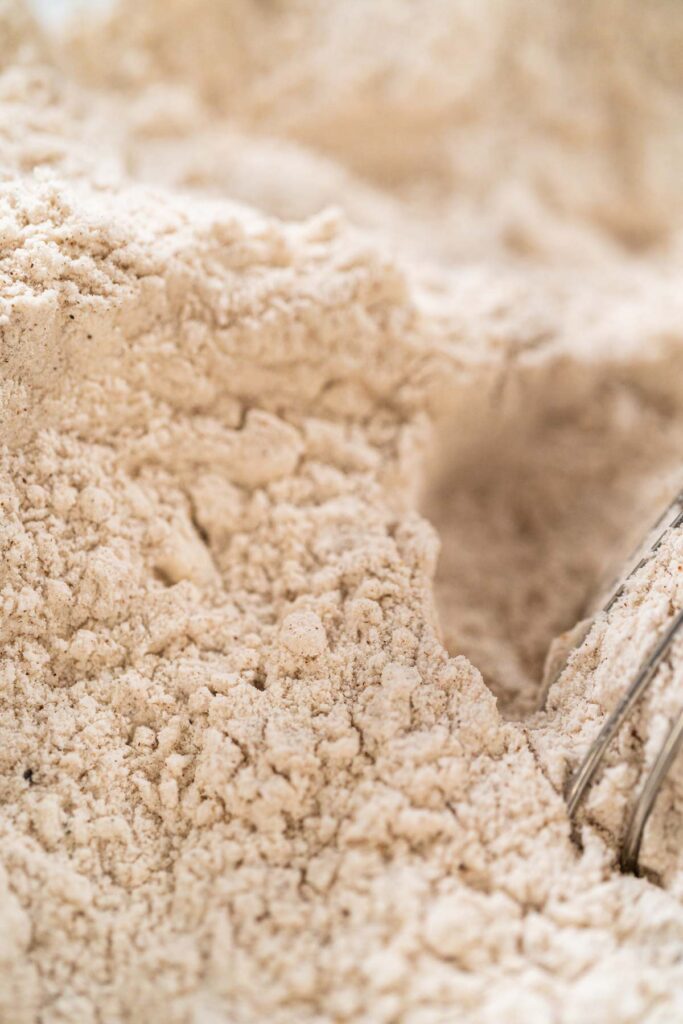
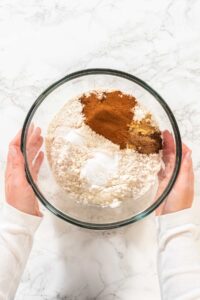
- Whisk flour, spices, baking soda, and salt in a bowl.
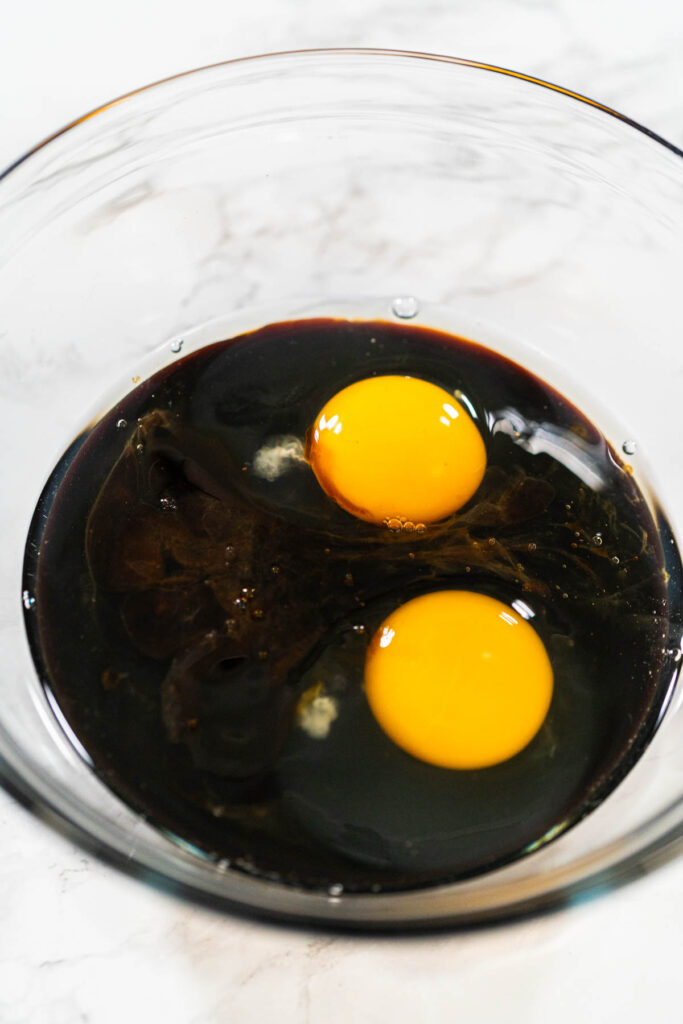
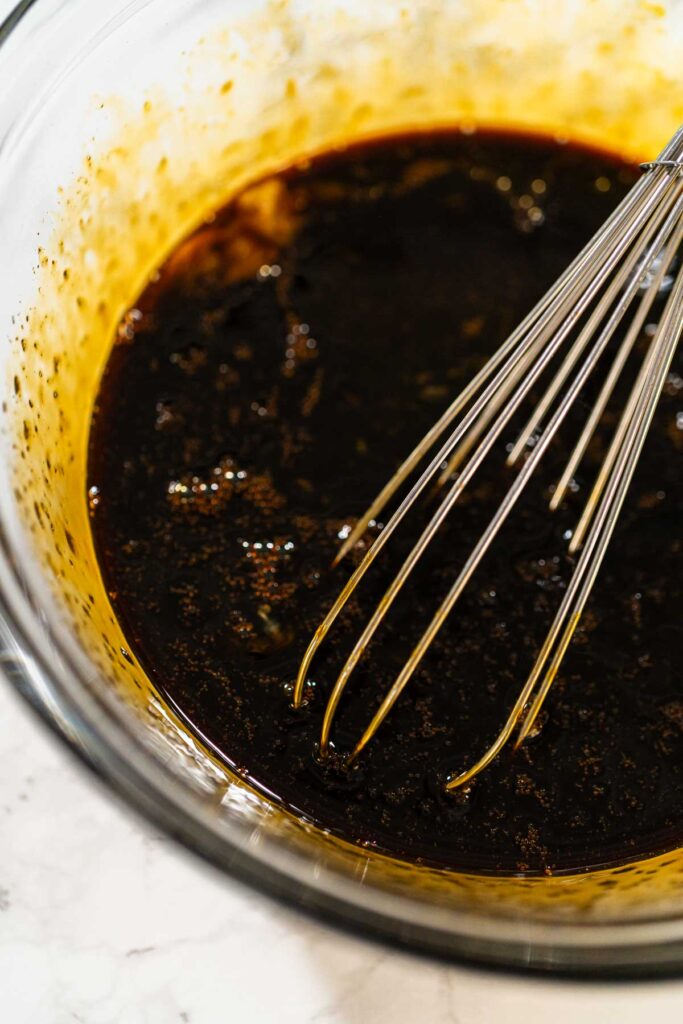
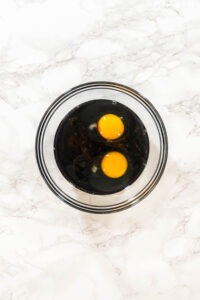
- In another bowl, whisk egg, molasses, and vanilla until smooth.
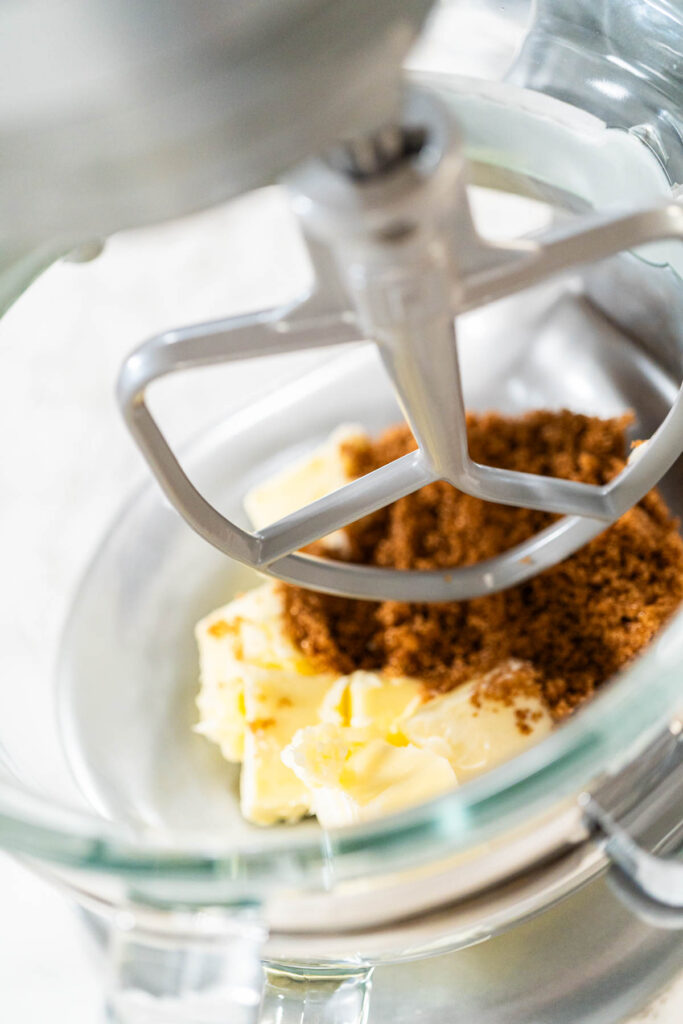
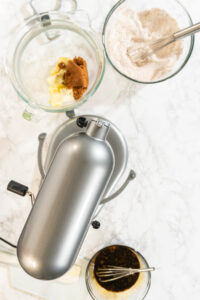
- Cream butter and sugar in mixer until light and fluffy (2–3 minutes).
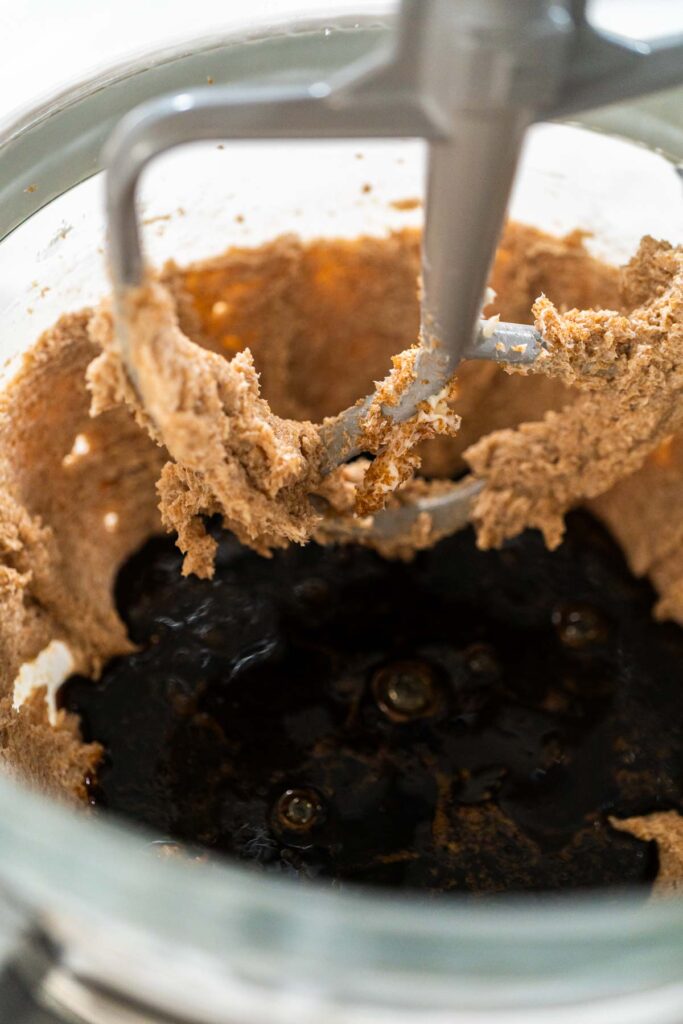
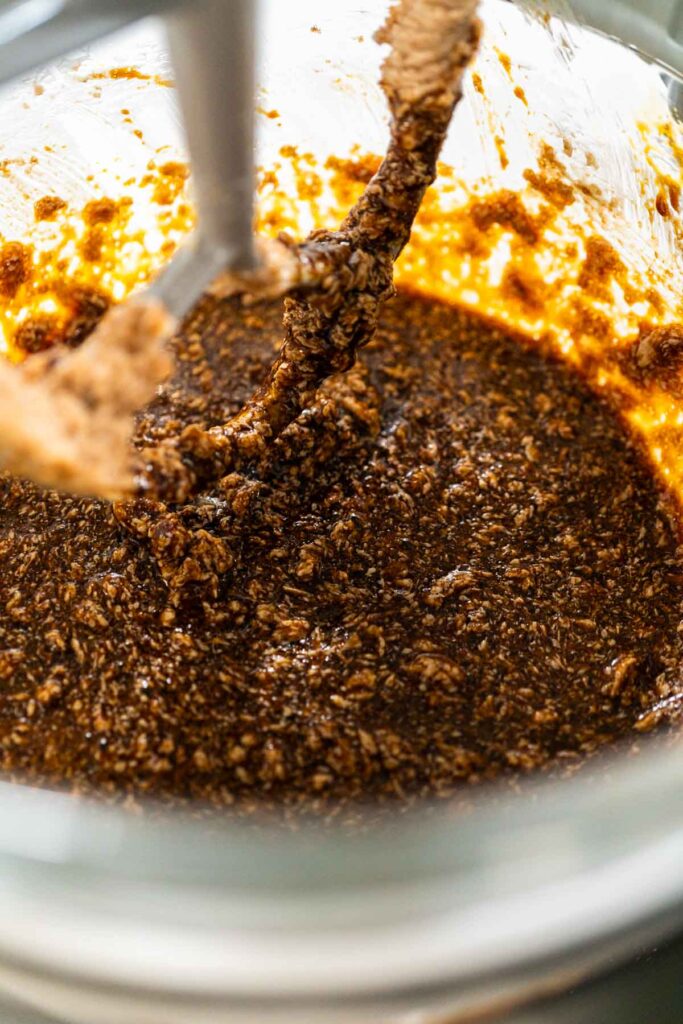
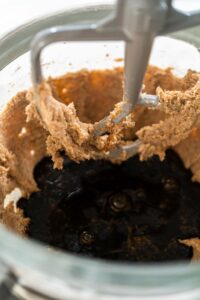
- Add molasses mixture; mix until fully combined.
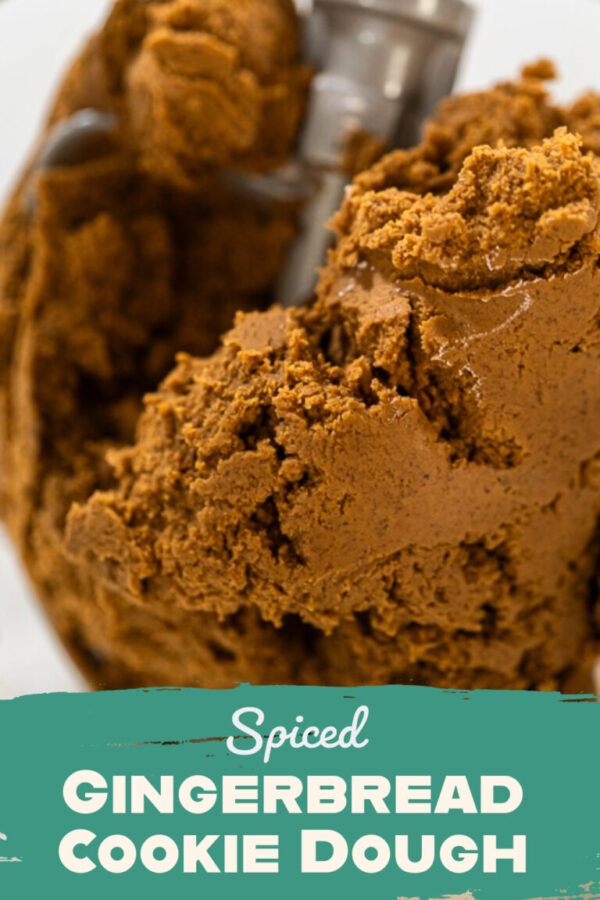
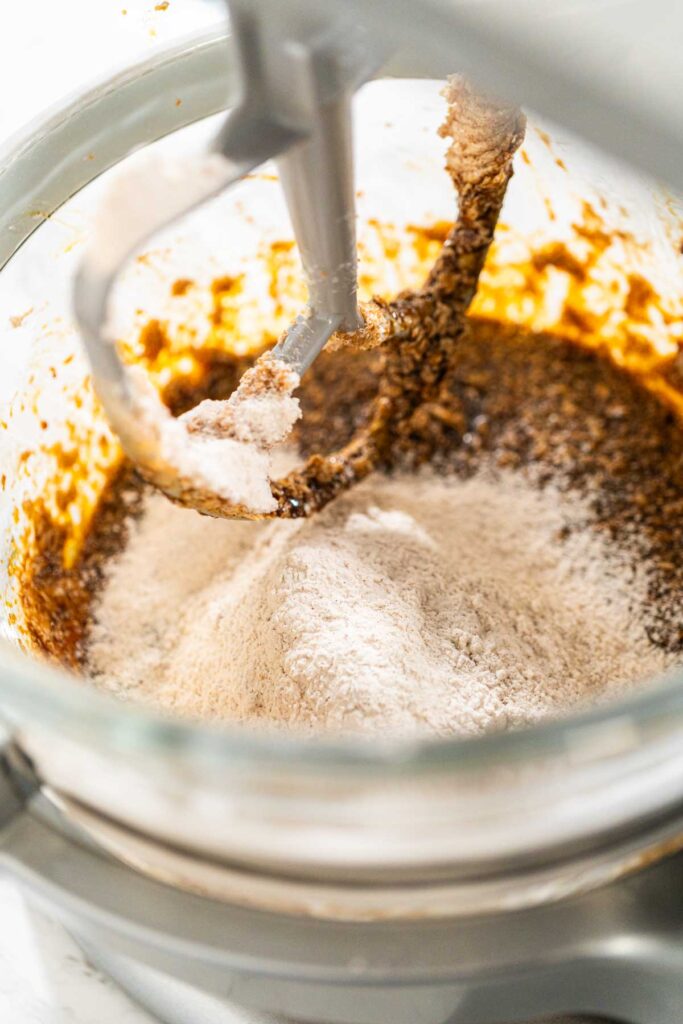
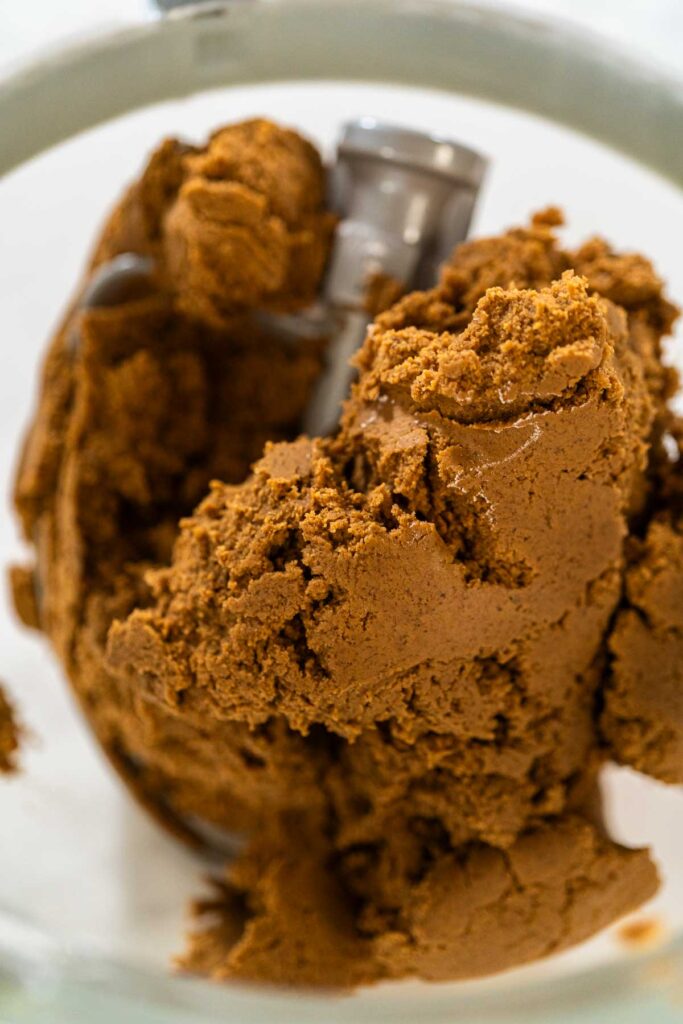
- Gradually add dry ingredients in thirds. Mix until a slightly firm dough forms.
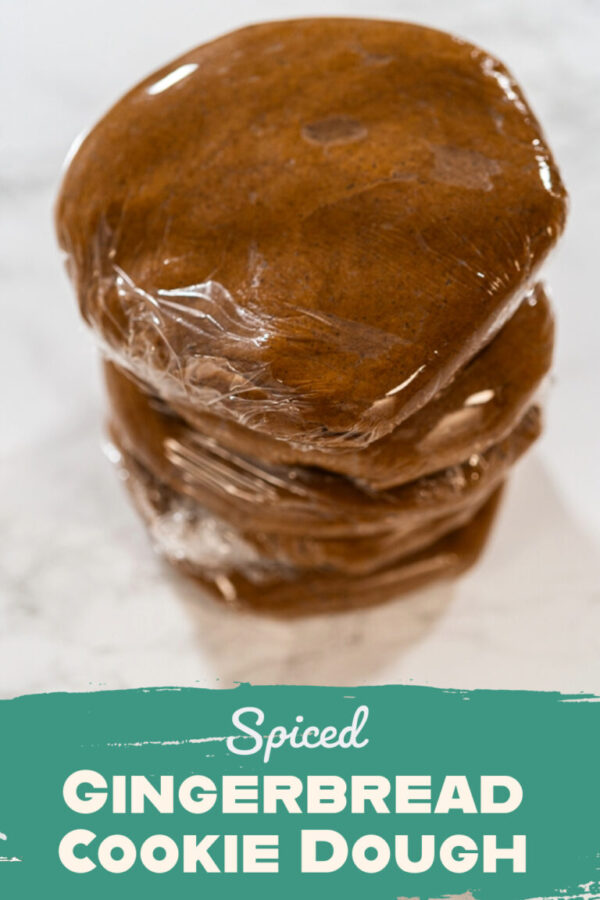
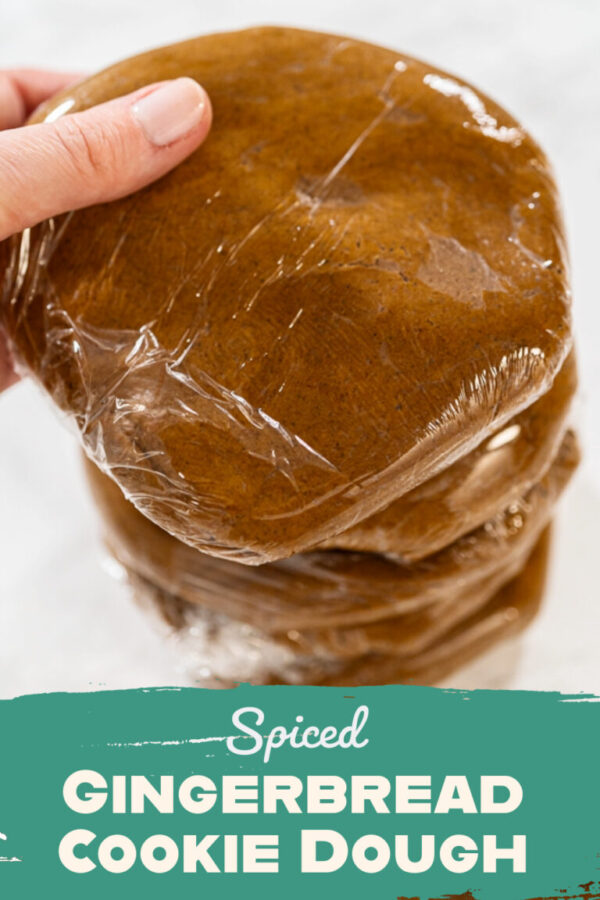
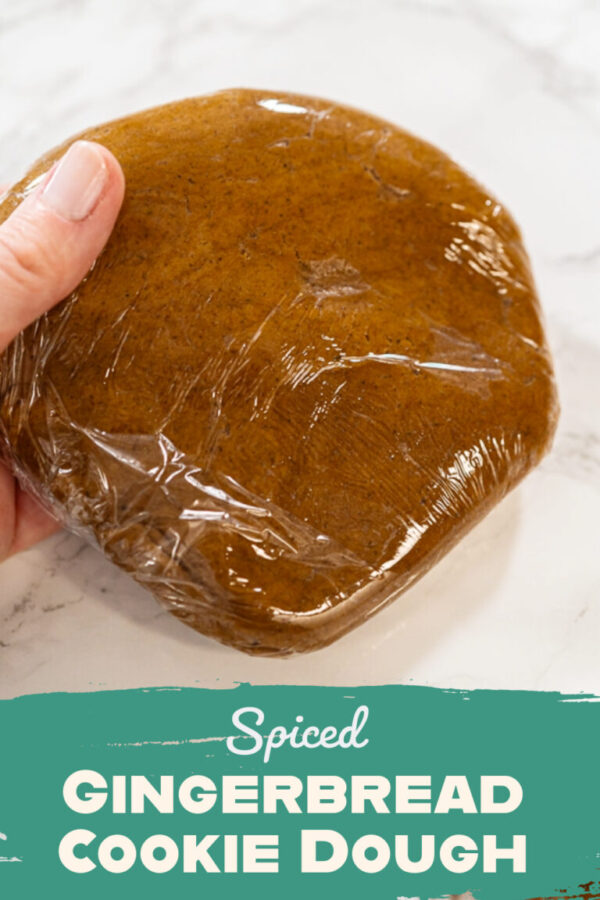
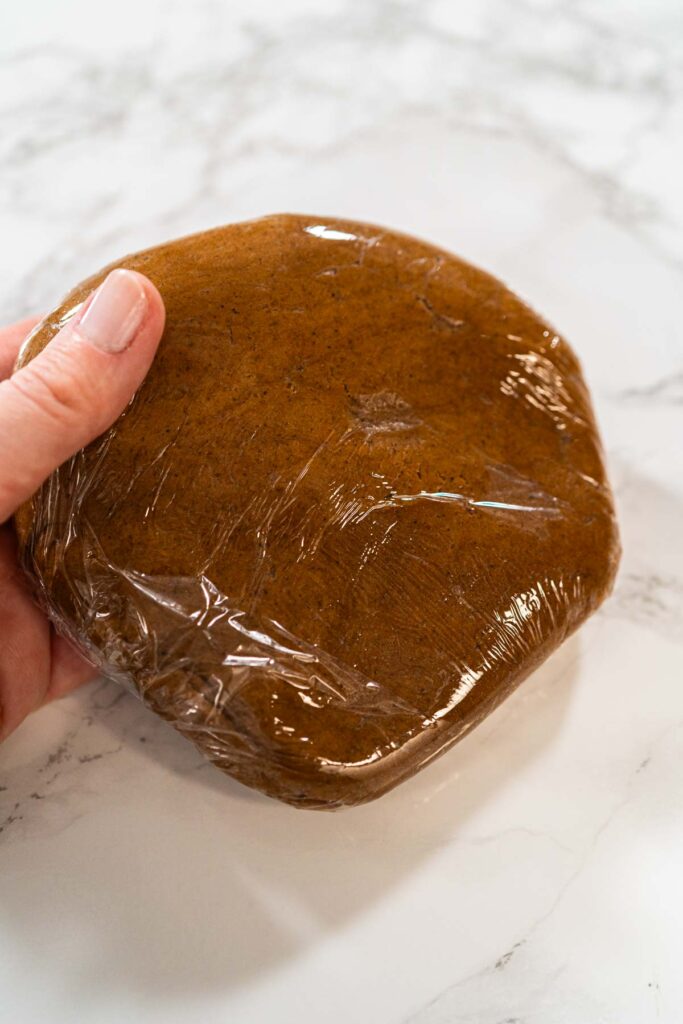
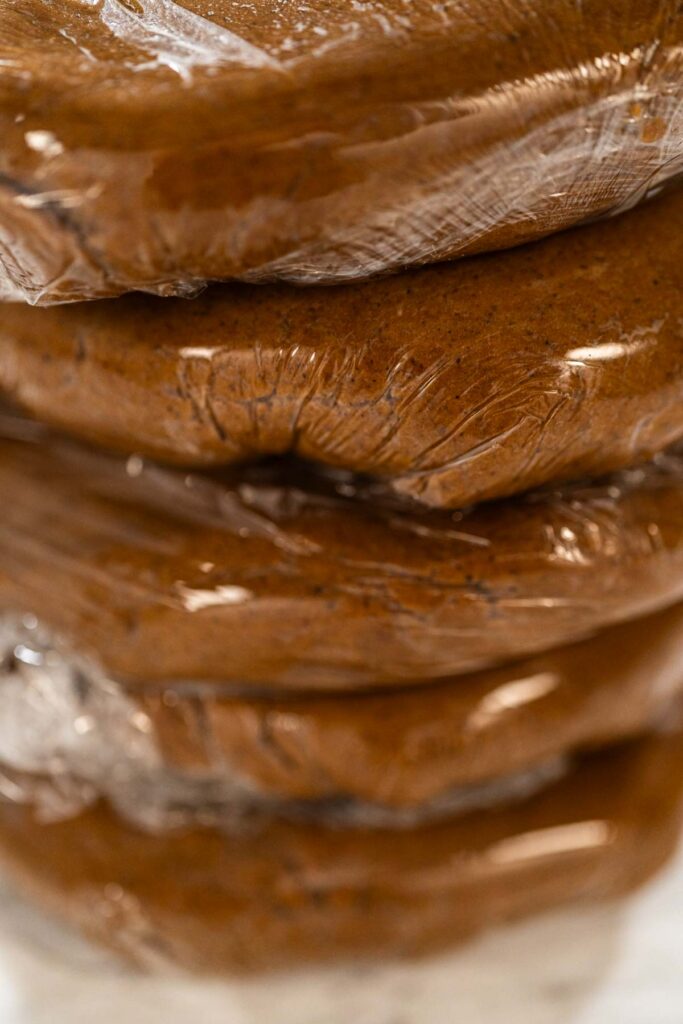
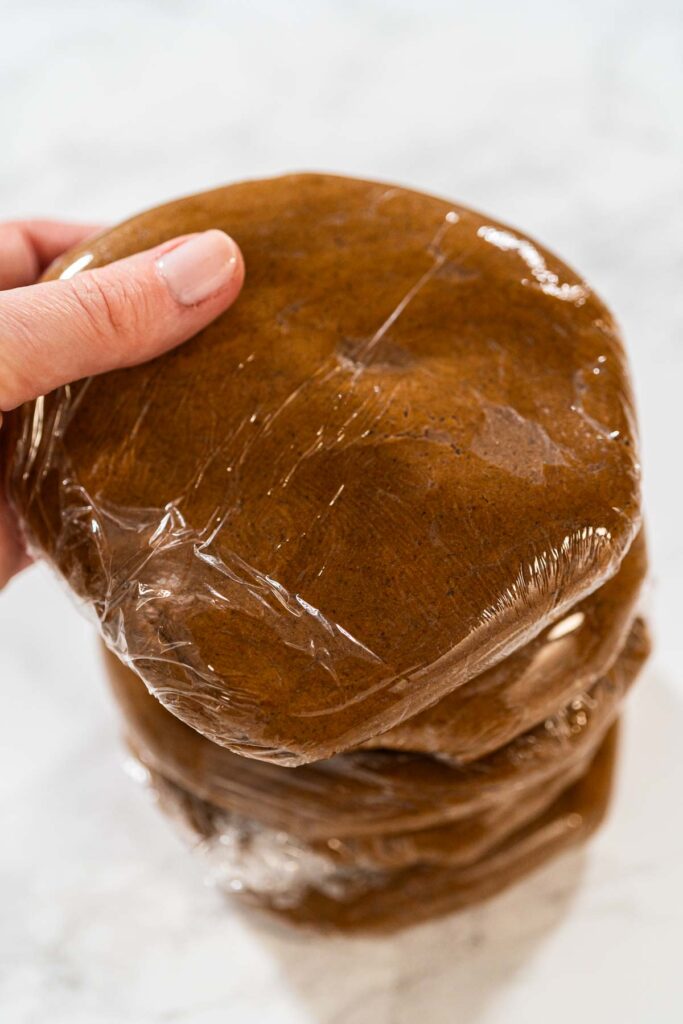
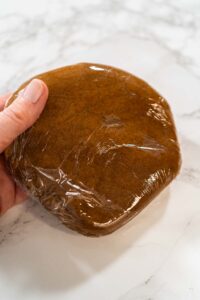
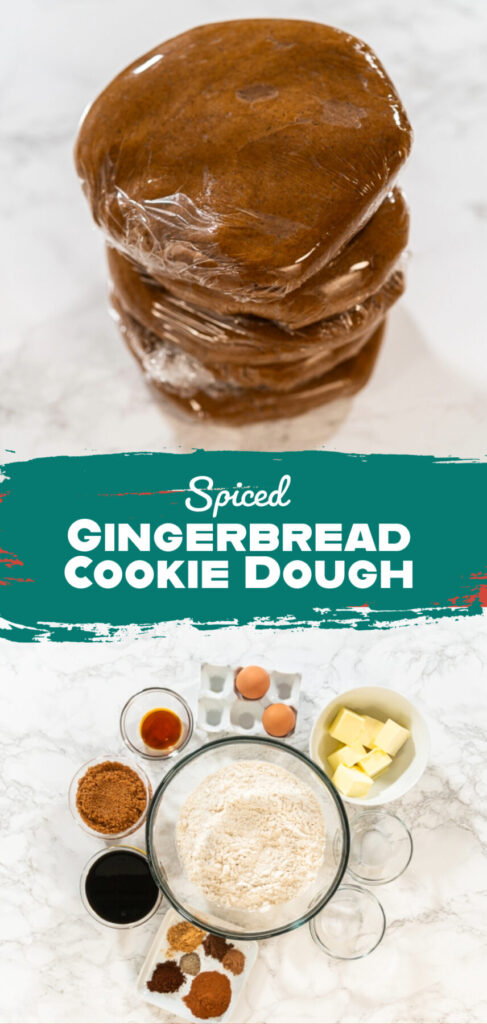
- Divide into two disks, wrap, and chill for 1 hour.
- Roll out, cut shapes, and chill cutouts 10 minutes before baking.
- Bake at 350°F (175°C) for 8–10 minutes. Cool on a wire rack.
Recipe variations
- Extra Orange: Add orange zest for citrus warmth—a great pairing with the spice.
- Molasses swap: Use maple syrup for a milder flavor (great for kids).
- Chocolate twist: Replace ¼ cup of flour with cocoa powder for a deep, spiced chocolate version like my Chocolate Ginger Sugar Cookie Dough.
- Ginger boost: Add 1 tablespoon finely grated fresh ginger for more bite.
Troubleshooting Common Issues with Cutout Cookie Dough
Even with the best recipes and careful preparation, sometimes things don’t go as planned in the kitchen. But don’t worry! I’ve encountered plenty of baking hiccups, and I’m here to share some tips to help you troubleshoot common issues with cutout cookie dough.
Dough Too Sticky
If your dough feels sticky and hard to handle, it might need a little extra flour. This can happen due to slight measurement variations or even humidity in the kitchen. Start by adding one tablespoon of all-purpose flour at a time, gently kneading it into the dough until it’s firm but still pliable. Be careful not to add too much flour, as it can make the cookies dry.
Dough Cracking While Rolling
Sometimes chilled dough can feel a bit too stiff and crack when rolled out. If this happens, let the dough sit at room temperature for 10-15 minutes to soften slightly. The high butter content in the dough makes it firm when cold, but letting it warm up a bit will make rolling much easier.
Cookies Spreading During Baking
If your cookies lose their shape in the oven, it’s often due to insufficient chilling. After cutting out your cookies, place them back in the fridge or freezer for 10-15 minutes before baking. This step helps the dough hold its shape and prevents spreading.
Another trick is to add a teaspoon of cornstarch to the dry ingredients. Cornstarch reduces spreading during baking and keeps the cookies nice and sturdy for decorating.
Uneven Baking
Uneven baking can happen if the cookies are different sizes or if multiple trays are stacked in the oven. To avoid this, make sure your cutout cookies are all the same thickness and bake one tray at a time on the middle rack. This ensures even heat distribution and perfectly baked cookies every time.
Overbaked or Burnt Edges
If your cookies are coming out with dark edges, they may have baked too long. Keep an eye on them as they bake—most cookies are done when the edges are set but the centers still look slightly soft. Start checking a minute or two before the recommended baking time to ensure they don’t overbake.
Dough Too Soft to Cut
If the dough is too soft when you’re cutting out shapes, it likely hasn’t chilled long enough. Pop it back in the fridge for another 20-30 minutes to firm up before trying again. Patience is key for perfectly shaped cookies!
Personal Tip
Don’t get discouraged if things don’t go perfectly the first time. Baking is as much about learning as it is about enjoying the process. I’ve had my share of “oops” moments, but each one taught me something new. And honestly, even the imperfect cookies still taste amazing!
Troubleshooting is just part of the fun when baking, and with a little patience and these tips, you’ll have beautiful, delicious cut-out cookies ready to share. Let’s move on to the best part—enjoying these delightful creations!
Preserving Cutout Cookie Dough: Storage and Freezing Tips
Proper storage and freezing are key to preserving the quality of cutout cookie dough, ensuring it’s just as good when you’re ready to bake as it was when you first made it. Whether you’re chilling dough for a short period or freezing it for future use, these methods are essential for maintaining flavor and texture. This section provides practical tips and techniques to help you efficiently store and extend the life of your cookie dough.
Storing Dough in the Refrigerator
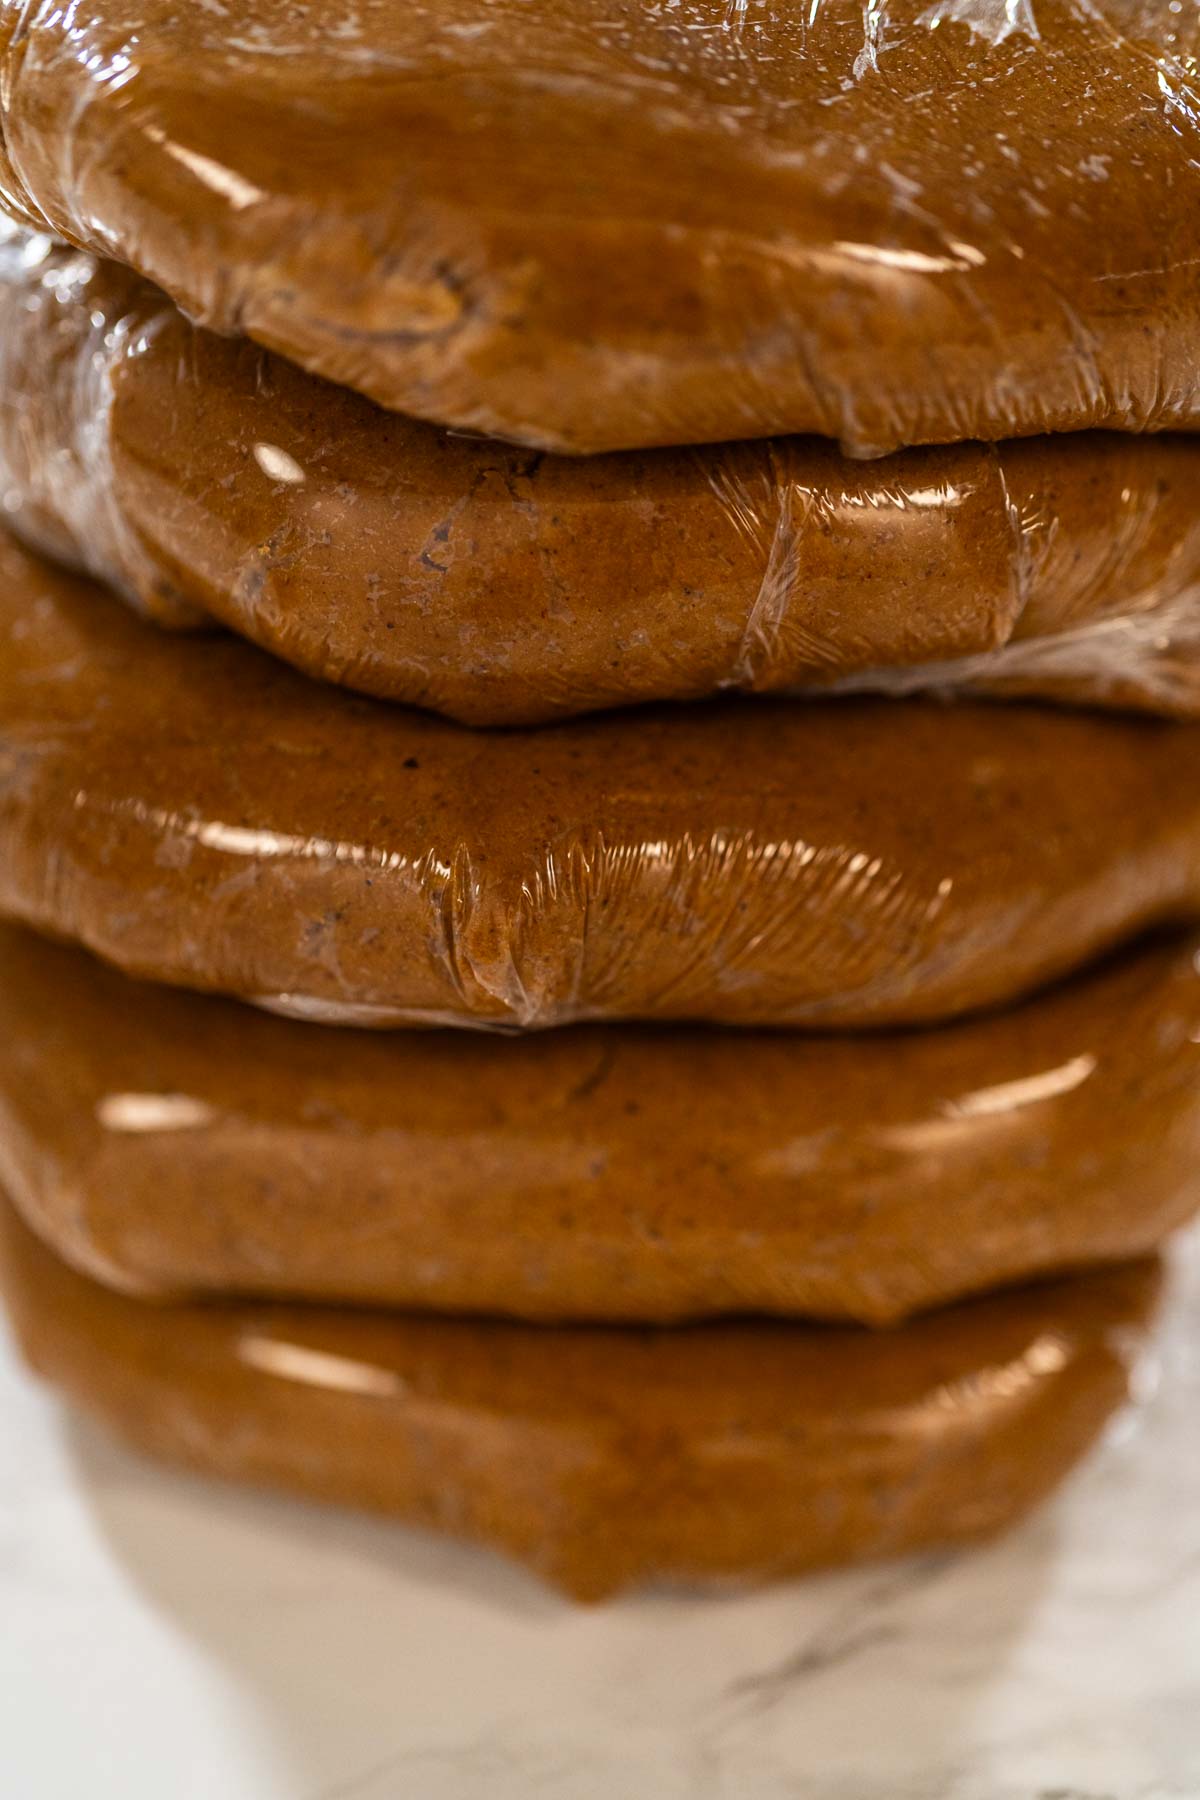
If you’re planning to bake within the next few days, store the dough in the refrigerator. After dividing the dough into two portions, wrap each one tightly in plastic wrap and place it in the fridge. Chilling the dough for at least an hour firms it up, making it easier to roll and cut into shapes. You can store the dough in the refrigerator for up to three days.
Freezing Dough for Longer Storage
For longer storage, freezing the dough is a fantastic option. Here’s how I do it:
1. Wrap each dough disk in an extra layer of plastic wrap or aluminum foil to protect it from freezer burn.
2. Place the wrapped disks into a freezer-safe zip-top bag for extra protection.
3. Label the bag with the date and the name of the dough using a Sharpie. This avoids any confusion when you’re digging through the freezer later!
The dough will keep beautifully in the freezer for up to three months.
Thawing Dough for Use
When you’re ready to bake, simply transfer the dough from the freezer to the refrigerator and let it thaw overnight. By the next day, it will be chilled and ready to roll. If the dough feels too firm after thawing, let it sit on the counter for 10-15 minutes to soften slightly before rolling.
Freezing Baked Cookies
If you’re planning to bake ahead of time, you can also freeze the baked cookies. Once the cookies have cooled completely, layer them between sheets of parchment paper in a freezer-safe container. This prevents them from sticking together. Just like the dough, label the container with the date and flavor so you can stay organized.
When you’re ready to serve or decorate, let the cookies thaw at room temperature for about 30 minutes.
Staying Organized During Holiday Baking
My holiday baking season gets busy fast, so freezing dough and baked cookies is my secret weapon. I usually start making my dough in September, bake in October or November, and decorate in December. This timeline helps me stay ahead of the holiday rush while still having plenty of fresh, delicious cookies to share.
With these storage tips, you can make your holiday baking stress-free and enjoy the process just as much as the results!
Other Recipes You Might Like
- Soft Chocolate Chip Cookies
- Classic Gingerbread Cookie Dough
- Red Gingerbread Cookies
- Green Gingerbread Cookies
- Chocolate Ginger Sugar Cookie Dough
- Royal Icing
- Chocolate Royal Icing
- Easy Way to Decorate Mitten Cookies
- How To Perfectly Flood Cookies With Royal Icing
- Lemon Spritz Cookies with Cranberry Buttercream
Spiced Gingerbread Cookie Dough
Video
Ingredients
- 3 cups All-Purpose Flour
- ¾ teaspoon Baking Soda
- ½ teaspoon Salt
- 1 teaspoon Ground Cinnamon
- 2 teaspoon Ground Ginger
- ½ teaspoon Ground Cloves
- ¼ teaspoon Ground Nutmeg
- ¼ teaspoon Ground Allspice
- ¼ teaspoon Ground Pepper
- 1 Large Egg
- 1 teaspoon Vanilla Extract
- ½ cup Molasses
- ½ cup Unsalted Butter at room temperature
- ½ cup brown sugar packed
Instructions
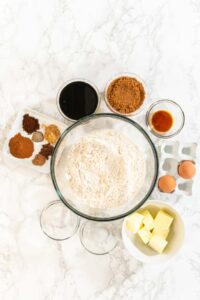
- Before starting, measure and prepare all of your ingredients. This will ensure the process runs smoothly and efficiently.
- In a large mixing bowl, combine the flour, cocoa powder, cinnamon, ginger, nutmeg, cloves, baking soda, and salt. Whisk the dry ingredients until fully combined and set the bowl aside.
- In a separate bowl, whisk together the egg, molasses, and vanilla extract until smooth and fully combined.
- In the bowl of your kitchen mixer, add the room-temperature unsalted butter and granulated sugar. Using the paddle attachment, cream them together on medium speed for about 2-3 minutes, until the mixture becomes light and fluffy.
- Scrape the butter mixture from the sides of the bowl using a silicone spatula, then add the egg and maple molasses mixture. Mix on medium speed until fully combined.
- Gradually add the dry ingredients to the wet mixture, about ⅓ at a time, mixing on low speed after each addition. Continue mixing until a smooth, slightly firm dough forms. The dough should hold together but not be sticky.
- Divide the dough into two equal portions, flatten them into disks, and wrap them in food wrap. Place the dough in the refrigerator to chill for at least 1 hour. This helps firm the dough, making it easier to roll and cut.
Nutrition
From My Kitchen to Yours
Gingerbread Recipes
- How to Host a Gingerbread House Decorating Party at Home
- Gingerbread Cookies with Royal Icing for Christmas Baking and Decorating
- Classic Gingerbread Cookie Dough – Perfect for Holiday Cutouts
- Colored Gingerbread Cookie Dough
- How to Make Chocolate Gingerbread Cookie Dough for Holiday Cutout
- How to Decorate Mitten Sugar Cookies (Simple Winter Design)
Pin It For Later
Food Photography & Video Tips from My Studio
Here’s a peek at the tools, gear, and camera setups I use to film my recipe videos and photograph food at home. Over the years, I’ve tested dozens of different setups, and now I’m sharing what actually works for me—whether I’m filming overhead shots for YouTube or styling still photos for my blog. If you’re curious about how I create the content you see here, these posts are a great place to start.









Leave a Reply