How to dye colorful Easter eggs with food coloring!
This post contains affiliate links.
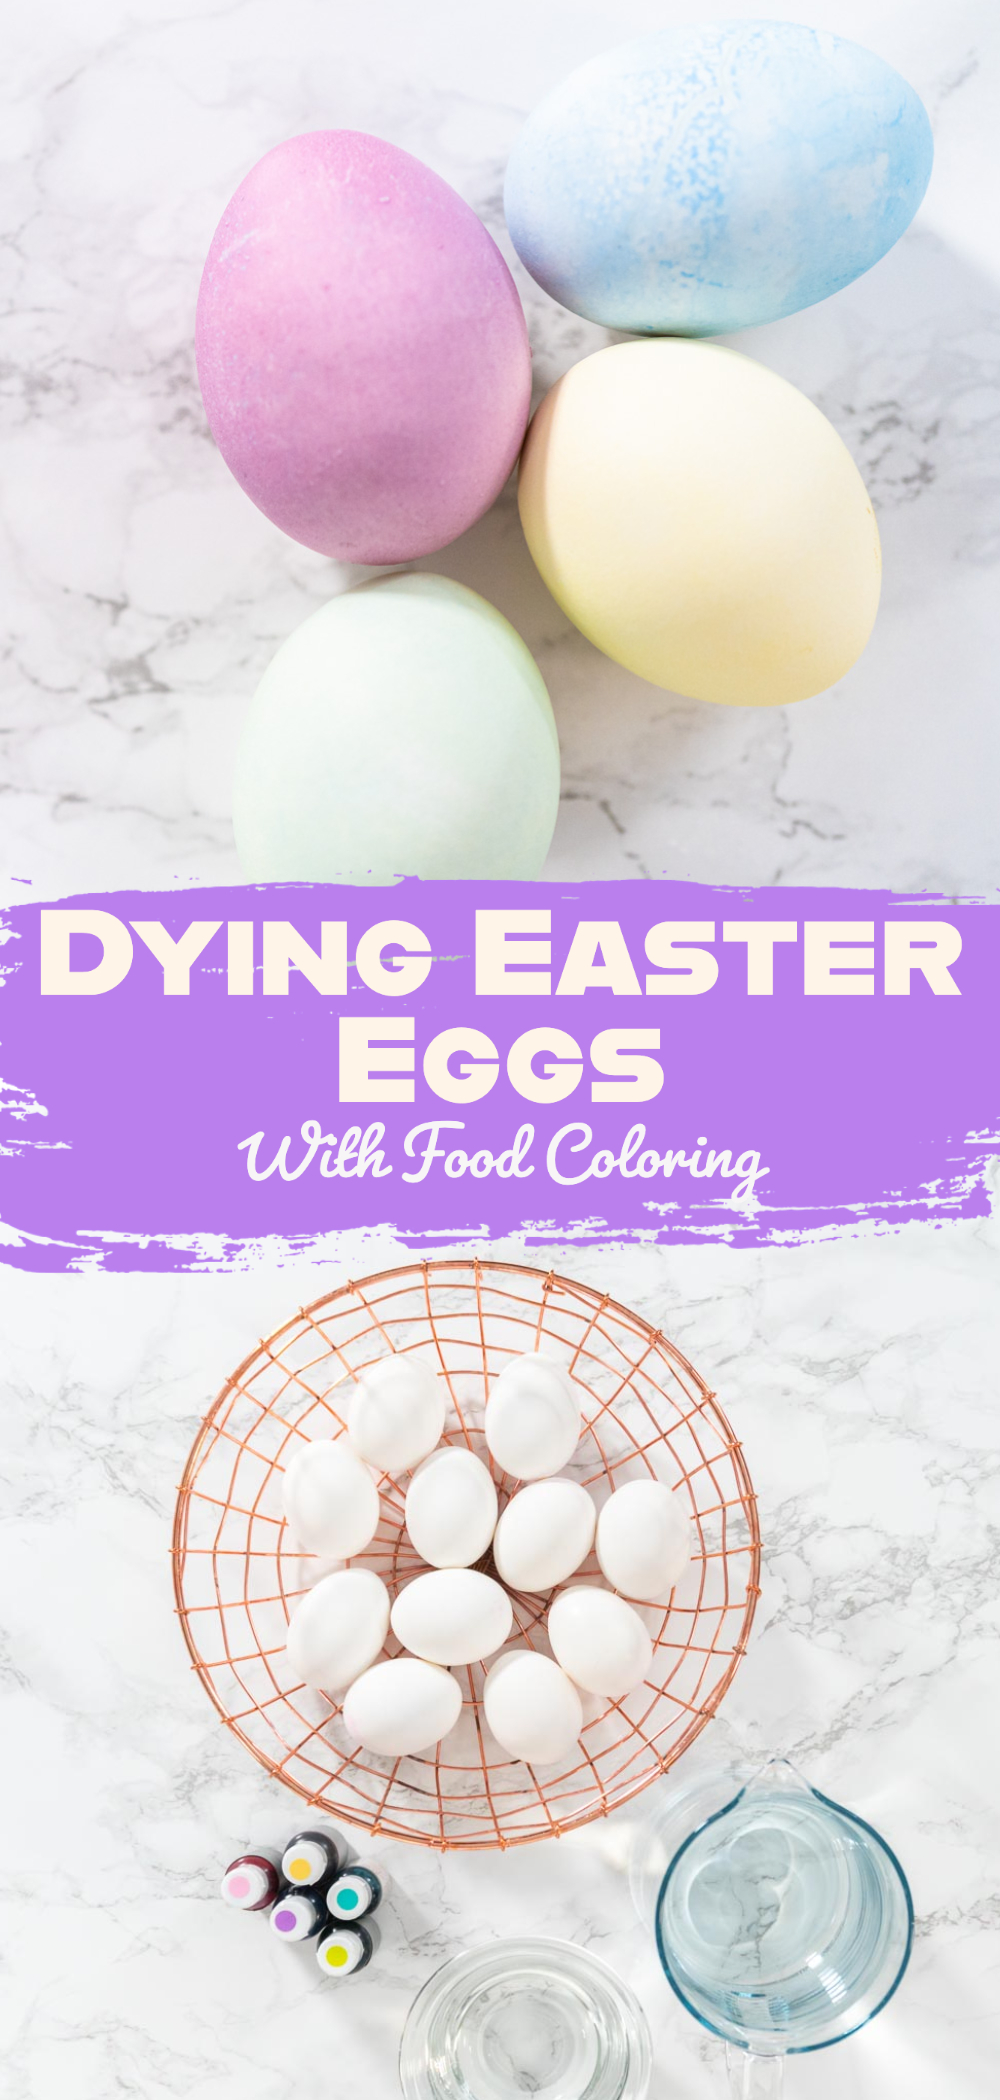
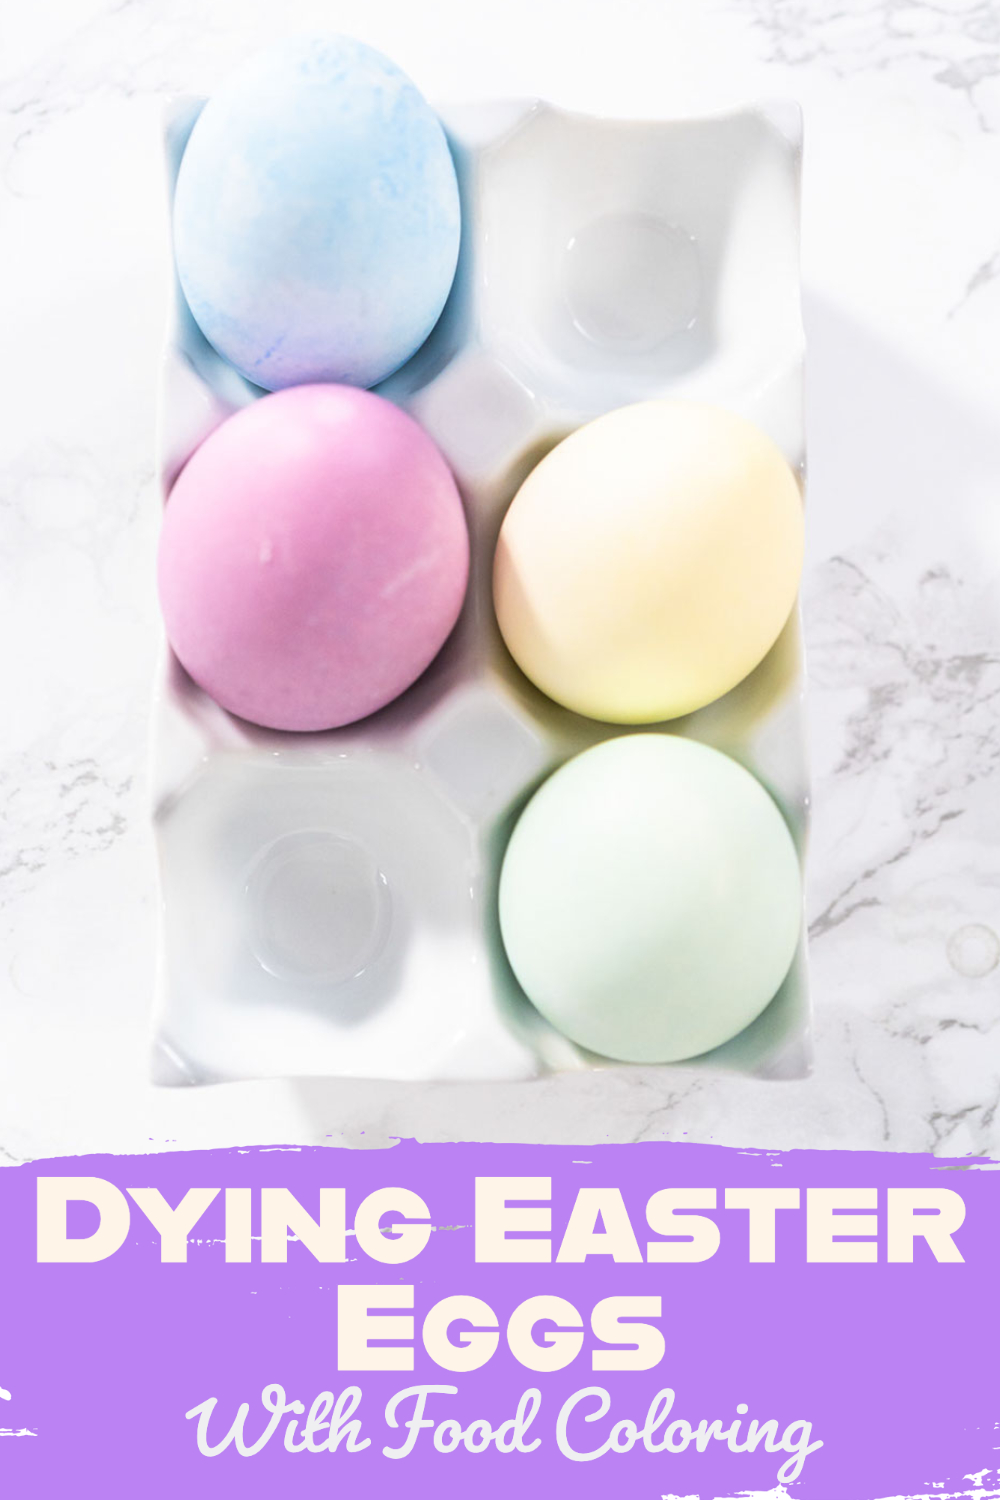
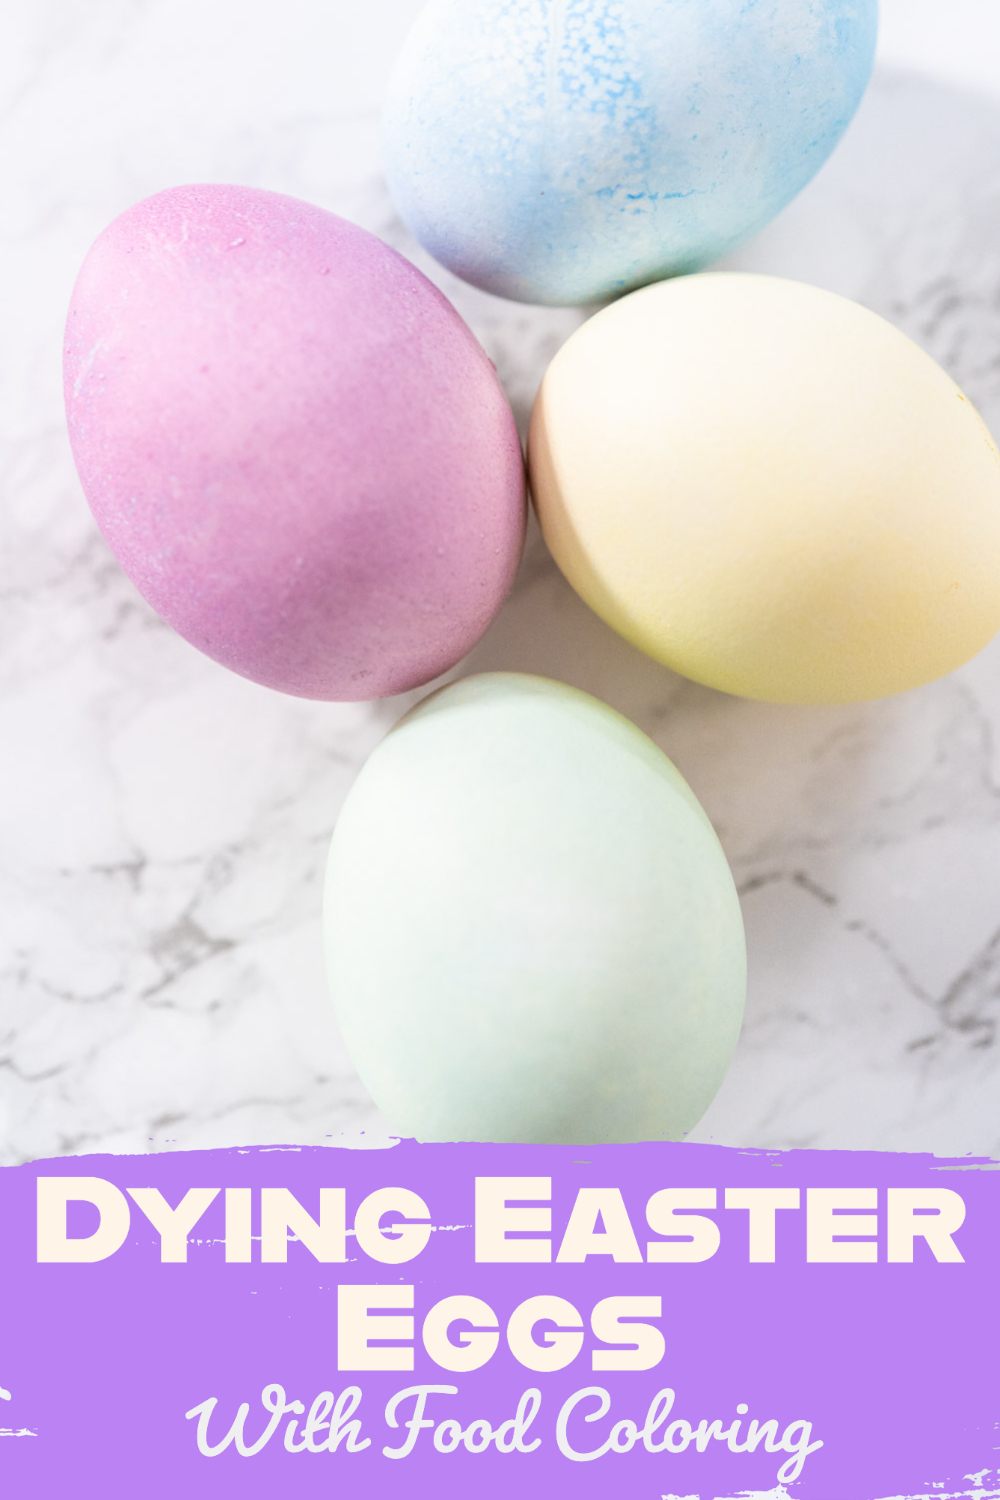
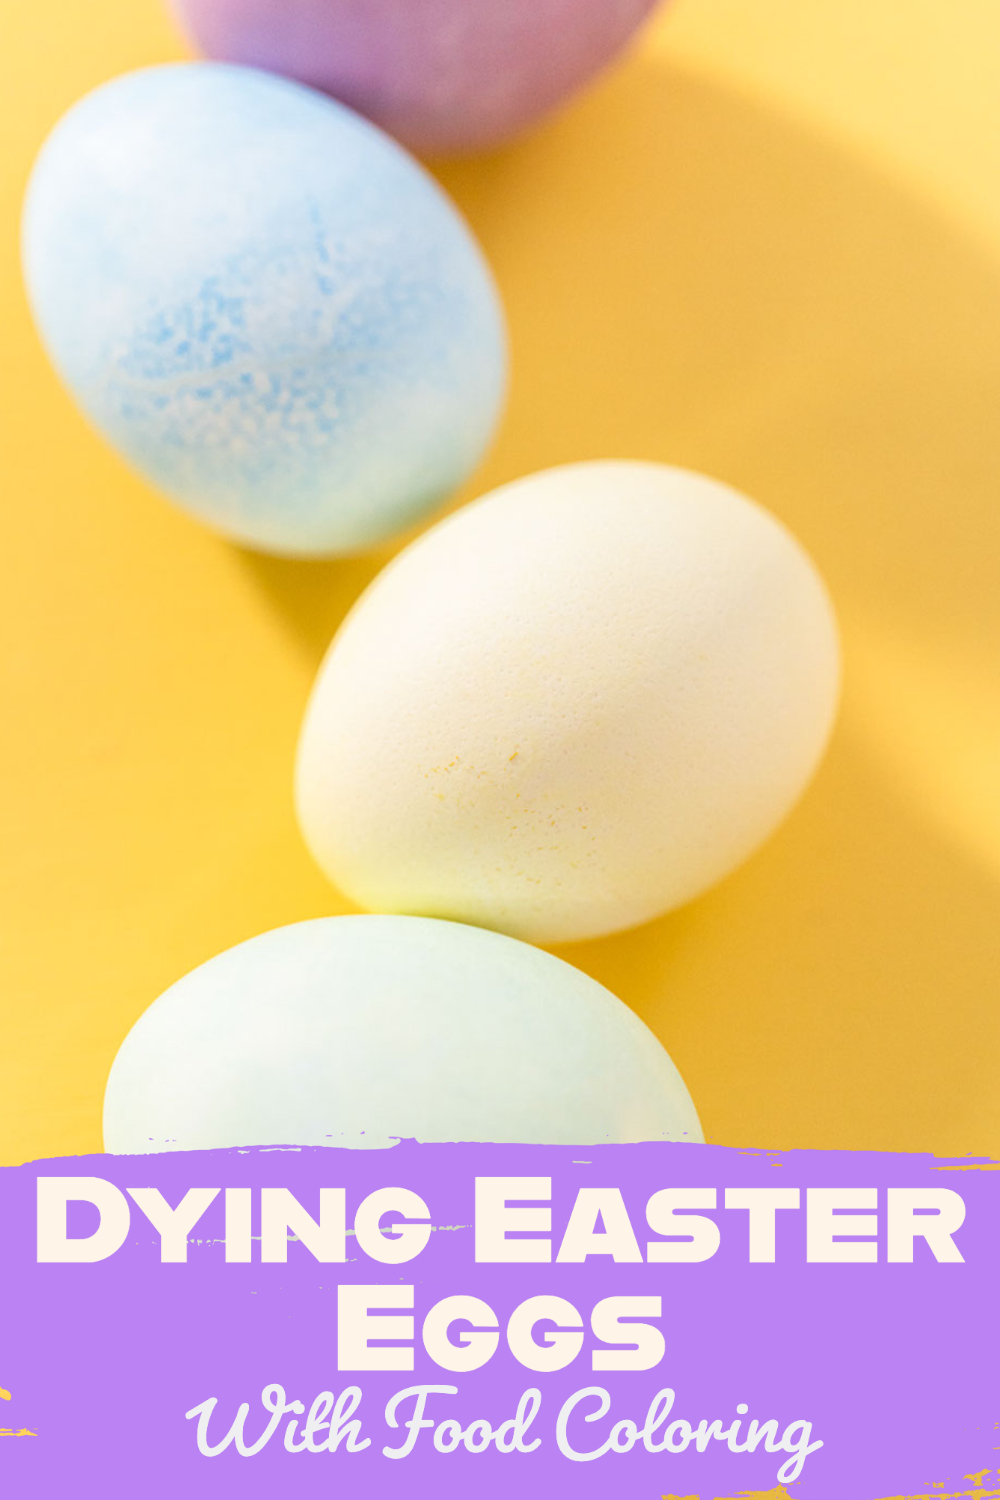
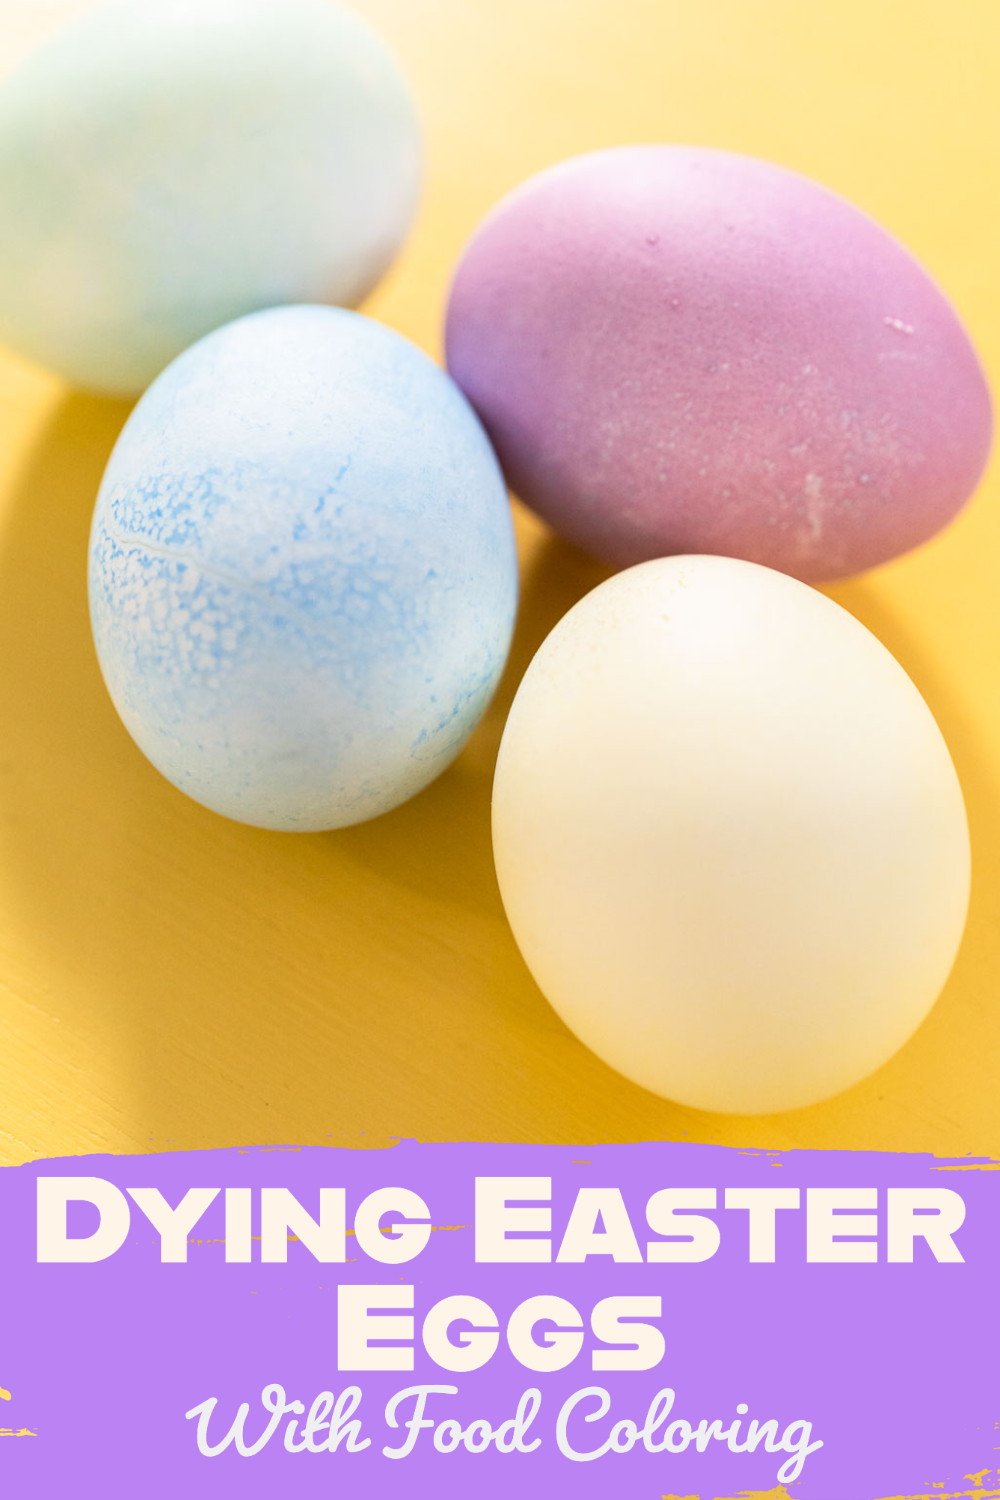
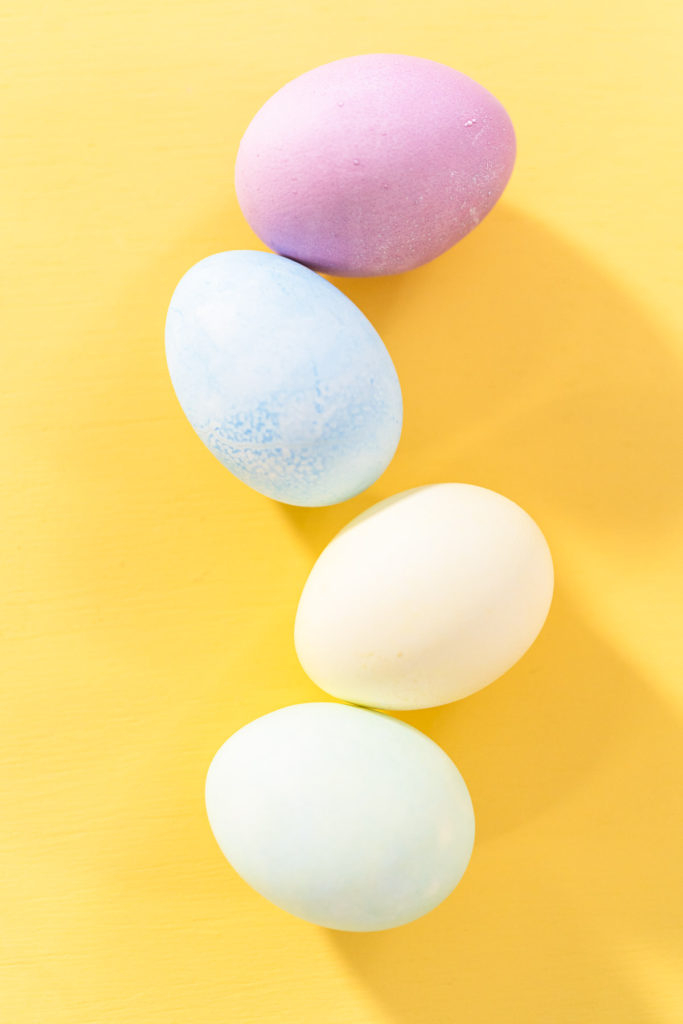
The flowers are in bloom, the air is fresh, and everything is in pastel colors so you know what that means: spring is here and Easter is on the way! With Easter approaching quickly I thought it would be a good time to freshen up on the best tips and tricks for Dying Easter Eggs With Food Coloring.
If it’s been a while since you’ve taken part in this holiday tradition then it’s good to just remind yourself of how the process goes. But I also want to go over a few tips and tricks on using food coloring to help the process go smoothly and successfully.
Ready for some traditional Easter fun? Then grab the eggs, the food coloring, and the kiddos, and let’s get this classic Easter activity started! Here’s how I and my family like to dye Easter eggs with food coloring.
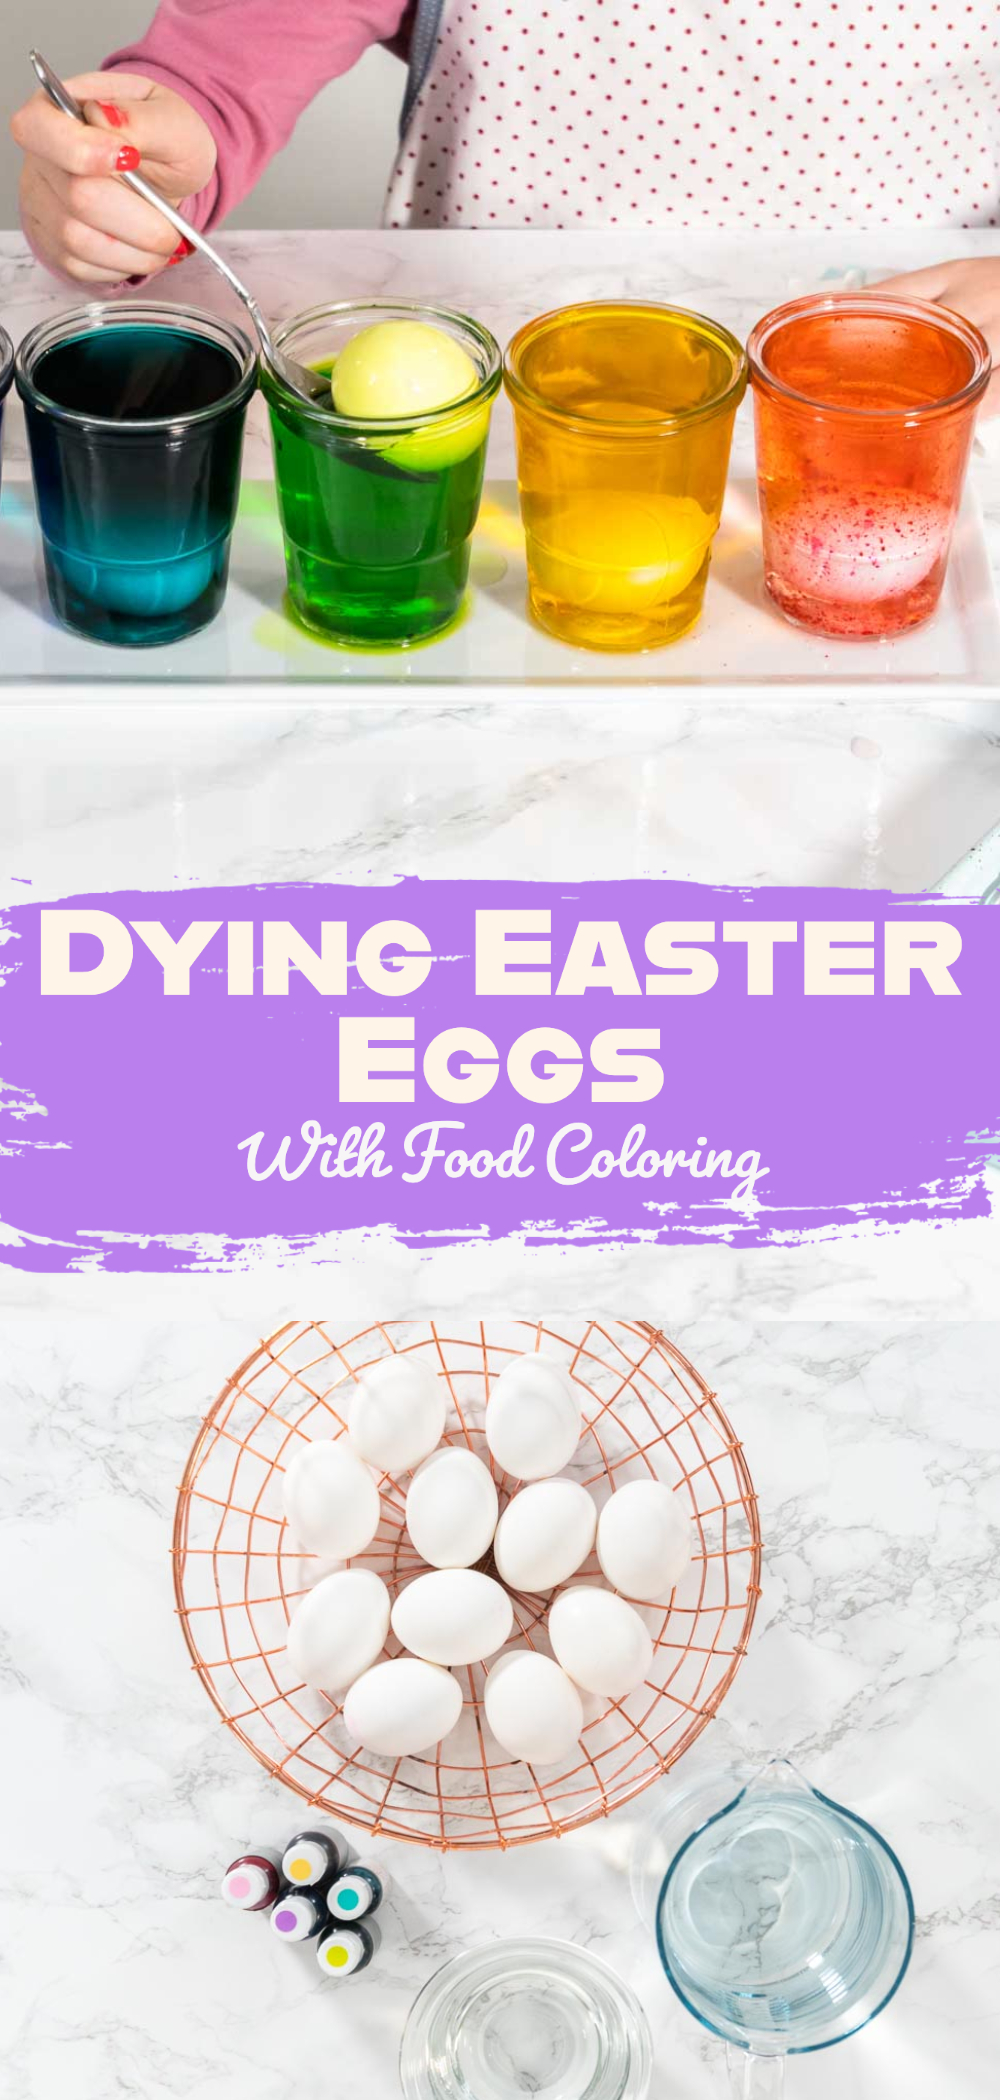
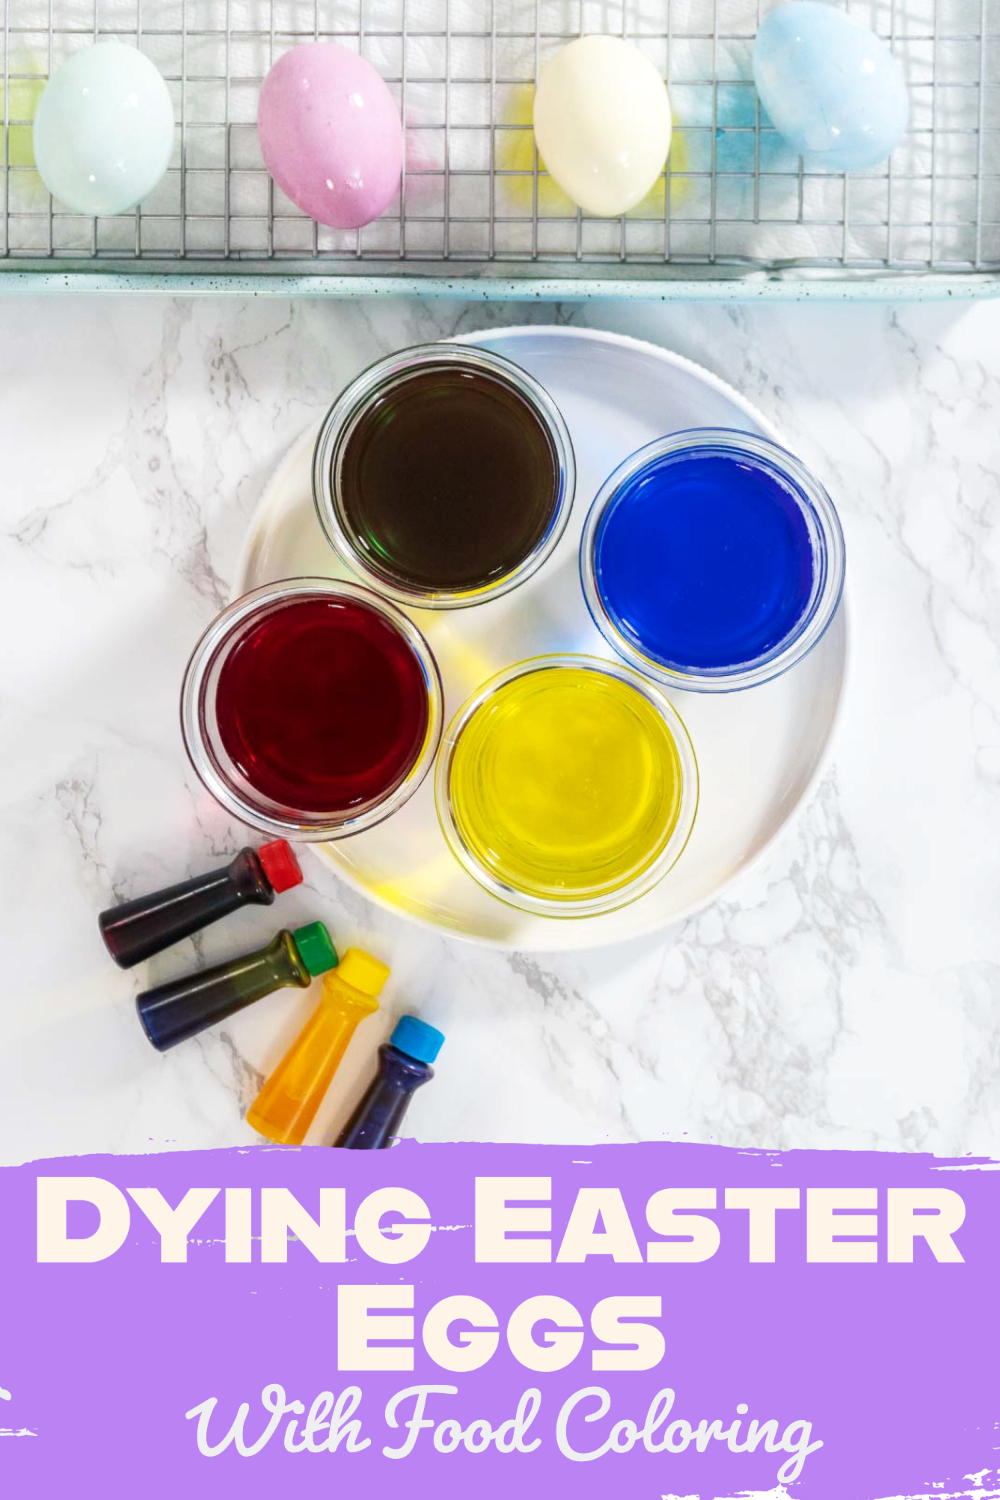
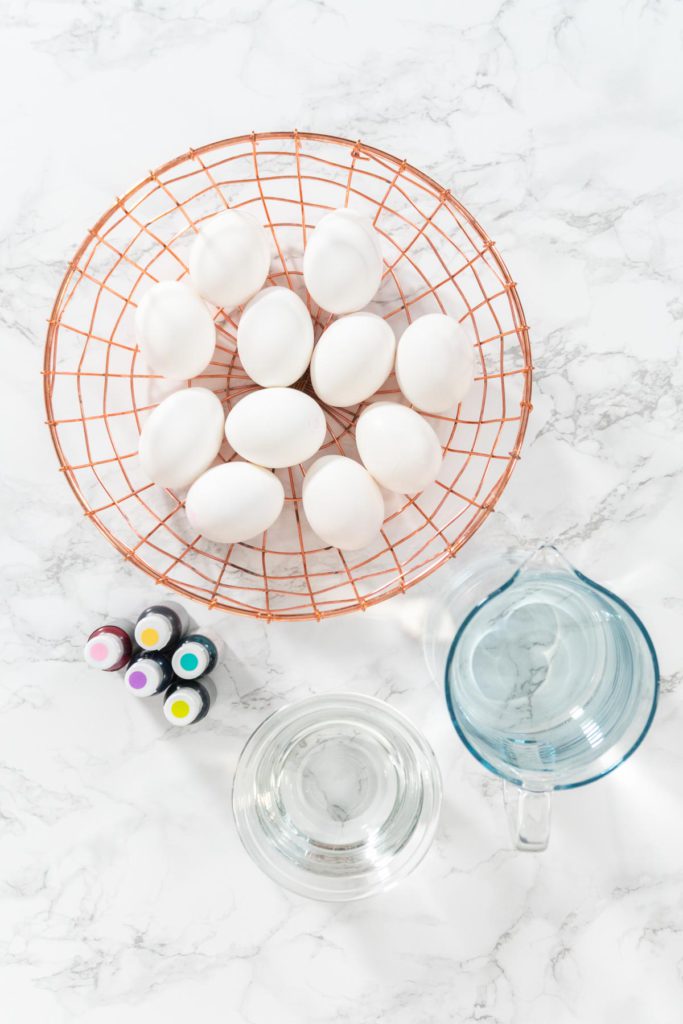
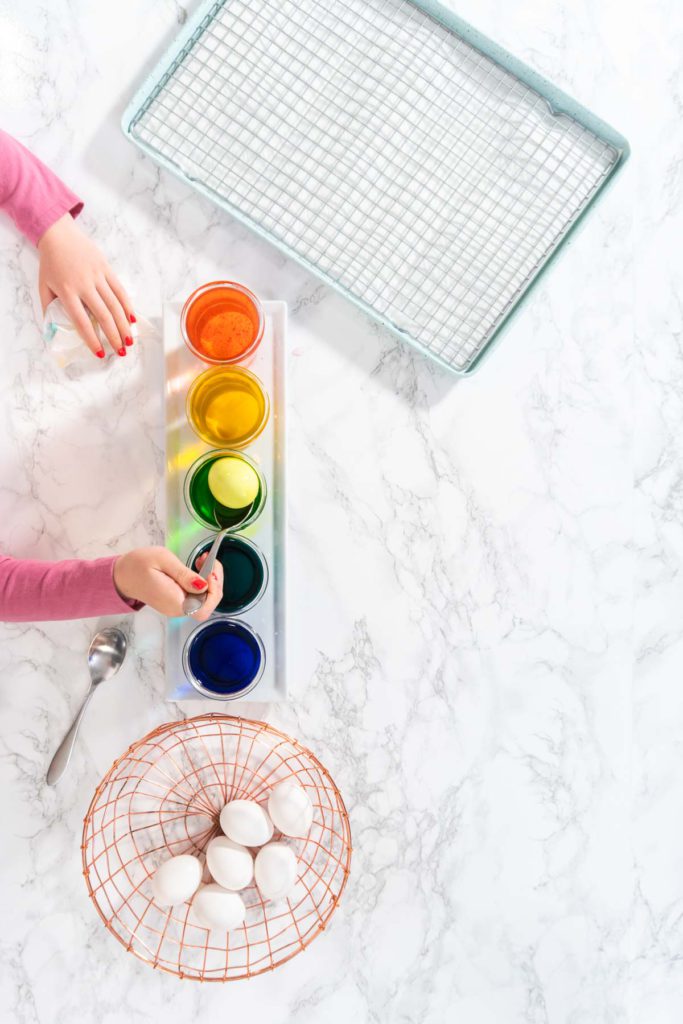
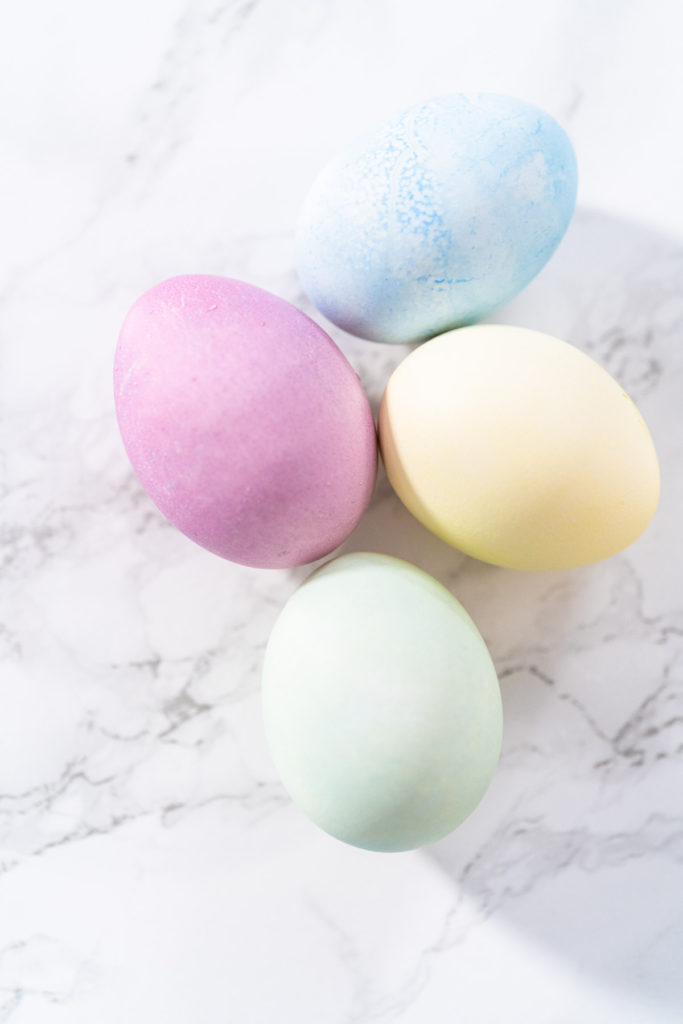
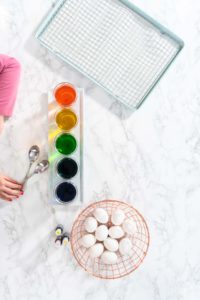
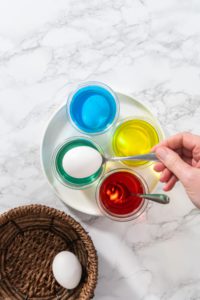
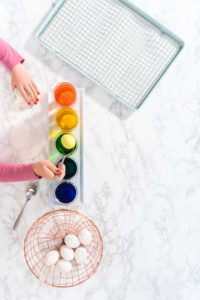
To dye Easter eggs, all you need is: boiled eggs, water, vinegar, food coloring, small bowls, a baking sheet, and a cooling rack. First, separate the water into small bowls- 1 for each color. Next, mix vinegar in each bowl. Then, add a few drops of food coloring to each small bowl, keeping the colors separate. Mix each color well. Using a spoon, gently lower the eggs into the coloring and let sit for 3-5 minutes, 15 minutes for natural dyes. Then, transfer the colored eggs to a baking sheet lined with paper towels and a cooling rack. Dry the eggs with paper towels and enjoy!
Egg Dying Equipment
First, let me break down my short and simple equipment list for this egg-dyeing process. I don’t need much here at all, just a few common kitchen tools. Here’s what I use to dye Easter eggs with food coloring:
Egg-y Easter Ingredients
Now let me go over the cute Easter egg ingredients. There’s nothing special or fancy to expect here, just the traditional Easter egg ingredients. Here are my ingredients for dyeing Easter eggs with food coloring:
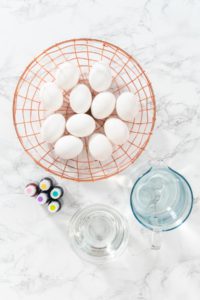
- 12 white eggs- hard-boiled and cooled
- 5 cups water- room temperature, 1 cup per color
- 10 teaspoon white vinegar- 2 teaspoon per color
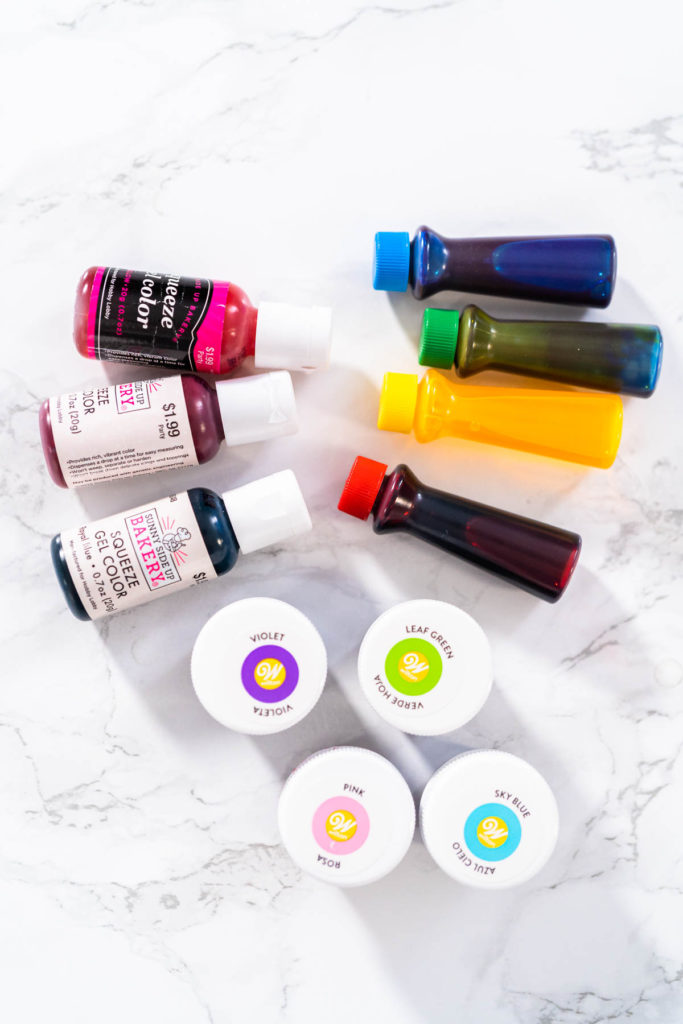
- 1 teaspoon Food Coloring of each color
Ingredient Notes/Tips:
- Want a more natural approach? Check out my simple method for All Natural Easter Egg Dye!
- The natural dye takes longer to color the eggs so I usually like to use the color gels by Wilton. They have vivid colors that take hold fast!
- If your food coloring is old: use hot water to dissolve the color, then let it cool completely before coloring the eggs.
How to Dye Easter Eggs with Food Coloring
Now let’s go over this simple process for this Easter tradition! There’s nothing complicated to expect, just a bunch of wholesome family fun! Here’s how to easily dye Easter eggs with food coloring:
- First, measure out all of the ingredients with the measuring cup and spoons. Here’s my easy Hard-Boiled Eggs recipe.
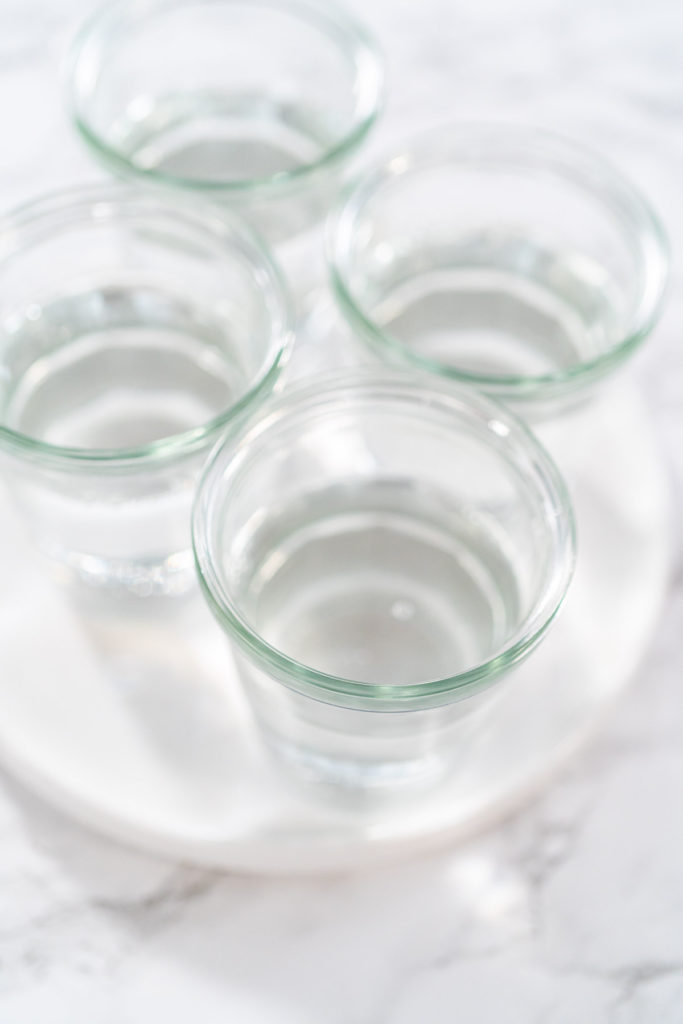
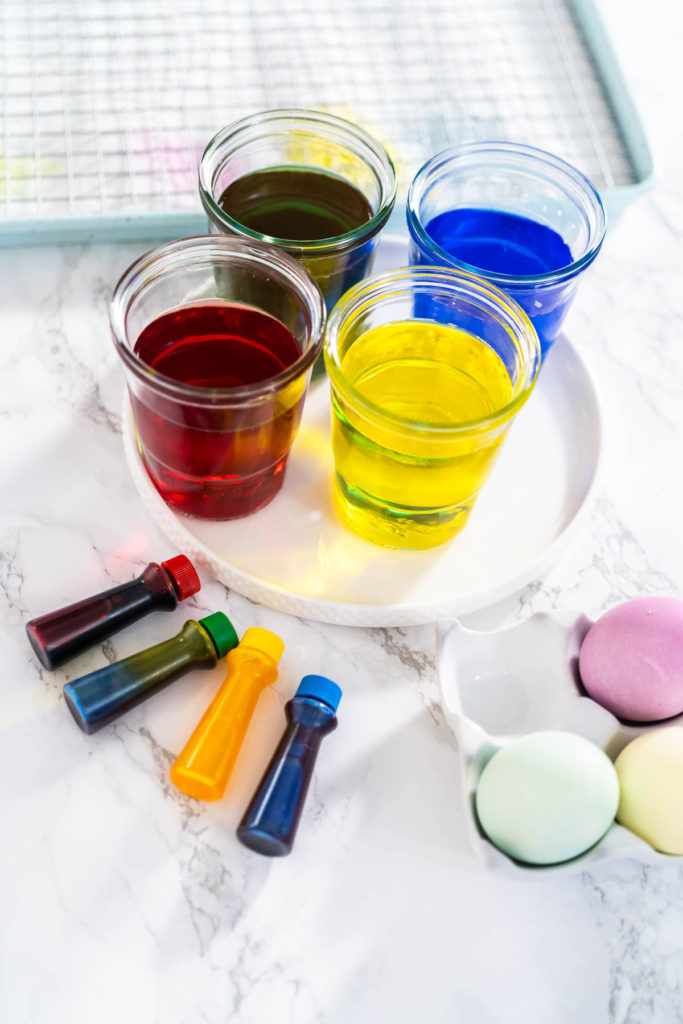
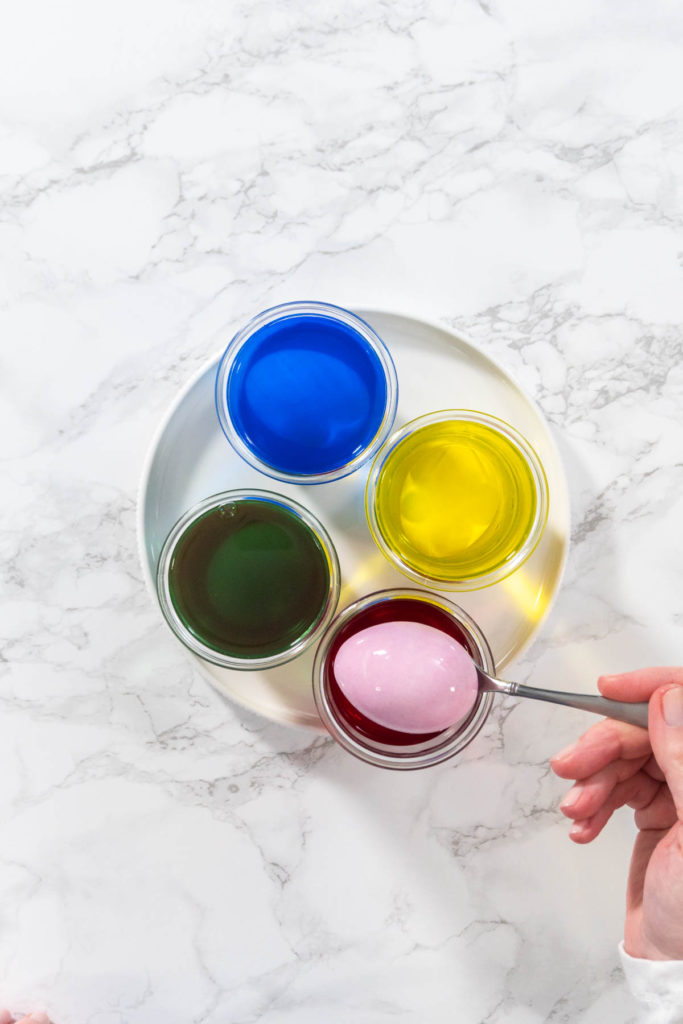
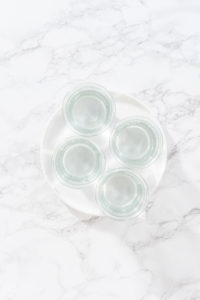
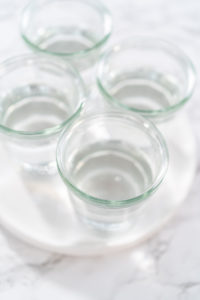
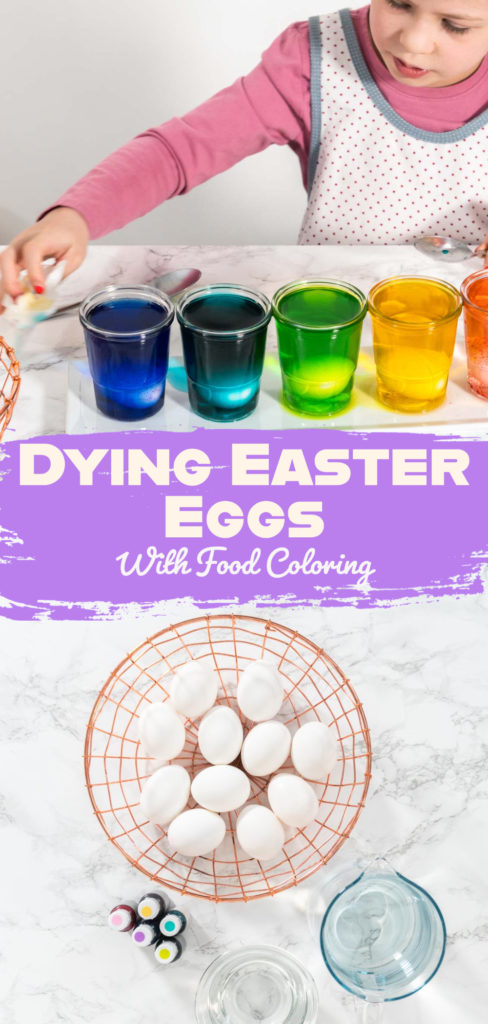
- Then, separate the water into small bowls -1 for each color you will be using. Use approximately 1 cup of water for each color.
- Next, add 2 tsp. of white vinegar to each bowl of water.
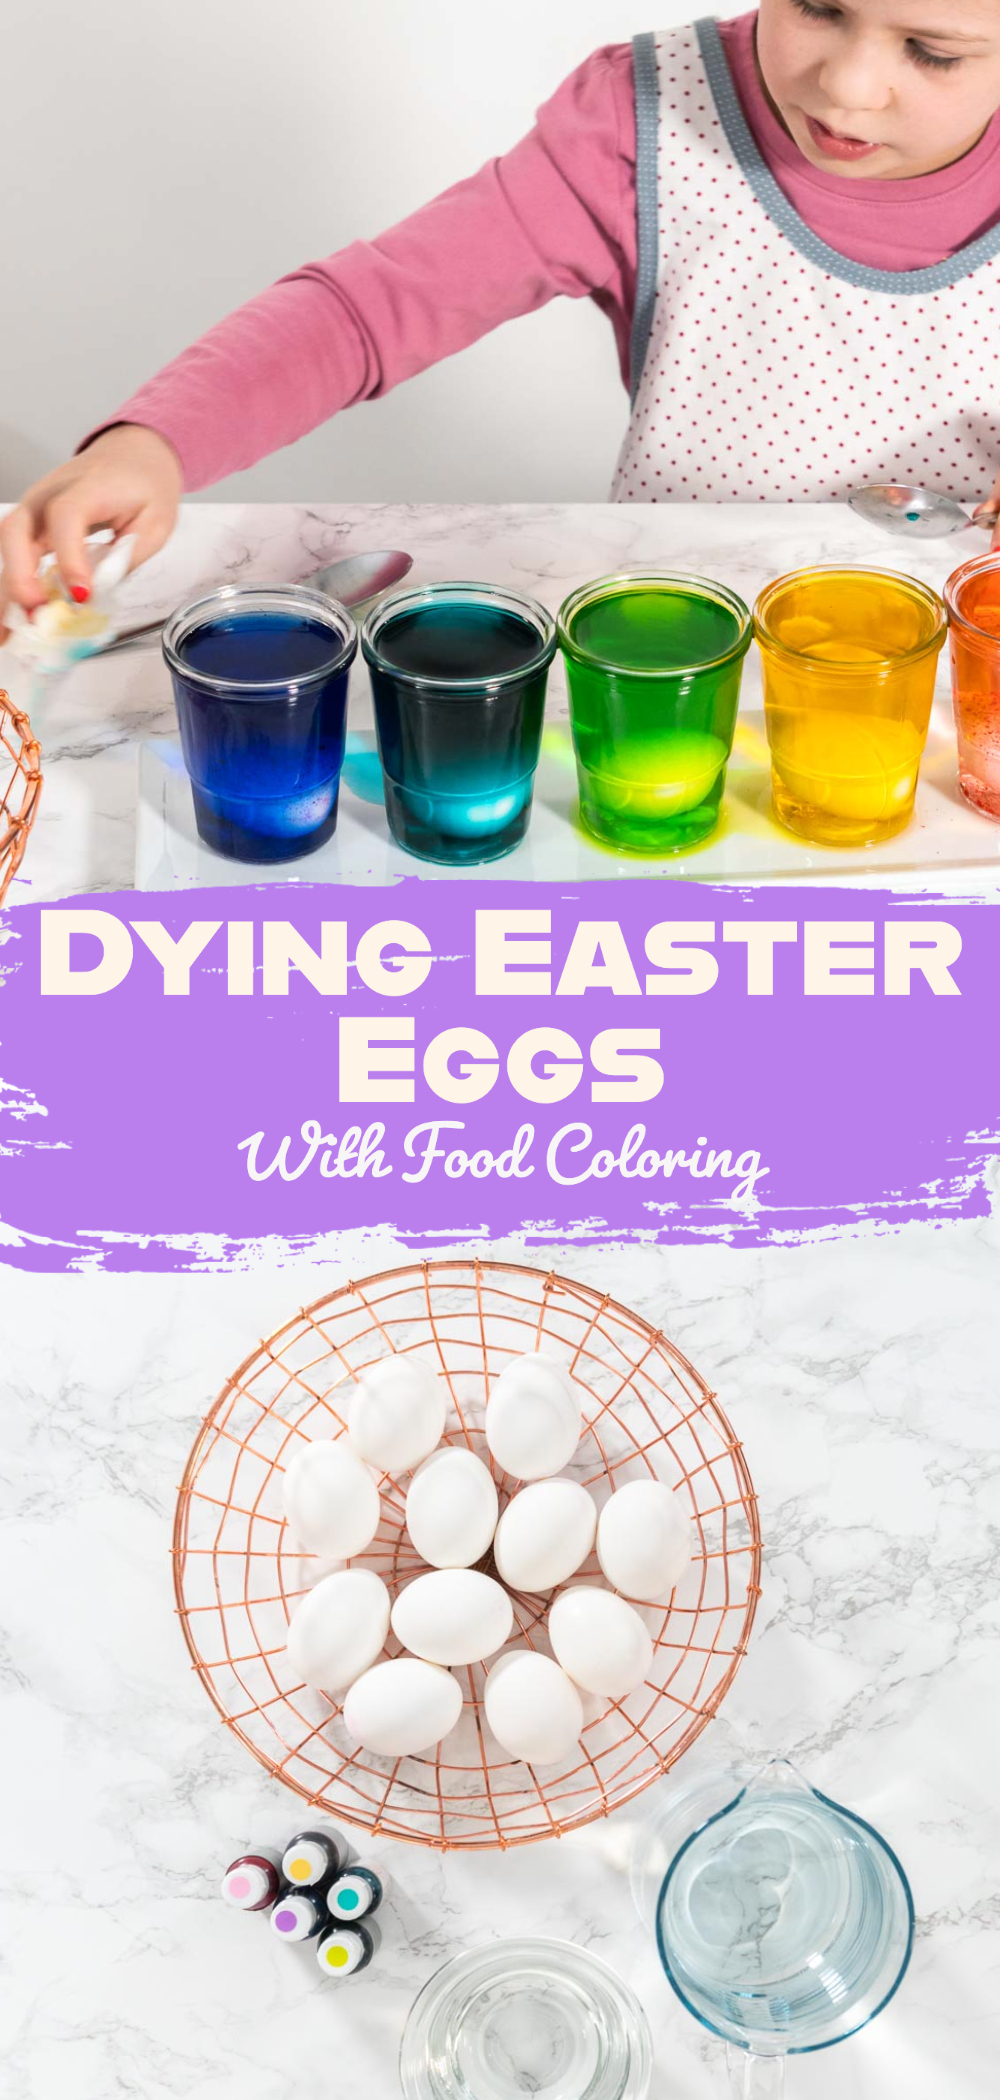
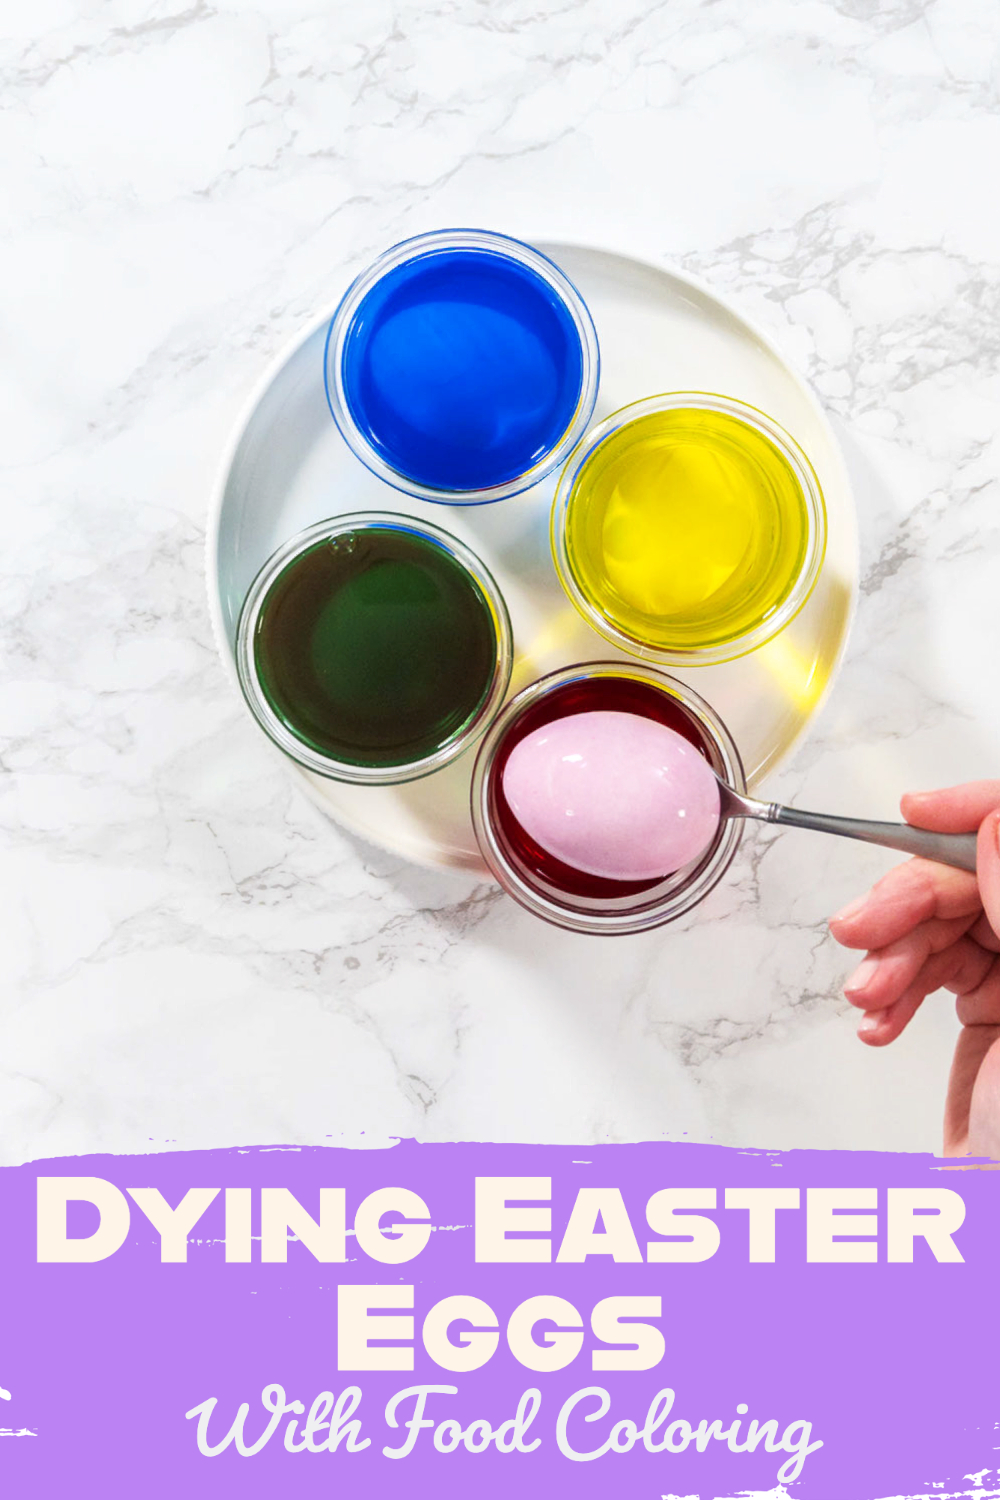
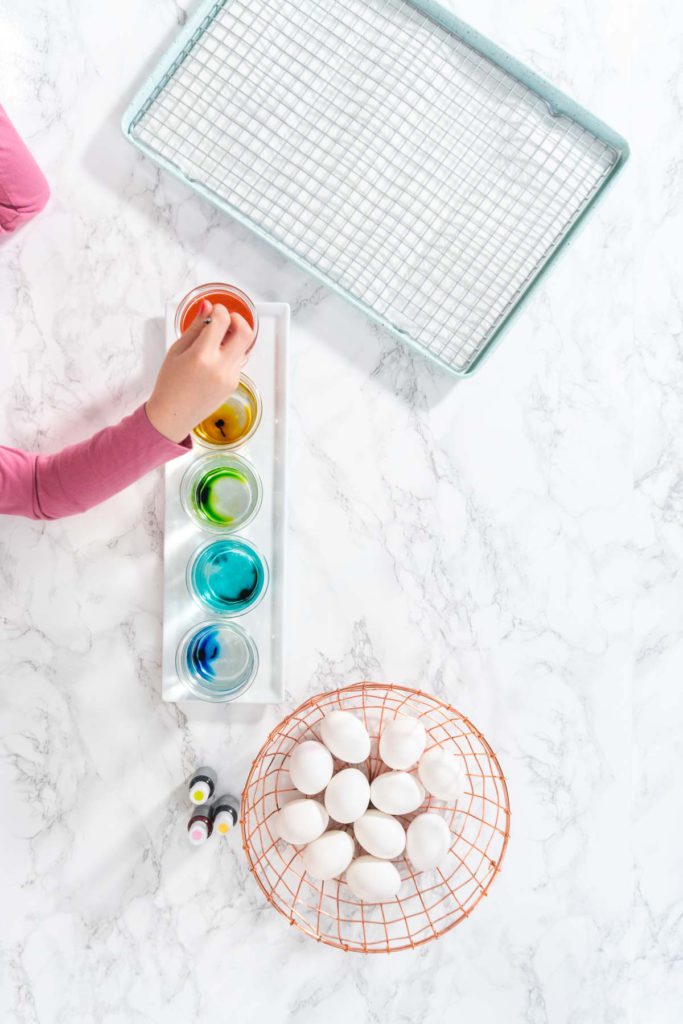
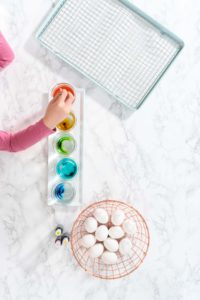
- Then, add a few drops of food coloring into each of the water bowls, making sure to keep the colors separate.
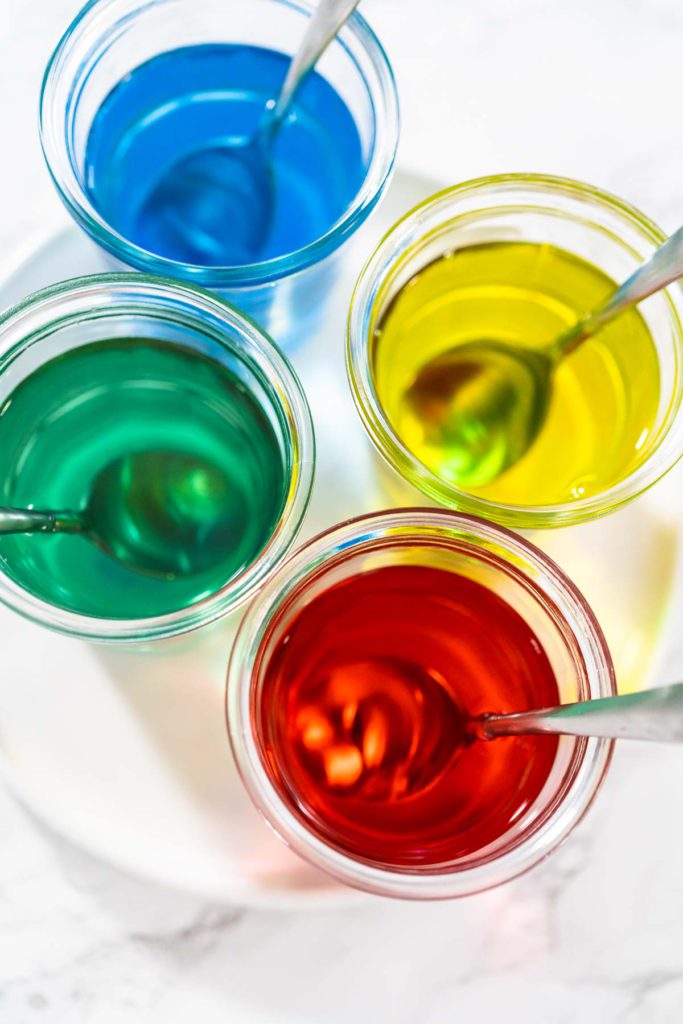
- Mix each color well with a spoon.
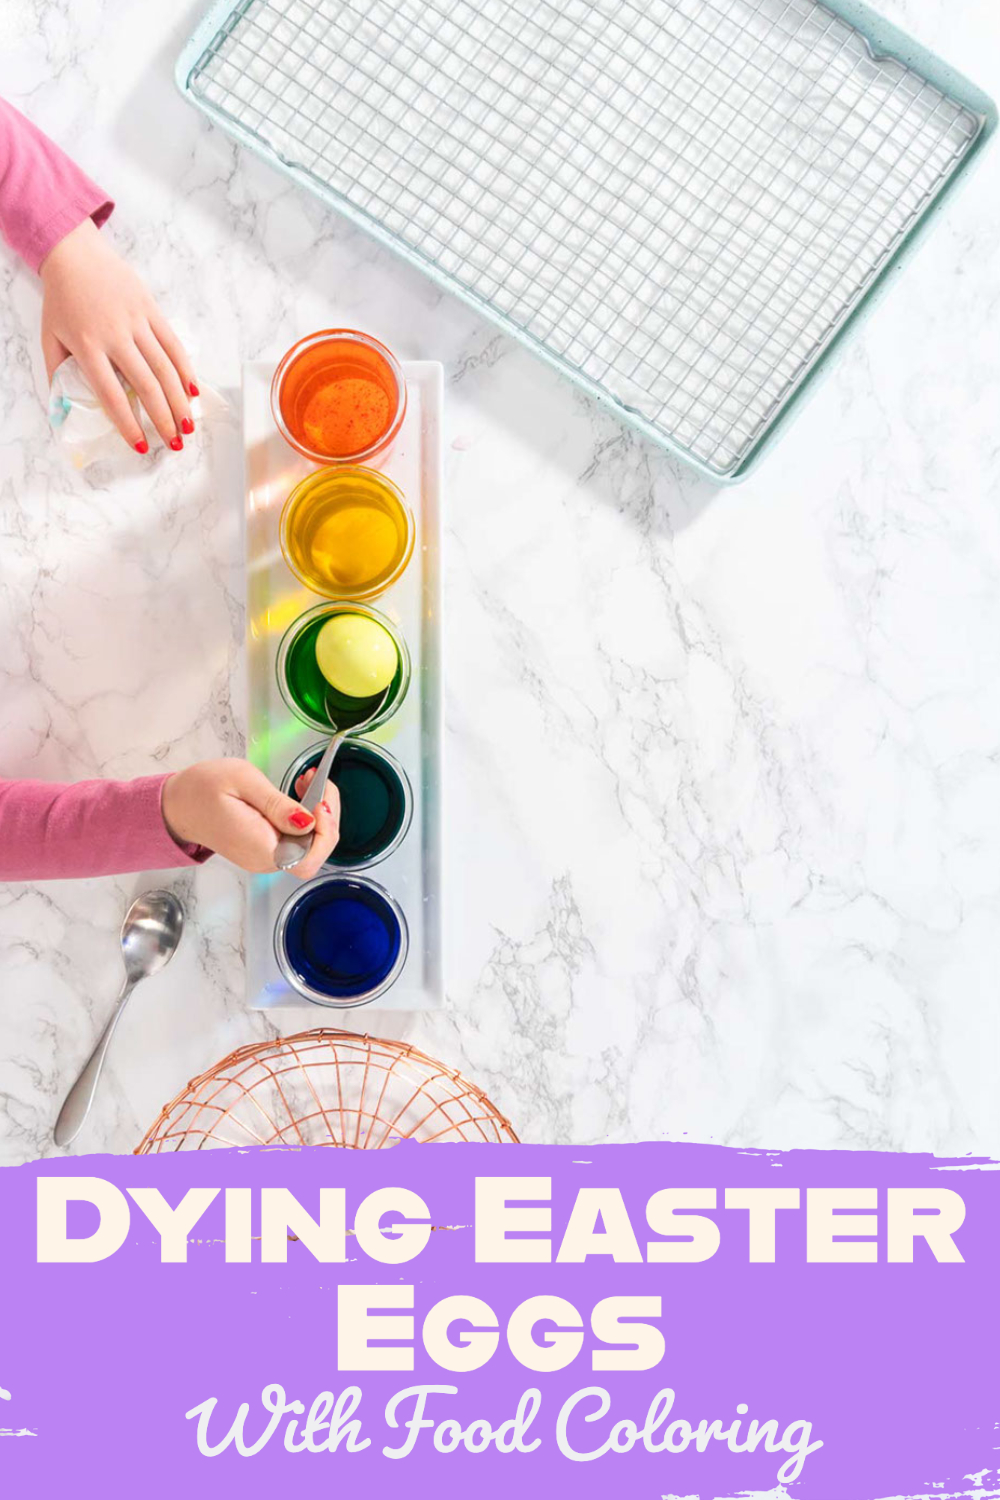
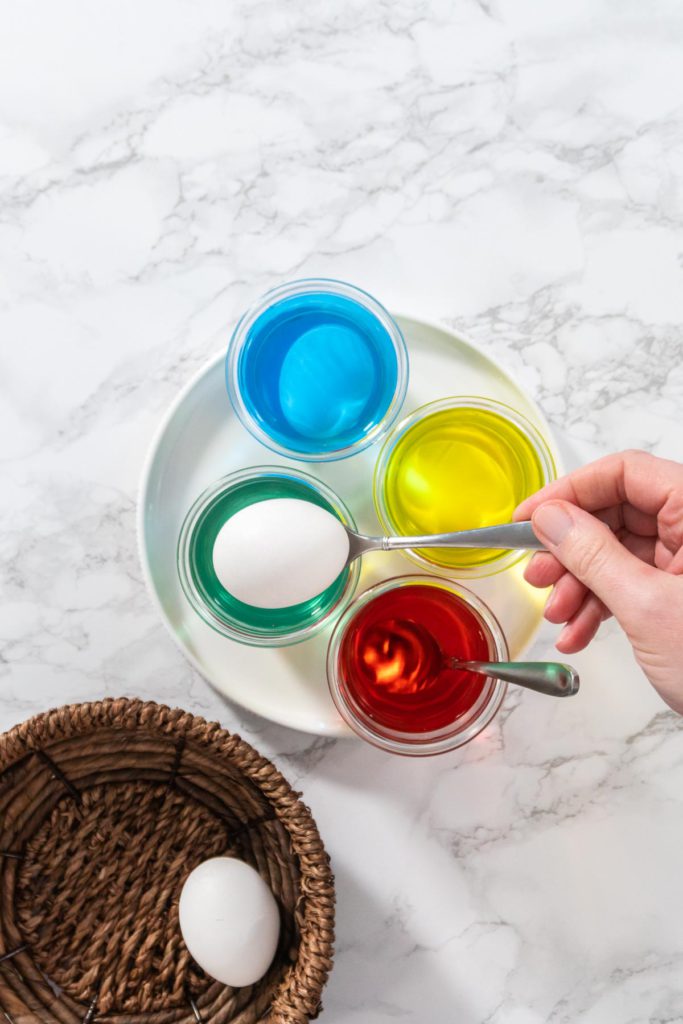
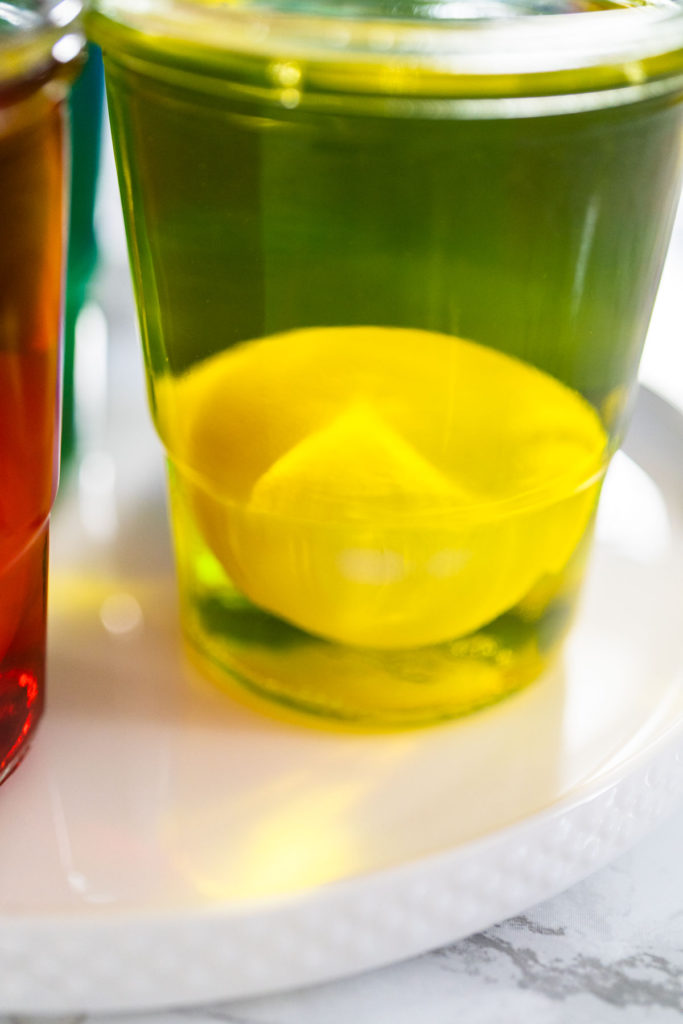
- Still using the spoon, carefully lower the eggs into the coloring.
- Only color one egg at a time per color.
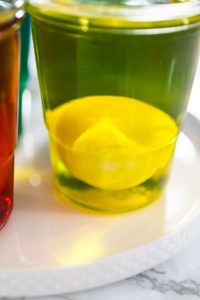
- Leave the eggs in the coloring for:
- Color gels: 3-5 minutes
- Natural color dyes: 15 minutes
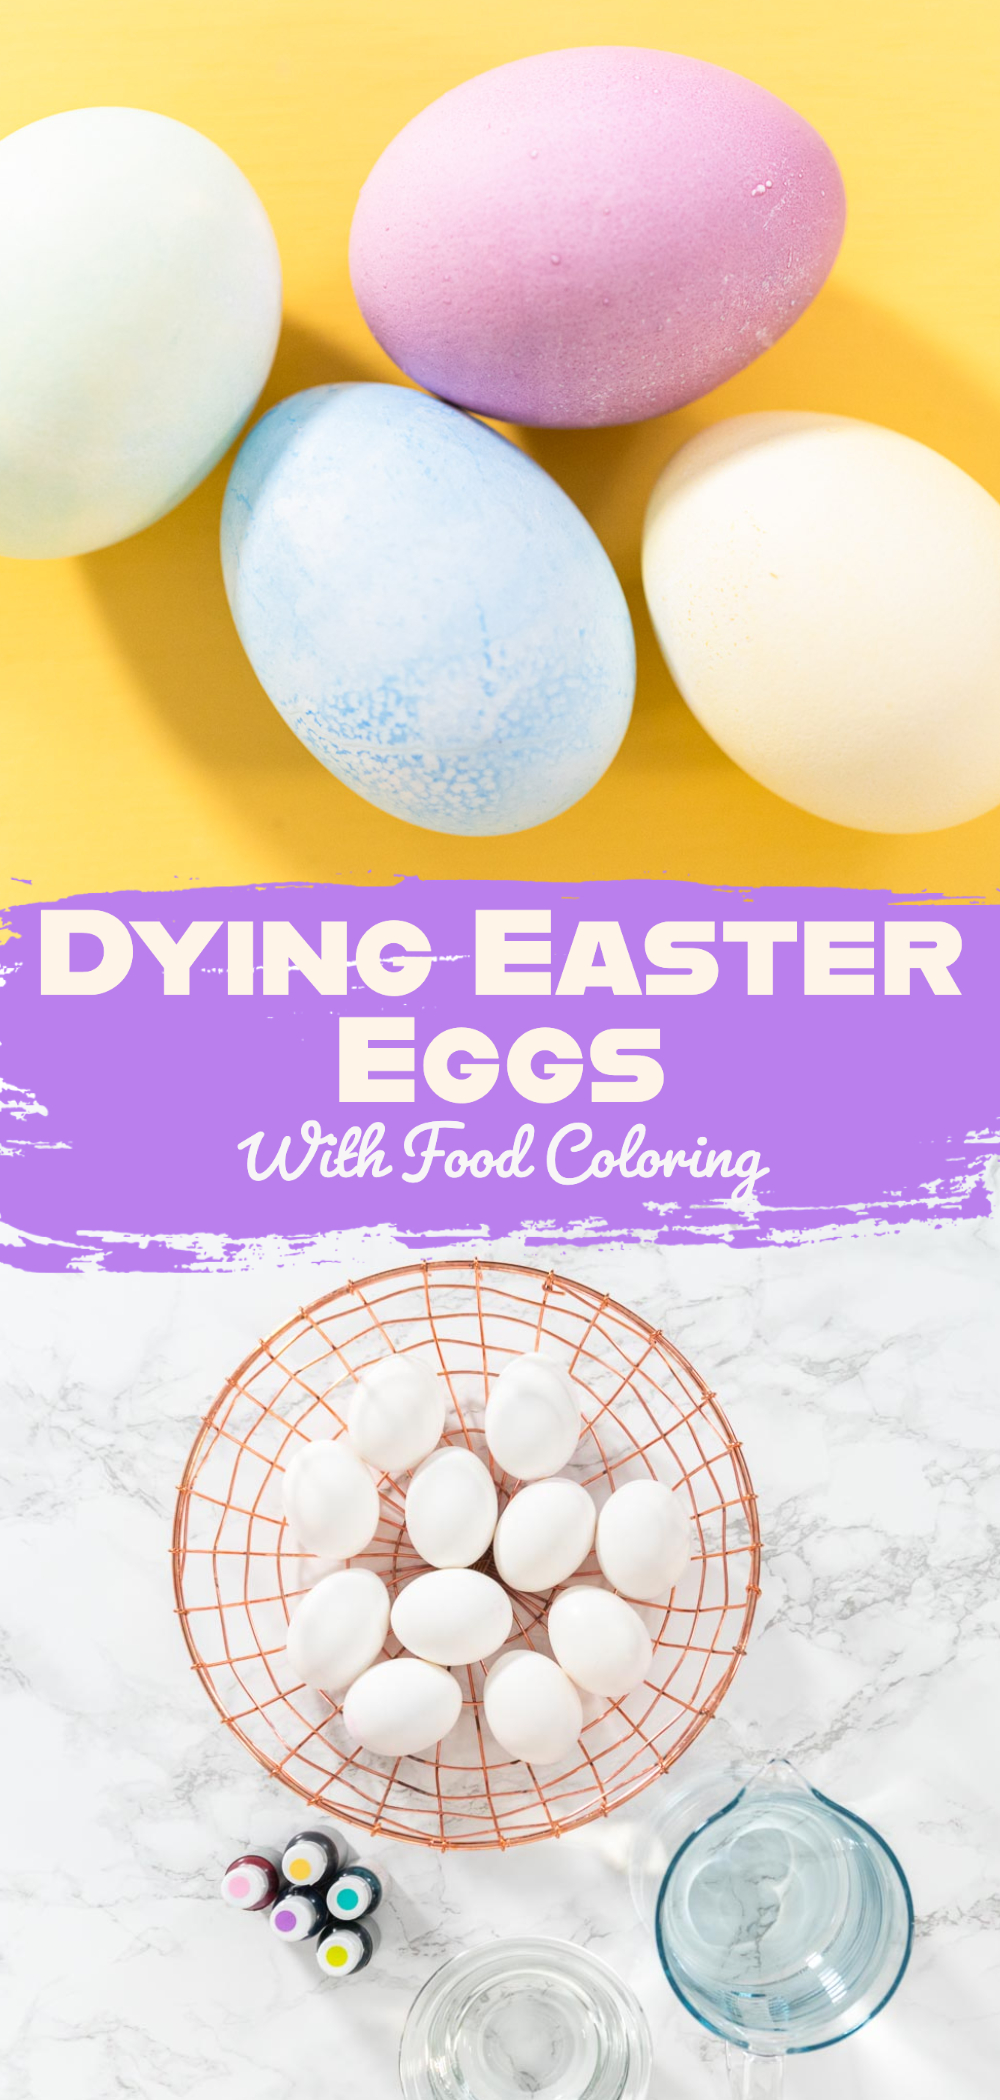
- If a darker color is desired, leave the eggs in longer.
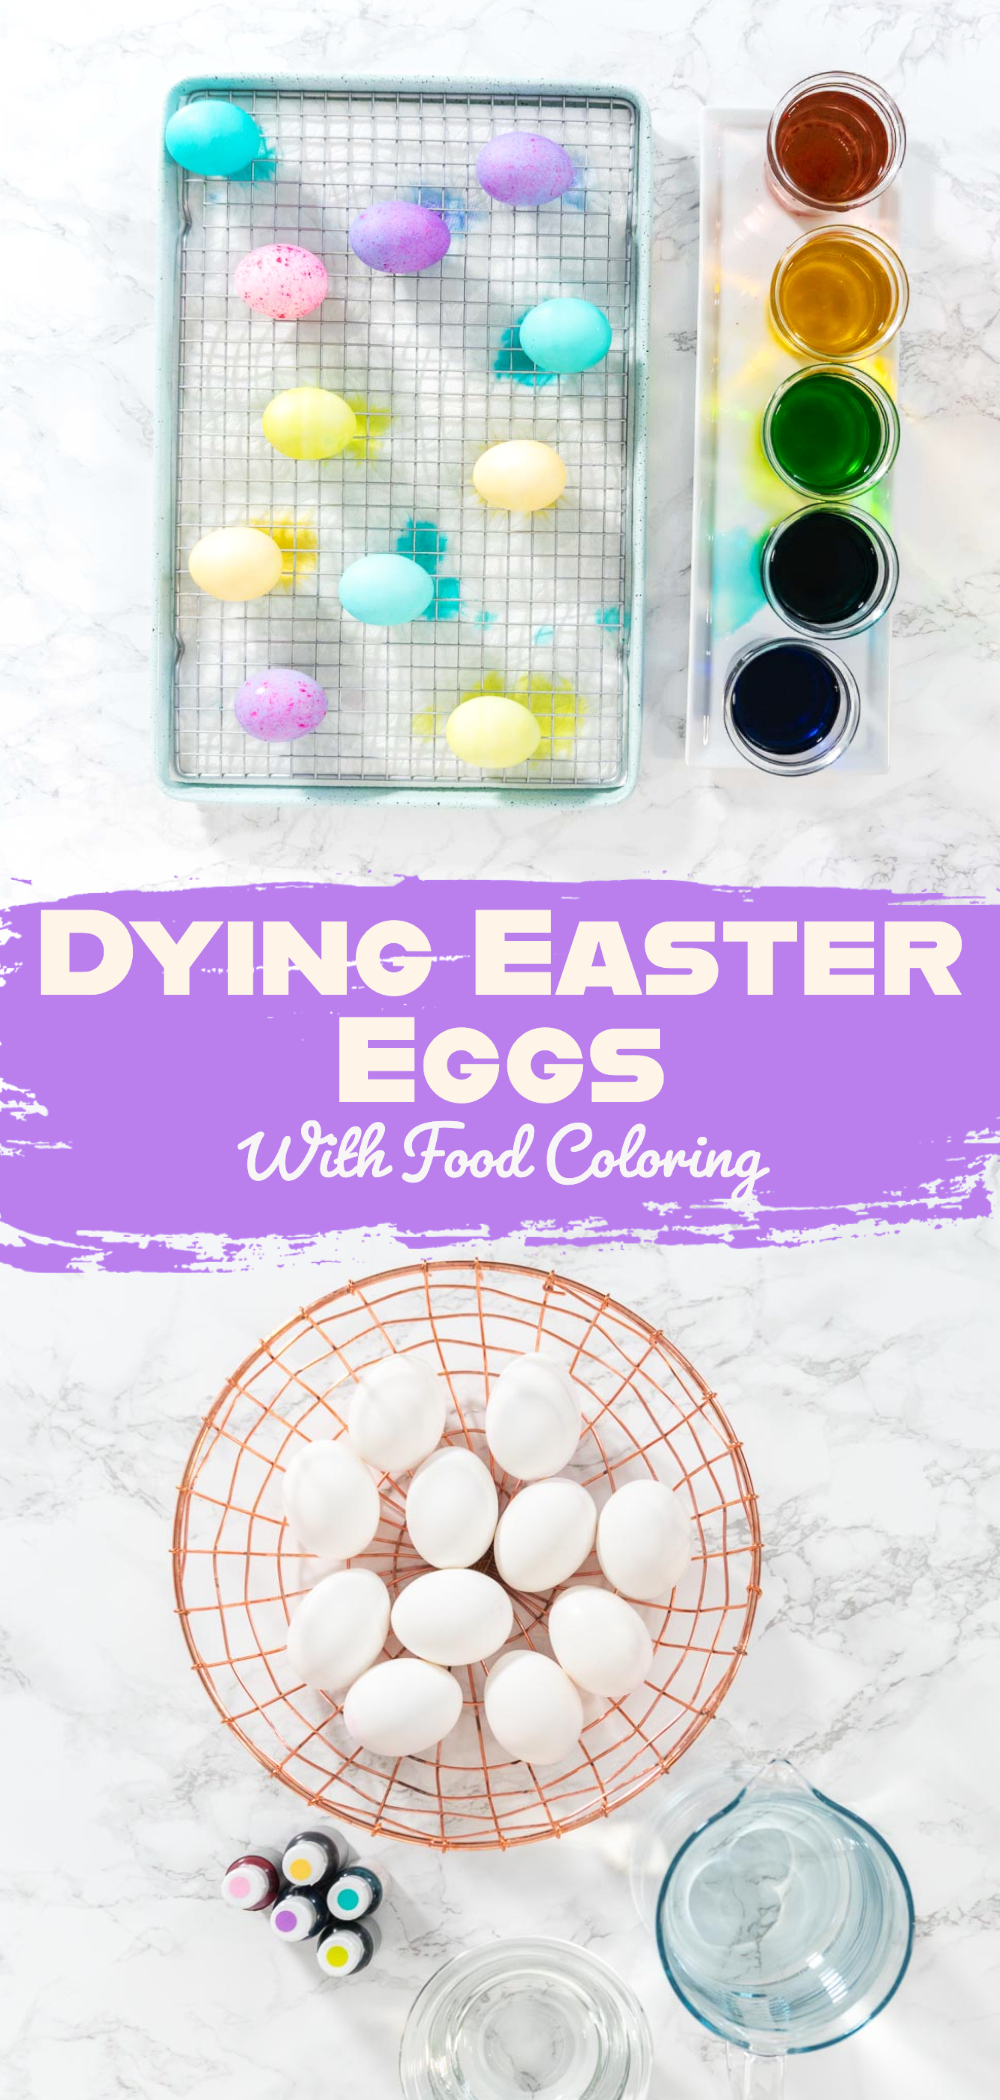
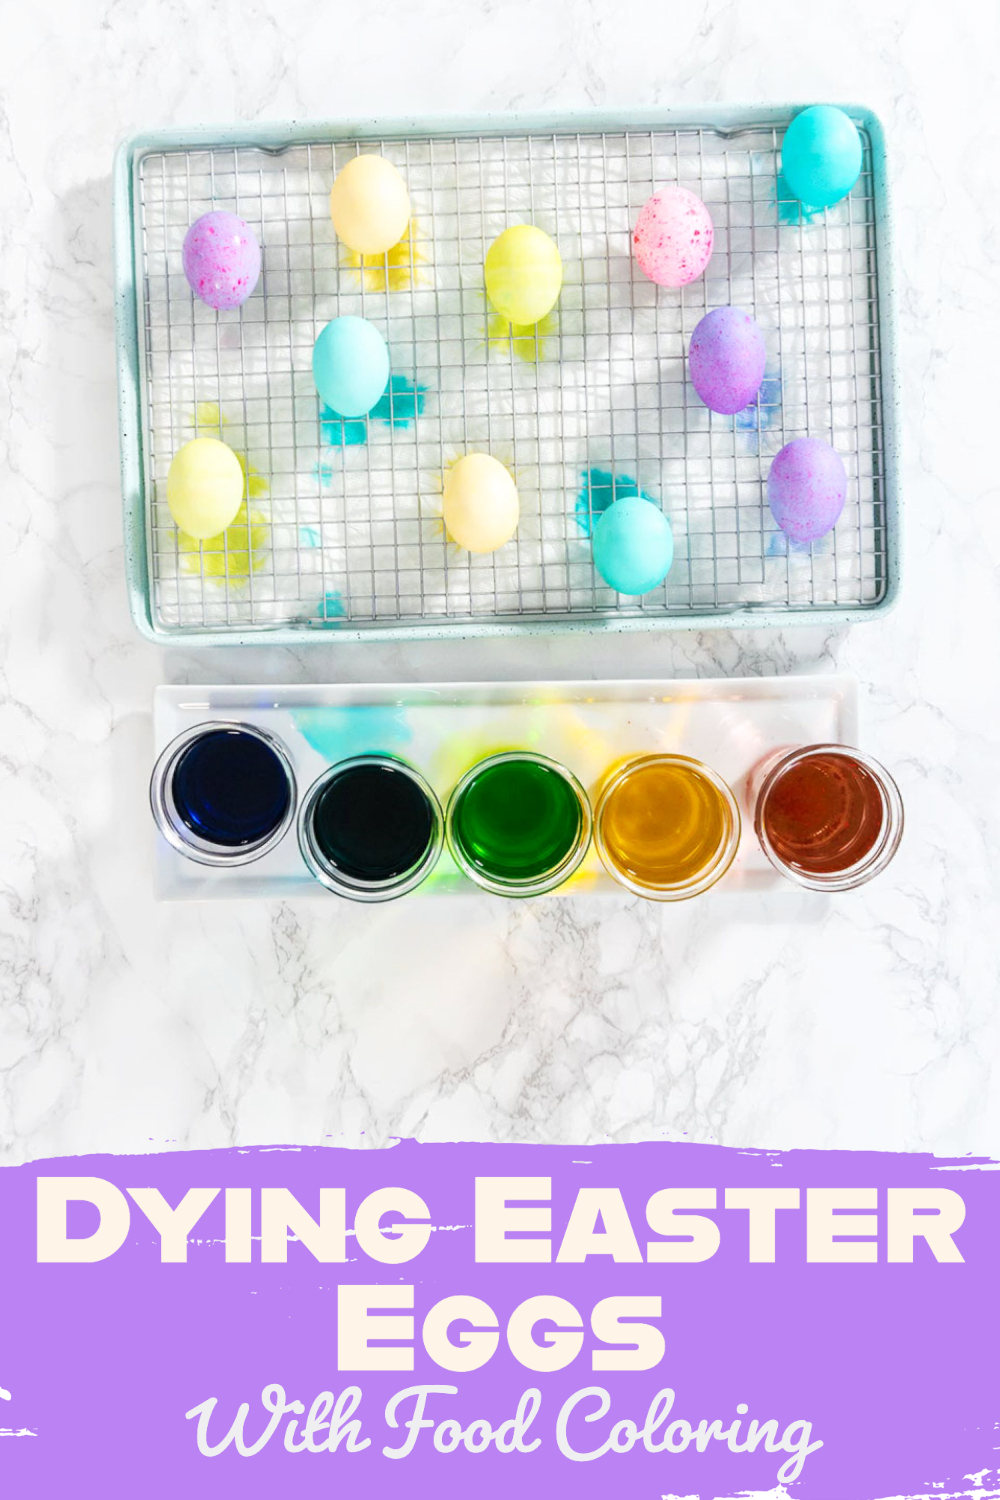
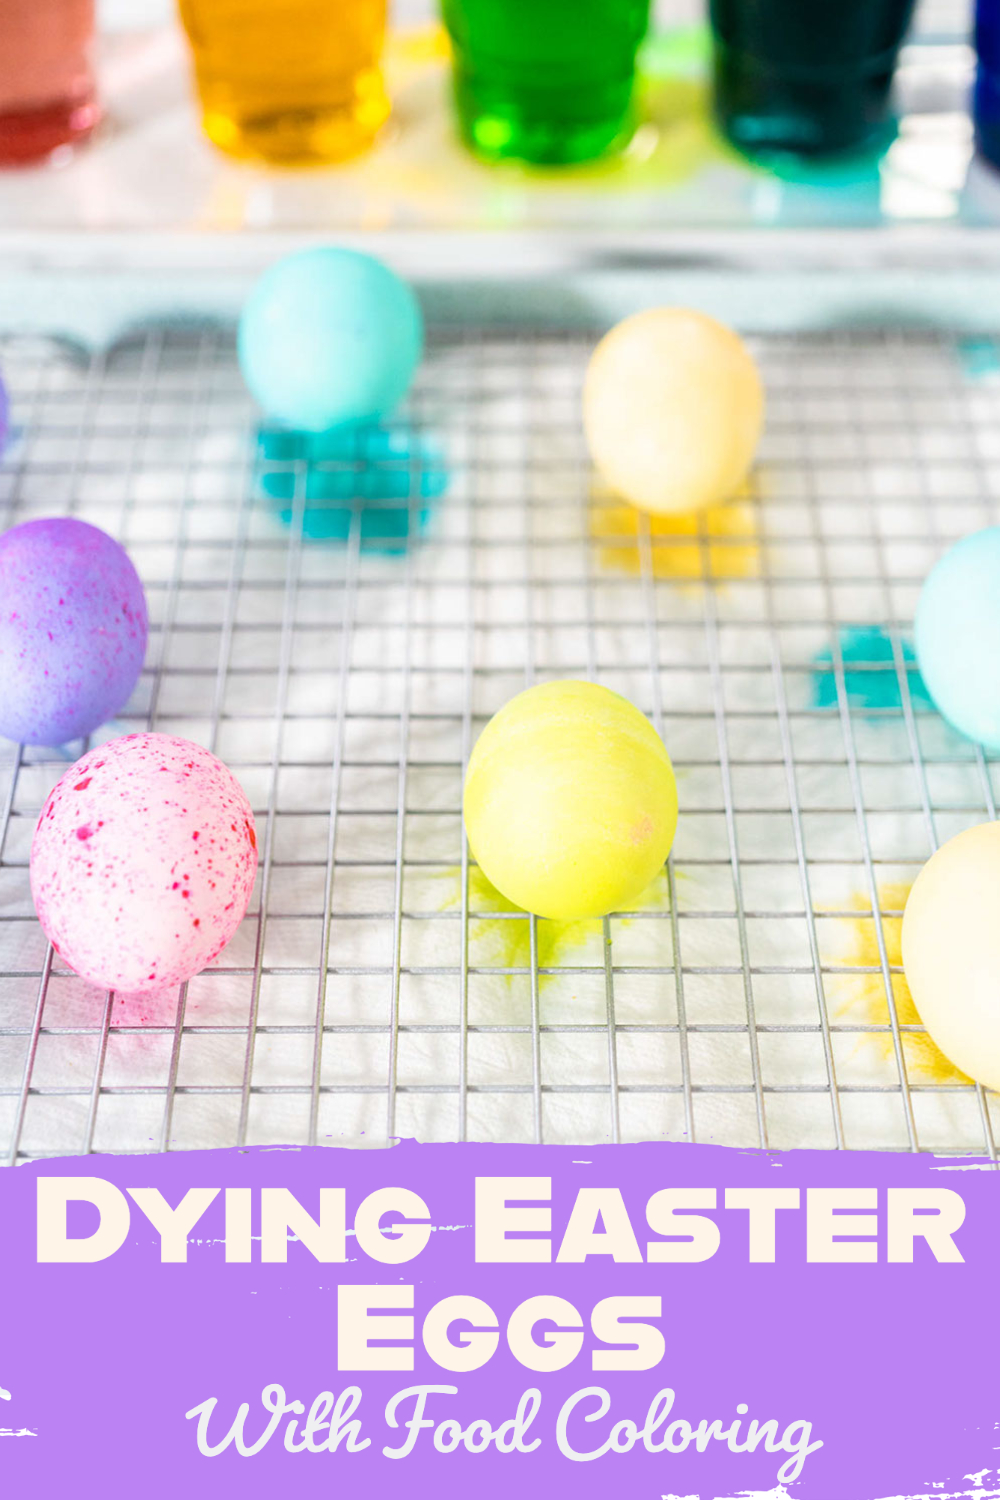
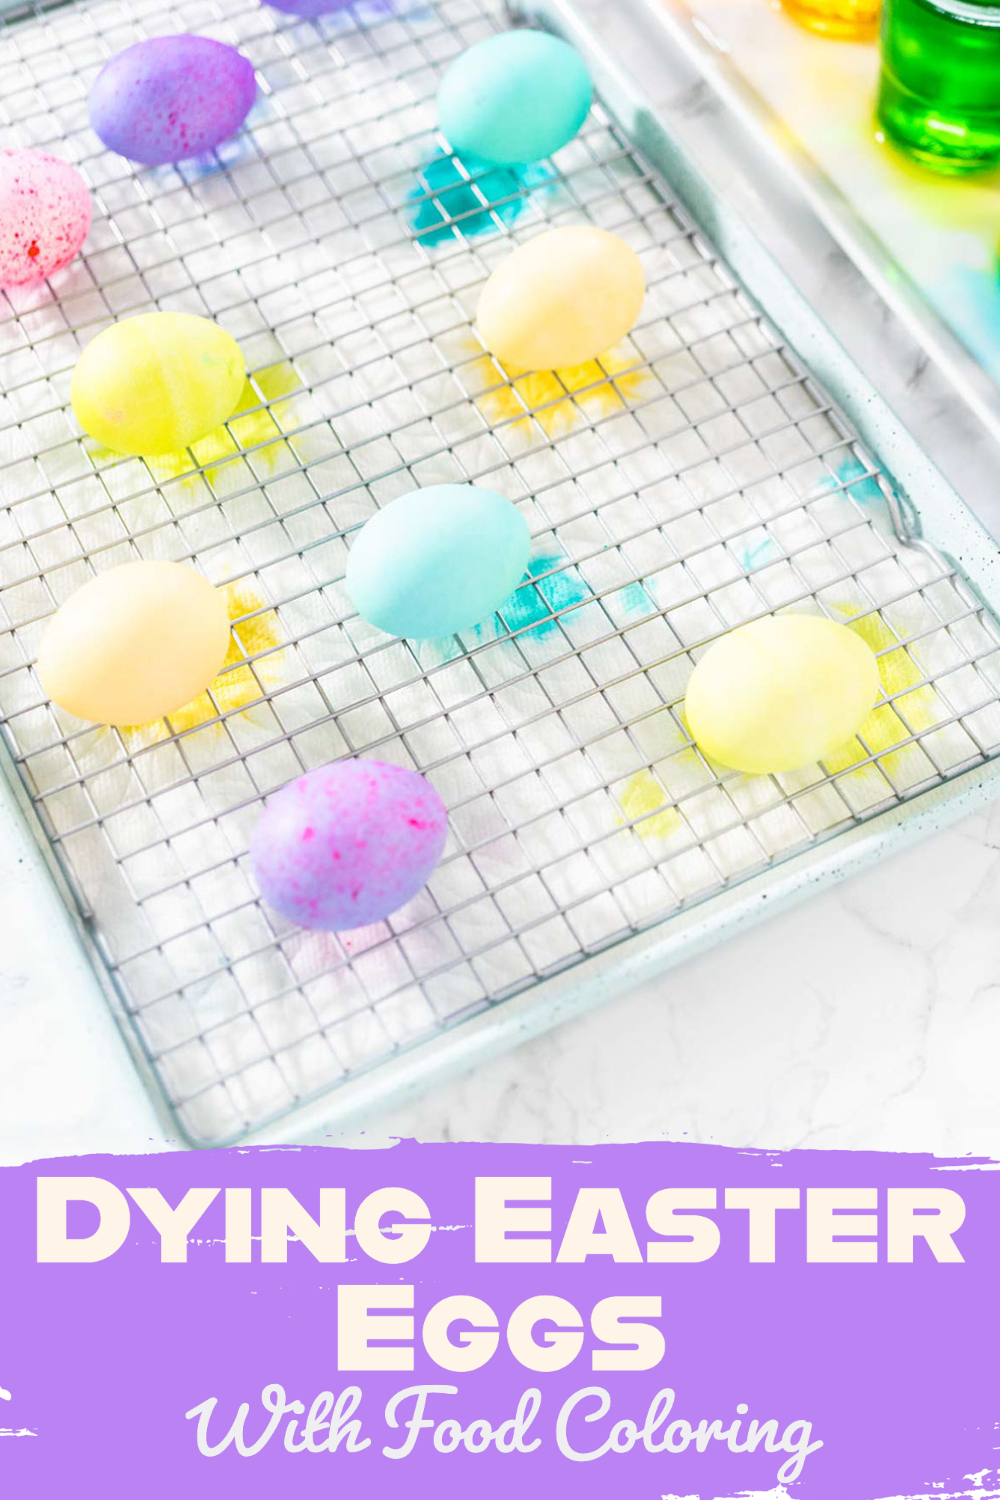
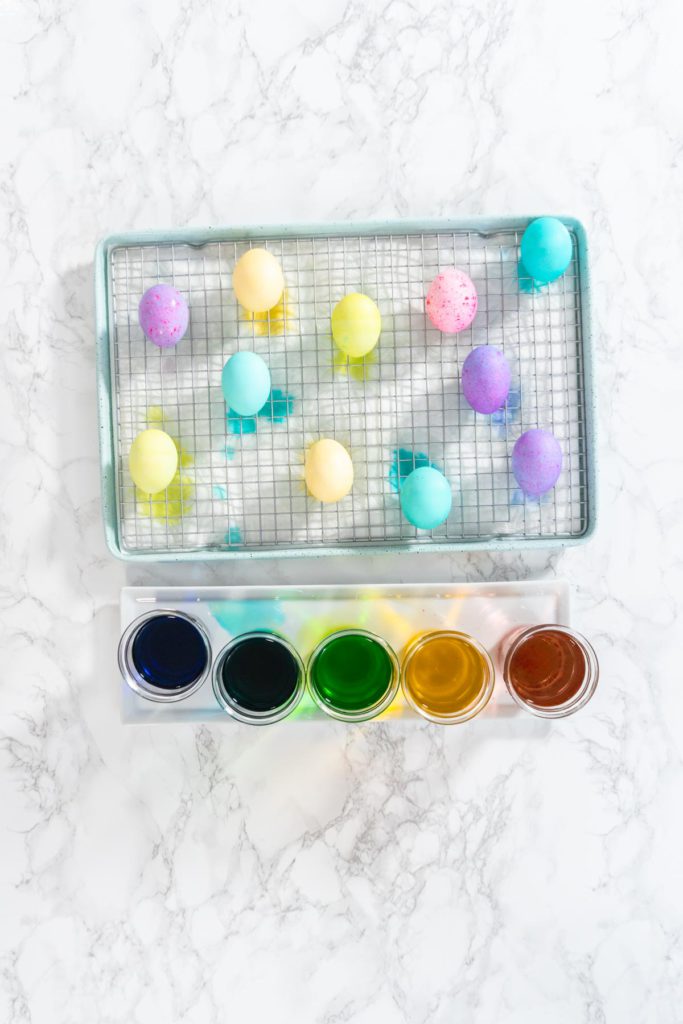
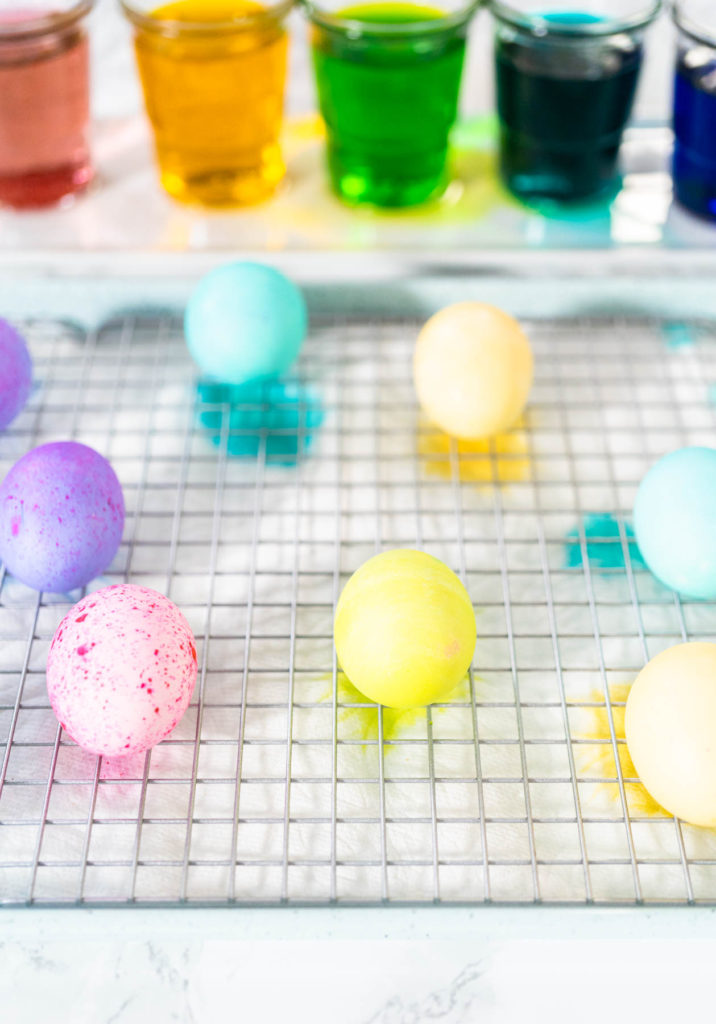
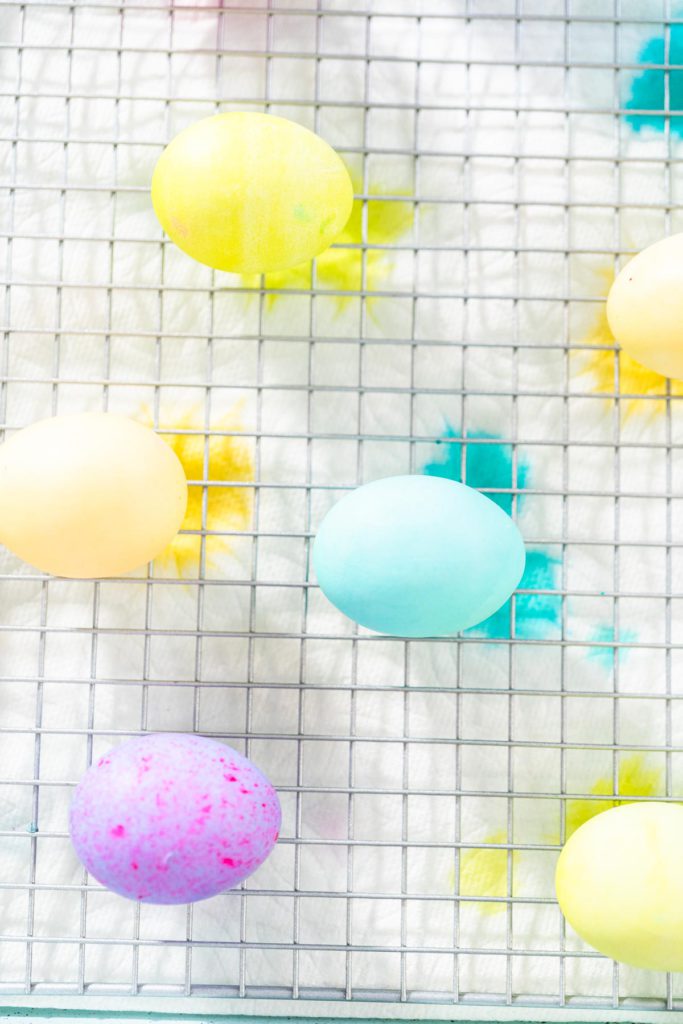
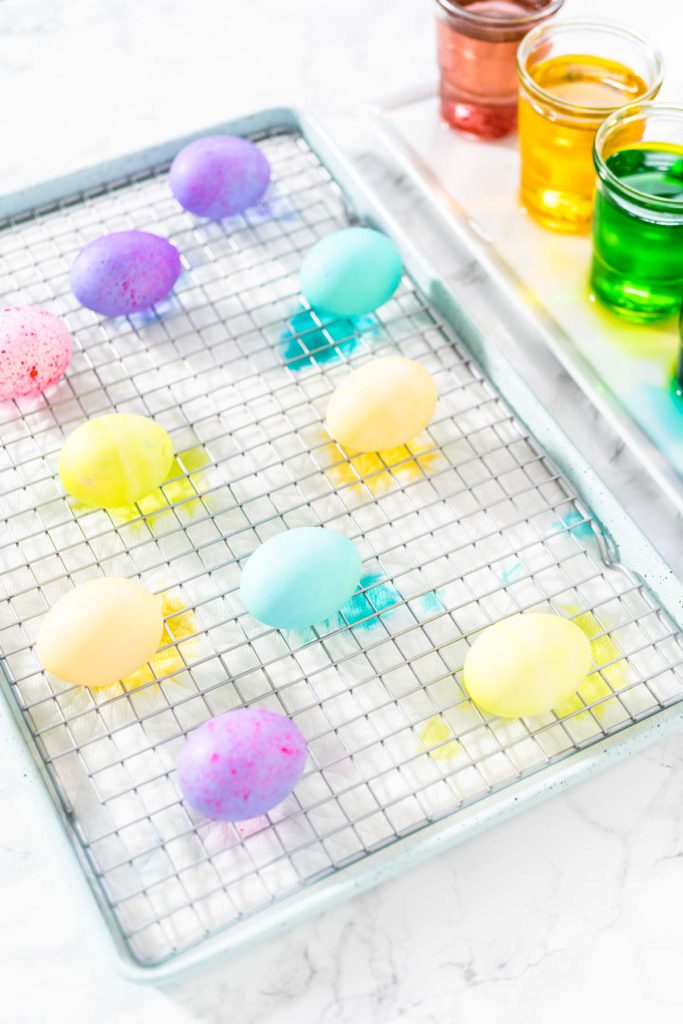
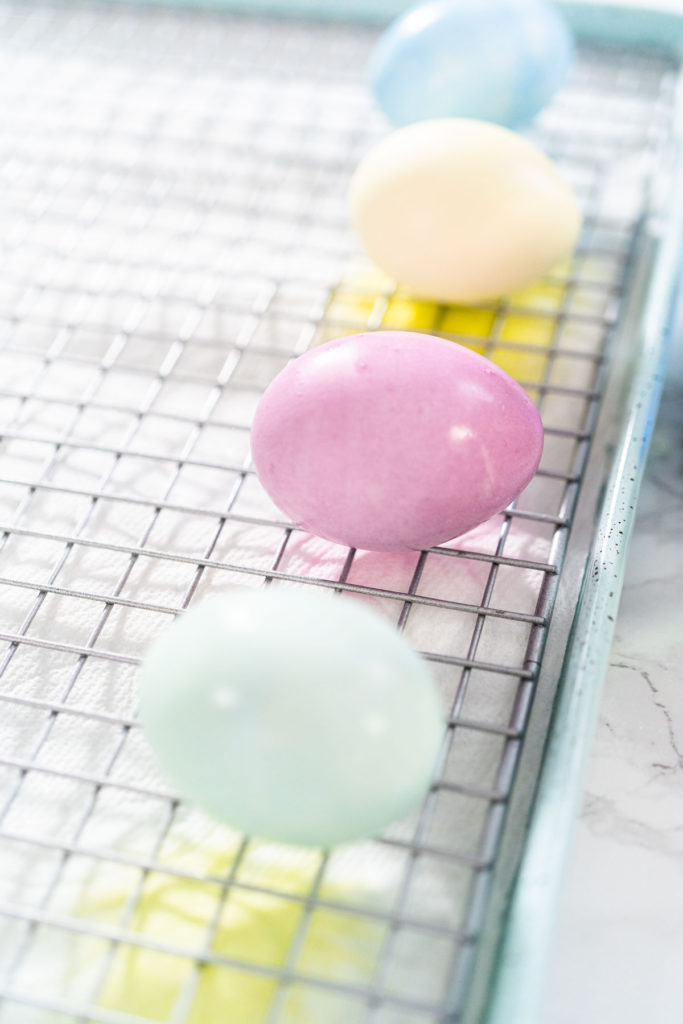
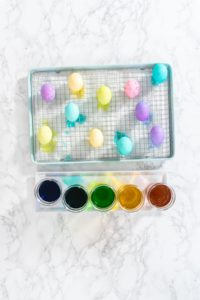
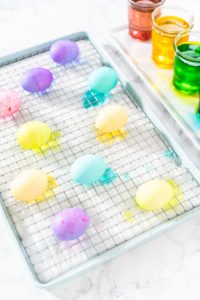
- Then, line a baking sheet with paper towels and a grid rack. Transfer the colored eggs to the rack to dry.
- Next, gently dry the eggs with more paper towels.
- Finally, you’re ready for Easter egg celebrations!
Storing Boiled Eggs
To store hard-boiled eggs: transfer the eggs to an airtight container lined with a damp paper towel. Cover the eggs with another damp paper towel and seal the lid tightly. These hard-boiled eggs will stay good stored like this in the fridge for 3-4 days. Label the date on the outside of the container to keep up with freshness.
Other Easter Recipes
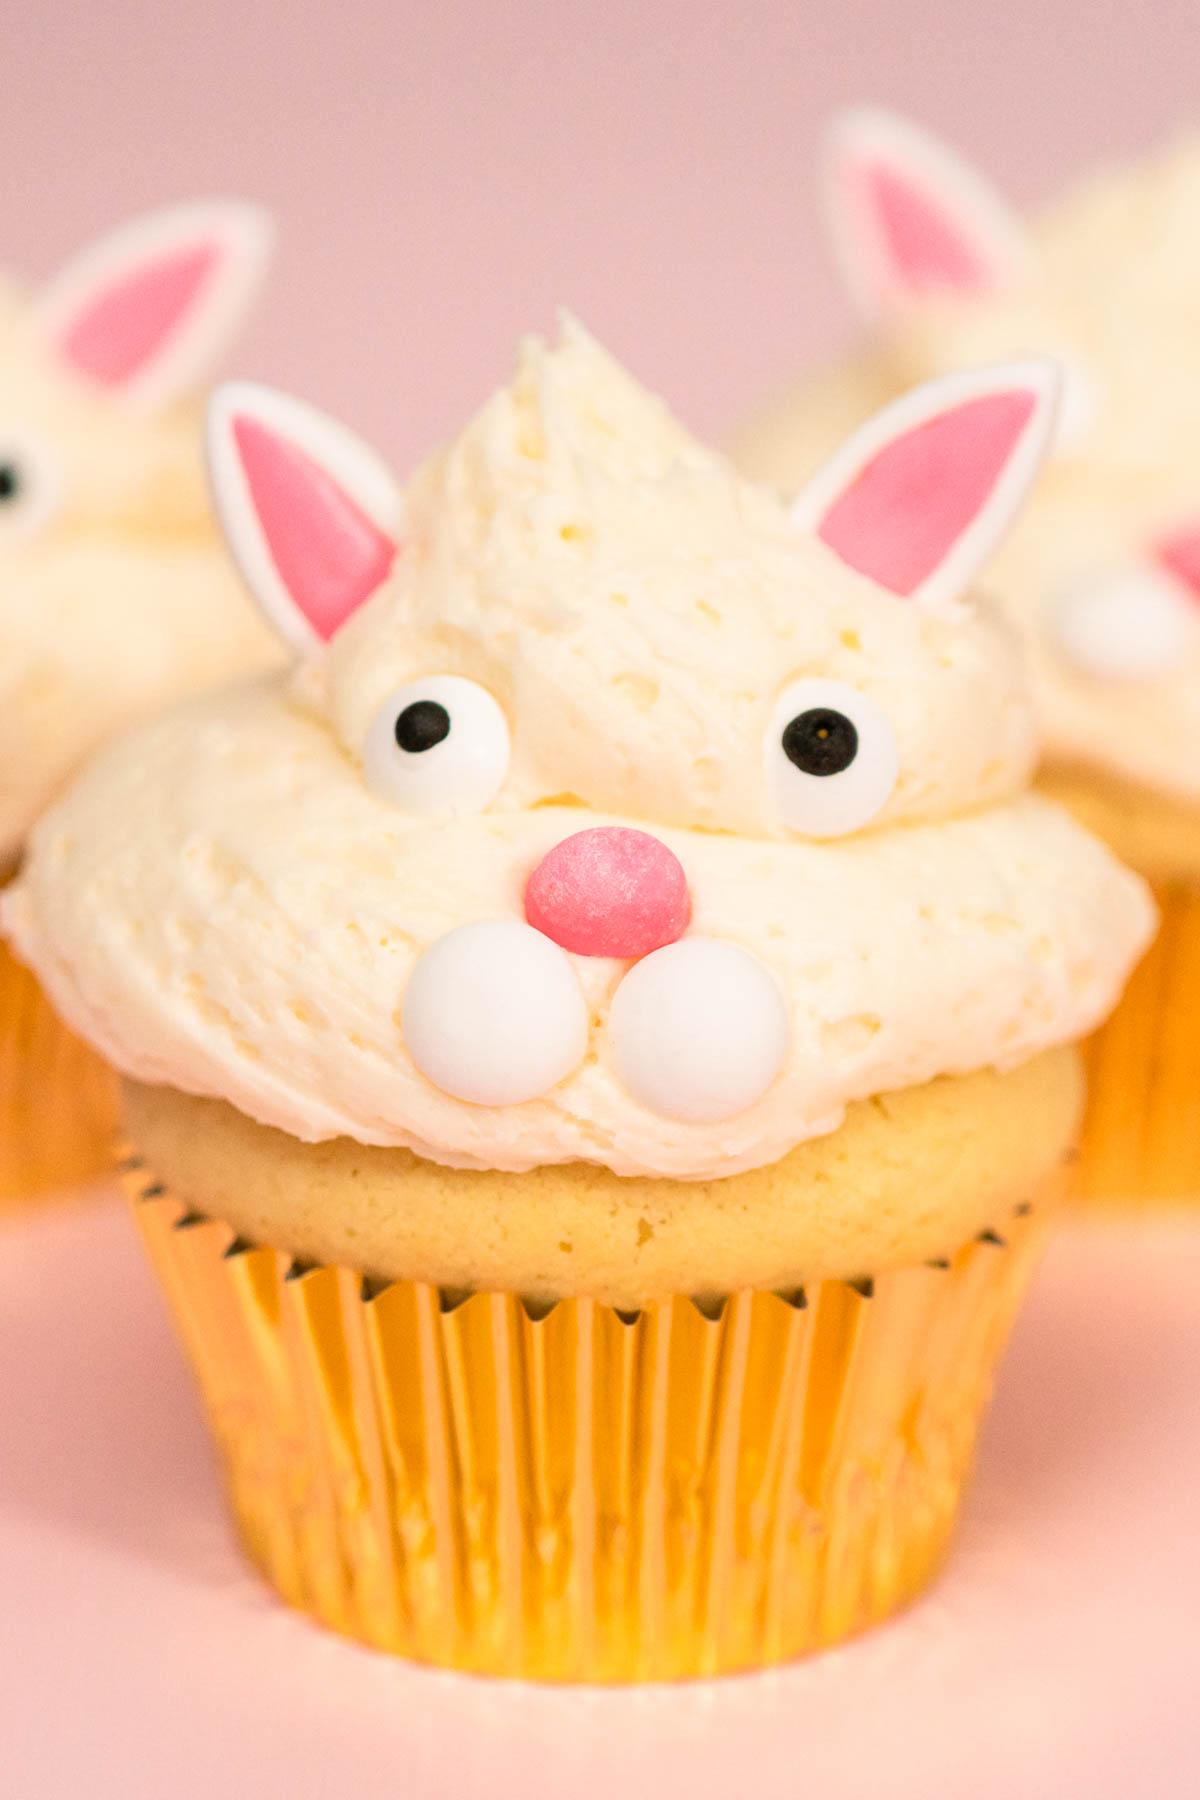
- Easter Bunny Cupcakes
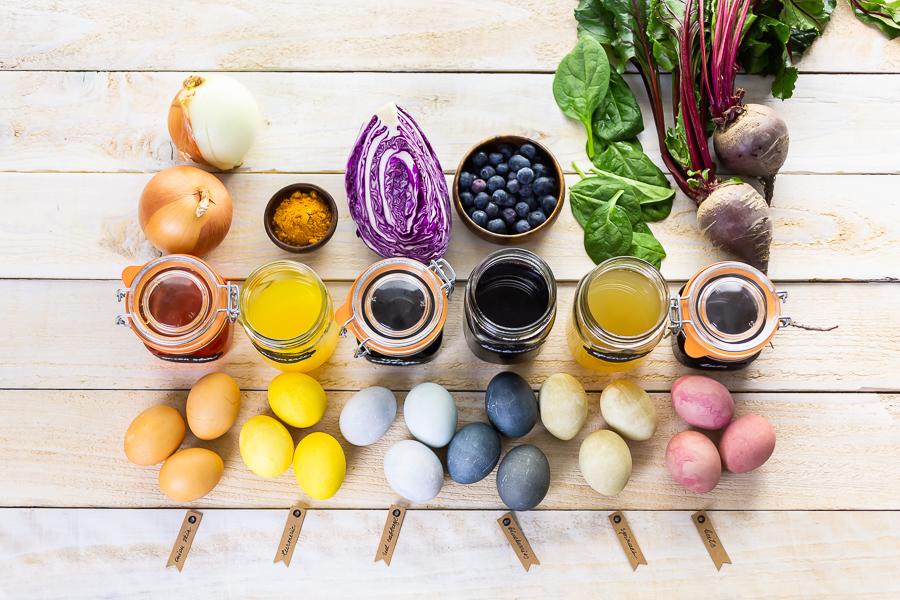
- How to Dye Easter Eggs Naturally with Vegetables and Spices
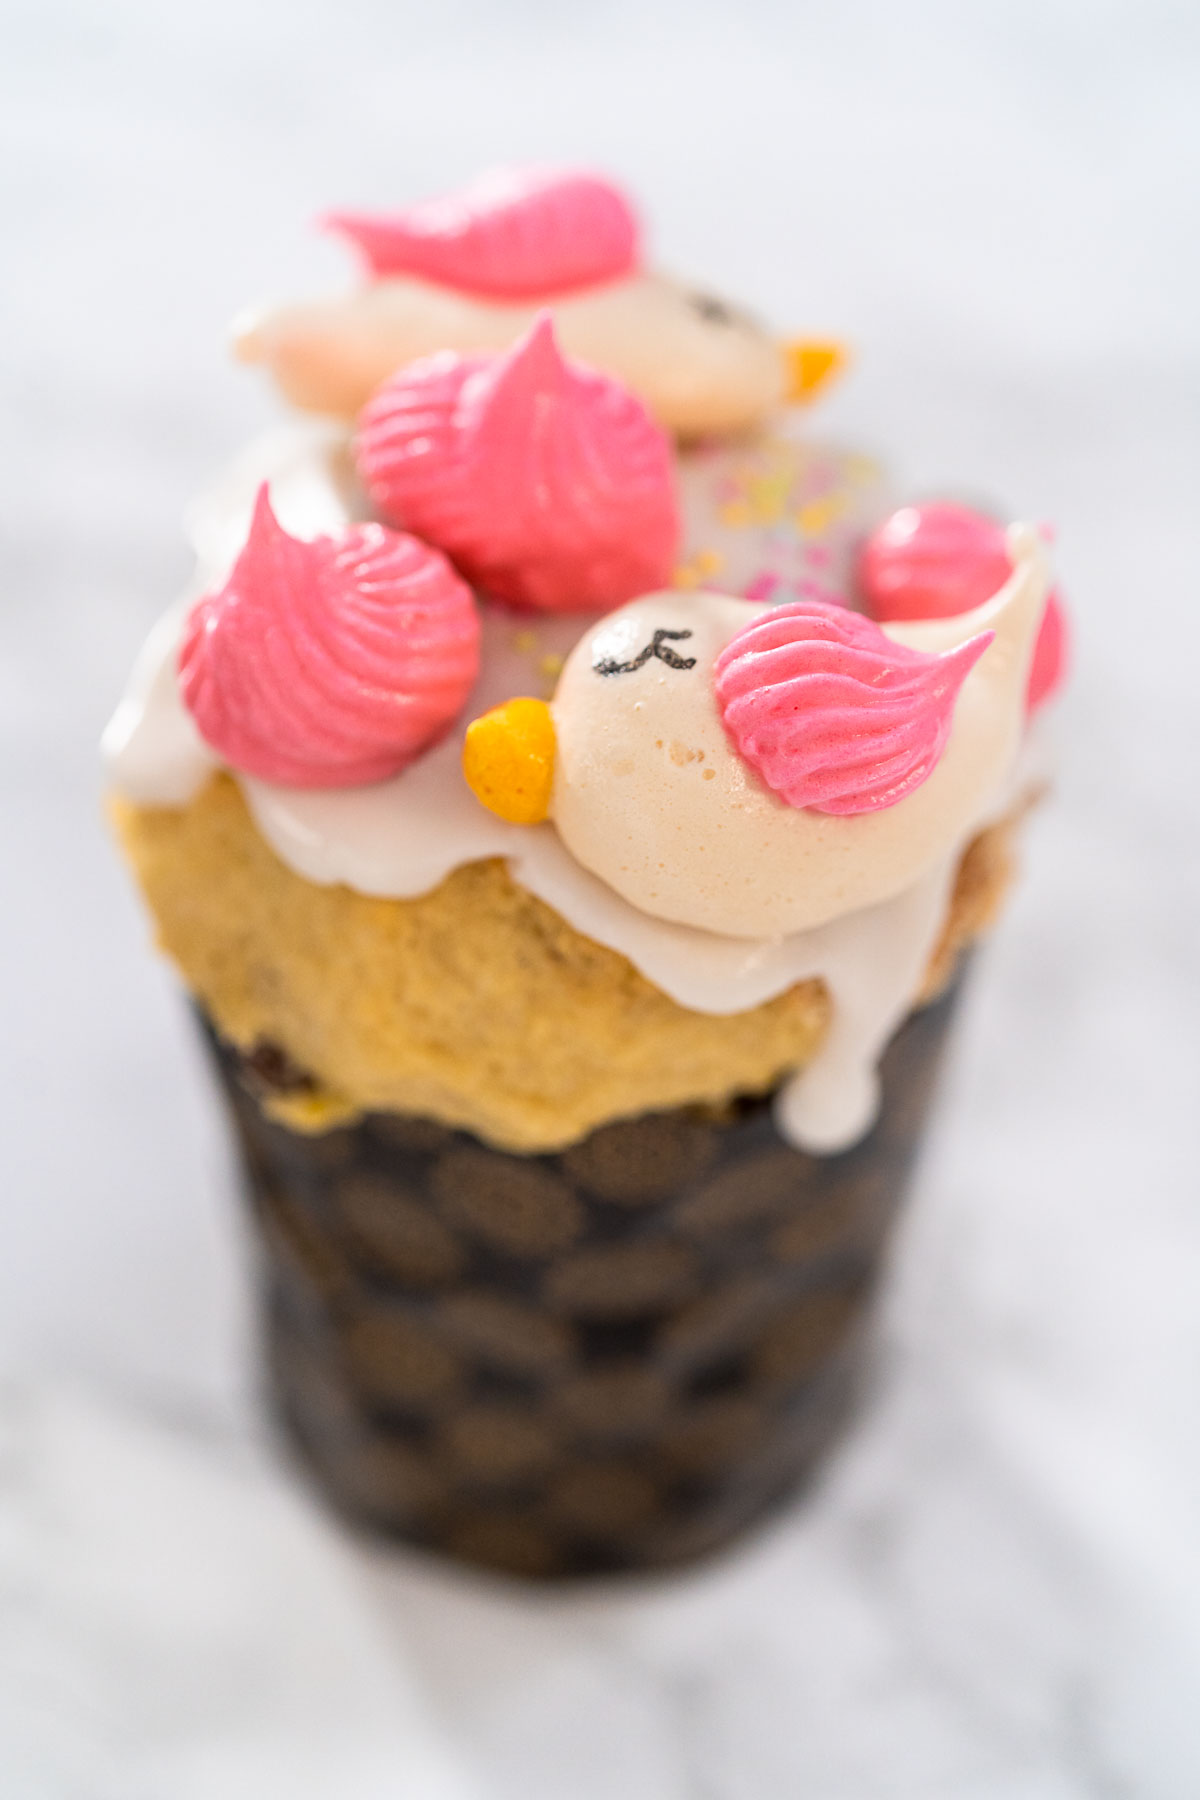
- How to Make Mini Kulich for Easter (Individual Bread Loaves)
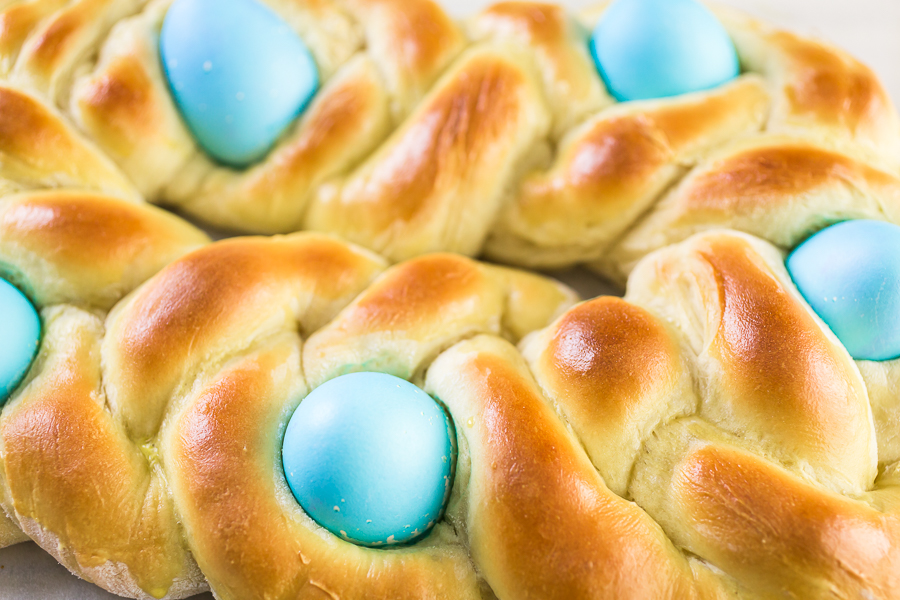
- Italian Easter mini bread
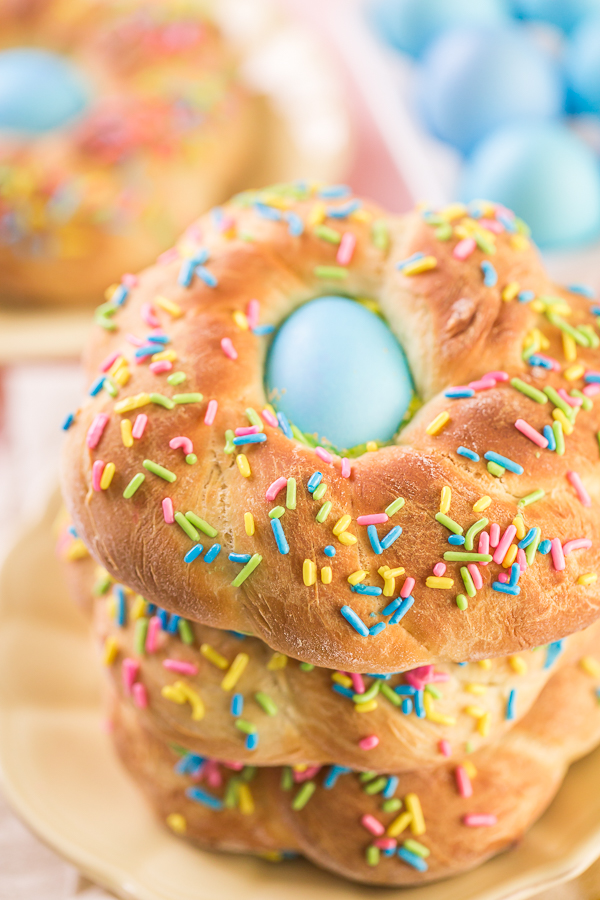
- Traditional Italian Easter Bread Recipe – Soft, Sweet, and Perfect for Easter Brunch
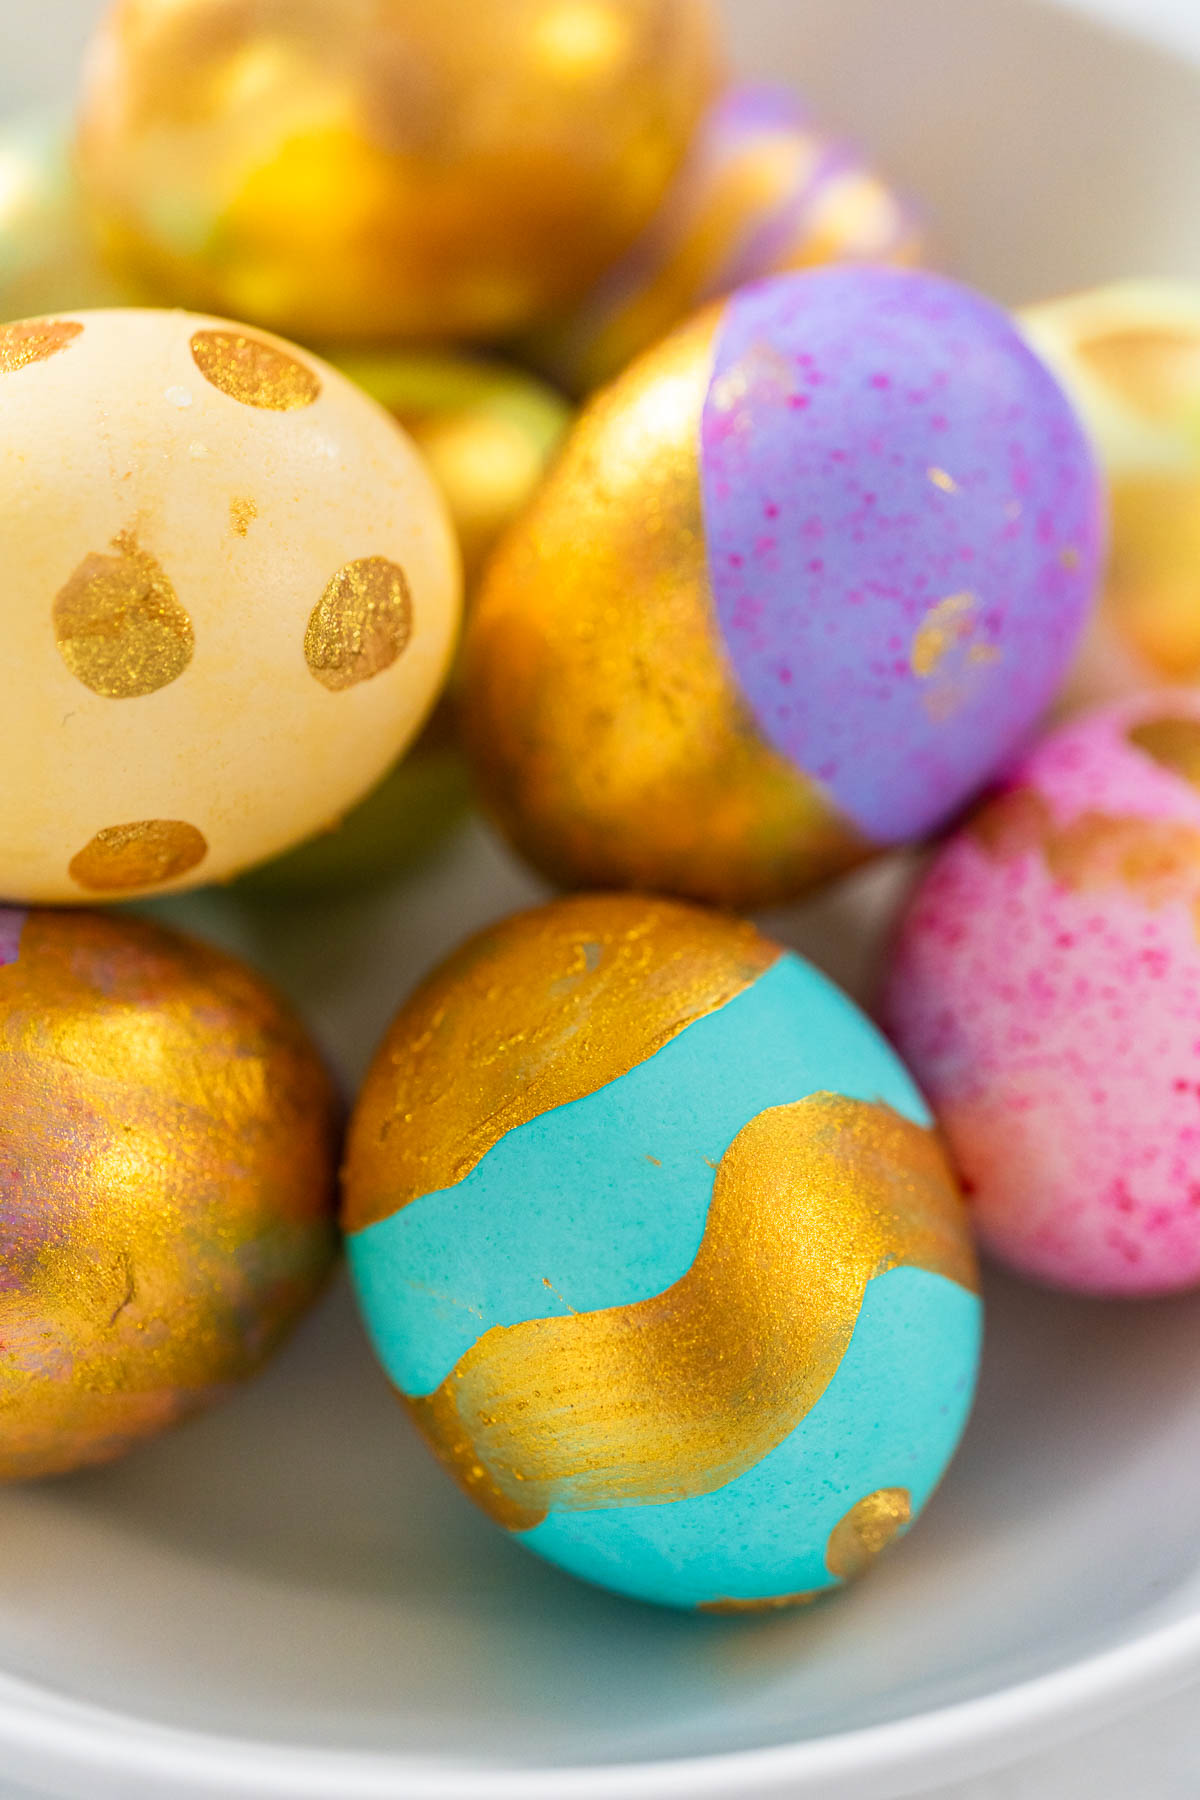
- How to Make Edible Gold Easter Eggs with Food-Safe Paint
Egg-cellent Easter Recipes
Want even more Easter fun and some scrumptious spring treats to keep the excitement going? Check out some of my other Easter recipes and egg-y dishes to keep the holiday celebrations and the good food going.
More Easter Recipes:
- Italian Easter Bread
- Italian Mini Easter Breads
- Easter Lemon Cookies
- Easter Charcuterie Board
- Easter Chocolate Covered Pretzels- Carrots
- Easter Chocolate Covered Pretzels- Bunnies and Ducklings
Egg Dishes:
- Bacon and Cheese Egg Muffins
- Spinach Frittata
- Macaroni Salad with Chicken
- Instant Pot No-Peel Hard-Boiled Eggs
- Hard-Boiled Eggs
Dying Easter Eggs With Food Coloring
Video
Ingredients
- 12 white eggs hard-boiled and cooled
- 5 cups water room temperature, 1 cup per color
- 10 teaspoon white vinegar 2 teaspoon per color
- 1 teaspoon Food Coloring of each color
Instructions
- First, measure out all of the ingredients with the measuring cup and spoons. Here’s my easy Hard-Boiled Eggs recipe.
- Then, separate the water into small bowls -1 for each color you will be using. Use approximately 1 cup of water for each color.
- Next, add 2 tsp. of white vinegar to each bowl of water.
- Then, add a few drops of food coloring into each of the water bowls, making sure to keep the colors separate.
- Mix each color well with a spoon.
- Still using the spoon, carefully lower the eggs into the coloring.
- Only color one egg at a time per color.
- Leave the eggs in the coloring for: Color gels: 3-5 minutesNatural color dyes: 15 minutesIf a darker color is desired, leave the eggs in longer.
- Then, line a baking sheet with paper towels and a grid rack. Transfer the colored eggs to the rack to dry.
- Next, gently dry the eggs with more paper towels.
- Finally, you’re ready for Easter egg celebrations!
Notes
Nutrition
Food Photography & Video Tips from My Studio
Here’s a peek at the tools, gear, and camera setups I use to film my recipe videos and photograph food at home. Over the years, I’ve tested dozens of different setups, and now I’m sharing what actually works for me—whether I’m filming overhead shots for YouTube or styling still photos for my blog. If you’re curious about how I create the content you see here, these posts are a great place to start.





Leave a Reply