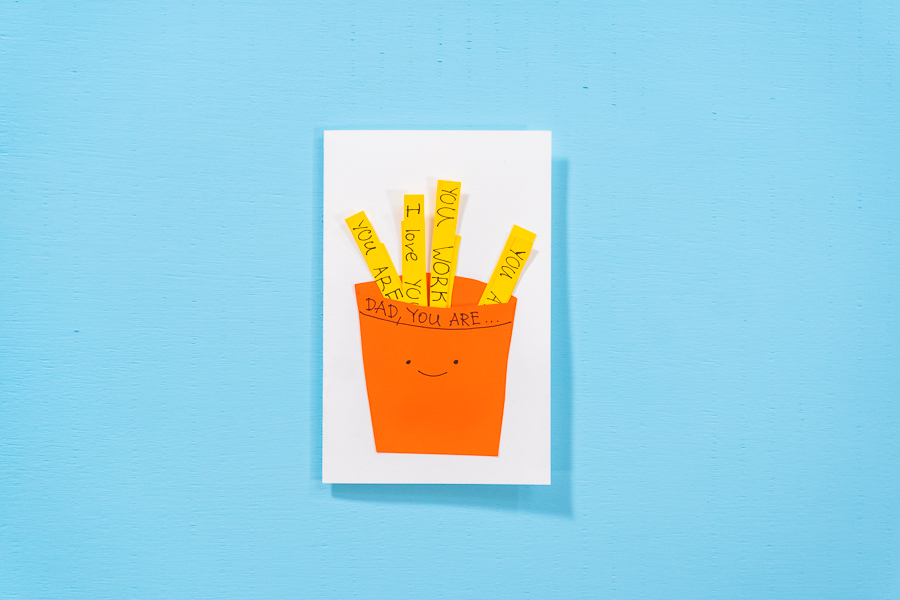
This DIY Father’s Day french fries card is a fun and playful paper craft that kids can easily make at home or in the classroom. Using cardstock, scissors, and markers, children can create a bundle of handmade fries paired with a cute message for Dad. It’s the perfect quick and creative project for Father’s Day gifting.
This post contains affiliate links.
Why You’ll Love This Recipe
Father’s Day is almost here, and if your house is anything like mine, you know exactly what’s coming—dad pulling out the grill and cooking way too much food for way too many people. It’s his thing, and honestly, we all love it.
This year, while my husband was busy planning his “burger feast,” my daughter and I decided we wanted to surprise him with something homemade and fun. We ended up making this DIY Father’s Day French Fries Card—and it turned out so cute!
The idea was simple: nothing goes better with burgers than fries, right? But instead of salty fries, we made paper ones and filled them with little notes about all the things we love about him. My daughter had so much fun writing down her sweet (and sometimes silly) messages, and watching her excitement as she “stuffed” the fries into the card honestly melted my heart.
It’s such an easy craft, but it feels really personal. And I just know when he opens it on Father’s Day, it’ll make him smile way bigger than the pile of burgers he’s about to grill.
Watch how I make this craft
Materials for Homemade Father’s Day French Fries Card
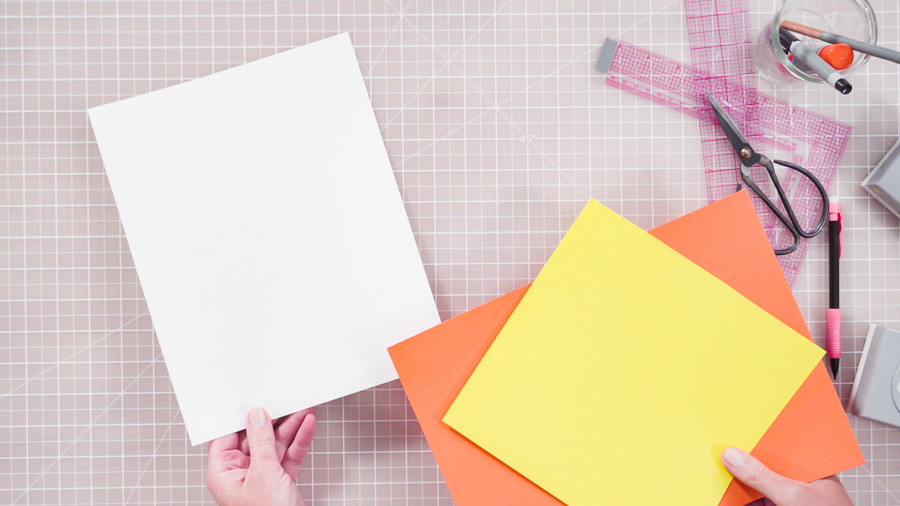
The first step in this DIY Father’s Day card is to gather up all the crafting materials you and the kids will need for this project! This easy craft idea requires just a few materials that you probably already have laying around the house leftover from previous school projects.
DIY Father’s Day card materials:
- Cardstock paper
- Scissors (opt for kid-safe scissors if the kiddos want to do this project by themselves)
- Glue Stick
- 18-inch ruler
- L-square ruler
- Large translucent cutting mat
- Black sharpie
Crafting this Homemade Father’s Day Card
Once the materials and the kids are rounded up and ready, we get to move on to the fun part: making the card! This Father’s Day card is easy to make, even in a time crunch, and is perfect to showcase several of dad’s awesome features and show how much he is appreciated for everything he does. Plus, he will probably love the fact that you’re celebrating him through a paper craft version of his favorite language: food.
More Craft Projects to Try
How to make a DIY Father’s Day French Fries card:
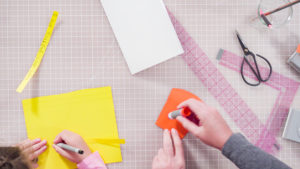
- First, use my template to trace or draw a box for the french fries to go in. Then, use the scissors to carefully cut out the front and back box shapes.
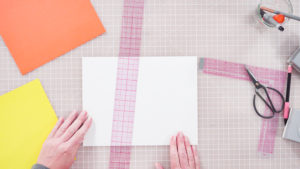
- Next, grab a piece of white cardstock paper and fold it in half horizontally. I like to use a ruler to help create a crisp, clean fold.
- After your card is folded and ready, position all the fry box pieces on the card to make sure you space it out right so you can glue them down correctly.
- Then, use the glue stick to attach the smaller piece of the fry box to the larger one by glueing just the sides and bottom of the two pieces together to create a pocket.
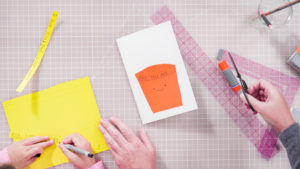
- Once the french fry box is assembled, glue the backside of the largest side of the fry box to the front of the card.
- Let everything dry completely.
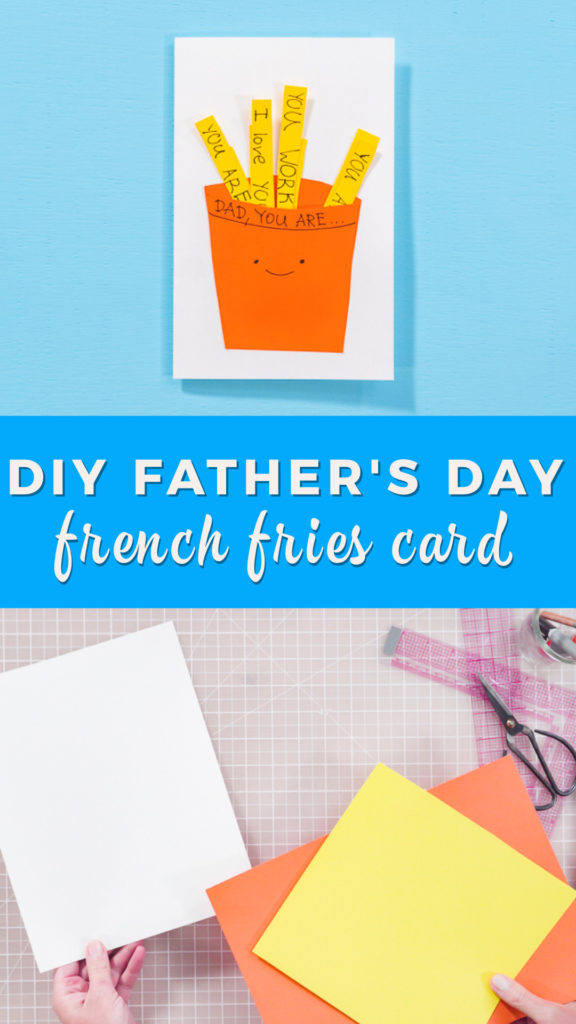
- Once the card is dry, grab a black sharpie and use it to write at the top of the fry box "DAD, You Are..." and draw a sweet smiley face.
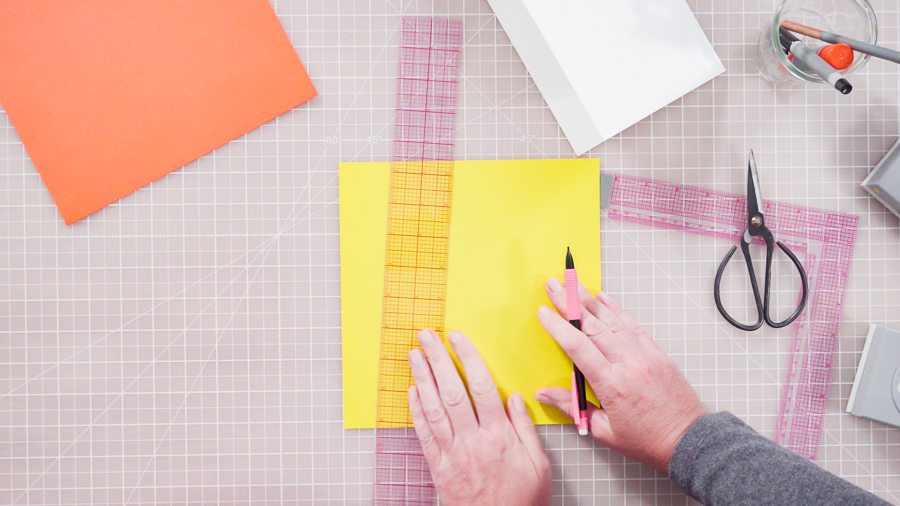
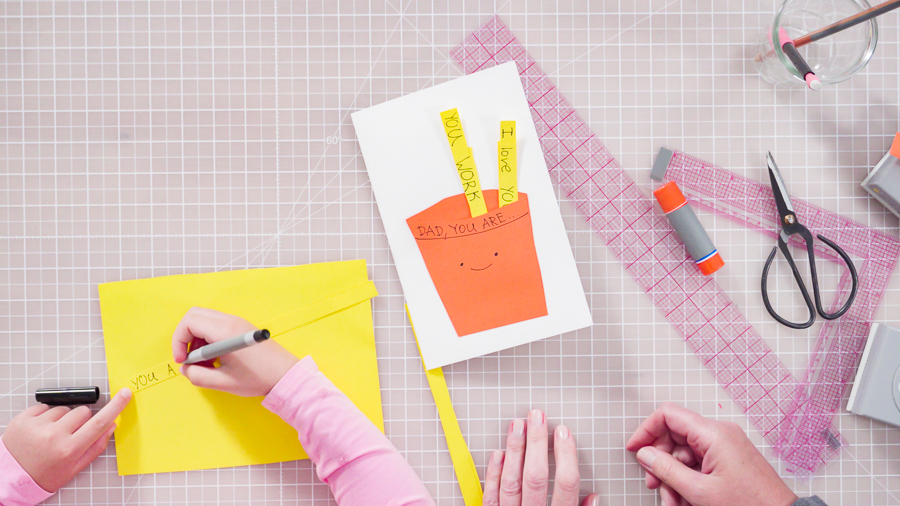
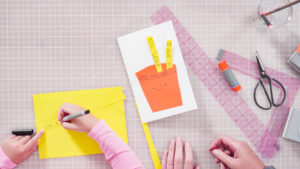
- Then it’s time to make the french fries. To do this just cut out a few ½ inch wide strips from a piece of yellow cardstock paper.
- Make sure you cut the fries long enough to stick up out of the fry box.
- To cut out several fries at a time with ease try using a large translucent cutting mat.
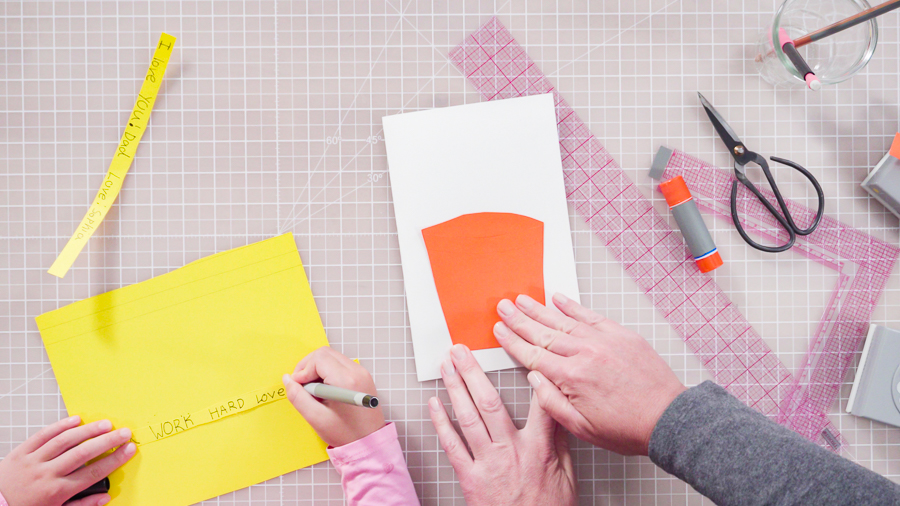
- Next, use the black sharpie again to write out some of the awesome things you and the kids love about dad! Write one message on each yellow fry strip.
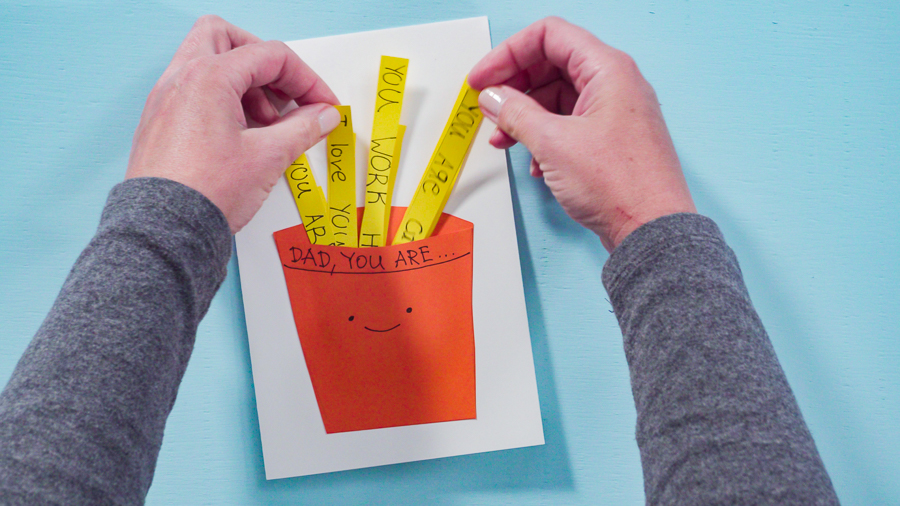
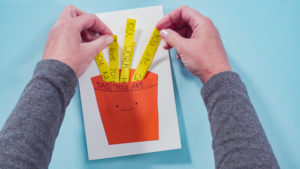
- Finally, insert the french fries with their written messages into the fry box and write one more sweet message to dad on the inside.
Latest Video
Father’s Day French Fry Message Ideas
Life with kids can get a bit chaotic at times, we all know that. So, it’s completely understandable if you and the kids are trying to make this homemade father’s day card at the last minute and having a little trouble with creative writing. Or maybe this is your first attempt at trying to craft with a toddler and you’re running into some technical difficulties. Either way, sometimes it can be hard to find the right words to express all of the ways dad is appreciated when it comes time to write the messages on the fries. If you happen to get a little case of writer’s block, here are a few ideas that might refresh your memory.
Earlier, we wrote on the fry box “Dad, you are…”
- ...loved/loving (of course!)
- ...strong
- ...funny, silly, or goofy (for dad’s who always have a joke)
- ...a great cook
- ...smart, wise, or clever
- ...an awesome storyteller
- ...kind/generous/helpful
- ...patient
- ...appreciated
- ...honest
- ...hardworking
- ...caring
- ...brave or courageous
- Does dad have a favorite hobby or two? Be sure to include something sweet about anything he loves.
If you are starting to get hints that dad is thinking about pulling out the trusty grill to celebrate Father’s Day again this year, don’t miss the opportunity to match his energy! This DIY french fries card is the perfect match for grill-master dads who can’t resist the urge to grill. Or for dads who just love french fries, for that matter. Either way, this homemade Father’s Day card is a great way to show dad all the many ways he’s loved and appreciated.
DIY Father's Day french fries card
Video
Equipment
Instructions
- Draw or trace a fry box from my template. Cut out box shapes with scissors.
- Fold white cardstock in half horizontally. I use a ruler to help create a crisp fold.
- Position all pieces on a card to make sure you will glue correctly.
- Glue a smaller piece of a fry box to a larger only on sides and a bottom to create a pocket. Finally, glue the back of the large side of the fry box to the card.
- Let everything dry.
- With a black sharpie, write at the top of the fry box "DAD, You Are..." and draw a smiley face.
- Cut out ½ inch strips from yellow cardstock.
- With a black sharpie, write messages on yellow strips of cardstock.
- Insert french fries into the fry box.
I’ve Got Answers
What ages is this craft good for, and do kids need supervision?
It’s great for ages 4–10 with light grown‑up help (cutting and spacing), and older kids can handle it solo. Always use kid‑safe scissors for younger makers and supervise gluing and trimming.
I don’t have your printed template—can I still make it?
Yes! Sketch a simple fry box (a rounded rectangle with a dip on top) onto red cardstock, cut it out, then trace a slightly smaller front panel to create the pocket. Cut ½‑inch (1.3 cm) strips of yellow cardstock for the fries. A ruler helps keep edges straight.
How do I make the pocket sturdy so the fries don’t fall out?
Glue only the sides and bottom of the front panel so the top stays open. Press under a book for 10 minutes. For extra strength, add a ¼‑inch glue tab along the edges, or line the inside with a strip of double‑sided tape. Avoid excess glue—it can seal the pocket shut.
What can we write on the fries besides adjectives?
Mix it up with mini‑coupons ("1 car‑wash helper," "movie night picker"), favorite memories, inside jokes, or “Dad, you are…” prompts like patient, brave, hilarious, creative, problem‑solver, grill‑master, coach, teacher. Add a small date on one fry to remember the year.
Tips for finishing, storing, or mailing the card?
Let glue dry completely before inserting fries. Outline with a black marker for pop, and add a tiny heart sticker or "Best Dad Fries" label. Store flat in a 5×7 in (A7) envelope with a piece of parchment on top to protect the fries. For mailing, hand‑deliver if possible; otherwise use a rigid mailer to keep the pocket from getting crushed.
Food Photography & Video Tips from My Studio
Here’s a peek at the tools, gear, and camera setups I use to film my recipe videos and photograph food at home. Over the years, I’ve tested dozens of different setups, and now I’m sharing what actually works for me—whether I’m filming overhead shots for YouTube or styling still photos for my blog. If you’re curious about how I create the content you see here, these posts are a great place to start.
Pin It For Later









Leave a Reply