|
This post contains affiliate links.
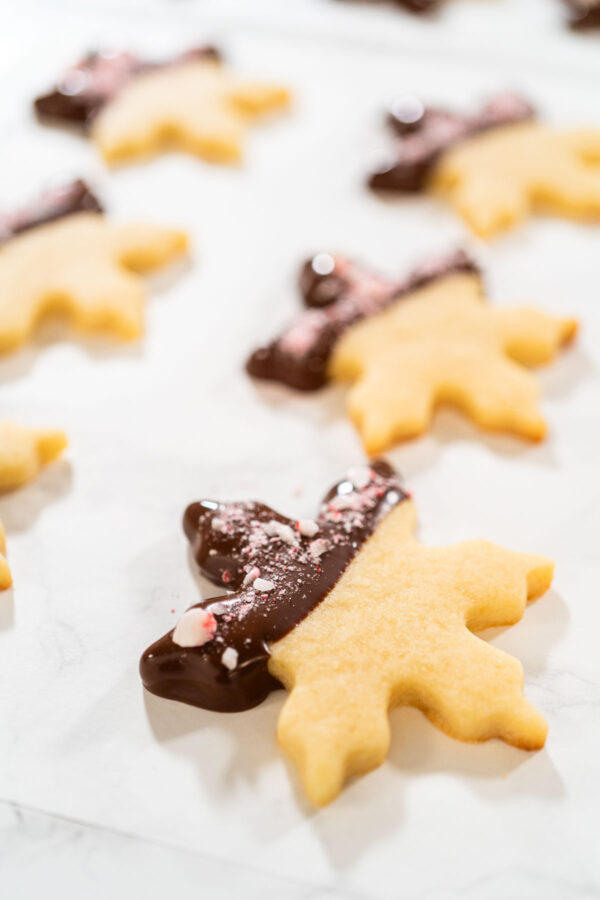
There’s something so comforting about baking during the holidays. As soon as the weather turns chilly and I pull out my cookie cutters, I feel like the whole season officially begins. These Chocolate Dipped Peppermint Cut-Out Sugar Cookies are one of my favorite holiday projects—not only because they look festive and gorgeous, but because the combination of buttery sugar cookies, rich chocolate, and crushed peppermint is always a hit.
If you’ve tried my Classic Sugar Cookie Dough or decorated with Chocolate Royal Icing, this recipe is a perfect next step. I like to keep this one in rotation along with Chocolate Ginger Sugar Cookies and Red Gingerbread Cookies to round out the trays. They all hold their shape beautifully and bake evenly, making them ideal for gifting and decorating.
Why You’ll Love This Recipe
Every year, I look for a cookie that feels festive but doesn’t require hours of decorating. These peppermint cookies hit the sweet spot. The cookie dough is easy to roll out, doesn’t spread in the oven, and has just the right amount of vanilla and buttery flavor. Once baked, a quick dip in melted chocolate and a sprinkle of crushed candy canes transforms them into showstoppers.
They remind me of when I first started doing holiday boxes for friends and needed a cookie that could travel well, hold up for a few days, and still feel special. This one has earned its place year after year.
Watch how I make this recipe
Tools That Make It Easier
Here are the tools I rely on to make this recipe easier and more efficient:
- Kitchen Aid mixer – for creaming butter and sugar evenly.
- Measuring spoons and cups – accuracy makes a big difference.
- Glass mixing bowls – I like being able to see everything blend together.
- Silicone spatulas – great for scraping down the sides and folding.
- Adjustable rolling pin – helps roll the dough evenly.
- Christmas cookie cutters – choose festive shapes like trees, stars, or mittens.
- Baking sheets + parchment paper – for even baking and easy cleanup.
- Cooling rack – essential for cooling the cookies before dipping.
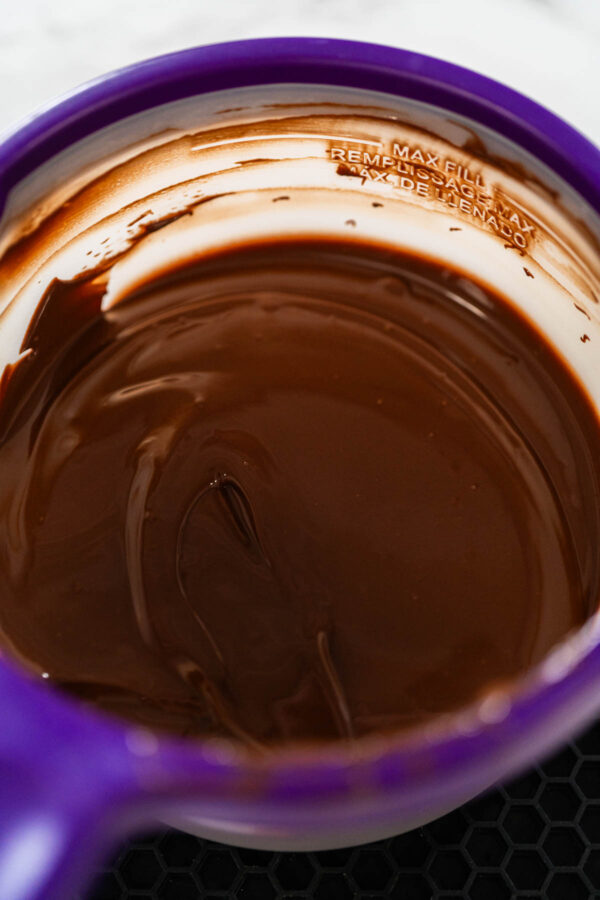
- Wilton candy melting pot – keeps the chocolate at a perfect temperature.
- Cake spatula – helpful for transferring delicate shapes.
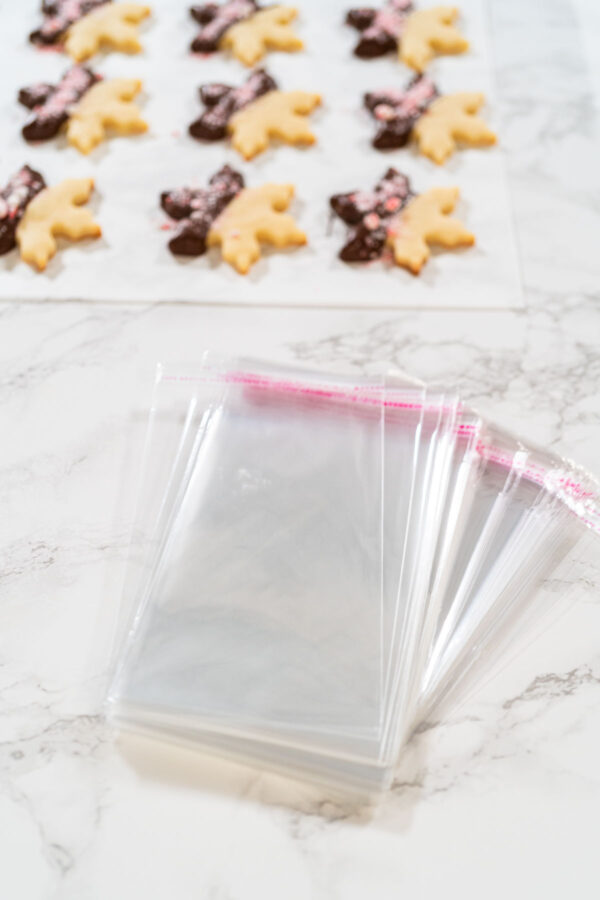
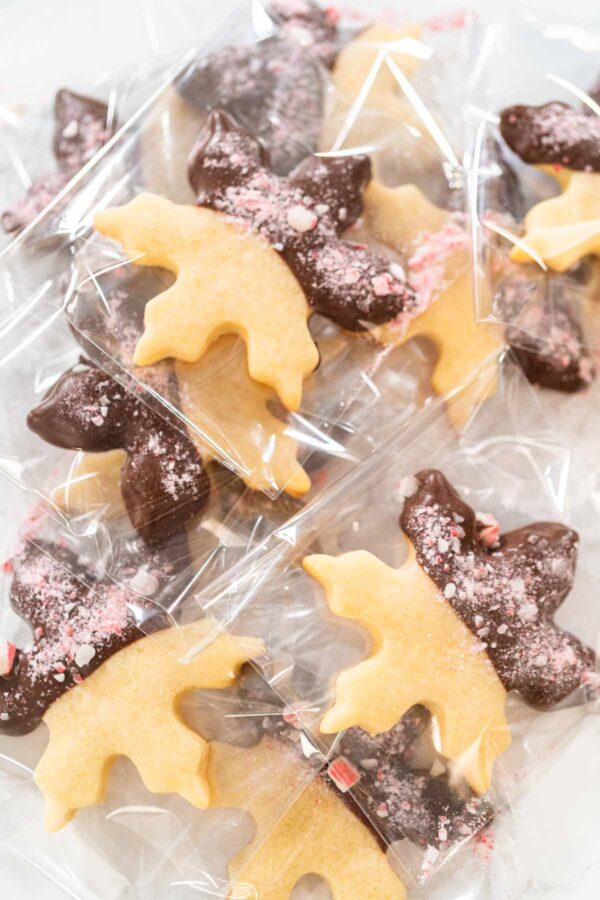
- 4x6 inch clear bags – perfect for packaging cookies as gifts.
What You’ll Need From Your Pantry
Sugar cookies
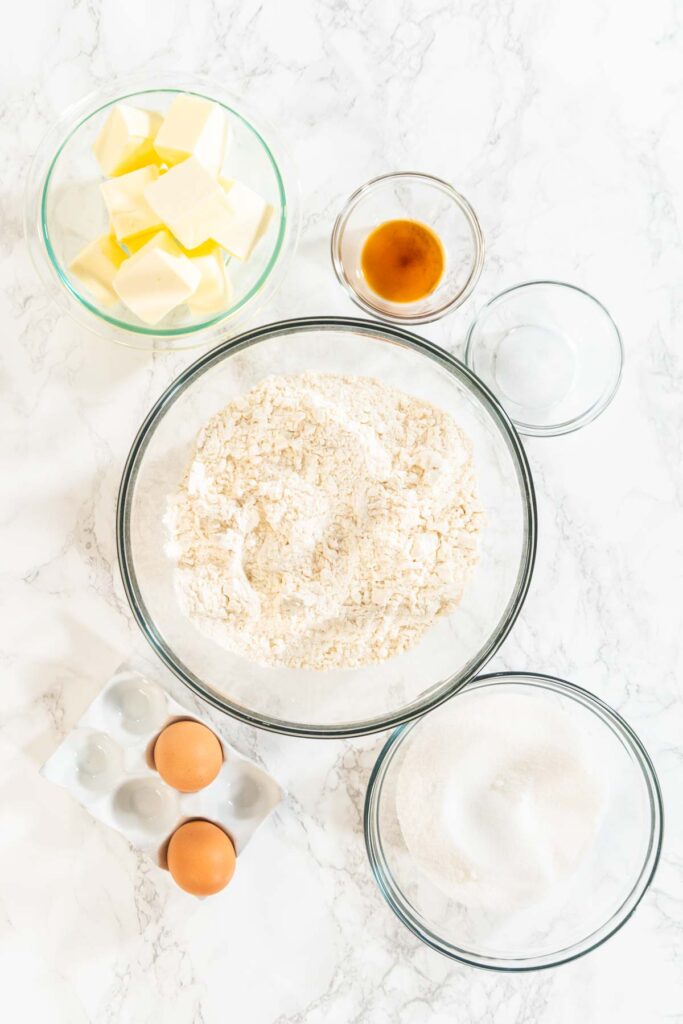
- 2 ½ cups all-purpose flour
- ½ teaspoon salt
- 1 cup unsalted butter, room temperature
- ⅔ cup granulated sugar
- 1 egg
- 1 teaspoon vanilla extract
Chocolate dip
- 2 cups semi-sweet chocolate chips
- 2 tablespoon coconut oil
Garnish options
- 3 peppermint candies, crushed
Before You Start: My Quick Tip
- Chill the dough: It’s non-negotiable. Chilling helps the cookies keep their shape.
- Work in batches: Roll out one disk at a time while keeping the other chilled.
- Don’t overbake: You want the edges set but the centers still soft.
- Dip only half: It looks elegant and keeps hands cleaner when eating.
Latest Video
Let’s Make It Together
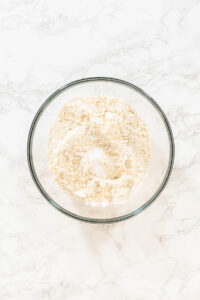
- Measure and sift flour. Combine with salt in a mixing bowl and set aside.
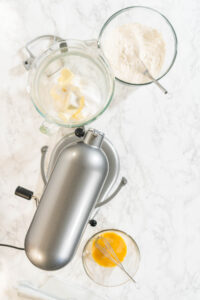
- Whisk egg and vanilla extract in a small bowl until well blended.
- In your mixer bowl, cream together softened butter and sugar on medium speed for 2-3 minutes.
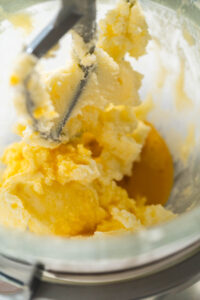
- Scrape down the bowl, add the egg mixture, and mix until smooth.
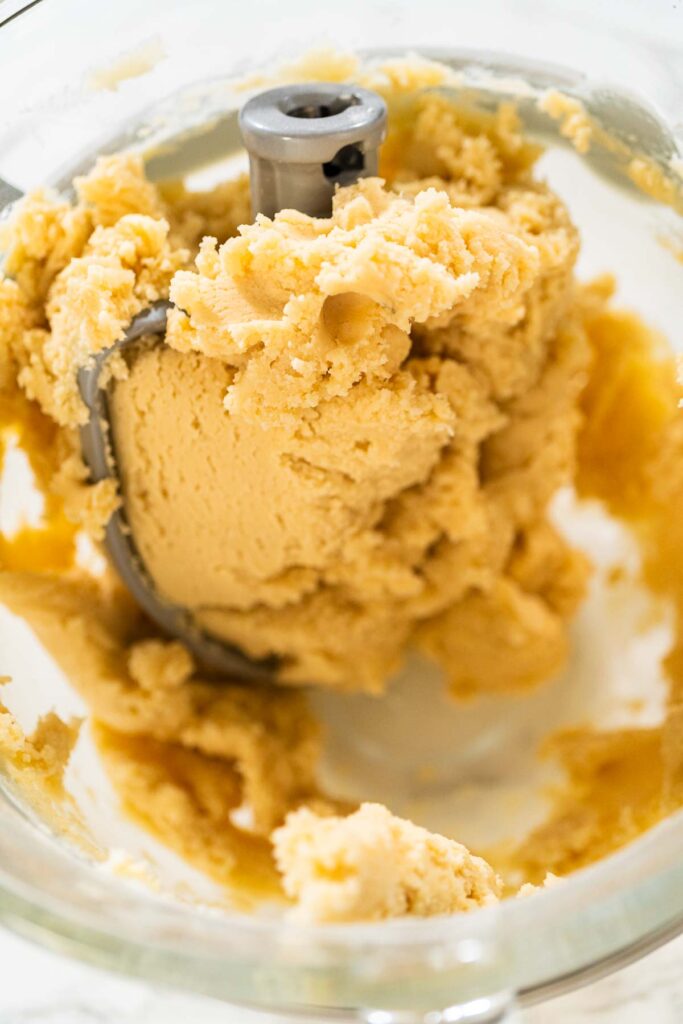
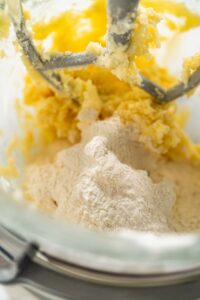
- Gradually add the dry ingredients in thirds, mixing on low speed until a soft dough forms.
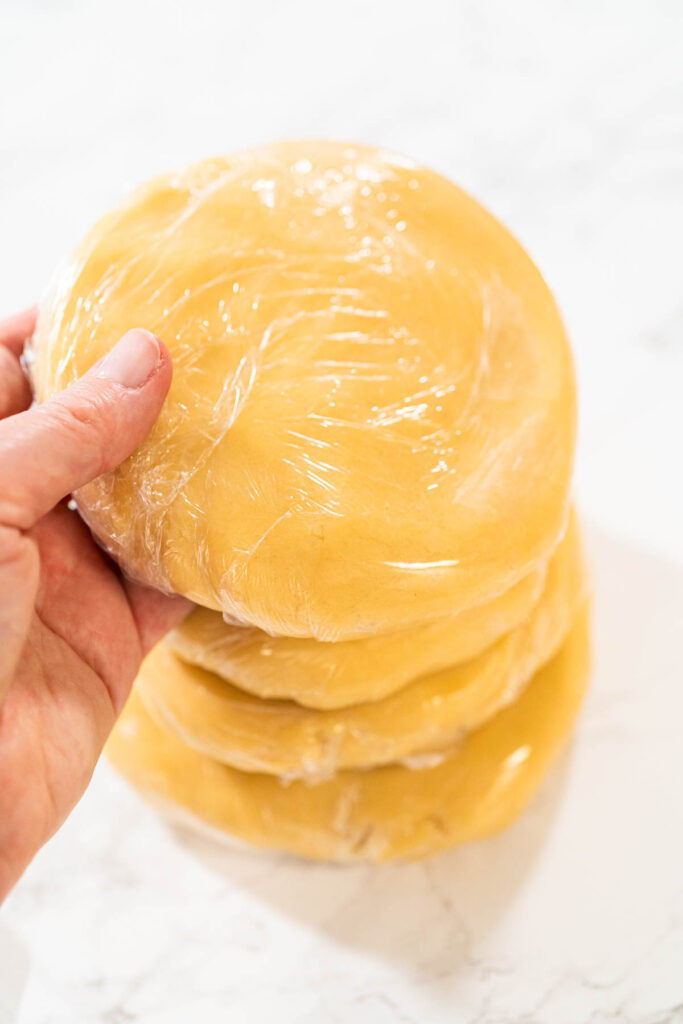
- Divide dough into two disks, wrap in plastic, and chill for at least 1 hour.
- Preheat oven to 350°F. Line baking sheets with parchment.
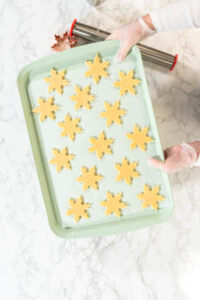
- Roll chilled dough to ¼-inch thickness, cut shapes, and place on baking sheets.
- Chill shaped cookies for 10 minutes, then bake for 8-10 minutes.
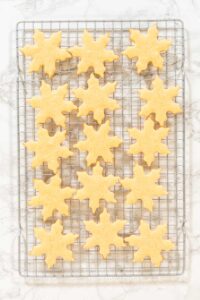
- Cool completely on a wire rack before decorating.
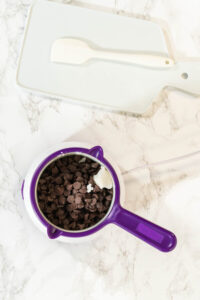
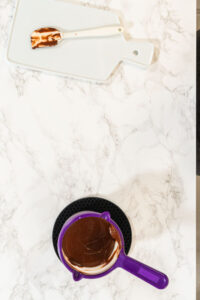
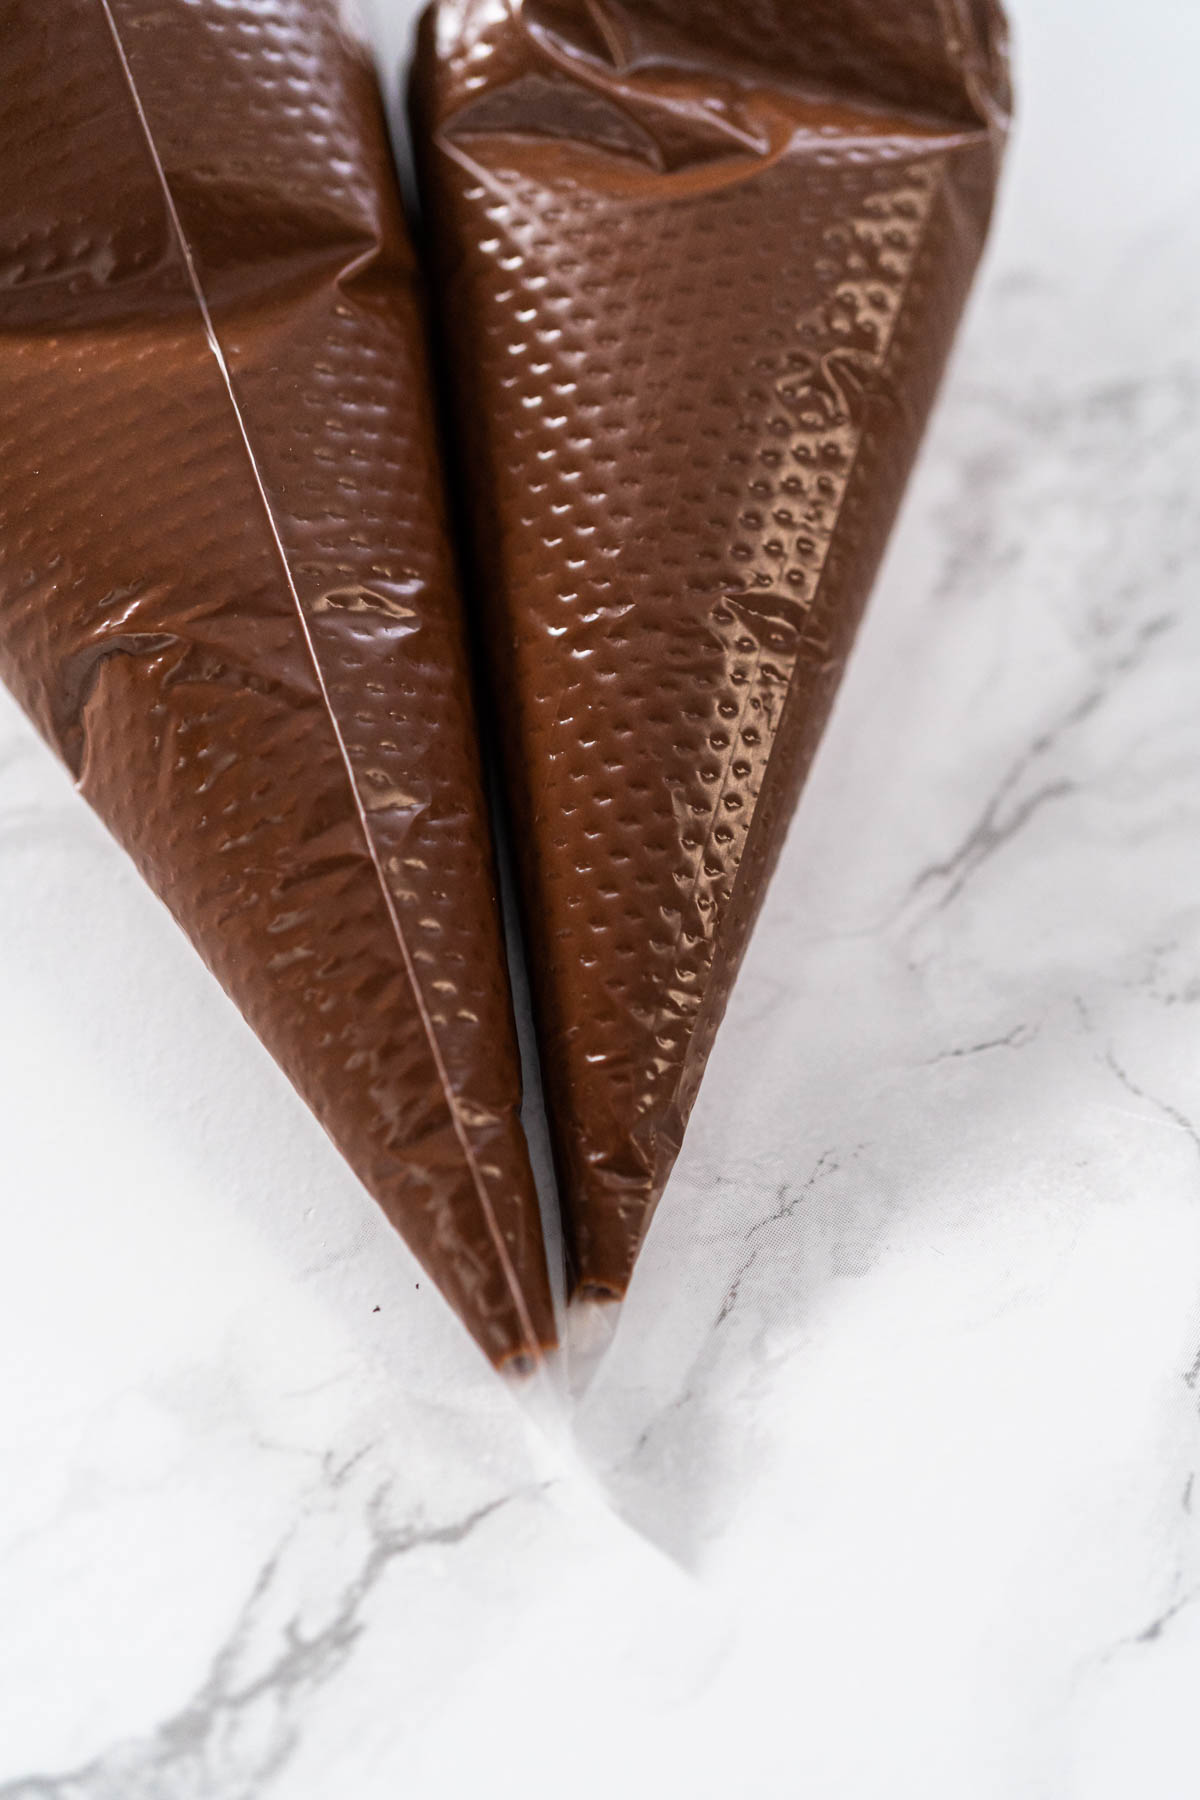
- Melt chocolate chips and coconut oil in a candy melting pot, stirring until smooth.
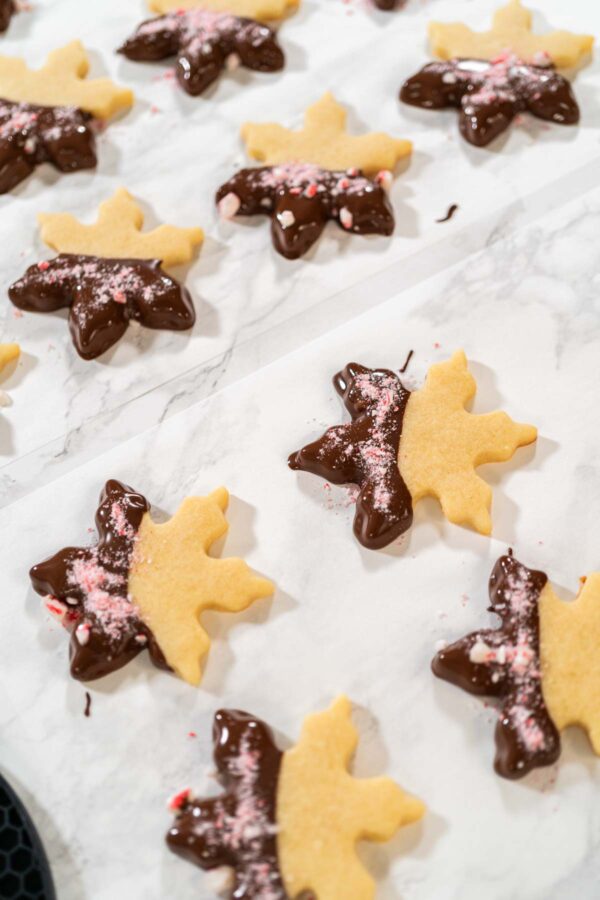
- Dip half of each cookie in chocolate, sprinkle with peppermint, and let set.
Recipe variations
- White Chocolate Peppermint Cookies: Use white chocolate chips instead of semi-sweet for a sweeter contrast.
- Nutty Peppermint Cookies: Sprinkle with chopped pistachios, walnuts, or almonds instead of peppermint.
- Double Chocolate: Add 1 tablespoon of unsweetened cocoa powder to the dough for a chocolate sugar cookie base.
- Holiday Sprinkle Mix: Swap peppermint for red and green sanding sugar or holiday-themed sprinkles.
Decorating Ideas
I usually dip just half of the cookie in chocolate and sprinkle immediately with crushed peppermint for a modern look. Let the chocolate set at room temperature if you have time, or chill them briefly to speed things up.
Sometimes I also like to sprinkle crushed nuts—especially chopped pistachios or almonds—for a bit of texture and color. Just don’t mix toppings on the same cookie. I find it looks neater and more intentional when each cookie has its own flavor accent.
Troubleshooting Common Issues with Cutout Cookie Dough
Even with the best recipes and careful preparation, sometimes things don’t go as planned in the kitchen. But don’t worry! I’ve encountered plenty of baking hiccups, and I’m here to share some tips to help you troubleshoot common issues with cutout cookie dough.
Dough Too Sticky
If your dough feels sticky and hard to handle, it might need a little extra flour. This can happen due to slight measurement variations or even humidity in the kitchen. Start by adding one tablespoon of all-purpose flour at a time, gently kneading it into the dough until it’s firm but still pliable. Be careful not to add too much flour, as it can make the cookies dry.
Dough Cracking While Rolling
Sometimes chilled dough can feel a bit too stiff and crack when rolled out. If this happens, let the dough sit at room temperature for 10-15 minutes to soften slightly. The high butter content in the dough makes it firm when cold, but letting it warm up a bit will make rolling much easier.
Cookies Spreading During Baking
If your cookies lose their shape in the oven, it’s often due to insufficient chilling. After cutting out your cookies, place them back in the fridge or freezer for 10-15 minutes before baking. This step helps the dough hold its shape and prevents spreading.
Another trick is to add a teaspoon of cornstarch to the dry ingredients. Cornstarch reduces spreading during baking and keeps the cookies nice and sturdy for decorating.
Uneven Baking
Uneven baking can happen if the cookies are different sizes or if multiple trays are stacked in the oven. To avoid this, make sure your cutout cookies are all the same thickness and bake one tray at a time on the middle rack. This ensures even heat distribution and perfectly baked cookies every time.
Overbaked or Burnt Edges
If your cookies are coming out with dark edges, they may have baked too long. Keep an eye on them as they bake—most cookies are done when the edges are set but the centers still look slightly soft. Start checking a minute or two before the recommended baking time to ensure they don’t overbake.
Dough Too Soft to Cut
If the dough is too soft when you’re cutting out shapes, it likely hasn’t chilled long enough. Pop it back in the fridge for another 20-30 minutes to firm up before trying again. Patience is key for perfectly shaped cookies!
Personal Tip
Don’t get discouraged if things don’t go perfectly the first time. Baking is as much about learning as it is about enjoying the process. I’ve had my share of “oops” moments, but each one taught me something new. And honestly, even the imperfect cookies still taste amazing!
Troubleshooting is just part of the fun when baking, and with a little patience and these tips, you’ll have beautiful, delicious cut-out cookies ready to share. Let’s move on to the best part—enjoying these delightful creations!
How to store baked cookies
Storing cookies properly can ensure that they remain fresh and delicious. Here are a few tips on how to store your baked cookies:
Countertop
Store your cookies in an airtight container on the countertop. They will stay fresh for up to a week at room temperature.
Refrigerator
If you want to keep your cookies fresh for longer, you can store them in an airtight container in the refrigerator. They will stay fresh for up to two weeks in the refrigerator. Just make sure to bring them to room temperature before serving for the best taste and texture.
Freezer
To keep your cookies fresh for an extended period of time, you can store them in the freezer. As I always do, I freeze half of the batch. To freeze them, place them in an airtight container or seal them in a gallon Ziploc bag. Before placing them in the freezer, write the date on the bag with a black sharpie. This way, you can easily track how long they have been stored. Cookies will stay fresh for up to three months in the freezer. Just make sure to thaw them at room temperature before serving them for the best taste and texture.
It's important to note that cookies with high-fat content, like white chocolate macadamia nut cookies, tend to freeze better than others.
More Cookie Inspiration
If you're building a cookie tray, here are more recipes to try:
- Chocolate Royal Icing for decorating
- Classic Gingerbread Cookies
- Chocolate Ginger Sugar Cookies
- Green Gingerbread Cookies
- Red Gingerbread Cookies
- Lemon Spritz Cookies with Cranberry Buttercream
- Spiced Gingerbread Cookie Dough
Chocolate Dipped Peppermint Cut-Out Sugar Cookies
Video
Equipment
Ingredients
Sygar cookies
- 2 ½ cups all-purpose flour
- ½ teaspoon salt
- 1 cup unsalted butter
- ⅔ cup granulated sugar
- 1 Egg
- 1 teaspoon vanilla extract
Chocolate dip
- 2 cups Semi-Sweet Chocolate Chips
- 2 tablespoon coconut oil
Garnish options
- 3 pepeermint candies crushed
Instructions
Sugar cookie dough
- Before starting, measure and prepare all of your ingredients. Sift the flour for best results. This will ensure the process runs smoothly and efficiently.I’m making a double portion here, so feel free to adjust if you’re making a smaller batch.
- In a large mixing bowl, whisk together the sifted flour and salt until fully combined. Set the bowl aside.
- In a medium bowl, whisk together the egg and vanilla extract until smooth and fully combined. Set aside.
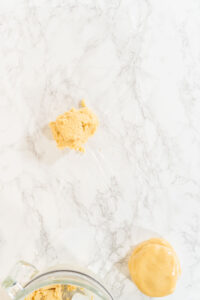
- In the bowl of your kitchen mixer, add the softened unsalted butter and granulated sugar. Using the paddle attachment, cream them together on medium speed for about 2-3 minutes, until the mixture becomes light and fluffy.
- Scrape down the sides of the bowl with a silicone spatula, then add the egg and vanilla mixture. Continue mixing on medium speed until everything is fully incorporated and the mixture is smooth.
- Gradually add the dry ingredients (flour and salt) to the wet mixture, about ⅓ at a time, mixing on low speed after each addition. Mix until a smooth dough forms.
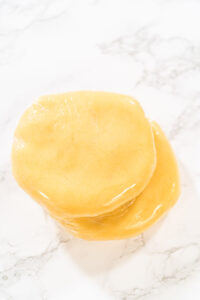
- Once the dough is fully mixed, divide it into two equal portions. Flatten each portion into a disk and wrap in food wrap.
- Place the dough in the refrigerator to chill for at least 1 hour. This helps firm up the dough, making it easier to roll and cut.
Baking sugar cookies
- As the dough chills, preheat your oven to 350°F (175°C). Line your baking sheets with silicone baking mats to prevent sticking.
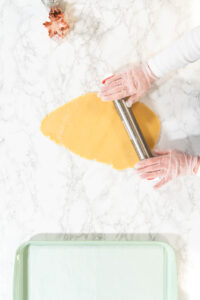
- After chilling, remove one disk from the refrigerator. Lightly flour your work surface and rolling pin. Roll the dough out to about ¼-inch thickness using the adjustable rolling pin for even consistency. If the dough starts to get too soft or sticky, chill it again briefly.
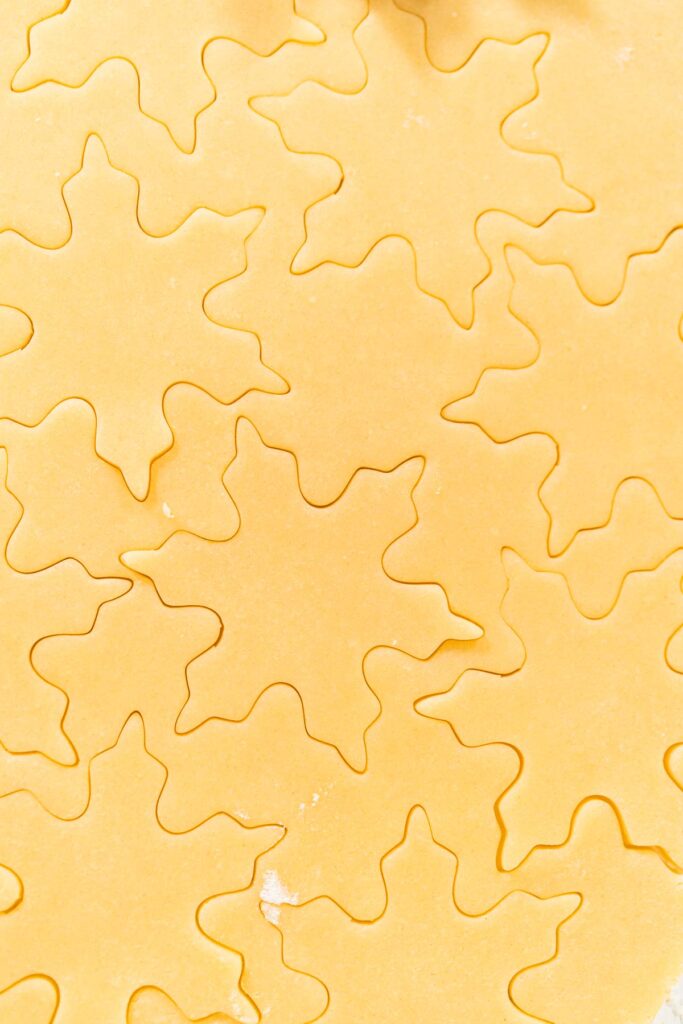
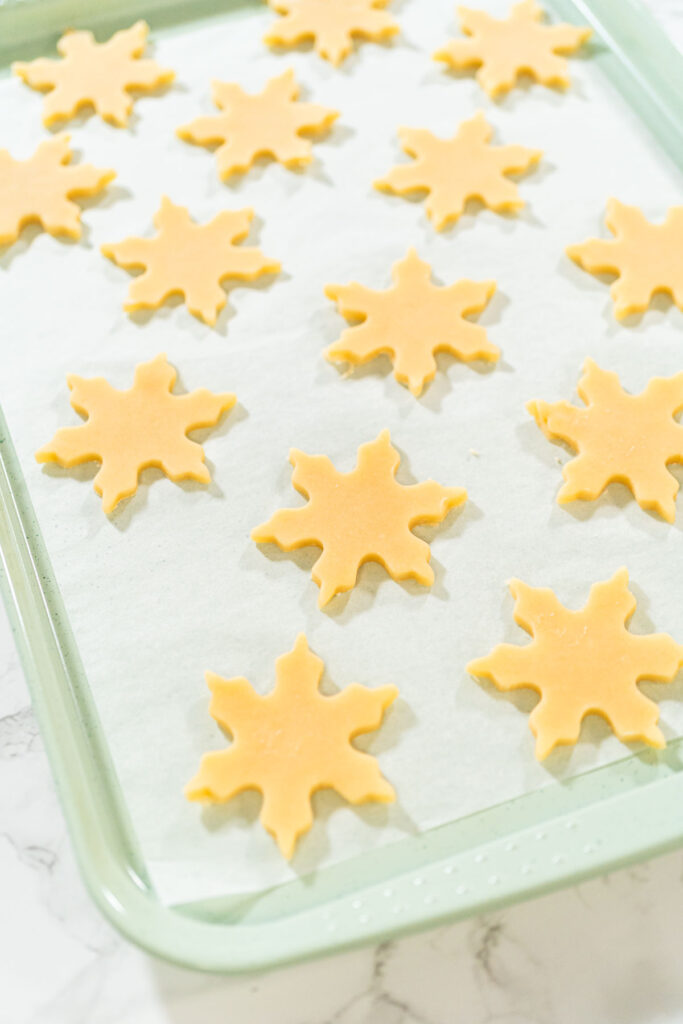
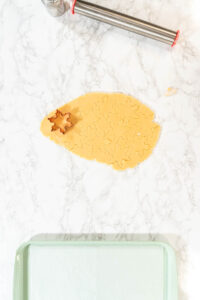
- Use your cookie cutter to cut out shapes from the rolled dough. Carefully transfer the cut-out shapes onto the prepared baking sheets, leaving about 1 inch of space between each cookie.
- Place the cut-out cookies in the refrigerator for an additional 10 minutes to help them hold their shape while baking.
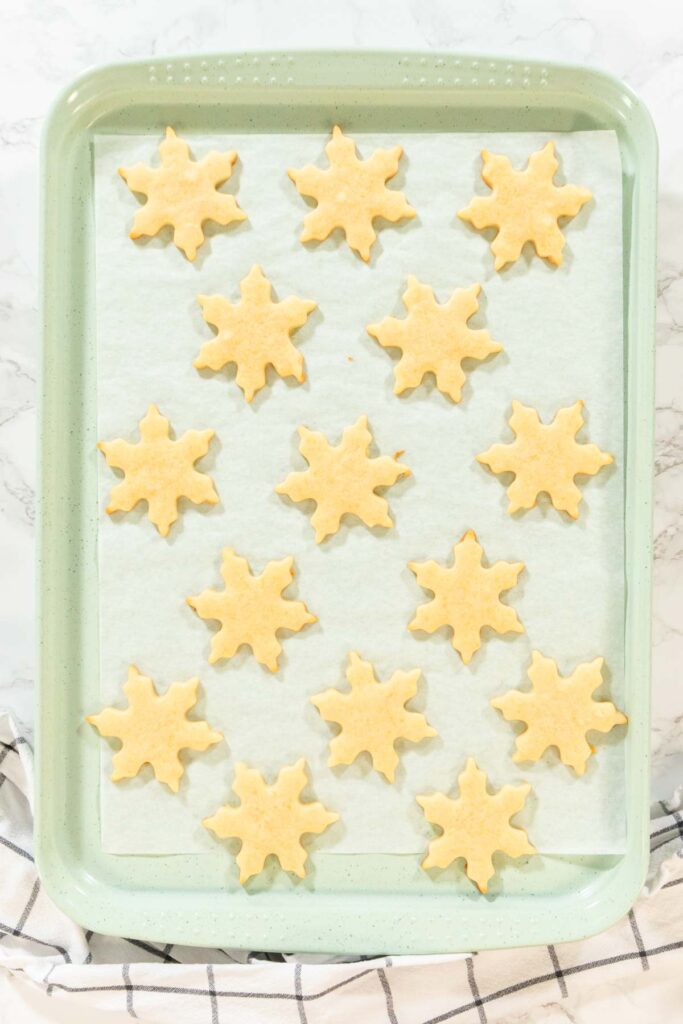
- Place the baking sheets in the preheated oven and bake the cookies for 8-10 minutes, or until the edges are lightly golden. The centers should remain slightly soft as they will firm up while cooling.
- Once baked, remove the cookies from the oven and let them cool on the baking sheet for about 5 minutes. Afterward, transfer them to a cooling rack to cool completely.
Prep chocolate dip
- Measure and prepare all ingredients for melting chocolate.
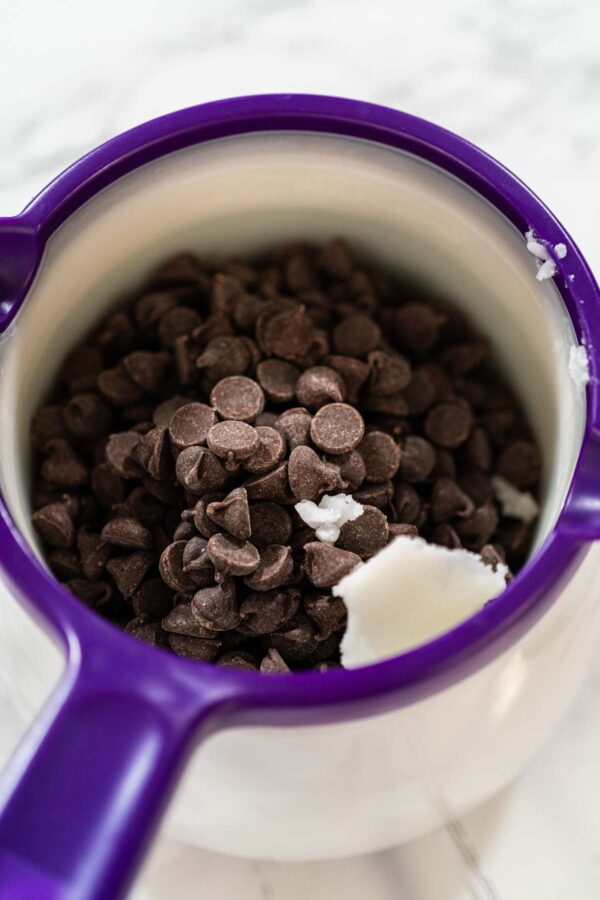
- In your candy melting pot, combine 2 cups of chocolate chips with 2 tablespoons of coconut oil.
- Heat on high, stirring constantly, until smooth.
- Line your counter with parchment paper.
- Dip half of each cookie into the melted chocolate and immediately sprinkle with crushed peppermint candies.
- Let dipped cookies rest at room temperature until the chocolate hardens, about 30 minutes.
Nutrition
From My Kitchen to Yours
More Cookies Recipes
Pin It For Later
Food Photography & Video Tips from My Studio
Here’s a peek at the tools, gear, and camera setups I use to film my recipe videos and photograph food at home. Over the years, I’ve tested dozens of different setups, and now I’m sharing what actually works for me—whether I’m filming overhead shots for YouTube or styling still photos for my blog. If you’re curious about how I create the content you see here, these posts are a great place to start.















Leave a Reply