The best Equipment for video recipes
This post contains affiliate links.
Like most others, when I first started delving into food photography and videography I had no idea what equipment to start with or where to begin. I knew that I wanted to create tasty-looking videos, but that was about it. Trying to figure out the best equipment to use for creating video content can be quite overwhelming, even for some that already have experience in this area. It took me years and years of experimenting with different equipment and some trial-and-error tactics, but I finally know what tech equipment works best for me and my food content.
When it comes to finding the best camera and tech equipment, it’s easy to go overboard and rack up some expensive, well, expenses. But the thing is, you don’t have to break the bank to produce good-quality, mouth-watering recipe videos! To prove it, I have come up with my affordable list of the Best Equipment for Video Recipes!
Food Photography & Video Tips from My Studio
Here’s a peek at the tools, gear, and camera setups I use to film my recipe videos and photograph food at home. Over the years, I’ve tested dozens of different setups, and now I’m sharing what actually works for me—whether I’m filming overhead shots for YouTube or styling still photos for my blog. If you’re curious about how I create the content you see here, these posts are a great place to start.
Now, if you’ve just started out on your videography journey, or you’re thinking about starting one, I highly recommend starting out as small and as cheap as possible. At least until you get the hang of it or develop some regular clients. This equipment list is more for established videographers who have tried this type of thing and keep running into filming issues.
This is my go-to affordable equipment list for my personal recipe blogs and my videos for regular clients, as well. This tech equipment is perfect for established bloggers, recipe vloggers, artists, crafters, and other small businesses, as well! Basically, if you’ve already dipped your toes in and know that you’re going to be creating video content often and with consistently good quality, this list is for you!
For a full list of all the equipment I use, check out my breakdown of What is in My Toolbox?
[ninja_tables id="19544"]Camera Equipment
One of the biggest things to help keep equipment costs down is to buy equipment in stages. Start with the most necessary pieces of equipment and buy more as you can afford to. There is absolutely no need to invest tons of money into tech equipment if you’re unsure that this is going to be the thing for you. Before breaking down all of the specifics of my equipment list, let me go over a few tips to keep in mind.
Camera Tips:
- Cameras do have a tendency to overheat while recording. To keep this from happening, I have found that it helps to replace the batteries every 15 minutes or so. I have a total of 6 camera batteries that I swap out.
- I use multiple cameras during my cooking videos so that I can cover various angles. To do this, I prefer to have them all be the exact same cameras, both brand and model. Each specific camera brand and model will capture totally different colors. So if you use different types of cameras during recording then it will be hard to put the video clips together during the video editing process.
- Alternatively, you can shoot with just one camera. To do this, you must always have the same angle or be able to move the camera around during the recipe process. However, it should be kept in mind that some recipes do not allow enough time for you to move the camera around while filming. In this case, you have to record the recipe twice. Yikes! Who has time for that?! I much prefer using 2 cameras at the same time.
- I specifically like to shoot my recipe videos in 4K to have more space to work in post production. (Insert image what 4k-HD-SD looks like.)
My Go-To Camera Equipment for Cooking Videos:
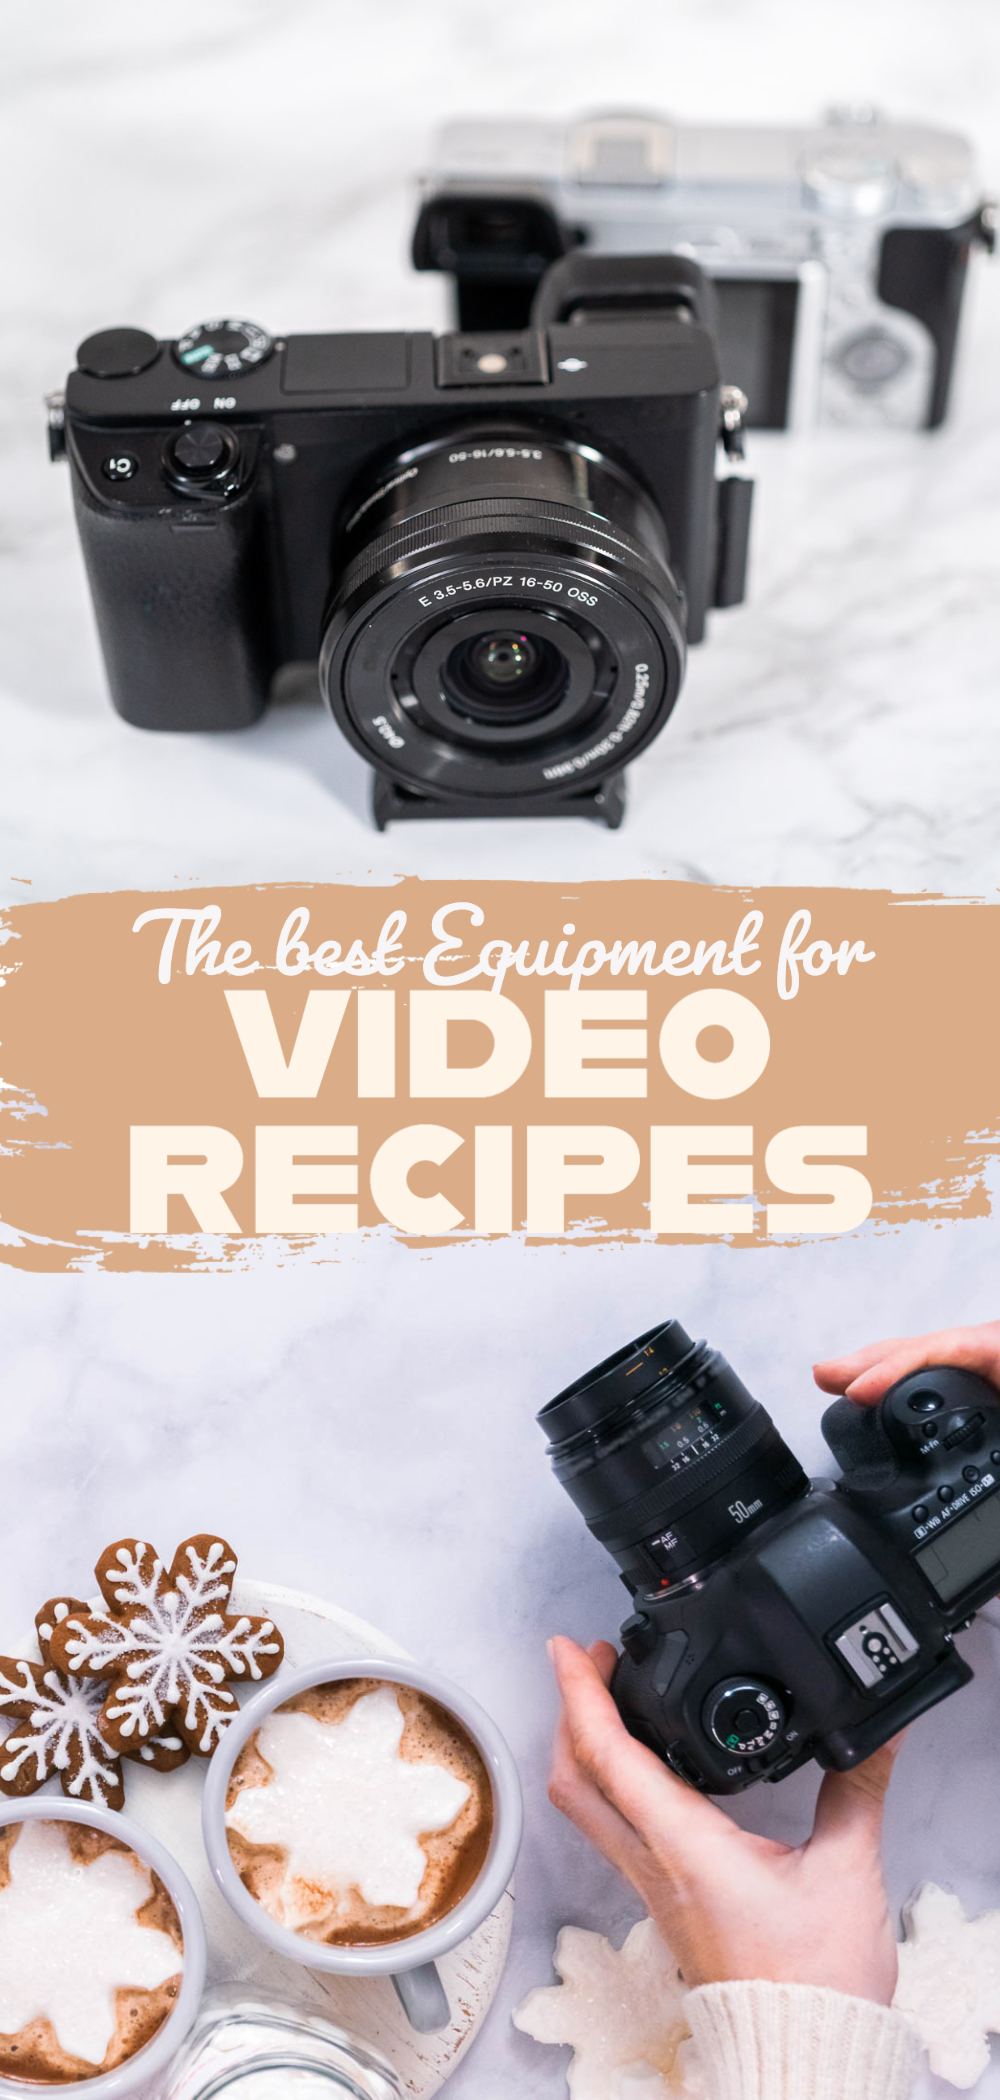
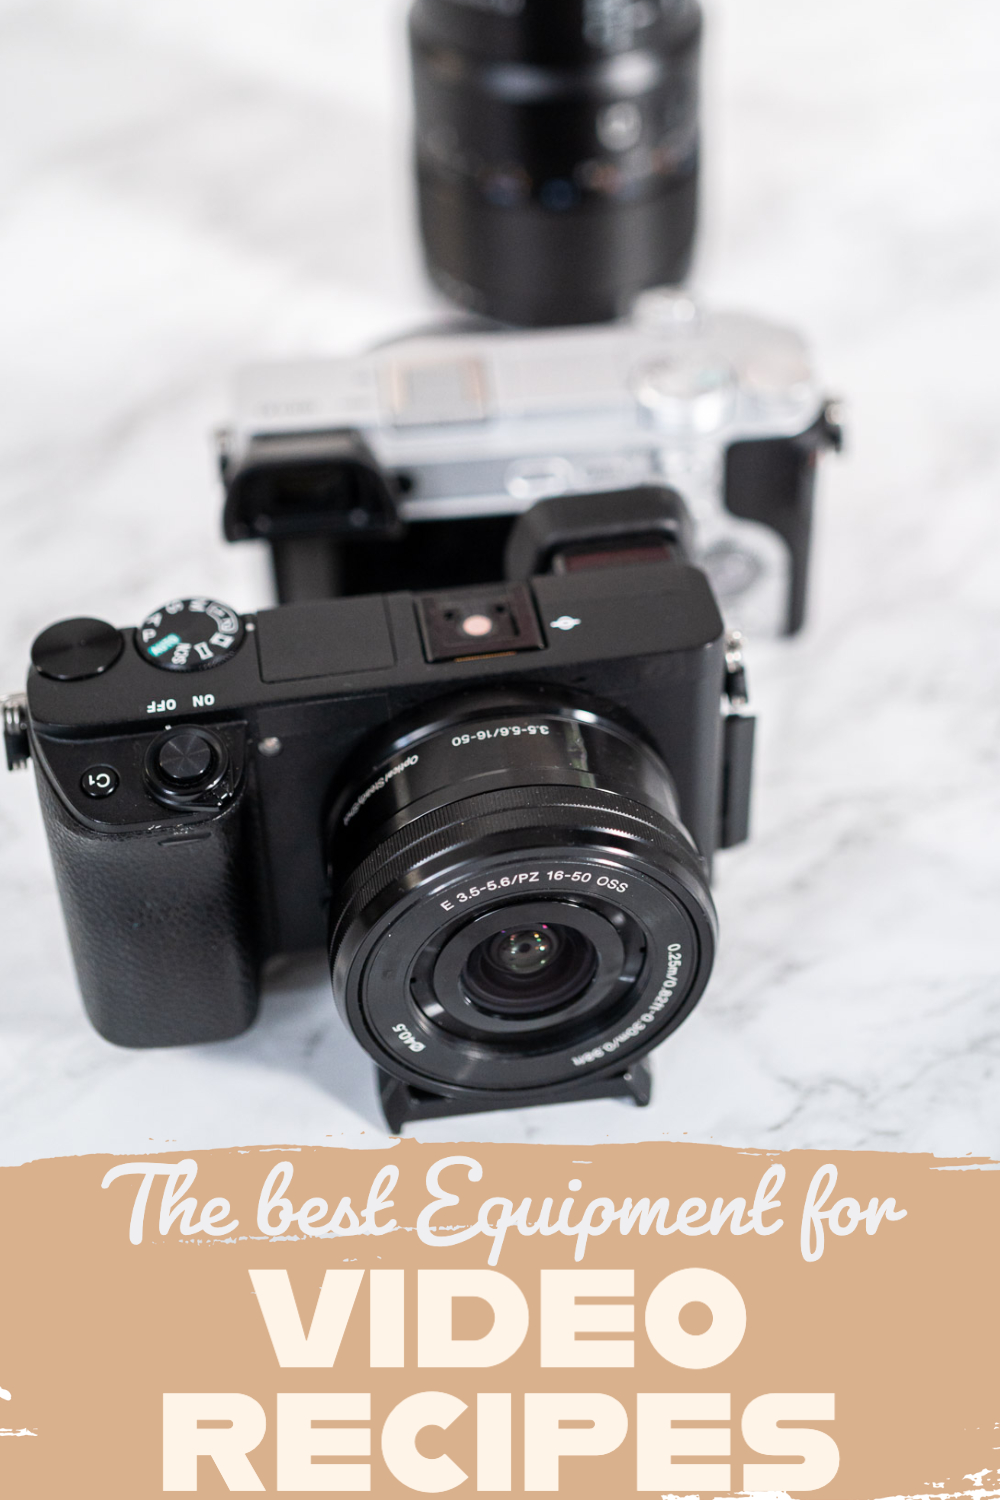
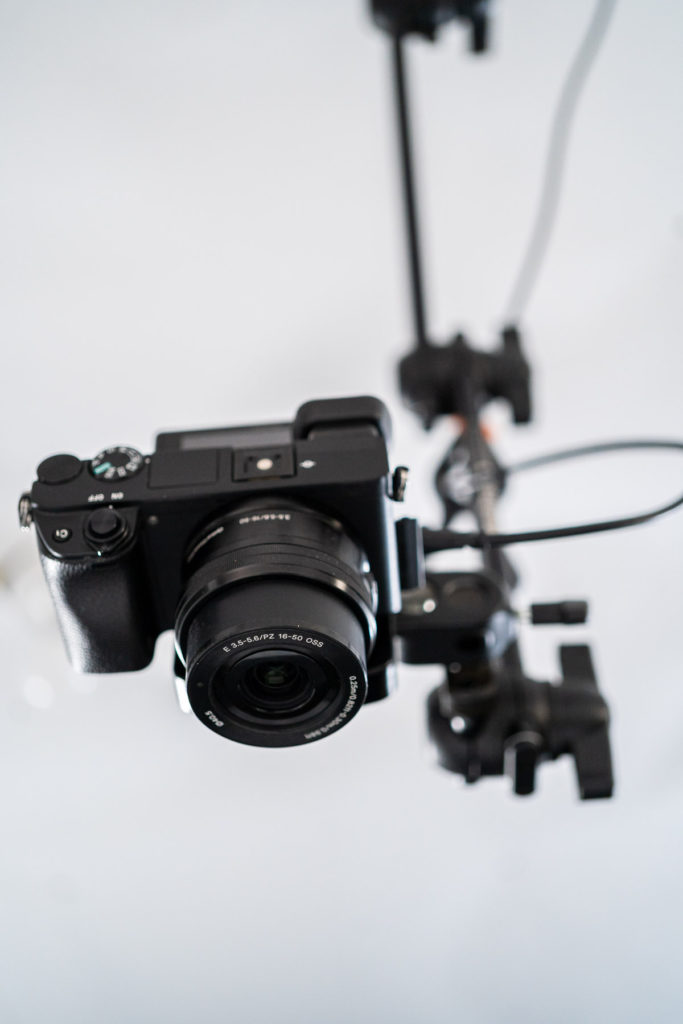
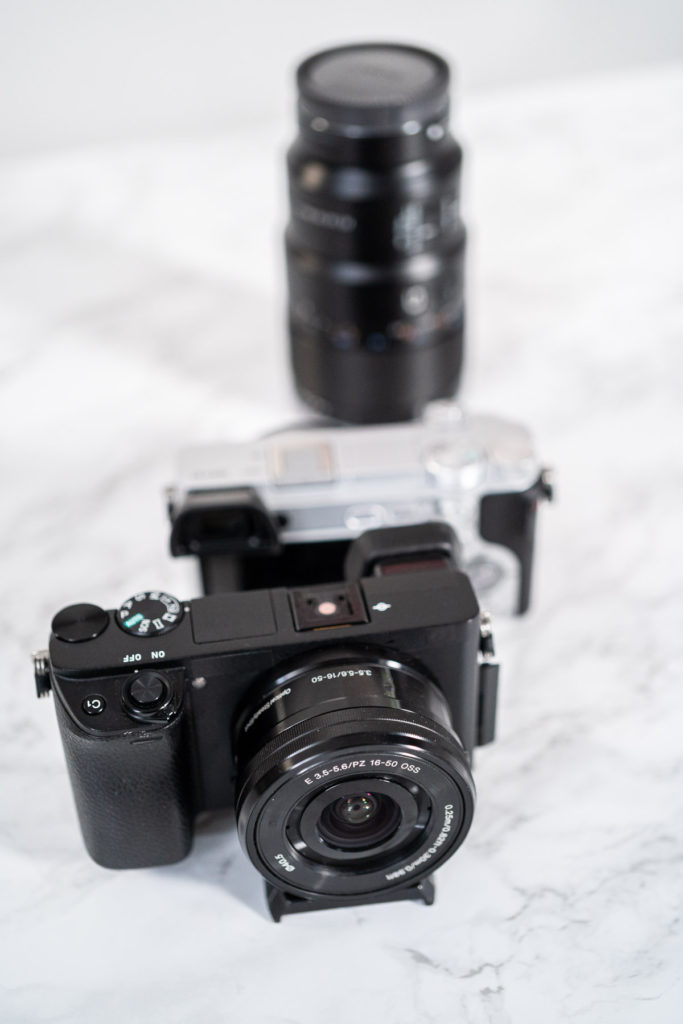
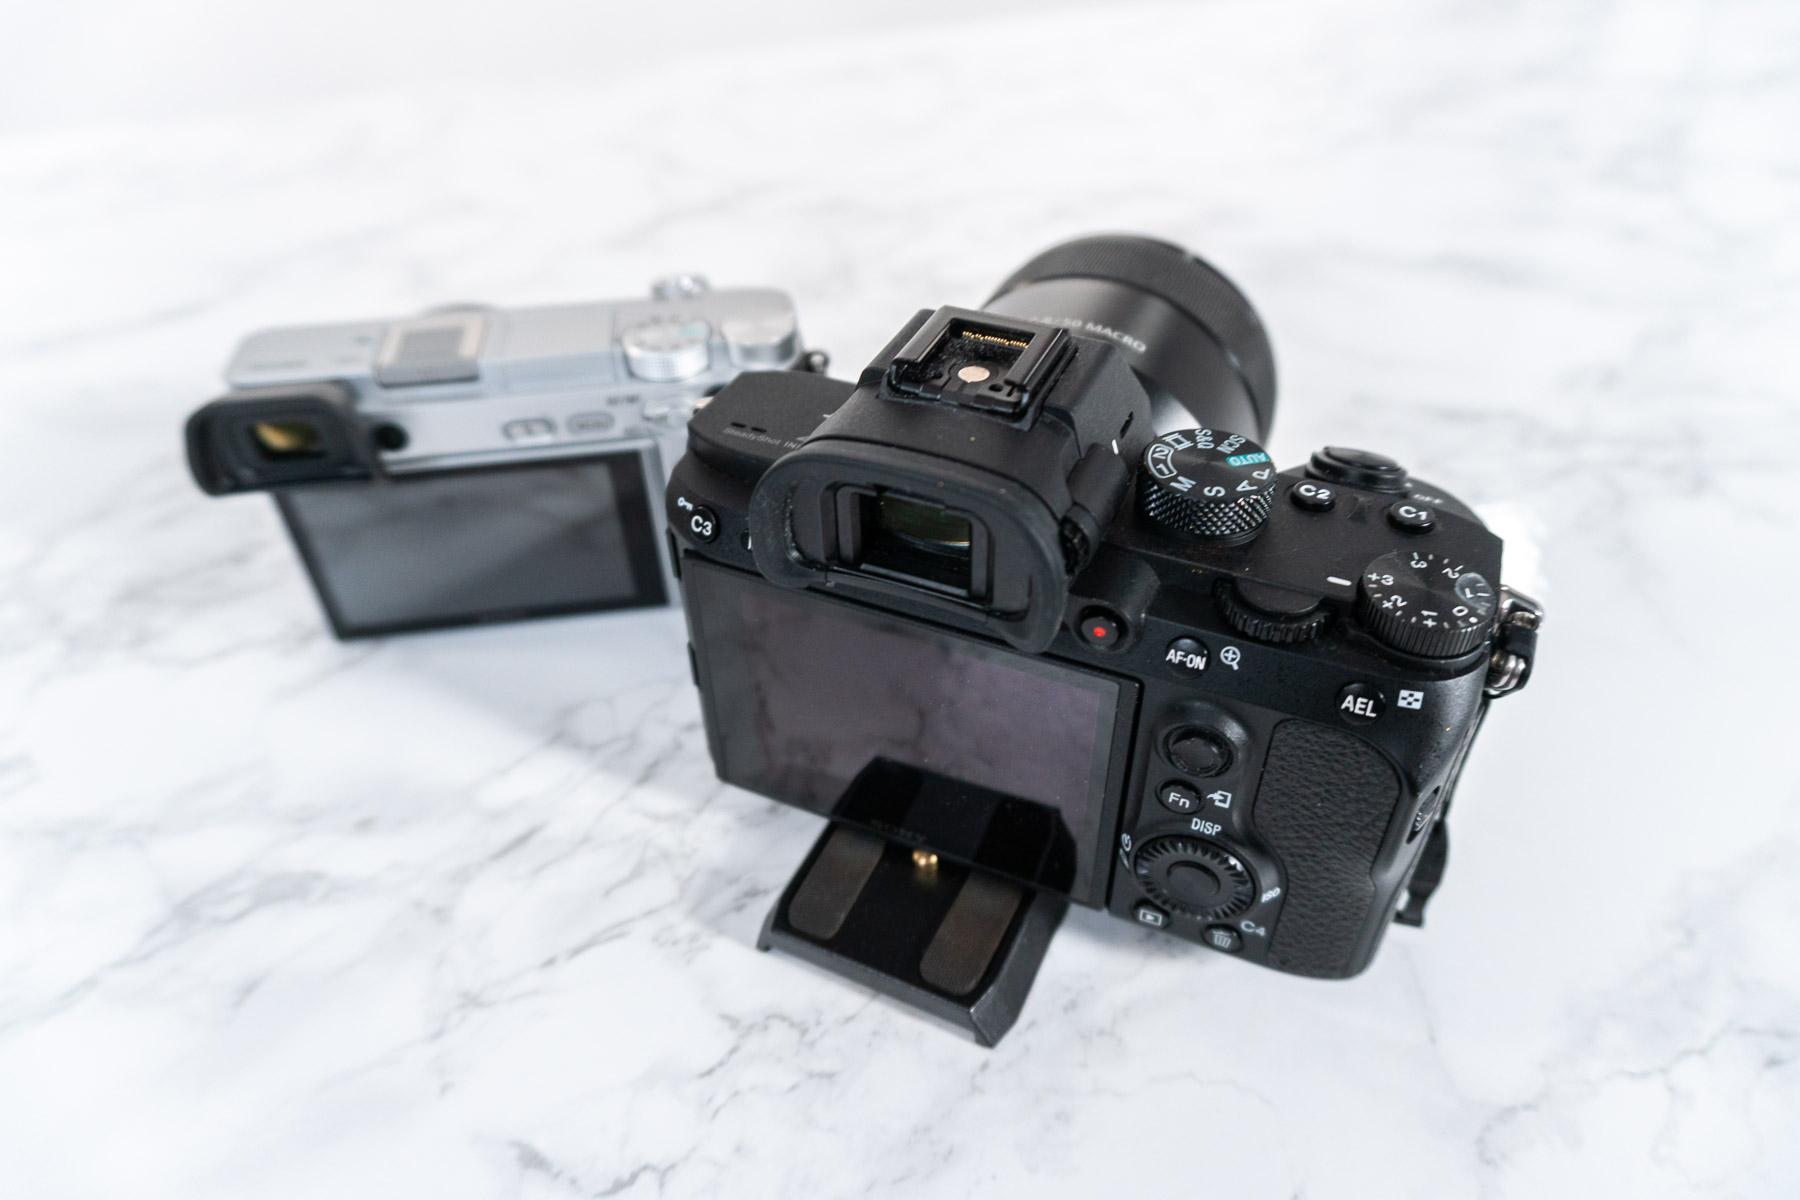
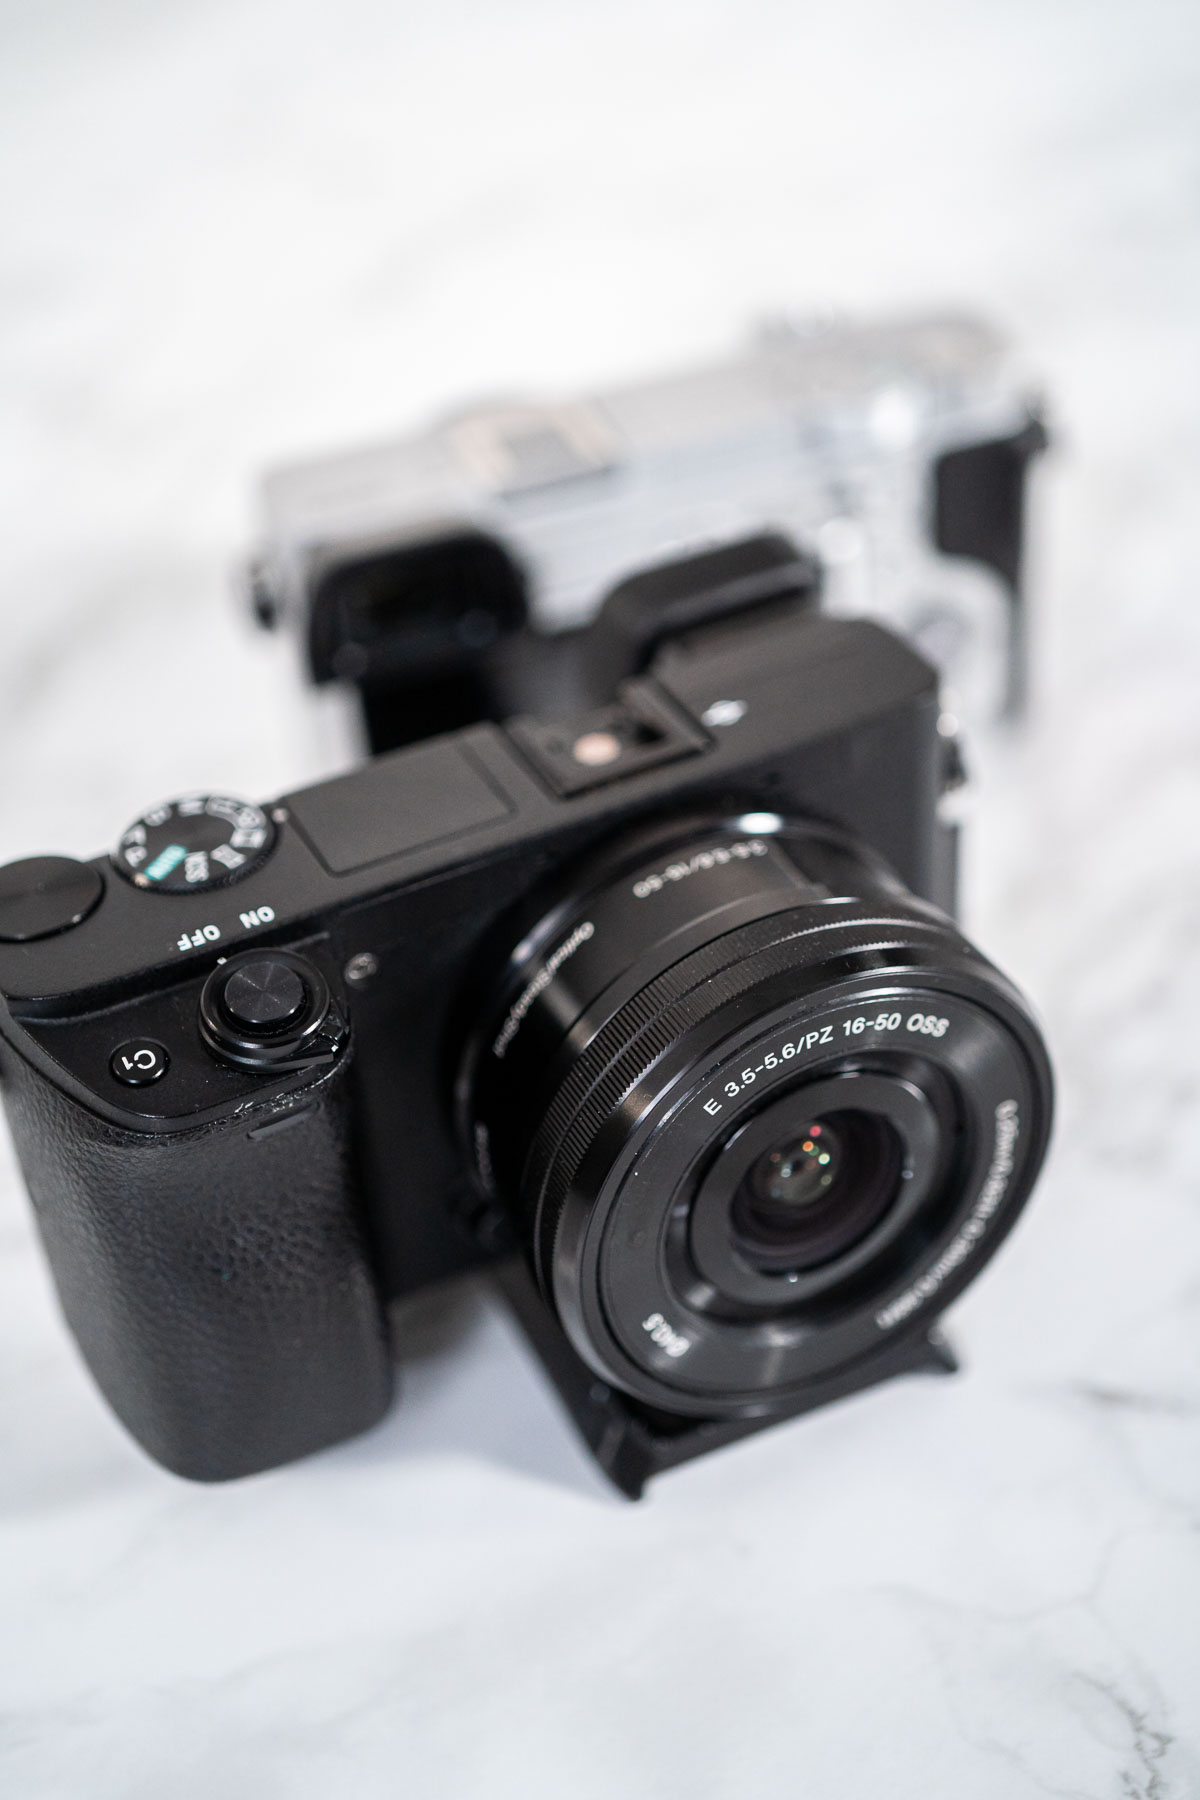
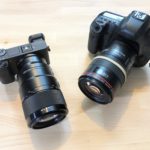
- Sony A6400 - This is my go-to camera because it is lightweight, and because it’s one of the more affordable cameras with 4K shooting abilities.
- If you only want to shoot in HD then you can go with a Sony A6000. It’s cheaper and still shoots great videos. For a more in-depth comparison on the camera specs check out this article.
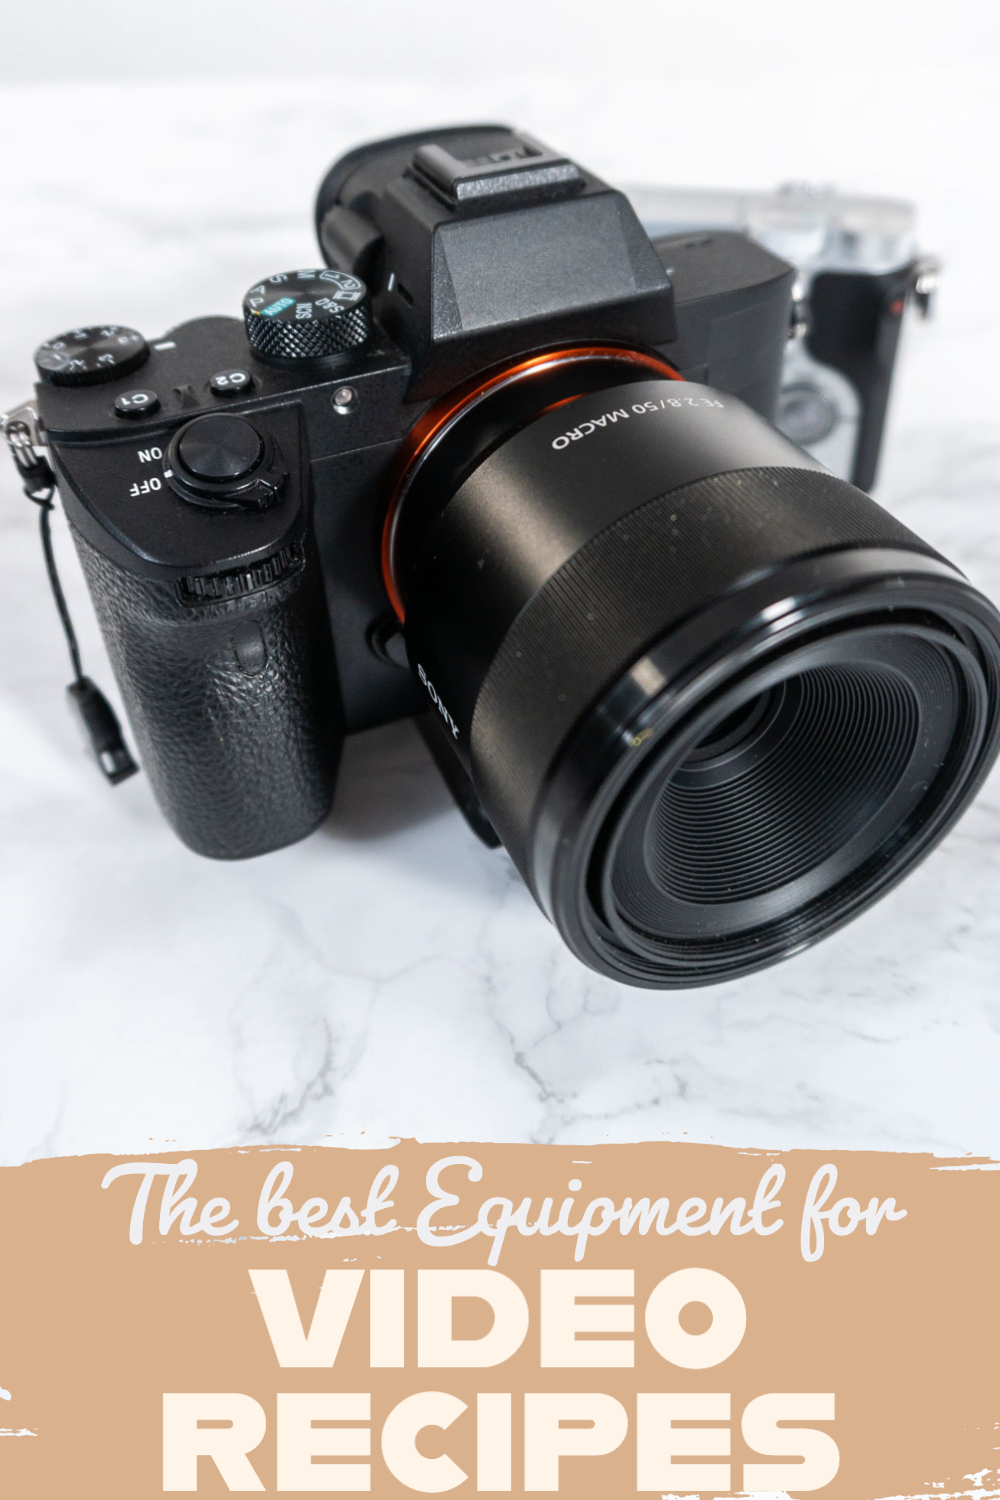
- Sony a7 III Mirrorless Camera is another great 4K camera but it’s not my favorite because it’s actually too heavy for my usual needs, plus it costs a lot more. However, I do like to use this camera specifically for “final plate” photos.
Lenses:
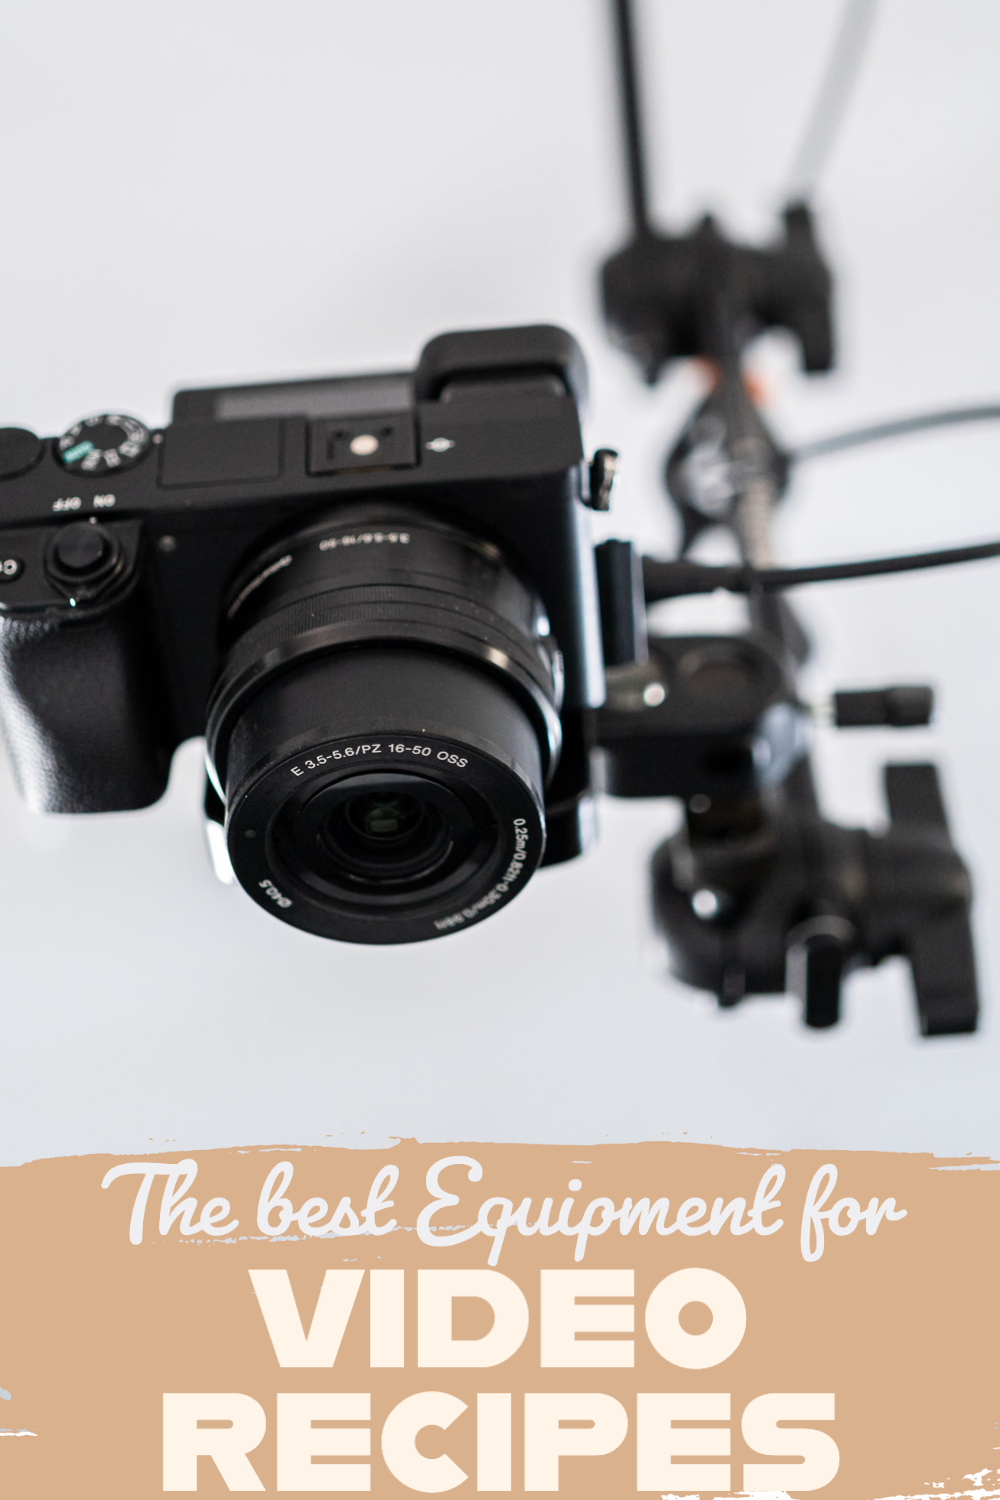
- Sony 16-50mm f/3.5-5.6 Zoom Lens - These lenses are my go-to for the overhead, or top-down, view.
- Sony E 55-210mm f/4.5-6.3 - These are my favorites for my side camera.
- These are very lightweight lenses that do a very good job for my cooking videos, without me having to break the bank or my cameras.
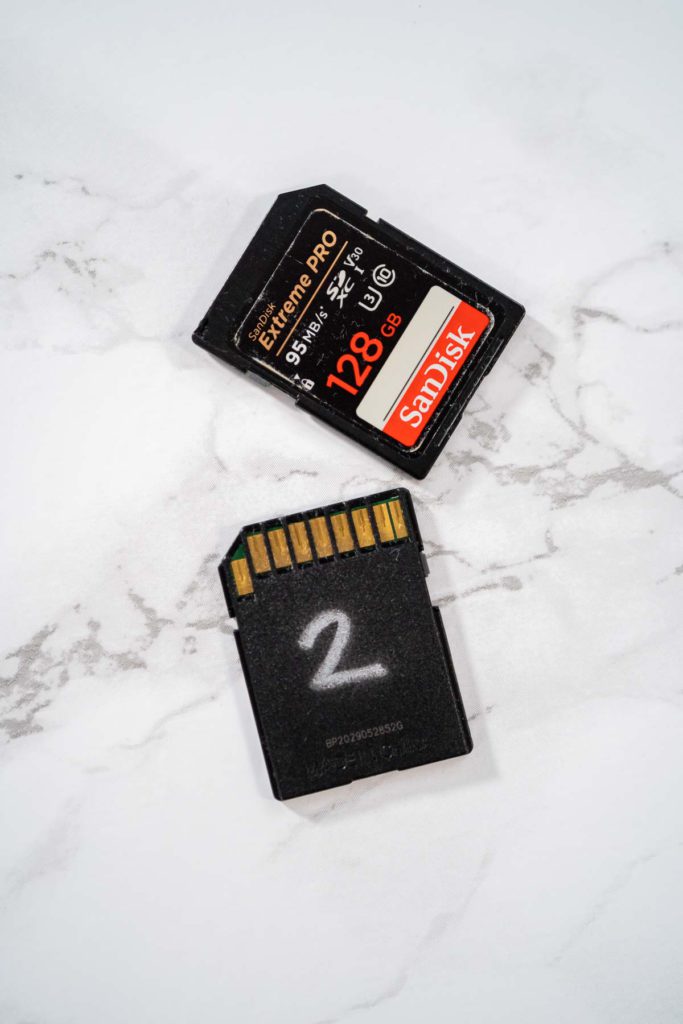
Memory Cards:
Fast and large memory cards are super important when it comes to making videos of any kind! You want to make sure you have plenty of space available so you can continue recording throughout the entire recipe process without having to stop to swap out memory cards. Here are 2 of my favorite memory cards:
Check out more of my image and video storage solutions here: STORAGE SYSTEMS FOR PHOTOGRAPHY AND VIDEOGRAPHY
Other Helpful Camera Equipment:
- One of the most helpful tools I invested in was this wireless remote control that fires both cameras at the same time. Talk about a massive life saver!
- This remote control also controls the zoom on the 16-50mm lens
- Other zoom lenses Sony E 55-210 mm need to be controlled manually.
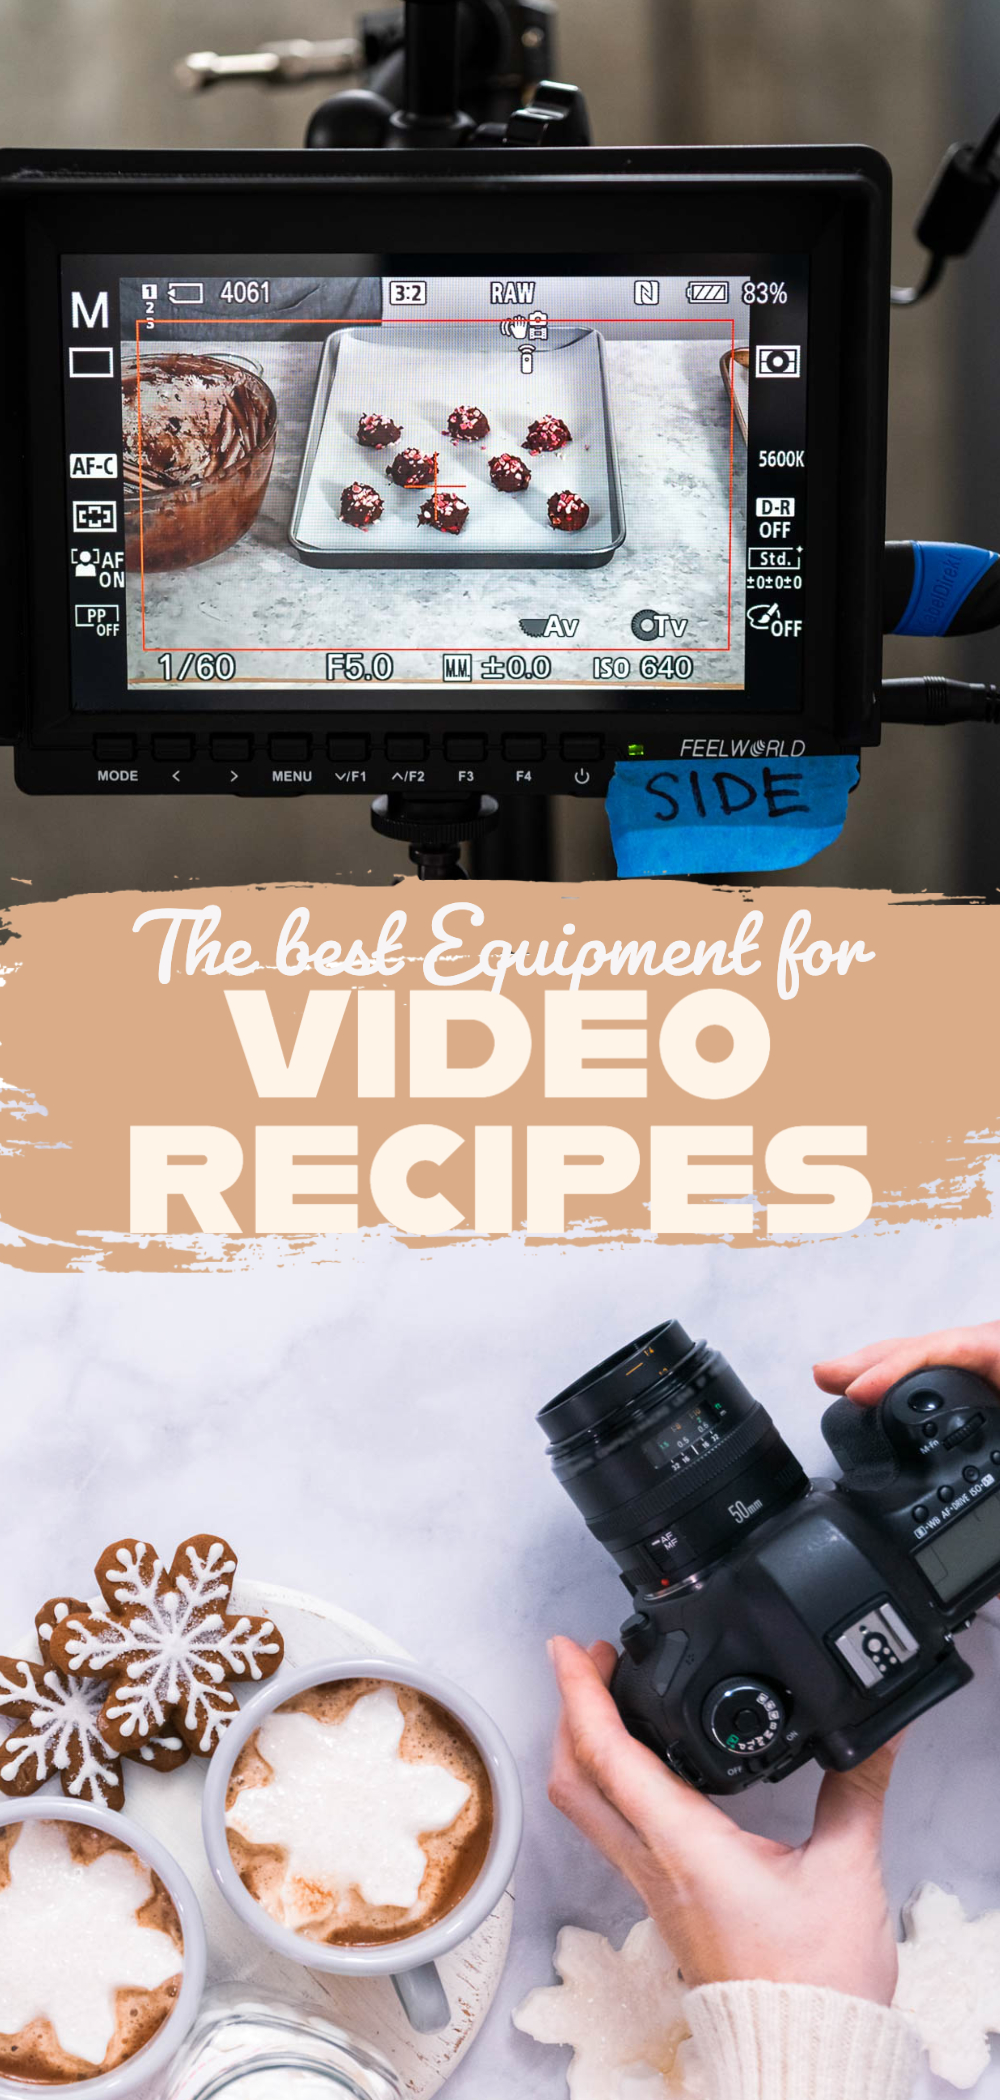
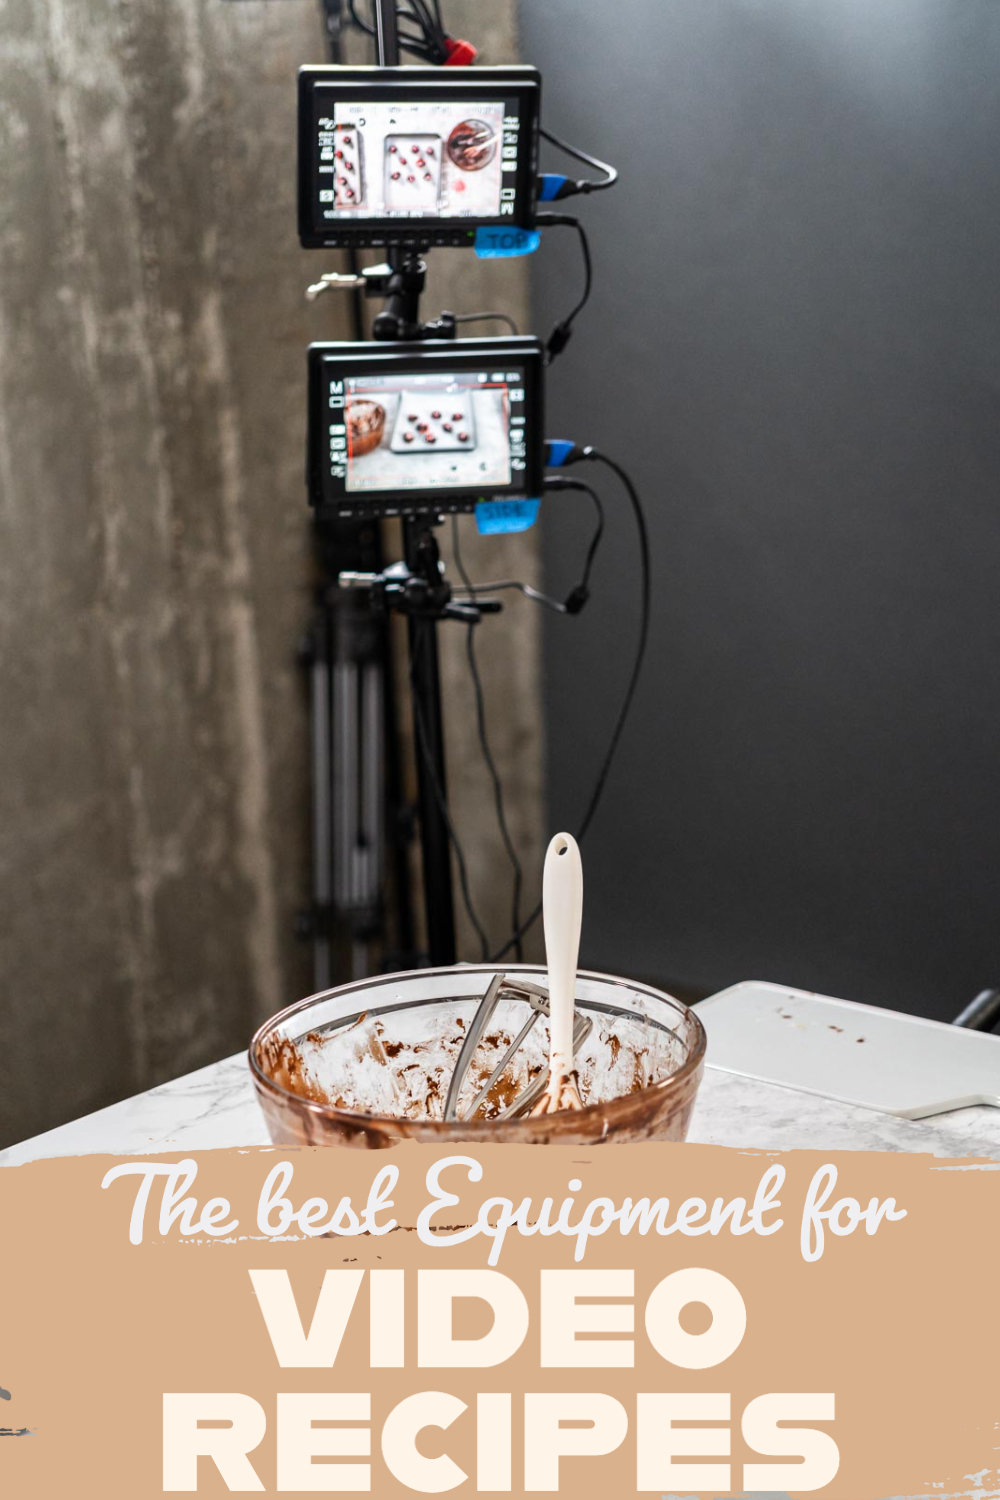
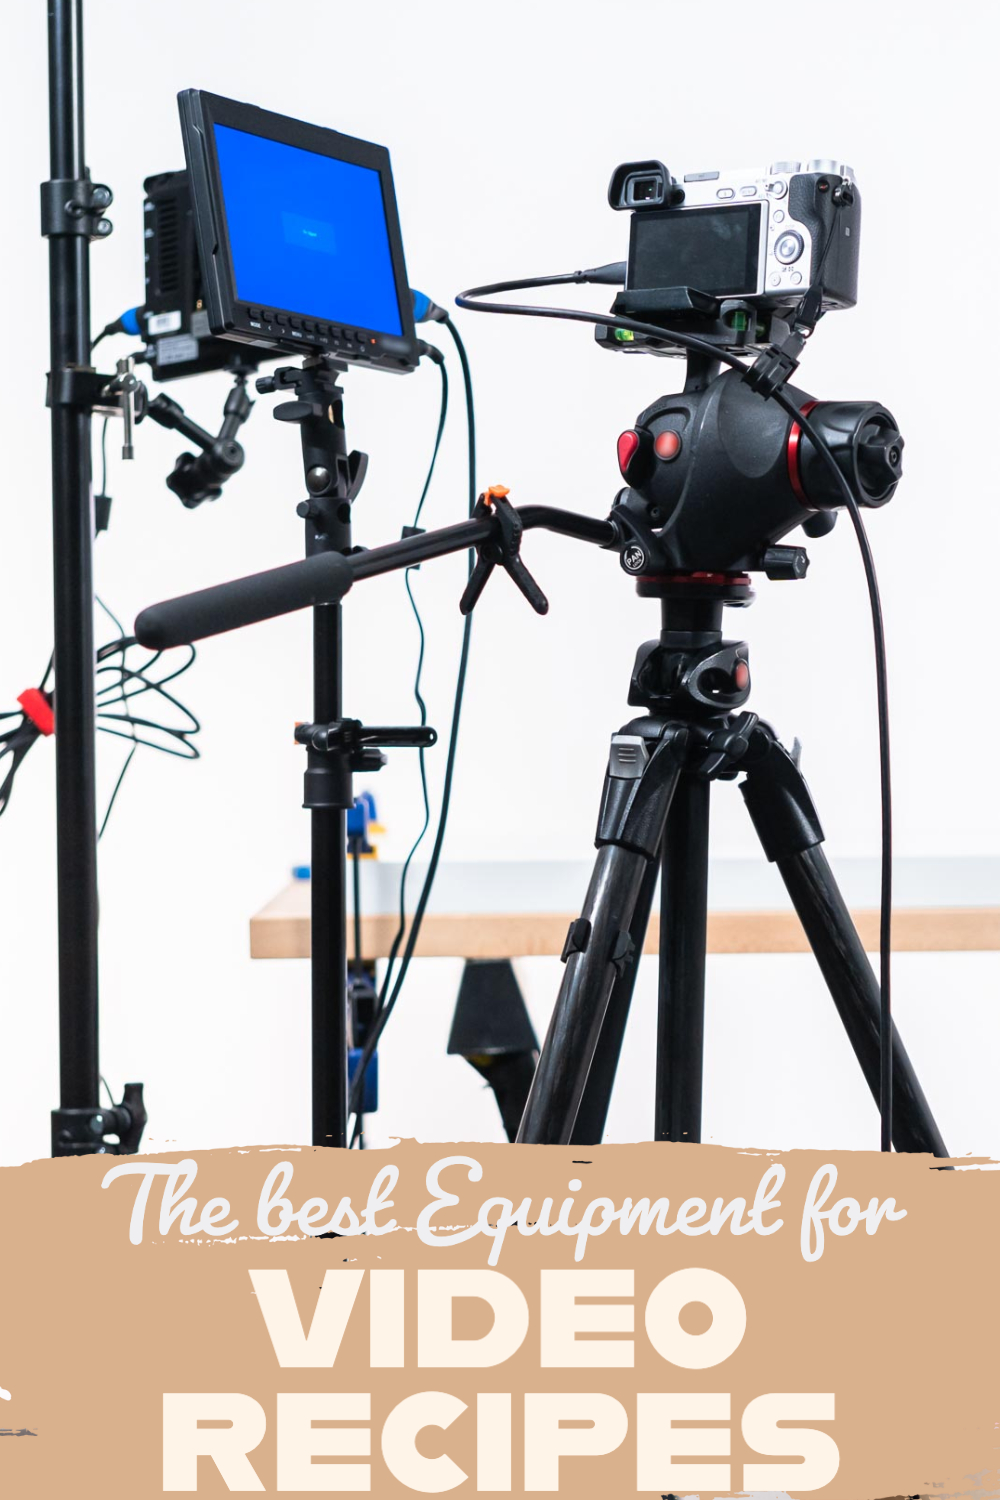
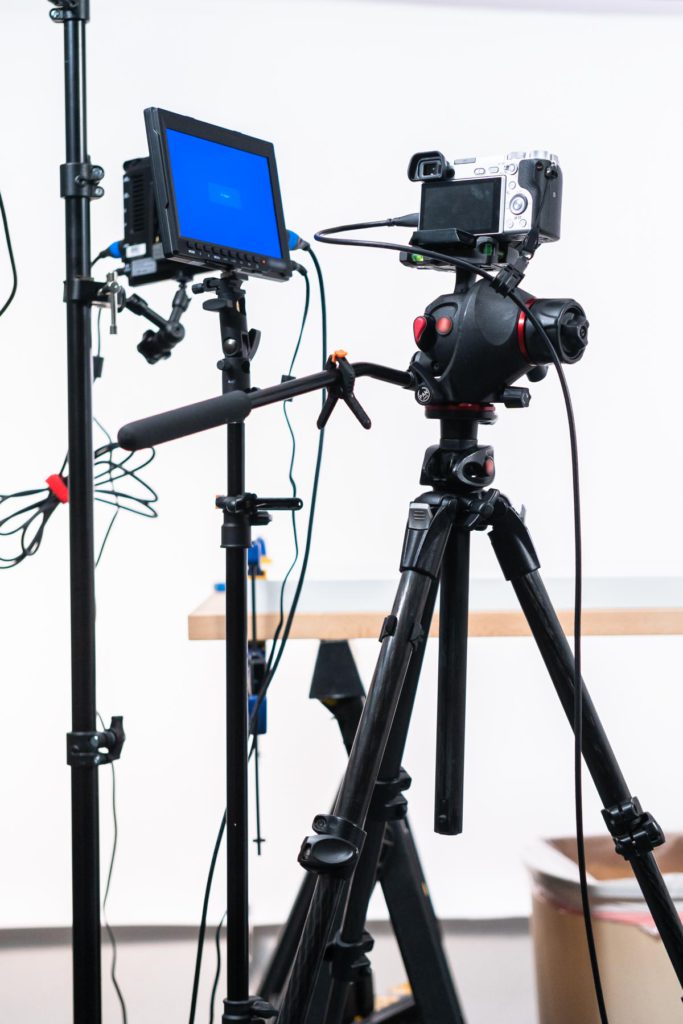
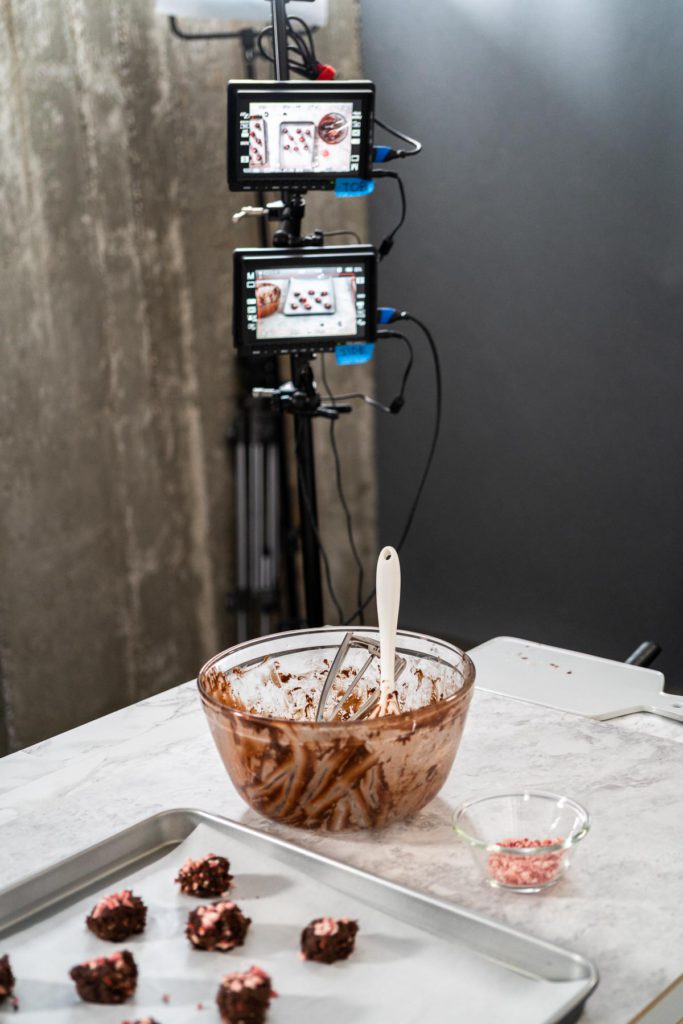
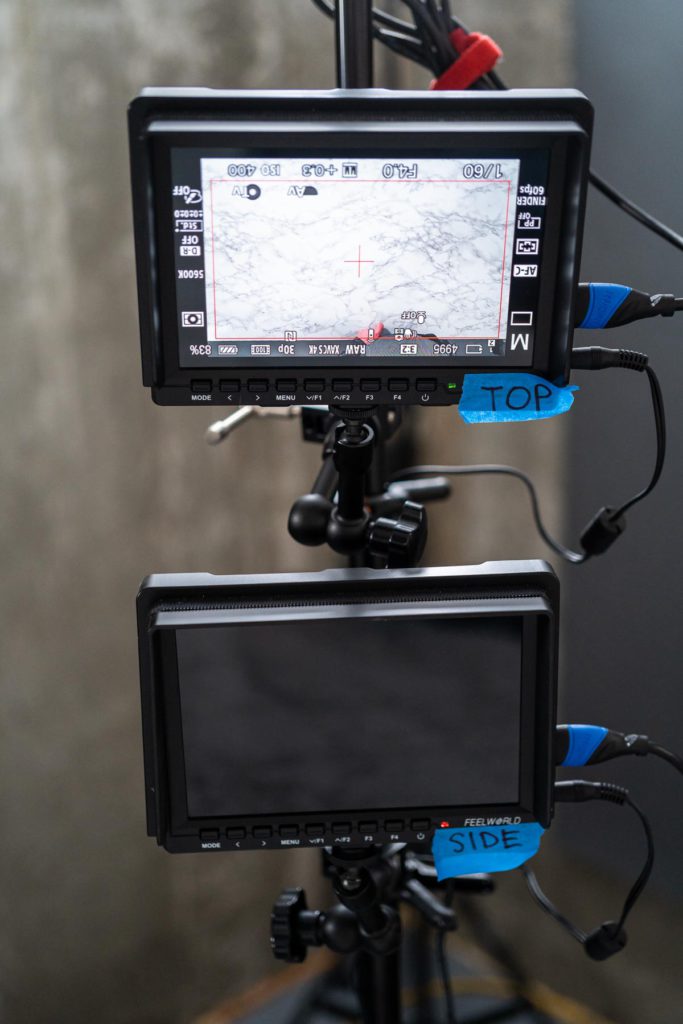
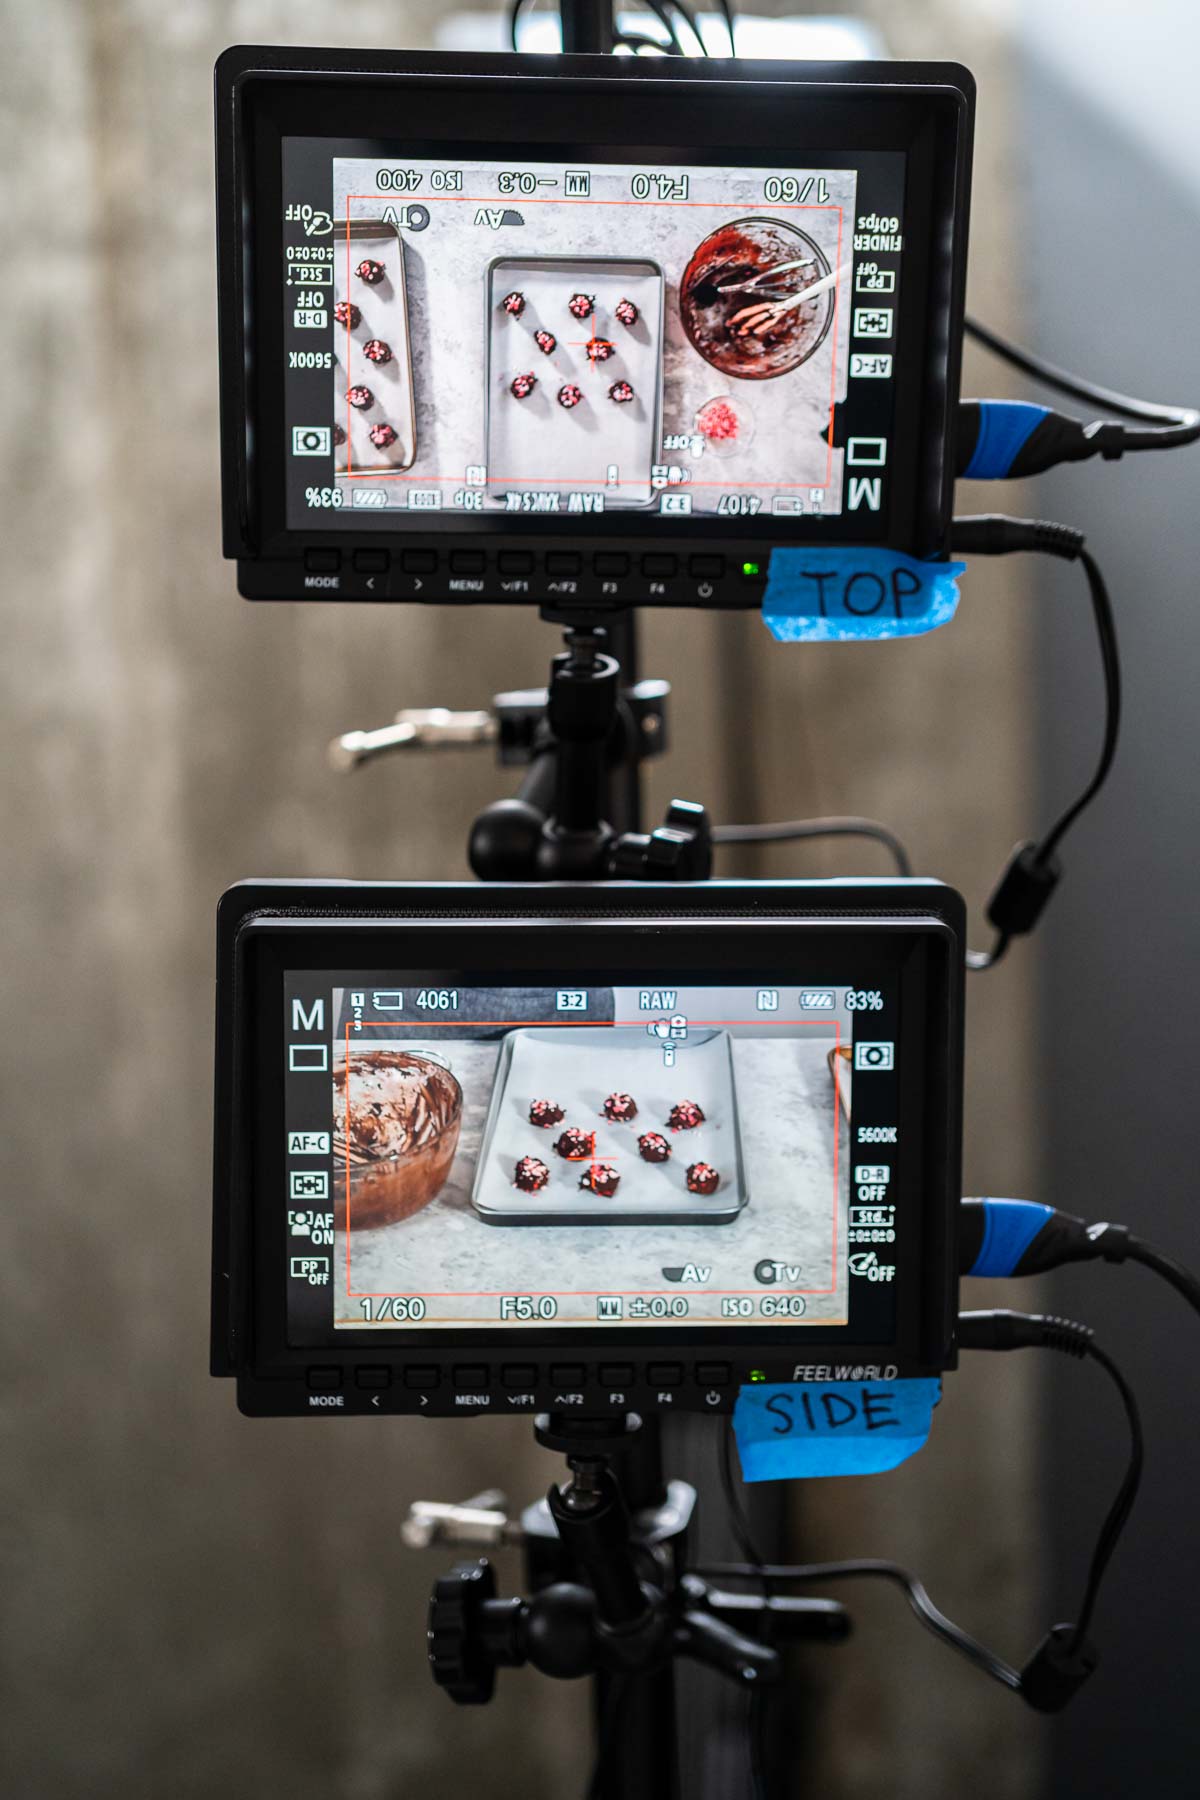
- Field monitors are essential to help you see what’s being recorded and what angles are visible without having to hop cameras all the time. Check out which ones I like to use in my article: What is in My Toolbox?
- Keeping long cords around allows you to easily move the cameras and field monitors around as needed.
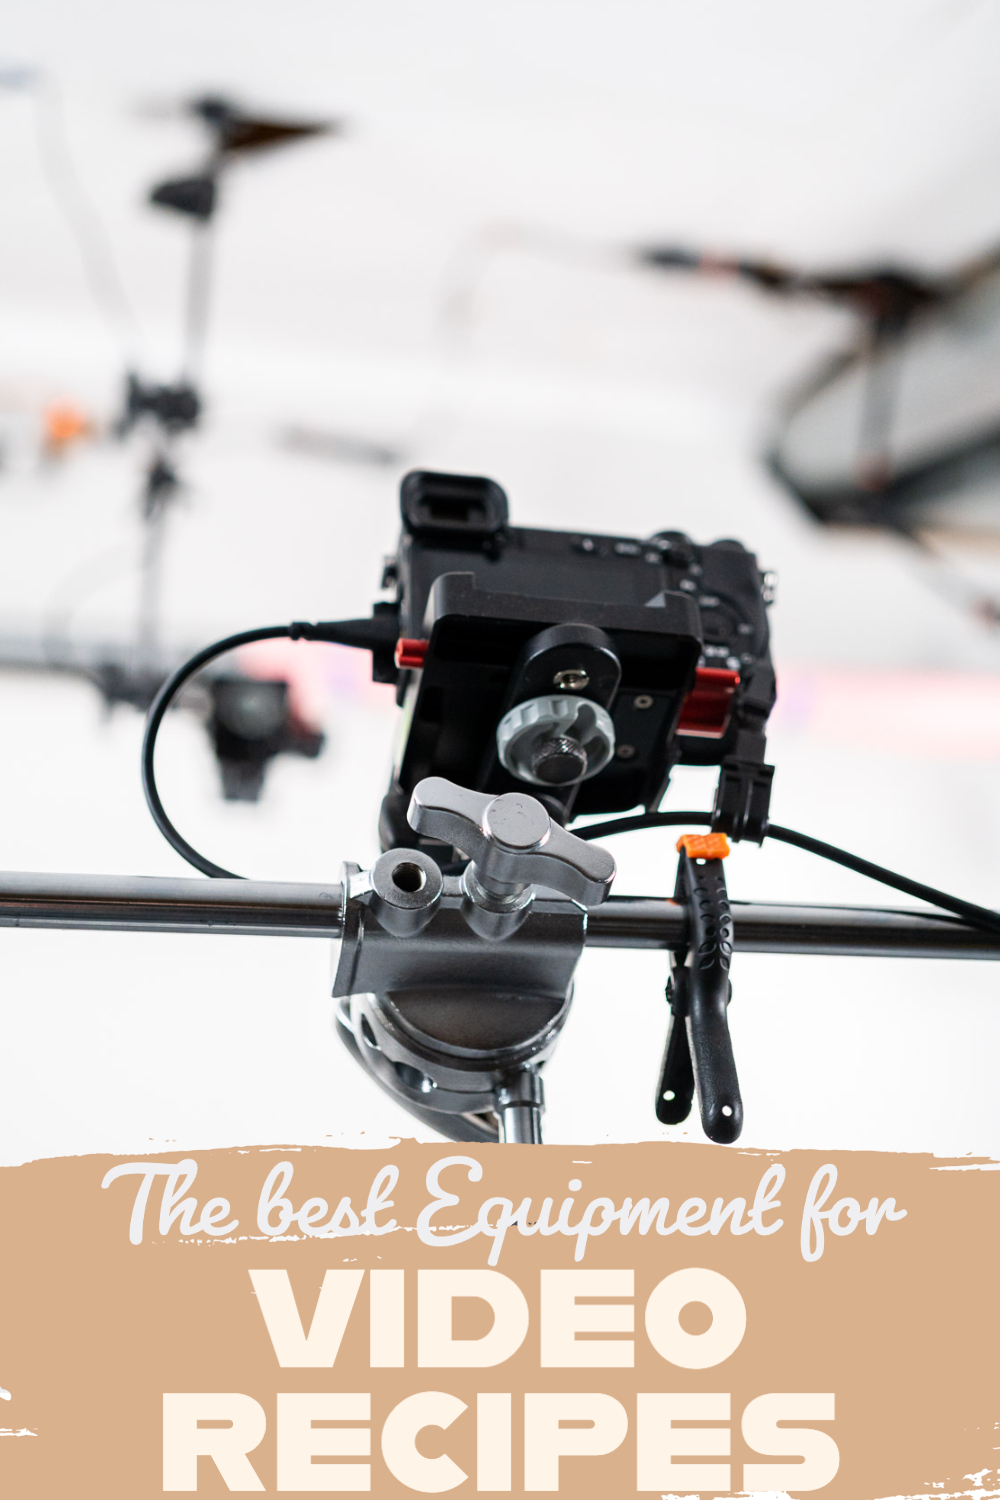
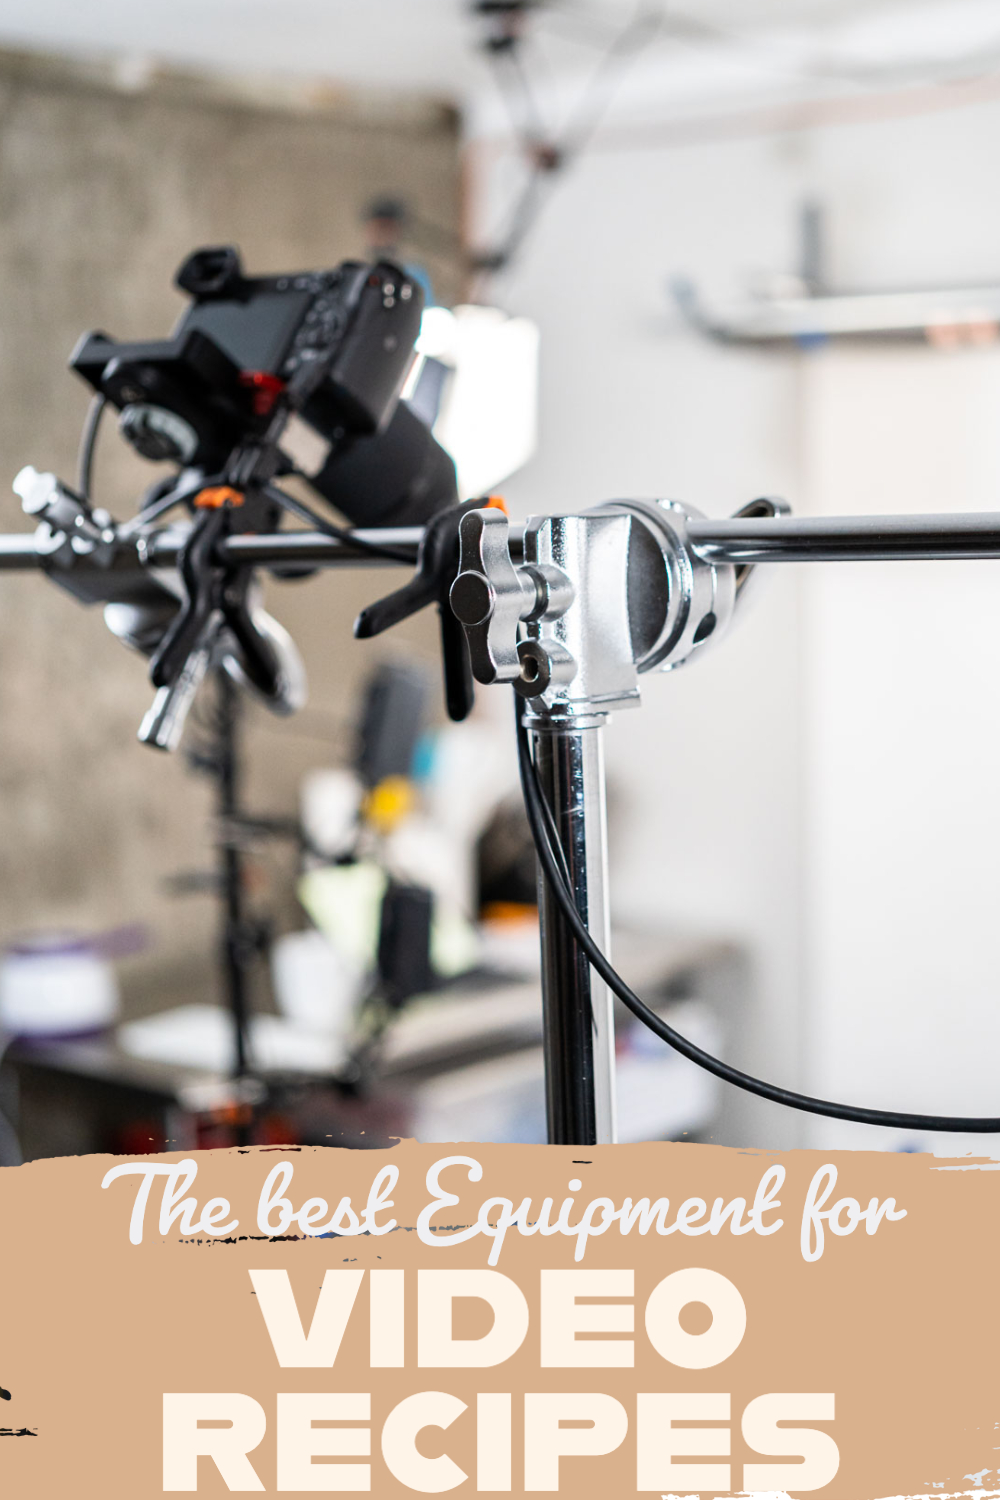
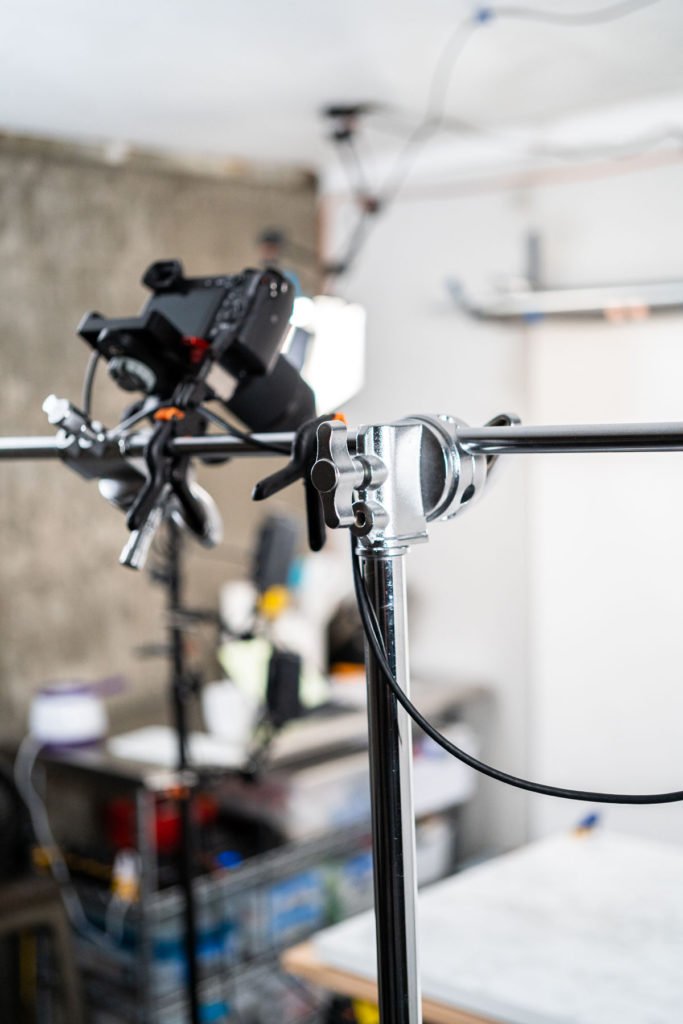
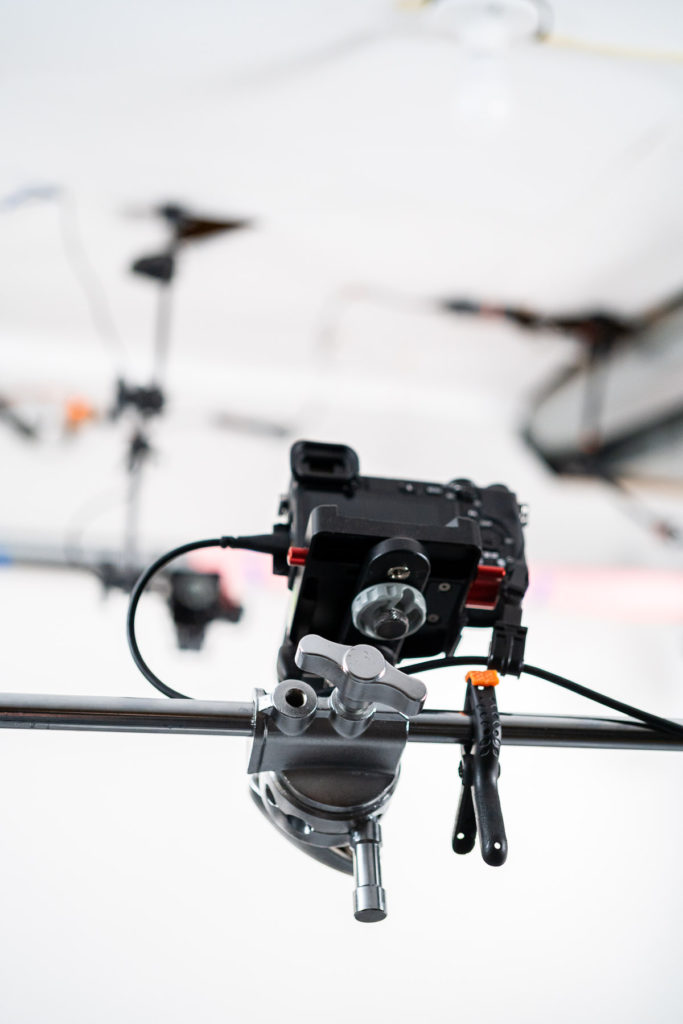
- If possible, attach a permanent mount for the overhead, or top-down, camera. I went through several different set-ups to find the right one for me so if you want a closer look at that process check out my 3 Ways Camera Setup for Tasty-style Video Recipes.
- If you need something that’s not permanent then I recommend a C-Stand with Boom Arm and weighing it down with Studio Sandbags.
Food Photography & Video Tips from My Studio
Here’s a peek at the tools, gear, and camera setups I use to film my recipe videos and photograph food at home. Over the years, I’ve tested dozens of different setups, and now I’m sharing what actually works for me—whether I’m filming overhead shots for YouTube or styling still photos for my blog. If you’re curious about how I create the content you see here, these posts are a great place to start.
Table Equipment
Instead of investing in a lot of fancy-looking and expensive table equipment, props, and backgrounds, I like to DIY as much as I can! That’s precisely what I did with my work table. I decided on a simple and easy DIY set-up instead of purchasing an expensive, heavy, and immobile table. Here’s what I use to DIY my recipe video table:
- I like to use a base table top with adjustable sawhorses.
- This is the perfect table set-up for any videographers who have to travel with their set-up to various locations for clients.
- Ikea White Desk Top.
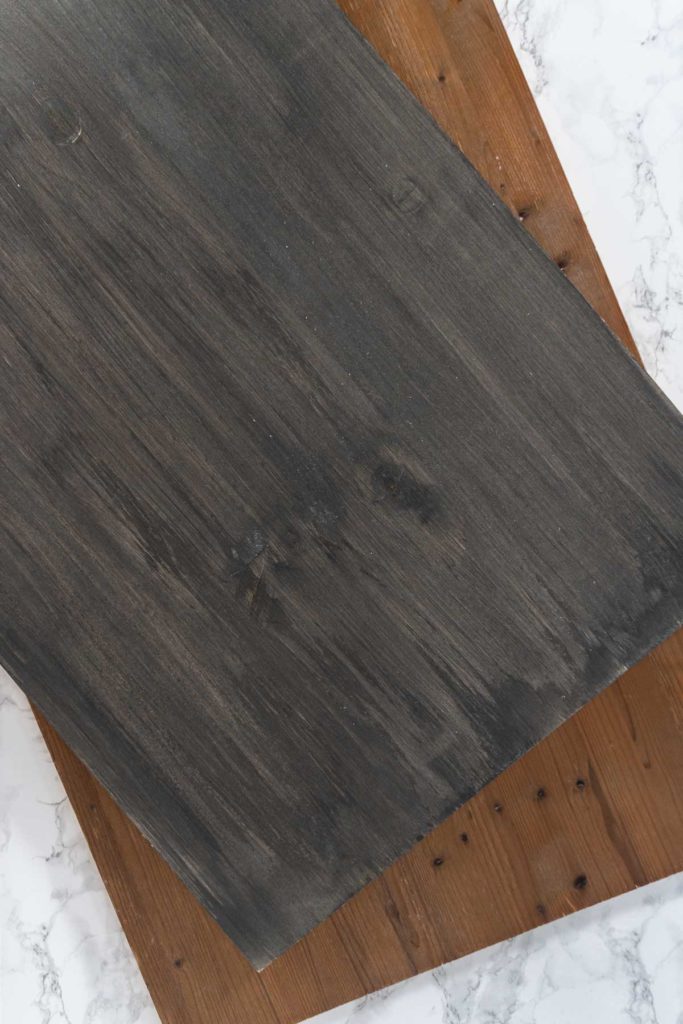
- To create various background or table surfaces, I use vinyl or contact paper on MDF boards.
- Vinyl and contact paper come in various fancy styles such as marble, tile, and concrete but are much more affordable than the real stuff. Plus you can swap them out instead of having to pick just one!
- For more on cooking video backgrounds, check out my Backdrops and Backgrounds or my simple guide on Best Backgrounds for Video Recipes.
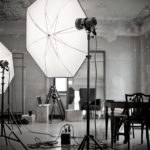
Lighting Equipment
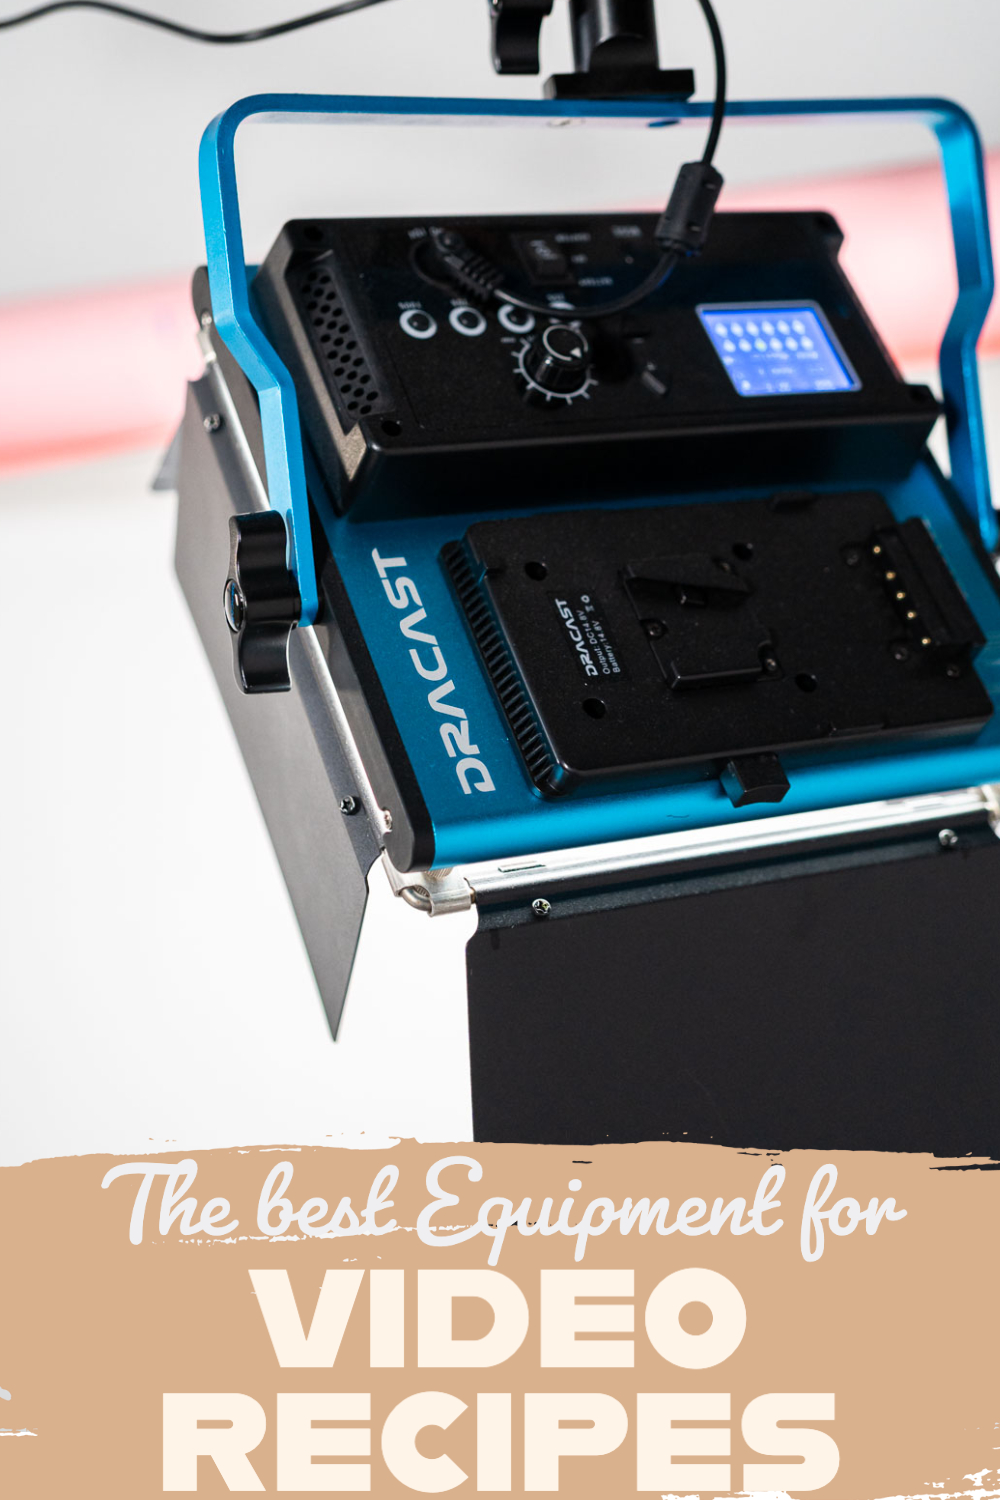
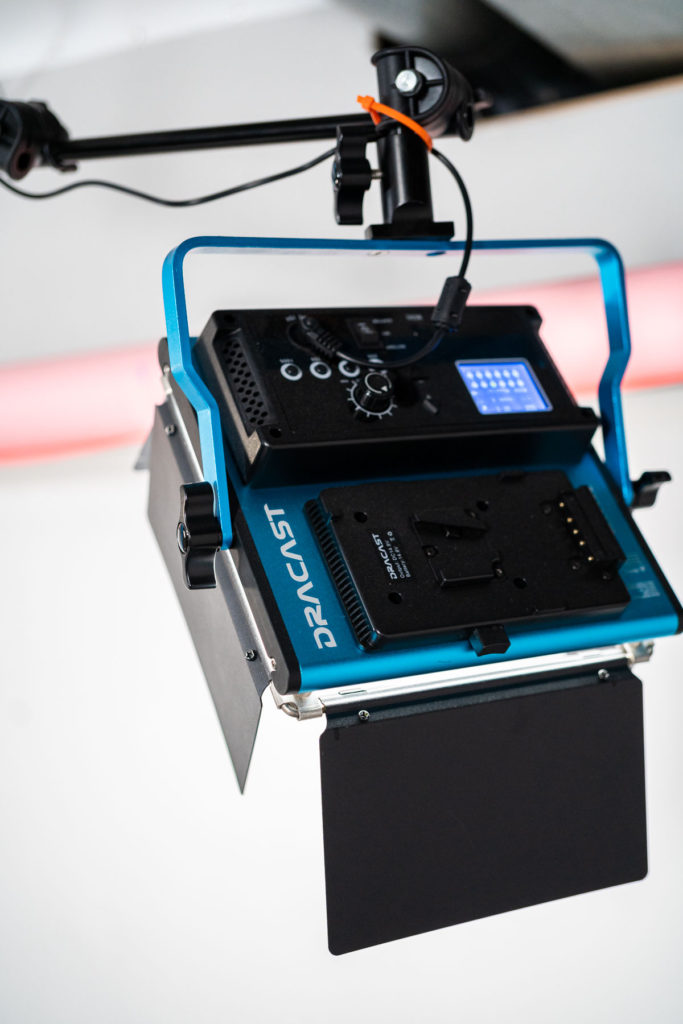
Some videographers like to use natural light but I much prefer using LED lights! Using LED lights gives you full control over the lighting whereas if you use natural light you have to worry about the sun changing positions, cloudy or stormy days, and running out of daylight altogether. LED lights let you film with perfect lighting anytime!
Here are some of my favorites:
- Dracast DRP-LK-2×1000-BG 2 X LED1000 Bi-color
- Dracast Softbox for LED1000
- W160 LED
- Dracast S Series Bi-color LED500
What I Use for Recipe Video Editing:
- I use Premier Pro for editing my videos.
- I also use licensed royalty-free music from Soundstripe.
Equipment Storage
Once you start accumulating a bunch of equipment and props, it’s important to figure out a good storage system for everything. Here are some articles breaking down what I have figured out about equipment storage over my years of photography and videography experience:
- 7 Tips for Studio Equipment Safety
- 5 Ways to Improve Studio Organization
- Storing Backgrounds for Food Photography
More Tips for Cooking Videos
Food Photography & Video Tips from My Studio
Here’s a peek at the tools, gear, and camera setups I use to film my recipe videos and photograph food at home. Over the years, I’ve tested dozens of different setups, and now I’m sharing what actually works for me—whether I’m filming overhead shots for YouTube or styling still photos for my blog. If you’re curious about how I create the content you see here, these posts are a great place to start.





Leave a Reply