This post contains affiliate links.
I love everything about Easter and springtime! From the bright, fun colors to the chirping birds and blooming, fragrant flowers, the springtime is full of sweet freshness. With that being said, it is quite clear why one of my favorite Easter treats is the traditional Italian Easter bread, or Pane di Pasqua. This Easter bread is soft, made rich with eggs and butter, and topped with a sweet glaze finish before baking to perfection. While I enjoy the traditional style of one big bread braid I also love making recipes in the mini version.
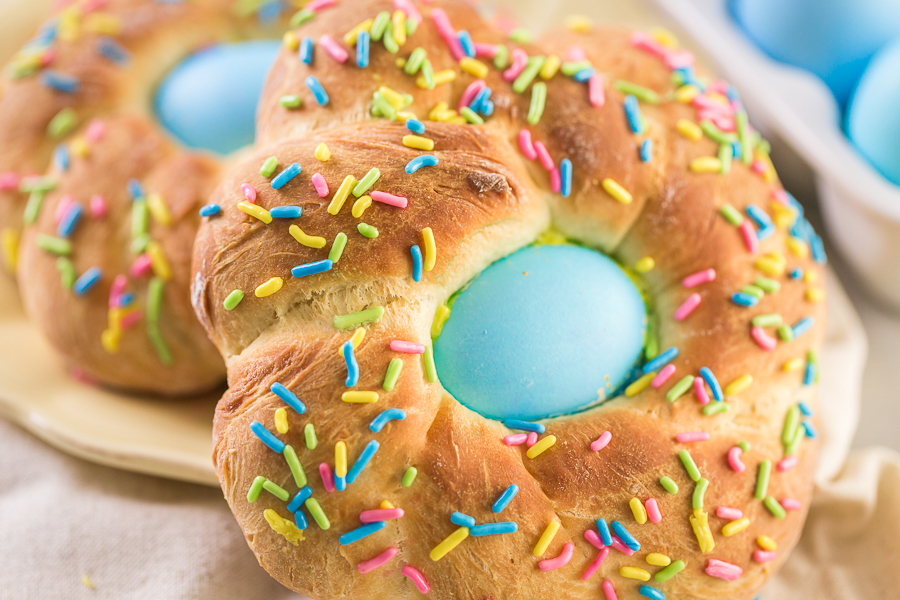
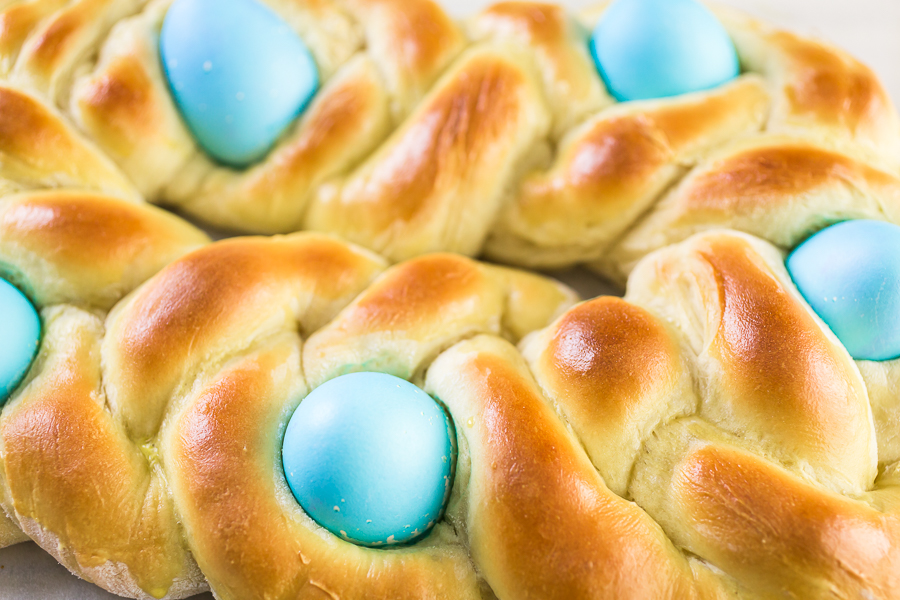
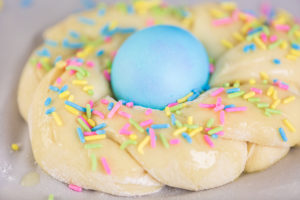
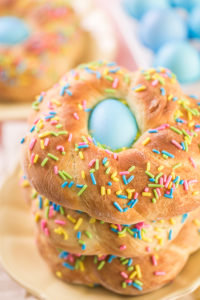
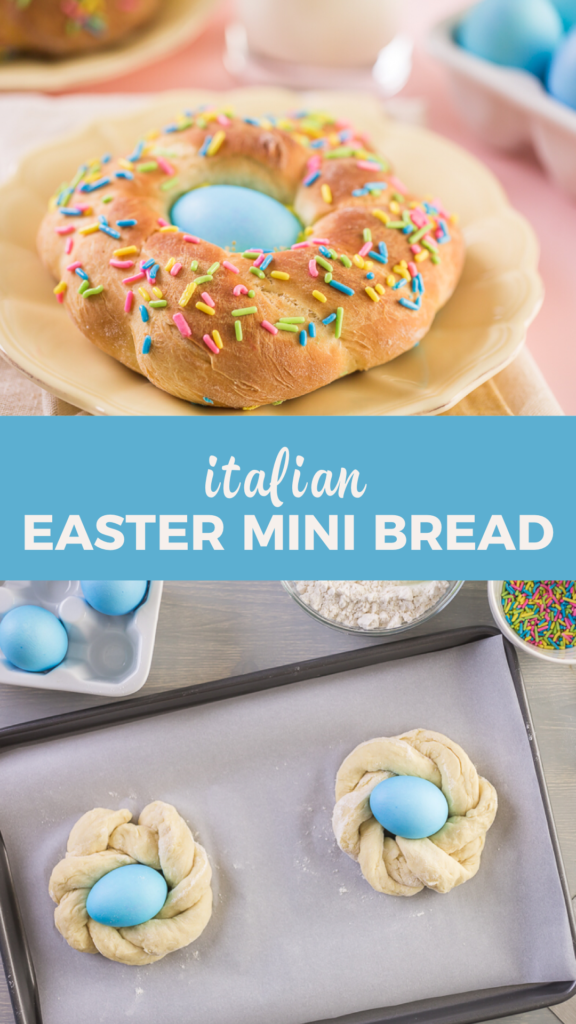
These mini Easter breads are in some ways more fun compared to one big bread. The ingredients and process are just about exactly the same except for a few changes in the final prepping steps. Unlike the big bread, these minis are already perfect serving size, or kid size, and they are dazzled in Easter sprinkles -which me and my daughter love! They also happen to be just the right size to put in a small box and give as a unique homemade Easter gift. The sprinkles paired with the lovely Easter egg nestled in the middle of the delightfully twisted bread makes these treats almost look like cute little bird nests. What an egg-cellent treat to celebrate Easter with!
Bread-Baking Equipment Tips
There are just a few equipment suggestions that I want to go over with you for success in your Easter bread baking. These are important for a smooth baking process so follow closely.
- Baking sheet
- Silicone baking mat - Parchment paper can be used in place of the mat but I highly recommend investing in a few silicone baking mats. These are wonderfully reusable and easy to clean!
- Glass mixing bowl
- Heat mat -This is to help the dough rise, especially if your kitchen is on the colder side.
- A rising box could also be used to rise the bread but I prefer to use the mat. The mat is portable and can just be rolled and stored easily whereas the box is more sophisticated and can be too big for household kitchens.
- A rising box could also be used to rise the bread but I prefer to use the mat. The mat is portable and can just be rolled and stored easily whereas the box is more sophisticated and can be too big for household kitchens.
- Zester
- Silicone pastry brush
- Cooling rack
Other Easter Recipes
- Easter Bunny Cupcakes
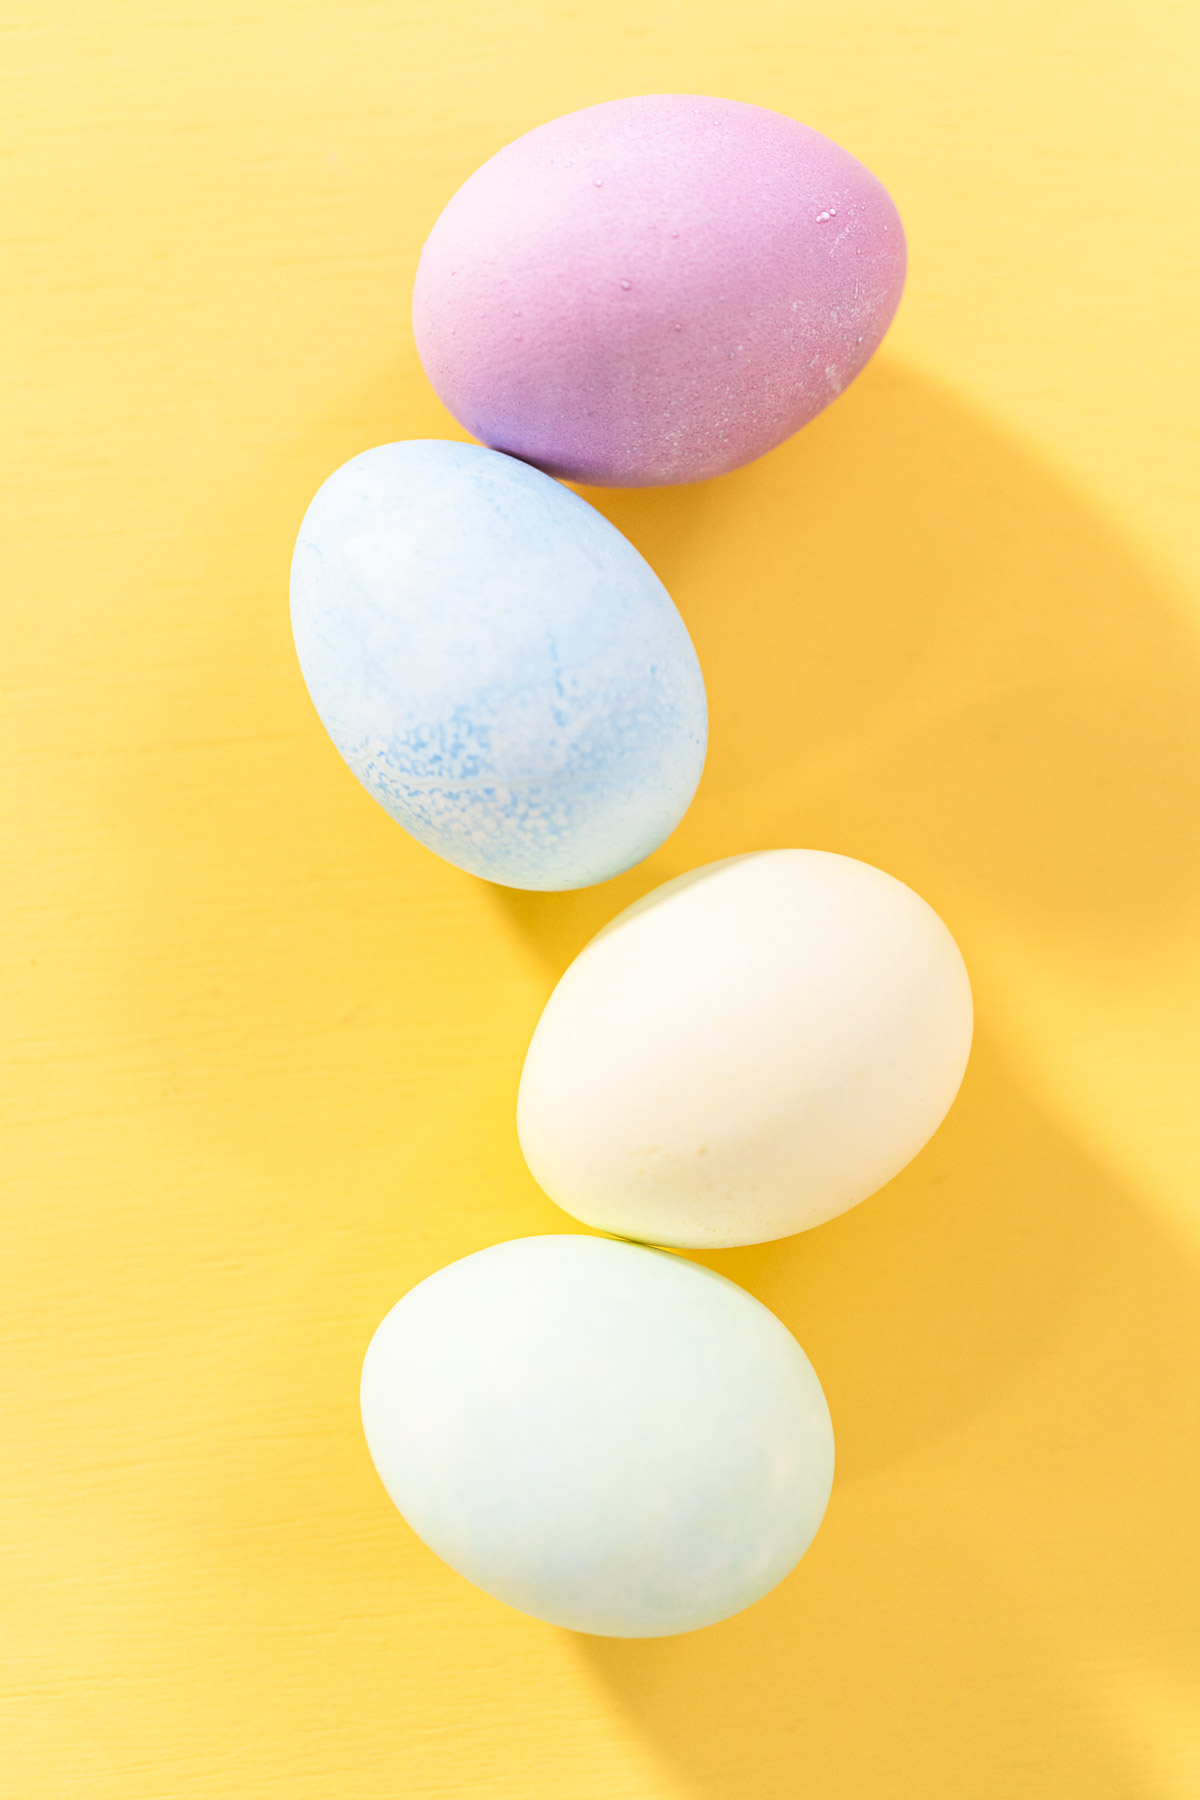
- How to Dye Easter Eggs Naturally with Vegetables and Spices
- How to Make Mini Kulich for Easter (Individual Bread Loaves)
- Traditional Italian Easter Bread Recipe – Soft, Sweet, and Perfect for Easter Brunch
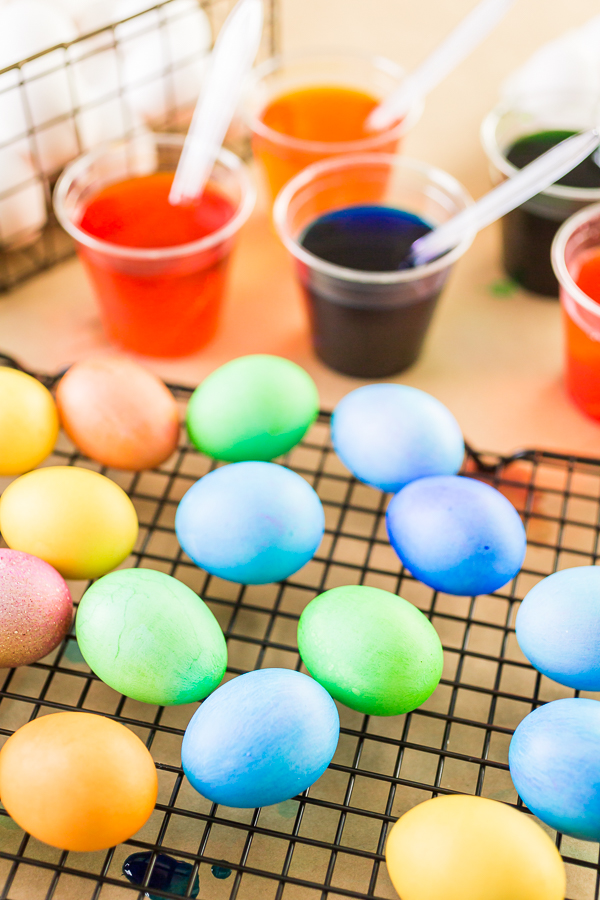
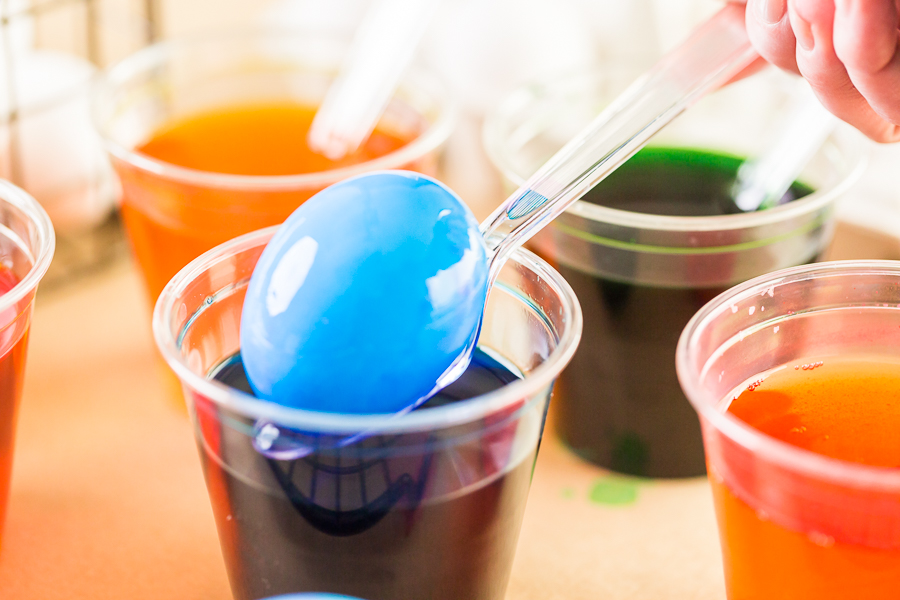
- How to Dye Easter Eggs with Food Coloring (Step-by-Step Guide)
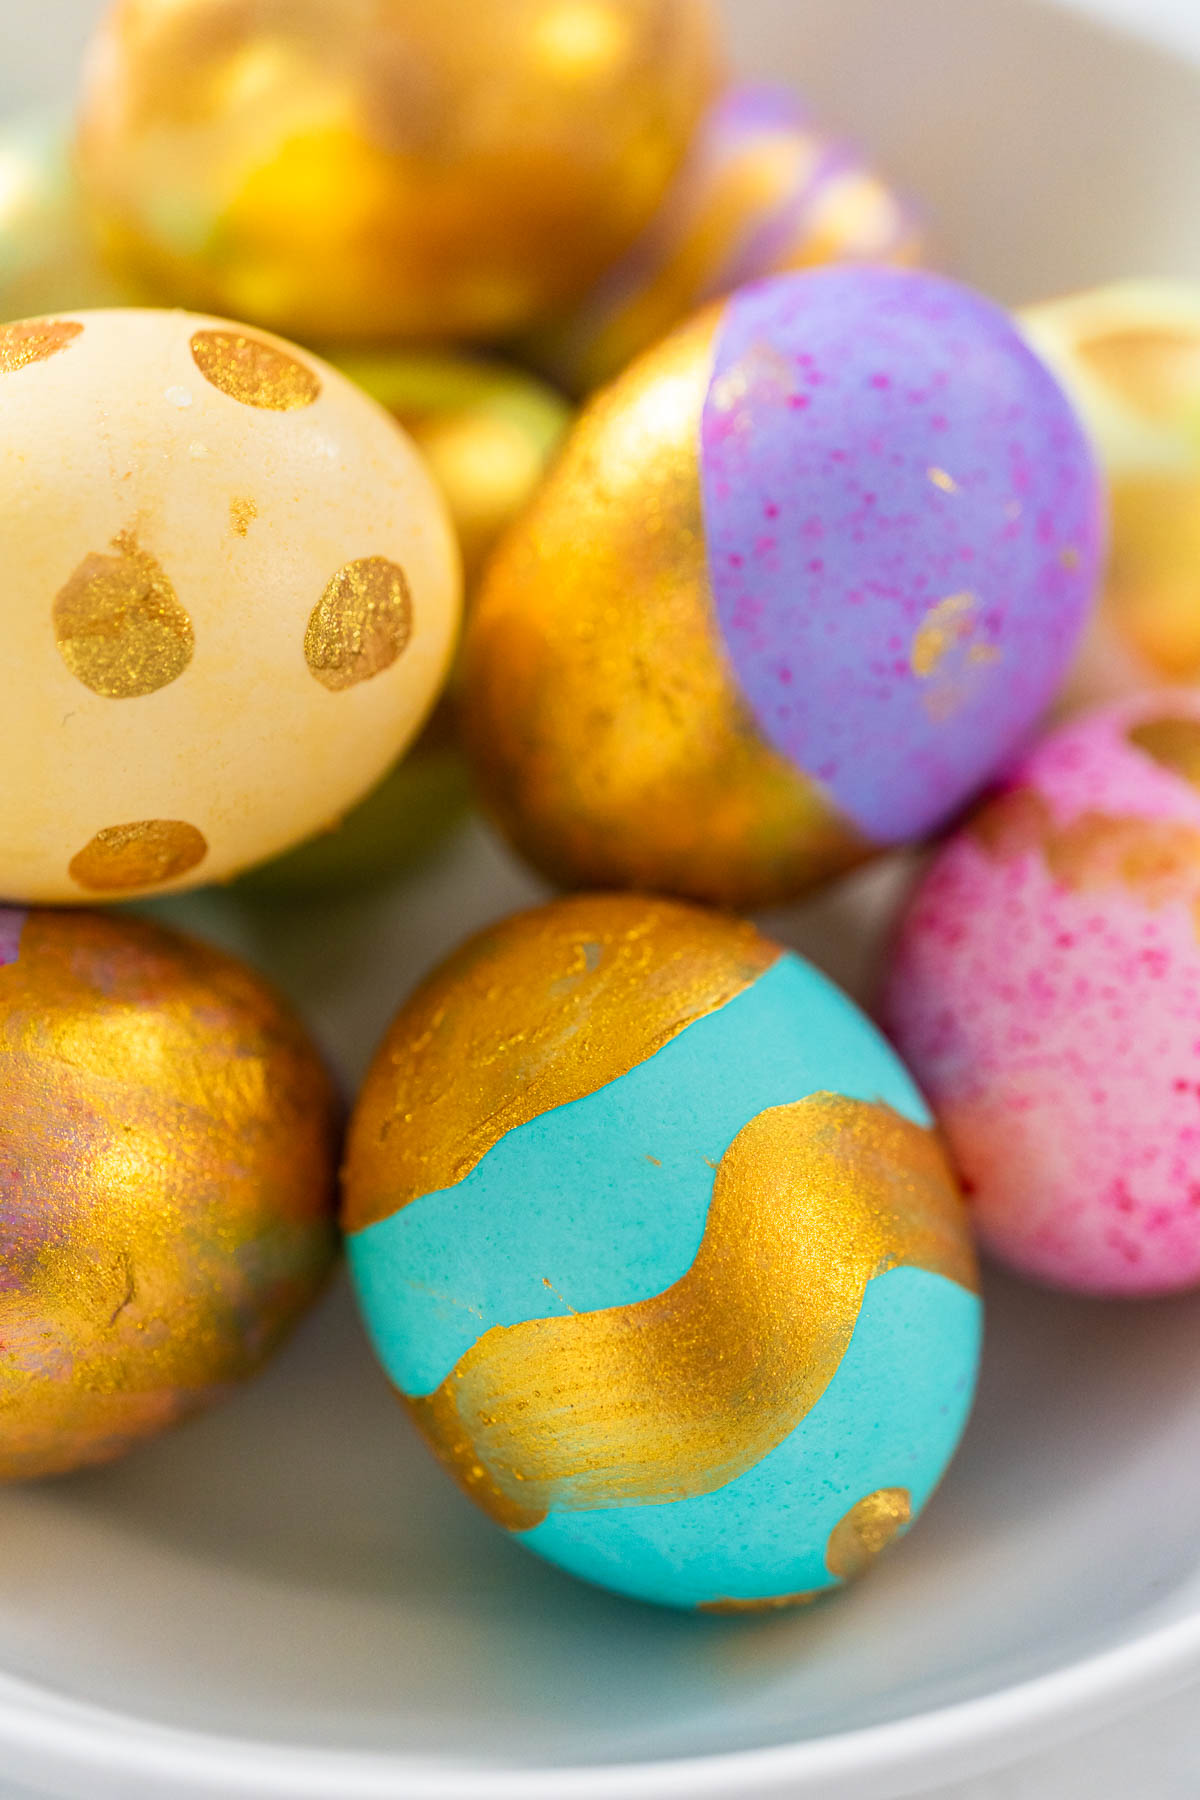
- How to Make Edible Gold Easter Eggs with Food-Safe Paint
Hoppin’ Easter-Ready Ingredients
Now, let’s move on to the ingredients needed to make the bread and the simple glaze. It is important to pay attention and adhere to specific ingredient temperatures for smooth mixing and baking.
For bread:
- Sugar
- All-purpose flour
- Active dry yeast
- Salt
- Unsalted butter -melted
- Lukewarm milk
- Eggs
- Lemon zest and juice - An orange can be used instead. This is optional but suggested for extra flavor.
- Sprinkles - For that extra Easter flair!
For glaze:
- 1 egg
- 1 tsp. water
Egg-cellent Natural Egg Dyes
When I was growing up in Russia we did not have synthetic dyes to dye Easter eggs with. Instead, we used what was available in our kitchen to make all-natural homemade Easter egg dyes. Even now, I prefer using this homemade method much more because both taste and smell seem to be far better compared to using synthetic dyes. First, I will go over the food coloring dye method that I used in this recipe. Then, I will guide you through the all-natural homemade Easter egg dye process.
For the food coloring method you need:
- Boiled eggs - read over my recipe card for an easy egg boiling process.
- White vinegar
- Food coloring
To make dye using this food coloring method:
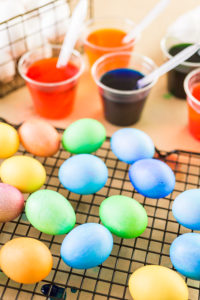
- In a few medium-sized bowls, mix boiled water (from boiled eggs) with vinegar and desired food coloring.
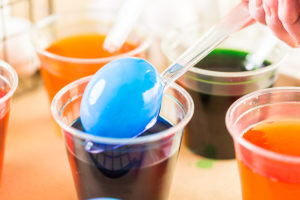
- Next, dip 1 egg at a time into the dye and let sit for about 5-10 minutes. The egg can sit in the dye longer if a darker color is desired.
- Finally, carefully transfer eggs onto a drying rack with a paper towel beneath to dry completely.
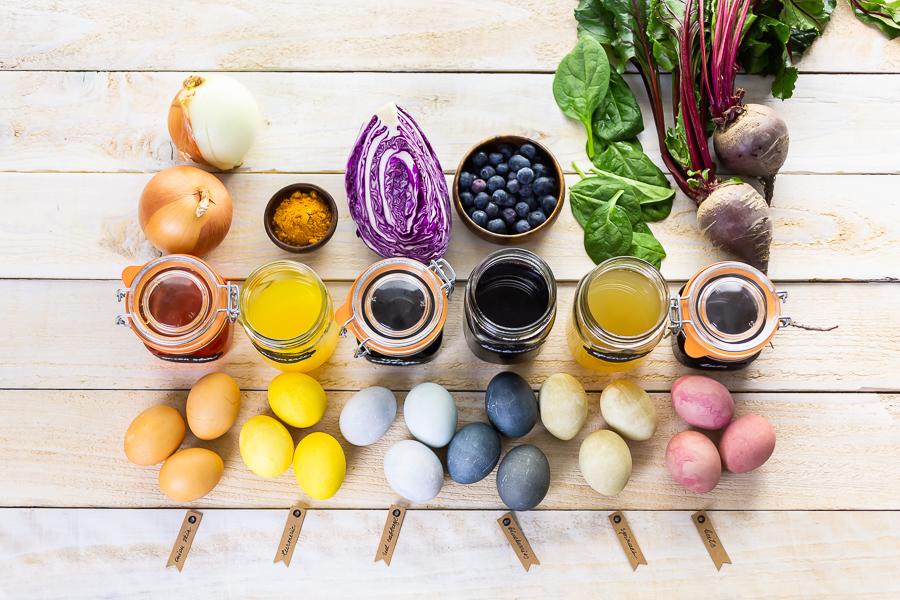
To make the all-natural homemade dye you just need some produce, water, and vinegar. Here are some ingredient examples that I have tried in my own homemade Easter egg dyes:
- Onions -orange
- Turmeric -yellow
- Red cabbage -light blue
- Blueberries -dark blue
- Spinach -green
- Beets -purple
To make this all-natural homemade dye:
- Start by combining the chosen produce dye ingredient with water and bring to a boil. Cover and let simmer for 15-30 minutes.
- Then, remove dye water from heat and let cool to room temperature.
- Next, drain the dye through a fine strainer and into a dipping bowl. For each cup of dye add in 1 tablespoon of vinegar.
- Dip the eggs in the dye, one at a time, and let sit until desired color is reached.
- Finally, scoop them out and set them out to dry on a drying rack with a paper towel underneath.
Baking Mini Breads Like A Pro
The process I use for making mini Easter breads is just like the one I use to make one big Italian Easter Bread. It is a simple process but a bit lengthy in prep time. The only big differences between the big one and the minis are in the shape and the fact that these are perfect for making individual treats.
- First, keep in mind that your Easter eggs must be cooked and colored before baking the bread.
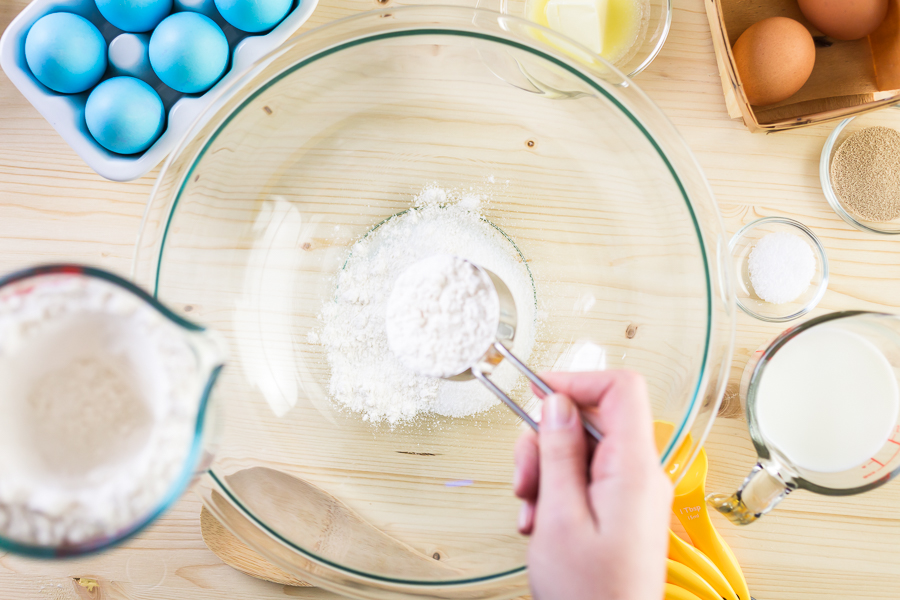
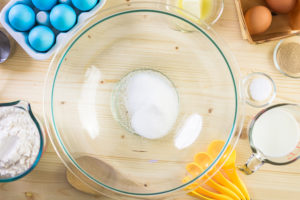
- Start by whisking together the sugar, flour, yeast, and salt in a glass mixing bowl.
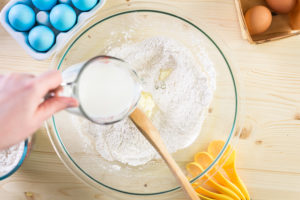
- Then, add in the butter, milk, and eggs, mixing well between each ingredient addition.
- Tip: A wooden spoon can be used to mix the dough but I prefer to use my kitchen mixer because it makes the job so much easier on my hands.
- Tip: A wooden spoon can be used to mix the dough but I prefer to use my kitchen mixer because it makes the job so much easier on my hands.
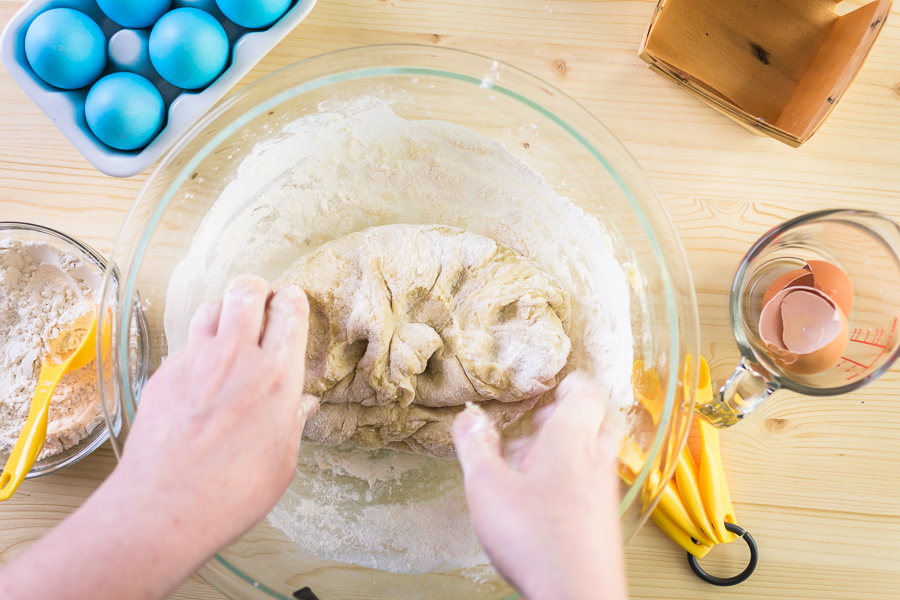
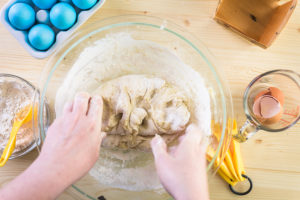
- Knead the dough for about 5-10 minutes until the dough is smooth.
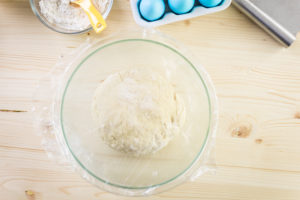
- Form dough in the bowl, then move it to a separate, lightly-greased large glass bowl to rise. Cover with a towel then with food wrap. Let sit for one hour or until the dough has doubled in size.
- The kitchen towel helps absorb moisture while the cellophane wrap helps keep the dough warm.
- For dough to rise properly, the kitchen has to be at the right temperature and sometimes it’s just not. If your kitchen runs cold then you can use a heating mat to help the dough rise. This mat is especially useful during the colder months.
- Then, turn the dough out onto a lightly-floured surface and divide into 12 equal parts. Roll each dough portion into a 1-inch thick rope.
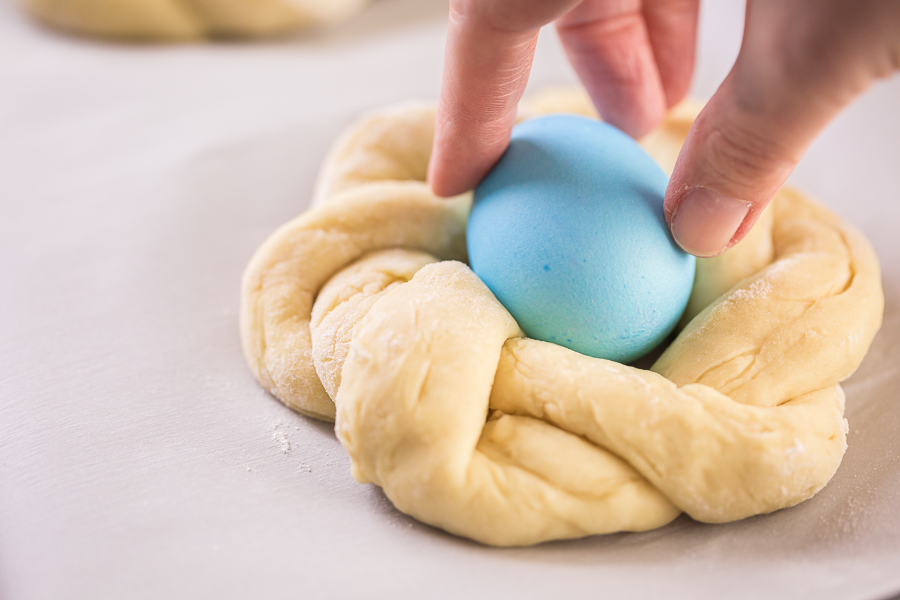
- Start twisting by pinching 2 rope ends together and very loosely twist together. It is crucial to keep the twisted dough loose enough that it has room to rise in the oven. Twist loosely by leaving gaps between the dough strands.
- If the twist is too tight then the dough will break when the bread starts to rise in the oven.
- If the twist is too tight then the dough will break when the bread starts to rise in the oven.
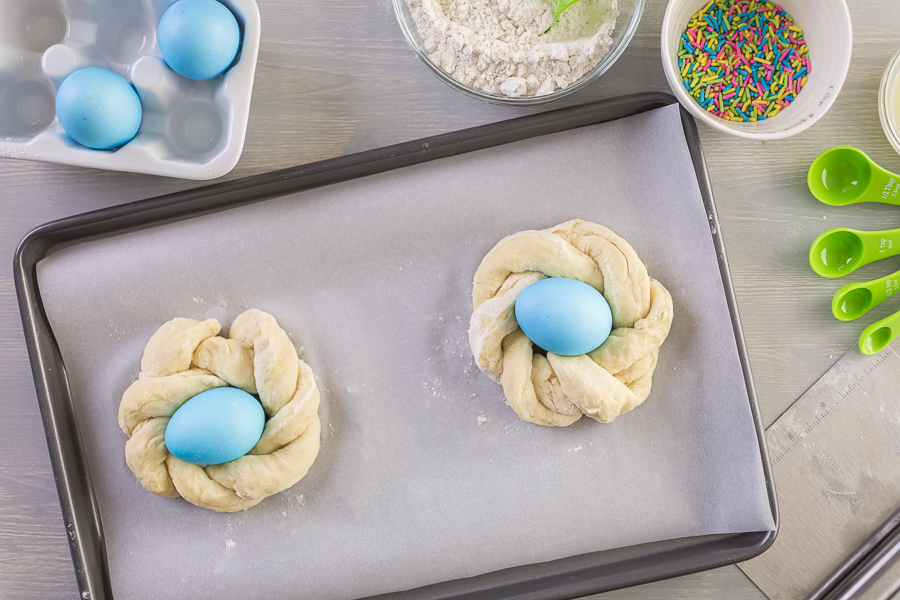
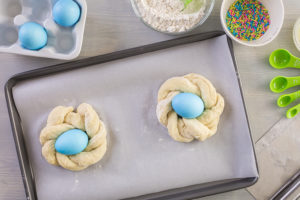
- Next, transfer the dough twists onto a baking sheet lined with a silicone mat -or parchment paper, if needed. Gently shape each twist into a circle. Each baking sheet should hold 2-3 bread twists.
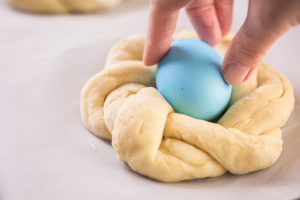
- Then, place an Easter egg into the middle of each twist.
- Again, cover the bread circles with a towel and then with food wrap. Let rise for one more hour or until the dough has doubled in size.
- Alternatively, you can just flip another empty baking sheet over the twists to cover while they rise.
- Alternatively, you can just flip another empty baking sheet over the twists to cover while they rise.
- Next, preheat the oven to 350°F and then quickly whip up the glaze.
- To make the glaze simply whisk together an egg and a teaspoon of water.
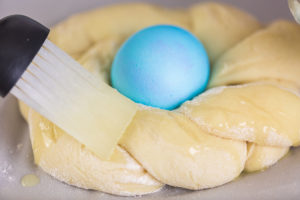
- Then, carefully brush the egg glaze onto each bread circle, making sure not to get any glaze on the eggs.
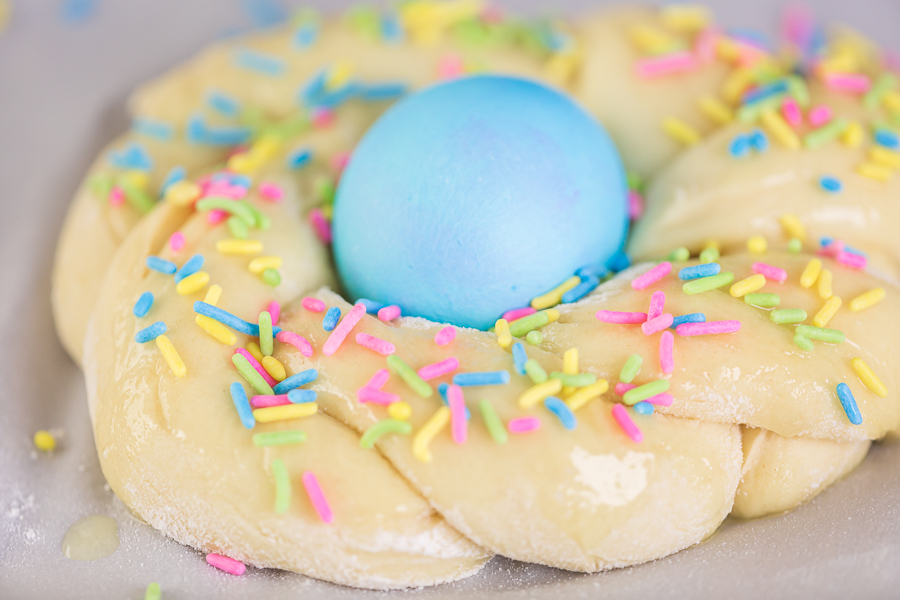
- Spread festive Easter sprinkles generously onto the dough circles.
- Be sure to do this before baking the breads! If you try to do it afterwards then the sprinkles will not stick.
- Be sure to do this before baking the breads! If you try to do it afterwards then the sprinkles will not stick.
- Bake for 25 minutes.
- Finally, let the mini breads cool for 10 minutes on the baking sheet. Then transfer the bread to a cooling rack and cool completely for 30-50 minutes. Enjoy!
Egg-citing Easter Gifts and Storage
These cute, little, pillowy Easter breads are the perfect size for easy serving at Easter or for doing a little seasonal gift-giving. Just place each individual treat in its own paper food box and you have a nicely-packaged homemade gift that is ready to brighten up everyone’s day. These are great for:
- Easter baskets for the kids
- Easter-themed gift baskets for friends, family, and neighbors.
- Gift favors for Easter brunch or dinner.
- Wonderful way to treat and surprise co-workers before the holiday weekend.
- Individual treats to deliver to loved ones who can not be there in person to celebrate.
If you need to pack up several treats then you may find bigger cake boxes to be helpful in transportation.
As far as storage, these mini Easter breads can be safely stored for 2 to 3 days wrapped and in the fridge.
As you can see, these delightful mini Easter breads are simply adorable and have springtime bliss written all over them. Their pillowy-soft texture makes them an excellent match to the airy, fresh feeling of spring. Plus, you probably already know how much kids adore food their own size and these mini-sized sweets truly make serving them up quick and easy. Serving or delivering these for Easter is a sure way to bring delightful festivity to your family’s holiday celebrations!
Italian Easter mini bread
Equipment
Ingredients
- ⅓ cup sugar
- 4 cups all-purpose flour
- 2 teaspoon active dry yeast
- 1 teaspoon salt
- ½ cup unsalted butter melted
- ¾ cup milk lukewarm
- 2 eggs
- 1 lemon lemon zest and juice optional
Eggs coloring
- 6 eggs
- 1 teaspoon white vinegar
- food coloring
- 2 cups water boiled
Glaze
- 1 egg
- 1 teaspoon water
Garnish
Instructions
Eggs coloring
- Place uncooked eggs into a medium-size pot and fill with cold water to cover eggs.
- Bring to boil over medium heat. Remove from the heat and let it sit for 11 minutes.
- Transfer eggs into cold water with ice.
- In a medium bowls, combine boiled water with vinegar and food coloring. Add one 1 egg at a time into the bowl for 5-10 minutes. Keep longer if you want to color of the egg to be darker.
- Transfer colored eggs on the kitchen drying rack over the paper towel.
Glaze
- In a small bowl, whisk together egg and water.
Dough
- In a large bowl, whisk together all dry ingredients: sugar, flour, yeast, and salt.
- Add butter, milk, eggs. Keep mixing between each addition.
- Knead the dough for 5-10 minutes, until smooth.
- Form dough into a bowl and place in a lightly greased large glass bowl to rise. Cover first with a towel and after with food wrap, and let rise for 1 hour, or until the dough doubled in size.
- Turn the dough out onto a lightly floured surface. After, divide the dough into equal 12 equal parts. Roll each portion into a 1-inch thick rope.
- Start twisting by pinching 2 ropes together. Twist dough ropes very loosely by leaving gaps between the strings. Dought will need to have a space to rise.
- Transfer twists into the baking sheet lined with a silicone baking mat. Shape into circles. About 2-3 breads per baking sheet.
- Place colored eggs into the middle of bread circles.
- Cover first with a towel and after with food wrap, and let rise for 1 hour, or until the dough doubled in size.
- Preheat oven to 350°F.
- Carefully brush braid with egg glaze. Make sure not to get the glaze on the eggs.
- Sprinkle Easter sprinkles on top of the dough.
- Bake for 25 minutes.
- Cool for 10 minutes on the baking sheet. After transferring bread to the cooling rack and let it cool completely for 30-50 minutes.
Food Photography & Video Tips from My Studio
Here’s a peek at the tools, gear, and camera setups I use to film my recipe videos and photograph food at home. Over the years, I’ve tested dozens of different setups, and now I’m sharing what actually works for me—whether I’m filming overhead shots for YouTube or styling still photos for my blog. If you’re curious about how I create the content you see here, these posts are a great place to start.









Leave a Reply