How to make custom homemade pizzas outside on the grill!
This post contains affiliate links.
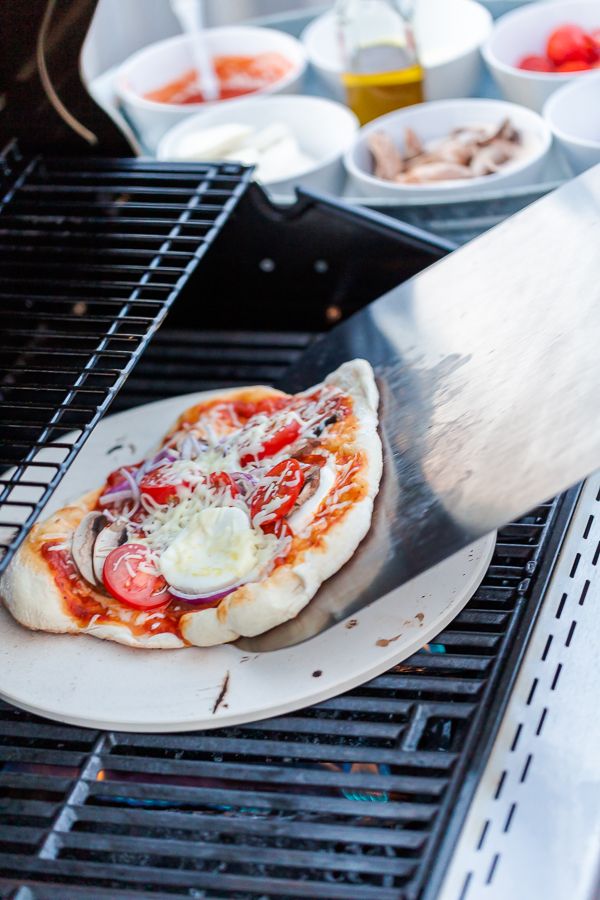
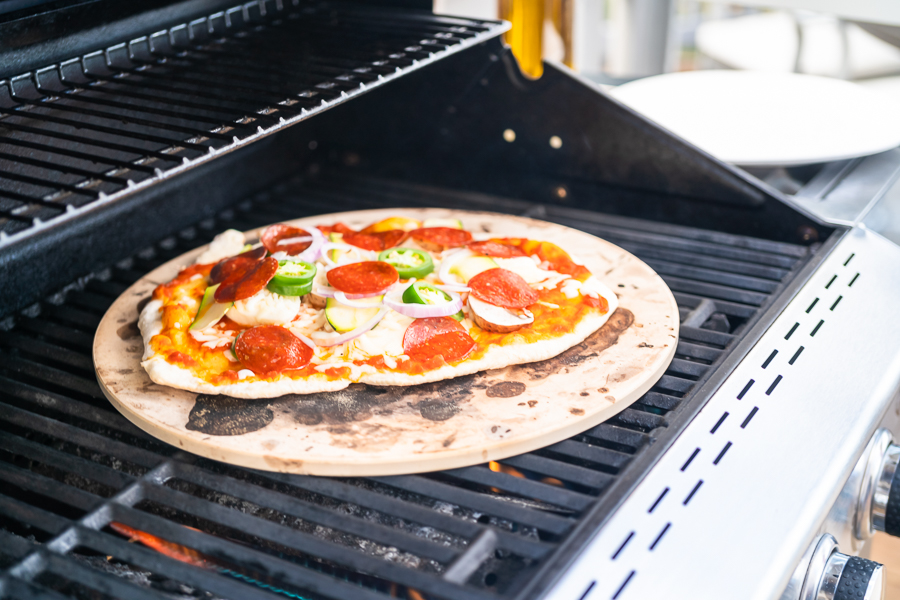
Out of all the things that you can cook on a grill, pizza probably isn’t the first thing that comes to mind. Not until today that is! I recently had the opportunity to do a photoshoot that involved making custom pizzas and cooking them on an outdoor grill, as opposed to the traditional oven method. Let me tell you, I may never cook pizzas in the oven again!
I already enjoy making homemade pizza because it’s a very cheap dinner that makes everyone happy and it’s great for large groups. With this grilling method the pizzas do come out somewhat small, or personal sized, but every pizza can be custom made. This is actually better for feeding large groups since everyone can top their pizzas with whatever they want! It also helps keep everyone entertained.
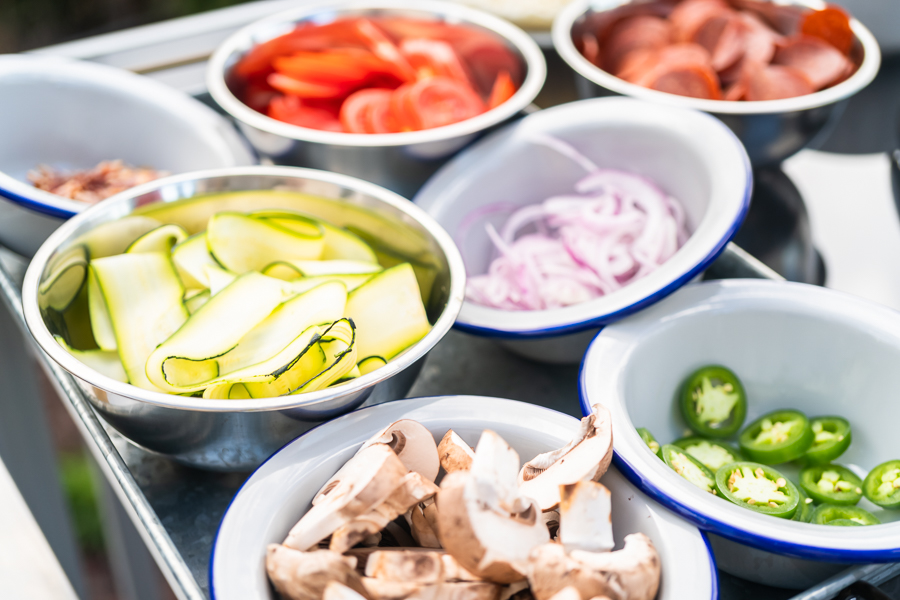
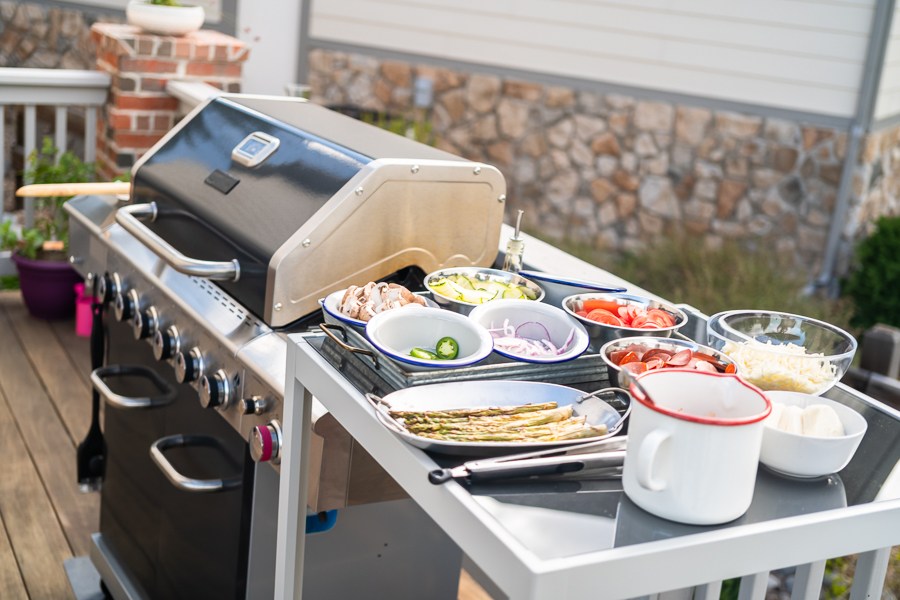
Since this is a non-traditional method, I want to make an interesting and versatile dinner and photoshoot at the same time. So I like to use vegetables, meats, cheeses, and toppings that are all different from the usual choices. A wide arrangement of vegetables such as mushrooms, zucchini, and onions make for a perfect vegetarian pizza, while meats such as pepperoni and bacon can be added for the meat lovers of the group.
With all of these combinations, making pizzas on the grill is both a great dinner idea and an entertaining way to spend an evening. For me, shooting the pizzas is just as great since they often come out quite colorful and look amazing on camera! The only bad part of shooting this pizza-making process is that I couldn’t pull anyone away from devouring their pizza to make one for me while I was shooting. Mom life, right?
Making homemade pizzas on the grill is a perfect idea for any type of gathering or celebration, as it serves as both a very satisfying meal and entertainment that everyone can come together for. It also makes for a great shoot as I can capture many different pizzas, while taking the refreshing opportunity to get out of the studio. Here’s how to make homemade pizzas on the grill!
Grilling Equipment
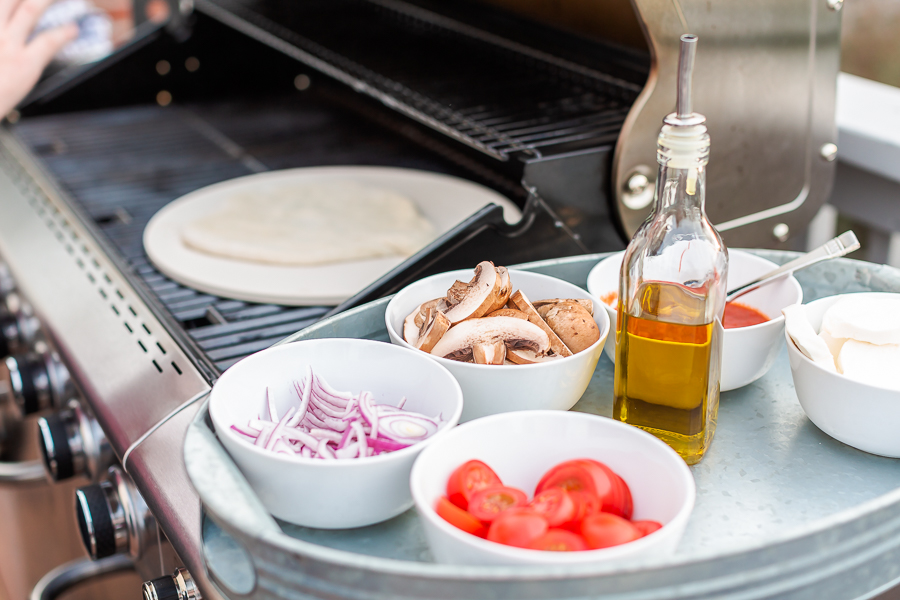
First, let me go over the tools and equipment I use for this scrumptious homemade pizza recipe. Luckily, I don’t actually need a lot when it comes to tools, which is super nice when it’s time for cleaning up the kitchen. Especially since the cooking is done outdoors. Here are the tools I use for making pizzas on the grill:
- Grill
- Mixing bowls
- Rolling Pin
- Pizza grilling set
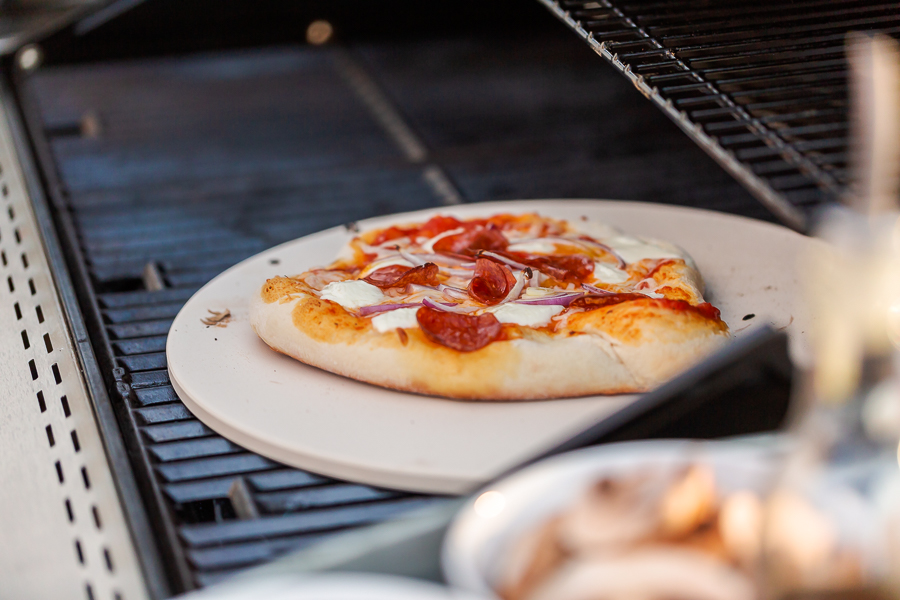
- 14-inch metal pizza trays or a pizza stone
- Dough cutter
- Pizza Cutter
Grilled Pizza Ingredients
Once you round up all of the grilling tools, it’s time to gather the fresh pizza ingredients. There’s not a ton to expect here, but the possibilities are endless when it comes to the customizable pizza toppings! Here are the ingredients I like to use for fresh grilled pizzas:
Pizza Dough:
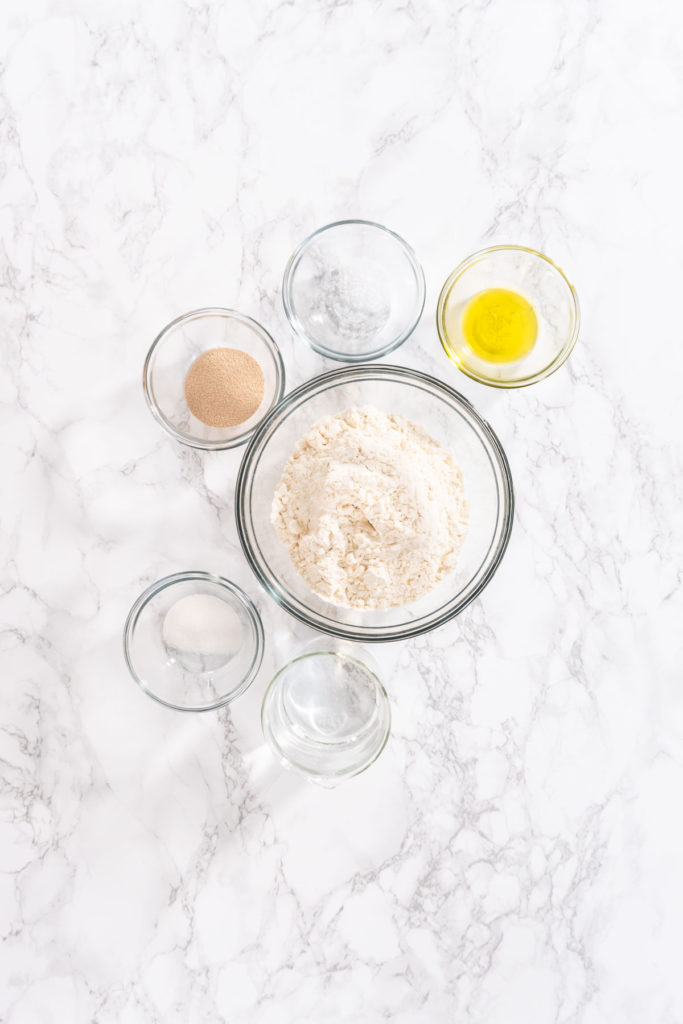
- 1 ½ cup warm water, temps at 105-110 F
- 1 tablespoon granulated sugar
- 1 ½ packets active dry yeast
- 3 tbsp olive oil
- 3 ¾ cup all-purpose flour
- 1 ½ teaspoon salt
- Cooking spray oil
Pizza Toppings:
- 3 tomatoes- sliced
- Pizza sauce
- ½ cup purple onion- thinly sliced
- 4 cups mushrooms- sliced
- Olive oil
- Pepperoni
- 4 Cups mozzarella cheese- shredded
- fresh mozzarella cheese- sliced
- bacon bits
- fresh arugula
- grilled asparagus
- roasted garlic
How to Make Pizza on the Grill
Now it’s pizza time! Well, almost… I do start this recipe by making homemade pizza dough so you do need to set aside plenty of time to make that and let it rise before firing up the grill. Or you can do like me and make the dough ahead of time and have it ready to just prep and grill when it’s time. Be sure to read through the whole process and my notes before getting started, that way you can have smooth grilling success! Here’s how to make pizzas on the grill:
Making Pizza Dough:
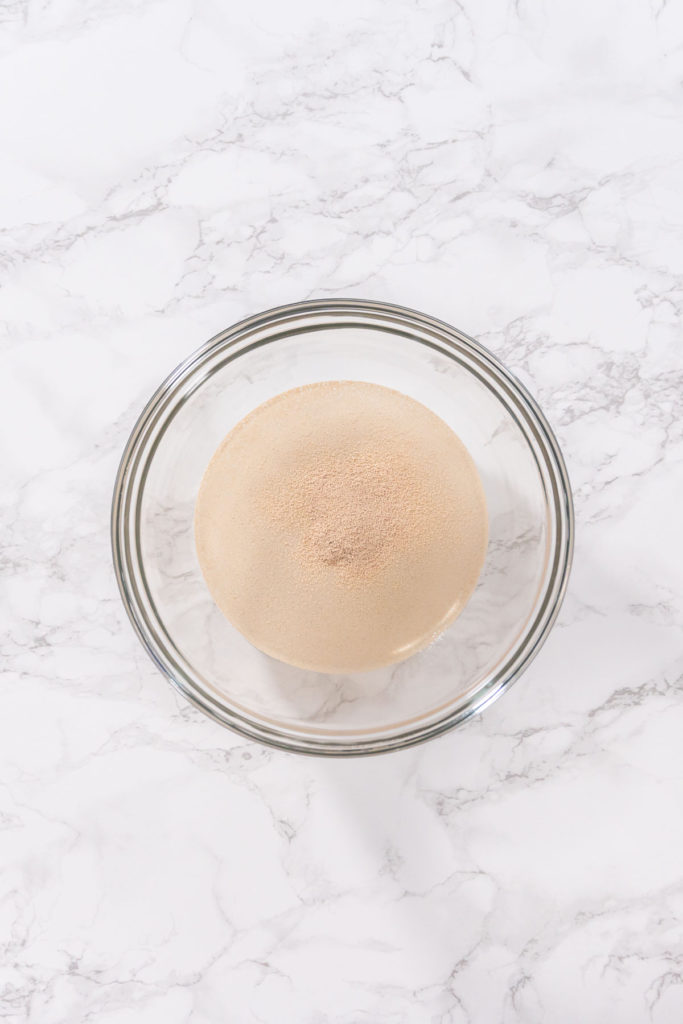
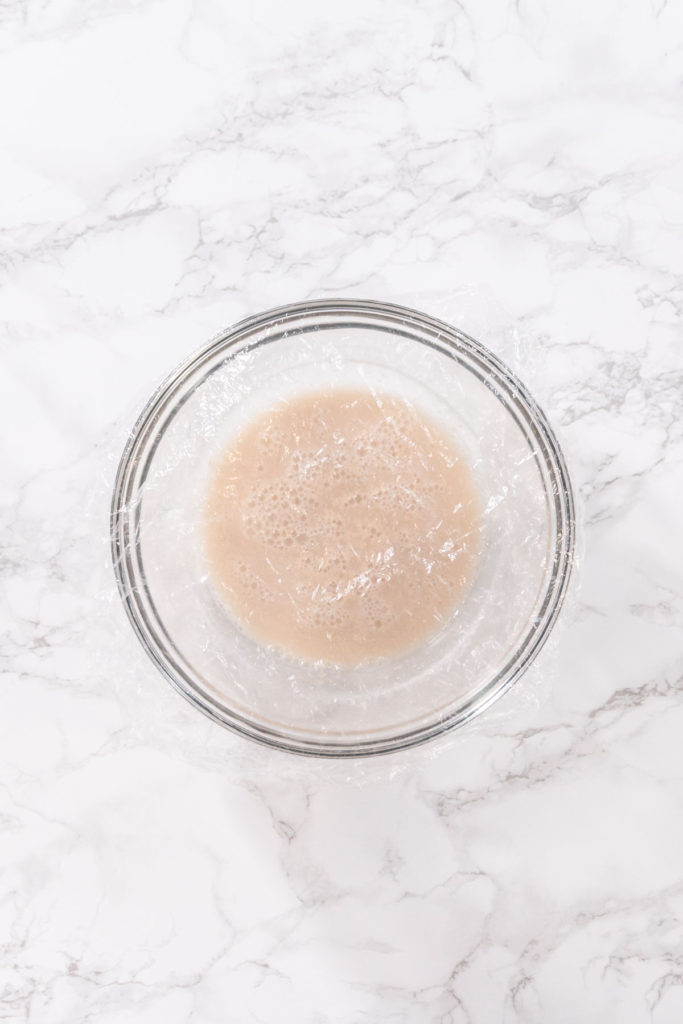
- First, in a medium glass mixing bowl, whisk together the warm water and sugar. Mix in the yeast, cover with plastic wrap or a shower cap (my preference) and let it sit for 10 minutes until the mixture is foamy.
- Then, mix the olive oil into the mixture.
- Next, in another large bowl, combine the flour and salt.
- Stir the yeast mixture into the flour mixture.
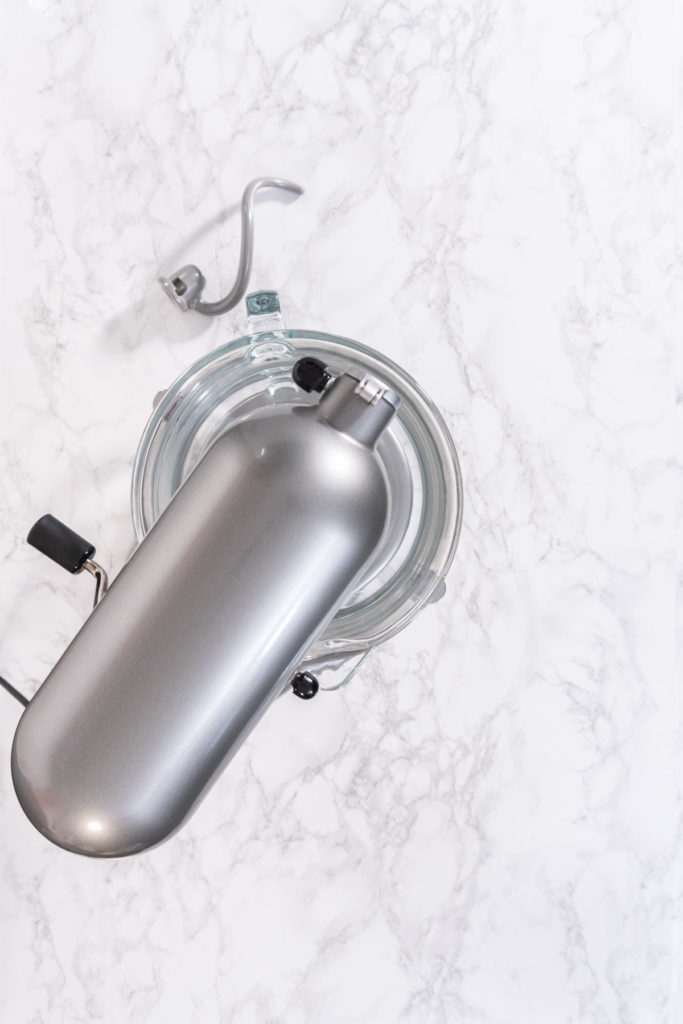
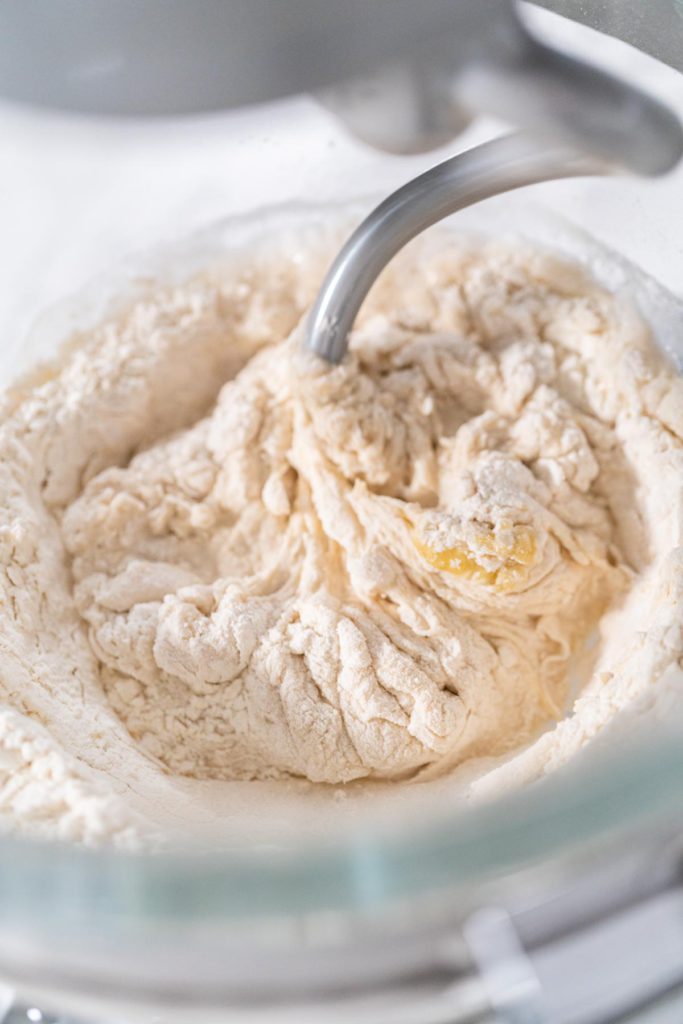
- Then, I like to use a standing mixer with a dough hook to knead the dough until it forms one large dough ball. Alternatively, you can also knead the dough by hand on a lightly-floured surface.
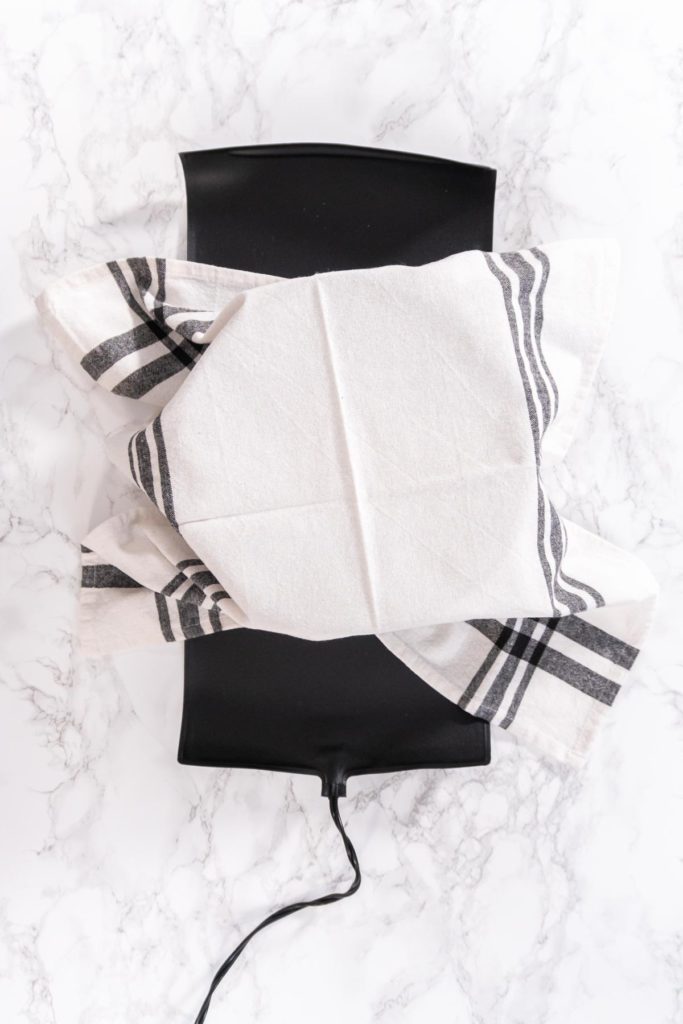
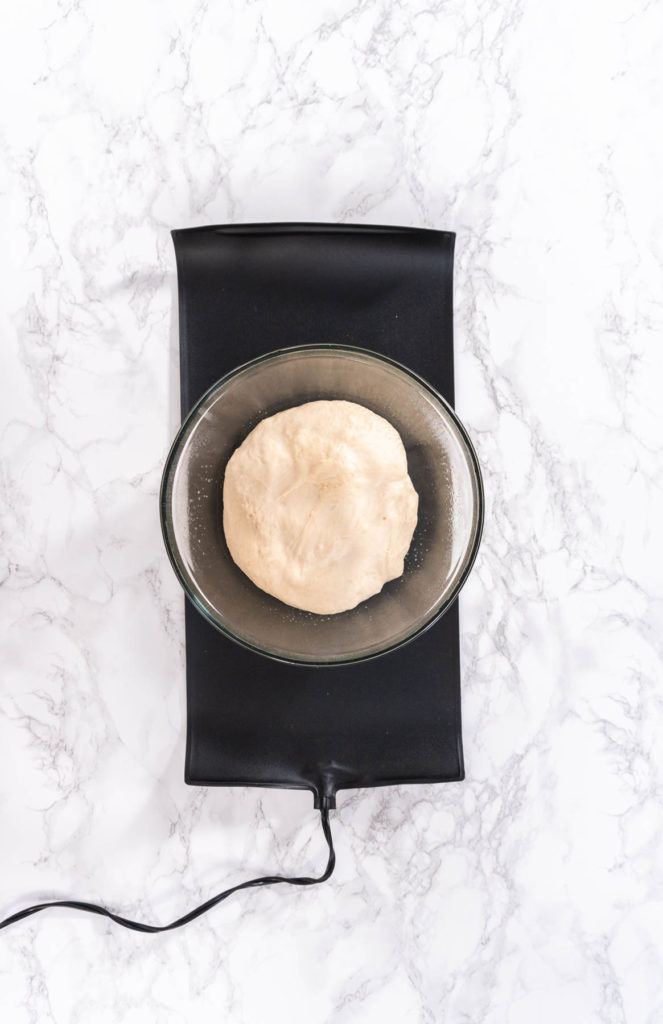
- Next, spray another large glass bowl with some cooking oil and place the pizza dough ball in there. Cover the glass bowl with plastic, then cover again with a wet kitchen towel to hold in the warmth. Let the dough rise until it is doubled in size, around 1.5 hour.
- I like to place the dough bowl on a heat pad to help it rise. If you don’t have one then just sit your dough in the warmest spot of your house.
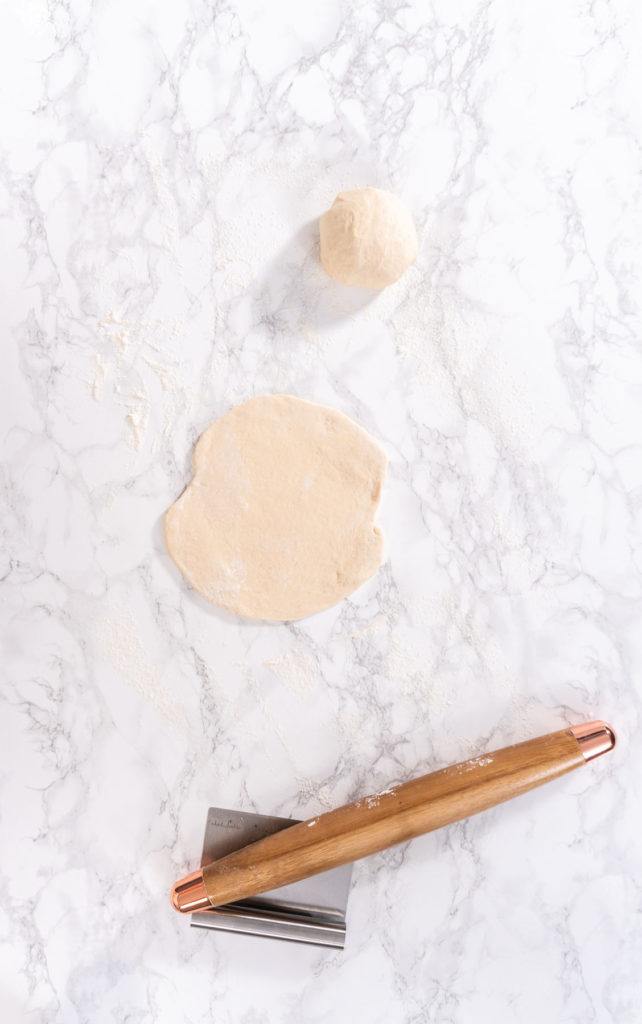
- Then, lightly flour a clean surface and gently scoop the raised dough on it. Divide the pizza dough into 6 even portions with a dough cutter.
- Finally, use a rolling pin to roll out the dough into the appropriate-sized pizza crusts.
Grilling Pizza:
- First, prepare and slice the topping ingredients. Then, preheat the grill with a pizza stone or metal grilling trays.
- If using a pizza stone, make sure to start with a cool grill and preheat the grill and pizza stone together at the same time so you don’t crack the pizza stone.
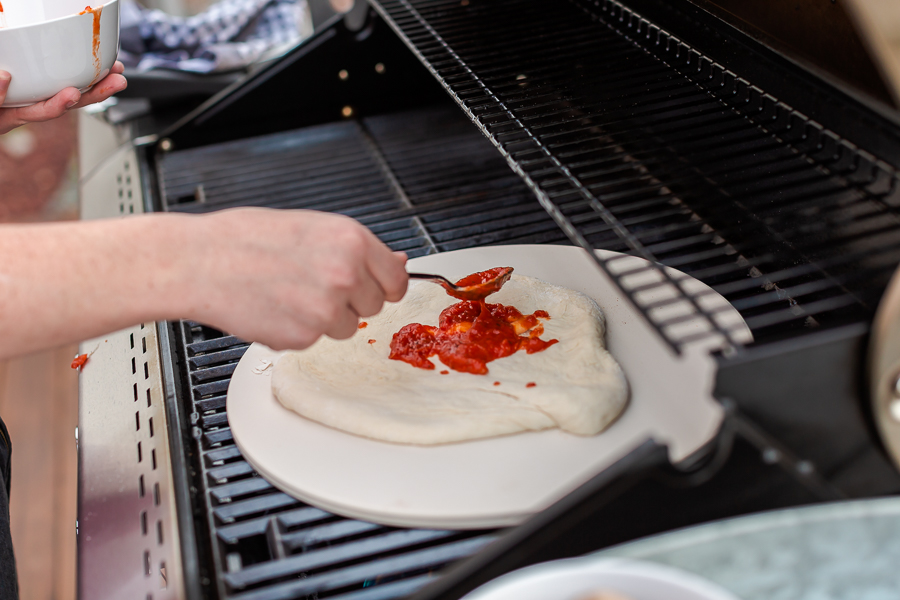
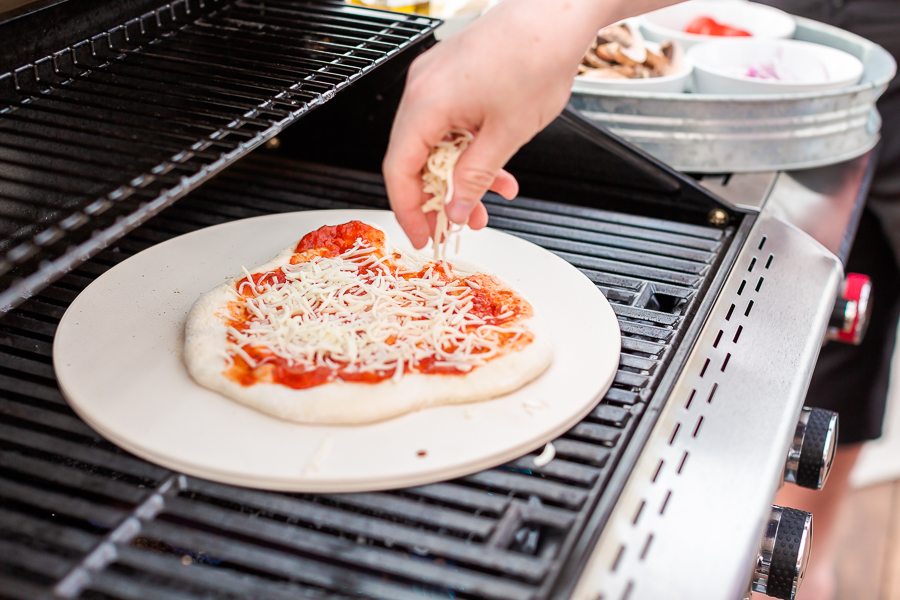
- Then, set one of the pizza crust portions on a pizza tray and begin topping with sauce, sliced cheese, shredded cheese, tomatoes, onions, mushrooms, pepperoni, bacon bits, garlic, jalapenos, or desired toppings.
- While topping pizzas, cook the asparagus on the top rack of the grill until desired doneness.
- Multiple pizzas can be cooked at the same time if you have enough room.
- Topping Tip: I recommend using no more than 3-4 toppings per pizza, otherwise they will get very heavy.
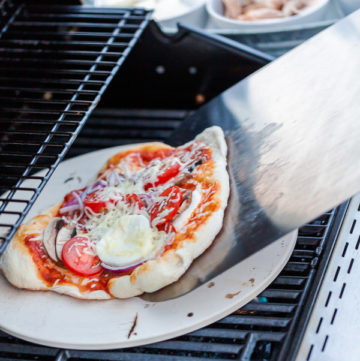
- After topping, close the lid of the grill and cook until the bottom of the pizza is golden and the cheese is melted about 4-6 minutes. Make sure to check on the pizza regularly while cooking, as it won’t take long to cook.
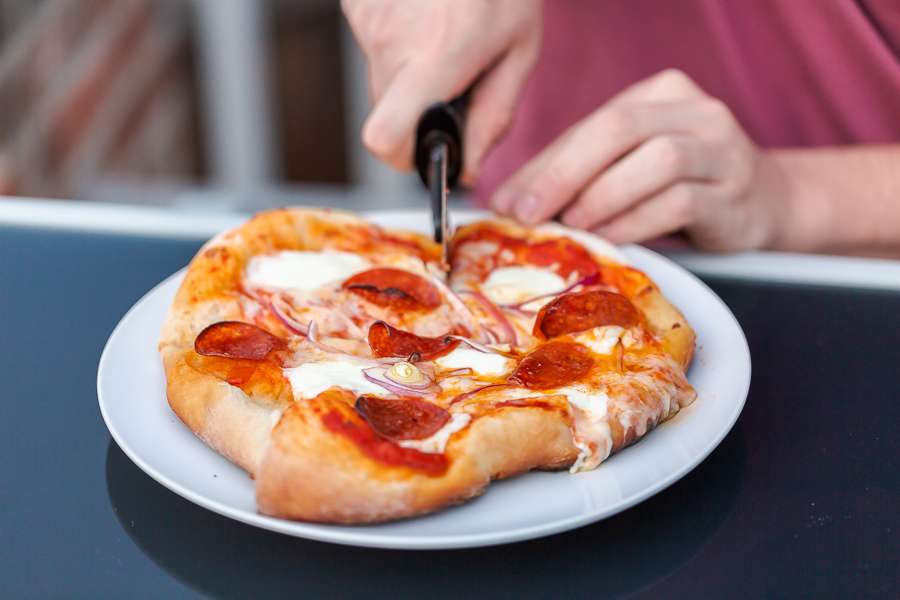
- Then, transfer the pizza to a plate or cutting surface. Slice the pizza into individual slices with a pizza cutter.
- Serve and enjoy!
Notes on Grilling Pizzas Outdoors:
- I like to pre-cut my fresh vegetables either earlier in the day, while the dough is rising, or the day before. That way it saves a lot of time when it’s time to make the pizzas, as they cook fast on the grill so you need to move fast too.
- Pizza dough can also be made ahead of time and refrigerated or frozen to use for future recipes.
- After rolling out the pizza dough, it’s very important to keep the dough out of the sun, and preferably inside. If the dough is left out in the sun for too long, it will get sticky and will become hard to deal with, or the dough could also dry out, ruining the dough.
- If this happens, you can just knead the dough in a bowl and re-roll it.
- To prevent this from happening, I like to stack pizza pans on top of each other with the dough already rolled out on them to keep the dough protected. When doing this, make sure to spray both sides of the pan with cooking spray so the pans will not stick together with the dough.
- It’s also very important to keep the ingredients cool, as cheese can melt very easily and the vegetables can start to dry out if left in the sun. I like to keep the ingredients cool in a tub full of ice so that my ingredients don’t melt, while also being able to keep them outside and easily accessible while making the pizzas.
Storing Homemade Pizzas
To store grilled pizzas: transfer them to an airtight container or wrap tightly with plastic wrap. Label the date on the outside and store in the fridge for up to 3-4 days. Reheat in the oven or skillet to get the pizza crust crisp again.
To store pizza dough: transfer the dough to an airtight container or wrap the dough in plastic wrap. Store the wrapped dough in the fridge for up to 2 weeks, or wrap again with foil and store in the freezer for up to 3 months.
More summer recipes
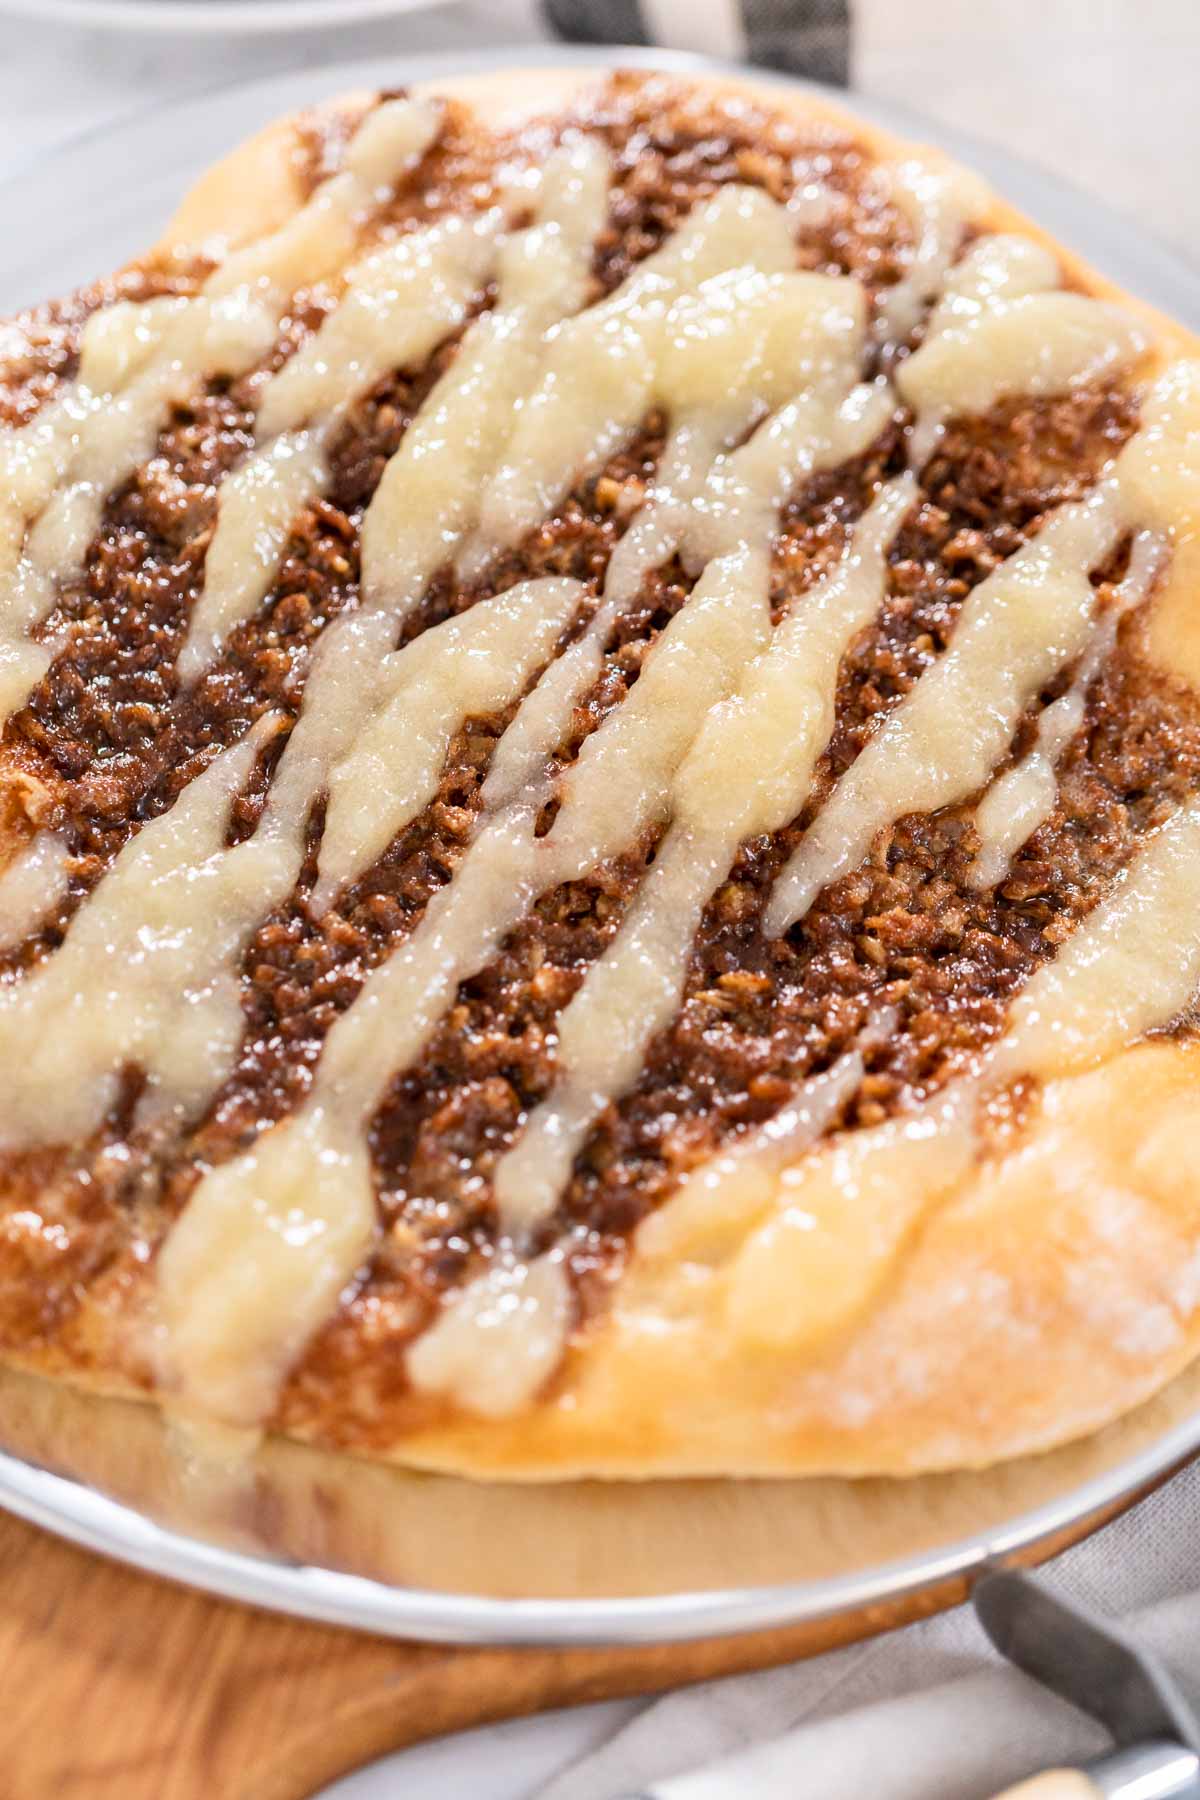
- Copycat Papa Murphy’s Sweet Pizzas with Cinnamon and Glaze
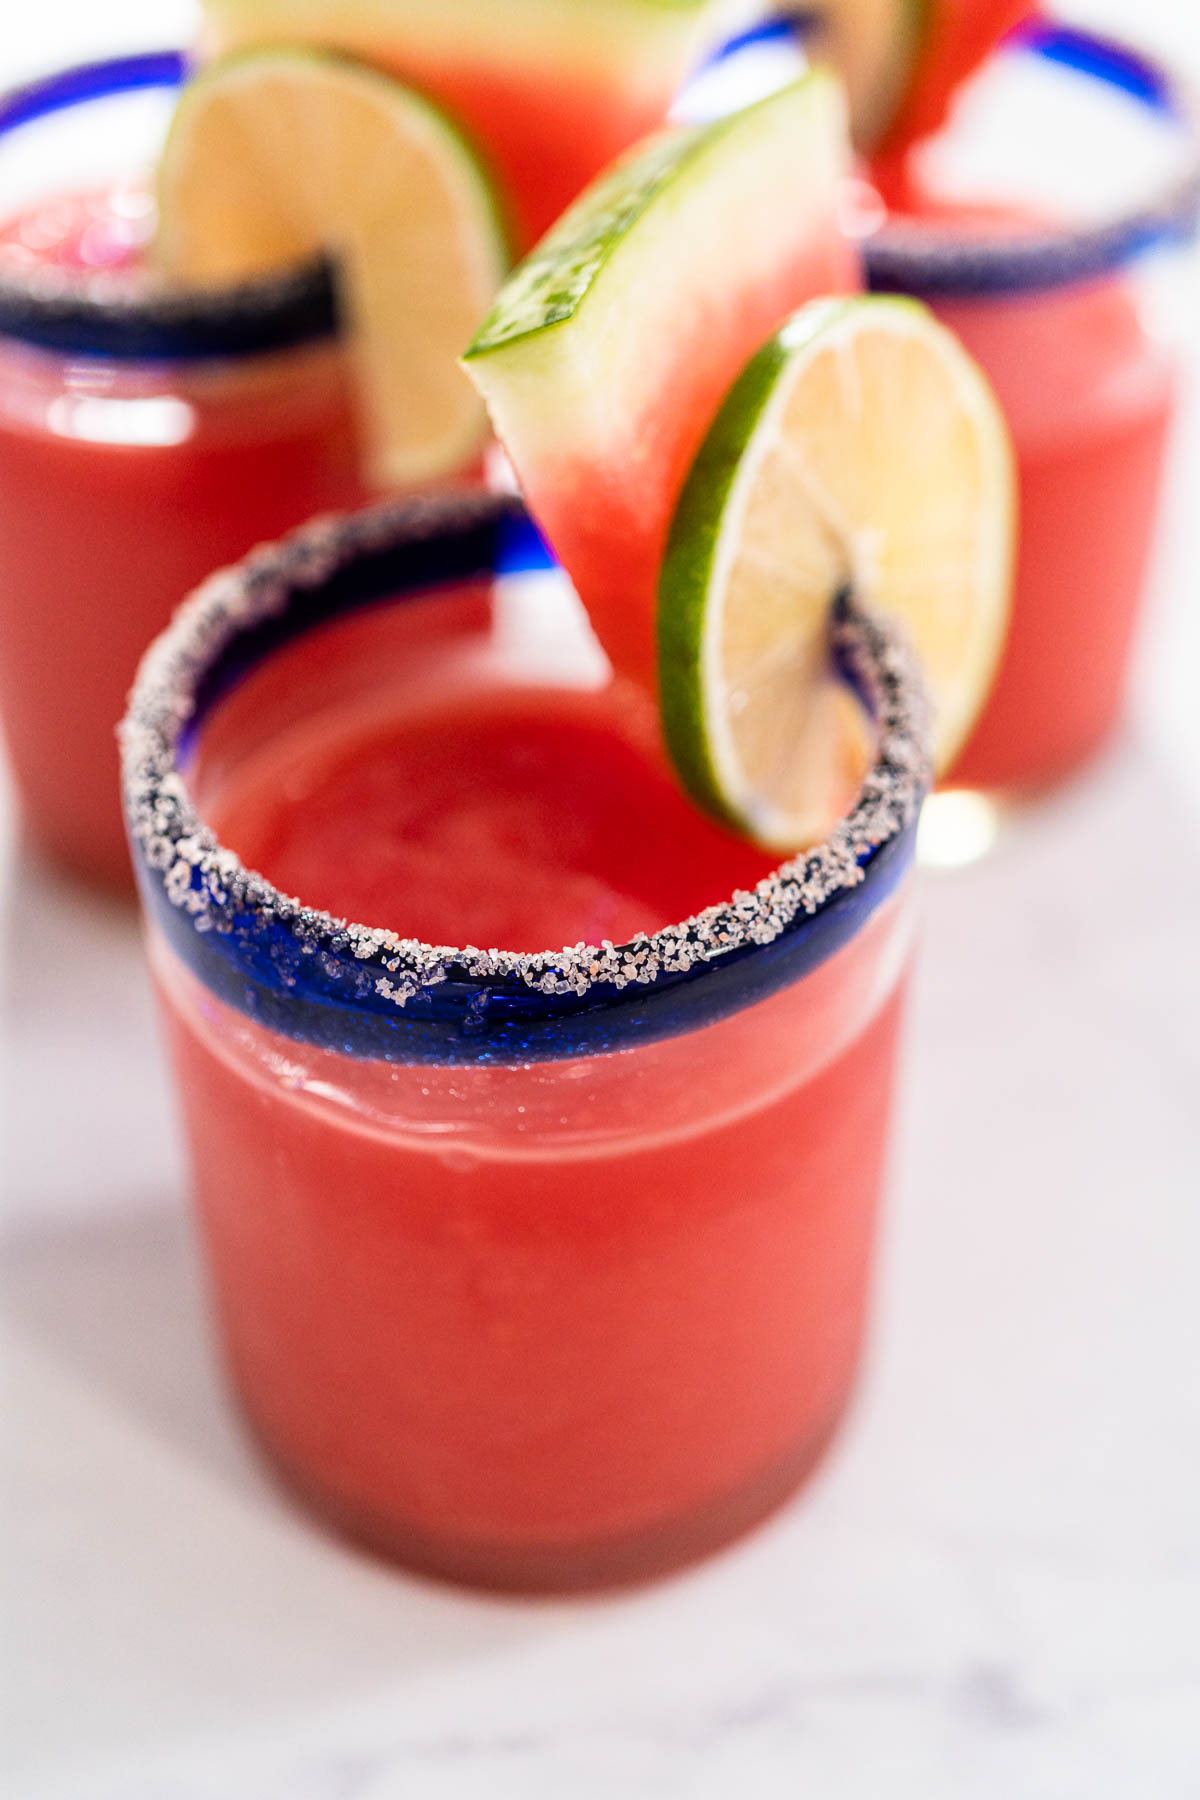
- How to Make a Watermelon Margarita with Frozen Watermelon
- How to Make Creamy Wild Mushroom Soup with Fresh Herbs
- Mixed Berry Smoothie – Healthy, Fruity, and Quick
- Easy Berry Mascarpone Tart for Spring and Summer Desserts
- Watermelon Bites Dipped in Chocolate – Easy No-Bake Summer Dessert for Kids & Parties
Serving Up Summer Fun
Love those fun summertime recipes? Keep the flavors of summer delectable and refreshing with more of my favorite summer recipes:
- Homemade Pizza Dough
- Copycat Papa Murphy’s Mini Sweet Pizzas
- Grilled S’mores
- Classic Guacamole
- Infused Water
- Watermelon Margaritas
- Shrimp on the Grill
- Grilled Chicken Breast
- Salmon Steak
- Grilled Mexican Corn- Elote
- Grilled Mexican Street Corn Salad
- Strawberry Banana Smoothie
- Summer Cucumber Salad
- Watermelon Bites Dipped in Chocolate
Pizza on the Grill
Video
Ingredients
Making Pizza Dough
- 1 ½ Cups Warm Water
- 1 tablespoon Sugar
- 1.5 Packets Active Dry Yeast
- 3 tablespoon Olive Oil
- 3 ¾ Cups All-Purpose Flour
- 1 ½ teaspoon Salt
Pizza Toppings
- 3 tomatoes sliced
- ½ Cup purple onion thin sliced
- 4 Cups mushrooms sliced
- Olive oil
- Pepperoni
- 4 Cups mozzarella cheese shredded
- fresh mozzarella cheese sliced
- bacon bits
- fresh arugula
- grilled asparagus
- roasted garlic
Instructions
Making Pizza Dough
- First, in a medium glass mixing bowl, whisk together the warm water and sugar. Mix in the yeast, cover with plastic wrap or a shower cap (my preference) and let it sit for 10 minutes until the mixture is foamy.
- Then, mix the olive oil into the mixture.
- Next, in another large bowl, combine the flour and salt.
- Stir the yeast mixture into the flour mixture.
- Then, I like to use a standing mixer with a dough hook to knead the dough until it forms one large dough ball. Alternatively, you can also knead the dough by hand on a lightly-floured surface.
- Next, spray another large glass bowl with some cooking oil and place the pizza dough ball in there. Cover the glass bowl with plastic, then cover again with a wet kitchen towel to hold in the warmth. Let the dough rise until it is doubled in size, around 1.5 hour.I like to place the dough bowl on a heat pad to help it rise. If you don’t have one then just sit your dough in the warmest spot of your house.
- Then, lightly flour a clean surface and gently scoop the raised dough on it. Divide the pizza dough into 6 even portions with a dough cutter.
- Finally, use a rolling pin to roll out the dough into the appropriate-sized pizza crusts.
Grilling Pizza
- First, prepare and slice the topping ingredients. Then, preheat the grill with a pizza stone or metal grilling trays.If using a pizza stone, make sure to start with a cool grill and preheat the grill and pizza stone together at the same time so you don’t crack the pizza stone.
- Then, set one of the pizza crust portions on a pizza tray and begin topping with sauce, sliced cheese, shredded cheese, tomatoes, onions, mushrooms, pepperoni, bacon bits, garlic, jalapenos, or desired toppings.While topping pizzas, cook the asparagus on the top rack of the grill until desired doneness.Multiple pizzas can be cooked at the same time if you have enough room.Topping Tip: I recommend using no more than 3-4 toppings per pizza, otherwise they will get very heavy.
- After topping, close the lid of the grill and cook until the bottom of the pizza is golden and the cheese is melted about 4-6 minutes. Make sure to check on the pizza regularly while cooking, as it won’t take long to cook.
- Then, transfer the pizza to a plate or cutting surface. Slice the pizza into individual slices with a pizza cutter.
- Serve and enjoy!
Notes
-
- I like to pre-cut my fresh vegetables either earlier in the day, while the dough is rising, or the day before. That way it saves a lot of time when it’s time to make the pizzas, as they cook fast on the grill so you need to move fast too.
- Pizza dough can also be made ahead of time and refrigerated or frozen to use for future recipes.
- After rolling out the pizza dough, it’s very important to keep the dough out of the sun, and preferably inside. If the dough is left out in the sun for too long, it will get sticky and will become hard to deal with, or the dough could also dry out, ruining the dough.
- If this happens, you can just knead the dough in a bowl and re-roll it.
- To prevent this from happening, I like to stack pizza pans on top of each other with the dough already rolled out on them to keep the dough protected. When doing this, make sure to spray both sides of the pan with cooking spray so the pans will not stick together with the dough.
- It’s also very important to keep the ingredients cool, as cheese can melt very easily and the vegetables can start to dry out if left in the sun. I like to keep the ingredients cool in a tub full of ice so that my ingredients don’t melt, while also being able to keep them outside and easily accessible while making the pizzas.
Nutrition
Food Photography & Video Tips from My Studio
Here’s a peek at the tools, gear, and camera setups I use to film my recipe videos and photograph food at home. Over the years, I’ve tested dozens of different setups, and now I’m sharing what actually works for me—whether I’m filming overhead shots for YouTube or styling still photos for my blog. If you’re curious about how I create the content you see here, these posts are a great place to start.










Leave a Reply