|
This post contains affiliate links.
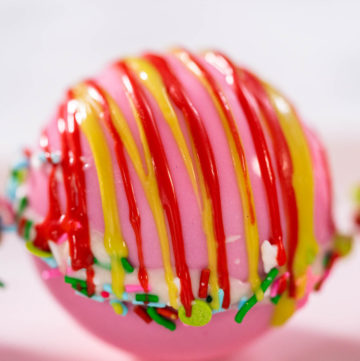
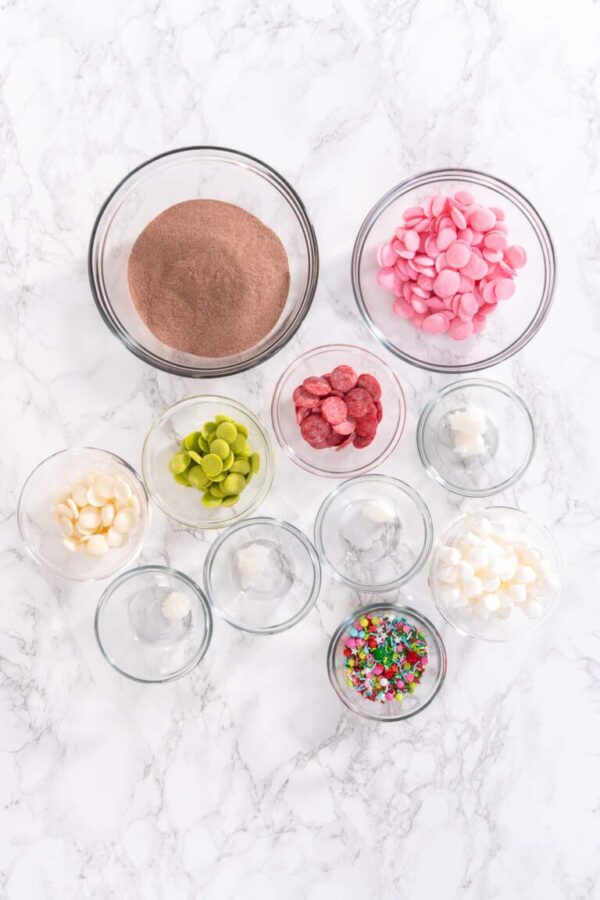
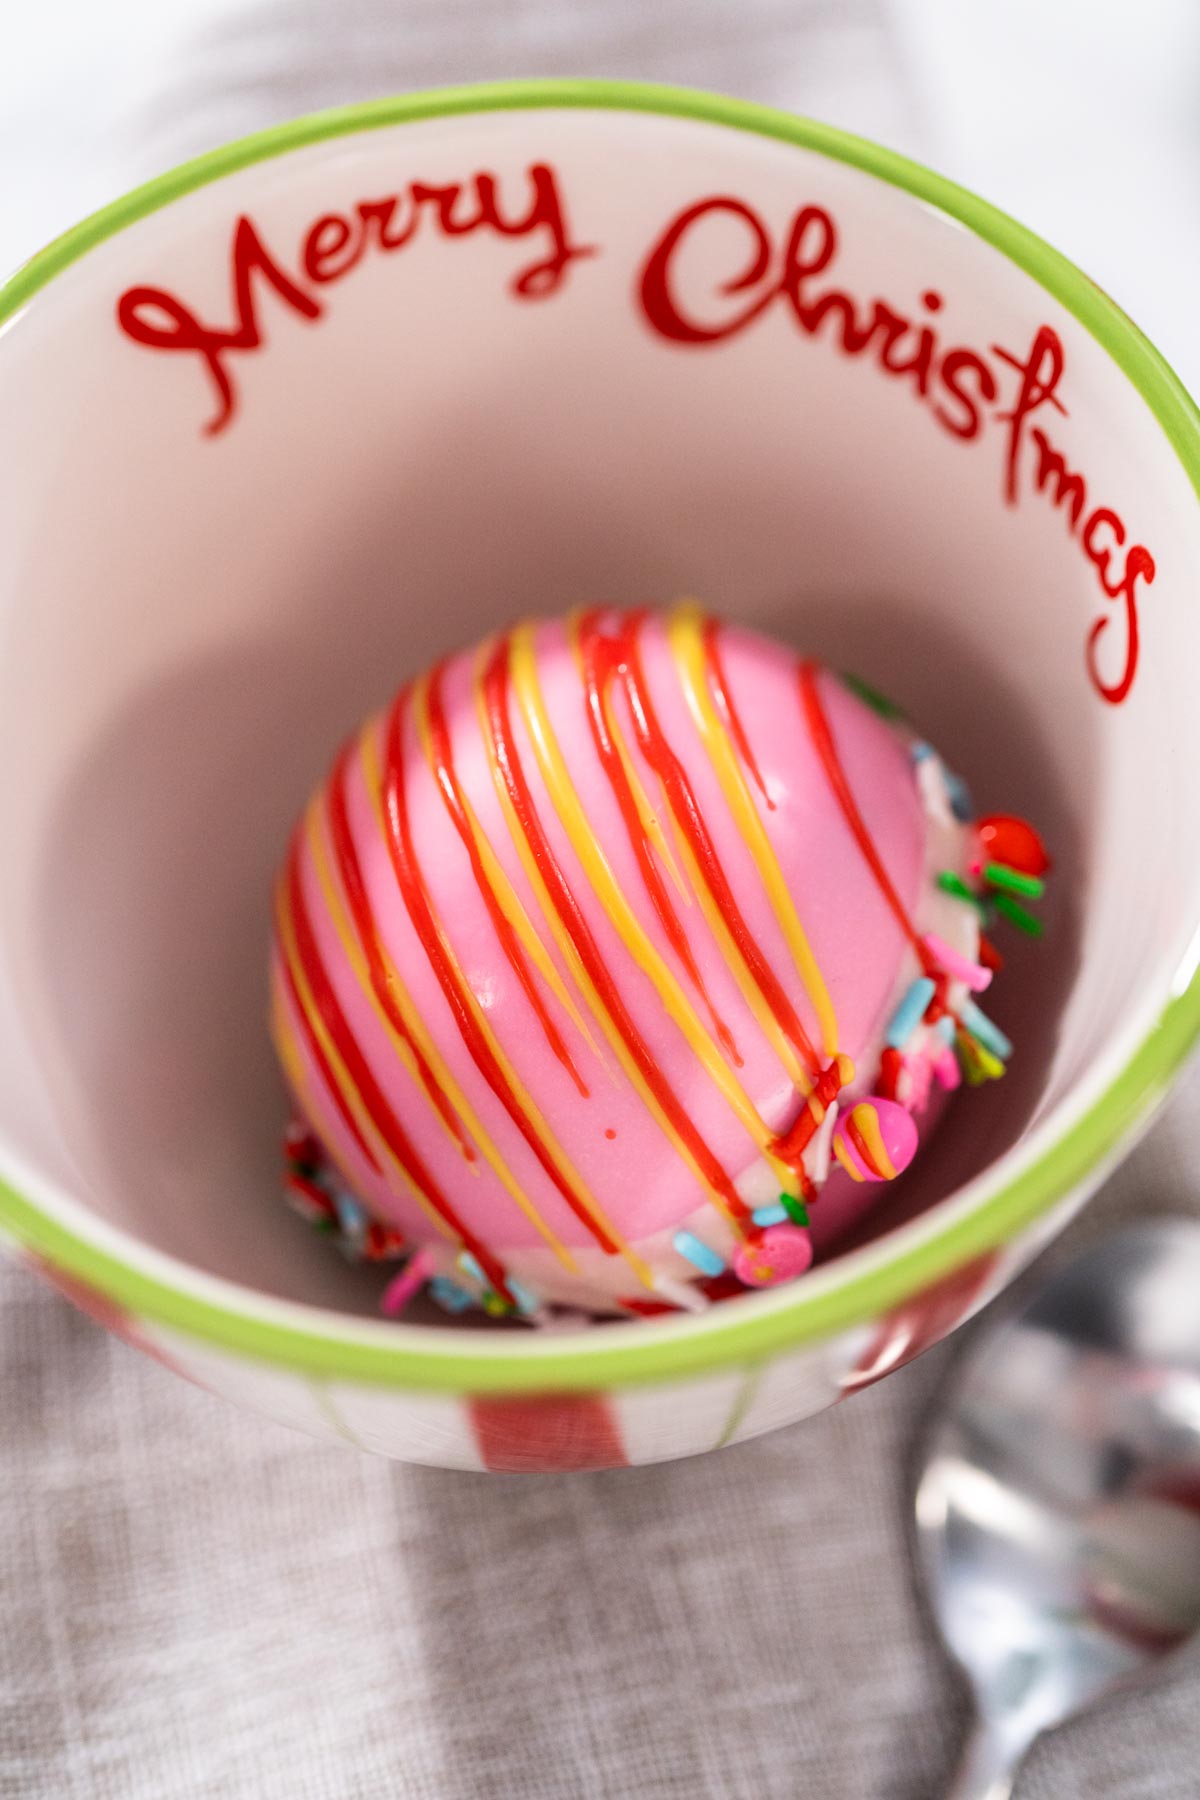
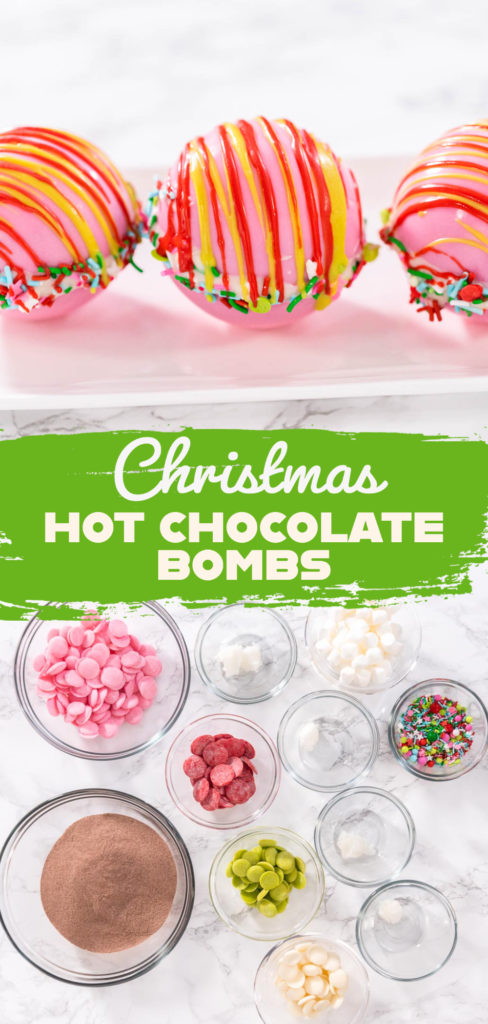
When the holiday season rolls in, I love filling my kitchen with recipes that are fun, festive, and just a little bit magical. These Christmas Hot Chocolate Bombs check every box—they’re colorful, whimsical, and burst open with cocoa and marshmallows when hot milk is poured on top. They remind me of the same excitement I get when making my Peppermint Cupcakes or decorating Gingerbread Cupcakes—that little touch of holiday magic that never gets old. One personal tip: I always line up my toppings and sprinkles in small bowls before I start, just like when I make Sugared Cranberries and Rosemary, so the decorating goes smoothly. These hot chocolate bombs are as delightful to make as they are to serve, and they’ve quickly become one of my go-to holiday traditions alongside baking Eggnog Cookies and Marshmallow Snowmen with Sophia.
Why You’ll Love This Recipe
- Magical reveal: Pour hot milk and watch them burst open with marshmallows and cocoa.
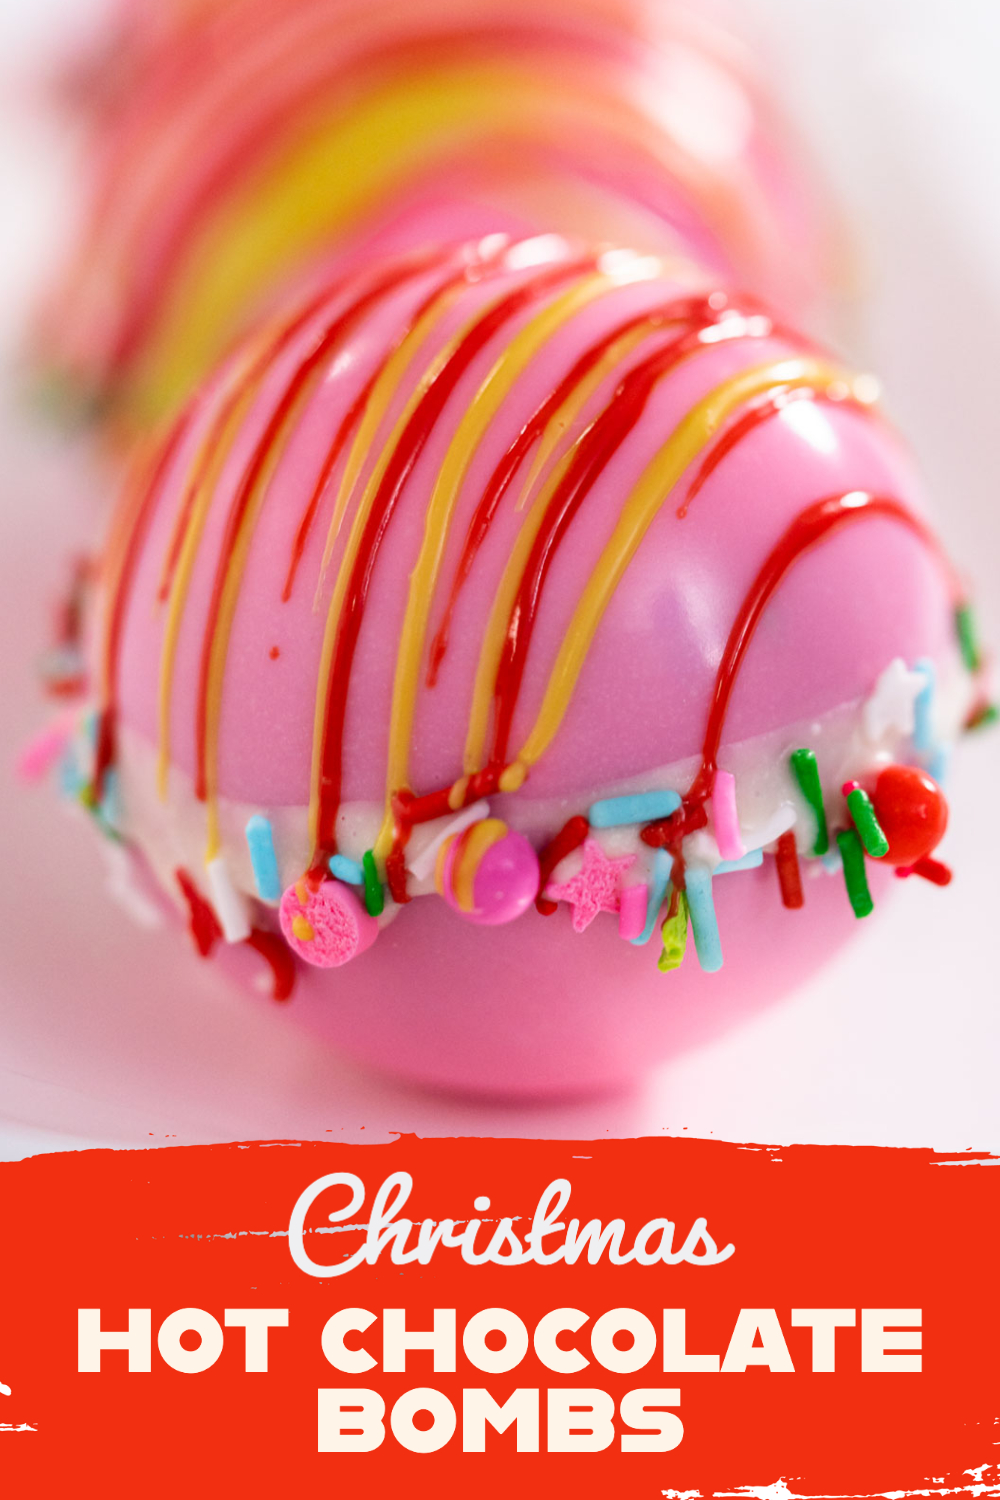
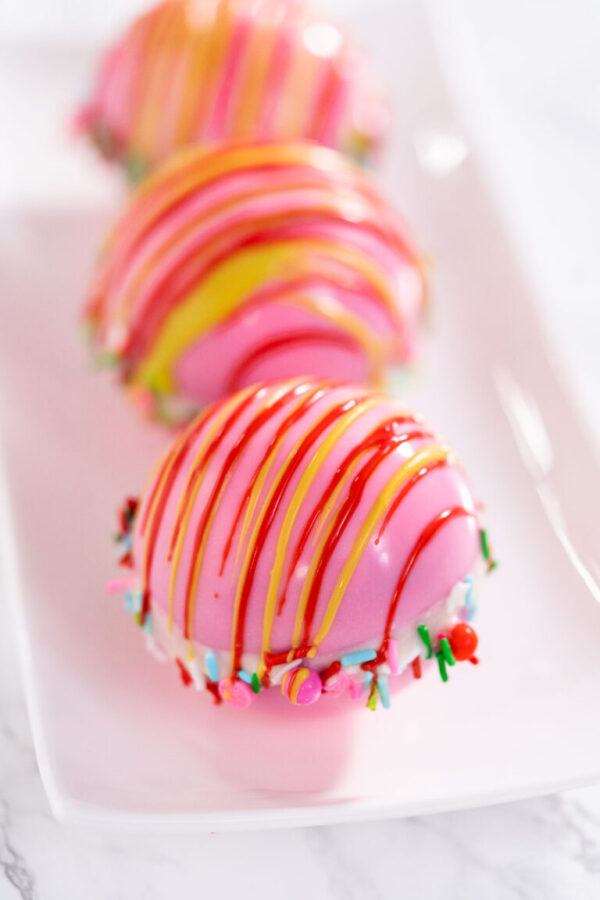
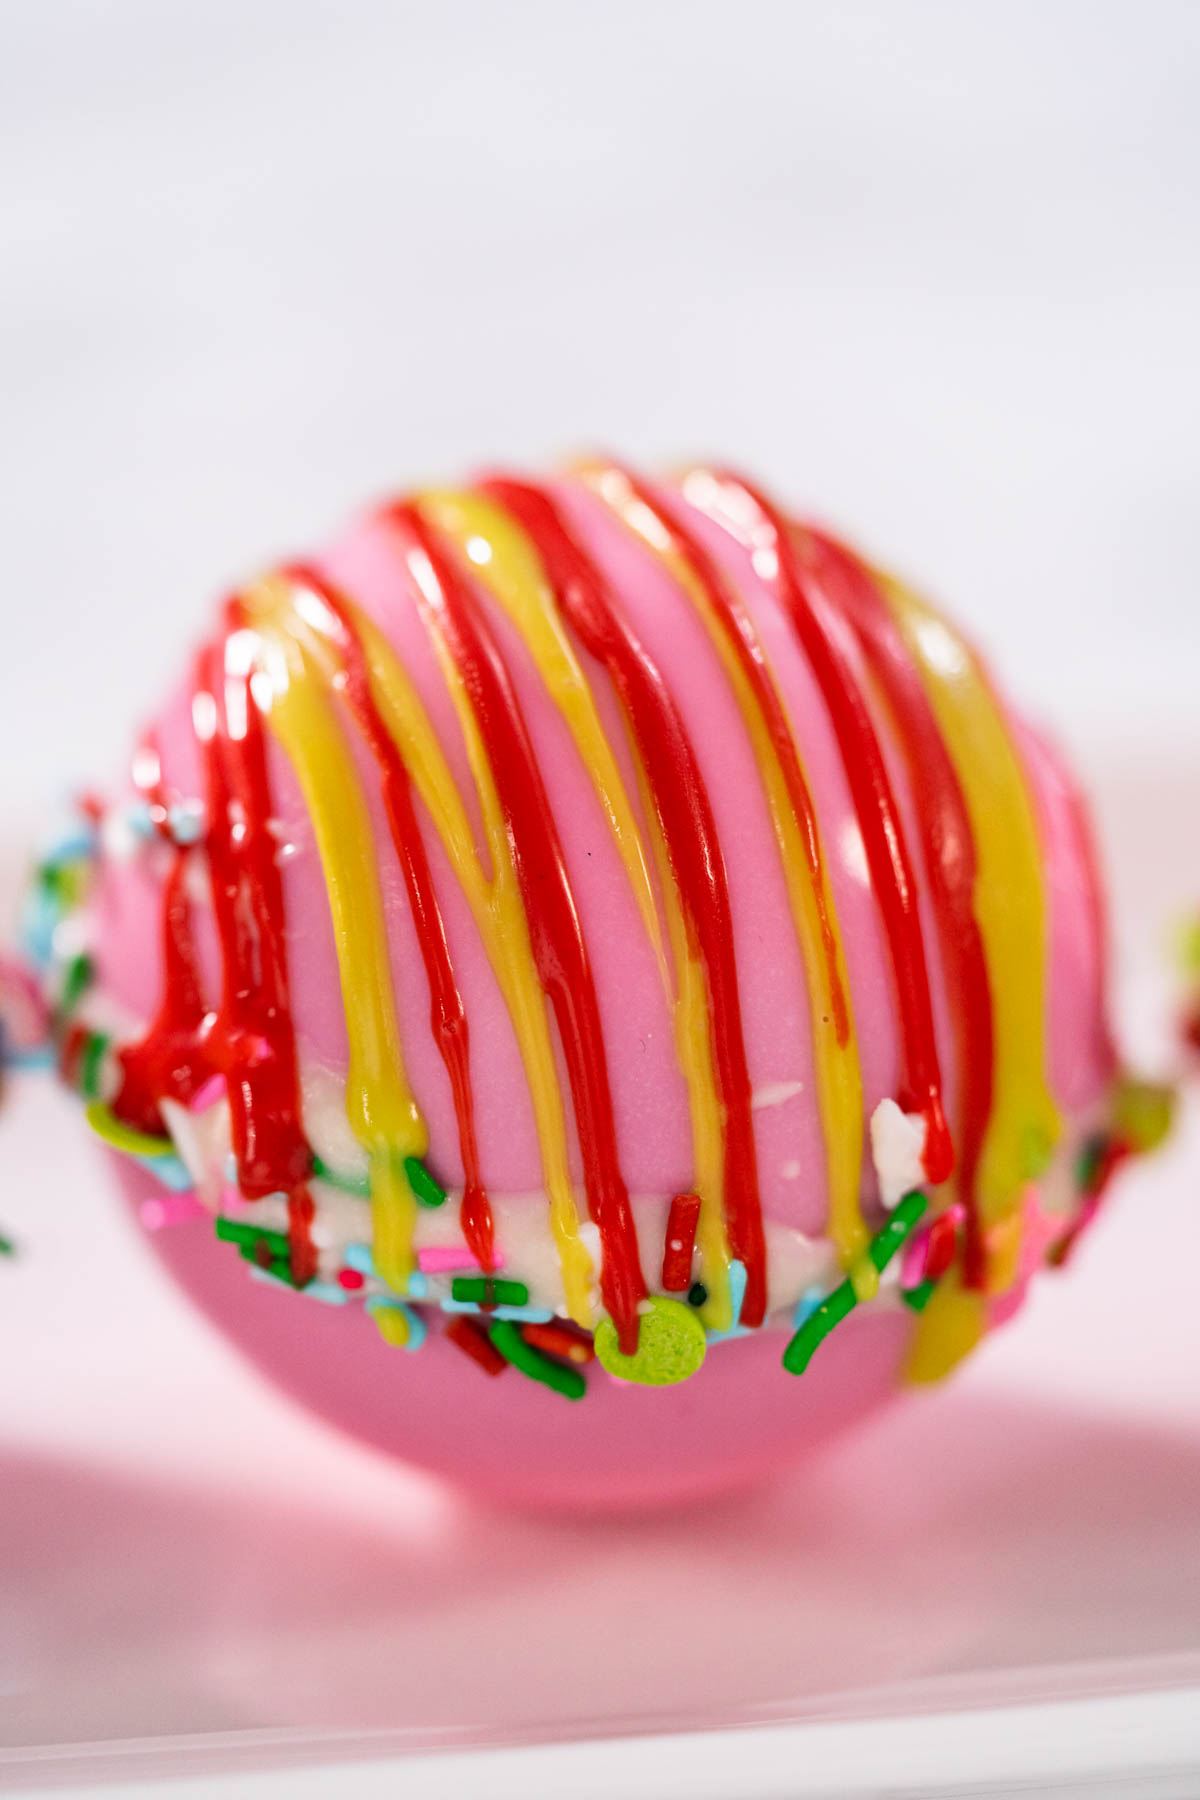
- Festive look: Decorated with red, green, and white drizzles plus sprinkles.
- Perfect for gifting: Package them up for teachers, neighbors, or holiday party favors.
- Make-ahead friendly: Store in the fridge for a few days—perfect for party prep.
Tools That Make It Easier
- Measuring spoons: For accurate cocoa and coconut oil portions.
- Candy melts pot (with dual silicone insert): Keeps chocolate smooth without scorching.
- Semi-sphere silicone mold: Essential for shaping the shells.
- Baking sheets (1 large, 1 small): Large for heating edges, small for stabilizing molds.
- Parchment paper sheets: To prevent sticking during decorating.
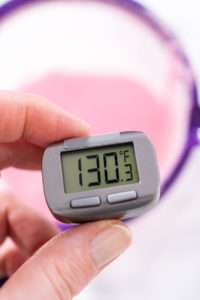
- Candy thermometer: Keeps chocolate at the right working temperature.
- Vinyl gloves: Protect shells from body heat while handling.
- Drizzle spoon: Helps with neat decorative chocolate drizzles.
What You’ll Need From Your Pantry
Chocolate Shells
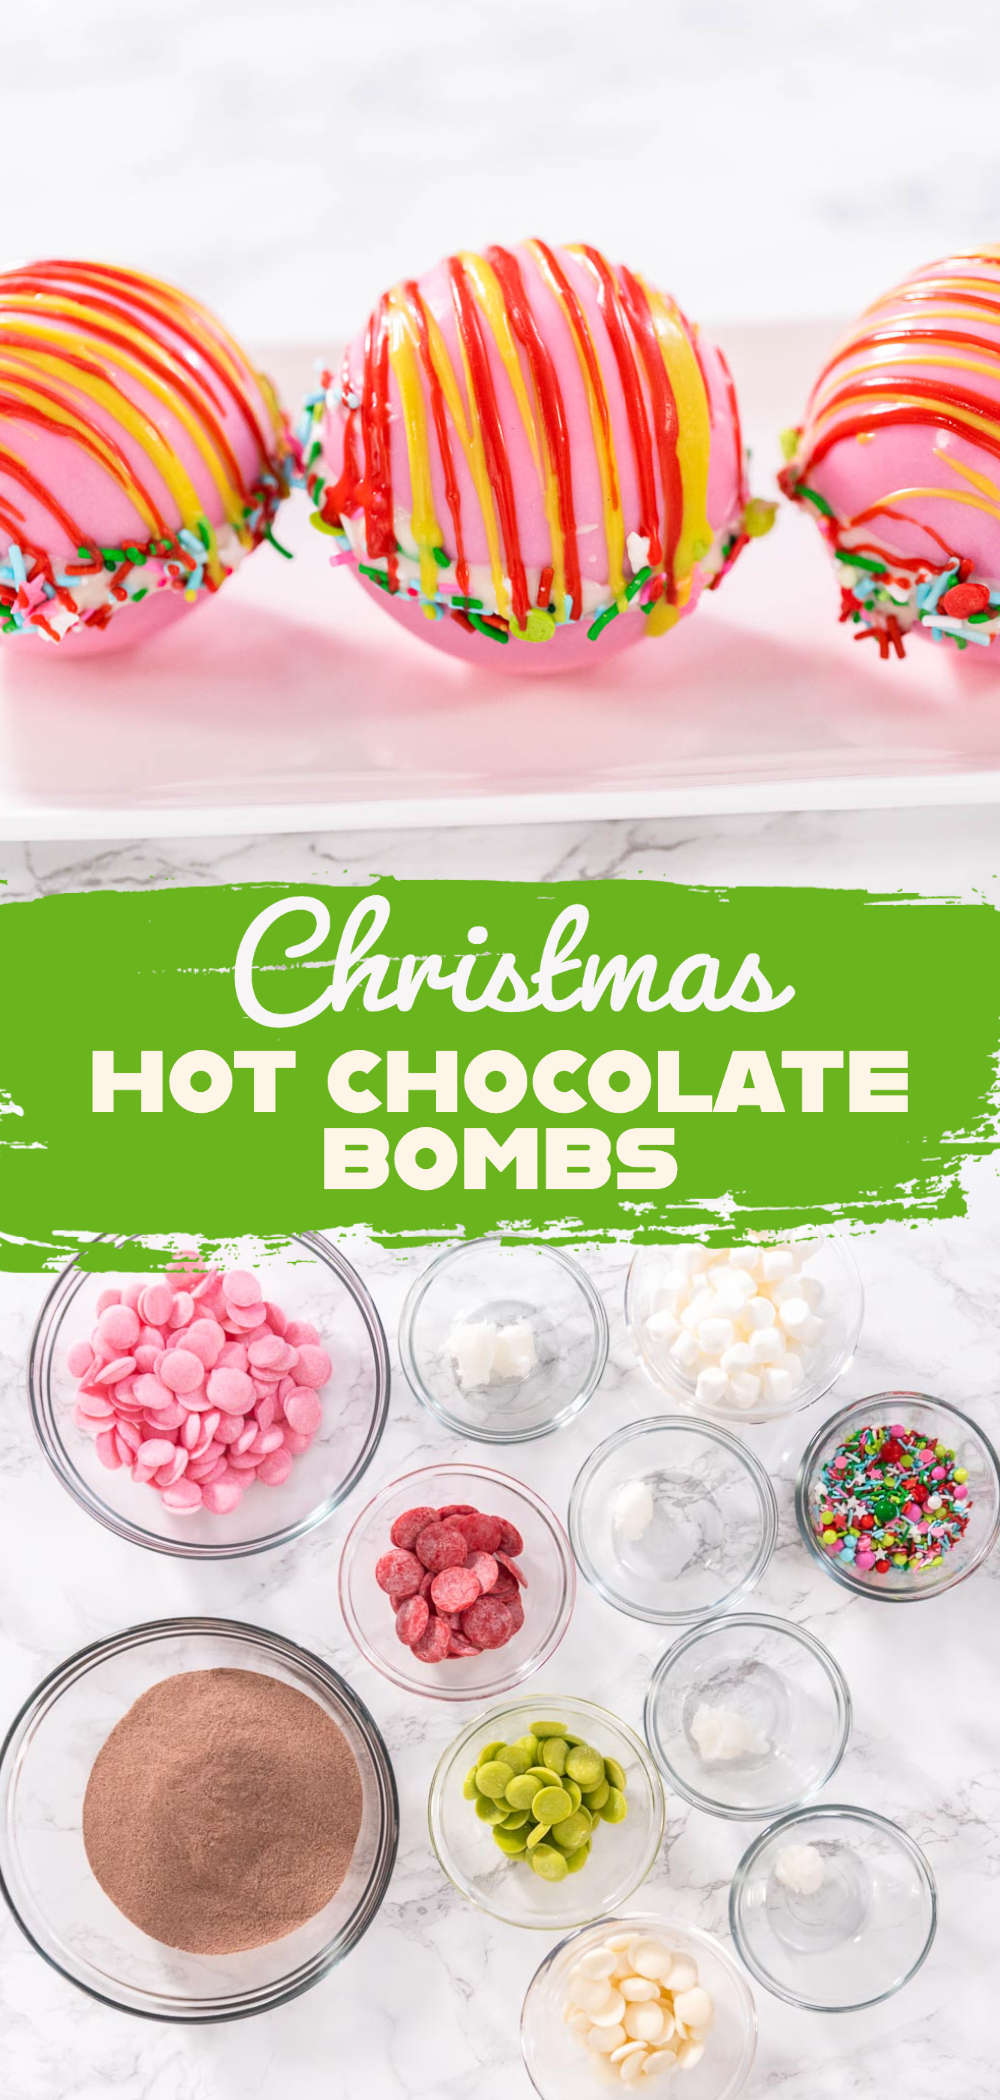
- 1 cup pink candy melts
- ½ cup white candy melts + 1 teaspoon coconut oil
- ½ cup green candy melts + 1 teaspoon coconut oil
- ½ cup red candy melts + 1 teaspoon coconut oil
- ½ cup Christmas sprinkles
Filling
- 9 tablespoon hot chocolate powder (or my Homemade Hot Chocolate Mix)
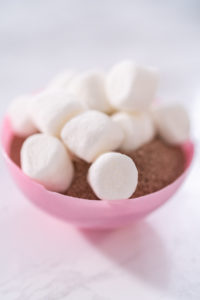
- ½ cup mini marshmallows
Before You Start: My Quick Tip
- Work cool and fast: Warm hands melt shells quickly—gloves really help.
- Thicker shells: Apply two thin coats of chocolate if your first layer looks too thin.
- Flavor twist: Try peppermint cocoa mix inside for an extra holiday kick.
- Party prep: Make multiple batches and store them lined with parchment in an airtight container.
Latest Video
Let’s Make It Together
Making the Chocolate Shell
- Preheat oven to 350°F and place a large baking sheet inside to heat.
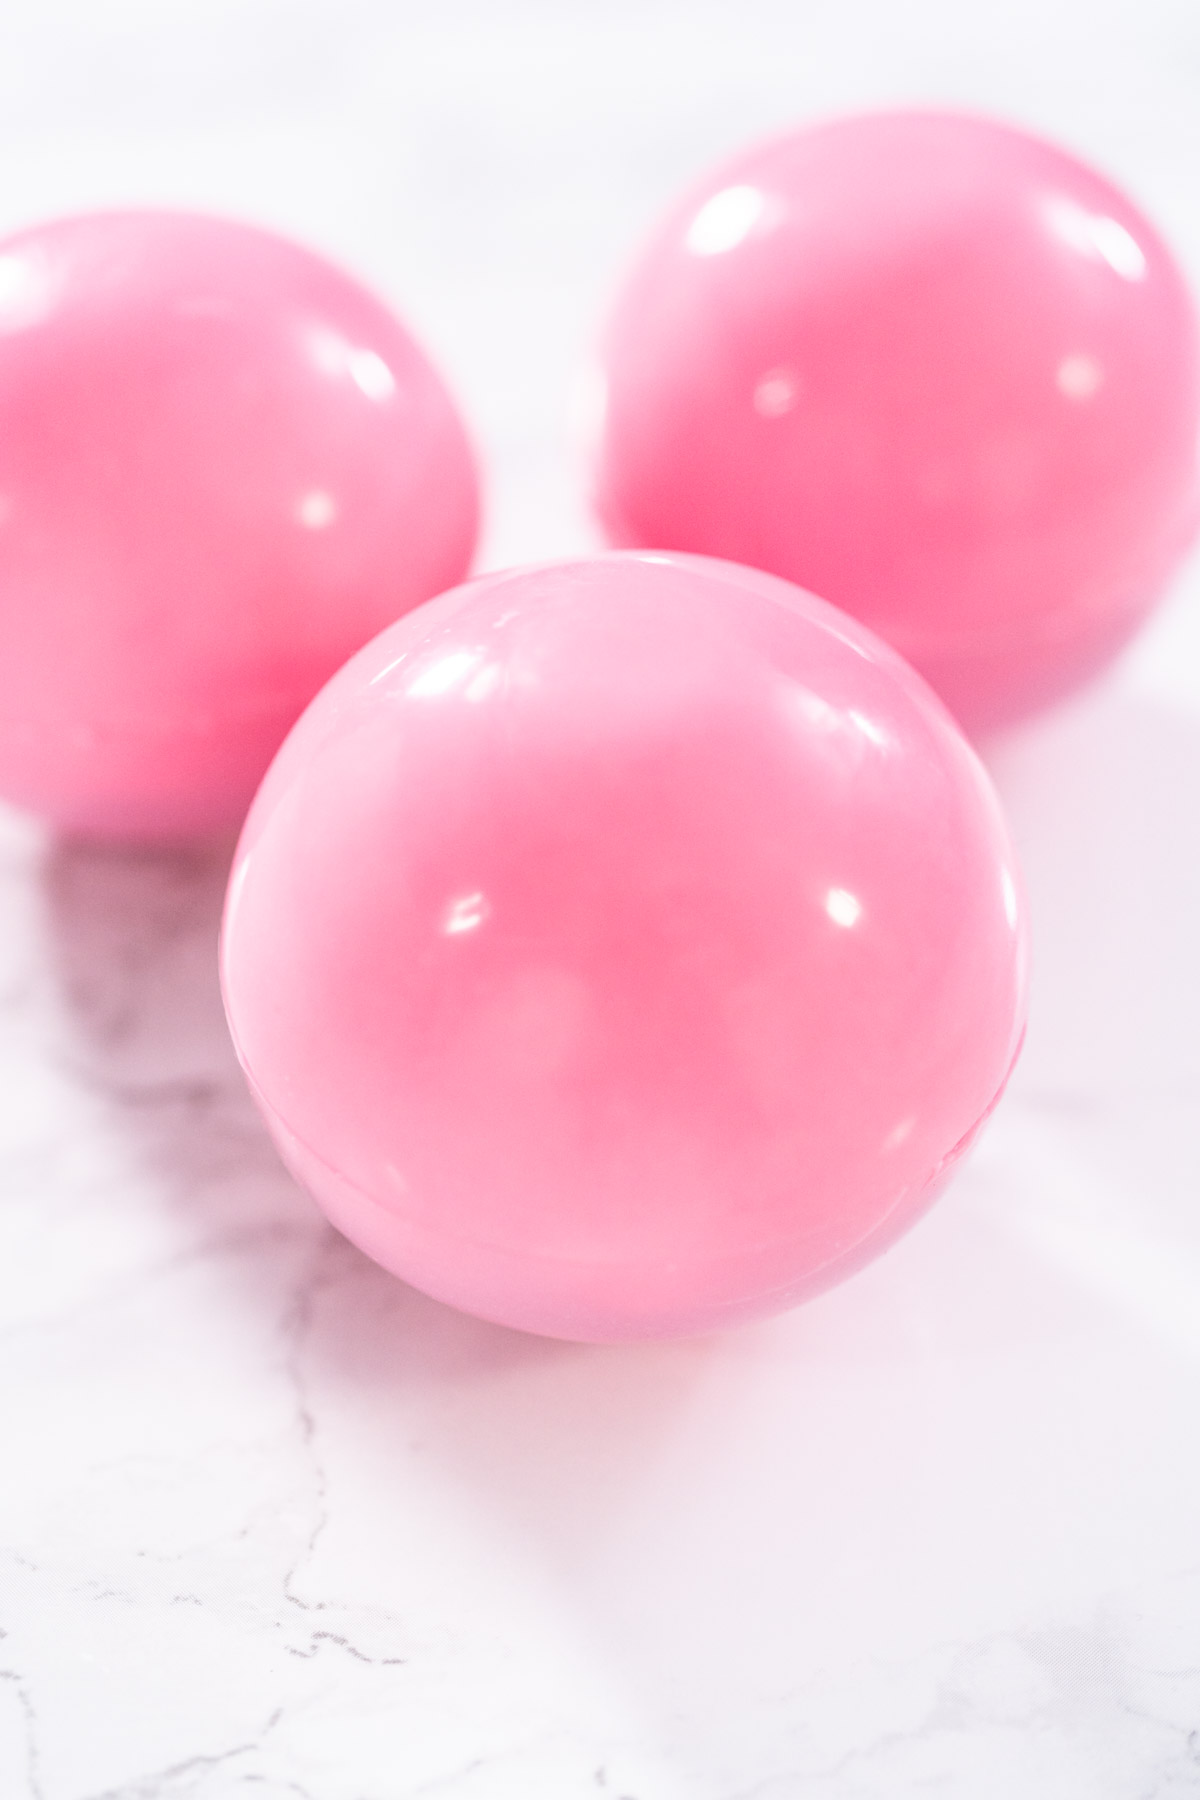
- Melt pink candy melts in a candy melting pot until smooth.
- Place semi-sphere silicone mold on a cool baking sheet.
- Cool melted chocolate to 110–130°F—too hot and shells will be thin.
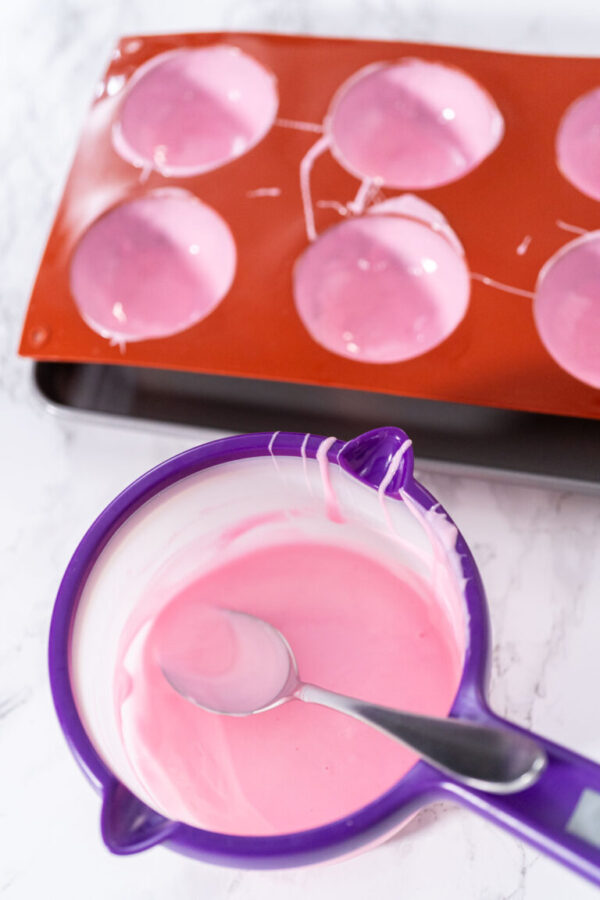
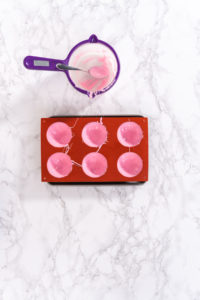
- Spoon 1 heaping tablespoon into each mold cavity, spreading evenly to edges.
- Freeze molds for 10 minutes until set.
Assembling the Bombs
- Put on vinyl gloves to avoid melting shells with your hands.
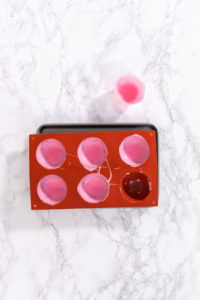
- Carefully remove chocolate halves from molds.
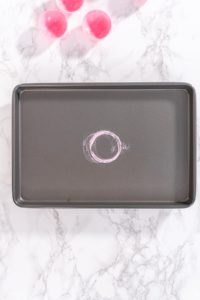
- Press three shells seam-side down on the hot baking sheet briefly to smooth edges.
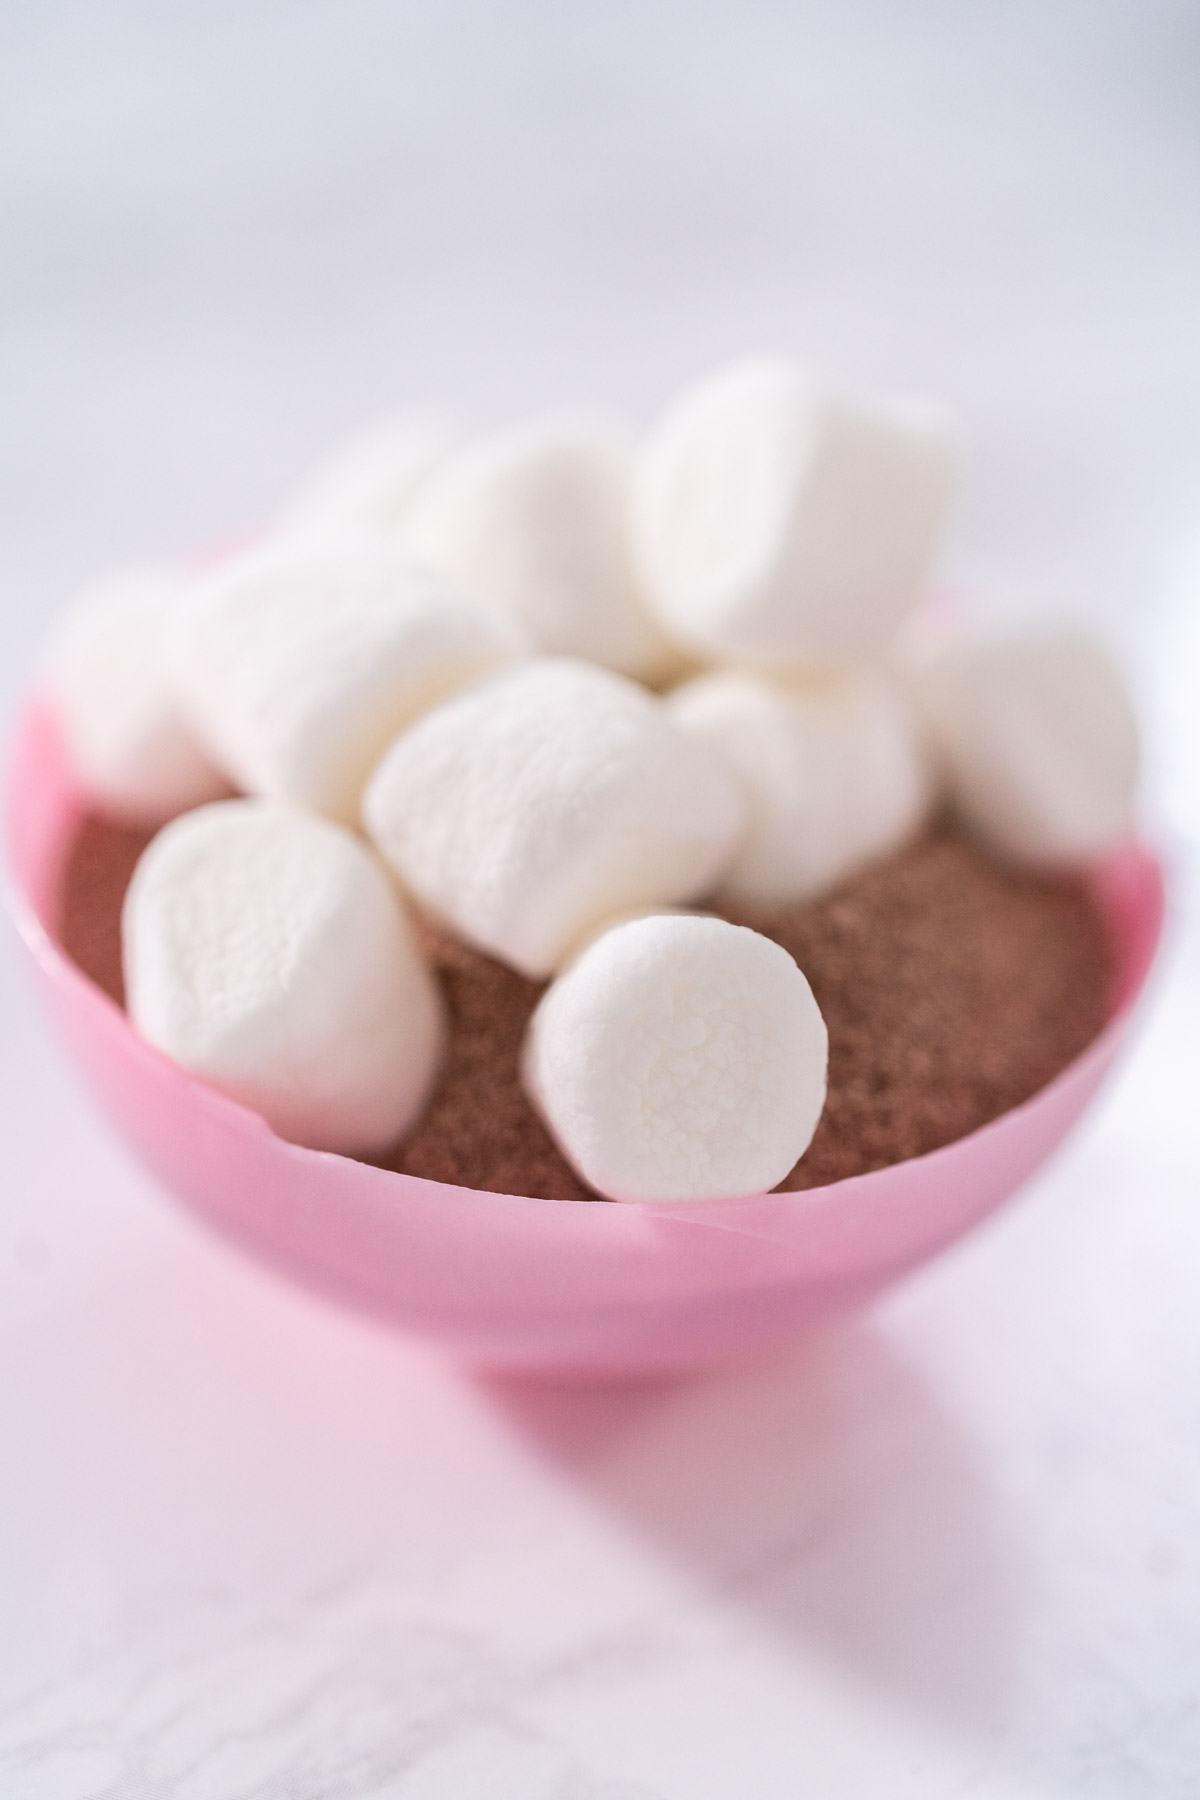
- Fill each half with 3 tablespoon cocoa mix and marshmallows.
- Smooth edges of remaining halves, then place on top to seal—don’t press too hard.
Decorating
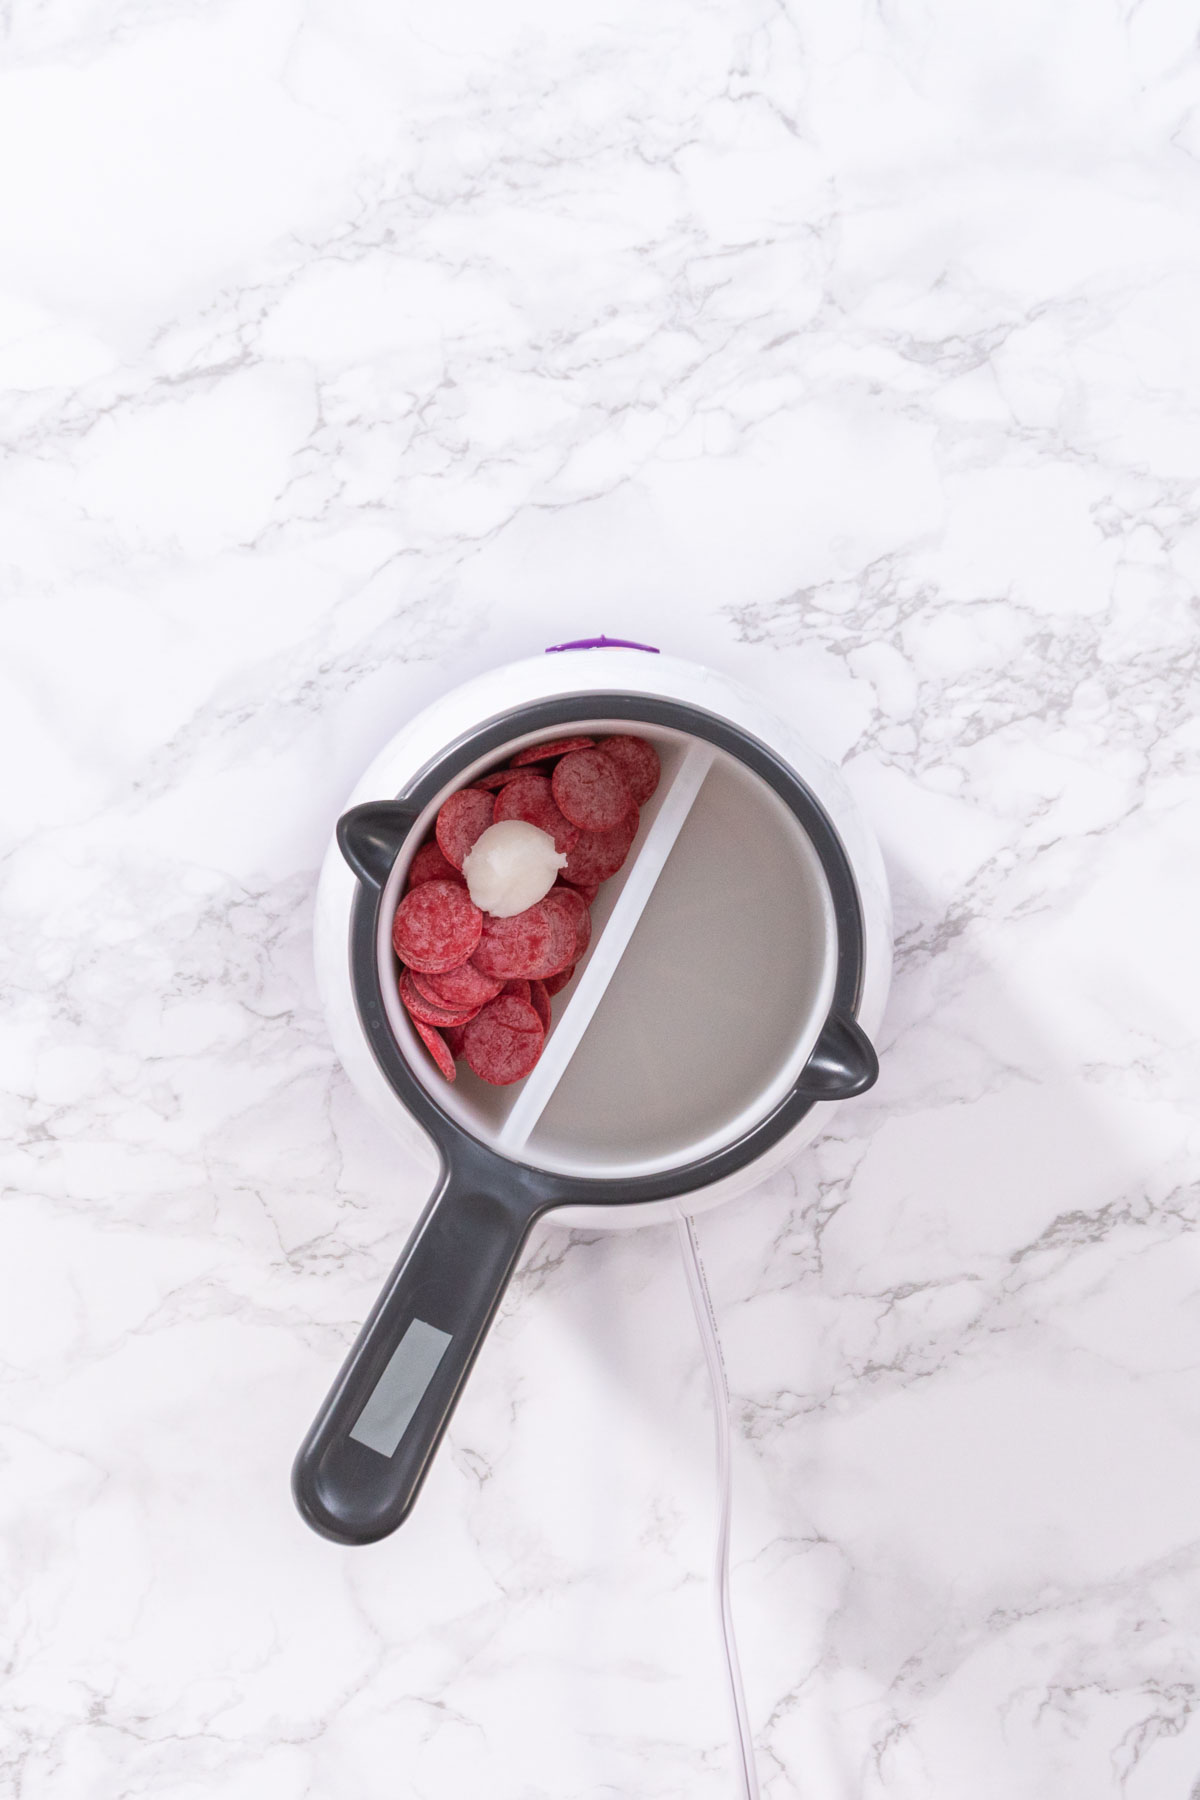
- Melt white, green, and red candy melts separately with coconut oil.
- Cool to 70–80°F before decorating.
- Drizzle white chocolate around seams, roll in sprinkles.
- Drizzle green chocolate across tops.
- Finish with red chocolate drizzles.
Serving
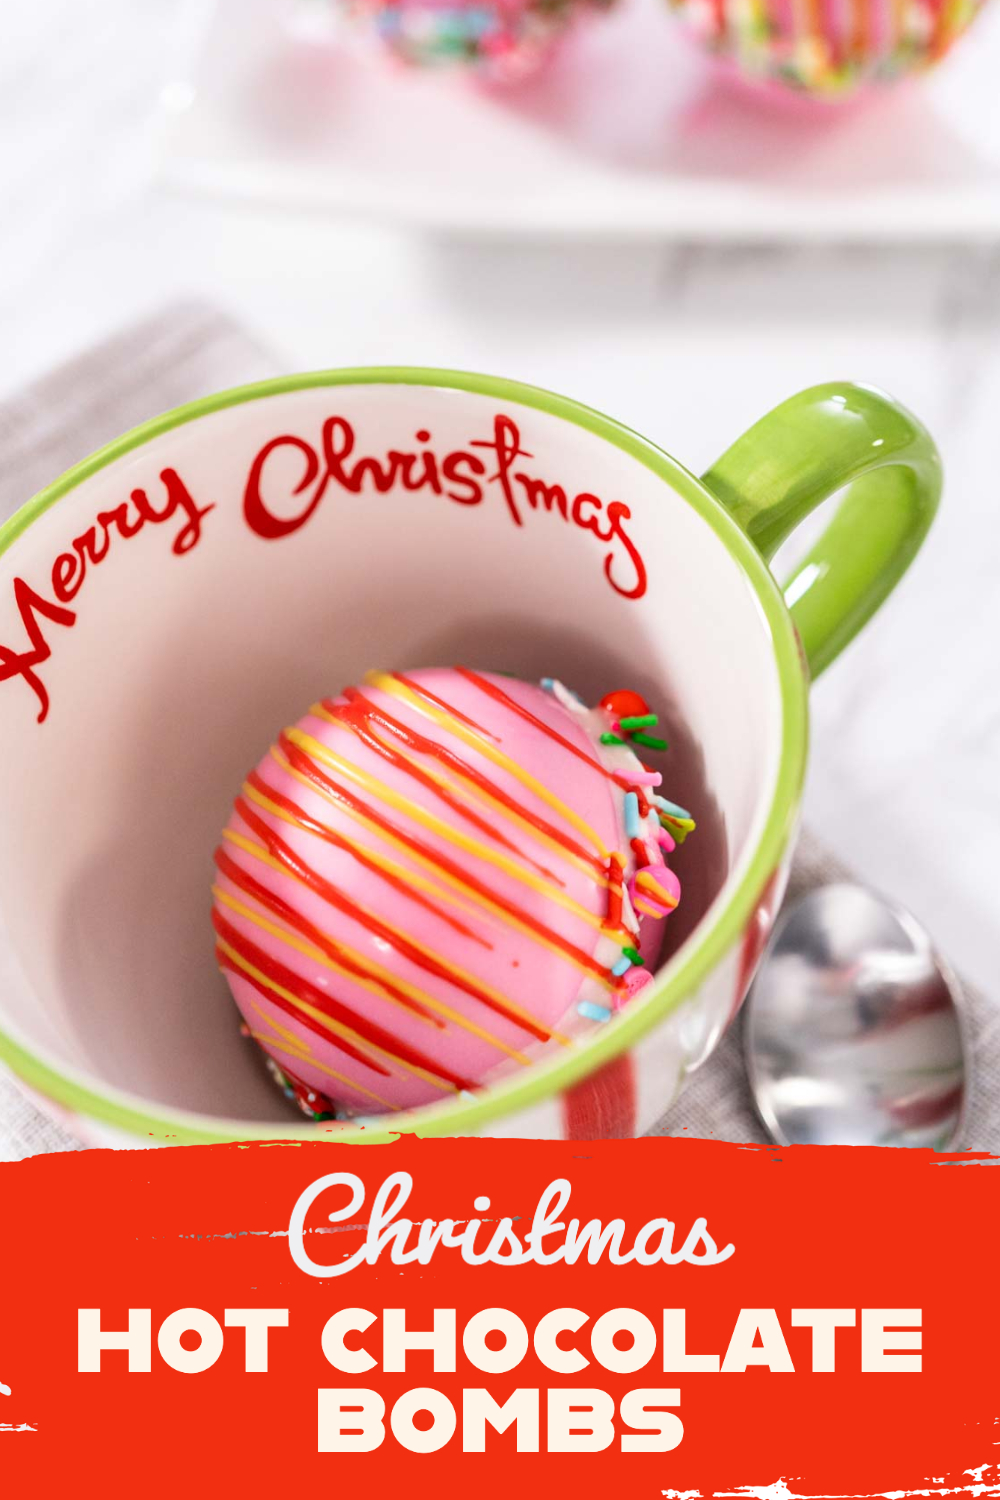
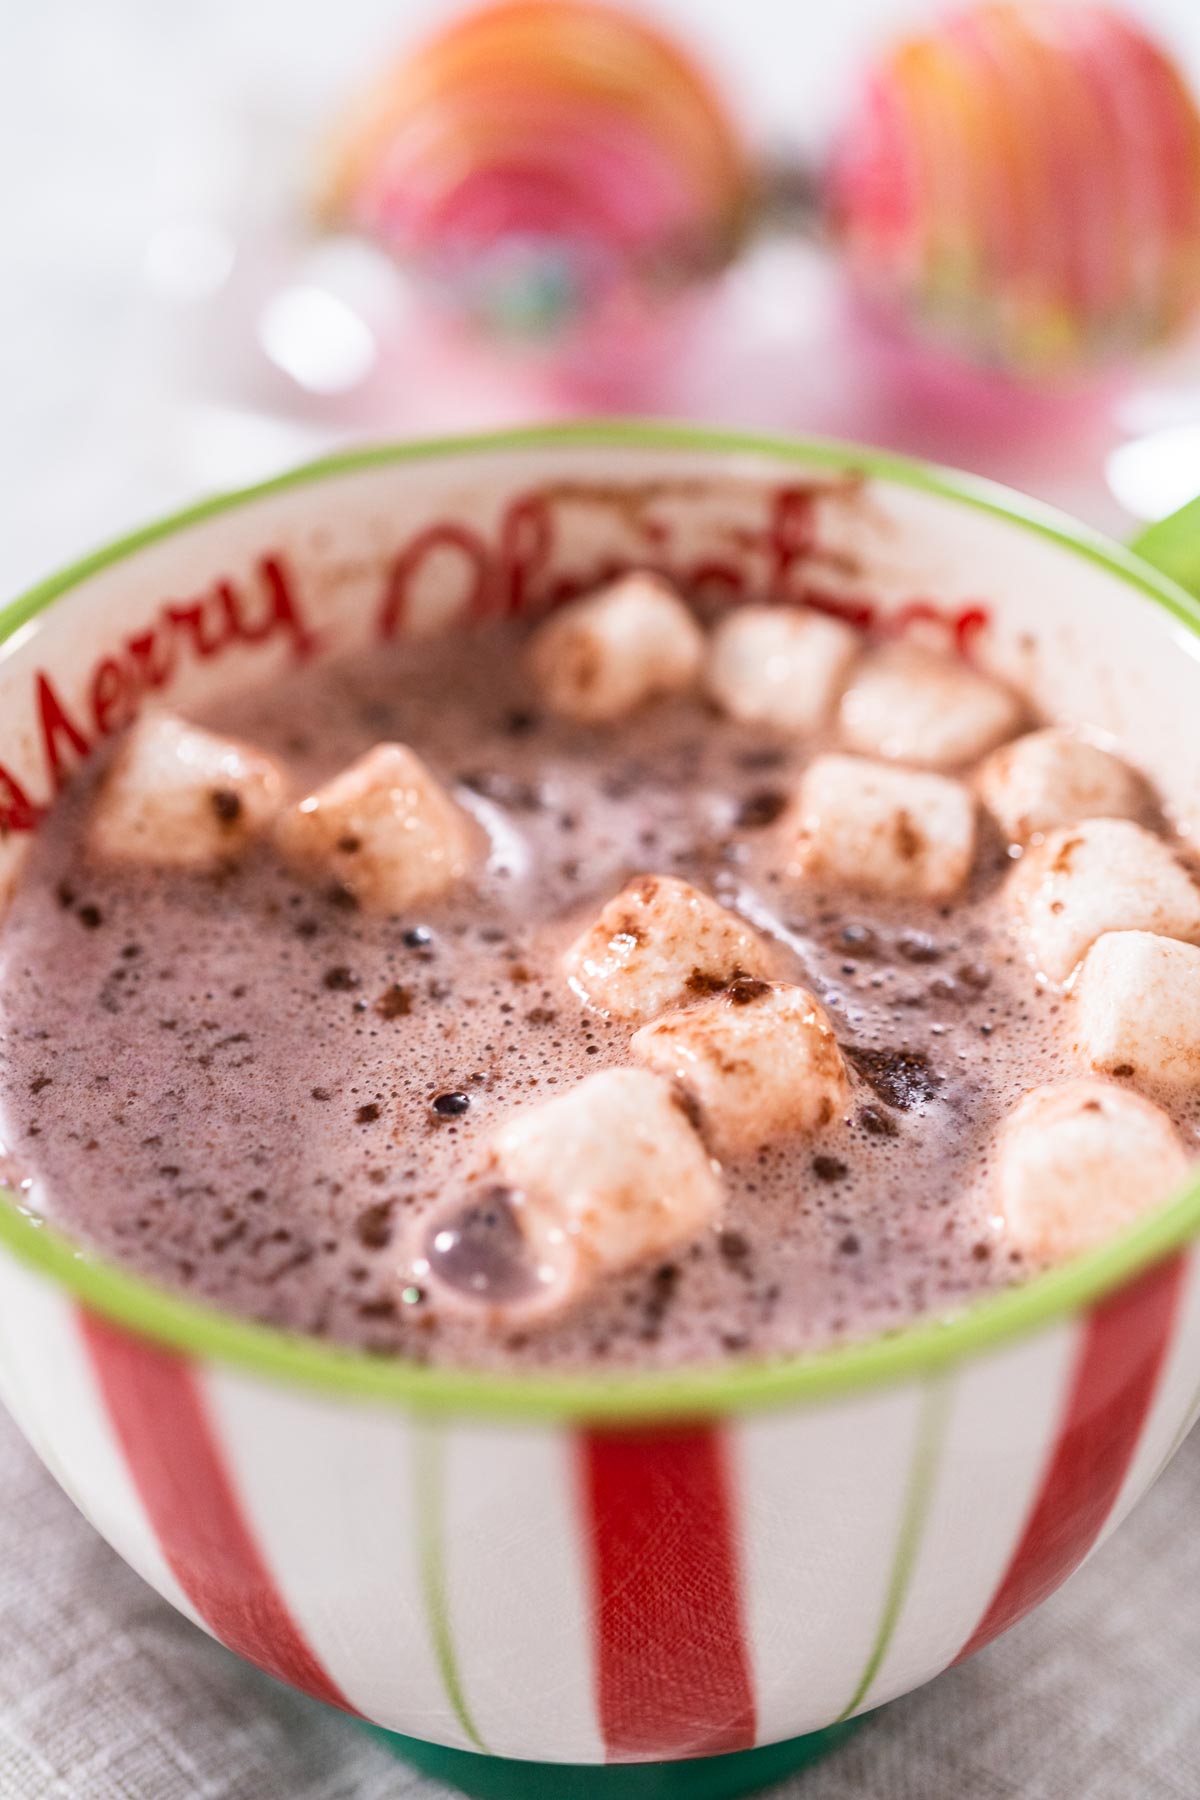
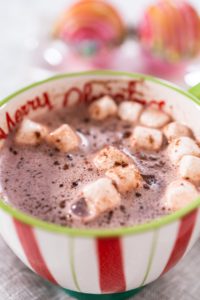
- Drop one hot chocolate bomb into a mug.
- Pour hot milk over it.
- Watch as it bursts with cocoa and marshmallows—Christmas magic!
Recipe variations
- Peppermint Hot Chocolate Bombs: Add crushed candy canes inside along with the cocoa and marshmallows.
- Salted Caramel Bombs: Stir in caramel powder with the cocoa and sprinkle sea salt over the drizzles.
- White Chocolate Bombs: Use all white candy melts for a snowy look, perfect alongside my Eggnog Buttercream Frosting cupcakes.
- Kids’ Fun Bombs: Let the little ones decorate with colorful sprinkles or edible glitter—similar to when I make Mini Chocolate Bars with Sprinkles.
Storage
- Transporting: Use paper towel lining and space them apart to avoid sticking.
- Fridge: Store in airtight containers for 2–3 days.
More Holiday Recipes to Try
- Marshmallow Snowmen
- Sugared Cranberries and Rosemary
- Peppermint Cupcakes
- Holiday Peppermint Chocolate Cookies
- Eggnog Cookies
- Gingerbread Cupcakes
Christmas Hot Chocolate Bombs
Equipment
Ingredients
Chocolate shell
- 1 cup Pink Wilton candy melts
- ½ cup White candy melts
- 1 teaspoon coconut oil
- ½ cup Red Wilton Candy Melts
- 1 teaspoon coconut oil
- ½ cup Wilton Green Candy Melts
- 1 teaspoon coconut oil
- ½ cup Christmas sprinkles
Filling
- 9 tablespoon hot chocolate powder or use homemade
- ½ cup Mini marshmallows
Instructions
Making the Chocolate Shell
- Preheat the oven to 350°F and place a large baking sheet inside to heat up.
- Melt the pink chocolate melts in a Wilton candy melting pot (or use another melting method if preferred). Stir until the chocolate is fully melted, smooth, and lump-free.1 cup Pink Wilton candy melts
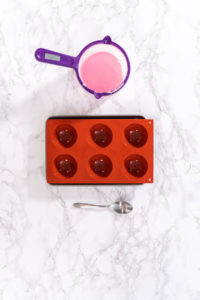
- Set the semi-sphere silicone mold face-up on a cool small baking sheet (not the hot one in the oven).
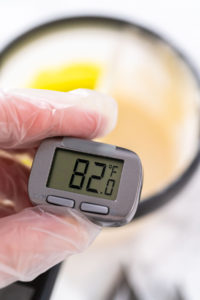
- Let the melted chocolate cool to about 110–130°F using a candy thermometer—I like aiming for the lower end. If the chocolate is too hot, it will slide down the mold and make thin shells, so cooling is important.
- Spoon about 1 heaping tablespoon of melted chocolate into each mold cavity and spread it evenly to the edges with the back of a spoon. Place the baking sheet with filled molds into the freezer for 10 minutes to set.
Assembling the Hot Chocolate Bombs
- Put on disposable vinyl gloves to prevent melting the shells with your hands. Gently release the chocolate shells one at a time by loosening the edges and pushing from the bottom.
- Remove the hot baking sheet from the oven and keep it away from the shells to avoid accidental melting. Press three chocolate halves seam-side down on the hot baking sheet for half a second to smooth the edges.
- Fill each of these three bottoms with 3 tablespoons of hot cocoa mix and top with mini marshmallows.9 tablespoon hot chocolate powder, ½ cup Mini marshmallows
- Smooth the edges of the remaining three shells the same way, then place them on top of the filled halves to seal. Don’t press too hard or they may crack.
Decorating Christmas Hot Chocolate Bombs
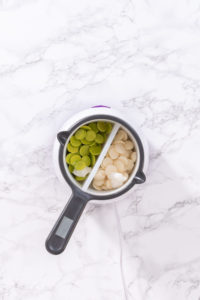
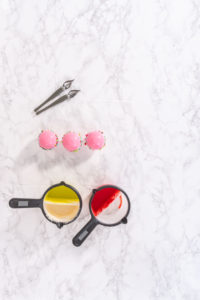
- In a candy melting pot with a dual insert, melt white chocolate with 1 teaspoon coconut oil in one side, and green chocolate melts with 1 teaspoon coconut oil in the other. Stir each side until completely smooth, using separate spatulas.½ cup White candy melts, 1 teaspoon coconut oil, ½ cup Wilton Green Candy Melts, 1 teaspoon coconut oil
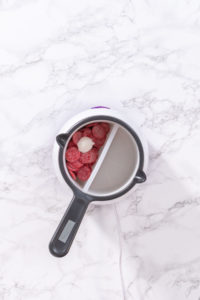
- In another pot, melt the red chocolate melts with 1 teaspoon coconut oil the same way.
- Allow all melted chocolates to cool to 70–80°F so they don’t melt the chocolate shells.
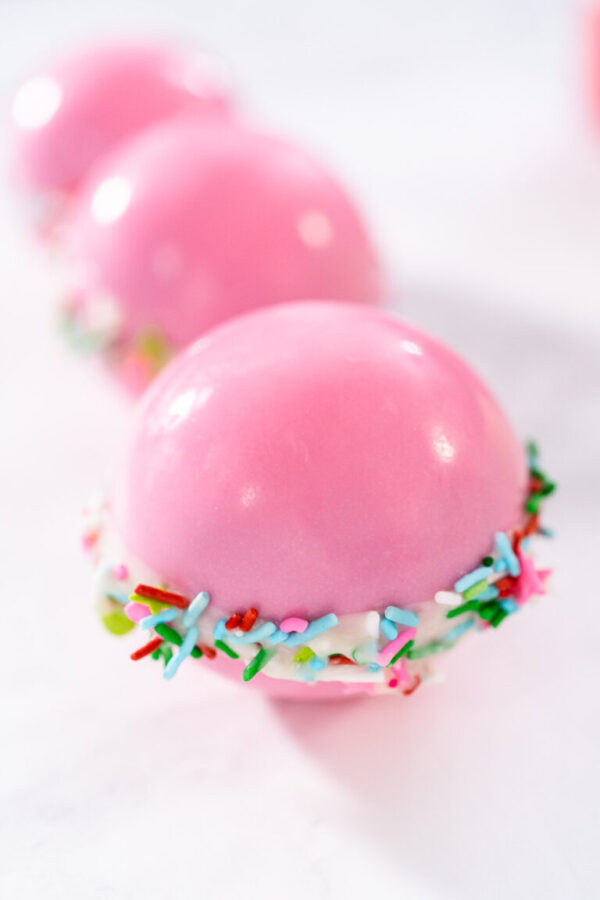
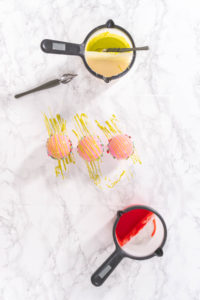
- Using a drizzle spoon, run white chocolate around the seam of each ball, then roll in Christmas sprinkles.½ cup Christmas sprinkles
- Place on parchment paper and repeat for all bombs.
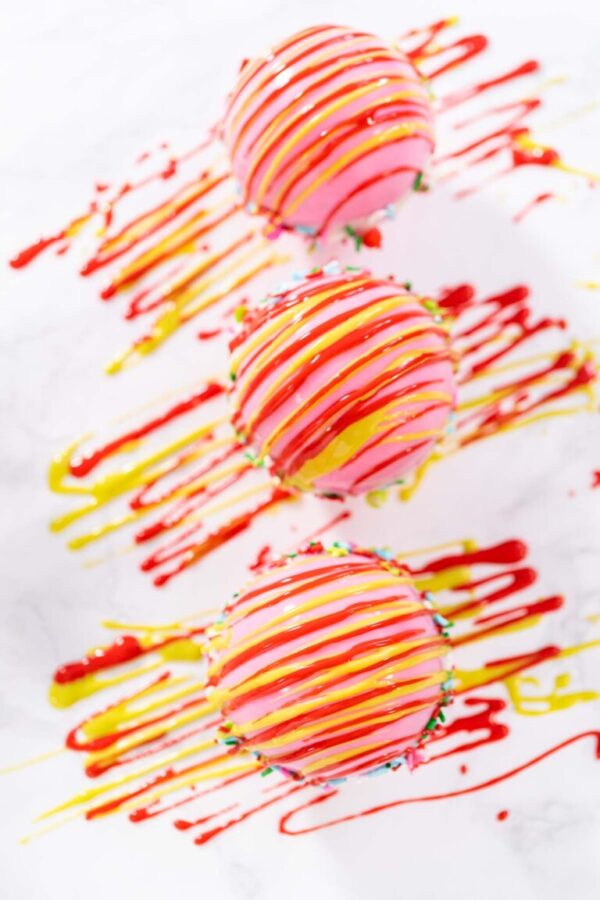
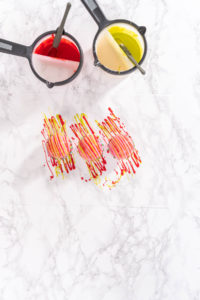
- Drizzle the green chocolate over the tops.
- Finish with a drizzle of the red chocolate.½ cup Red Wilton Candy Melts, 1 teaspoon coconut oil
Notes
Nutrition
From My Kitchen to Yours
Christmas food gift ideas
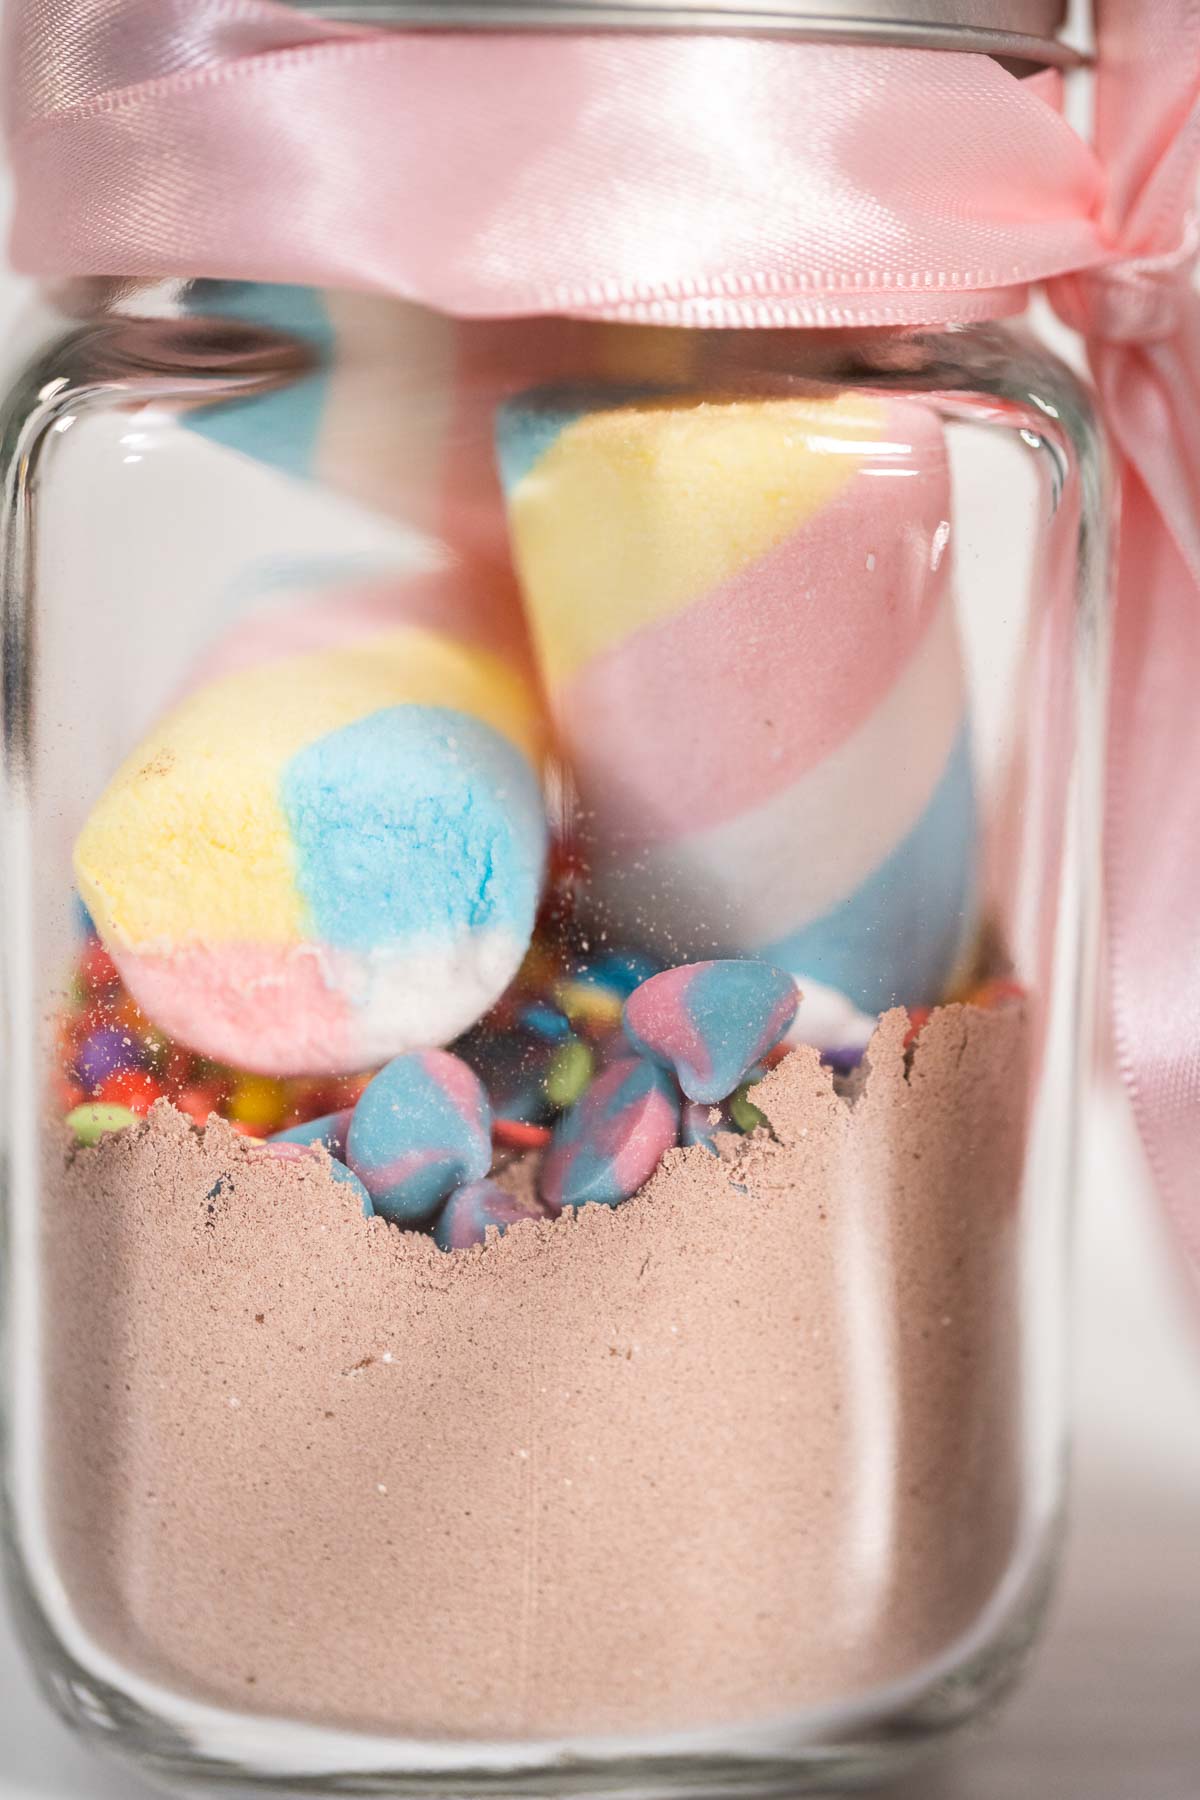
- Unicorn Hot Chocolate Mix
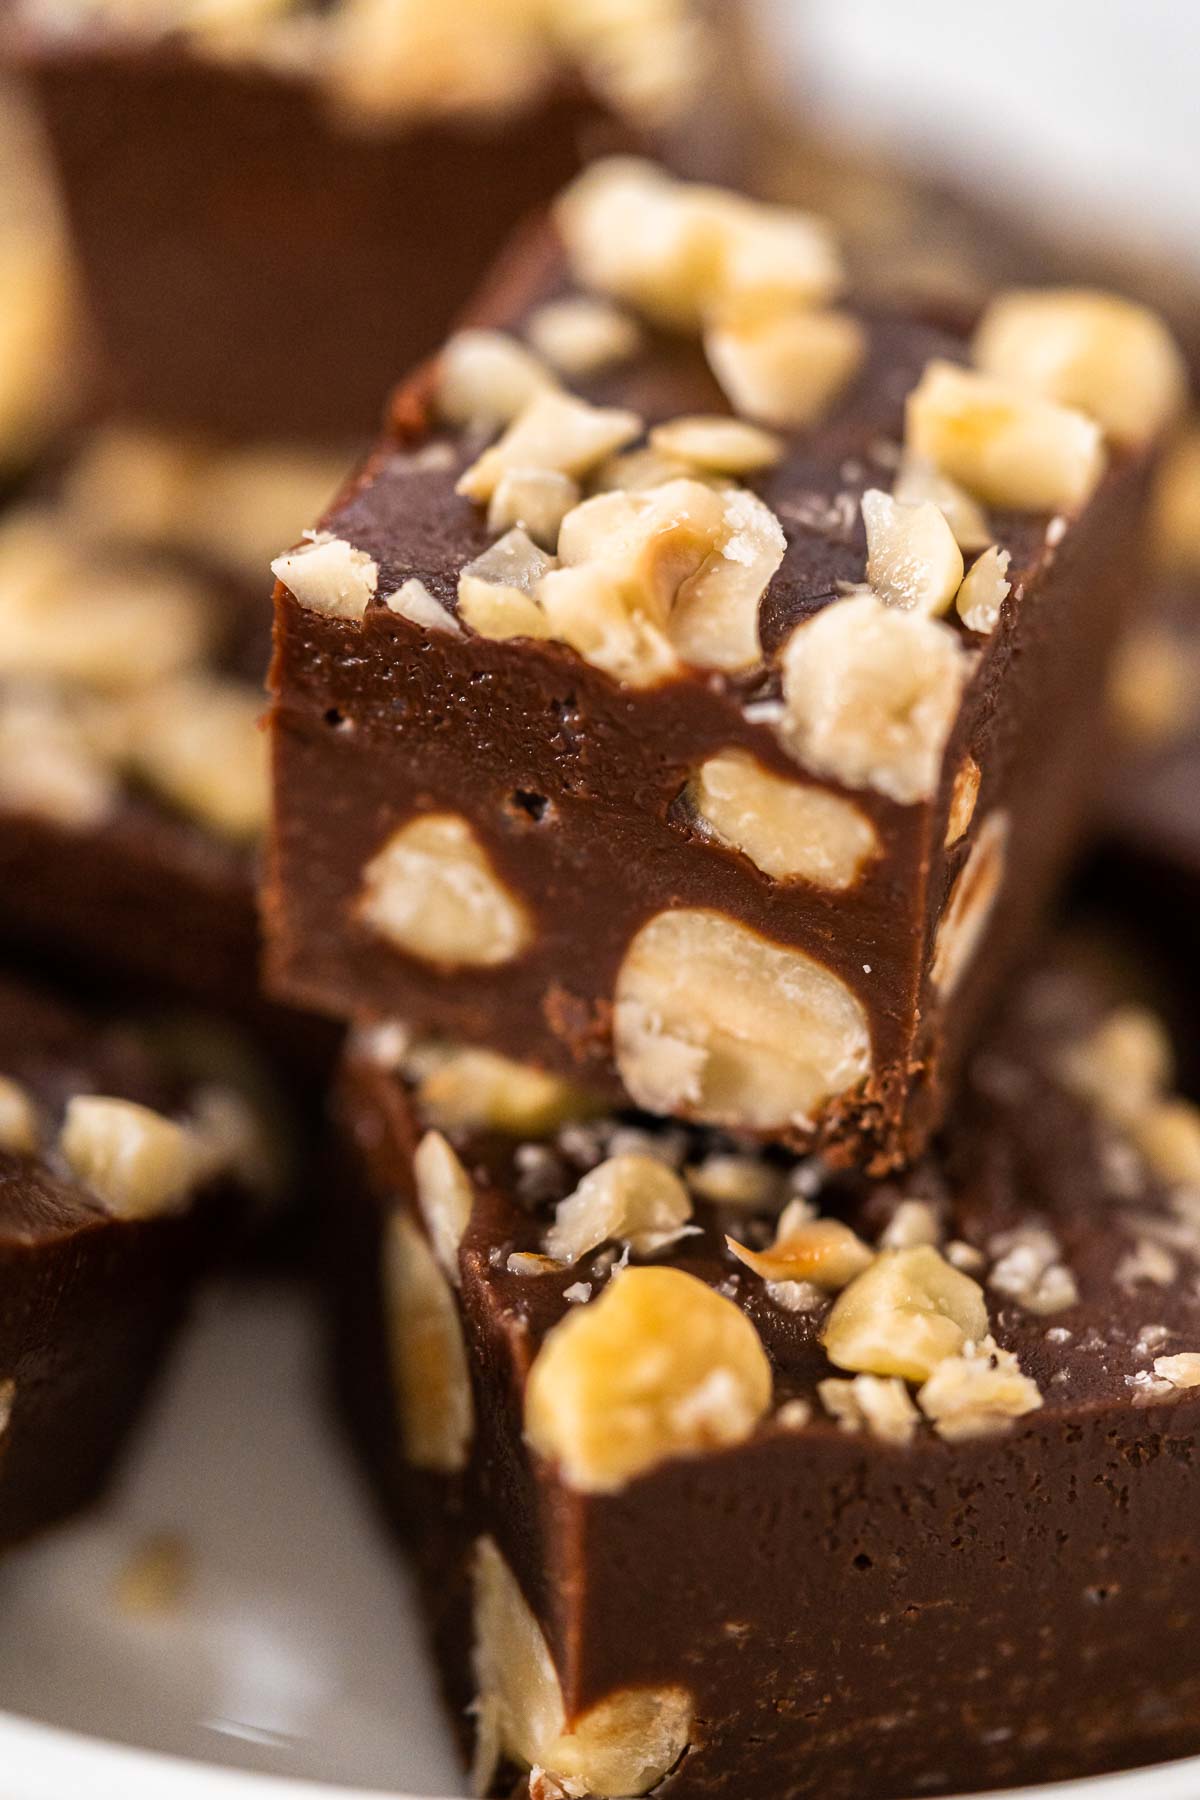
- Chocolate Hazelnut Fudge – Rich, Creamy, and Nutty
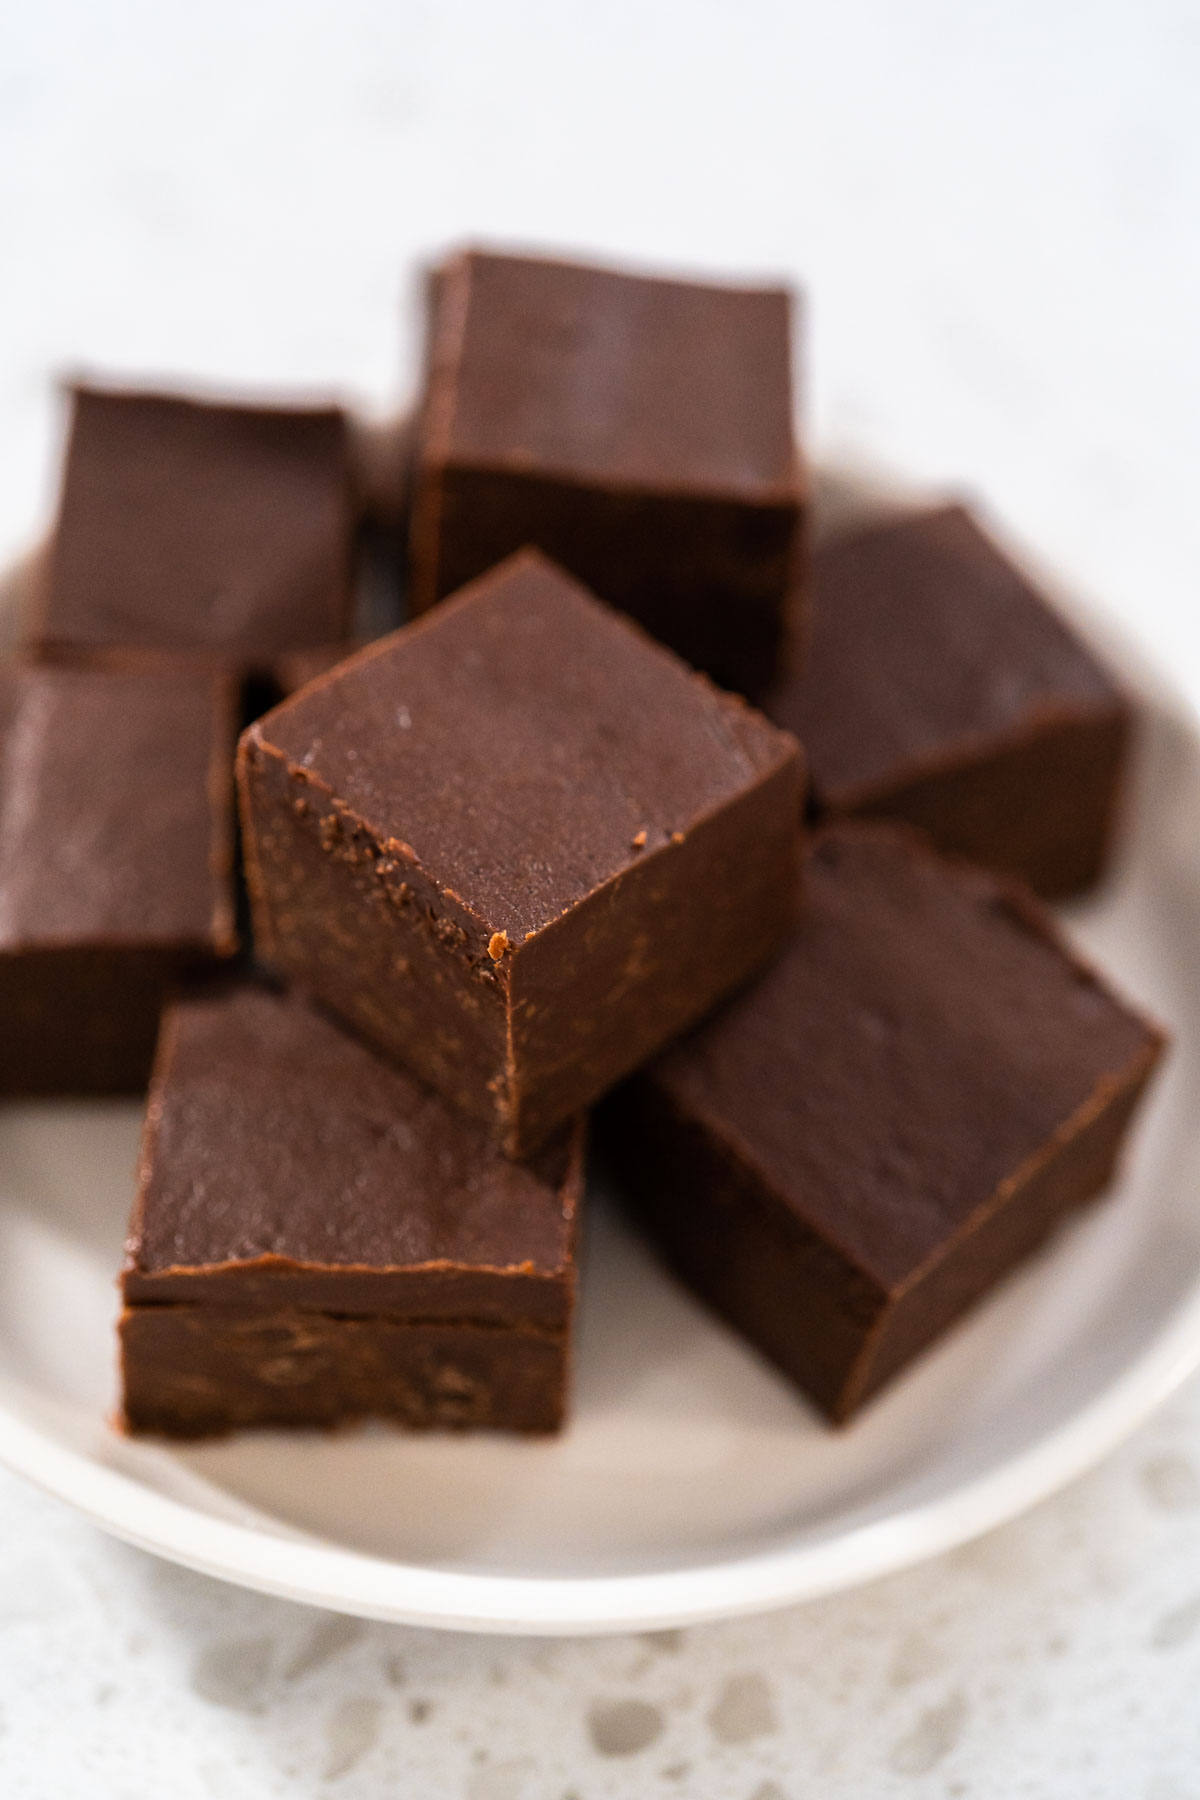
- Classic Chocolate Fudge – Rich, Creamy, and Easy to Make
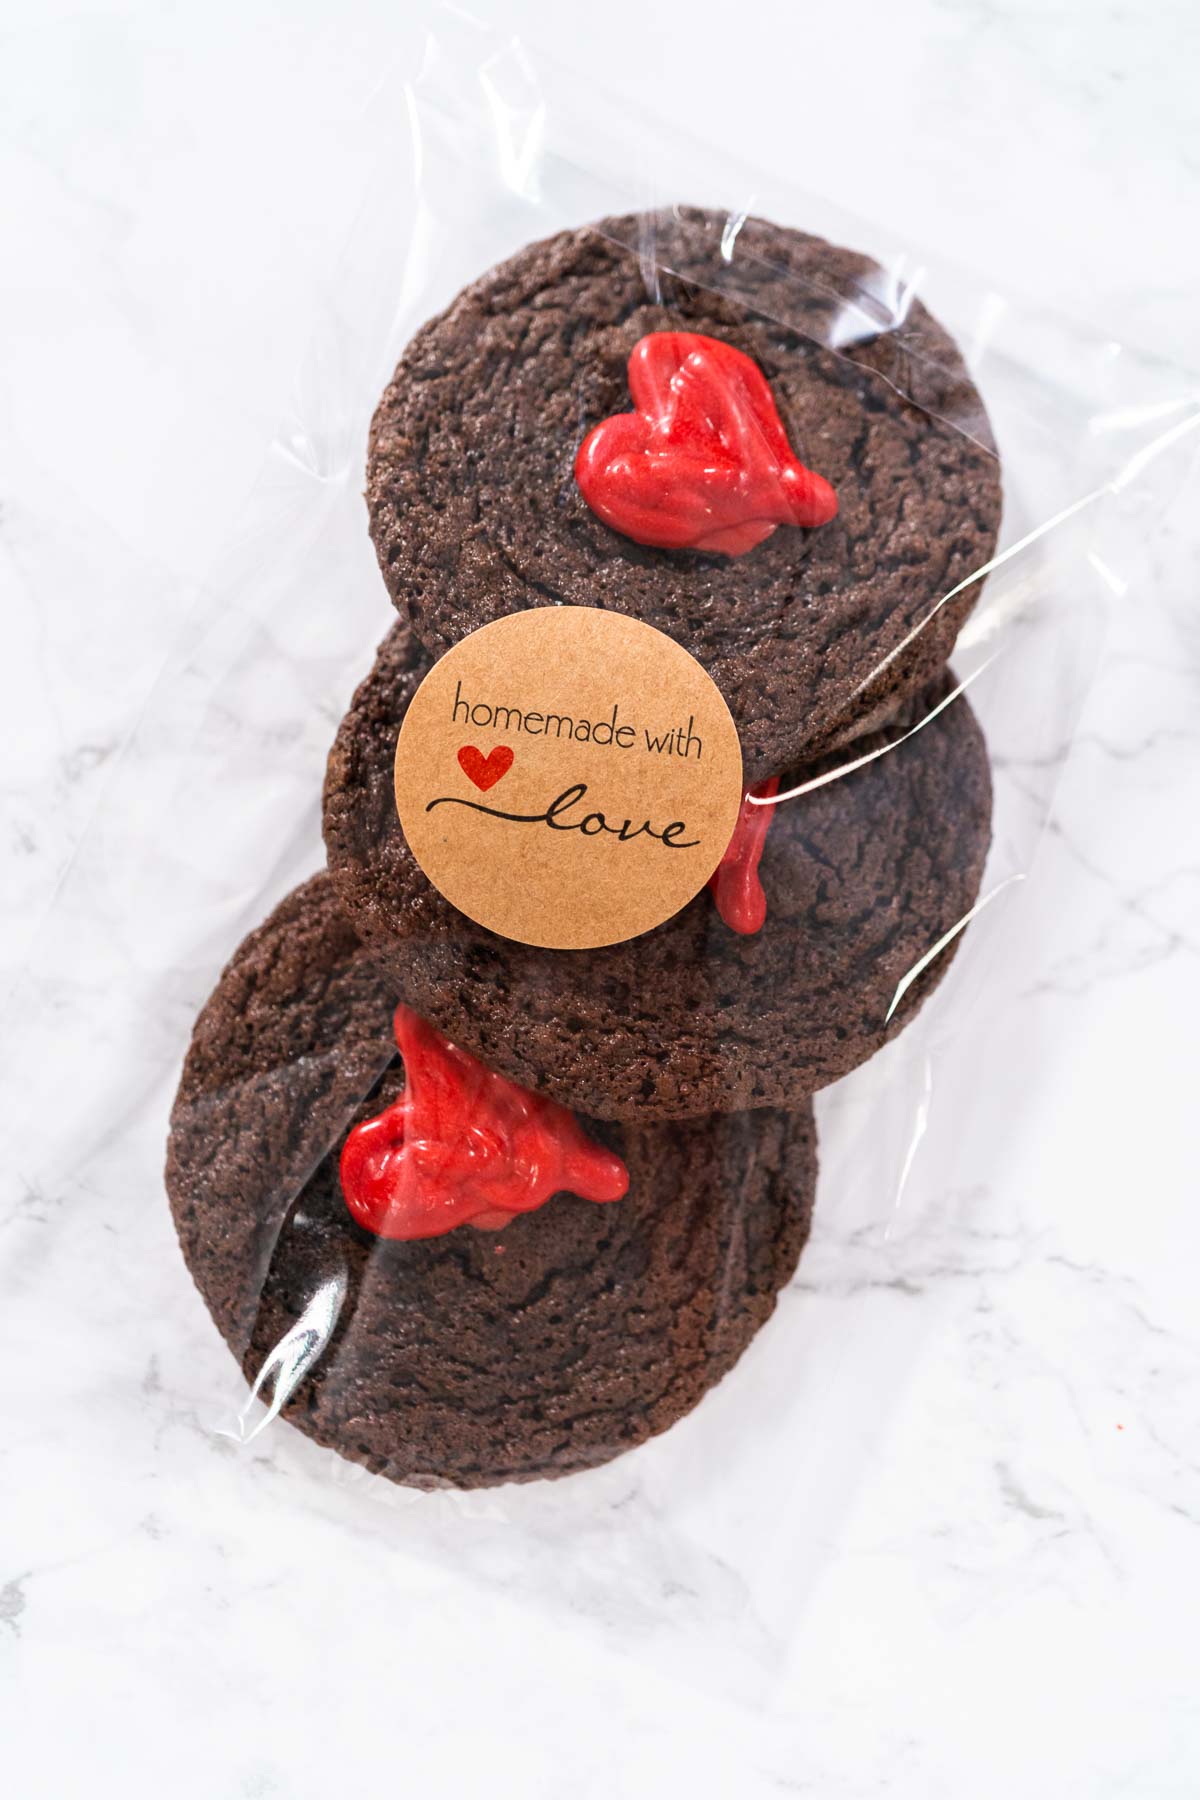
- How to Individually Package Cookies for Gifts (Fresh, Cute & Easy Ideas)
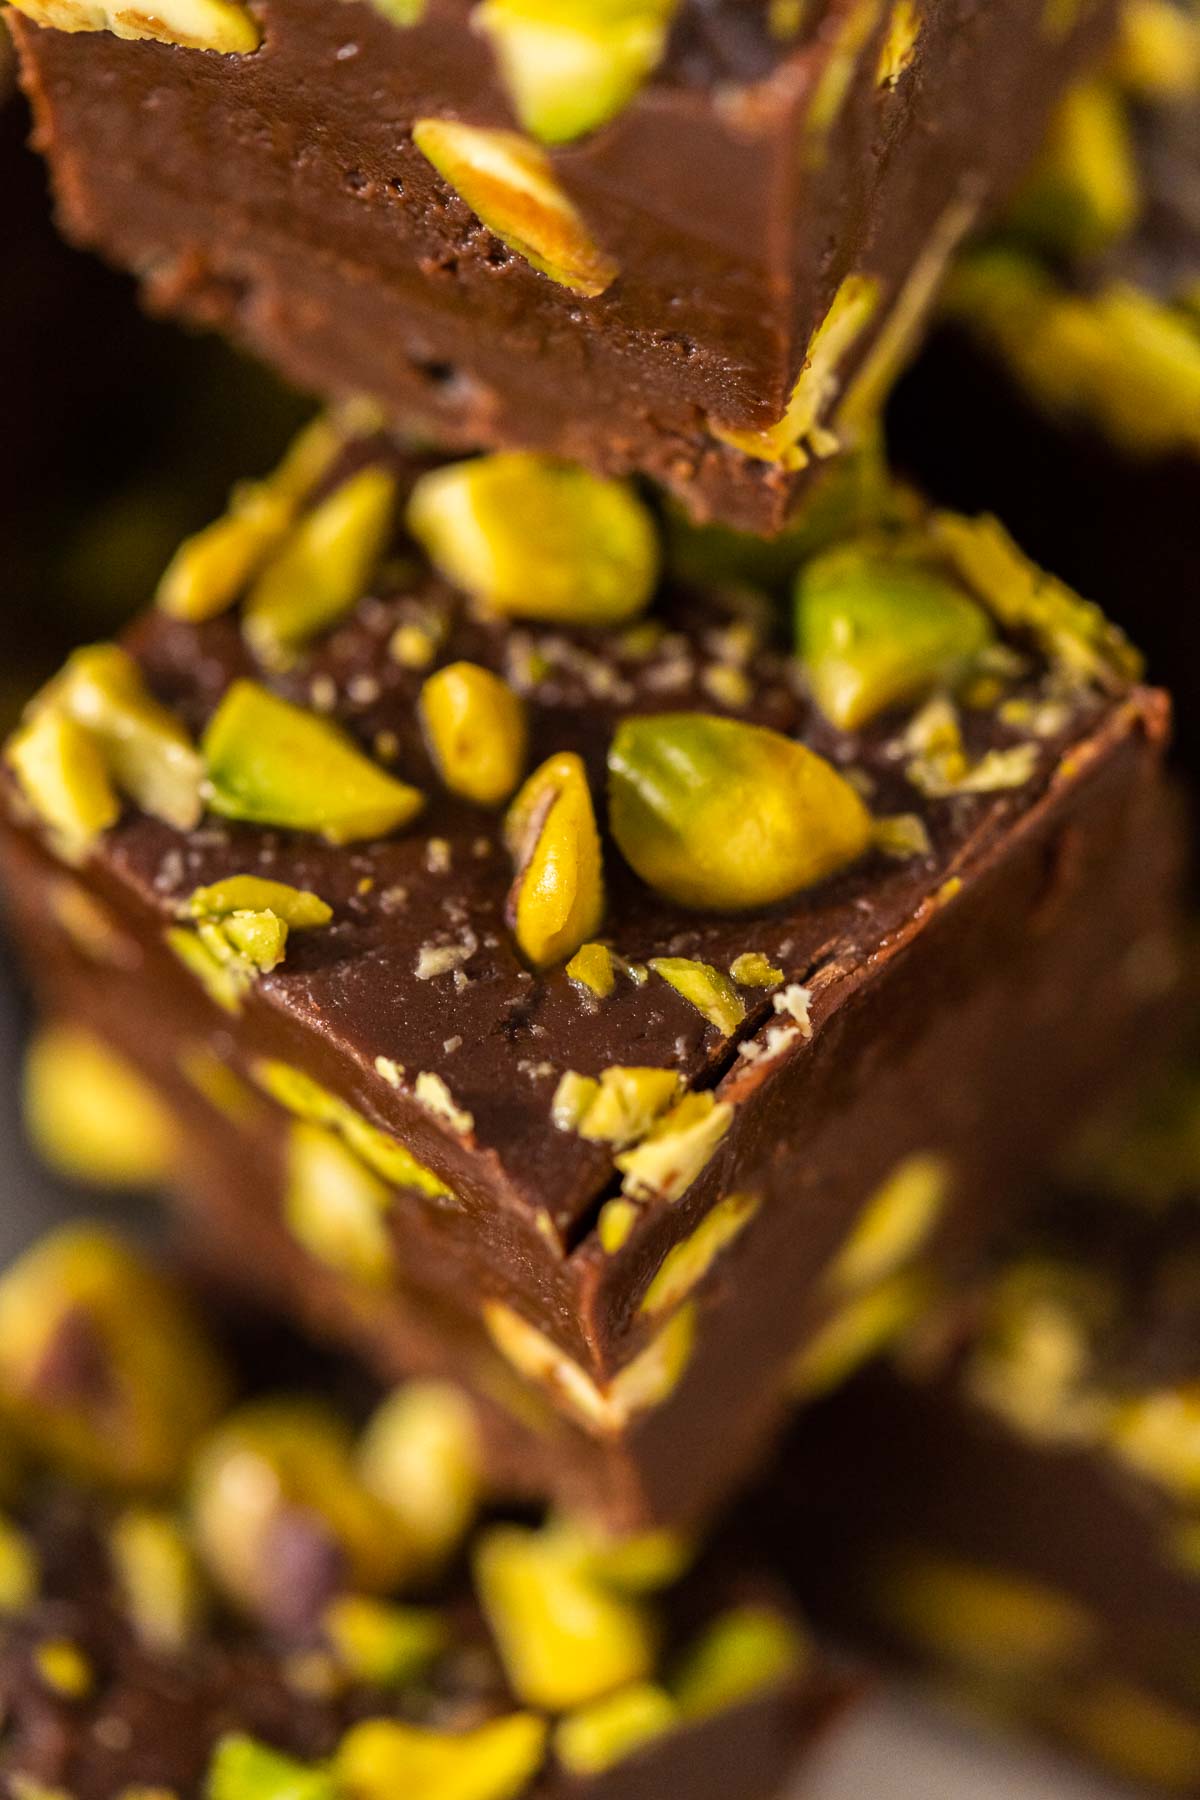
- How to Make Chocolate Pistachio Fudge (Easy No Bake Recipe)
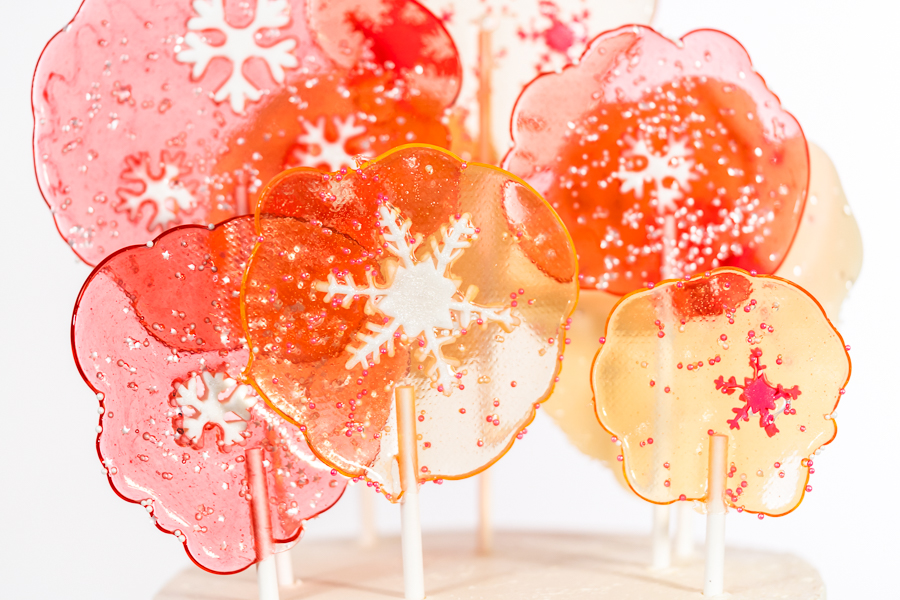
- How to Make Clear Sugar Lollipops at Home
I’ve Got Answers
Can I use regular chocolate chips?
es, but you’ll need to temper them carefully or add coconut oil for smooth shells.
How do I stop shells from cracking?
Avoid pressing too hard when sealing and make sure shells are not too thin.
Can I make them ahead for gifts?
Yes! Just keep them in the fridge and package right before gifting.
Pin It For Later
Food Photography & Video Tips from My Studio
Here’s a peek at the tools, gear, and camera setups I use to film my recipe videos and photograph food at home. Over the years, I’ve tested dozens of different setups, and now I’m sharing what actually works for me—whether I’m filming overhead shots for YouTube or styling still photos for my blog. If you’re curious about how I create the content you see here, these posts are a great place to start.










Leave a Reply