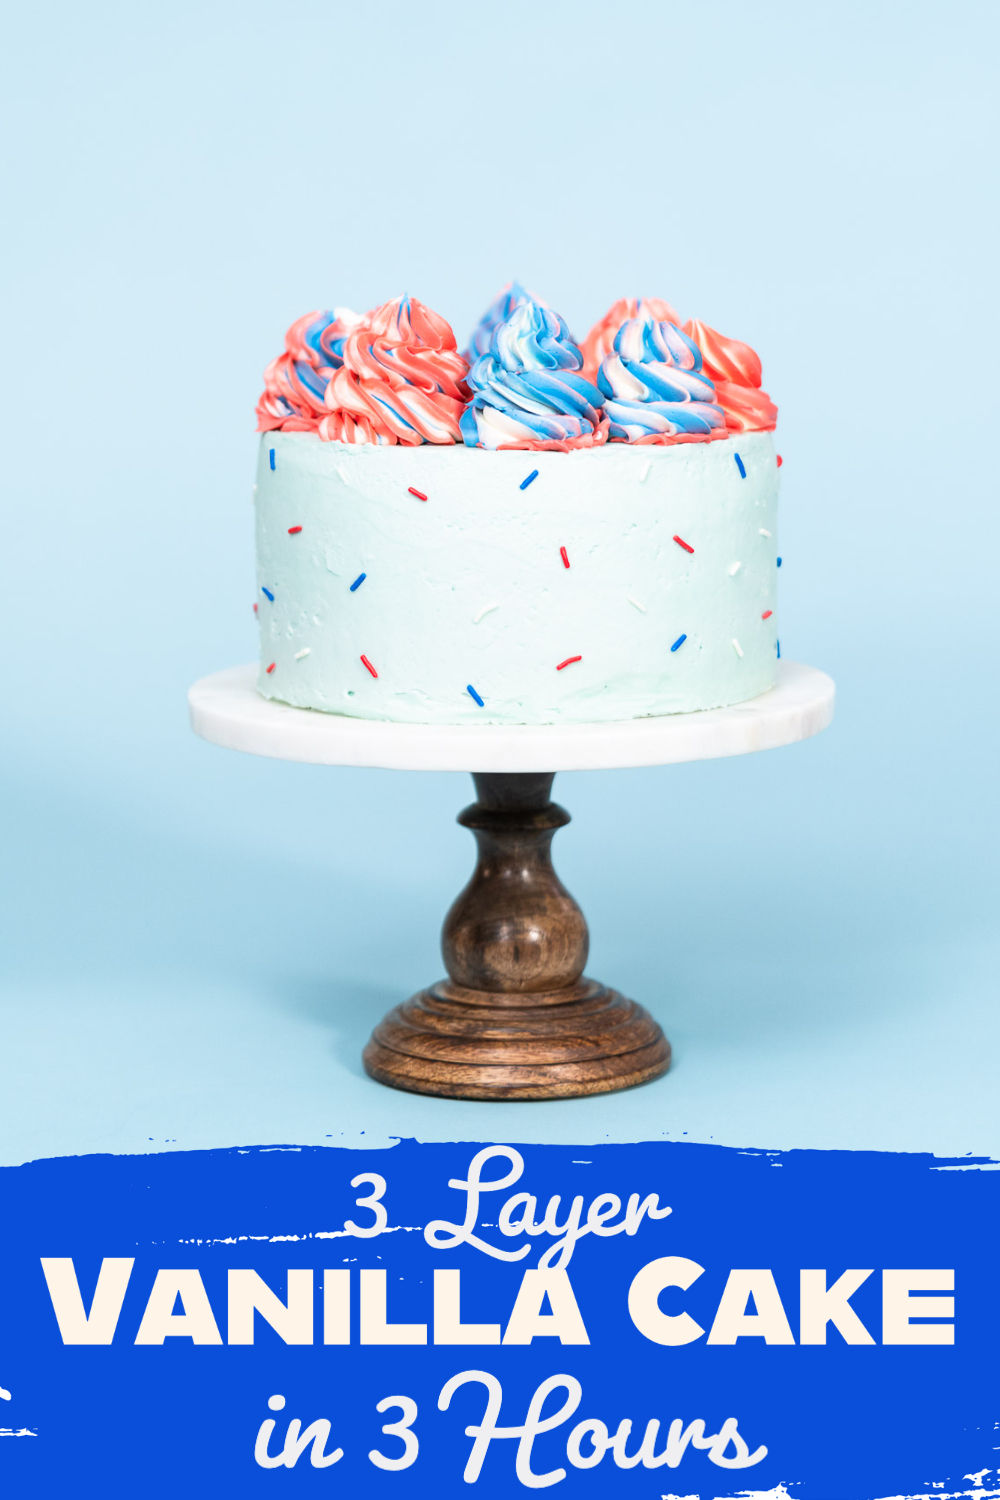
How to make a completely homemade 3-layer vanilla cake in 3 hours!
This post contains affiliate links.
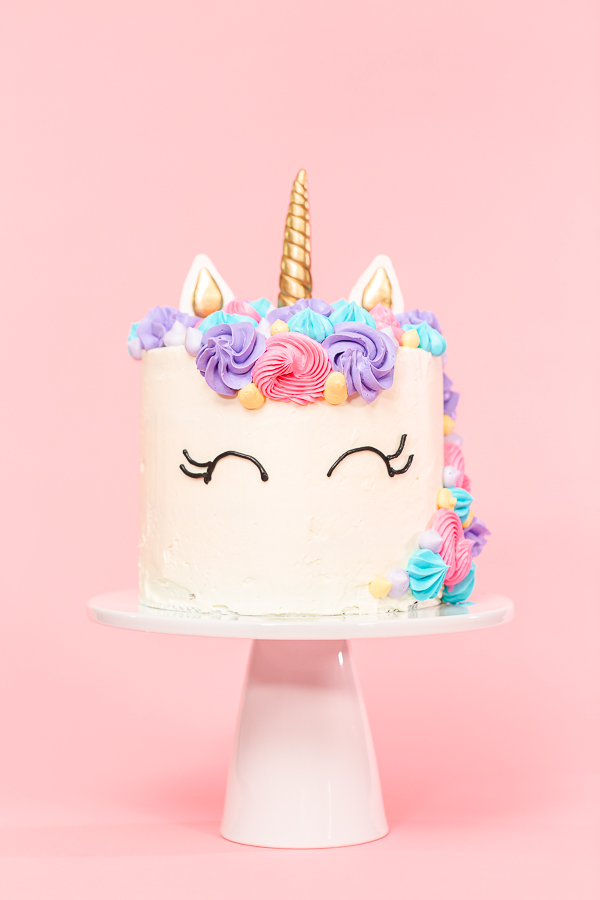
For me, this all started when I was on the hunt for a baker to make a cake for my daughter’s unicorn-themed birthday party. I was absolutely shocked at the prices of custom cakes! Since I bake at home all the time anyway, I thought that making my very own layered cake wouldn’t be too much of a challenge, so I did it! I successfully made my own layered Unicorn Cake for my daughter’s birthday party.
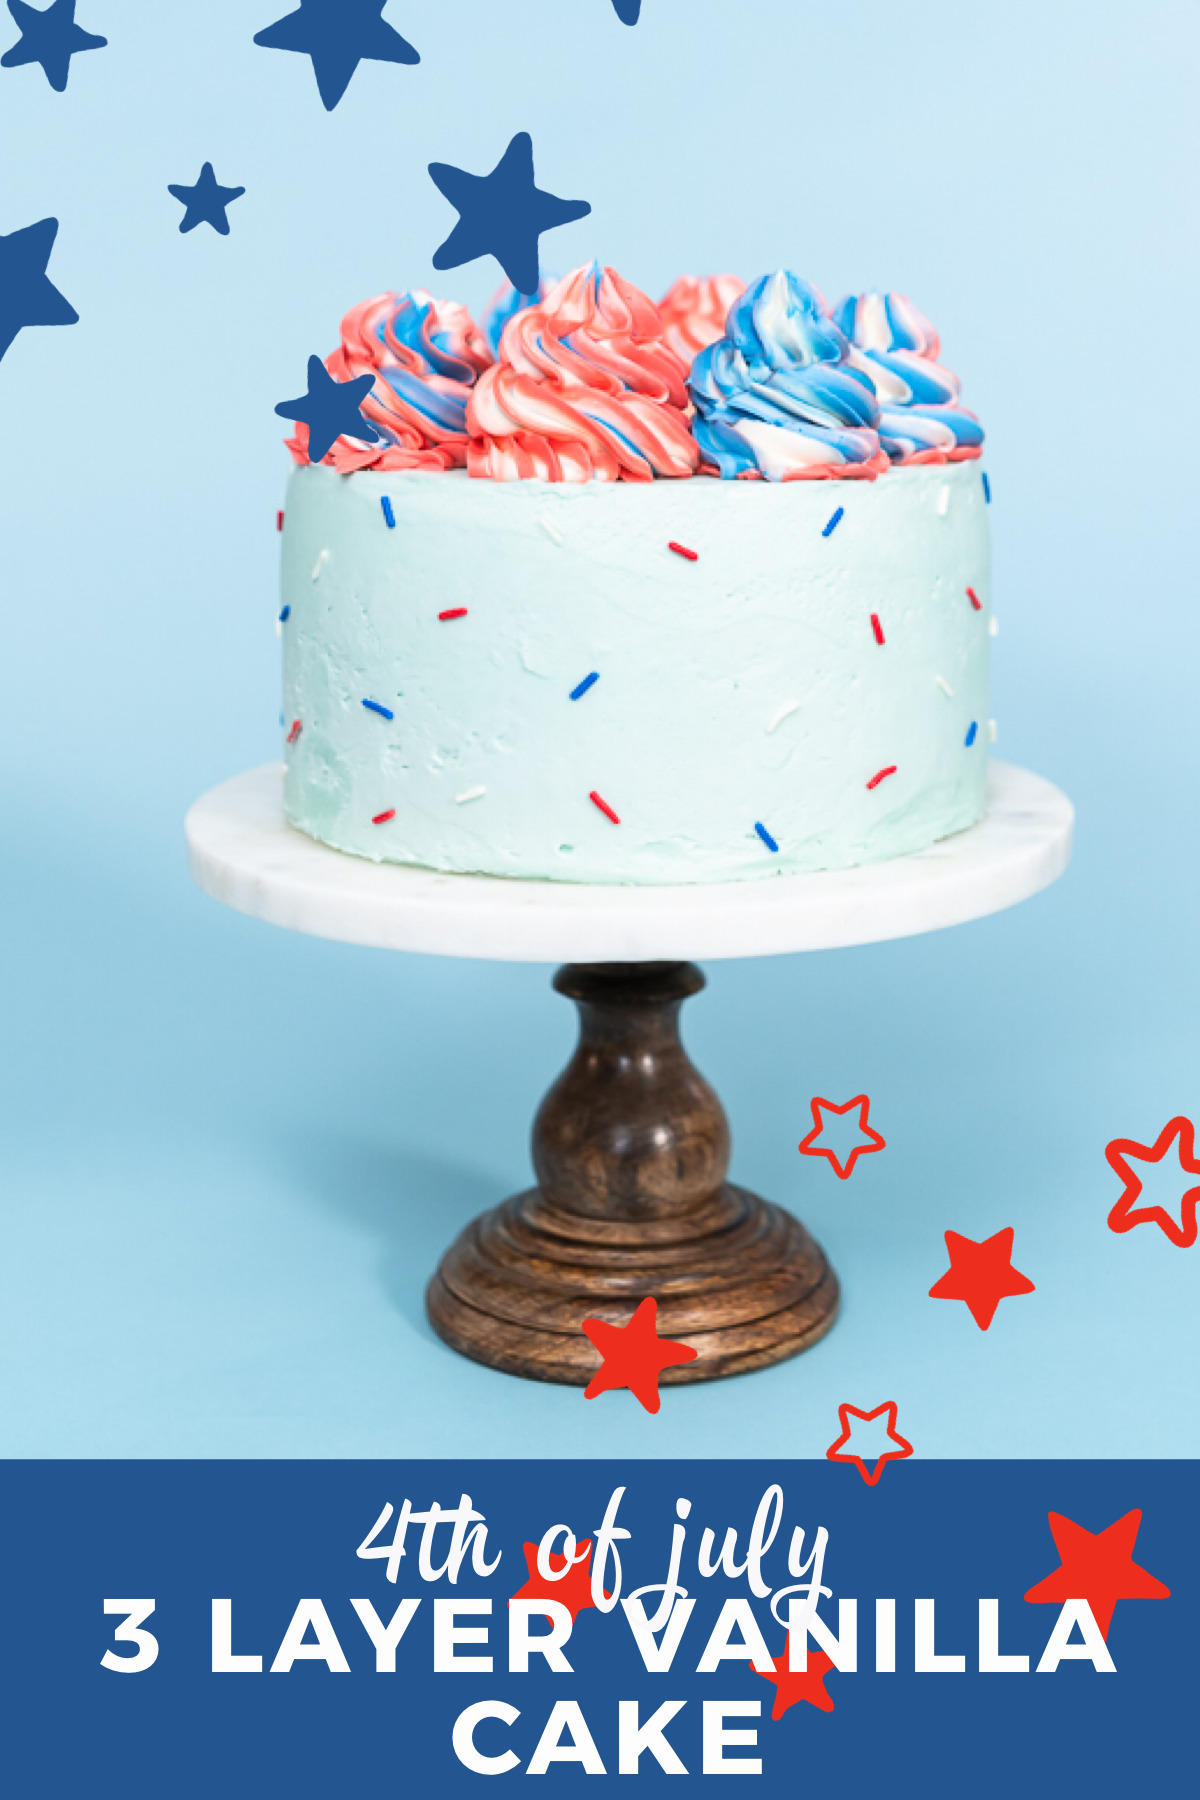
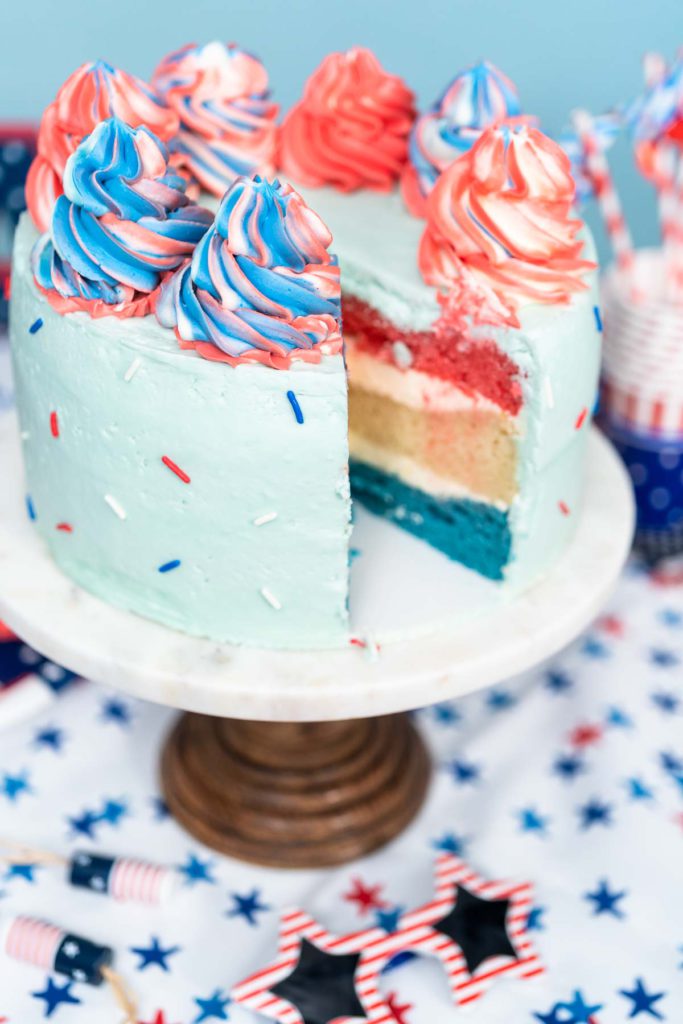
After realizing that the process of making this layered cake was relatively simple with the right tools, I immediately started baking cakes for other various holidays and photoshoots. One of my favorites is this simple 3 Layer Vanilla Cake in 3 Hours that I made for Independence Day! Making a layered cake like this is much easier than you might think.
Even though the process is somewhat complex, the steps are easy to follow along with and the recipe doesn’t require many ingredients. Overall the entire made-from-scratch process can be done in under 3 hours. However, it’s very important to understand all of the little things in cake baking that can make or break the process. Using the right tools, the right ingredient temperatures, and closely following the steps are all very important for success.
To help you understand everything and to make sure your layered cake comes out perfect, I’ve included all of my tips and tricks for making sure everything goes smoothly. Once you get the hang of it, you’ll never have to order from a baker again! Here’s how to make a frosted and decorated 3 layer cake from scratch.
Layered Cake Equipment
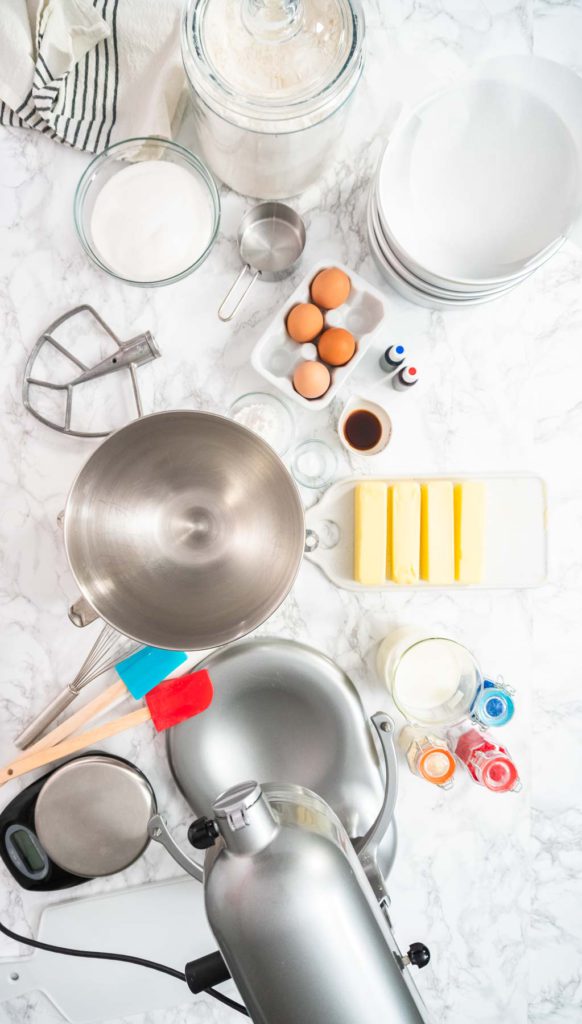
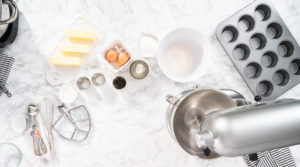
First, let me go over my cake layering equipment. While this is an easy process to follow, there are many tools that I use to make the process go as smoothly and easily as possible. Here’s what I use to make a 3 layer cake:
- Cooling rack
- KitchenAid mixer
- Mixing bowls
- Blending whisk
- 8-inch round cake pans
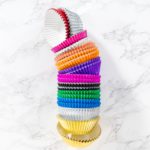
- Cake pan liners
- Spatulas
- Bake-easy strips
- Digital scale
- Revolving cake stand
- Chop cutter
- Piping bags
- Piping bag ties
- Piping tips
Cake Ingredients
Now let me break down my ingredient list. Surprisingly, there’s not a ton of ingredients involved in this recipe, just a bunch of common baking ingredients that you’re probably already familiar with. Here are the ingredients I use for a 3 layer vanilla cake:
Vanilla Cake:
- 1 ½ Cups Unsalted Butter
- 2 ¼ Cups Sugar
- 4 Egg Whites
- 3 teaspoon Vanilla Extract
- 3 Cups All-Purpose Flour
- ¼ teaspoon Baking Soda
- 2 ¾ teaspoon Baking Powder
- 1 ½ Cups Milk
- Optional: Red and blue food coloring
Buttercream Icing:
- 2 Cups Unsalted Butter -room temp
- 4 Cups Confectioners Sugar
- ½ Cup Whole Milk
- 2 tablespoon Vanilla Extract
- Optional: red and blue food coloring
- Optional: patriotic sprinkles
Ingredient Tip: The food coloring colors and sprinkles can be swapped out for any party theme, holiday, or celebration!
Layered Cake Tips
Before we explore this cake layering process, there are a few tips I want you to keep in mind before getting started:
- When baking the cake layers, I like to use these Wilton Bake-Easy Strips so that all my layers come out evenly baked and to prevent the edges from becoming too crisp.
- To do this, just soak the bands in water and squeeze out as much as possible before baking.
- The edges will rise a little bit more when using these bands, so be careful to not let your cake become too thin in the center. Without these strips, the middle of your cake will rise too high, and you’ll have to cut off the bubbled-up part.
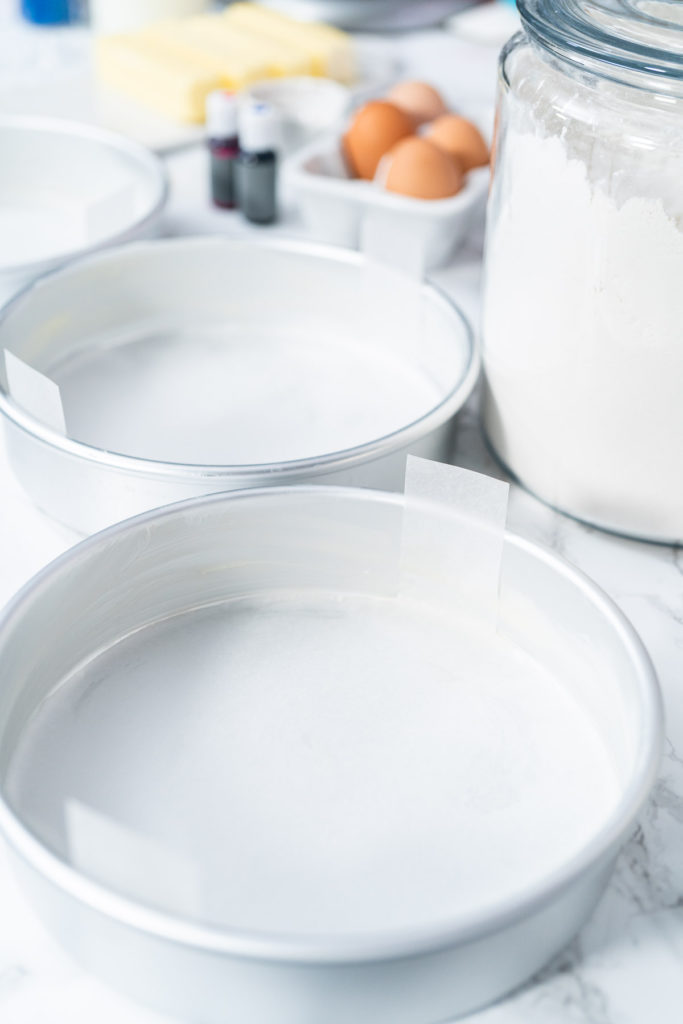
- Use Cake Liners with Tabs to easily pick up your cakes after baking. Just be sure to grease them so you can easily remove the cakes from the paper afterwards.
- After baking the cake layers, I like to freeze the individual layers before putting them together and decorating them.
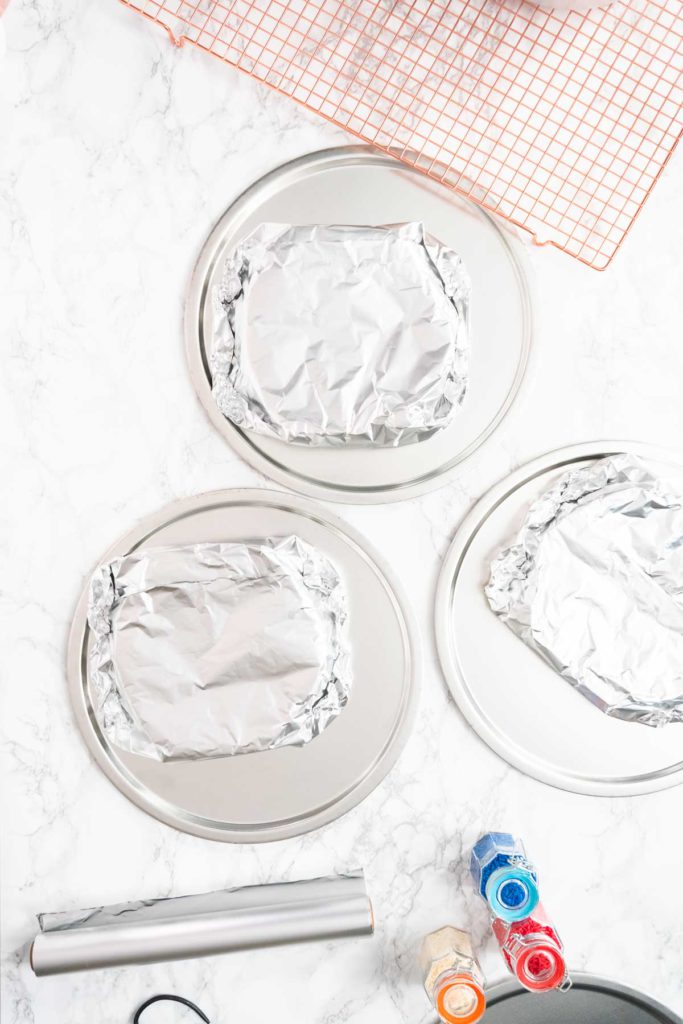
- To freeze a layer: first, let it cool enough to pull out of the pan. Then, wrap it in cellophane and then in foil, and set it on a baking sheet in the freezer.
- This allows the cake to hold in all of its moisture and keeps the cake stiff making the frosting and decorating process much easier.
- When decorating, seal all the edges of the cakes with buttercream frosting so none of the moisture escapes the cake. This will keep you from having to make and use a cake moistener.
- I recommend decorating a frozen cake the day before serving, so it has time to defreeze.
- Don’t use too much frosting for your cake, as it will quickly become too sweet and will become hard to manage or decorate.
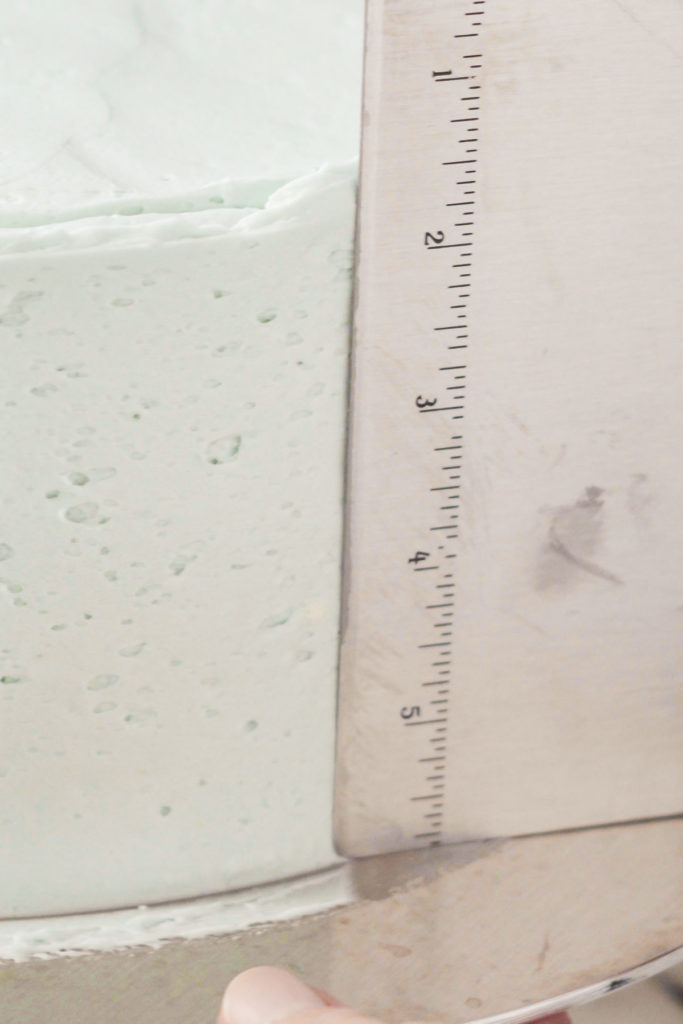
- When decorating a cake, I recommend a revolving cake stand to make the icing job much easier. I use a metal one, but any other revolving cake stand works just fine. When frosting the sides of the cake, I use a bash & chop cutter to evenly distribute the icing.
- Buttercream icing is butter-based (hence the name), so it must be made and kept in a warm room or else it will get stiff.
- You can save some prep time by purchasing pre-made frosting. Here are my favorite Store-Bought Buttercream Frosting Hacks.
- Additionally, if you don’t have the equipment or time to prepare the homemade cake batter, then you can purchase any kind of dry cake mix at the store.
- Doing this will allow you to make the entire cake in about two hours, as you get to skip the process of mixing all of the ingredients.
How to Make a 3 Layer Vanilla Cake in 3 Hours
Now let’s make some cake magic happen! While this is an overall easy process, there are a lot of steps involved and it is a time-consuming project. Again, I like to spread the process out over a couple of days so I don’t get rushed or frustrated at the process. Here’s how to make a 3 layer vanilla cake in 3 hours:
Making the Cake Layers:
- First, preheat the oven to 350°F.
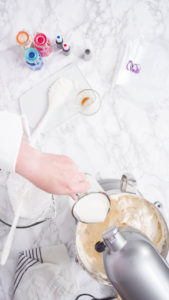
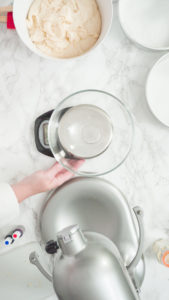
- Then, combine the butter and sugar in a mixing bowl of a stand mixer. Beat the ingredients together on high speed for about two minutes, occasionally scraping the sides of the bowl down into the mixture.
- Next, in a separate mixing bowl, beat the egg whites for about 1 minute or until fluffy.
- Add the vanilla, and beat the mixture on medium speed for one more minute.
- Then, combine the flour, baking soda, and baking powder in another medium-sized bowl.
- Add the egg mixture and about ⅓ of the dry ingredient mixture to the butter mixture, and beat on medium speed until everything is mixed.
- Next, add half of the milk and beat again on medium speed.
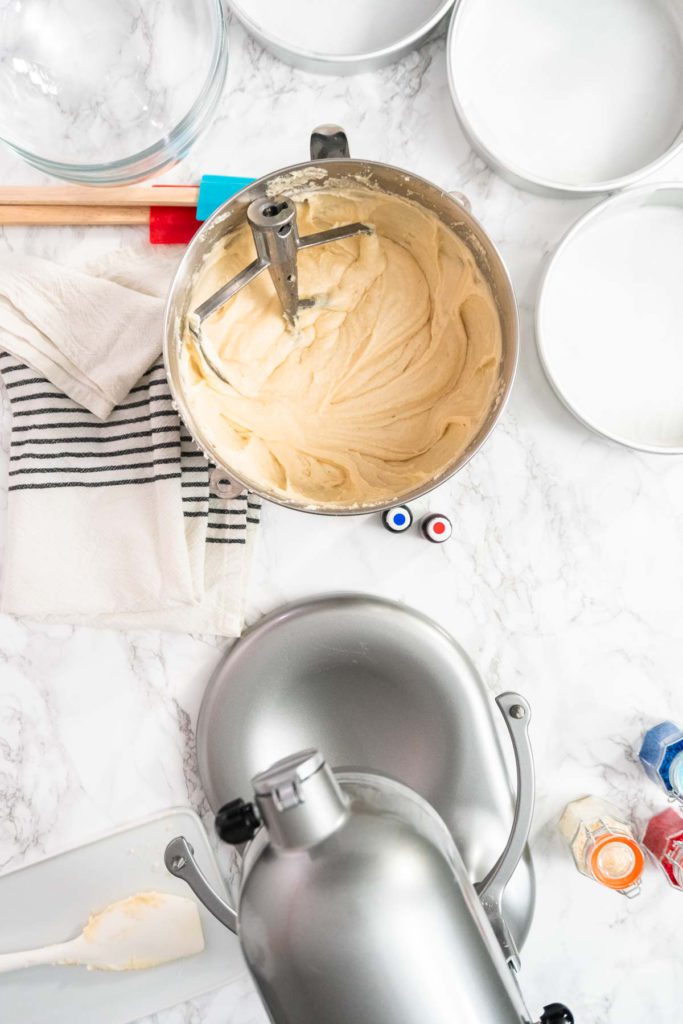
- Continue alternating between adding the milk and dry ingredients, ⅓ at a time, while beating until all the ingredients are completely mixed. Make sure to scrape down the sides of the bowl into the batter.
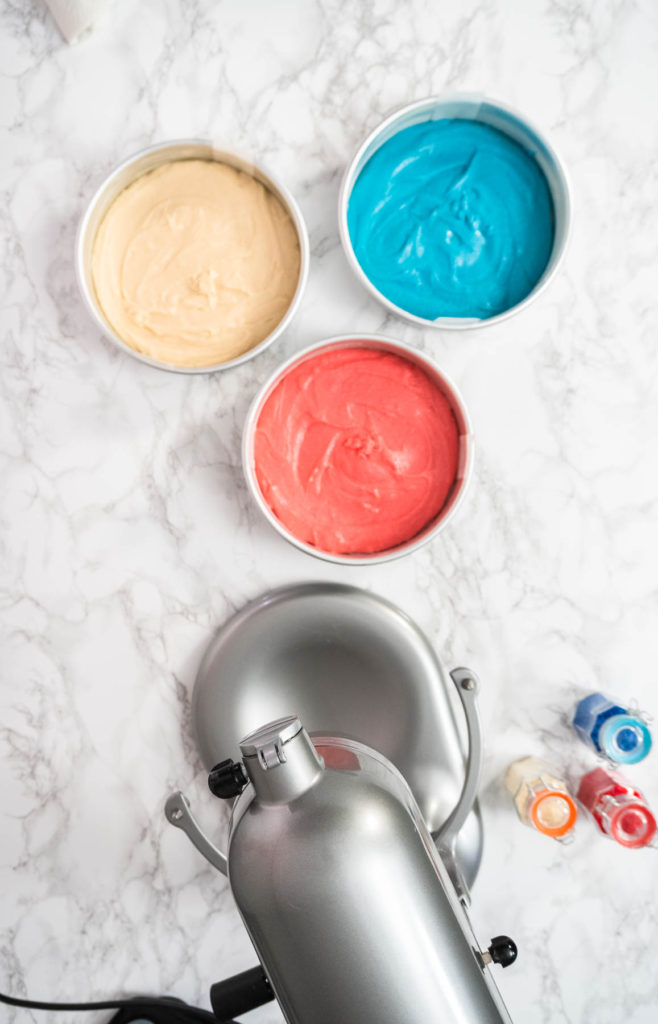
- Next, grease 3 cake pans with butter, or preferably vegetable shortening. Then, evenly divide and spread the batter between the greased cake pans.
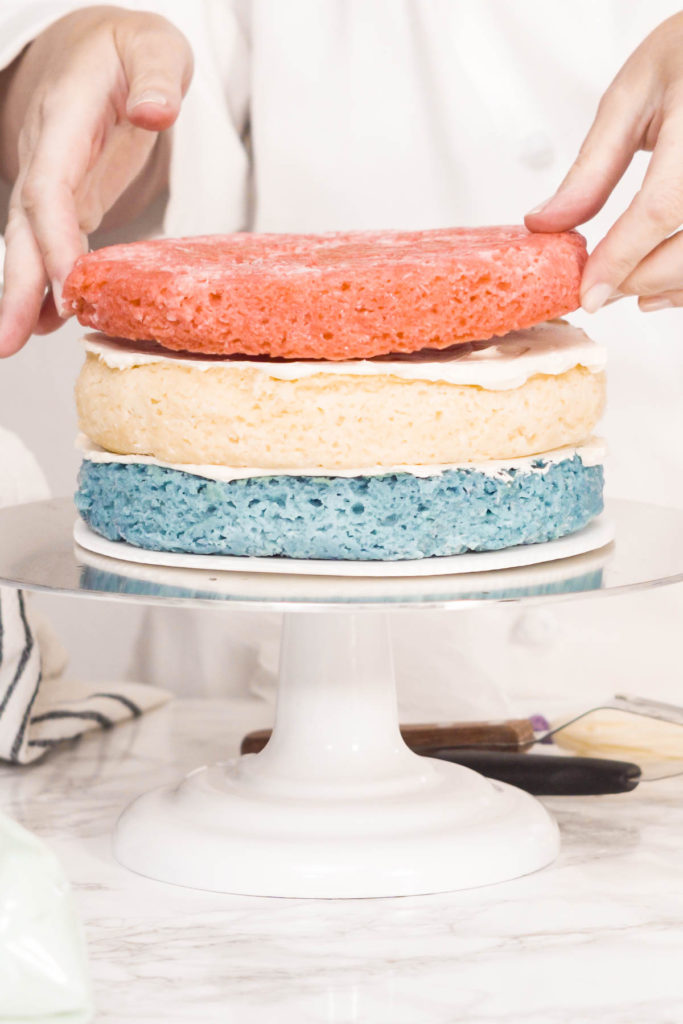
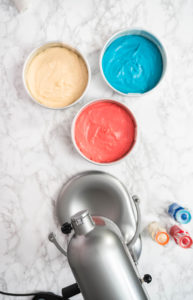
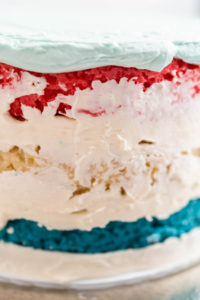
- If colored layers are desired, you can evenly divide the batter into 3 bowls and mix a small amount of red food coloring into one bowl, and blue food coloring into another. Don't add color to the 3rd, this way you end up with red, white, and blue layers.
- Use a digital scale to measure out exact and even batter portions.
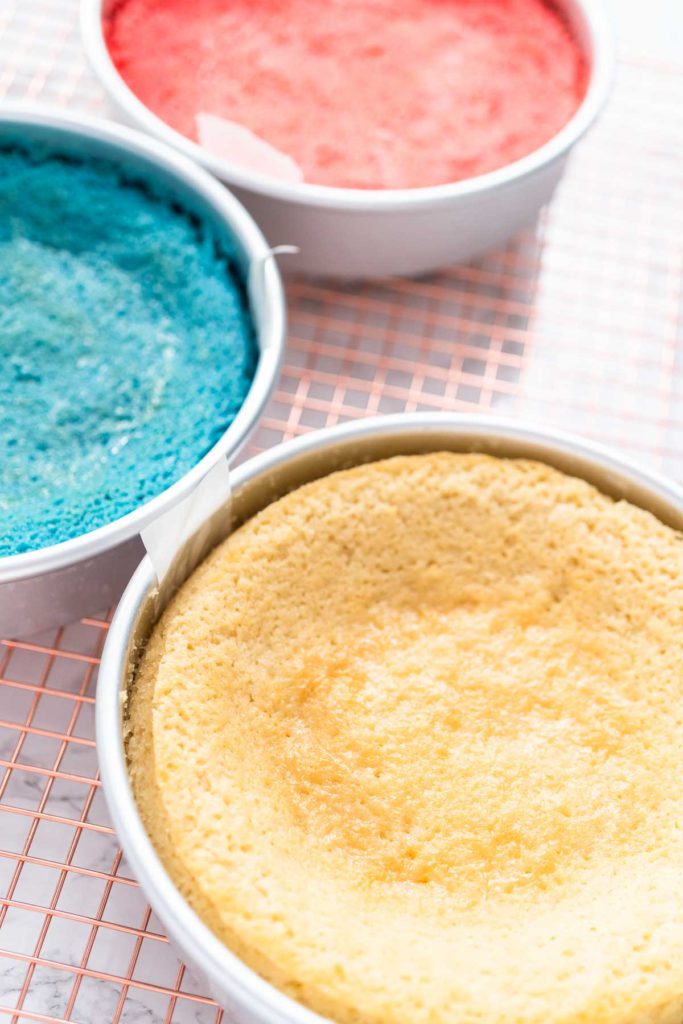
- Bake the cake layers for 30-33 minutes, or until a toothpick in the center of the cake comes out cleanly.
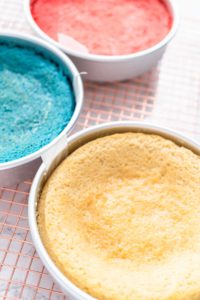
- After baking, let the cakes cool for 4 minutes. Then, transfer them to cooling racks and let each one cool completely, until cool to the touch.
- After cooling, if your cakes are dome-shaped, carefully cut off the excess, bubbled up part of the cake to make each cake layer totally flat.
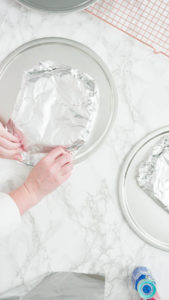
- Finally, wrap each layer in saran wrap, then again in foil, and freeze until solid.
Frosting:
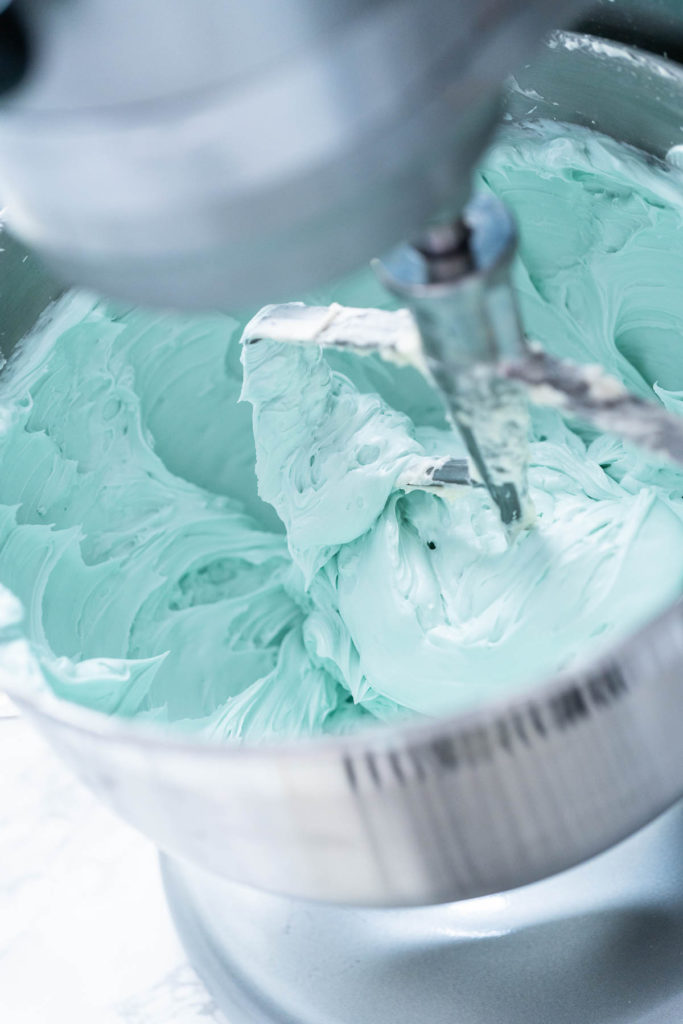
- To make the buttercream frosting, first beat the room temp butter by itself in the stand mixer at a high speed until creamy, around 5 minutes, occasionally scraping down the sides of the bowl.
- Then, gradually add the sugar and milk alternatively, while continuing to beat at a low speed.
- Add in the vanilla extract and beat for 8-10 minutes on high speed, scraping the sides of the bowl into the mixture.
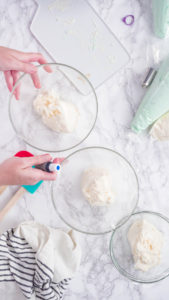
- Next, divide the frosting evenly into 4 bowls.
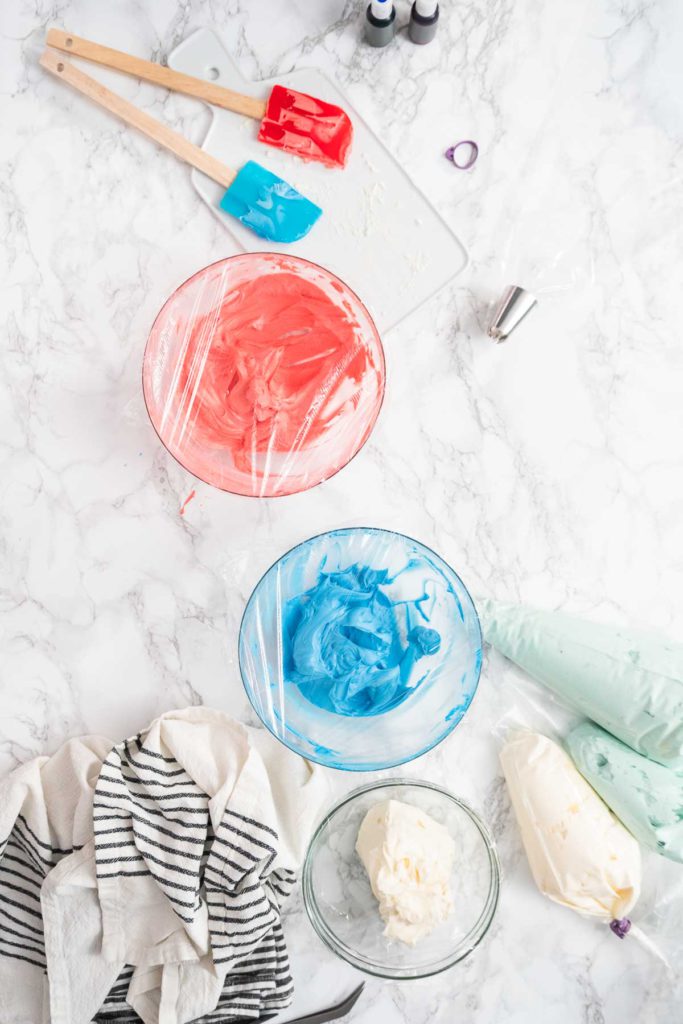
- Use a toothpick to add a tiny amount of blue food coloring to one of the bowls and mix until you have a pale blue color, almost like a baby blue. In another frosting bowl, add a few drops of the blue coloring and mix until you have a deeper, more vibrant blue.
- Then, add a couple of drops of the red coloring into the 3rd bowl of frosting and mix until you have a vibrant red color. Leave the 4th bowl of frosting plain white.
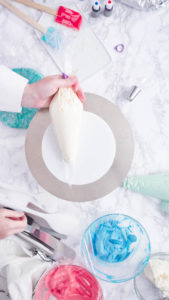
- Next, prepare 3 or 4 piping bags. Scoop the pale blue frosting into one of the piping bags by itself and tie it off.
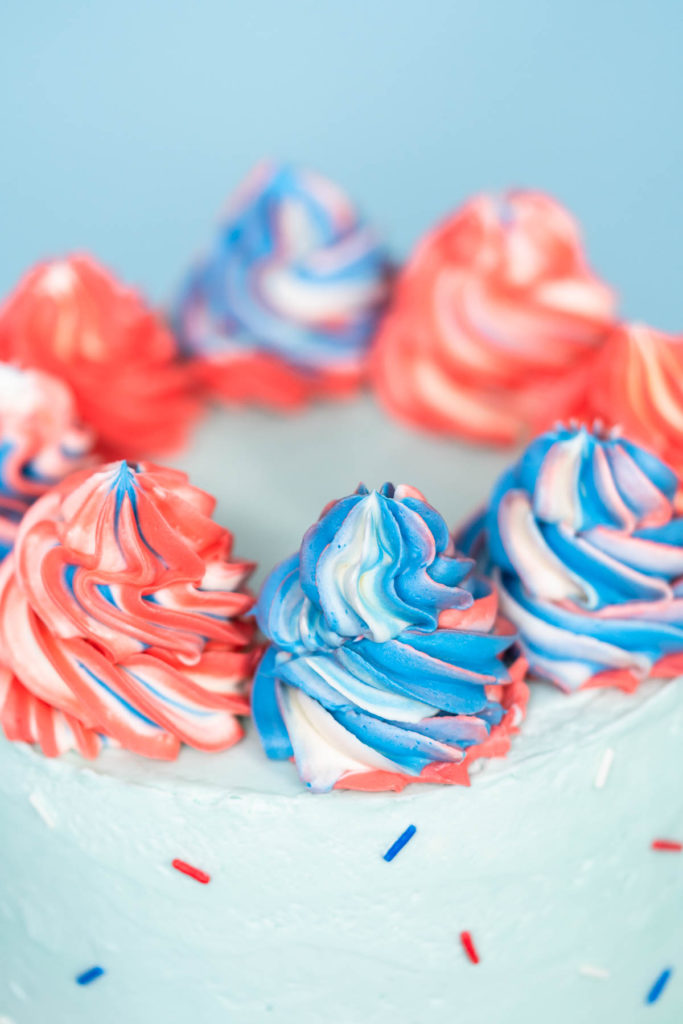
- Then, alternate between scooping the vibrant blue and ¼ of the white frosting into another piping bag prepared with a piping tip for creating swirls. Tie off the bag.
- In another piping bag prepared with a tip, alternate between adding the red frosting and ¼ of the white frosting. Tie off the bag.
- The remaining white frosting can be transferred to a piping bag for easy distribution, or left in the bowl to scoop out as needed.
Assembling a 3 Layer Cake:
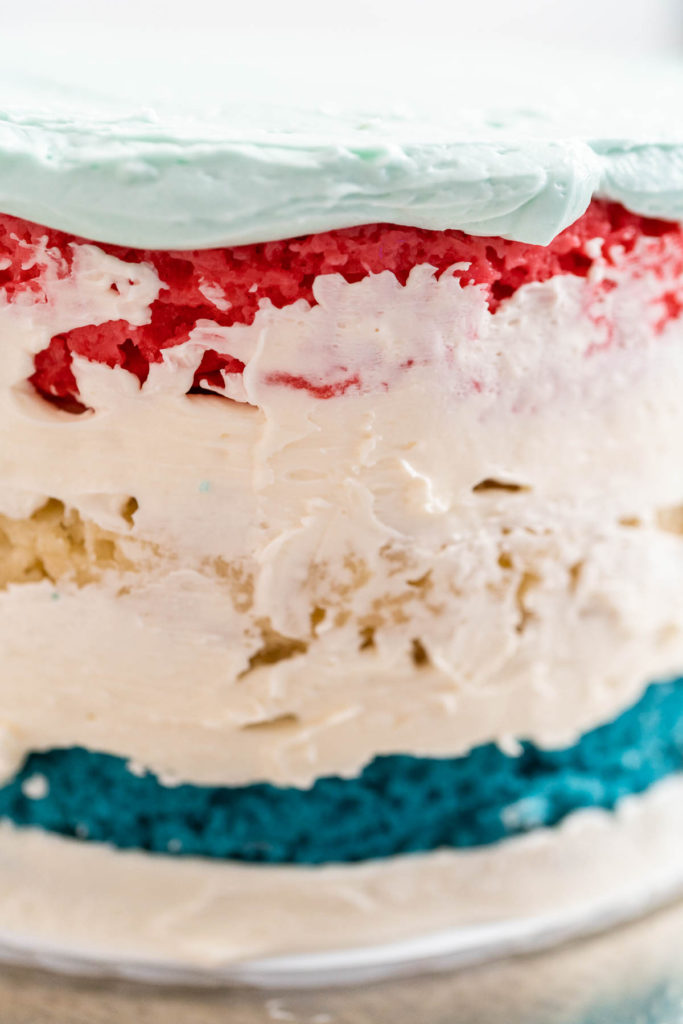
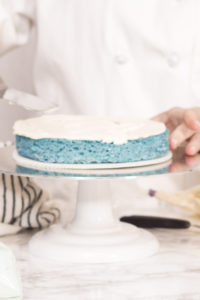
- First, place a dollop of white buttercream on the center of a revolving cake stand to help keep the cake from sliding. Set a frozen cake layer onto the cake stand, and spread about 1 ½ cups of white icing evenly on top of the cake layer.
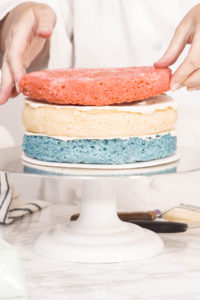
- Then, add another frozen cake layer and spread another 1 ½ cups of white icing on top.
- Top off the cake with the final frozen cake layer and top with white frosting.
- After the layers are assembled, move the cake to the refrigerator to chill for 30 minutes.
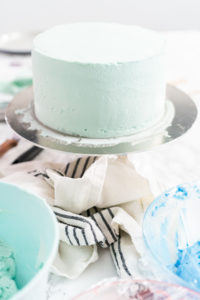
- Next, coat the sides of the assembled cake with a thin layer of white buttercream frosting and spread evenly. This will create a cake coat for the final frosting on the cake.
- Place the cake back into the fridge for another 30 minutes.
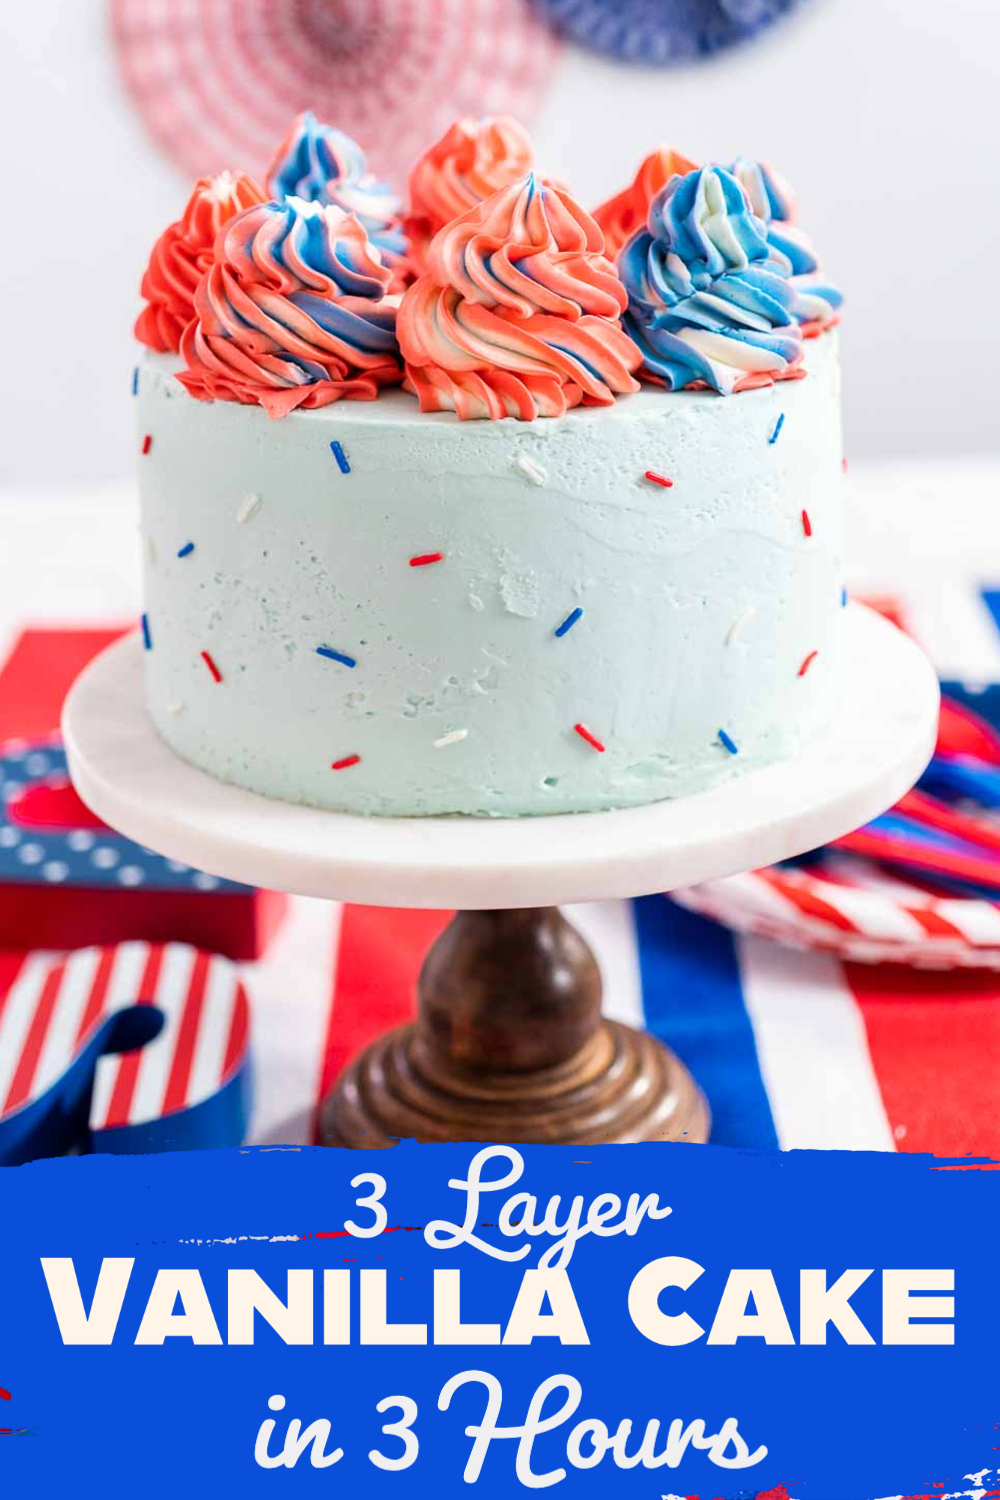
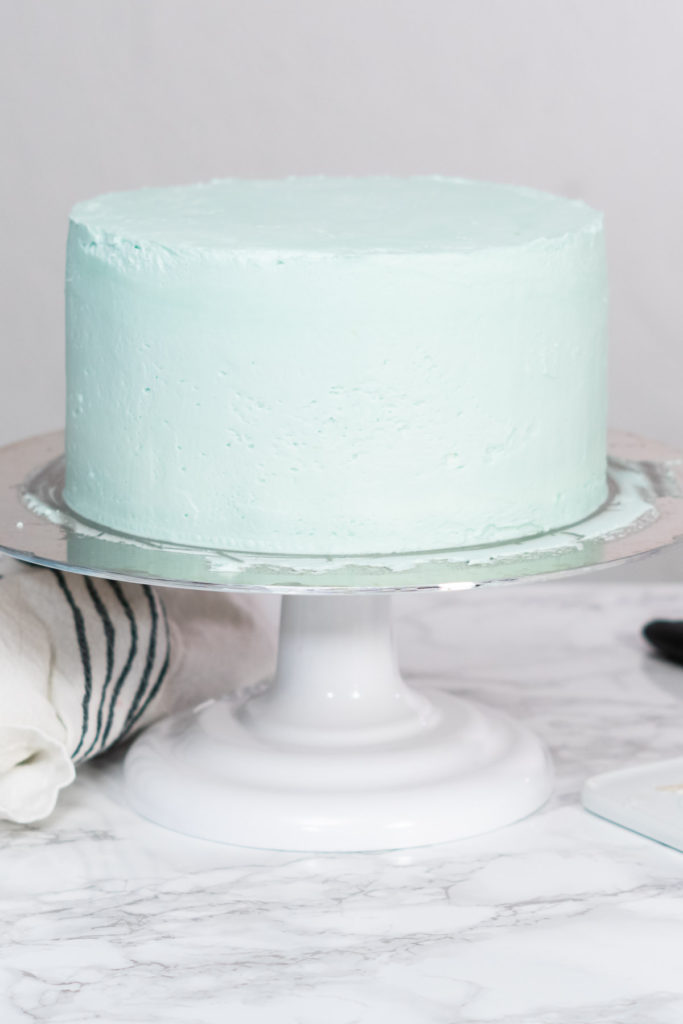
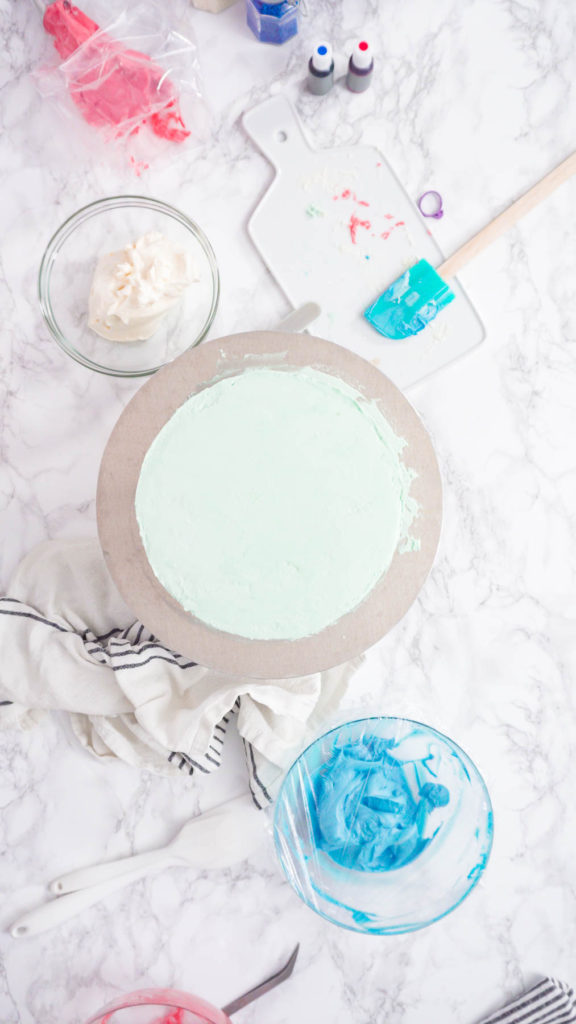
- Then, pipe the pale blue frosting on the prepared cake and spread a thick, even layer over the entire cake. Use a cake scraper to make sure the frosting is evenly spread and smooth.
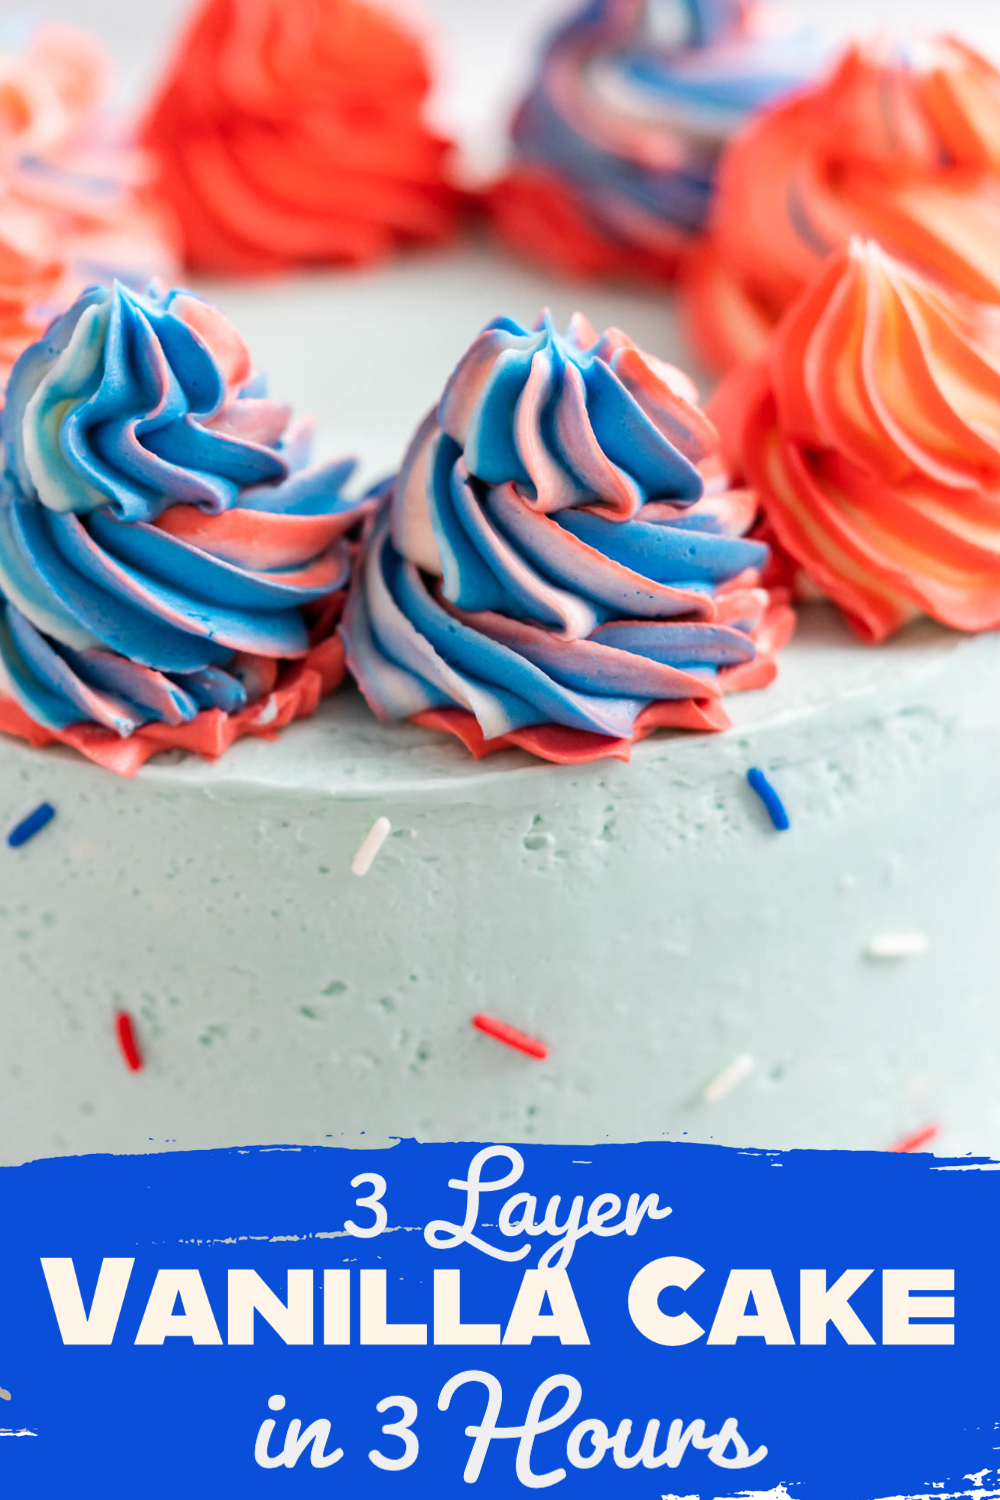
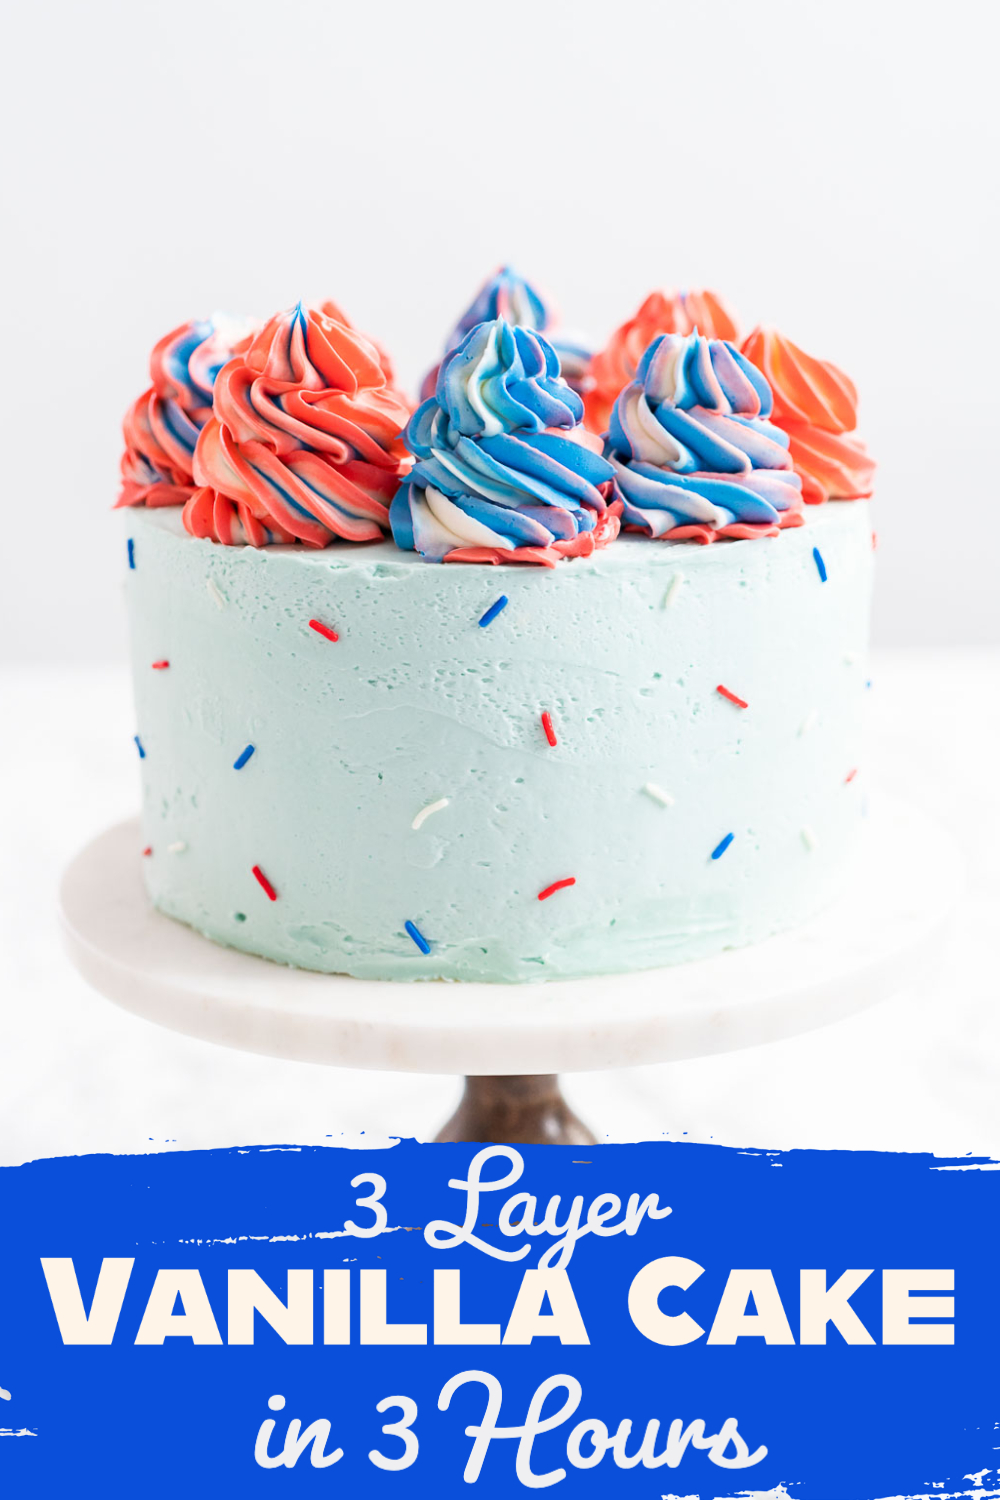
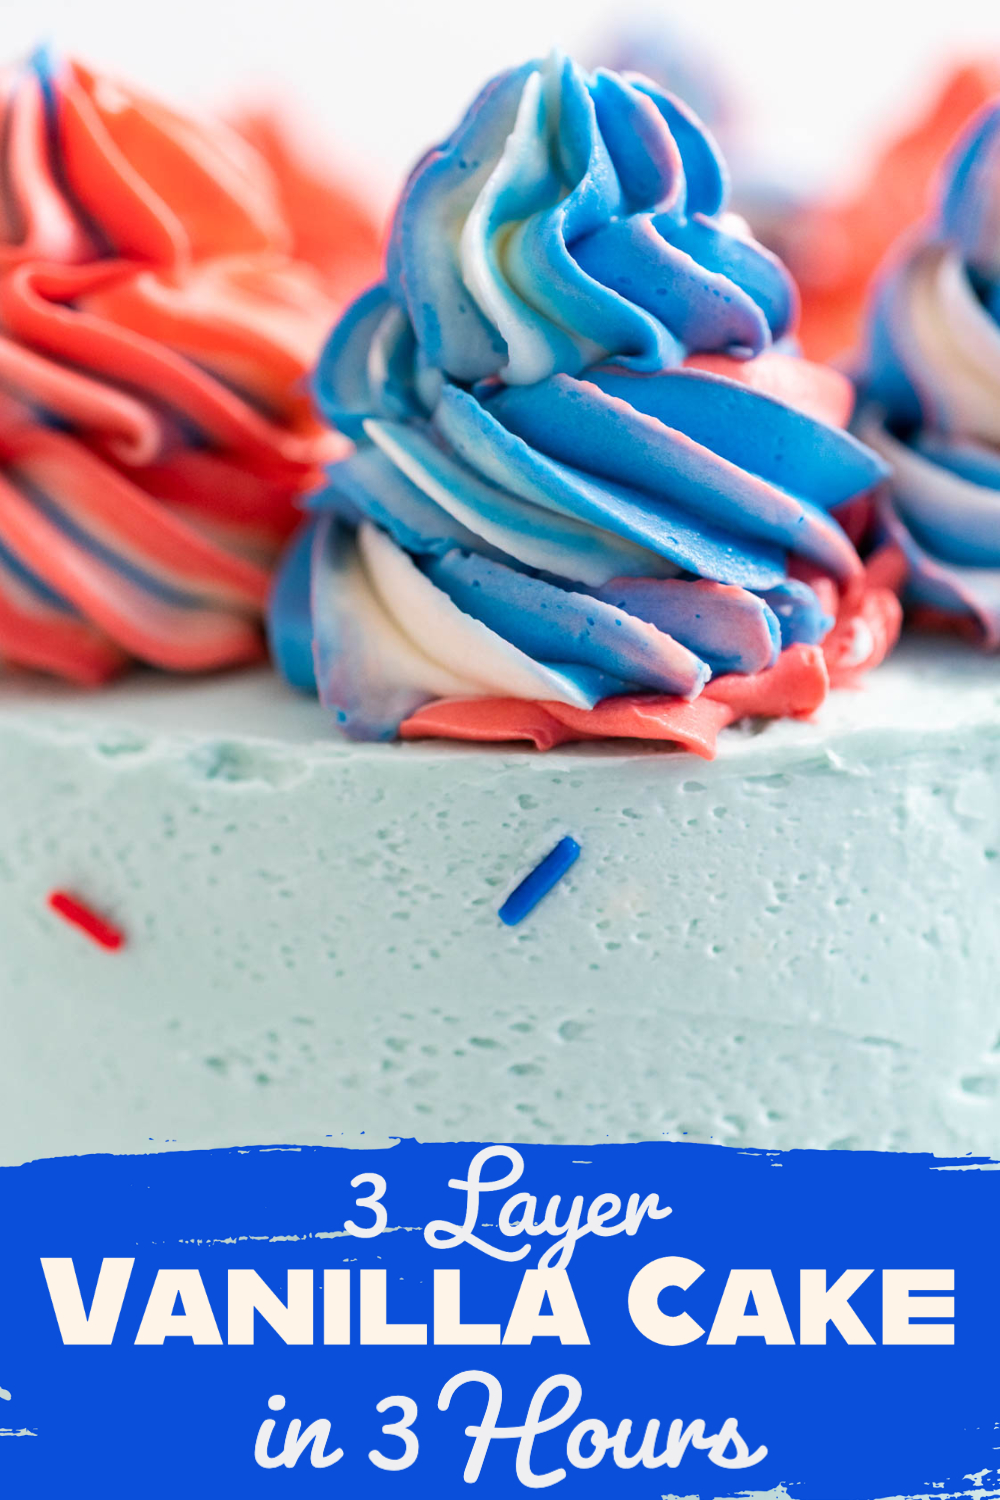
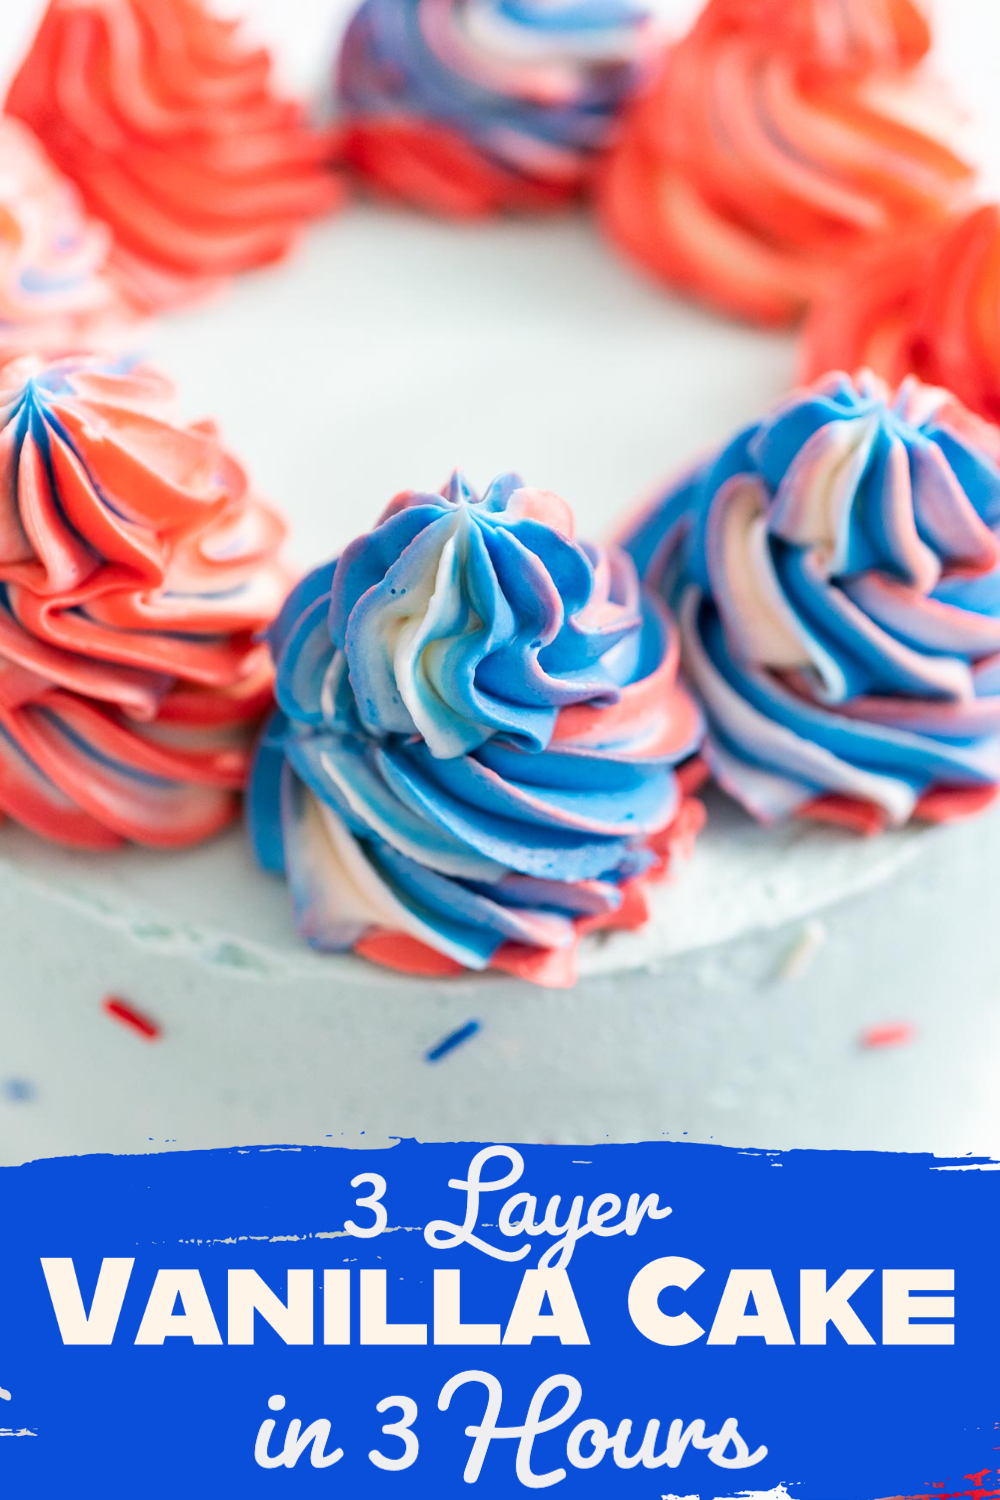
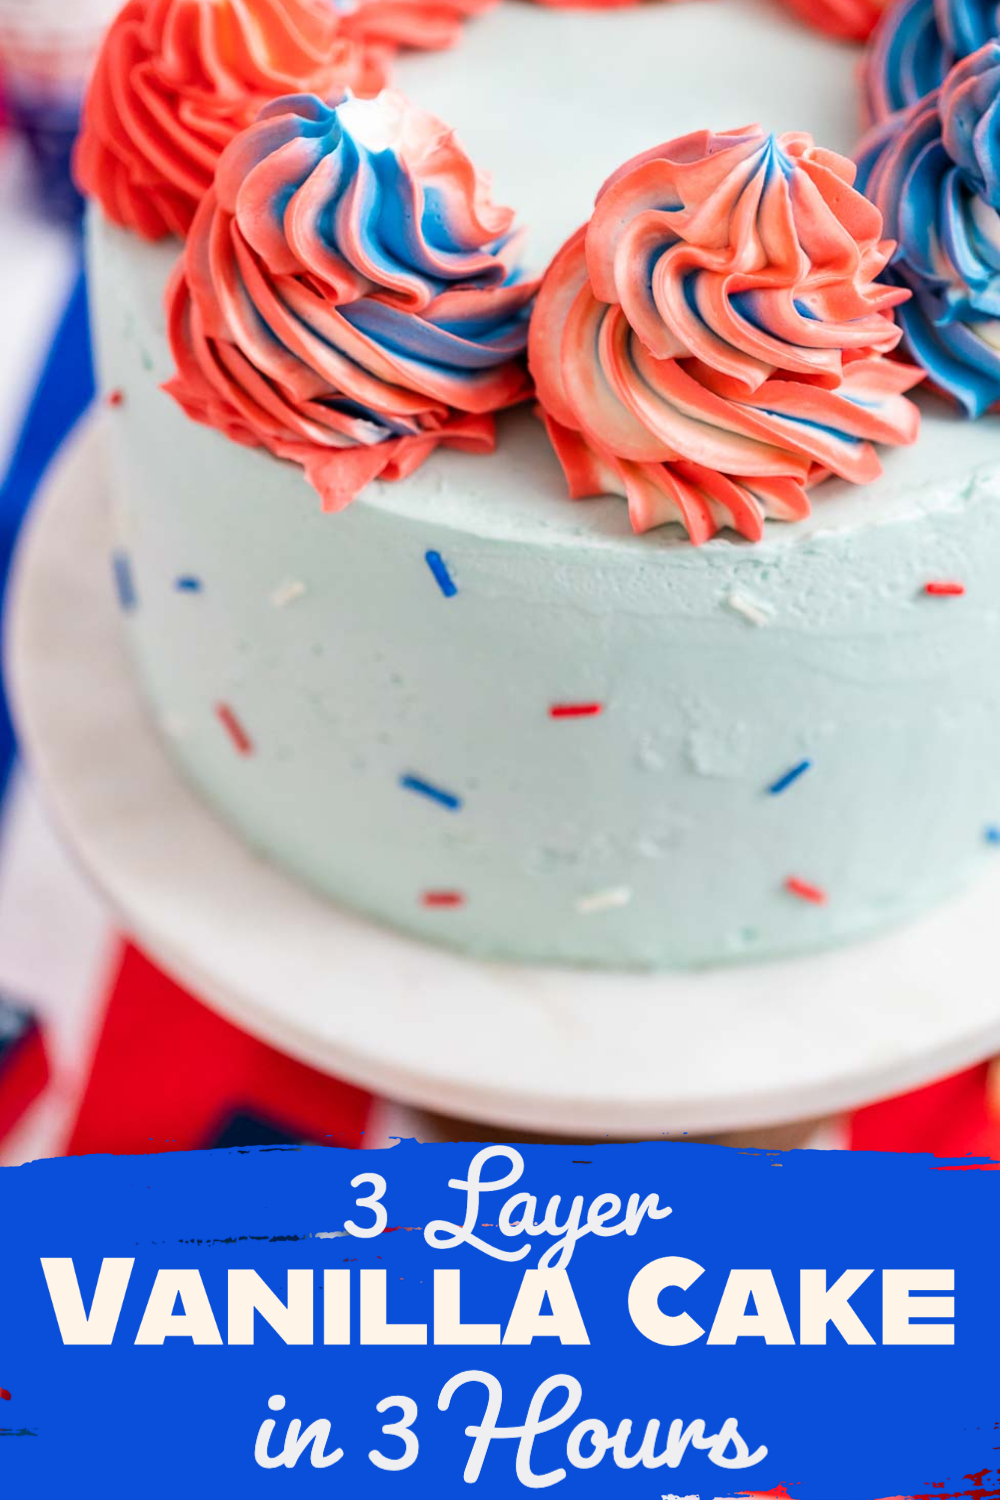
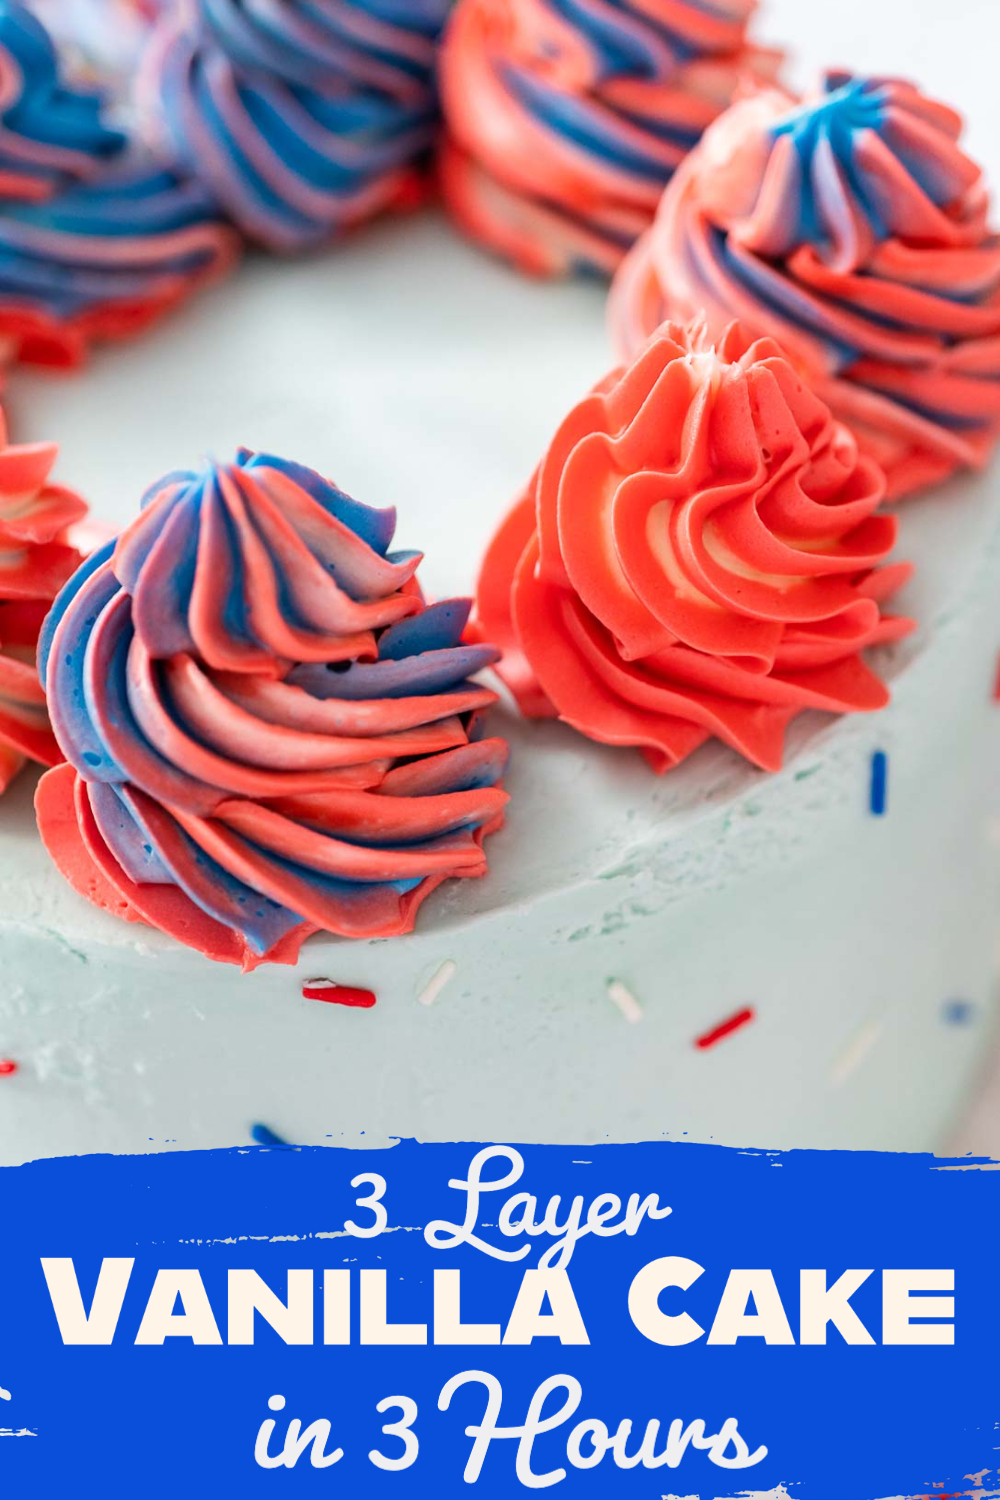
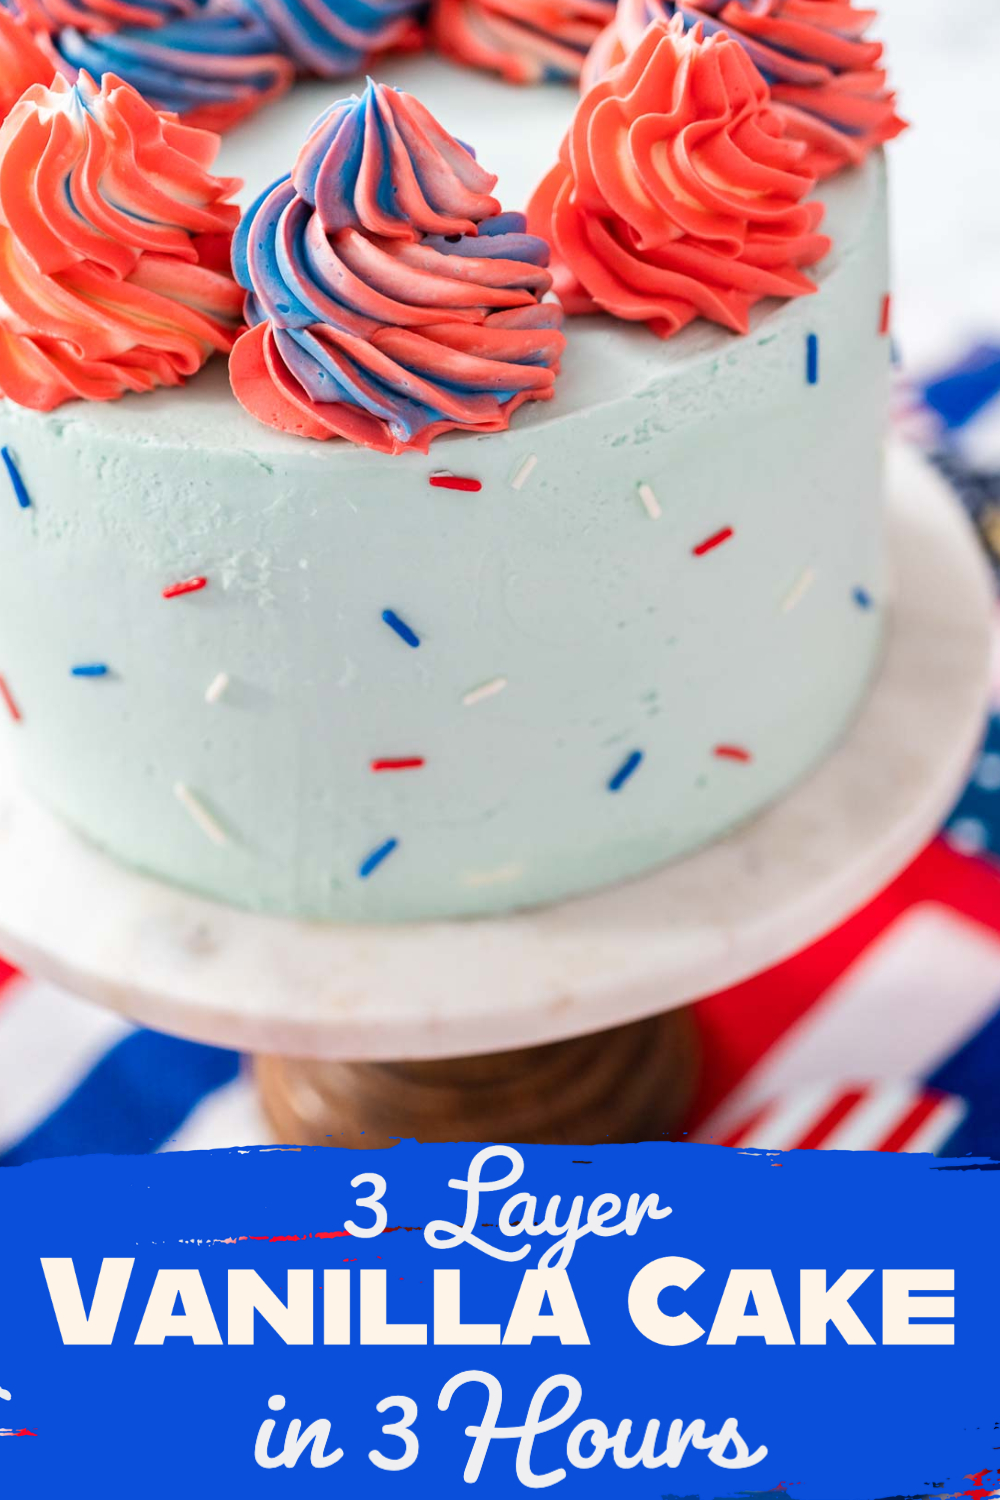
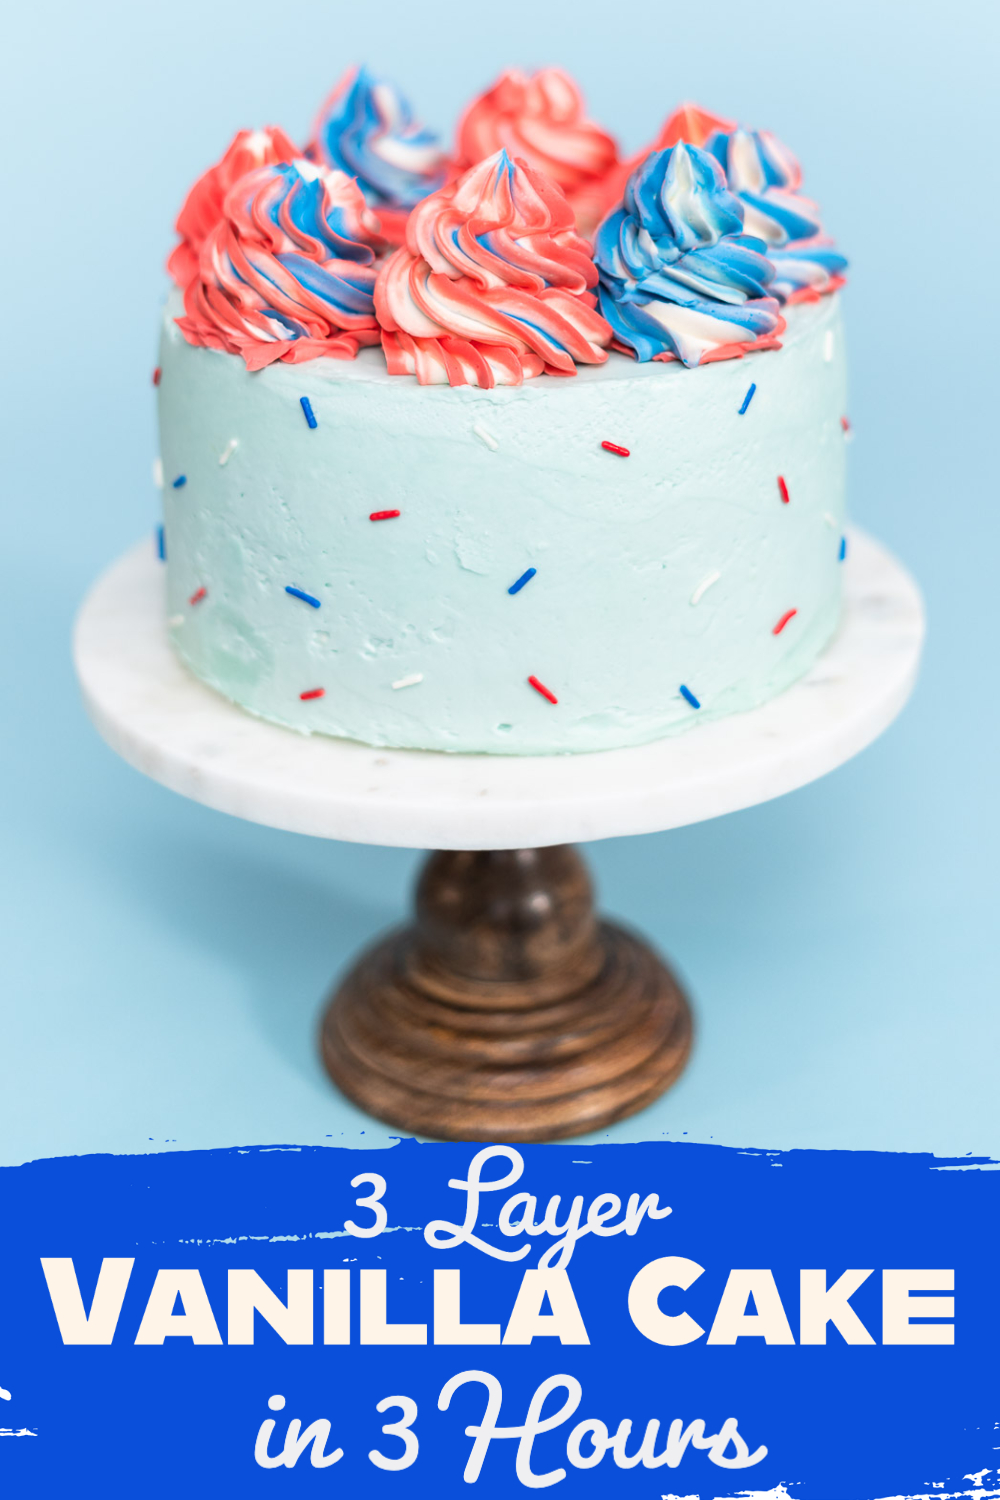
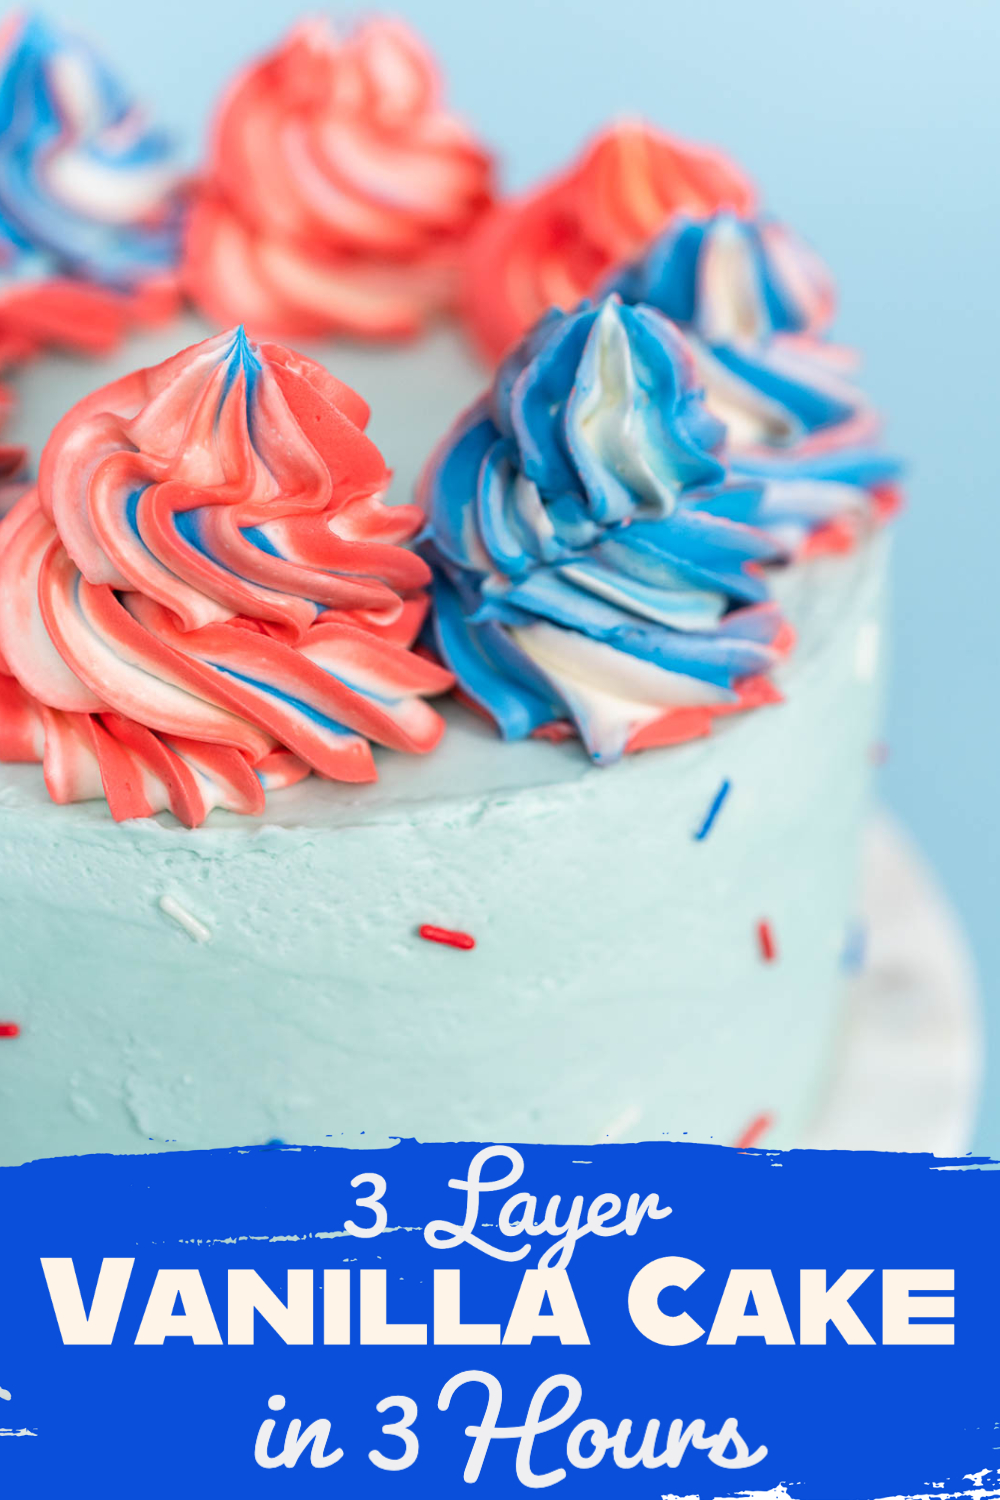
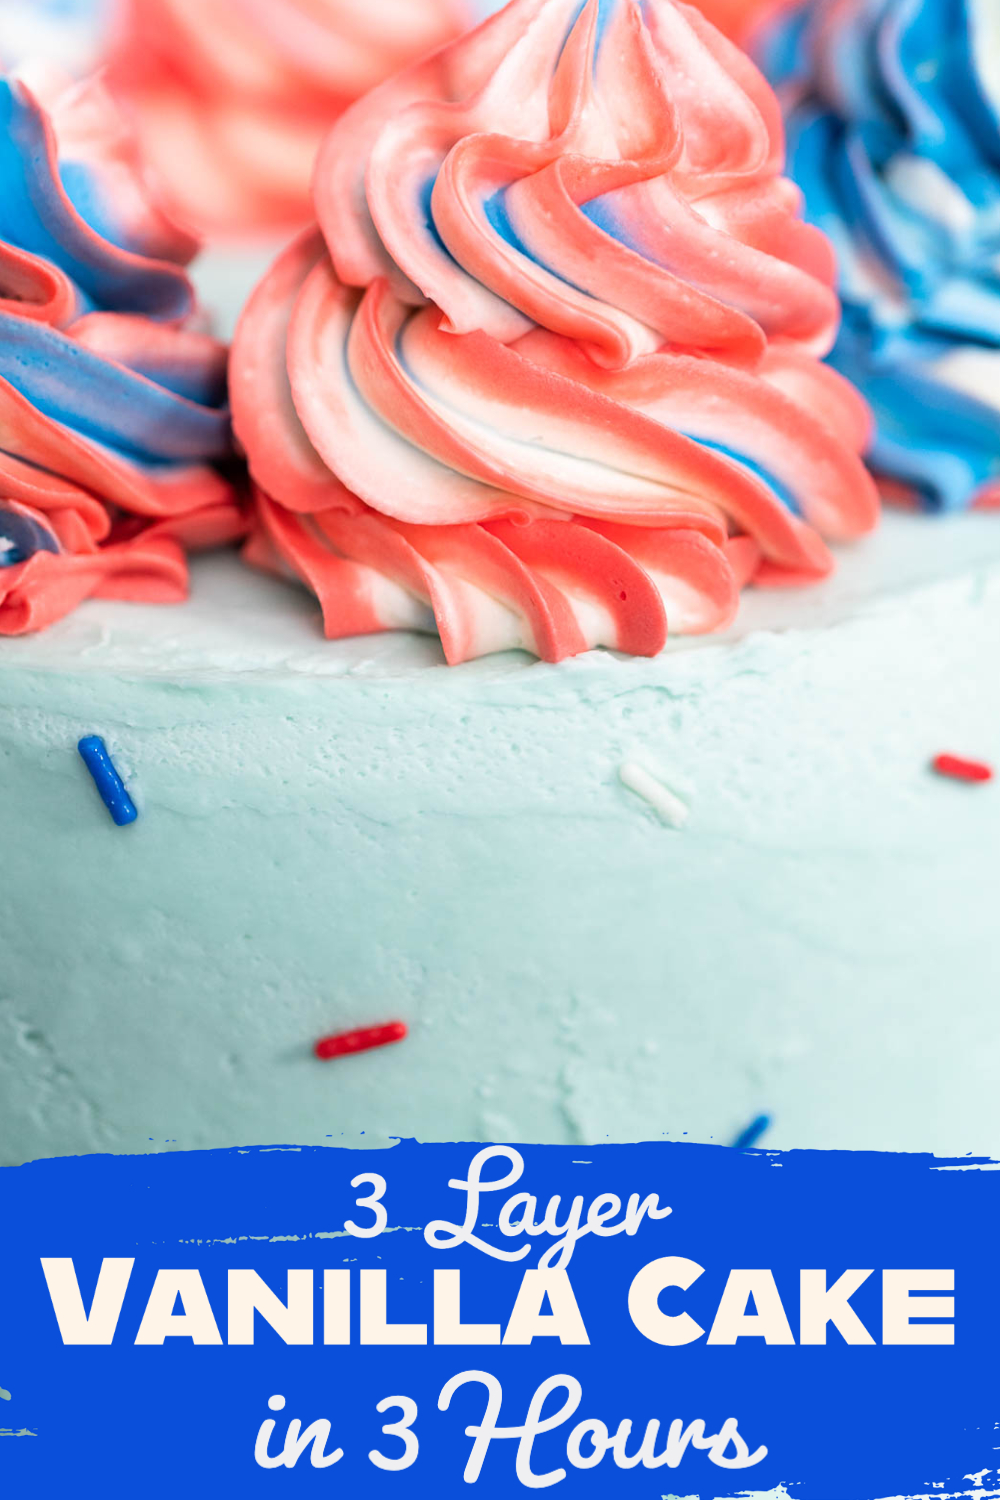
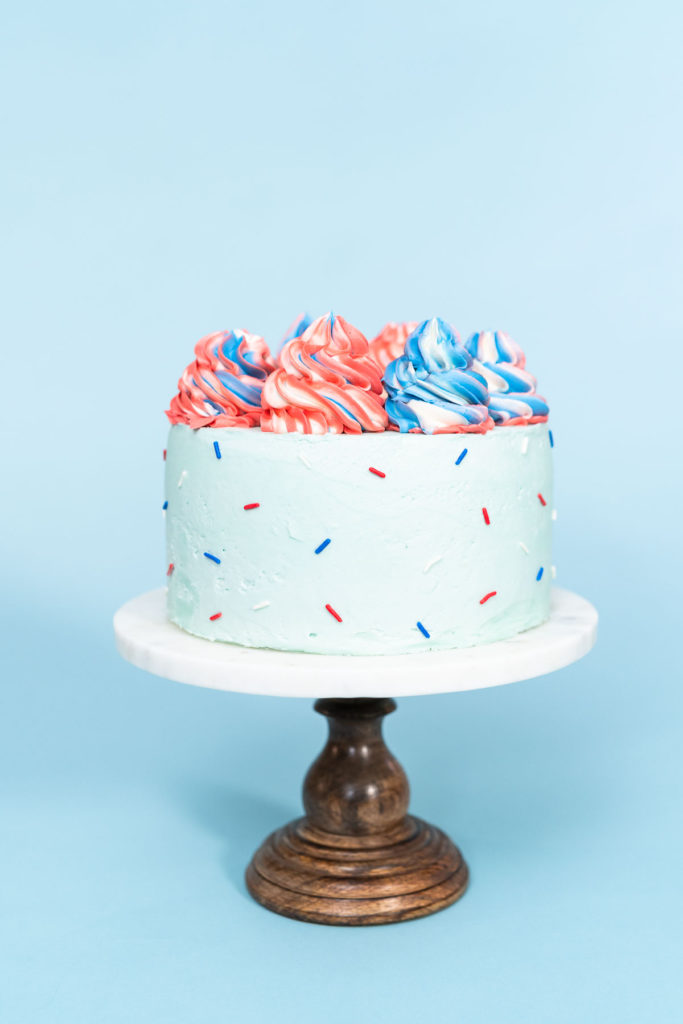
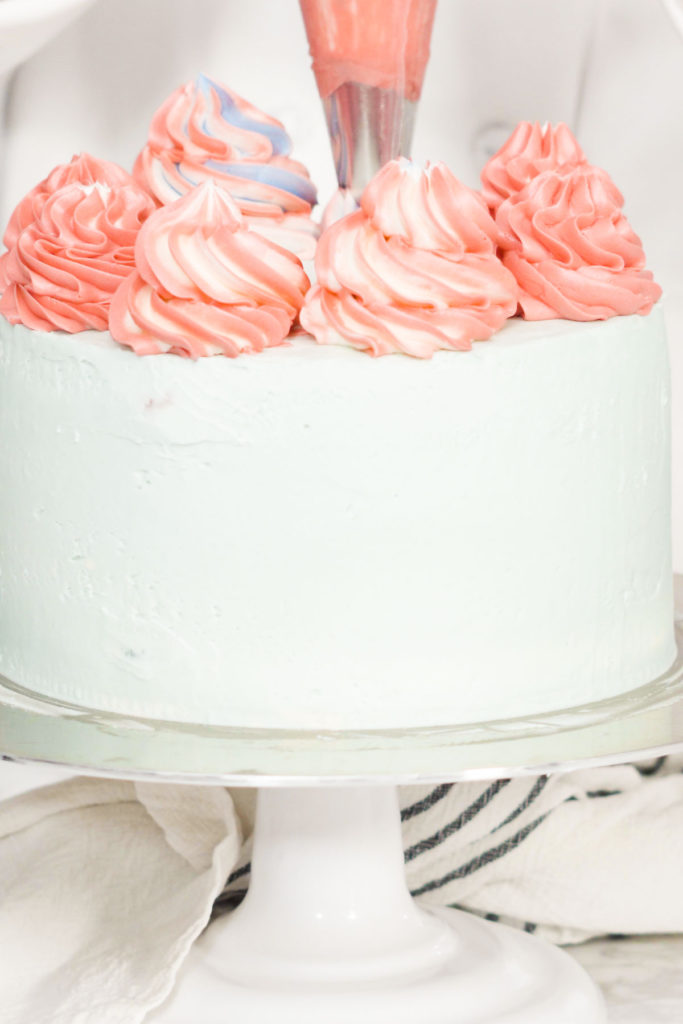
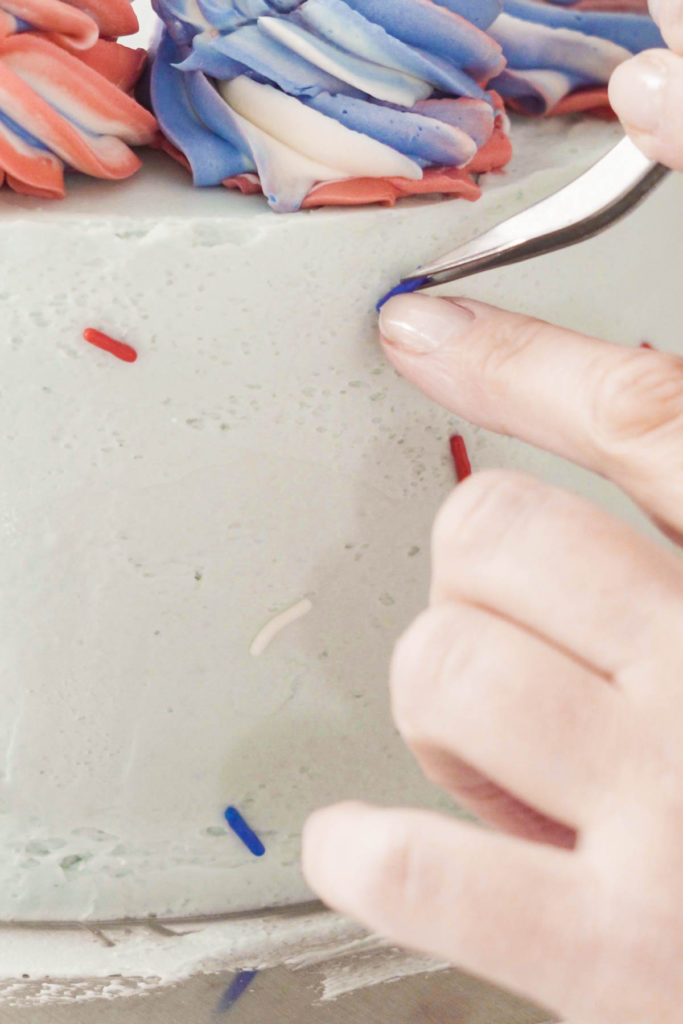
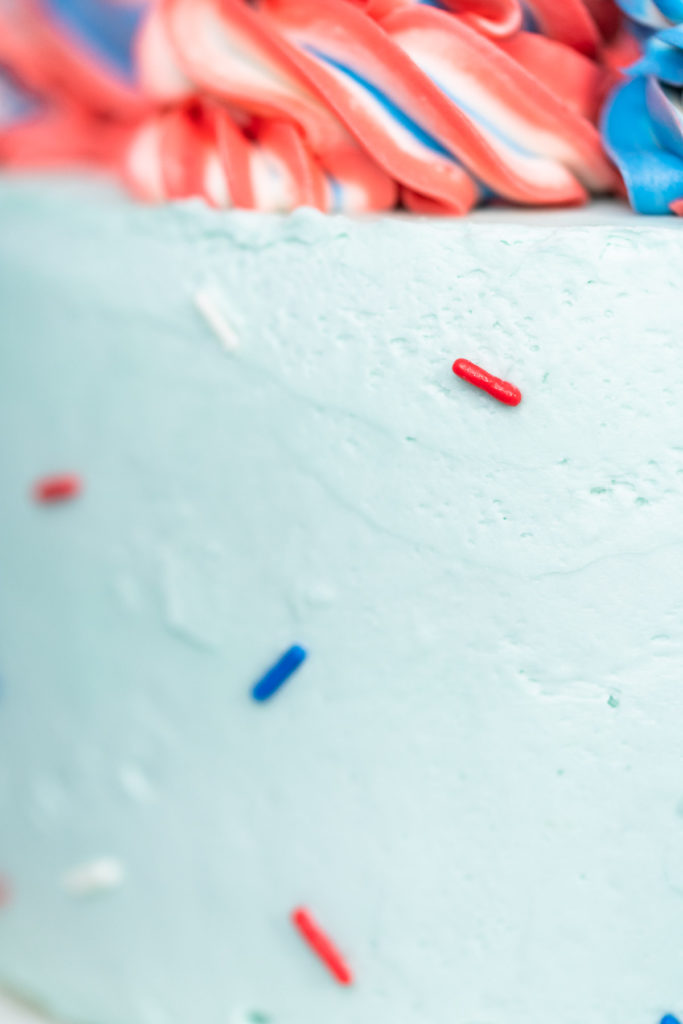
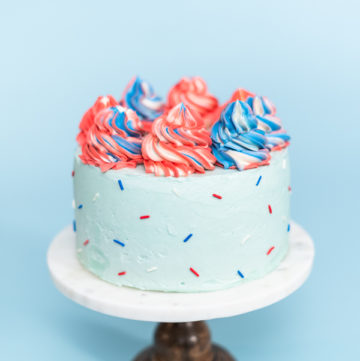
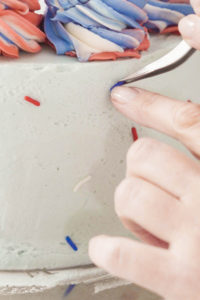
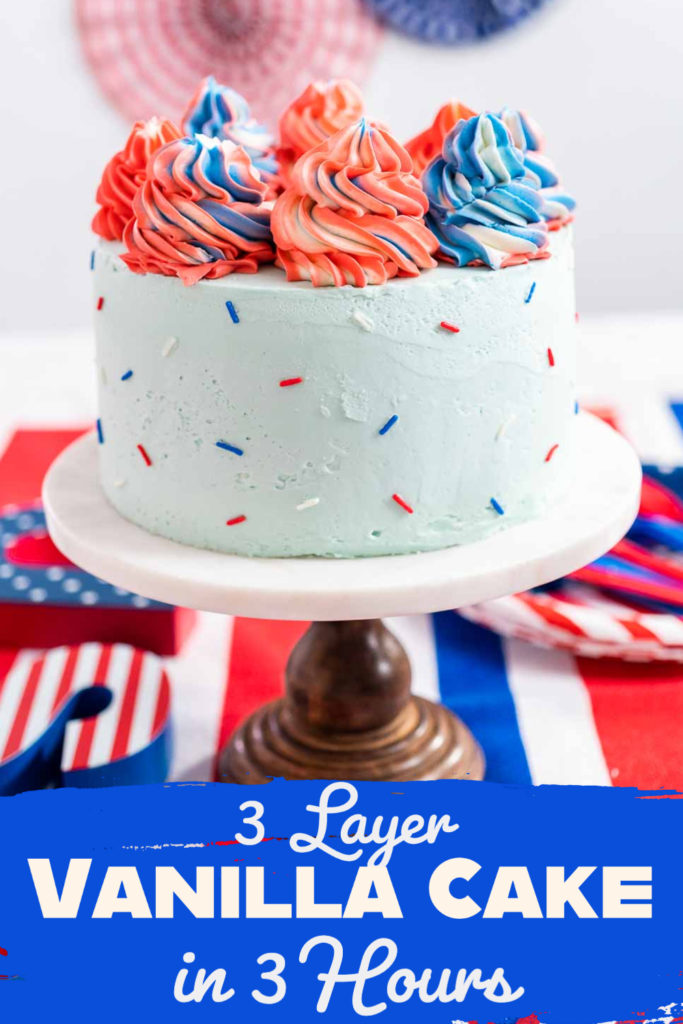
- Finally, using the piping bags of colored buttercream frosting, pipe red, white, and blue rosettes on top of the cake and, if desired, stick patriotic sprinkles into the sides of the cake.
How to Store a Layered Cake
To store layered cake: cover tightly with plastic wrap, or transfer to an airtight cake container. Keep on the counter at room temperature for up to 3 days, or in the fridge for up to 1 week. Always label the date on the outside of the container to keep up with freshness.
To freeze individual cake slices: wrap each slice in plastic food wrap, then wrap again in kitchen foil before sealing in an airtight container to avoid freezer burn. These wrapped cake slices can be stored in the freezer for up to 3 months. Don’t forget to label the date on the wrapping of the cake to keep up with freshness.
Cakes
Scrumptious Sweets
Want even more spectacular treats to celebrate the 4th with? Then you’ll love checking out some of my other patriotic sweets and summer treats!
- 4th of July 3 Layer Cake
- July 4th Vertical Charcuterie Board
- 4th of July Bundt Cake
- Chocolate- Covered Pretzels for the 4th of July
- Patriotic Cinnamon Twists
- Pinwheel Cookies for the 4th of July
- 4th of July Charcuterie Board
- Summer Cucumber Salad
- Fruit- Infused Water
- Watermelon Bites Dipped in Chocolate
- Watermelon Popsicles with Chocolate Drizzle
- Grilled S’mores
- Fruit S’mores
- S’mores Charcuterie Board
Other Layered Cakes:
3 Layer Vanilla Cake in 3 Hours
Equipment
Ingredients
- 1 ½ Cups Unsalted Butter
- 2 ¼ Cups Sugar
- 4 Egg Whites
- 3 teaspoon Vanilla Extract
- 3 Cups All-Purpose Flour
- ¼ teaspoon Baking Soda
- 2 ¾ teaspoon Baking Powder
- 1 ½ Cups Milk
Buttercream Icing
- 2 Cups Unsalted Butter
- 4 Cups Confectioners Sugar
- ½ Cup Whole Milk
- 2 tablespoon Vanilla Extract
- Food Coloring
Decoration
Instructions
Making the Cake Layers
- First, preheat the oven to 350°F
- Then, combine the butter and sugar in a mixing bowl of a stand mixer. Beat the ingredients together on high speed for about two minutes, occasionally scraping the sides of the bowl down into the mixture.
- Next, in a separate mixing bowl, beat the egg whites for about 1 minute or until fluffy.
- Add the vanilla, and beat the mixture on medium speed for one more minute.
- Then, combine the flour, baking soda, and baking powder in another medium-sized bowl.
- Add the egg mixture and about ⅓ of the dry ingredient mixture to the butter mixture, and beat on medium speed until everything is mixed.
- Next, add half of the milk and beat again on medium speed.
- Continue alternating between adding the milk and dry ingredients, ⅓ at a time, while beating until all the ingredients are completely mixed. Make sure to scrape down the sides of the bowl into the batter.
- Next, grease 3 cake pans with butter, or preferably vegetable shortening. Then, evenly divide and spread the batter between the greased cake pans.If colored layers are desired, you can evenly divide the batter into 3 bowls and mix a small amount of red food coloring into one bowl, and blue food coloring into another. Don't add color to the 3rd, this way you end up with red, white, and blue layers.Use a digital scale to measure out exact and even batter portions.
- Bake the cake layers for 30-33 minutes, or until a toothpick in the center of the cake comes out cleanly.
- After baking, let the cakes cool for 4 minutes. Then, transfer them to cooling racks and let each one cool completely, until cool to the touch.
- After cooling, if your cakes are dome-shaped, carefully cut off the excess, bubbled up part of the cake to make each cake layer totally flat.
- Finally, wrap each layer in saran wrap, then again in foil, and freeze until solid.
Frosting
- To make the buttercream frosting, first beat the room temp butter by itself in the stand mixer at a high speed until creamy, around 5 minutes, occasionally scraping down the sides of the bowl.
- Then, gradually add the sugar and milk alternatively, while continuing to beat at a low speed.
- Add in the vanilla extract and beat for 8-10 minutes on high speed, scraping the sides of the bowl into the mixture.
- Next, divide the frosting evenly into 4 bowls.
- Use a toothpick to add a tiny amount of blue food coloring to one of the bowls and mix until you have a pale blue color, almost like a baby blue. In another frosting bowl, add a few drops of the blue coloring and mix until you have a deeper, more vibrant blue.
- Then, add a couple of drops of the red coloring into the 3rd bowl of frosting and mix until you have a vibrant red color. Leave the 4th bowl of frosting plain white.
- Next, prepare 3 or 4 piping bags. Scoop the pale blue frosting into one of the piping bags by itself and tie it off.
- Then, alternate between scooping the vibrant blue and ¼ of the white frosting into another piping bag prepared with a piping tip for creating swirls. Tie off the bag.
- In another piping bag prepared with a tip, alternate between adding the red frosting and ¼ of the white frosting. Tie off the bag.
- The remaining white frosting can be transferred to a piping bag for easy distribution, or left in the bowl to scoop out as needed.
Assembling a 3 Layer Cake
- First, place a dollop of white buttercream on the center of a revolving cake stand to help keep the cake from sliding. Set a frozen cake layer onto the cake stand, and spread about 1 ½ cups of white icing evenly on top of the cake layer.
- Then, add another frozen cake layer and spread another 1 ½ cups of white icing on top.
- Top off the cake with the final frozen cake layer and top with white frosting.
- After the layers are assembled, move the cake to the refrigerator to chill for 30 minutes.
- Next, coat the sides of the assembled cake with a thin layer of white buttercream frosting and spread evenly. This will create a cake coat for the final frosting on the cake.
- Place the cake back into the fridge for another 30 minutes.
- Then, pipe the pale blue frosting on the prepared cake and spread a thick, even layer over the entire cake. Use a cake scraper to make sure the frosting is evenly spread and smooth.
- Finally, using the piping bags of colored buttercream frosting, pipe red, white, and blue rosettes on top of the cake and, if desired, stick patriotic sprinkles into the sides of the cake.
Notes
- When baking the cake layers, I like to use Wilton Bake-Easy Strips, so that all my layers come out evenly and to prevent the edges from becoming too crisp. To do this, just soak the bands in water and squeeze out as much as possible before baking. The edges will rise a little bit more when using these bands, so be careful to not let your cake become too thin in the center. Without these strips, the middle of your cake will rise too high, and you’ll have to cut the higher part.
- Use Cake Liners with Tabs to easily pick up your cakes after baking, but be sure to grease them so you can easily remove the cakes from the paper.
- After baking the layers, I like to freeze the individual layers before putting them together and decorating them. To freeze a layer, take a freshly baked layer out of the oven and let it cool enough to pull out the pan, then wrap it in cellophane and foil and place it onto a baking sheet in the freezer. This allows the cake to hold in all of its moisture and makes stacking and frosting the layers much easier. When decorating, seal all the edges of the cakes with buttercream frosting so none of the moisture escapes the cake, so you don't have to make and use cake moistener. I recommend decorating a frozen cake the day before serving, so it has time to defreeze.
- Don’t use too much frosting for your cake, as it will quickly become too sweet and will become hard to manage. When decorating a cake, I recommend a revolving cake stand to make the icing job easier. I use a metal one, but any other revolving cake stand works just fine. When frosting the sides of the cake, I use a bash & chop cutter to evenly distribute the icing.
- Icing is butter-based- must be a warm room or will get stiff.
- You could also save time by purchasing pre-made frosting if you need to shave off a couple of minutes of the prep time. Additionally, if you don’t have the equipment or time to prepare the batter for a cake, you can purchase any kind of dry cake batter at the store. Doing this will allow you to fully make the cake in about two hours, as you don’t need to go through the process of mixing all of the ingredients.
Nutrition
Food Photography & Video Tips from My Studio
Here’s a peek at the tools, gear, and camera setups I use to film my recipe videos and photograph food at home. Over the years, I’ve tested dozens of different setups, and now I’m sharing what actually works for me—whether I’m filming overhead shots for YouTube or styling still photos for my blog. If you’re curious about how I create the content you see here, these posts are a great place to start.




Leave a Reply