Six-Layer Vanilla Unicorn Birthday Cake With Buttercream Frosting from Scratch
This post contains affiliate links.
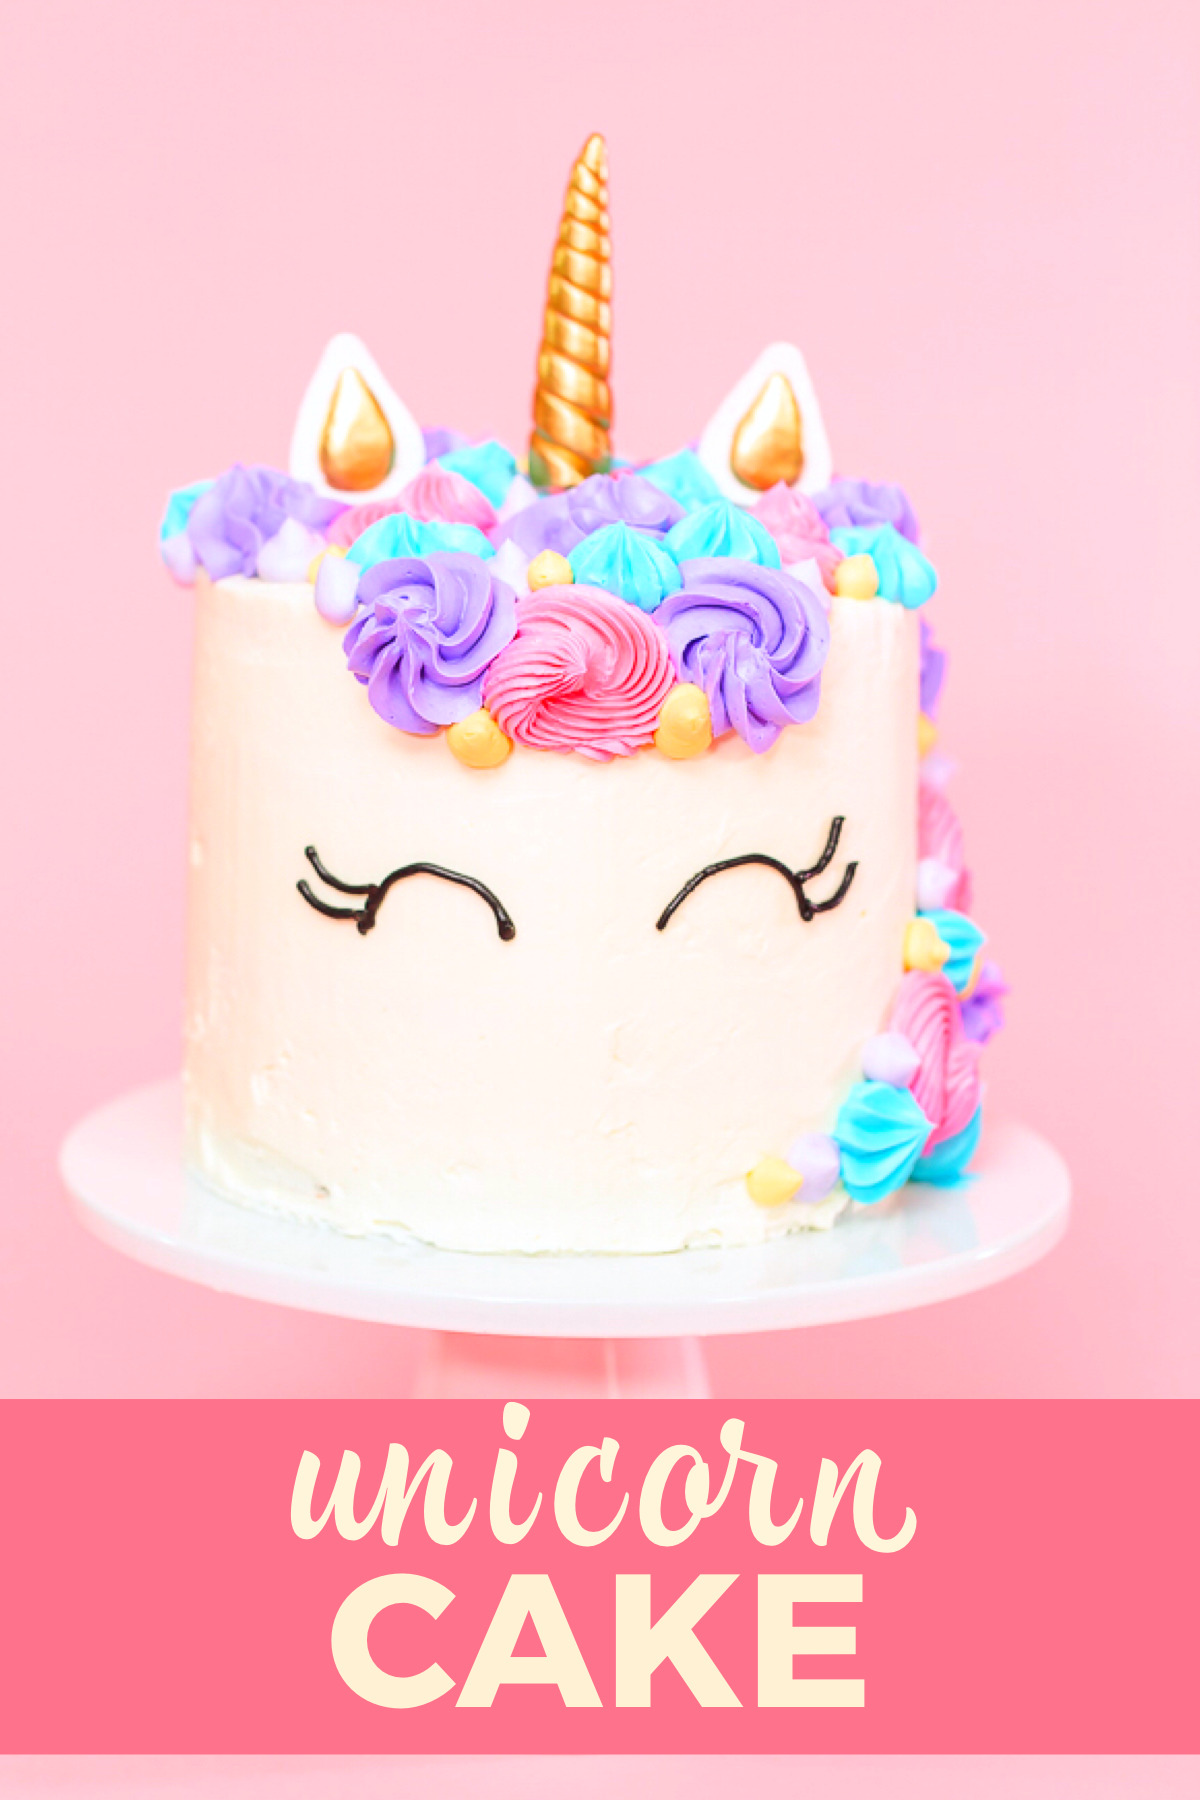
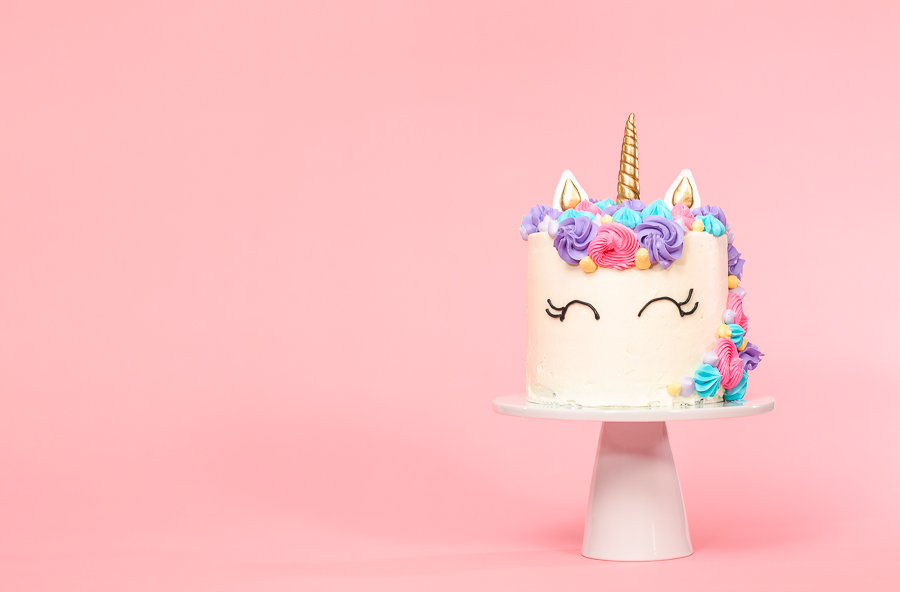
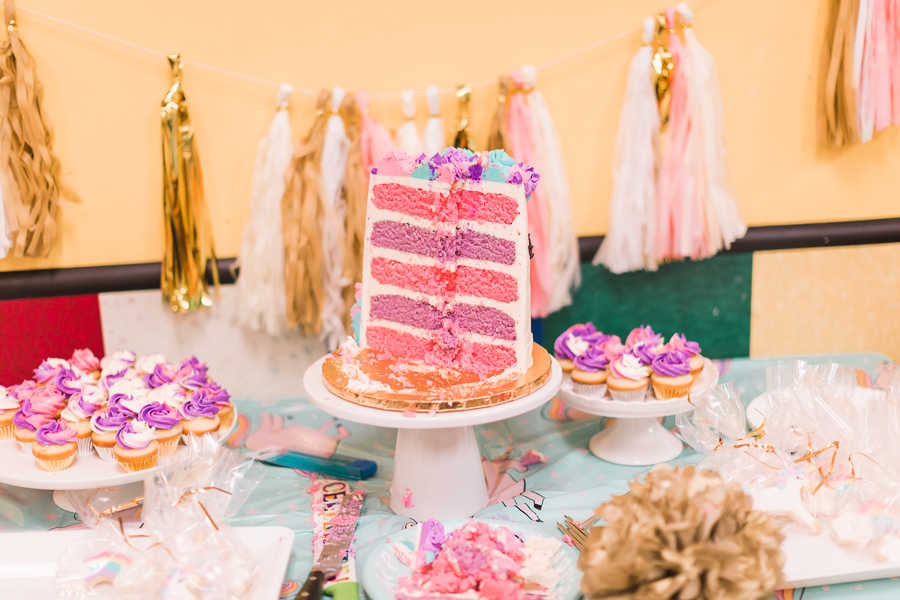
My daughter loves everything sparkly, glittery, the color pink, and anything related to fairytale stories- especially unicorns! She is definitely a true princess in the making. So, for her 5th birthday I wanted to give her a really magical day and was inspired to go all out and do a unicorn themed birthday party that I just knew she would adore! I also knew that I had to come up with the perfect birthday cake that would be scrumptious and that would serve as an enchanting and magical centerpiece. The right inspiration finally hit and I knew just what to make! I decided to make a 6-layer vanilla unicorn cake, topped with buttercream frosting made from scratch, and decorated with the absolute cutest unicorn accessories.
This magical kids’ birthday cake is surprisingly easy to make if you break down the recipe and spread the steps out over time. Making the cake and frosting totally from scratch takes longer than traditional dessert cakes so spreading the steps out is actually the easiest option. If you try to do this all in one day it can quickly become overwhelming. There are a few shortcuts that can be made but the truly magical flavor comes from a completely homemade treat. Don’t worry, I will gladly help you break this recipe down so you can make this with ease, even completely made from scratch. To me, oftentimes it’s even better and yummier than buying from a bakery so it is absolutely worth it. The results with this unicorn birthday cake were fantastic and delectable! As for the birthday girl, she had the best and most magical birthday party ever!
Magical Cake-Baking Equipment
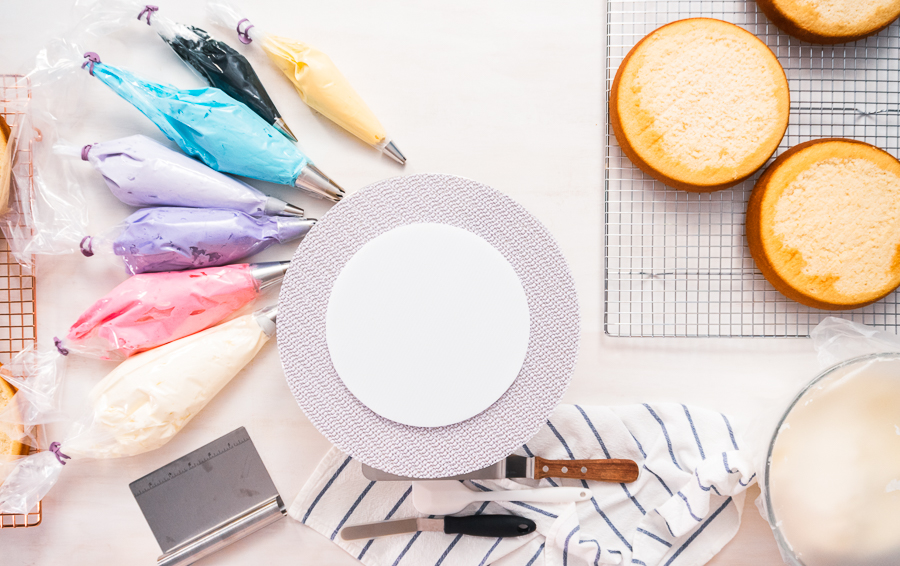
Start your kitchen adventure by gathering up your tools and materials needed for this project to go smoothly. For this baking journey to go as easily as possible, there are a few key tools and equipment that you will need. If you happen to be like me and are always baking and creating in the kitchen then you probably already have most of these items ready to go.
Tools for mixing and baking:
- Kitchen stand mixer
- Electric hand mixer
- Glass mixing bowls
- Spatulas
- Blending whisk
- 8 inch round cake pan
- 8 inch cake pan liners
- Bake-easy strips
- Digital kitchen scale
Smooth decorating equipment:
- Revolving cake stand
- Pastry piping bags
- Piping bag ties
- Jumbo metal piping tips set - I prefer using the jumbo size tips because they provide better swirls and more defined shapes.
- Unicorn cake topper
- 10 inch cake drum
- Cake spatulas
- Cake scraper
Ingredients for Homemade Vanilla Birthday Cake and Buttercream Frosting
Let me take a moment to remind you that this is a 6-layer cake which means it’s big. That also means that it requires a good bit of ingredients, especially if you want to make your buttercream frosting by hand too. To save prep time you can get store-bought frosting, but I highly recommend opting to make your own buttercream frosting. That sweet, homemade flavor adds that extra special touch to this already magnificent cake.
Homemade vanilla cake ingredients:
- 2 ¼ cups unsalted butter, softened (or 4 ½ sticks)
- 4 ½ cups of granulated sugar
- 6 cups of cake flour - I prefer to use cake flour over all-purpose because both the texture and taste of the baked cake turn out much better and closer to bakery-style cakes.
- 2 tsp. baking powder
- ½ tsp. salt
- 9 large eggs
- 3 cups of whole milk -The creaminess of whole milk(compared to lower fat milks) is ideal when making top-notch baked homemade desserts.
- 2 tsp. vanilla extract
Buttercream frosting ingredients for icing the cake:
- 6 cups unsalted butter at room temperature
- 12 cups powdered sugar, sifted
- 6 tsp. vanilla extract
- 1 ½ tbsp. whole milk
Buttercream frosting for decorating the cake:
- 3 cups unsalted butter at room temperature
- 6 cups powdered sugar, sifted
- ¾ cup whole milk
- 3 tsp. vanilla extract
- Food coloring: pink, purple, dark purple, blue, and black.
Baking Up the Most Magical Unicorn Birthday Cake
While this fancy birthday cake is pretty easy overall to make, it does take a while to complete from start to finish. However, because this recipe is broken up with freezing breaks that makes it easier to break down this recipe over time. I prefer to start the cake process 1-2 months ahead of the birthday party to keep from getting overwhelmed. By breaking this project up over time it takes a lot of stress and urgency away from party prep day. If you’re in the middle of party-planning then you might not have a whole day to dedicate to being in the kitchen.
Vanilla cake making and baking process:
- First, preheat the oven to 350°F.
- Next, use some soft butter to grease the inner sides of the 8-inch round cake pans, then line the bottom of the cake pans with the parchment cake liners.
- You can also use the bake-easy strips to help the cake batter cook evenly.
- Then, use the electric hand mixer to beat the butter and sugar together until they reach a creamy texture, this should take about 5 minutes.
- In a large glass mixing bowl, combine the cake flour, baking powder, and salt.
- In a separate medium-size mixing bowl, use the blending whisk to whip together the eggs, whole milk, and vanilla extract.
- Next, alternate between adding the flour mixture then the egg mixture into the butter mixture, a third of each at a time. Mix on low speed and remember to scrape the sides of the bowl with a silicone spatula between each addition until all ingredients are thoroughly combined.
- After the batter is ready, weigh it out on the digital kitchen scale. Then, pour ⅙ of the batter into each of 6 cake pans.
- Bake the cakes for 30-35 minutes or until a toothpick inserted into the middle of the cake comes out clean. Then, let the cakes cool for 10 minutes.
- After cooling, wrap each layer into some press n’ seal food wrap, then again in kitchen foil. Then, place the layers flat on a baking sheet and freeze.
- Freezing the cake layers is useful for many reasons. It makes the sculpting and decorating of the cake easier and the cake turns out less crumbly.
- These cake layers can be stored in the freezer for up to 3 months and dated on the outer layer of kitchen foil with a permanent marker to be saved long term. I like to make my cake layers a month or 2 ahead of party day and keep them in the freezer until I’m ready to make the final unicorn cake.
Now, like I said, if you want to save yourself a few steps then you can use store-bought buttercream frosting to significantly shorten prep time. However, if you want to keep this fancy birthday cake totally handmade from scratch then here is how to make homemade buttercream frosting. Keep in mind that you can also make this frosting in advance and freeze it until you’re ready to use it! For the best icing and decorating results, I like to use a traditional buttercream for the cake assembly and a lighter Italian buttercream for the top layer of frosting and decorating.
Kitchen Tip: Before starting this part of the recipe, check the volume of your kitchen mixer bowl. You might need to break this down in 2-3 batches. I use a KitchenAid 6 Quart Mixer which allows me to mix it all in one go.
Making the buttercream frosting for icing the cake:
- First, add the room temperature butter to the bowl of a kitchen stand mixer and beat for 5 minutes until it has doubled in volume.
- Then, gradually mix in the sugar ½ cup at a time, beating between each addition.
- Lastly, gradually add in the vanilla extract then the milk. Beat all together on high speed until completely combined, about 3 minutes.
Whipping up the buttercream frosting for decorating the unicorn cake:
After setting aside the frosting to be used for icing the cakes, start again with the kitchen stand mixer.
- First, add the butter to the stand mixer bowl and again beat until doubled in volume, 5 minutes.
- Then, gradually add in the sugar ½ cup at a time, beating between each addition.
- Gradually drop in the vanilla extract and milk, then beat again for 3 minutes until well-combined.
- Divide this decorating buttercream evenly into 5 bowls and set aside 3 tablespoons of frosting in an additional small bowl.
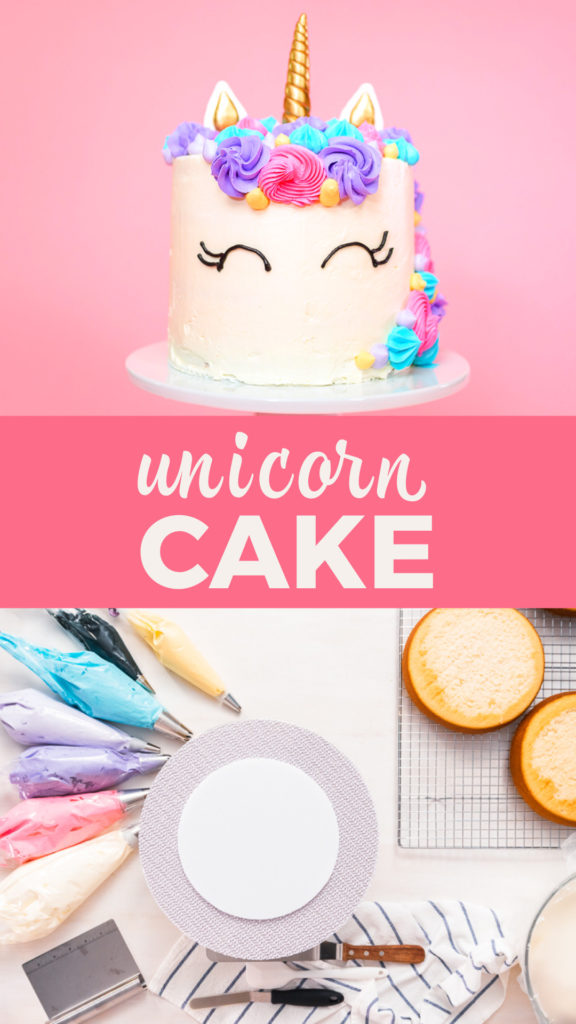
- Next, add 1 different food color (pink, purples, and blue) to each of the 5 bowls. Add the black food coloring into the small bowl with only 3 tablespoons of frosting, you only need a little bit of this color.
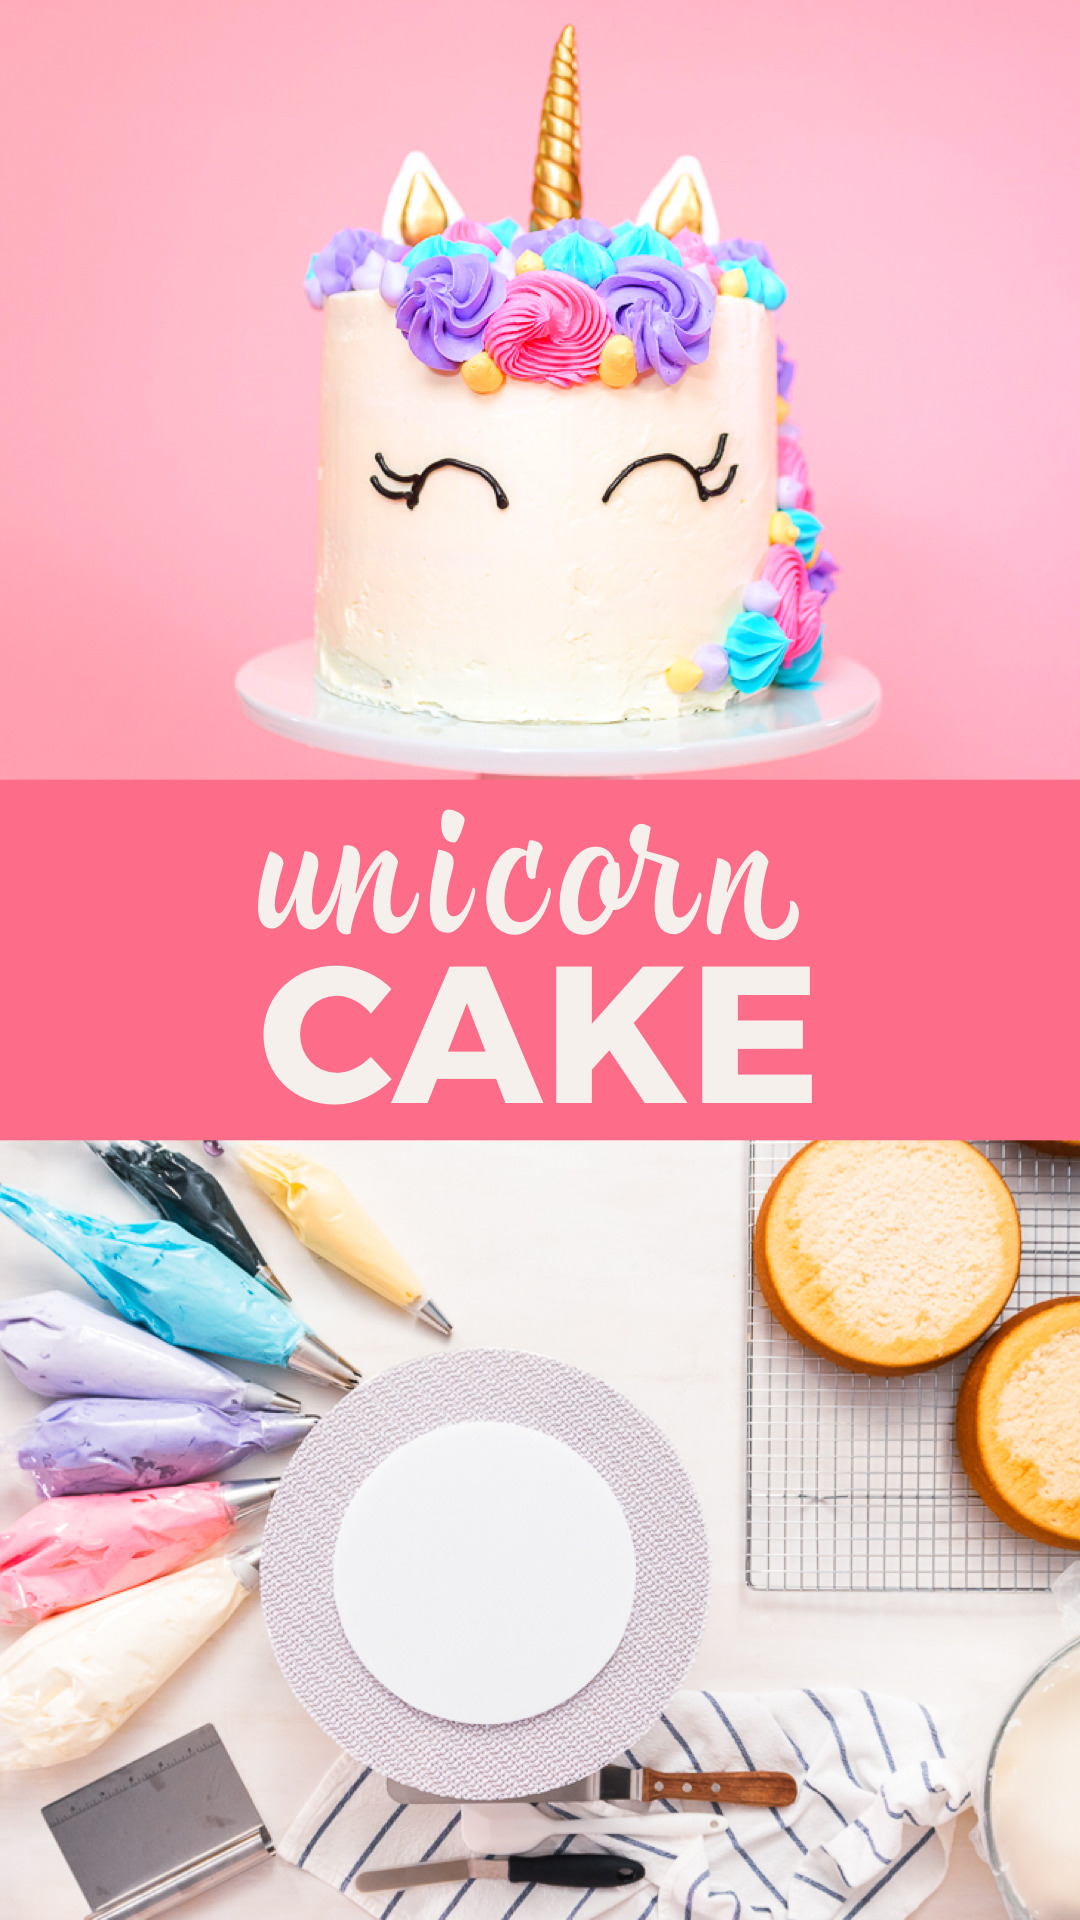
- Finally, use a large serving spoon to transfer the colored buttercreams into separate pastry piping bags lined with metal piping tips and tie off with the piping bag ties.
One other step to take to make this baking project easier is to make the frosting ahead of the actual cake assembly day and freeze it until it’s time to use it. To freeze the homemade buttercream frosting for later:
- Transfer the frosting to a ziploc plastic bag and make sure there are no air bubbles trapped in the bag.
- Date the outside of the bag and freeze for up to 3 months.
- To thaw the frosting just move the frosting to the fridge and let sit overnight.
Assembling the Unicorn Birthday Cake:
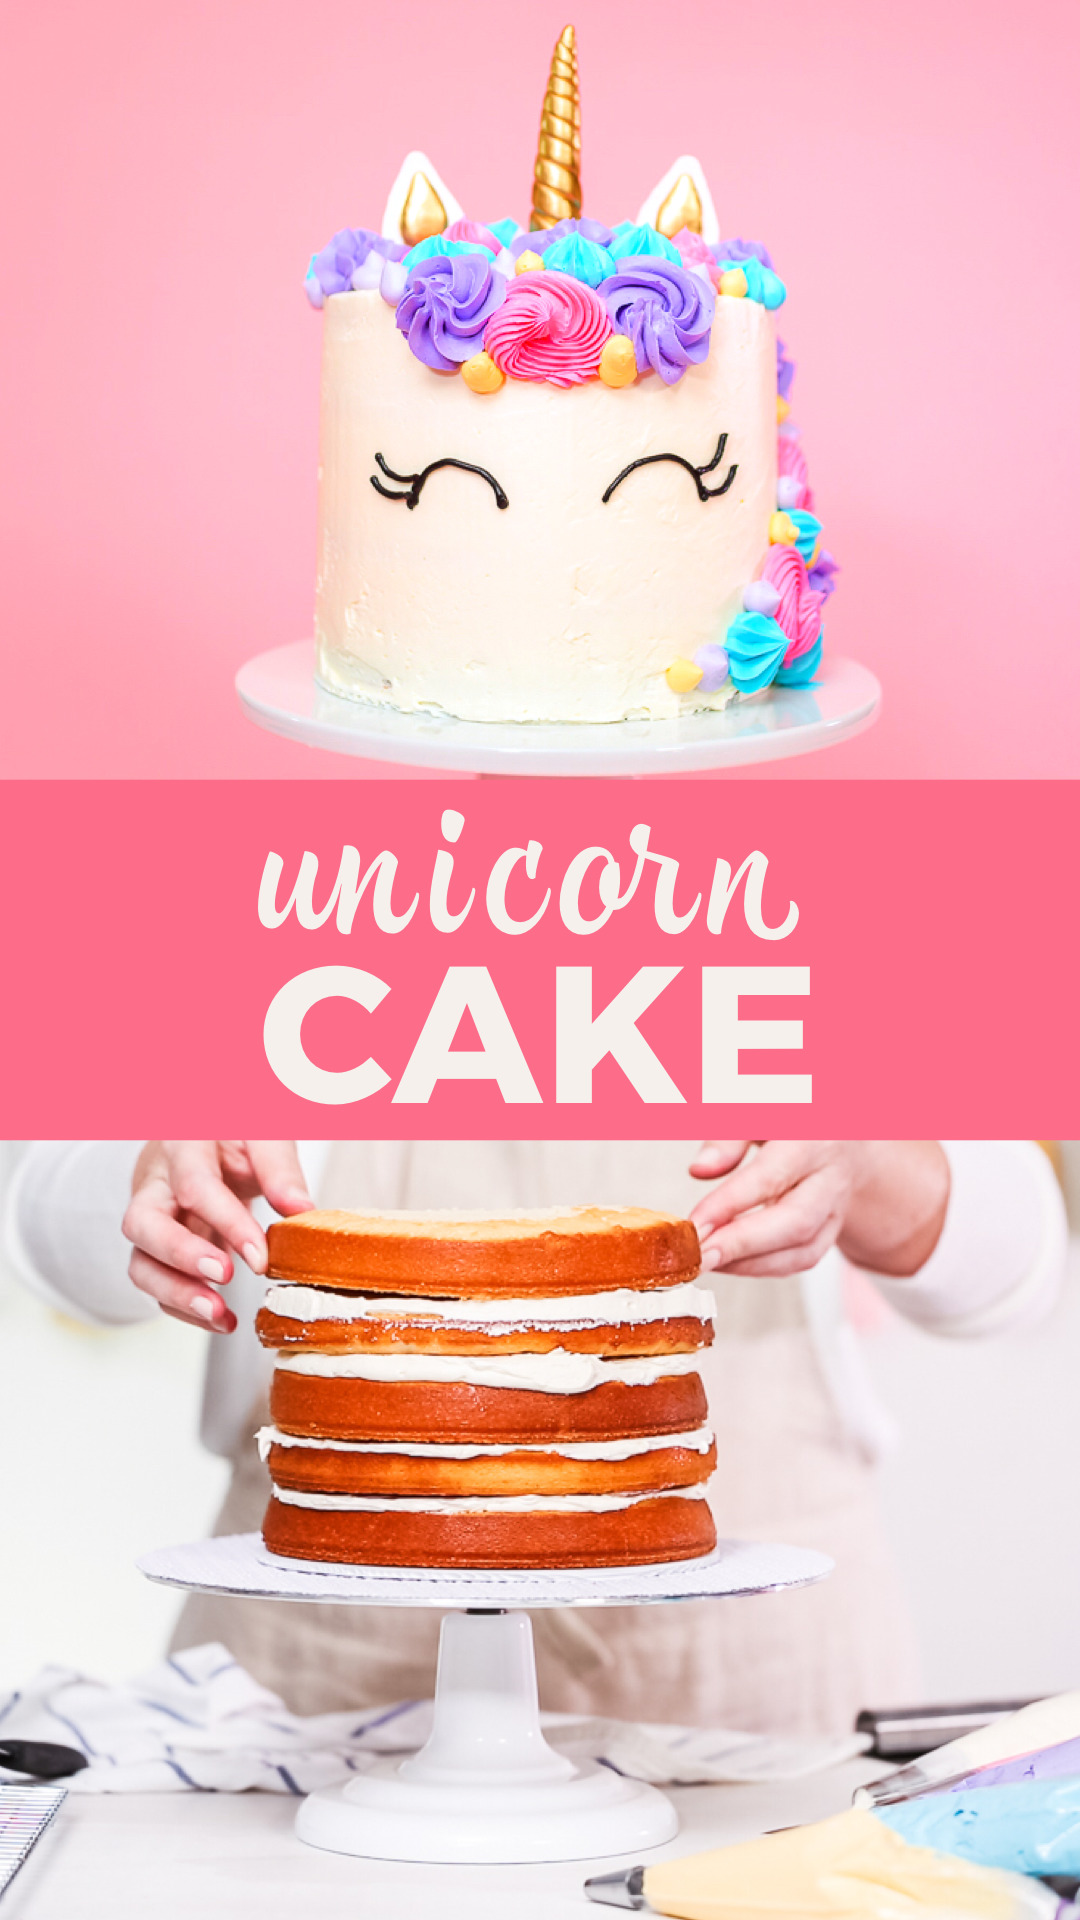
- Start by placing the cake drum on the revolving cake stand. Place a dollop of buttercream on the cake drum to help keep the cake from sliding.
- Place 1 of the frozen cake layers in the center of the cake drum. Grab the buttercream that you set aside for icing and scoop 1 cup of it onto the top of the cake layer and spread evenly with a cake spatula.
- Then, place a second frozen cake layer upside down on top of the first layer. Spoon 1 cup of buttercream frosting on top and spread it out evenly with the cake spatula.
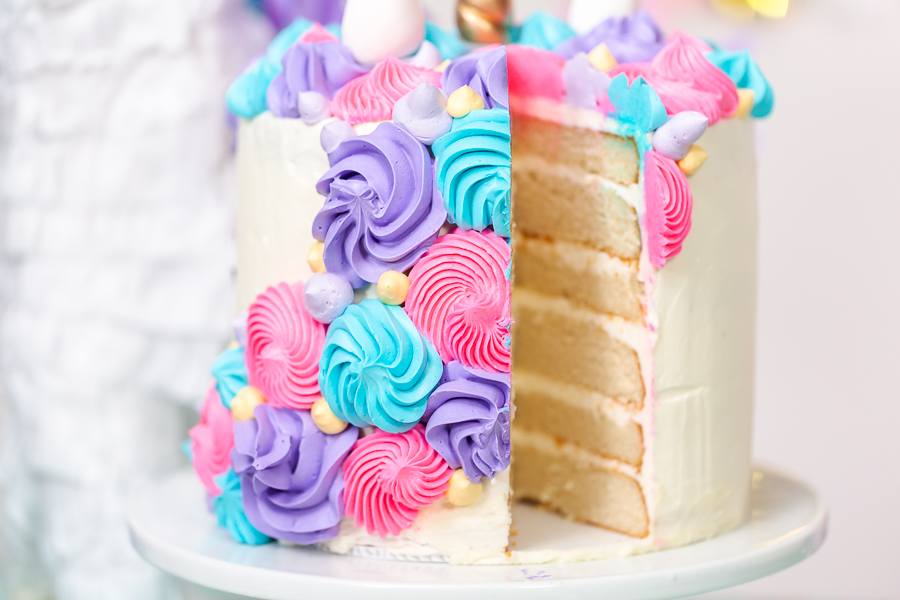
- Repeat the process and stack the remaining 4 frozen cake layers.
- After the layers are assembled, move the cake to the refrigerator to chill for 30 minutes.
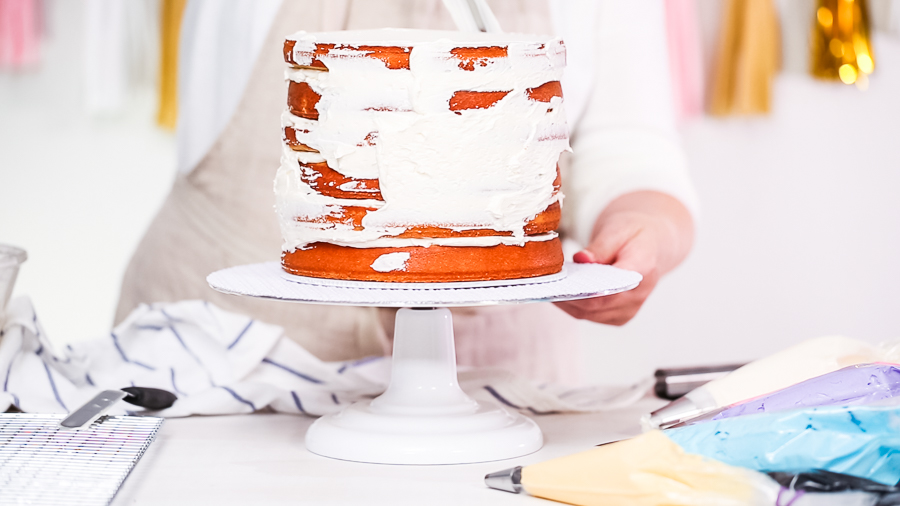
- Next, coat the outside of the assembled cake layers with a thin layer of buttercream frosting and spread evenly over the entire cake. This will create a cake coat for the final frosting on the cake.
- Place the cake back into the fridge for another 30 minutes.
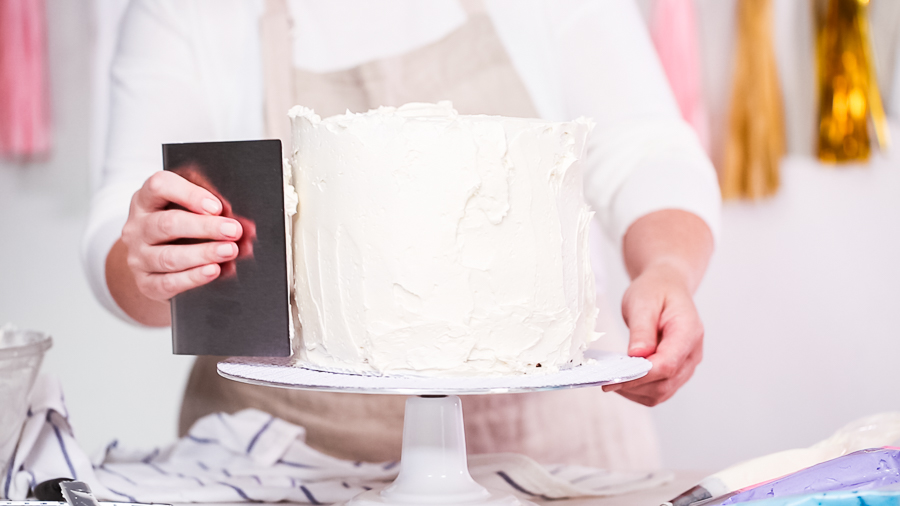
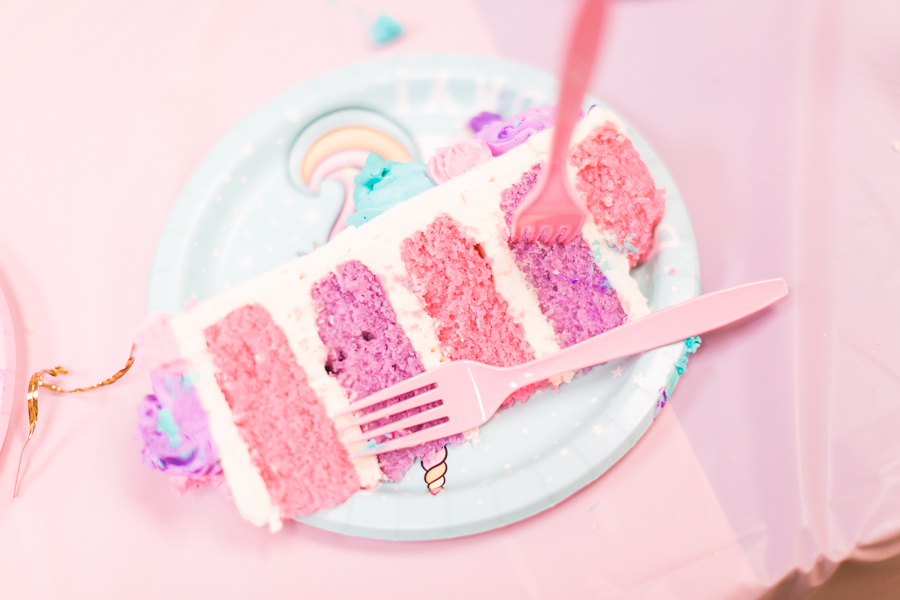
- Once the base of the cake is set, frost it with a thick layer of buttercream icing.
- Use a cake scraper to make sure the frosting is evenly spread and smooth.
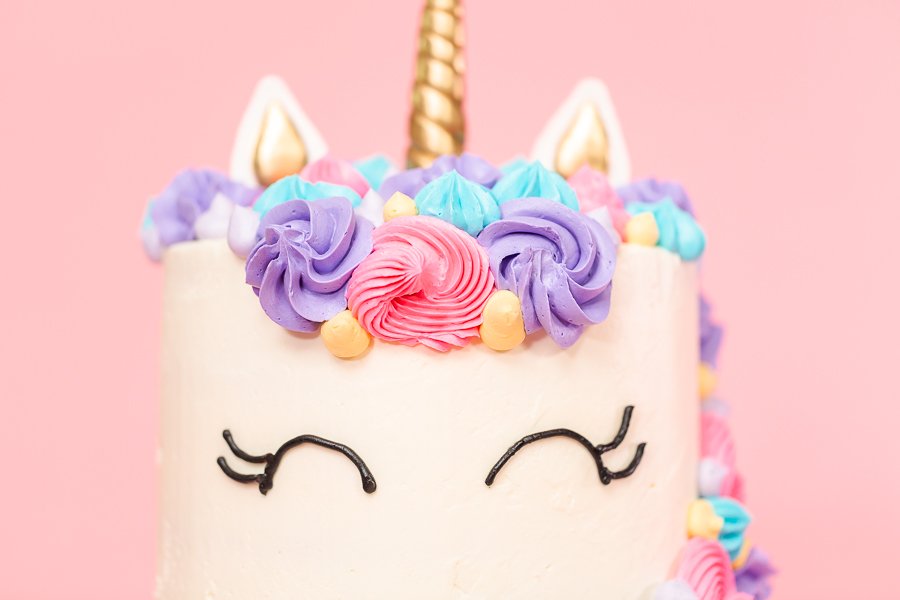
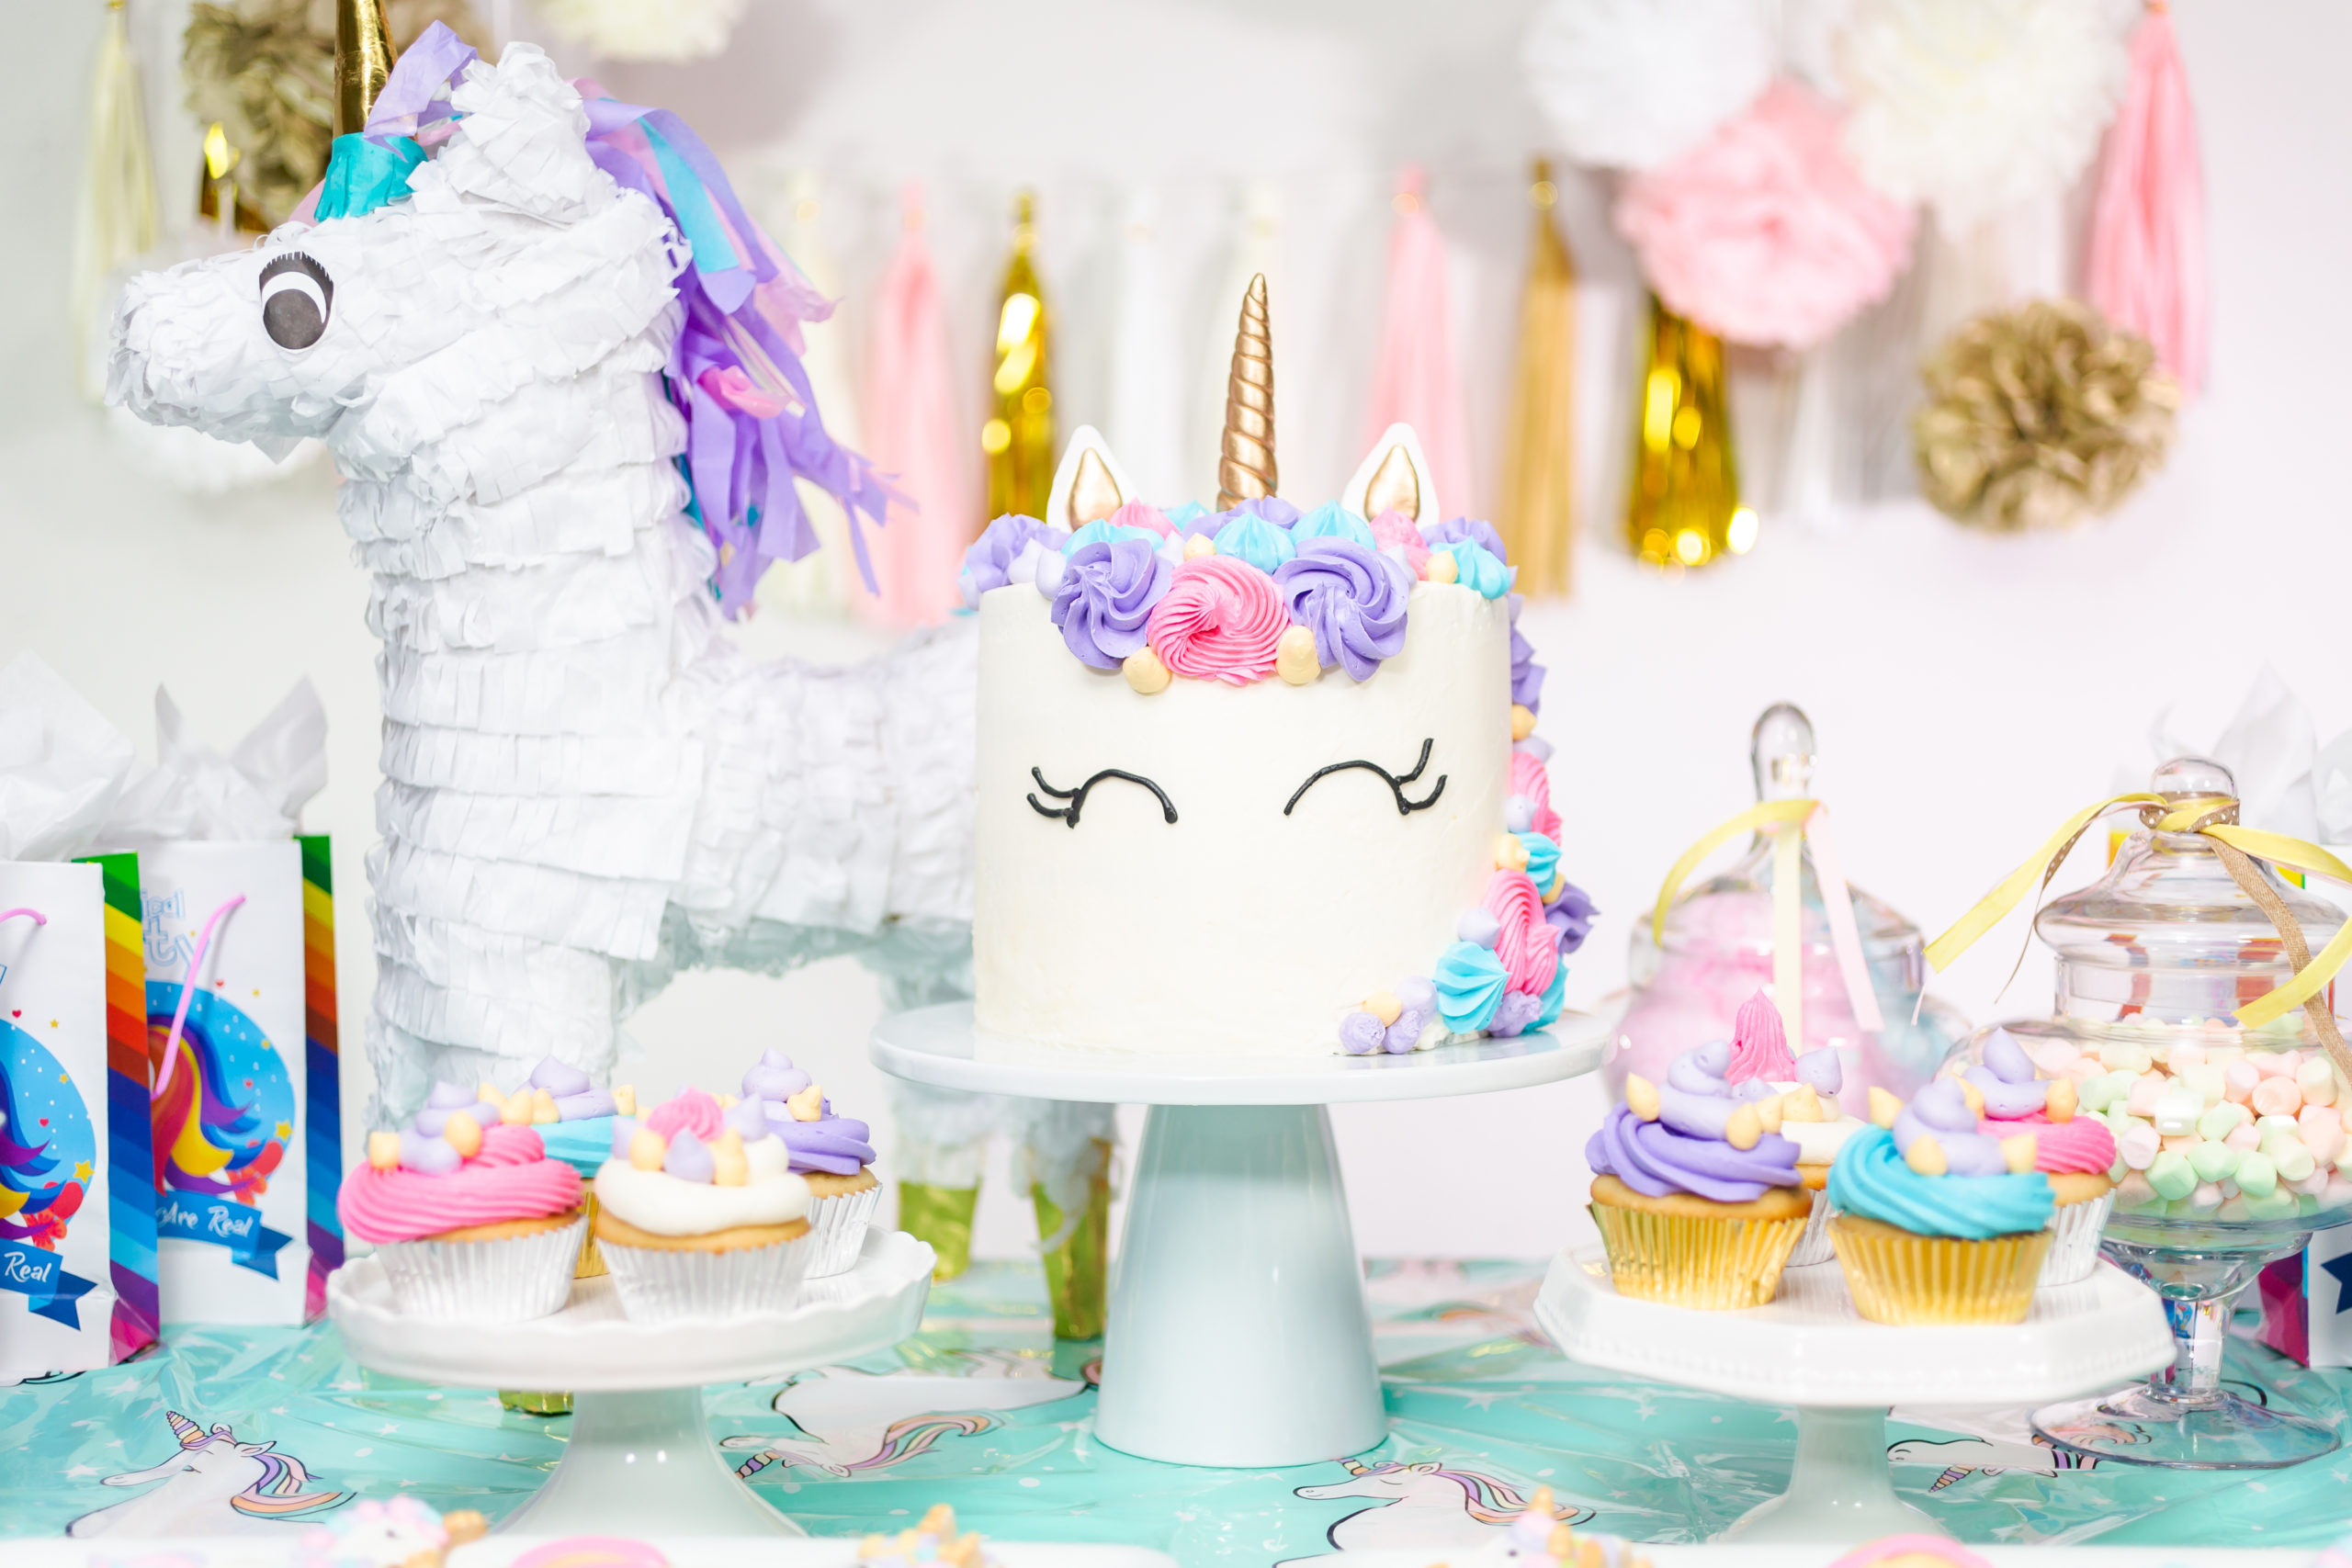
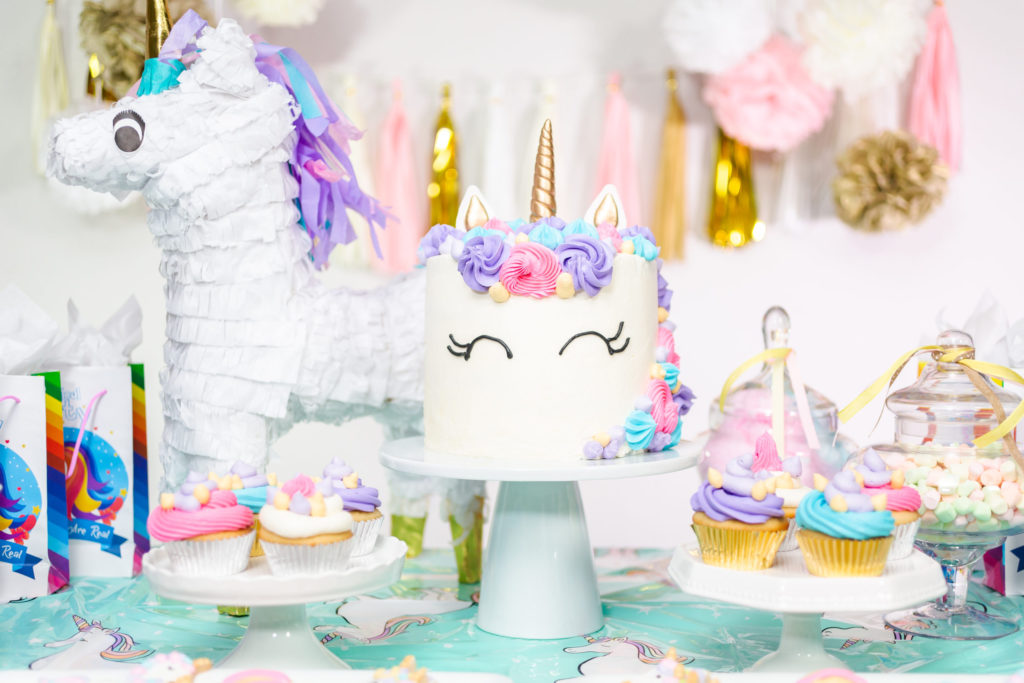
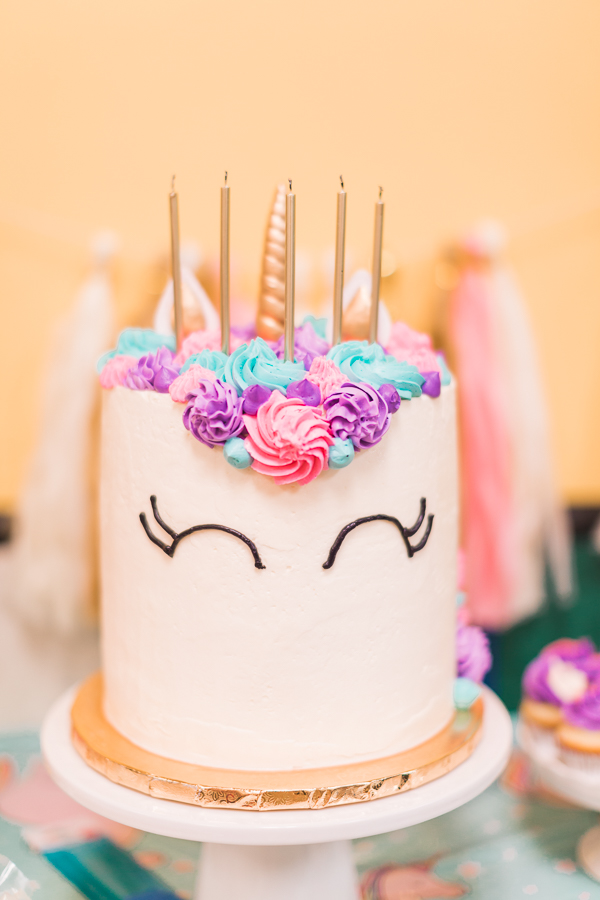
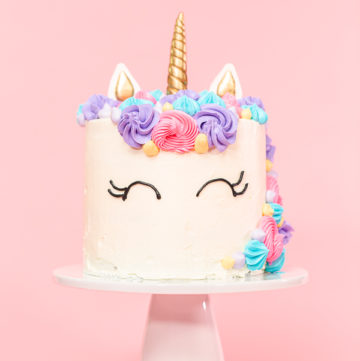
- Finally, using the 5 bags of colored buttercream frosting, pipe color rosettes onto the cake in the shape of a beautiful unicorn mane. Then, use the black frosting to draw on the eyes.
- Finish the cake with the unicorn horn and ears. Ta-da!
Serving Up an Enchanting, All-Out Unicorn Birthday Party
If you need to transport this adorable unicorn cake from the house to another location for a birthday party, it does not have to be a big deal. Just carefully transfer the finished cake to a tall cake box and set in a secure spot in your vehicle. This is also a fantastic option if you want to make this cake as a gift for a beloved unicorn-loving friend.
For the most enchanting unicorn-themed birthday party, serve this magical cake with:
Delightful Unicorn Sugar Cookies
Melt-in-your-mouth Unicorn Meringue Cookies
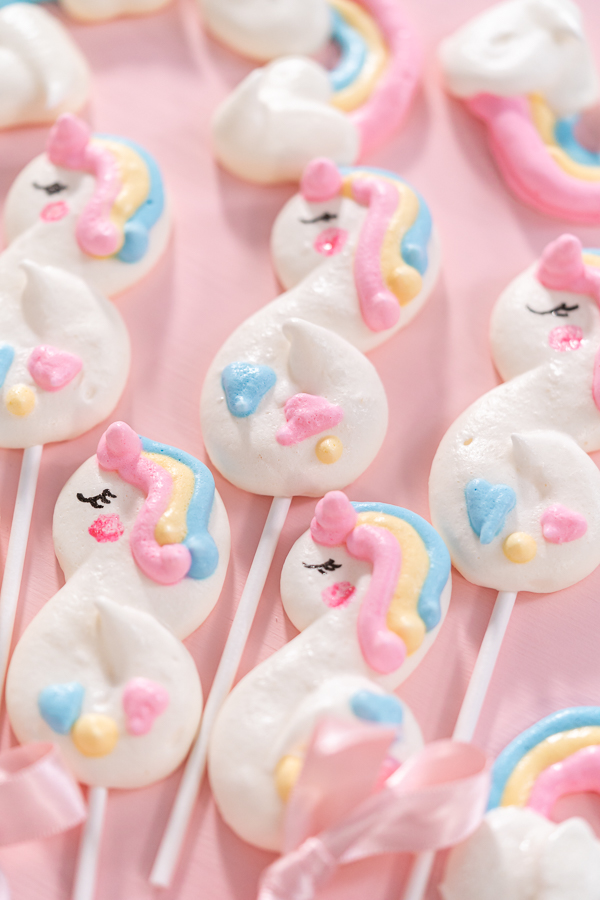
Homemade Unicorn Meringue Pops
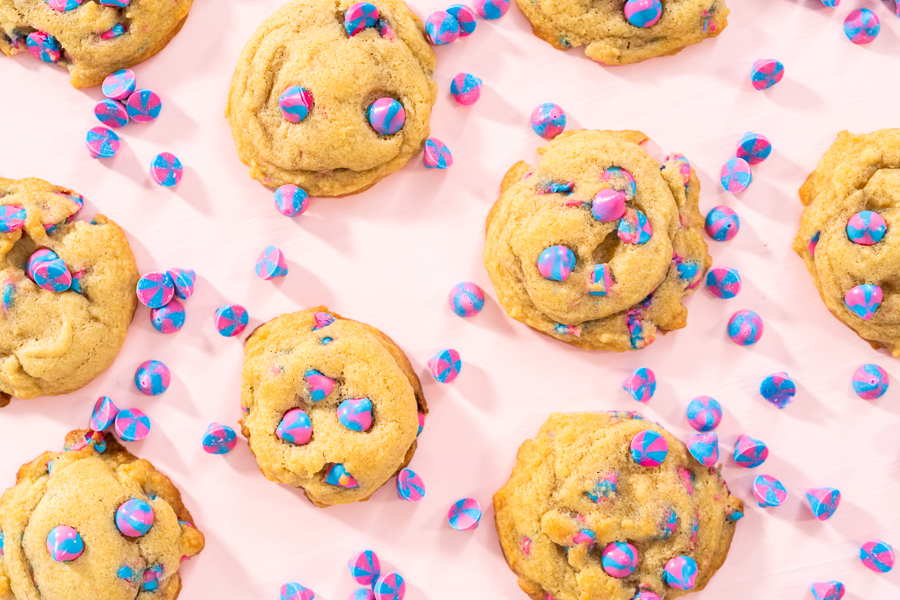
Colorful Unicorn Chocolate Chip Cookies
Delectable Unicorn Rainbow Cupcakes
Safely Storing Homemade Unicorn Cake
Have some unicorn birthday cake leftover? Don’t worry, you can save the rest for later! There are a few options for safely storing your cake for later tasty treats.
- You can store the cake for up to 3 days, covered, on the counter.
- The cake can be stored in the fridge for up to 1 week, either wrapped or in an air-tight container.
- Or, individual slices can be stored in the freezer for up to 3 months. Just wrap the slices in plastic food wrap then kitchen foil before sealing in an airtight container to avoid freezer burn.
- Don’t forget to label the date on the wrapping of the cake to keep up with freshness.
So final thoughts on the cutest kid’s birthday cake ever? This is a one-of-a-kind and absolutely delectable to the very last bite kind of cakes. If your little fairytale princess has a special day coming up then you definitely can’t go wrong by making her this charming unicorn vanilla cake topped with handmade buttercream frosting made straight from the heart. But bakers beware! Once you make one of these delightfully enchanting unicorn cakes then everyone you know will be lining up to get you to make one for their little fairytale fans too!
Unicorn Cake
Equipment
Ingredients
- 2 ¼ cups unsalted butter 4 ½ sticks
- 4 ½ cup granulated sugar
- 6 cup cake flour
- 2 teaspoon baking powder
- ½ teaspoon salt
- 9 large eggs
- 3 cups whole milk
- 2 teaspoon vanilla extract
Buttercream frosting for icing the cake
- 6 cup unsalted butter room temperature
- 12 cups powdered sugar sifted
- 6 teaspoon vanilla extract
- 1 ½ tablespoon whole milk
Buttercream frosting for decorating the cake
- 3 cups unsalted butter room temperature
- 6 cups powdered sugar sifted
- ¾ cups whole milk
- 3 teaspoon vanilla extract
- food coloring purple, pink, dark purple, blue, and black
Notes
- Check the volume of your kitchen mixer bowl before starting on mixing ingredients. You might need to combine them in 2-3 batches. I use a KitchenAid 6 Quart Mixer, which allows me to mix everything in one set.
- I prefer to use traditional buttercream for cake assembly and lighter Italian buttercream for top layer frosting and decorations.
- The cake layer could be stored for up to 3 months in a freezer. They will need to be wrapped in an additional layer of kitchen foil. I like to make my cake layers a few weeks ahead.
- Use store-bought buttercream to shorten prep time.
- Use a tall carton box to transport your cake safely.
Food Photography & Video Tips from My Studio
Here’s a peek at the tools, gear, and camera setups I use to film my recipe videos and photograph food at home. Over the years, I’ve tested dozens of different setups, and now I’m sharing what actually works for me—whether I’m filming overhead shots for YouTube or styling still photos for my blog. If you’re curious about how I create the content you see here, these posts are a great place to start.









Leave a Reply