How to Make Your Own Marble Backdrop on Budget
This post contains affiliate links.
Creativity is important in food photography, not only in shoots but using props and backdrops to your advantage. However, not everything can be bought, and some creativity must be used to create the things you need. I have been wanting to use a marble-counter background as they’ve been quite popular for the past 4 years, and after some research, I decided to make my own.
Making your own marble backdrop can be done in many ways, including using real marble or vinyl backdrop, but the most effective way is using self-adhesive film on a lightweight tabletop.
This process has taken me around a year, and has gone through multiple steps to figure out the best way to have a marble backdrop for my studio. For this backdrop, I need it to fulfill several specifications:
- Needs to look like real marble
- Fit in my budget
- Be lightweight
- Be easily cleaned
- Resistant to messes and stains
- Strong enough to hold kitchen equipment
- Resistant to vibration
- Resistant to heat and moisture
- Be minimum 2 feet x 4 feet
It needs to look like marble, be lightweight, easily cleaned & resistant to messes and stains, strong enough to hold kitchen equipment and not bend or bow, and resistant to vibration, heat, & moisture. These are a lot of specifications, so I had to go through multiple tries to find the perfect backdrop for me.
First, the most obvious choice, I looked into real marble. A slab of marble countertop would be easily cleaned and durable, but would prove to be too heavy for me to lift, and wouldn’t fit my budget.
I looked into using vinyl photography backdrops, which fit most of my specifications. This vinyl backdrop is lightweight and looks exactly like marble. I used this setup for a little while, but I began to run into some issues with it. The roll was simply not big enough to be useful, and any messes on it would ruin it. This technique is perfect for showing off completed products, but not good for shoots where I capture the entire process of recording a video recipe, as it’s often messy. Using a roll of vinyl for a long time can also begin to show multiple signs of wear, such as bubbles and bends as the paper experiences heat and moisture.
After ruling out using the vinyl backdrops, I then looked into using marble laminate. This would preserve all the qualities of real marble, while also being lightweight. I planned to buy a ¾ inch thick piece of plywood (4 feet by 8 feet) at my local home improvement store, and attach marble laminate to it using adhesive. However, after doing some research into the logistics of doing this, I found that this would be far too expensive and time consuming for how beneficial the finished product would be.
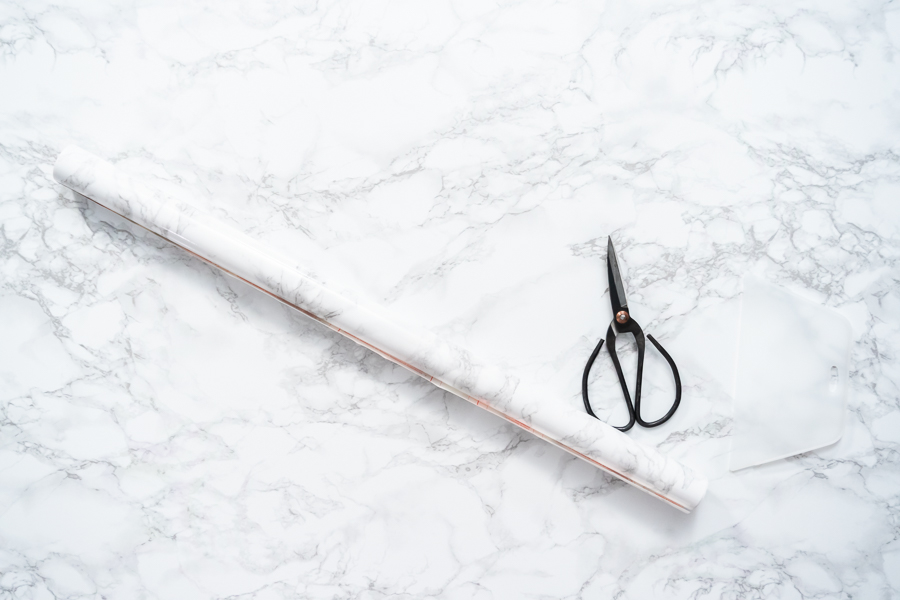
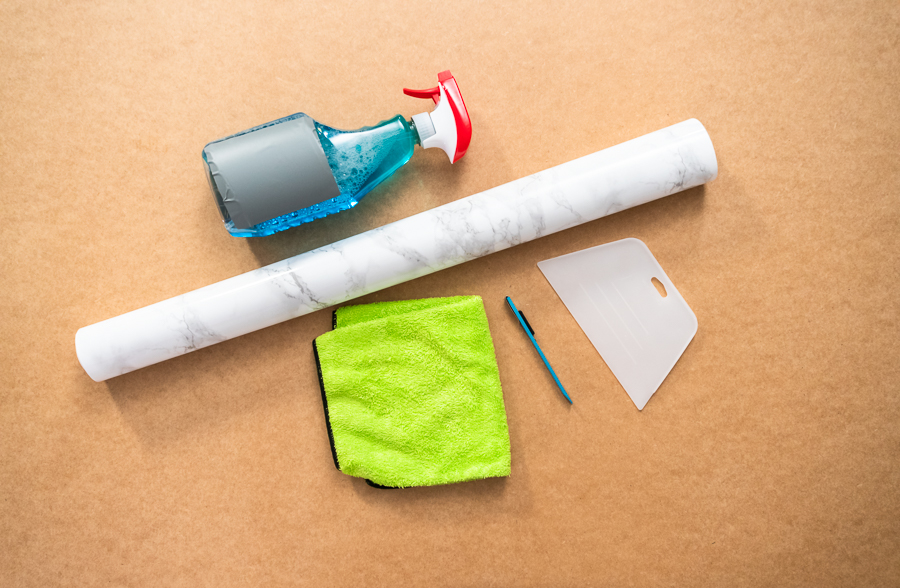
Materials needed to create marble board
Linnmon desk table by IKEA
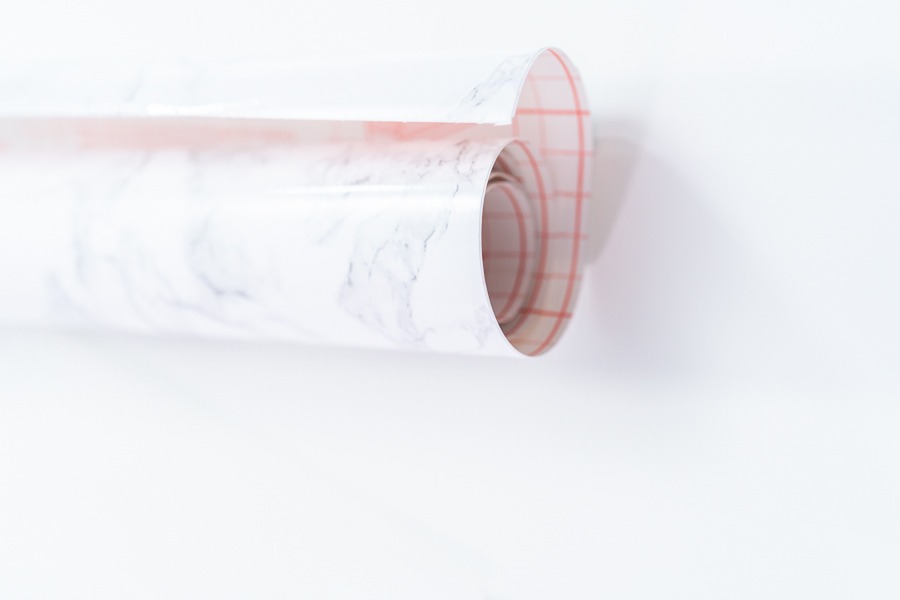
Decorative Self-Adhesive Film, Grey Marble
I later looked into attaching the self-adhesive film to a foam board, as this would create a more usable surface that's still lightweight. However, this film is still susceptible to heat and moisture damage, but using a foam board introduces another issue. When shooting with large kitchen appliances, such as mixers or burners, the appliances will dent the foam board which is visible on the marble-print film itself, ruining the backdrop. The foam board will also react poorly to moisture in the air, as it will begin to warp, so it’s not beneficial to use foam board as a backdrop when cooking.
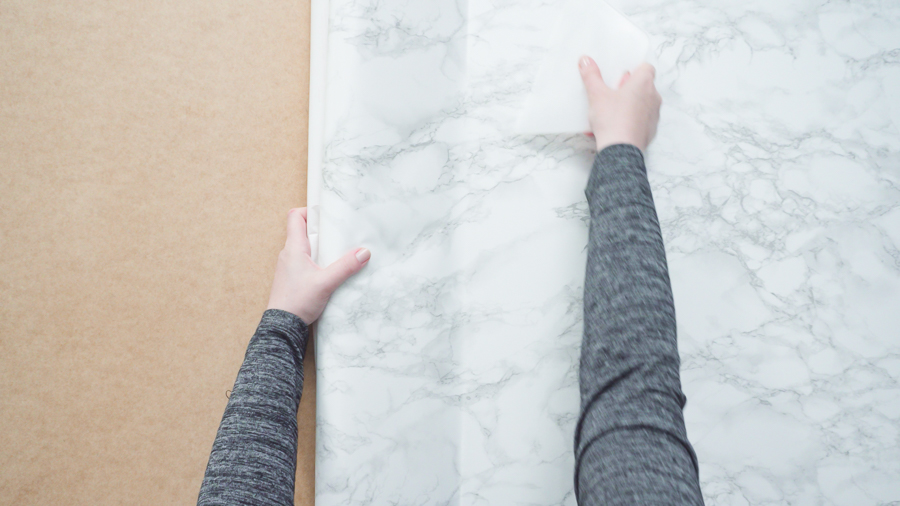
After trying all these things, I nearly gave up until I came up with an idea at my local IKEA. I could use an IKEA tabletop, and attach the self-adhesive marble film to it. I mounted the film onto the tabletop using a vinyl smoothing tool and cutting off the excess film with an X-Acto knife, so the process of putting the paper onto the board is very simple- the whole entire process only took 20 minutes. The tabletop is very light and perfectly sized for my studio, so I didn’t have to cut it, and I’d be able to move it around my studio. The self-adhesive film is easily cleaned up and looks realistic, and putting it onto one side of the board is a quick and easy process. This way is also good, as this tabletop is double-sided, and can be flipped around for a white laminated surface with other colors to choose from IKEA. If the adhesive or vinyl goes bad on my board, I can quickly peel the vinyl off and replace it, so I can reuse the board for other backdrops if I wanted to. These IKEA tabletops are versatile, as they are very lightweight and sturdy as they’re made of fiberboard. After going through many other ideas, I now have a marble backdrop that fits all of my requirements that were quick and easy to set up, all while being cost-effective.
Since I live close to an IKEA, I can easily make trips there to get whatever I need for projects such as this one. However, for those that don’t live near one, you can order any IKEA product from Amazon for a higher cost.
|
Real Marble |
Paper |
Laminate |
Adhesive |
|
|
Cost |
$300.00 |
$15.00 |
$134.00 |
$45.00 |
|
Durability |
Extremely |
Delicate |
Delicate |
Very |
|
Easy to Create |
- |
Very |
Very |
Very |
|
Weight |
Heavy |
Light |
Light |
Light |
|
Sturdy, free of vibration |
Extremely |
Dependant on Surface |
Dependant on Surface |
Dependant on Surface |
|
Space required to storage |
Very High |
Very Low |
Very Low |
Medium- Dependant on Surface |
|
Max size |
Any |
Very Small- 2 Feet |
Very Small- 2 Feet |
4 feet x 8 feet- Dependant on surface |
|
Total rating |
5/10 |
8/10 |
6/10 |
10/10 |
Food Photography & Video Tips from My Studio
Here’s a peek at the tools, gear, and camera setups I use to film my recipe videos and photograph food at home. Over the years, I’ve tested dozens of different setups, and now I’m sharing what actually works for me—whether I’m filming overhead shots for YouTube or styling still photos for my blog. If you’re curious about how I create the content you see here, these posts are a great place to start.
#foodphotographyphotography#stockphotography#stockphotographer#foodbackgrounds#foodbackdrop#foodstyling#foodstylists#foodstyleguide#foodvideography#photobackdrop#photobackdrops#photostudio#foodstudio #marblebackground #foodprops #IKEA






Leave a Reply