How to successfully shoot cooking videos or tutorials with two cameras!
This post contains affiliate links.
So you started from the bottom of the videographer pool with just the basics and have finally worked your way up to having a few regular clients. A huge round of applause is in order for you, my friend! But now what? Once you’ve started to get the hang of your cooking video process, it’s time to reevaluate, adjust, move forward, and upgrade to a more reliable process!
Now there’s still going to be a lot of trial and error ahead in your video-making journey. But I’ve actually found that the best way to really get good at making and editing videos is to keep doing it yourself. I shoot and edit all of my own videos and I highly recommend you do the same! I know, I know, that’s probably not what you wanted to hear but hear me out.
This is all based on my personal experience and what I learned by editing cooking videos. By shooting the videos yourself you can quickly learn how everything needs to be positioned and adjusted on the fly. By editing the videos yourself you can better understand how to shoot the videos (like what angles work best and so on).
Early in my video-recording days, I realized very quickly that my original set-up wasn’t working for creating the winning videos that I was hoping for. So I had to reevaluate, change, and adapt until I figured out how to successfully set up my studio, which later involved working with two cameras instead of just one!
Let me go ahead and say that the two-camera set-up is not for beginners. This is more for somewhat established videographers who have clients already and need to upgrade to a more reliable process. Remember, not only will the two-camera set-up need more space, but it will also need a bigger budget.
There’s a lot to take into consideration when you’re debating on whether or not it’s time to make those upgrades. To help you figure out your next step easier, I have broken down the pros and cons of the two camera setups, camera tips, and the costs you can expect. Here’s my breakdown of How to Shoot Cooking Videos with Two Cameras!
Pros and Cons of Shooting with 2 Cameras
First, let’s go over the pros and cons of shooting recipe videos with 2 cameras. There is a good bit to consider here, but the most important things to take into consideration are your budget and your available space.
To successfully record videos with 2 cameras, you need a good bit of equipment. So that increases both the need for a bigger budget and a bigger space. Here are some things to take into consideration when it comes to shooting cooking videos with 2 cameras (usually DSLR cameras):
Pros:
- Faster production of recipes.
- No need to shoot the same recipe twice like with a one-camera set-up.
- Only have to shoot the recipe video once.
- Easily catch a variety of different angles.
- Never miss a shot! If one camera doesn't show the food or part of the process (covered by hand or prop) then the other camera will catch it!
Cons:
- More expensive. The overall cost of equipment when shooting with 2 cameras can be almost double (or more) the cost of a one-camera set-up.
- That’s a big reason this set-up is not for beginners!
- Camera replacements are inevitable…and costly.
- Need more physical space to set up two cameras, plus the other must-have equipment.
- Need more lights to make sure the video is clear and looks good from different angles.
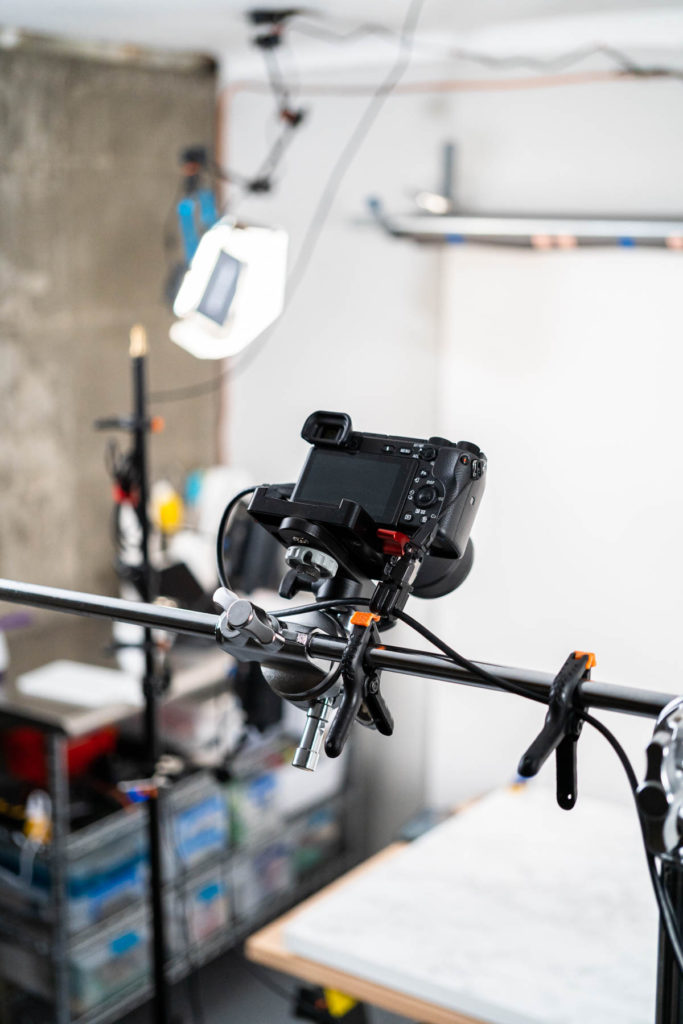
- Need more supporting equipment to control 2 cameras such as: field monitors, remote control, cables to connect monitors and cameras.
What Kind of Cameras to Use for Cooking Videos
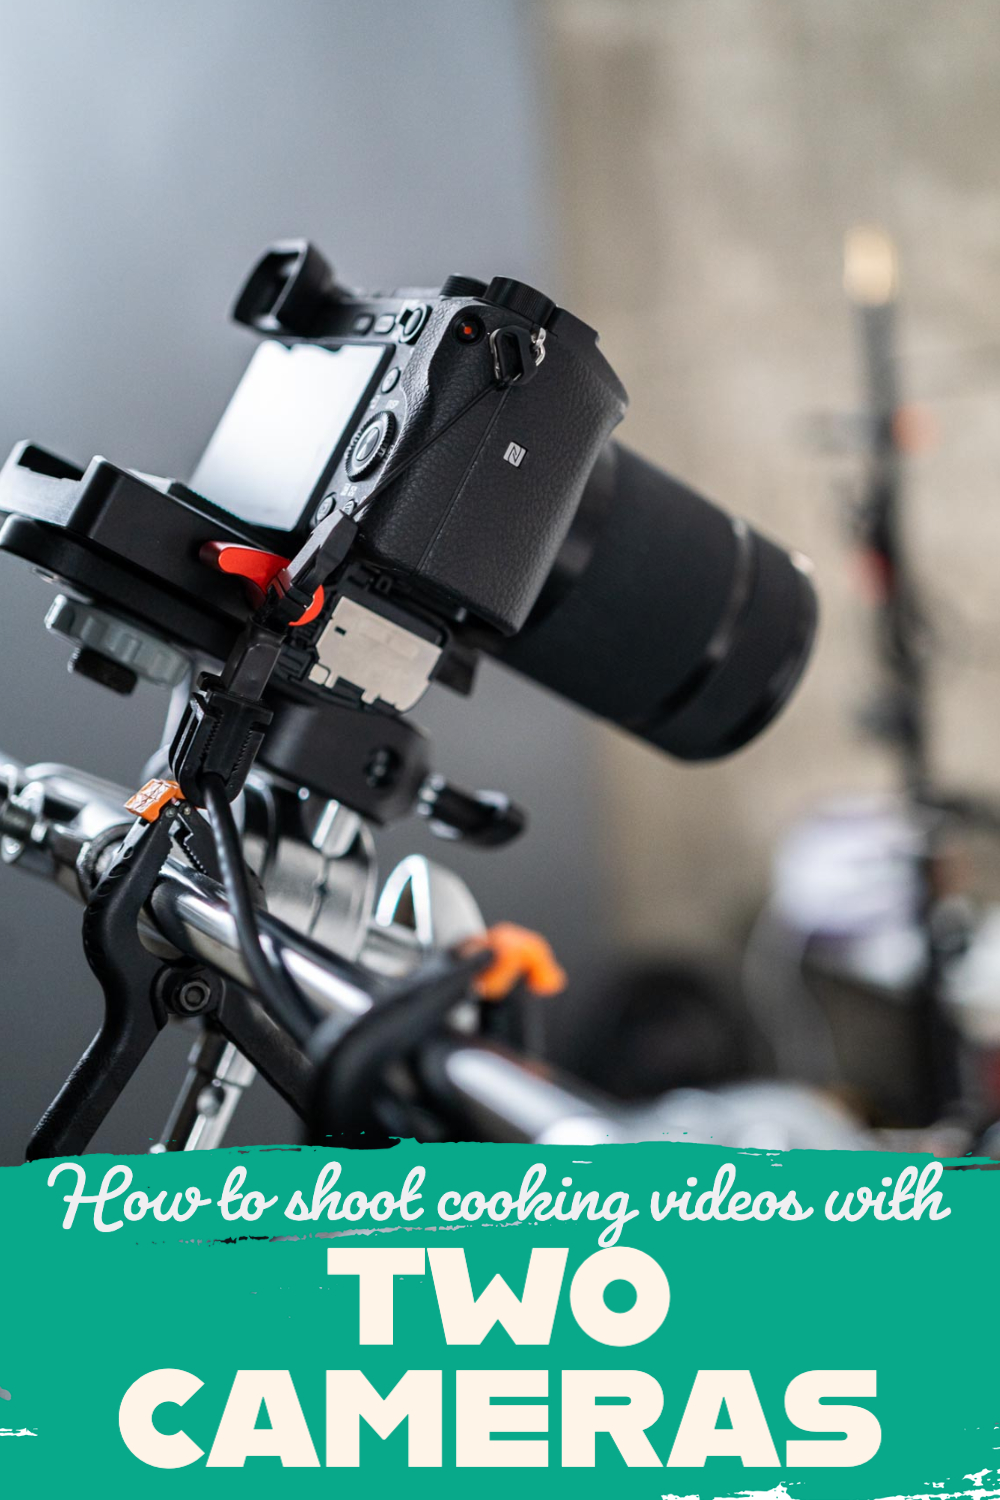
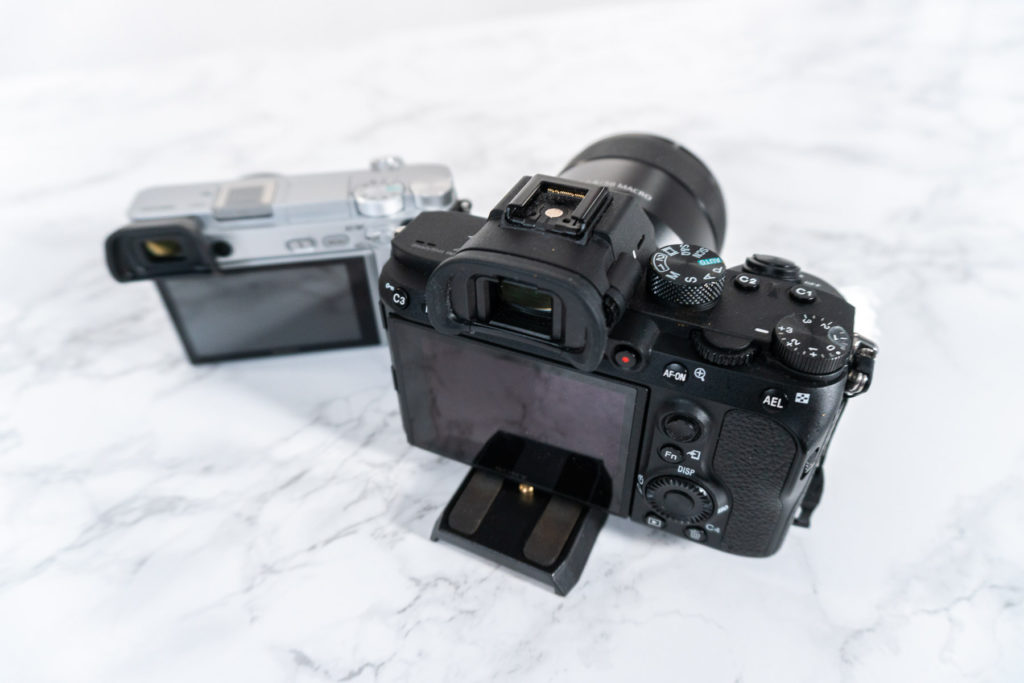
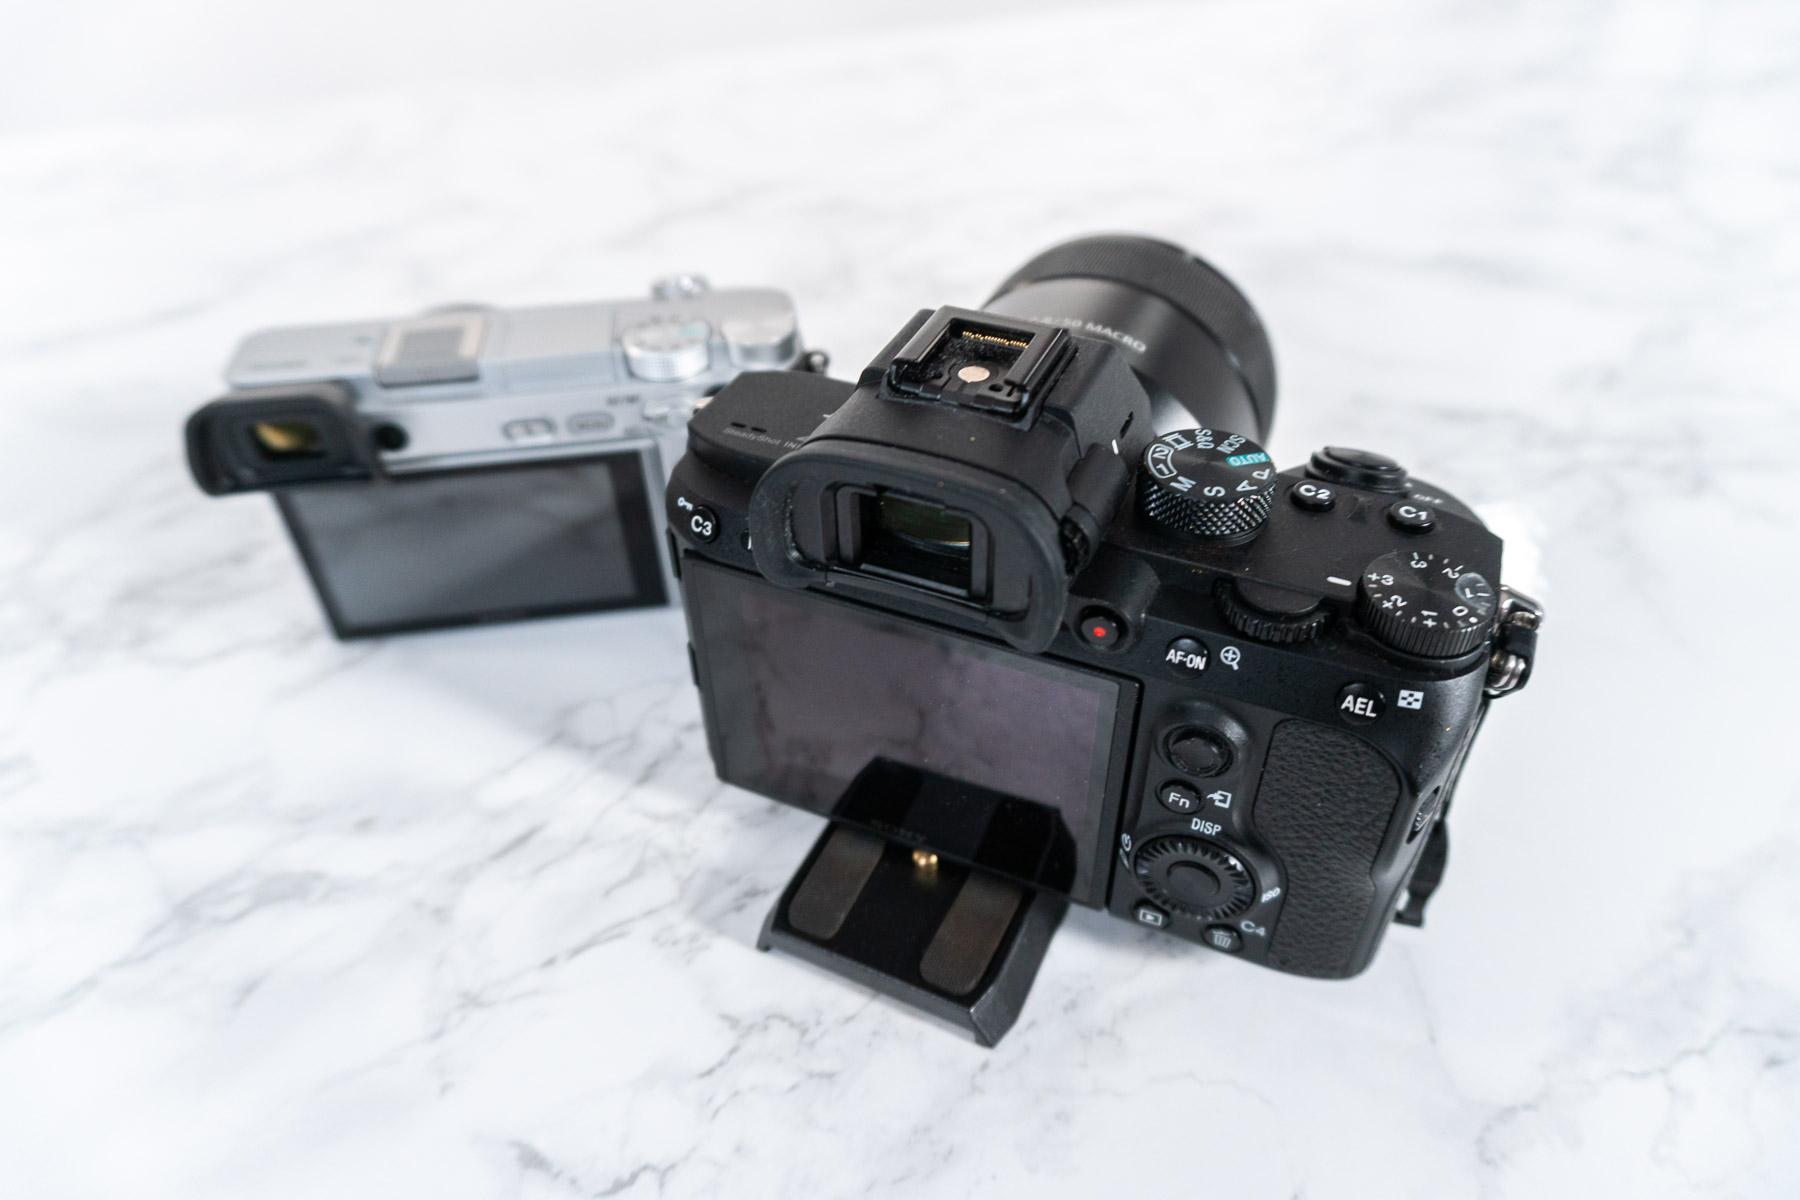
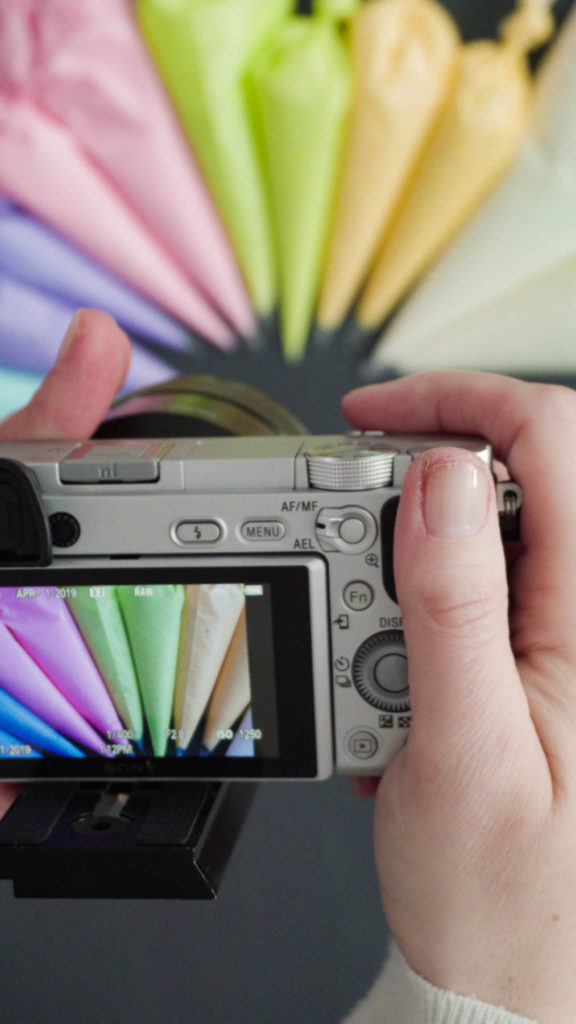
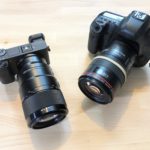
So what kind of camera is best for these cooking videos? I do a more in-depth comparison in my article Best Camera for Shooting Cooking Videos, but I prefer to use a Sony a6400. Here’s the shorter answer: ultimately, when it comes time to find the best camera for your videos, you just need to narrow down the most important camera functions for your daily recording needs, and compare costs.
A lot of beginner recipe videographers think they need “the best” cameras and equipment to start producing good, quality videos. You don’t actually need the more expensive equipment, you just need the right equipment. It comes down to finding a good, affordable camera with a diverse range of affordable lenses to get the quality and effects desired in the content.
That being said, there’s an important tip to keep in mind! I prefer, and I recommend, using the same brand and same model of cameras. That way you get the same quality throughout all of your shots. Each specific camera brand and model will capture totally different colors. So if you use different types of cameras during recording then it will be hard to put the video clips together during the video editing process.
Camera Locations and Positioning
Now let’s talk about camera positioning. Over time you will figure out which angles work the best for you and your video content. But for now, here are my recommended (and my personal favorite) camera positions:
Preferred Camera Positions:
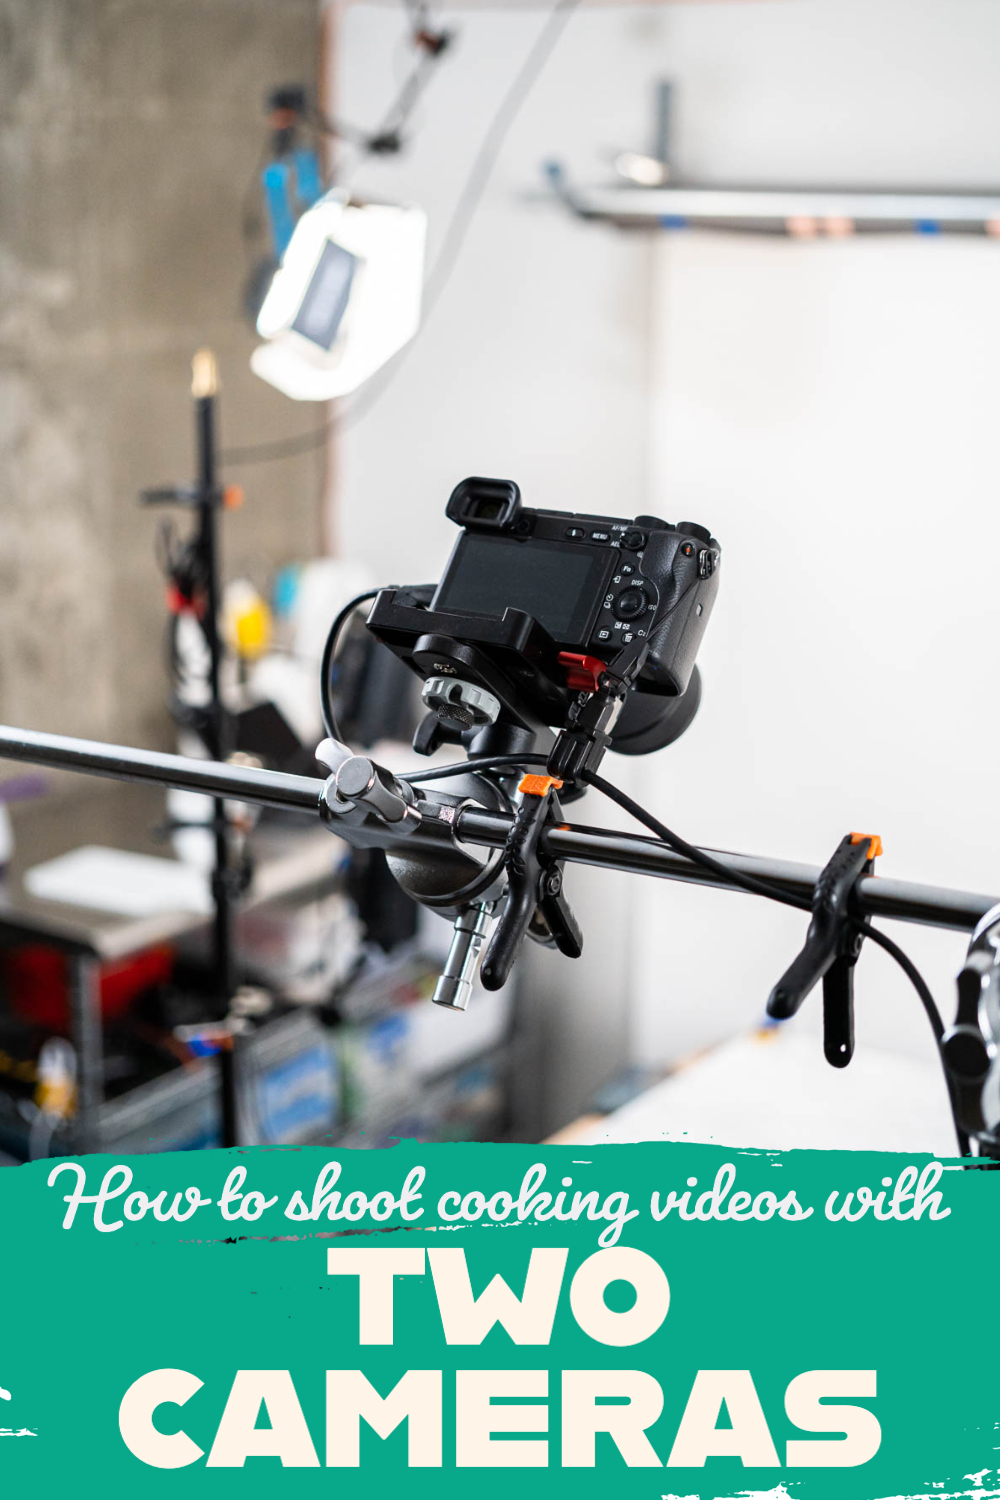
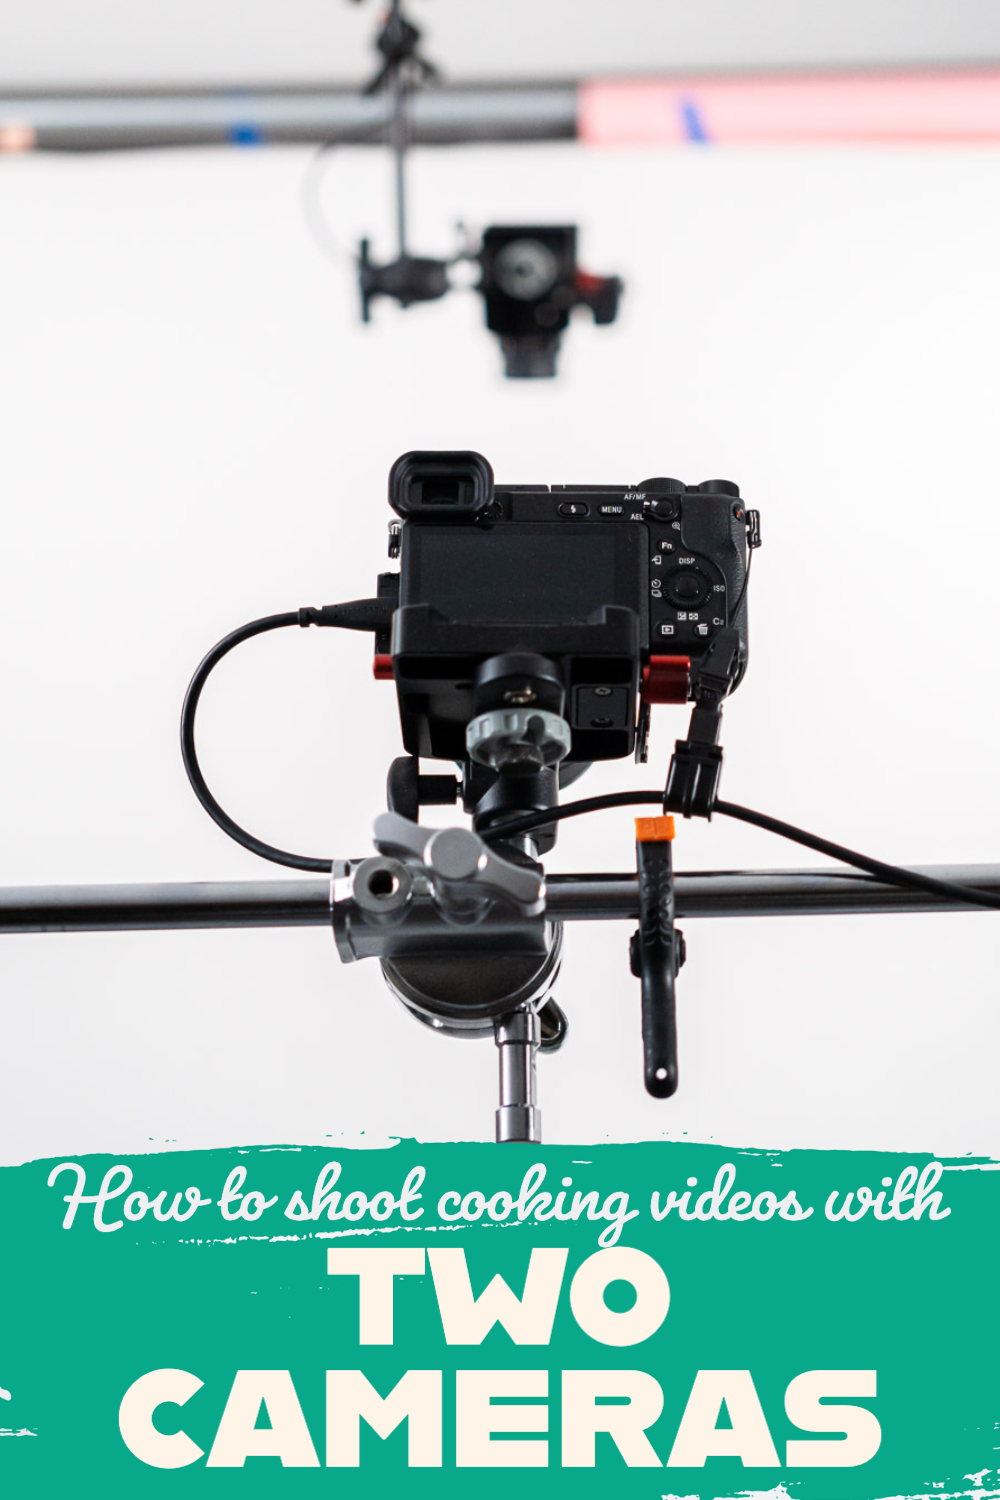
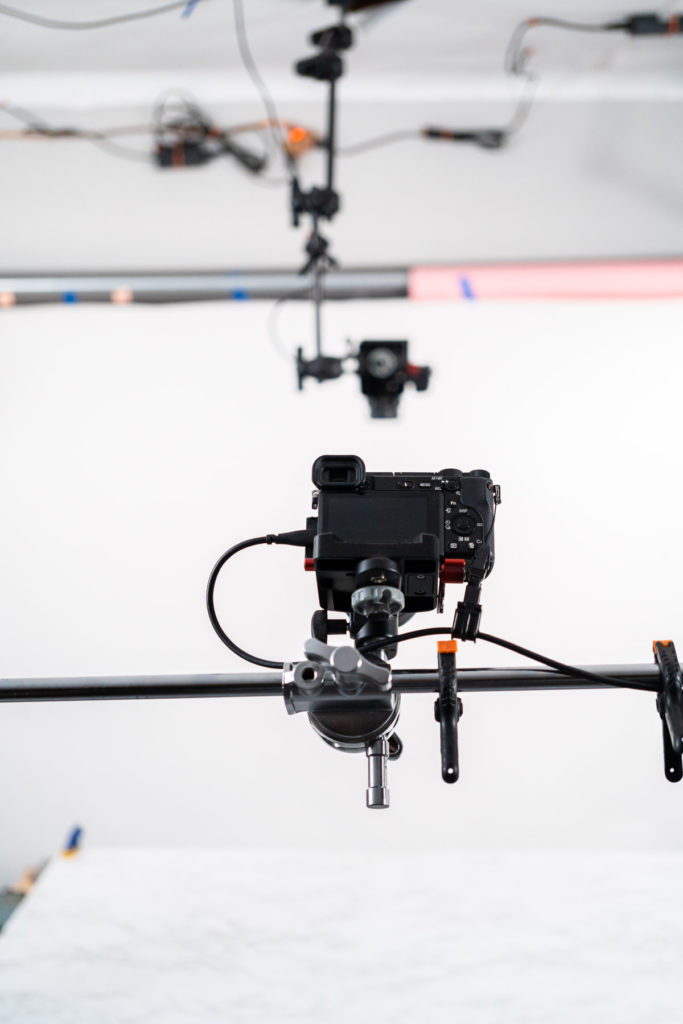
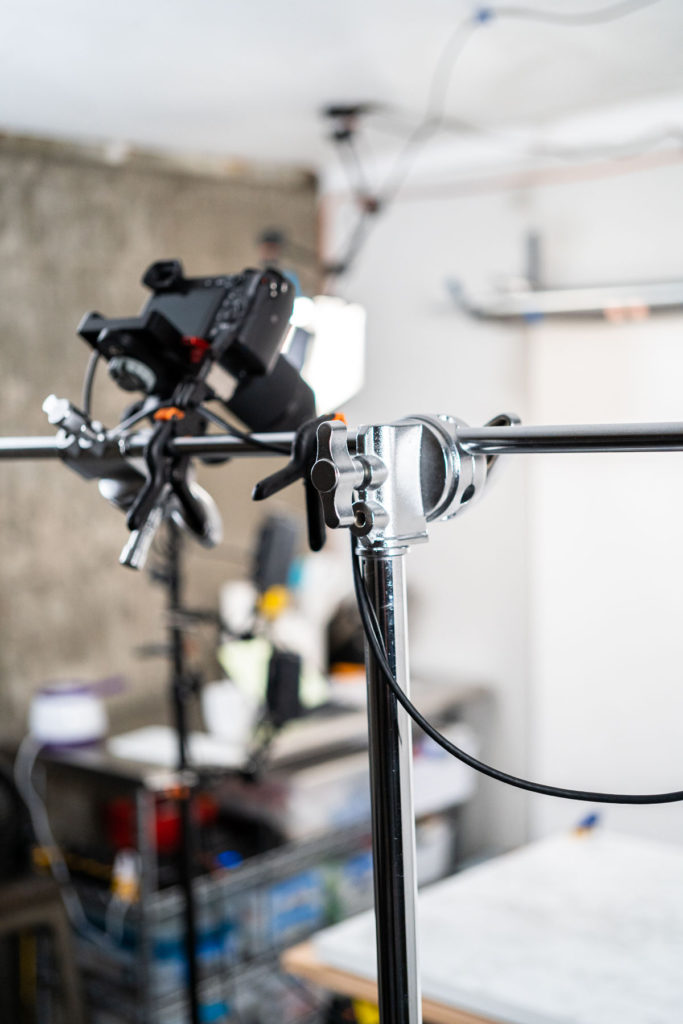
- Camera 1- Overhead camera.
- I think this is a must-have camera view! It covers the whole table and the overall picture of the recipe process. You can catch everything from this camera position!
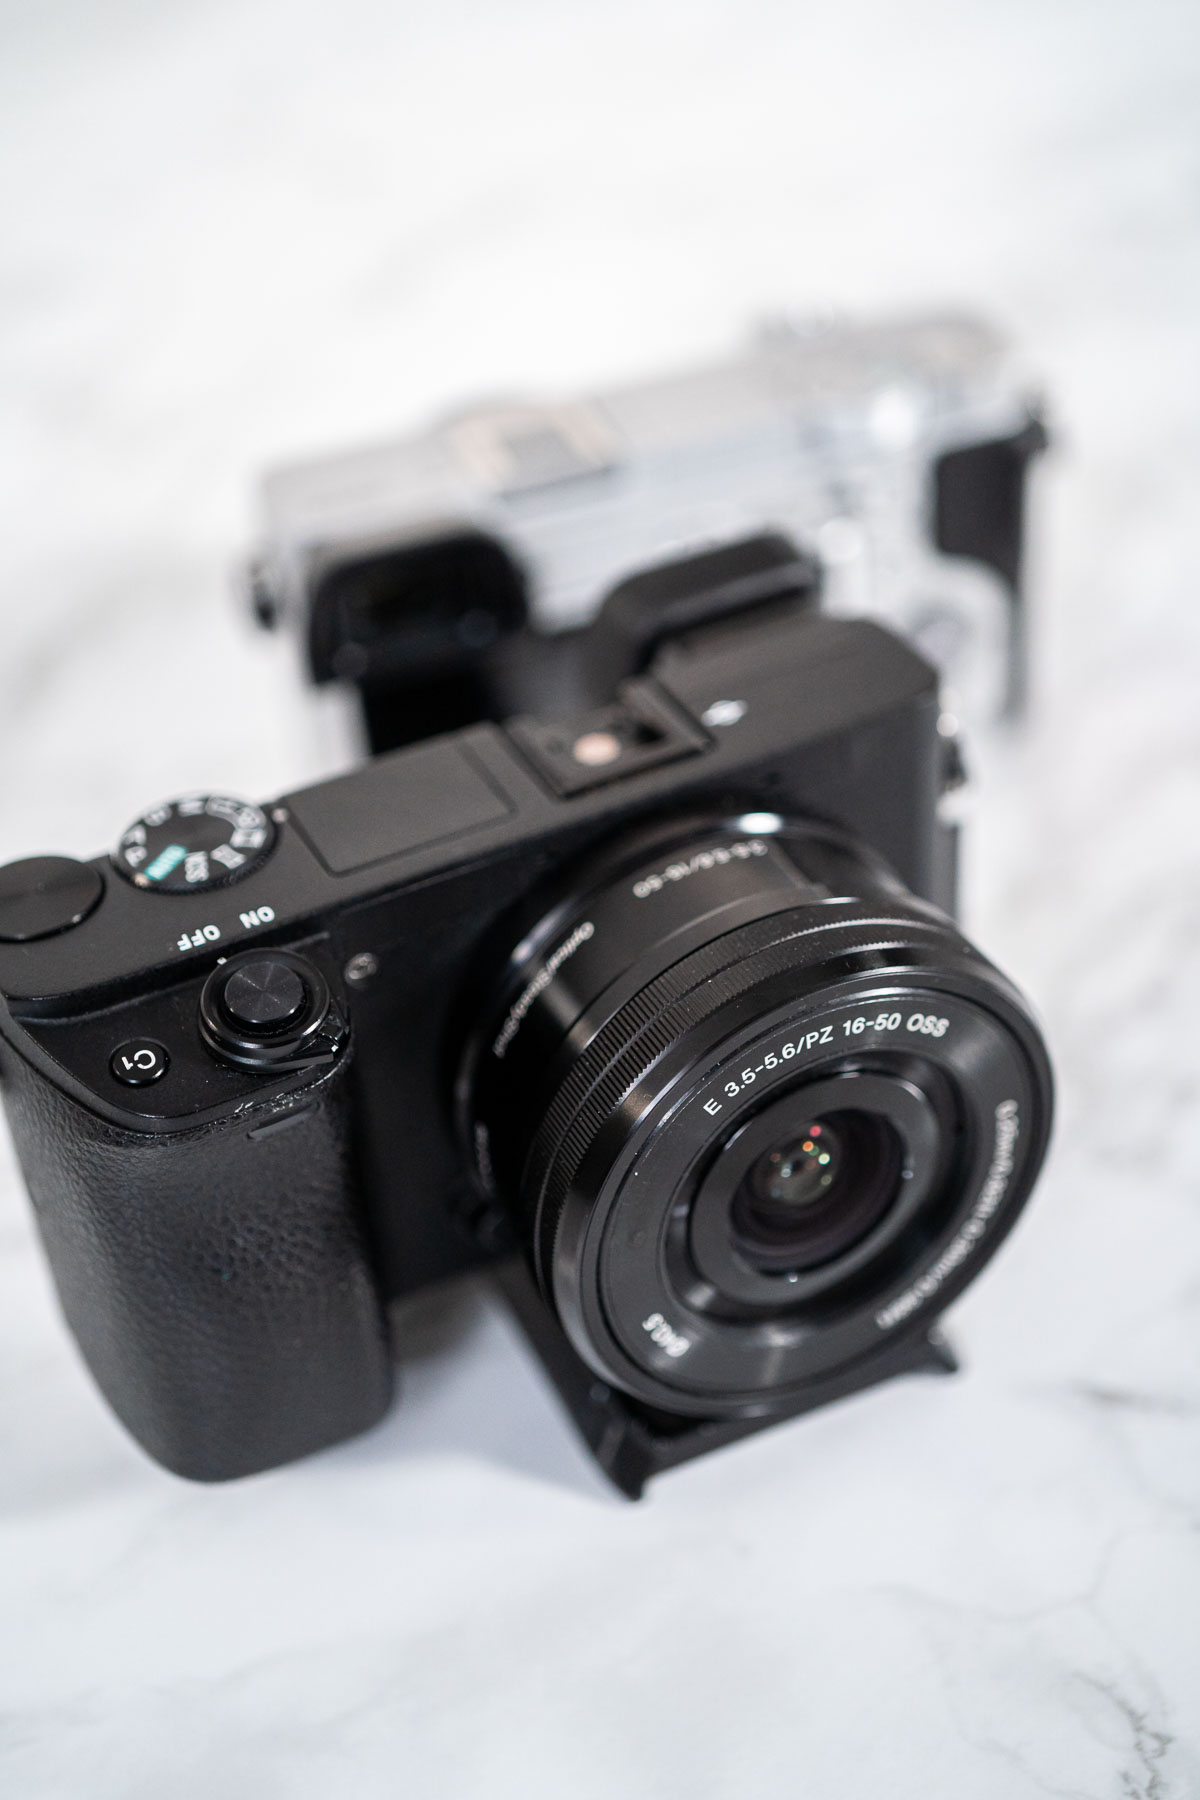
- The camera in this position needs to be light and needs a zoom lens. I use standard kit lenses 16-50 mm.
- The second camera could be located:
- In front
- On the side
- Behind the shoulder
- I prefer not to move my second camera at all during my recording process. When you move your camera you might also need to change your lighting.
Camera Tips
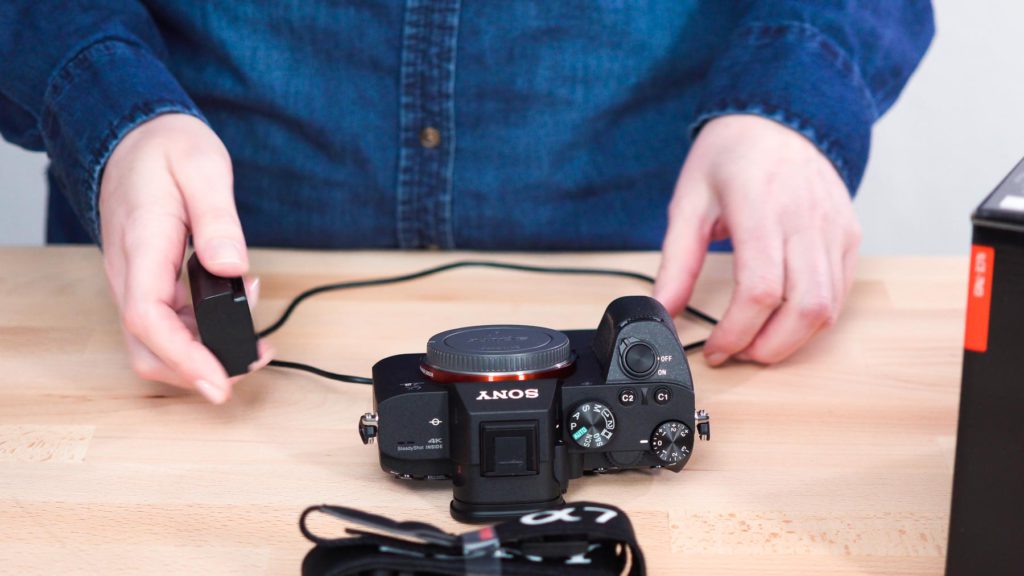
- To keep cameras from overheating while recording, I have found that it helps to replace the batteries every 15 minutes or so. I have a total of 6 camera batteries that I swap out.
- When using multiple cameras for various angles, use the same brand and model.
- Alternatively, you can shoot with just one camera or even a smartphone. To do this, you must always have the same angle or be able to move the camera around during the recipe process. See How to Shoot Cooking Videos with 1 Camera.
- However, it should be kept in mind that some recipes do not allow enough time for you to move the camera around while filming. In this case, you have to record the recipe twice. Yikes! Who has time for that?! I much prefer using 2 cameras at the same time.
- I specifically like to shoot my recipe videos in 4K to have more space to work in post-production.
Must-Have Camera Equipment
Over my years of experimenting with cameras, equipment, and processes, I have a pretty good idea of what the most useful recording equipment is. For a full list and breakdown of my recipe video equipment, check out Best Equipment for Video Recipes and My Favorite Cooking Video Tools!
Video Equipment for 2 Cameras:
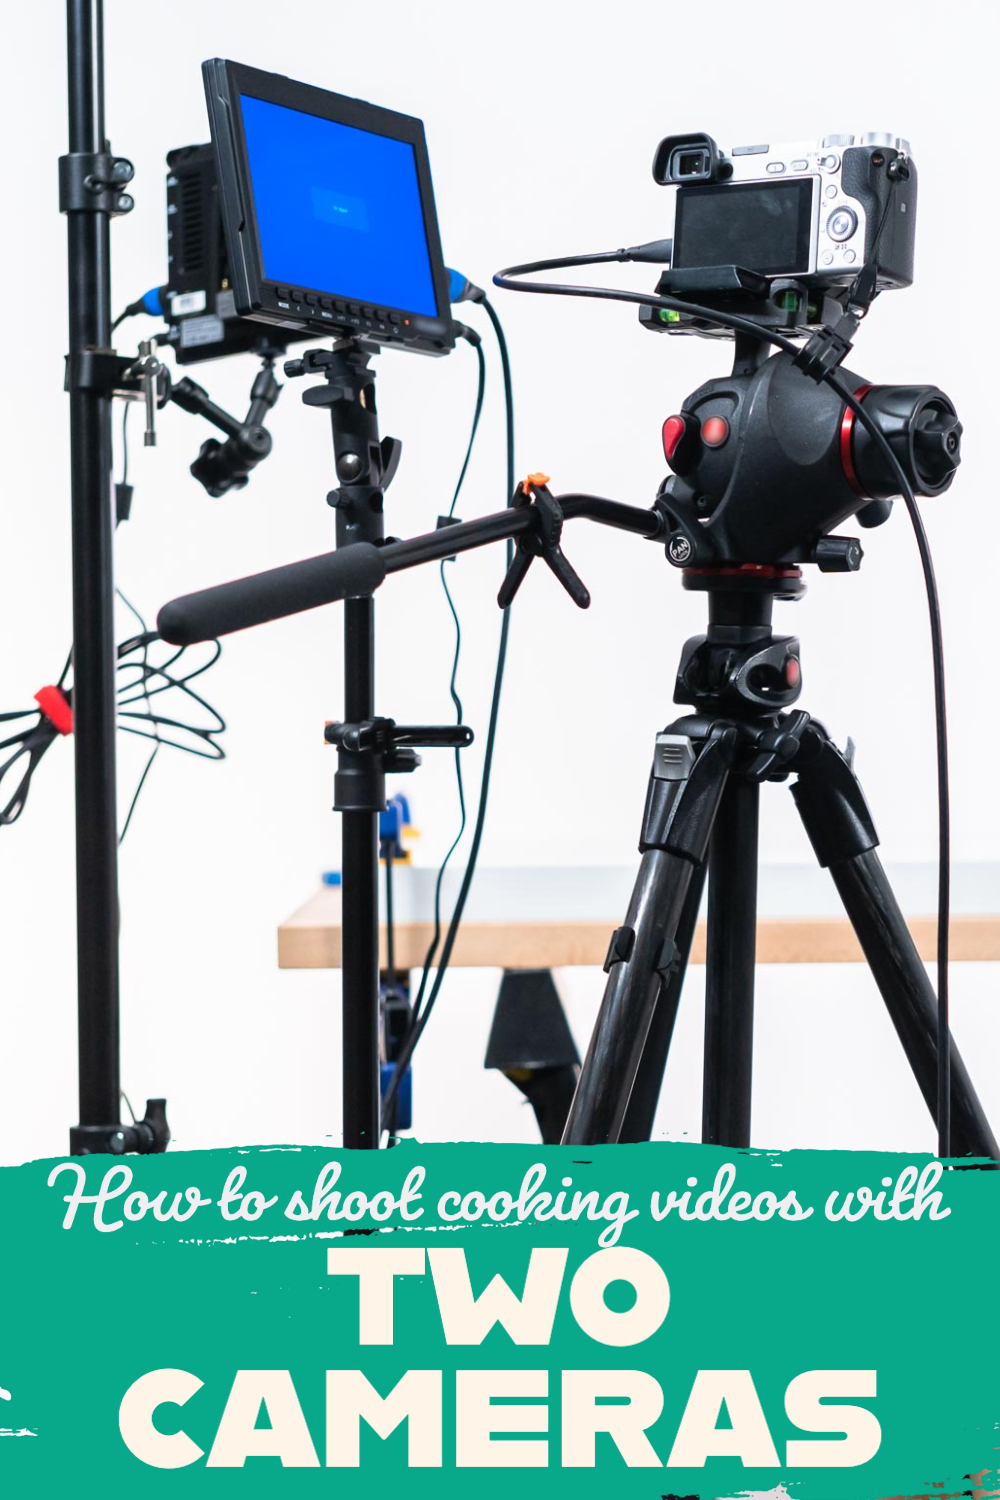
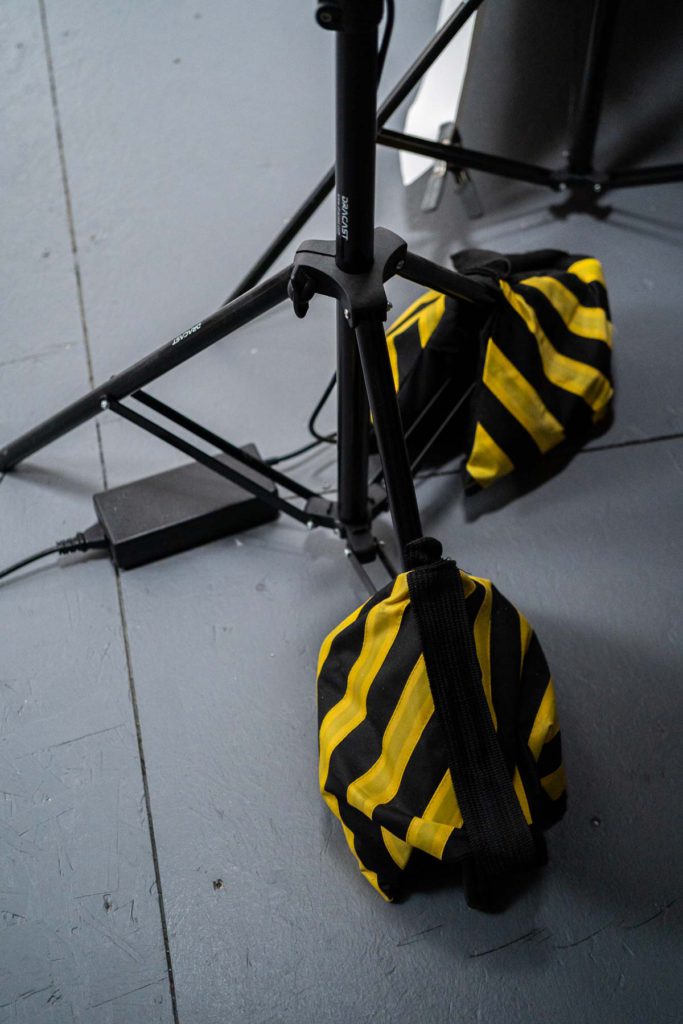
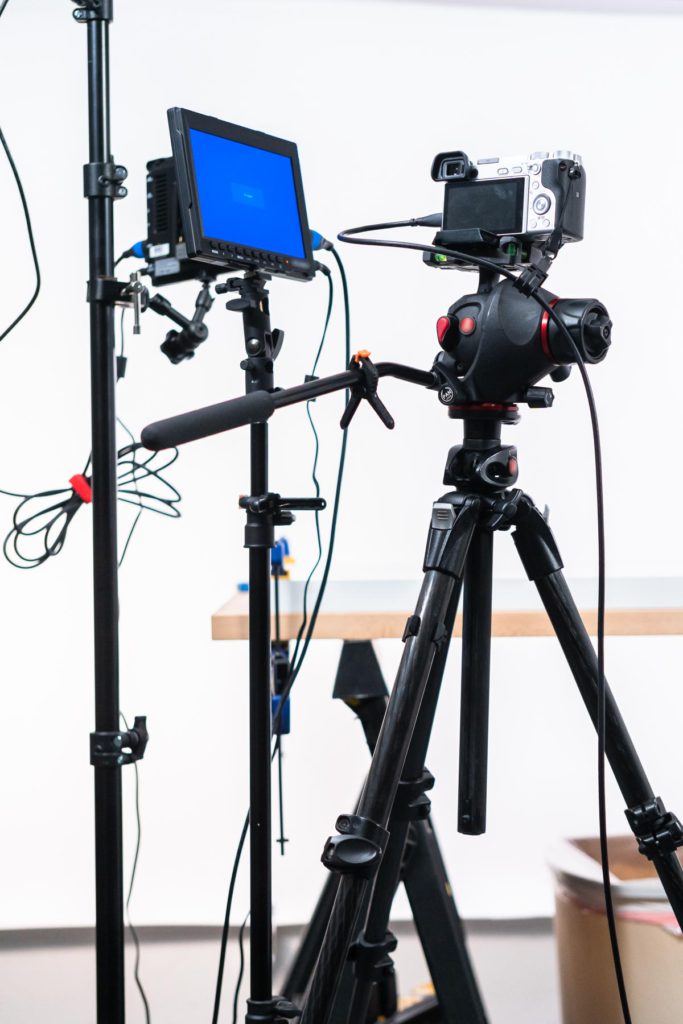
- Tripods or c-stands -These are what hold your cameras while recording. This is pretty much mandatory.
- Cameras (DSLR)
- Camera+zoom lens
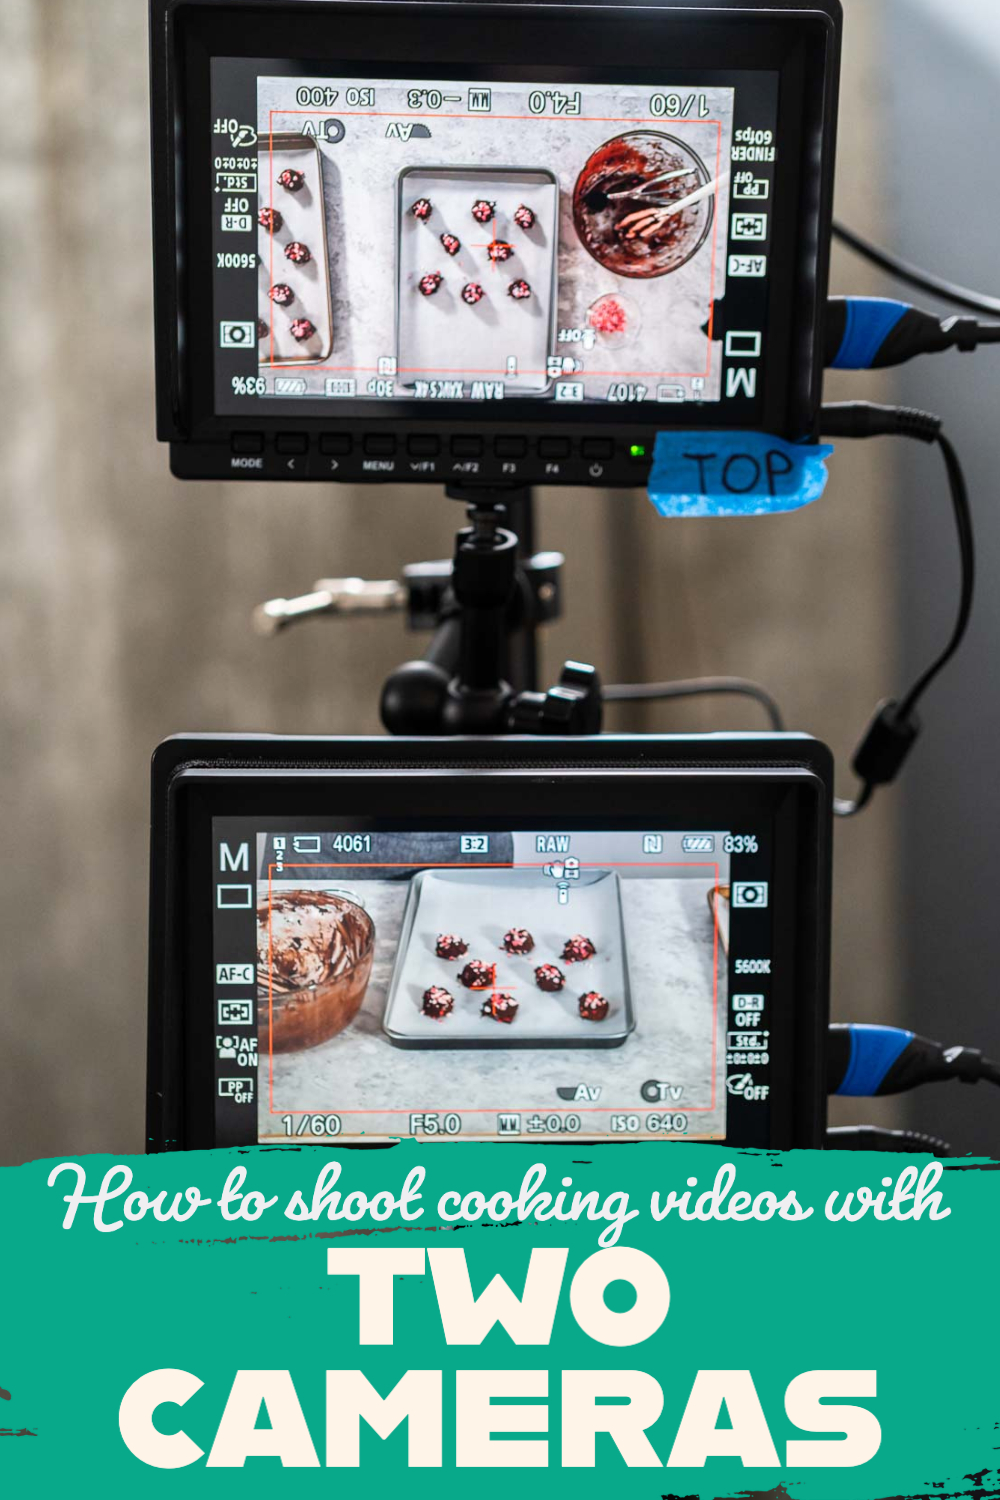
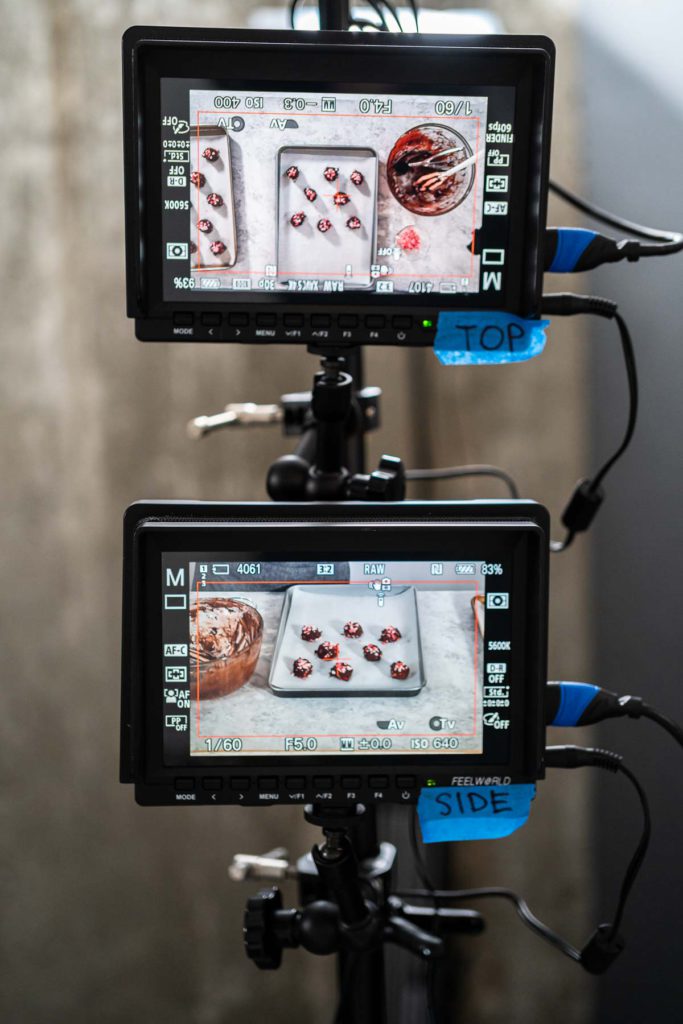
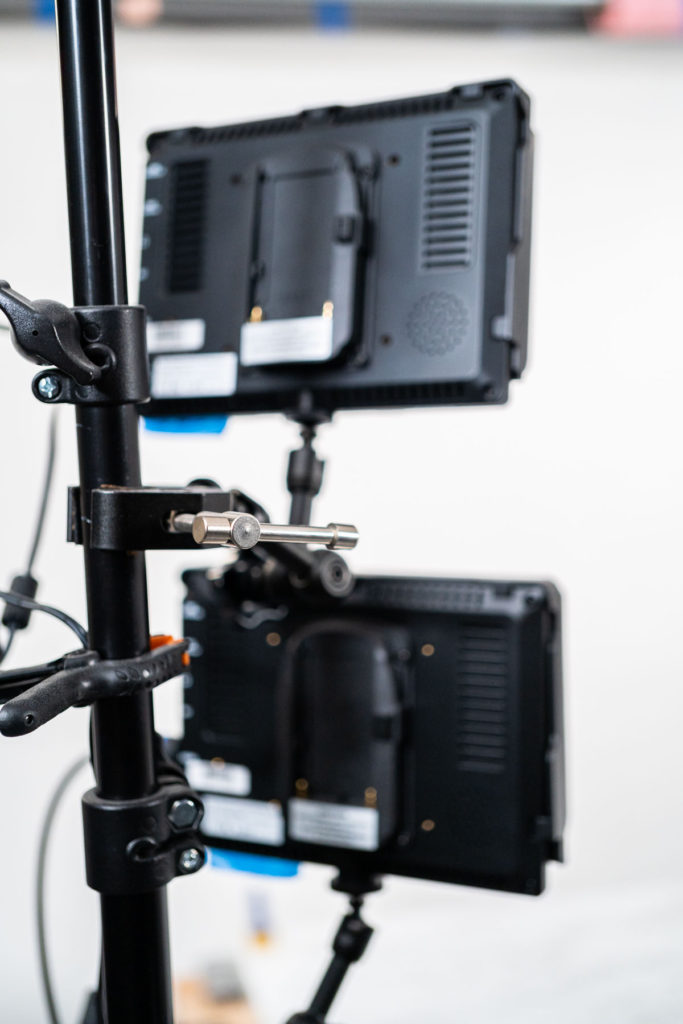
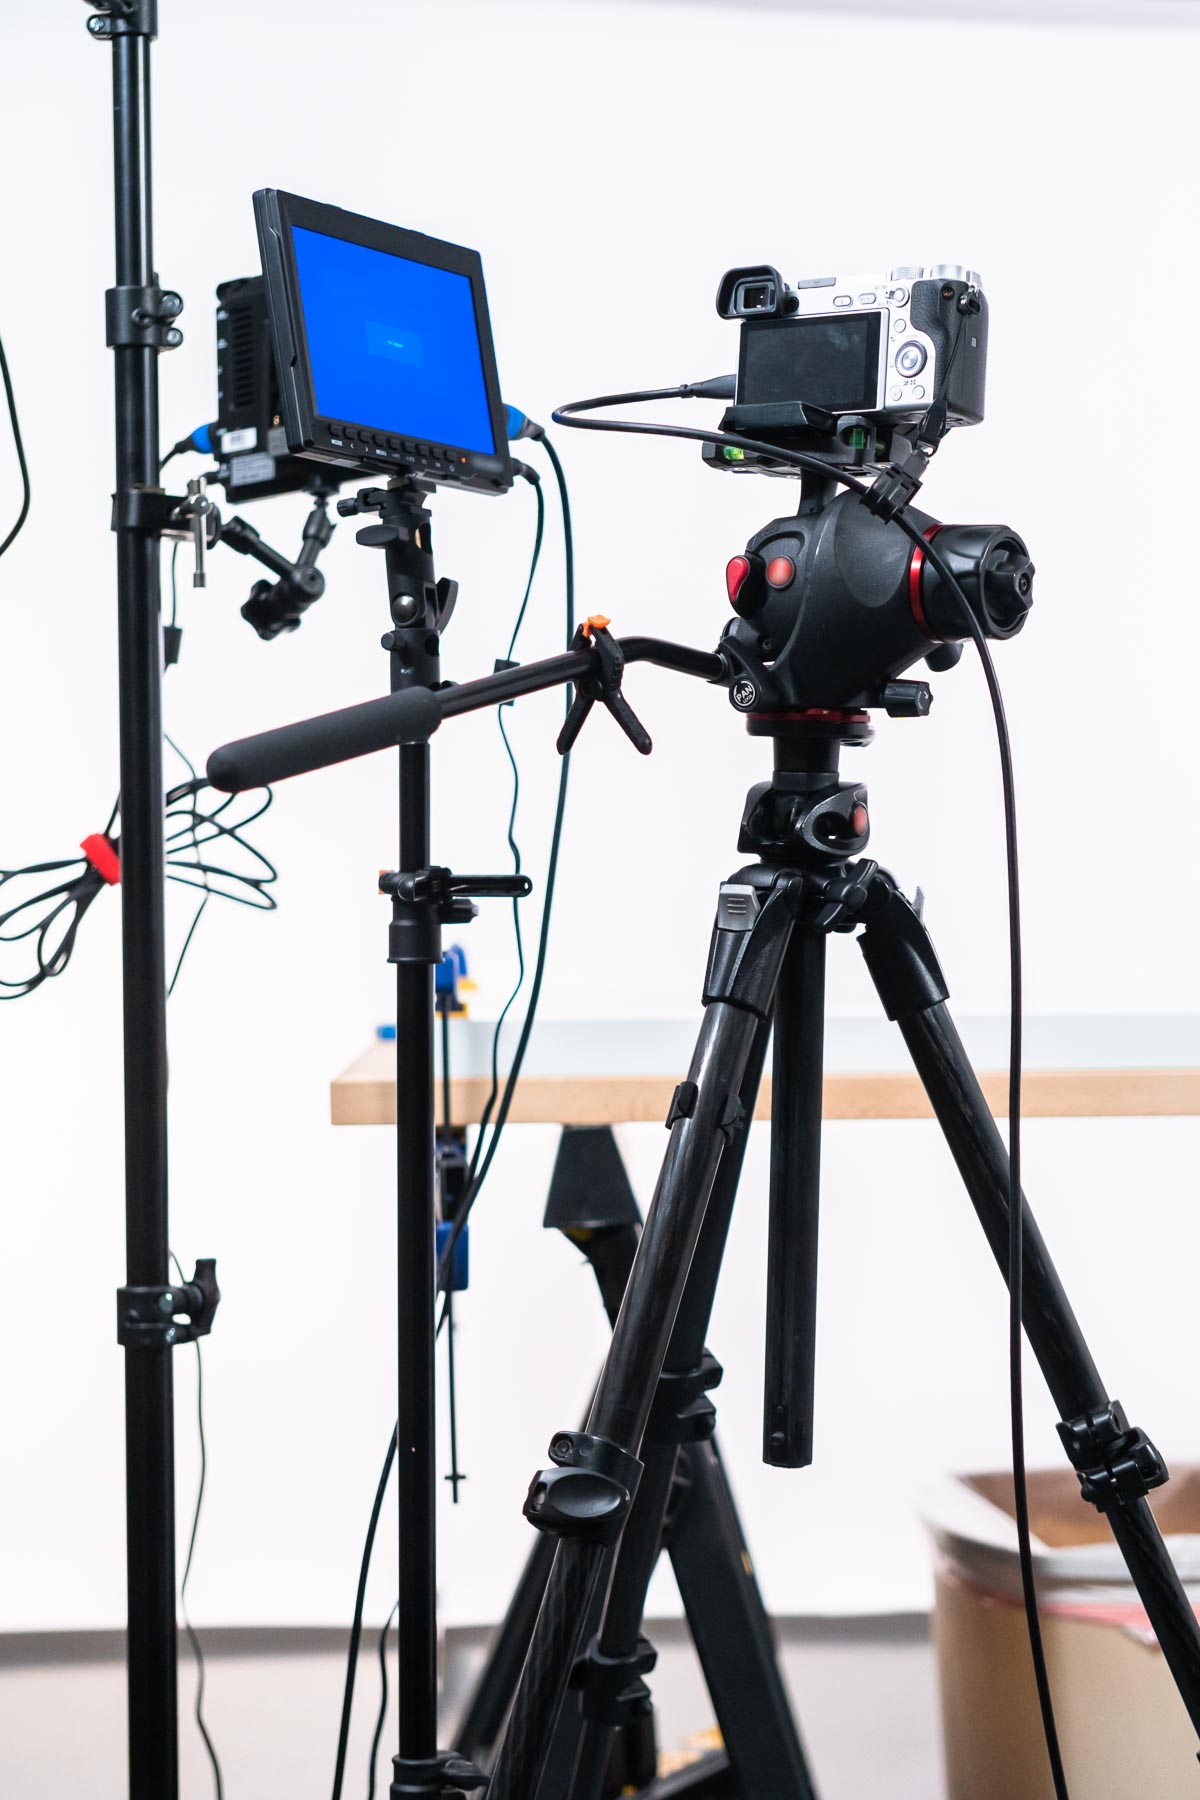
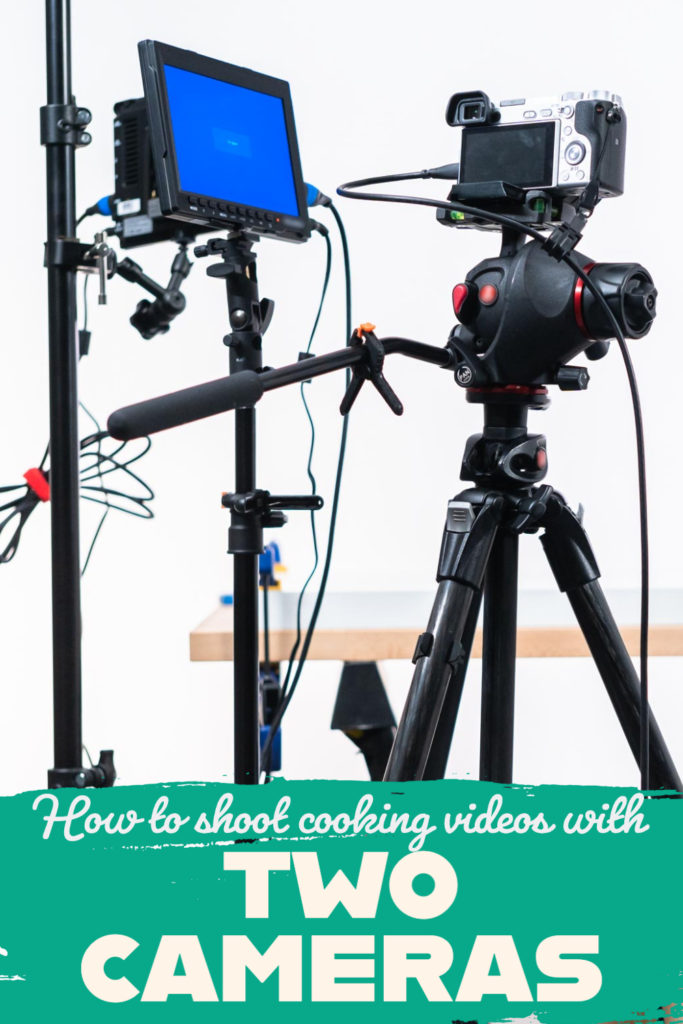
- Field monitors and cables - With field monitors you only have to look in one spot to check the views on all cameras. Otherwise, it’s a lot more time-consuming.
- I like to use long 15ft cords that allow me to move cameras if I need to.
- I also like to mount the monitors when possible to make them easier to view and they take up less space.
- Remote control - This is to start recording on both cameras at the same time with one push of a button. This is one of my favorite tools!
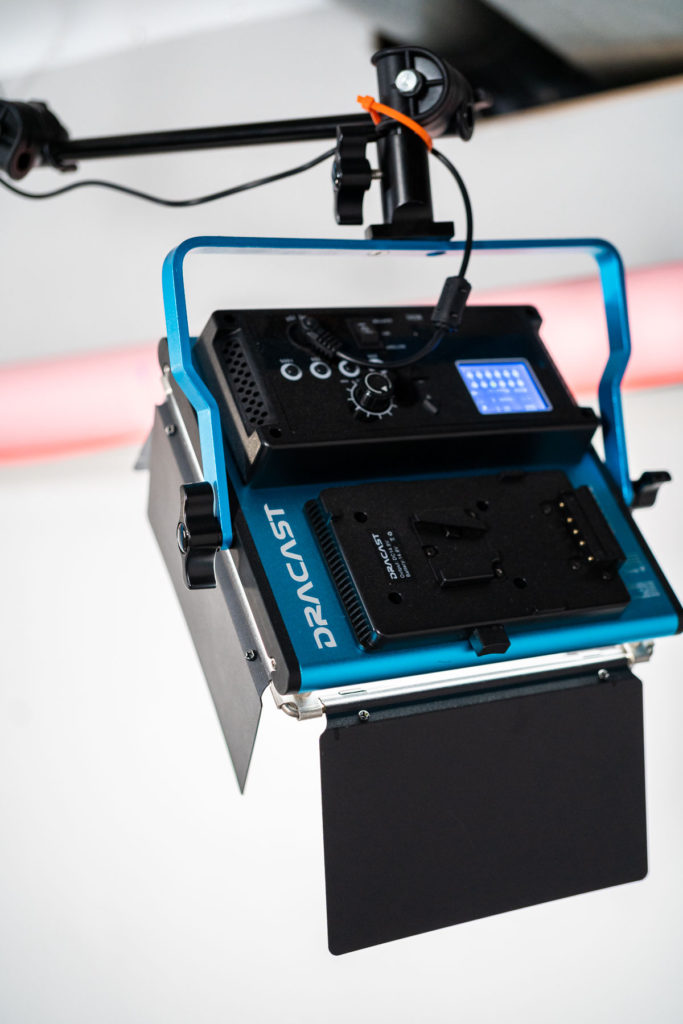
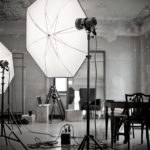
- Lighting - If you have been shooting with a single camera and natural light up until now, you will soon find out that you will need additional light. You need to provide good lighting for each camera view, but this light will need to be small, otherwise, you will run out of space if you use large softboxes.
- Led lights
- My studio has 2 large lights and 2 small lights.
- This amount of lighting will allow you to move away from the reflectors which saves a lot of time!
- Led lights
- Background
- Could start by using the dining table or a large cutting board. I prefer to use a dedicated background for still food photos and for most of my cooking videos.
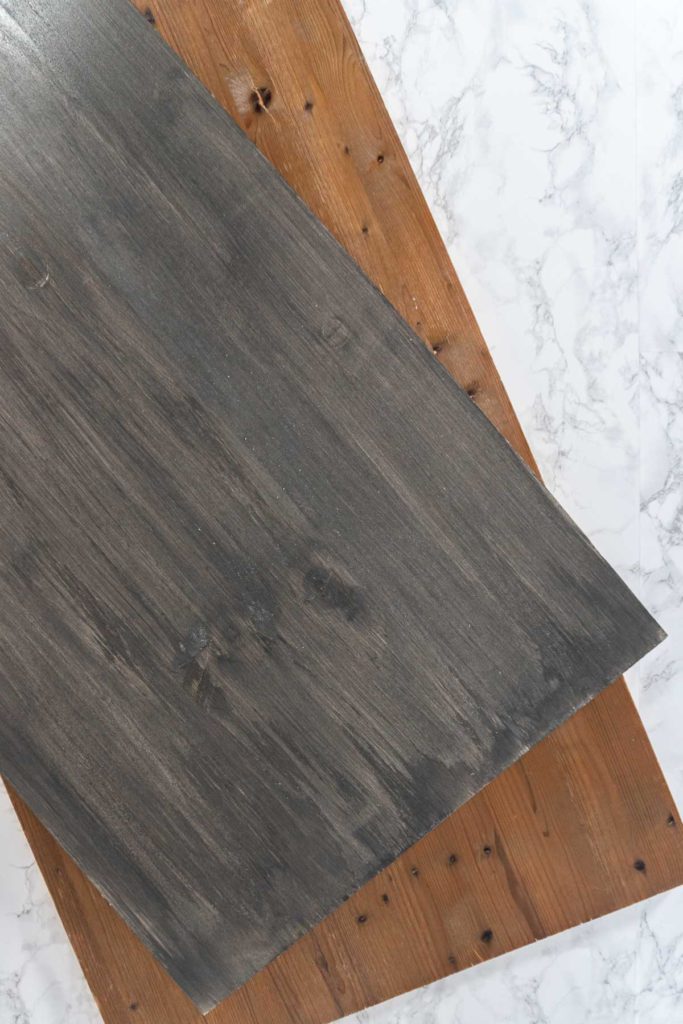
- My go-to background I actually make myself with MDF board and vinyl contact paper. I go over more DIY backgrounds and my process in Best Backgrounds for Cooking Videos.
- You can save a lot of time and research on backgrounds by checking out some of my background experiments:
- Memory Cards
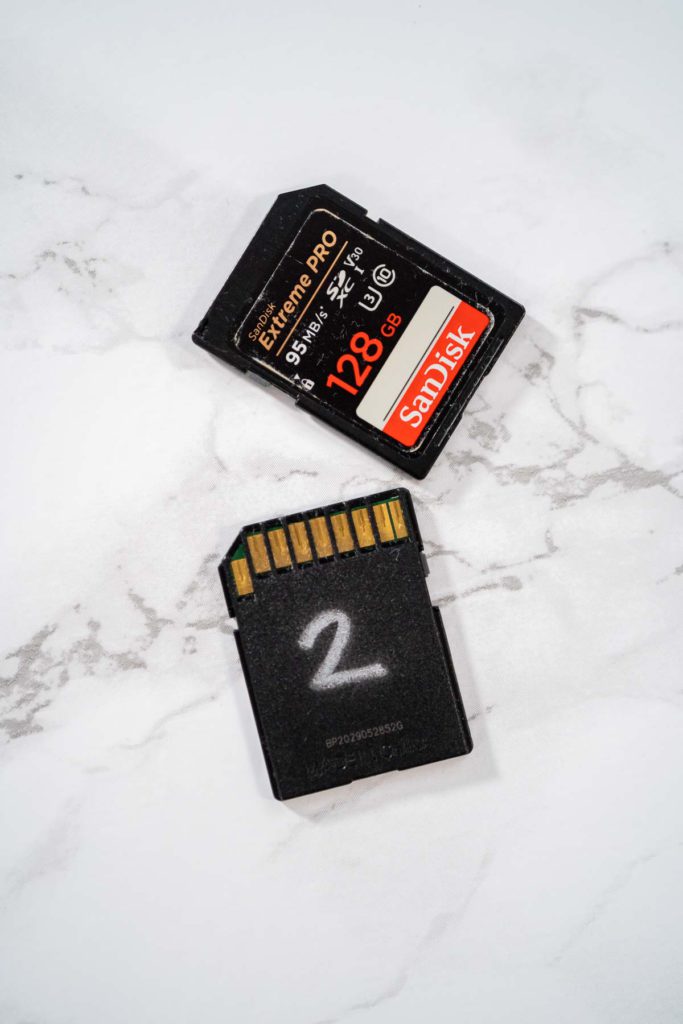
- I like to use 128GB memory cards. Each one gives me enough space to record 3-4 recipes in 4K without having to stop and swap for a new card.
Comparing Costs
So I’ve talked a little bit about the costs of a 2 camera set-up but let me break the costs down individually so you can better figure out what you’re looking at. Again this is based on my experiences and set-ups. Here’s a more thorough comparison of the costs (both mandatory and optional) between a one-camera set-up and a two-camera set-up:
More Tips for Cooking Videos
Tips for Shooting Cooking Videos
Need as much help as you can get your hands on so you can figure out your next step? Then you’ve come to the right place! I’ve got you covered with breakdowns on equipment specs, tools and tips, backgrounds, and organization:
- How to Shoot Cooking Videos with 1 Camera
- One vs. Two Cameras for Shooting Cooking Videos
- Best Camera for Cooking Videos
- What to Wear for Food Photography and Cooking Videos
- My Favorite Cooking Video Tools
- Best Equipment for Video Recipes
- 7 Tips for Studio Equipment Safety
- 5 Ways to Improve Studio Organization
- Best Backgrounds for Video Recipes
- Storing Backgrounds for Food Photography
- Backdrops and Backgrounds
Food Photography & Video Tips from My Studio
Here’s a peek at the tools, gear, and camera setups I use to film my recipe videos and photograph food at home. Over the years, I’ve tested dozens of different setups, and now I’m sharing what actually works for me—whether I’m filming overhead shots for YouTube or styling still photos for my blog. If you’re curious about how I create the content you see here, these posts are a great place to start.










Leave a Reply