|
This post contains affiliate links.
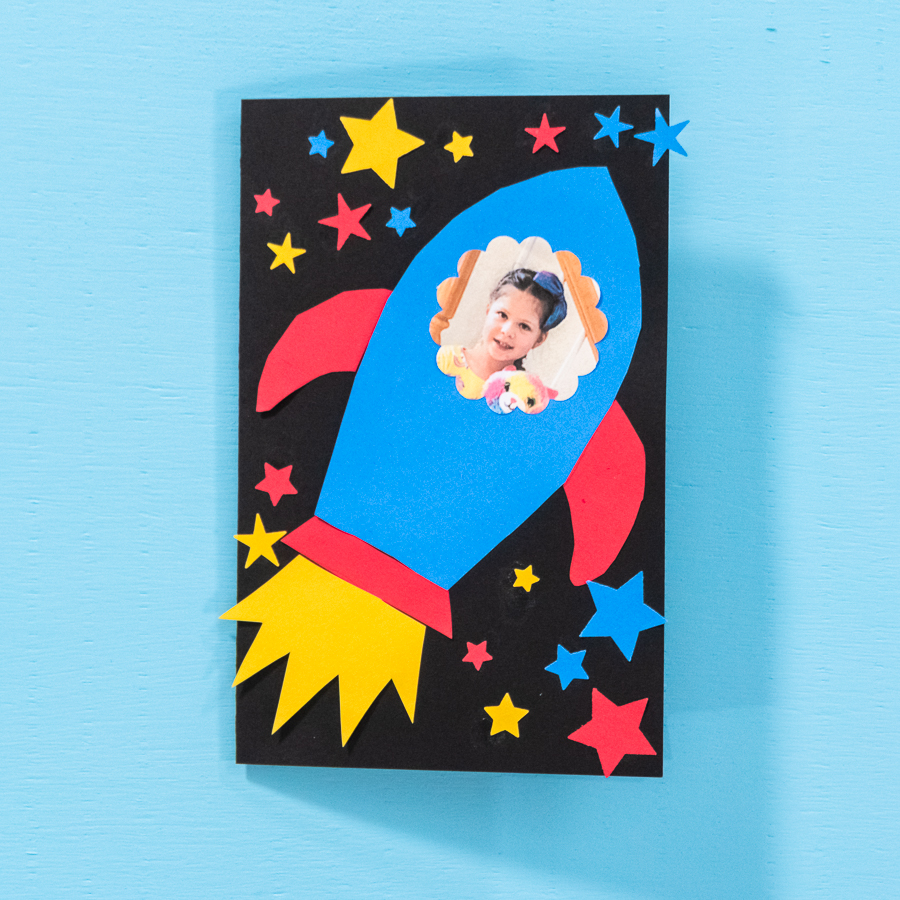
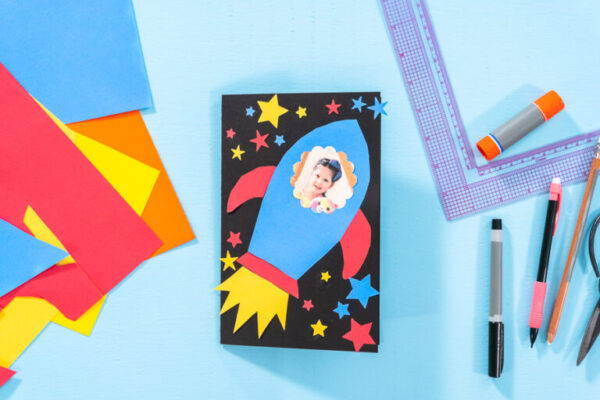
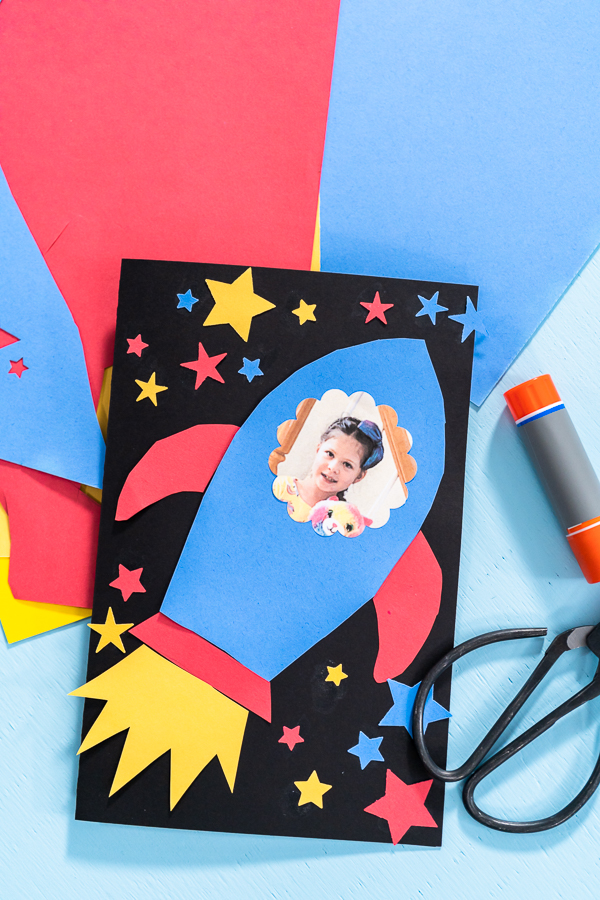
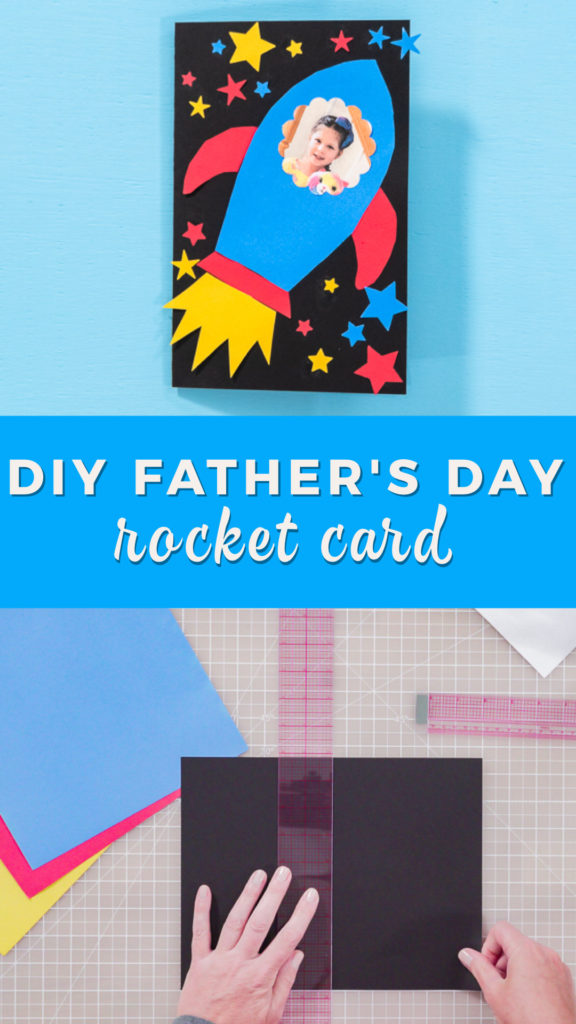
When Father’s Day rolls around, I love adding a personal, handmade touch to my gifts. This DIY Rocket Card is one of my favorite quick crafts because it’s simple enough for kids to make in under 30 minutes, yet the result feels so special. Using just cardstock, construction paper, scissors, and glue, you can create a fun, space-themed card that shows Dad he’s truly “out of this world.” What makes it extra meaningful is personalizing it with a child’s photo—something that always makes the gift unforgettable.
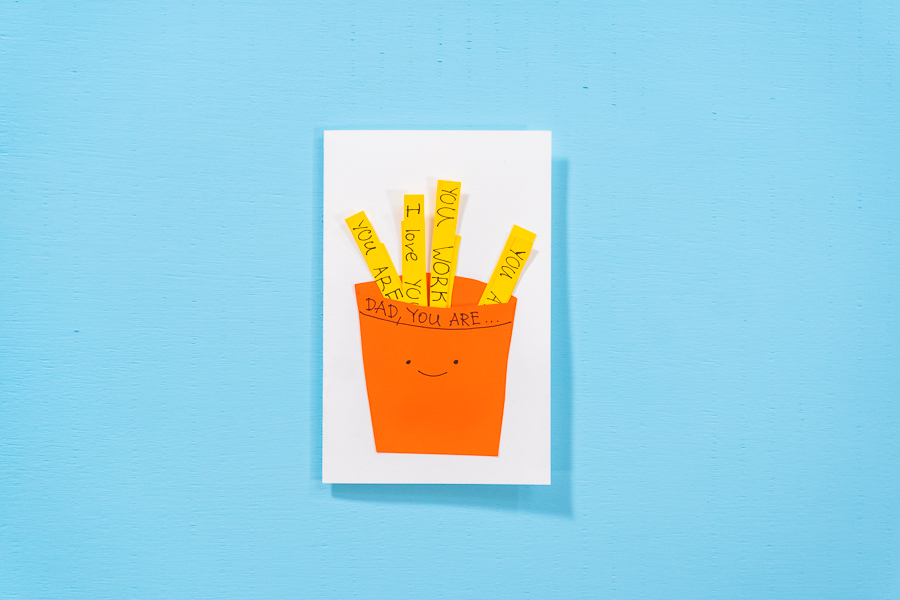
This project is a wonderful option for teachers, homeschoolers, or parents looking for an engaging activity that doubles as a thoughtful gift. It also works beautifully for birthdays, Valentine’s Day, or space-themed celebrations. If you enjoy this craft, you might also like my DIY Father’s Day French Fries Card or get inspired by seasonal projects like the DIY Unicorn Pumpkin and DIY Mermaid Pumpkin for other creative, hands-on ideas.
Why you’ll love this craft
Versatile: Perfect for Father’s Day, birthdays, and more.
Kid-friendly: Clear, simple steps and minimal supplies.
Personalized: Add photos, glitter, or stickers to make each card unique.
Quick project: Done in less than 30 minutes.
Reusable template: My free rocket template makes cutting easy.
Watch how I make this craft
Equipment and Supplies
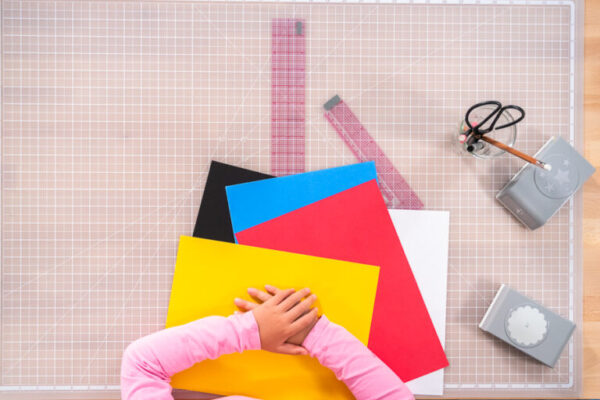
- Small photo of your child
- Cardstock (black for the background)
- Construction paper (various colors)
- Scissors (choose kid-safe options for younger children)
- Glue stick
- Large scalloped circle punch (2-inch)
- Star paper punch
- 18-inch ruler
- L-square ruler
- Large translucent cutting mat
- Rocket card template
Before You Start: My Quick Tip
- I like to let kids experiment with arranging all the rocket pieces before gluing—it helps them learn balance and design.
- If you want a more dramatic background, use metallic paper for stars or add glitter glue for a galaxy effect.
- When making these with groups, pre-cut the rocket shapes so kids can focus on assembling and decorating.
- This project pairs perfectly with gifting homemade treats like my Chocolate Ginger Sugar Cookies or Lemon Spritz Cookies with Cranberry Buttercream.
- You can also pair it with savory bakes like Spicy Jalapeño Cornbread Muffins or a loaf of Caramel-Topped Banana Bread as part of a homemade Father’s Day basket.
- Display the finished card alongside other handmade creations like the DIY Father’s Day French Fries Card for a themed surprise.
- And for peace of mind when little ones are cutting or gluing, check out the American Academy of Pediatrics guidelines on safe crafting practices.
Latest Video
Let’s Make It Together
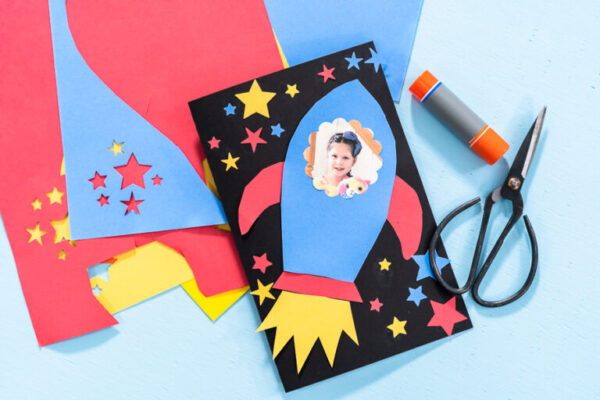
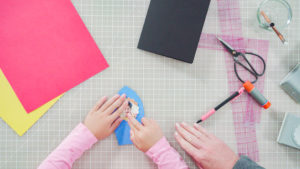
- Trace the rocket template. Print my rocket template and cut out the shapes with scissors.
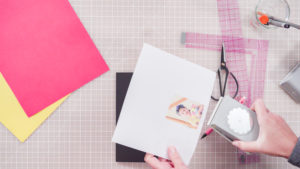
- Prepare the photo. Use a 2-inch scalloped circle punch to cut out your child’s photo.
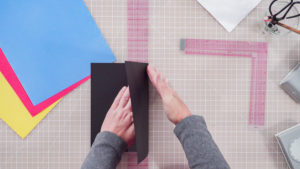
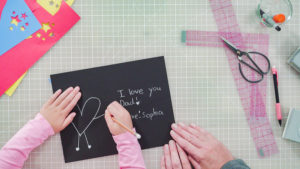
- Make the card base. Fold a piece of black cardstock in half horizontally, using a ruler for a crisp edge.
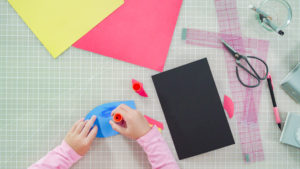
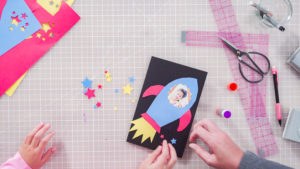
- Assemble the rocket. Glue the child’s photo to the rocket, arrange all the pieces for placement, then glue them down carefully.
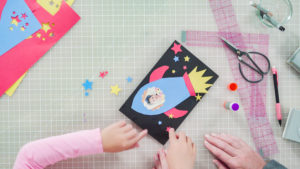
- Decorate the sky. Punch out stars from colorful construction paper and glue them around the rocket. Add planets or a moon if you like.
- Write a message. Use a white pencil or marker to write a heartfelt Father’s Day note inside.
Other ways to use this card
This rocket card isn’t just for Father’s Day. Try it for:
Grandparents, teachers, or friends who enjoy handmade cards.
A child’s birthday party, especially if they love rockets or astronauts.
Valentine’s Day (“I love you to the moon and back”).
Playdates, rainy day crafts, or classroom projects.
Related crafts and DIYs
DIY Unicorn Pumpkin – another creative seasonal project to try.
DIY Unicorn Party Favor Bags – whimsical and perfect for themed parties.
DIY Father’s Day French Fries Card – another fun handmade card idea.
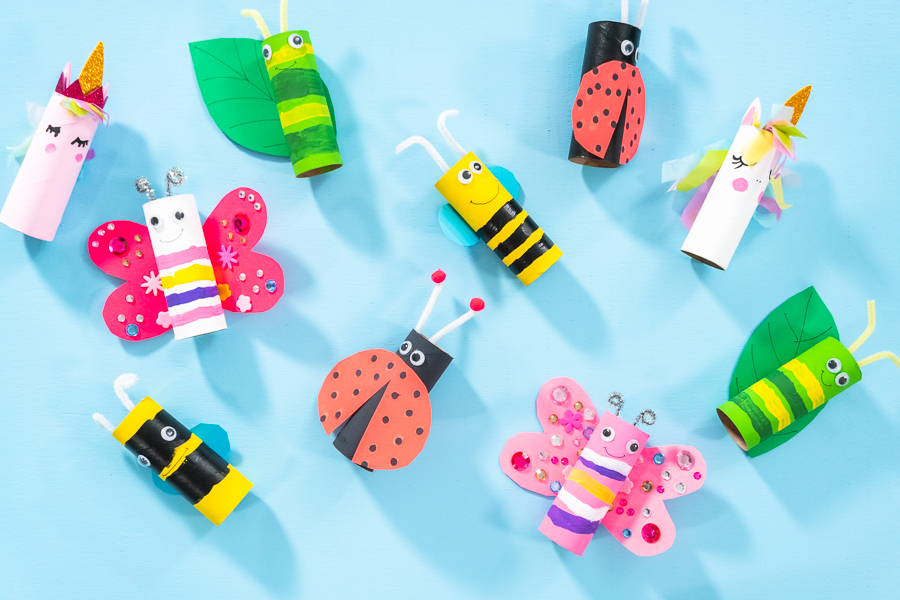
DIY Toilet Paper Roll Bugs Craft – creative, eco-friendly craft for kids.
DIY Mermaid Pumpkin – a playful seasonal decoration.
DIY Gold Painted Easter Eggs – elegant and simple spring craft.
DIY Father's Day Rocket card
Video
Equipment
- Picture of your child
Instructions
- Trace or draw the rocket using my template, then cut out all the pieces with scissors.
- Use a 2-inch circle punch to cut out your child’s photo.
- Fold a sheet of black cardstock in half horizontally—use a ruler for a neat crease.
- Begin by gluing the photo onto the rocket with a glue stick.
- Arrange all the rocket pieces on the card to check placement before gluing.
- Lift each rocket piece one at a time, apply glue to the back, and press it gently in place.
- Punch out stars from construction paper in different colors.
- Glue the stars around the card to fill in the background.
- Write your message inside the card with a white pencil.
More crafts to try
DIY Projects
I’ve Got Answers
Can I make this without a template?
Yes—just draw a rocket shape freehand; it doesn’t need to be perfect.
What if I don’t have a scalloped punch?
Simply cut the photo into a circle with scissors.
How do I make the card sturdier?
Use heavy cardstock, or laminate the pieces before gluing.
Can younger kids join in?
Absolutely—they can glue on stars, color the background, or help with decoration.
Pin It For Later
Food Photography & Video Tips from My Studio
Here’s a peek at the tools, gear, and camera setups I use to film my recipe videos and photograph food at home. Over the years, I’ve tested dozens of different setups, and now I’m sharing what actually works for me—whether I’m filming overhead shots for YouTube or styling still photos for my blog. If you’re curious about how I create the content you see here, these posts are a great place to start.








Leave a Reply