How to make satisfying cinnamon-y breadstick snacks with a colorful patriotic twist!
This post contains affiliate links.
Here in the USA, we all have our own ways of celebrating the 4th of July, even if we celebrate with some of the same traditions. Some families like to stick to their old-fashioned kind of Independence Day celebrations while other families are always on the hunt for new ways to celebrate and new traditions to bring to the table, so to speak. Some families are a mix of both! Whichever way you and your family like to celebrate the 4th of July, it’s time to add a new patriotic twist to your celebrations with these scrumptious Patriotic Cinnamon Twists!
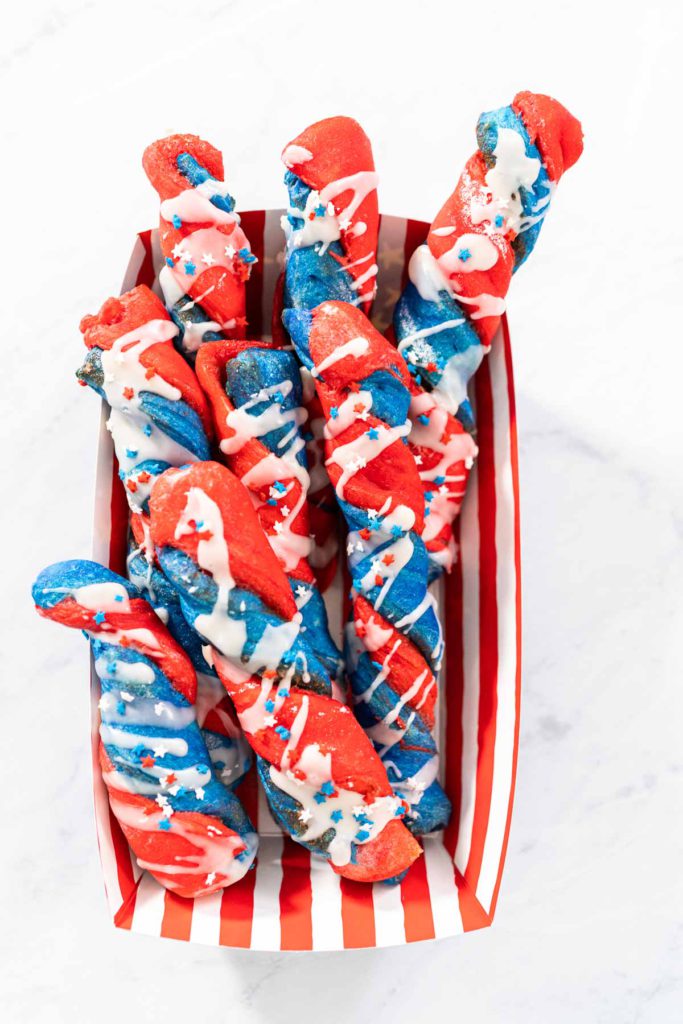
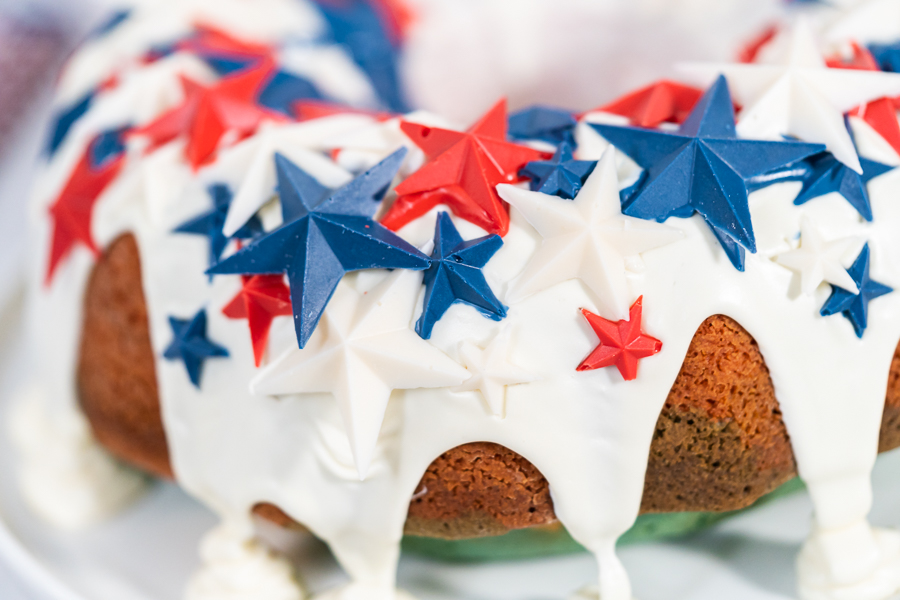
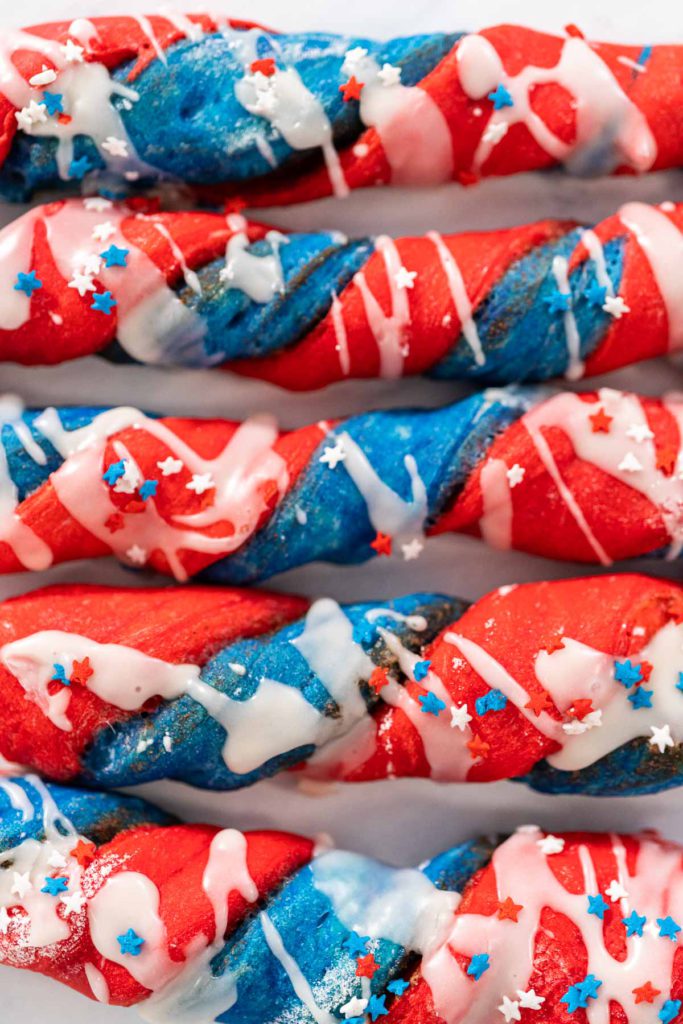
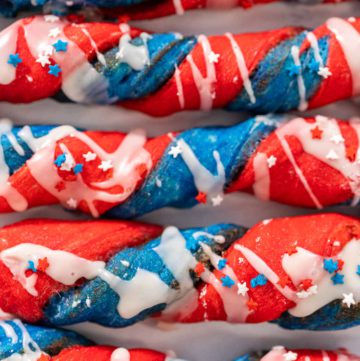
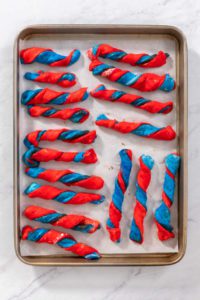
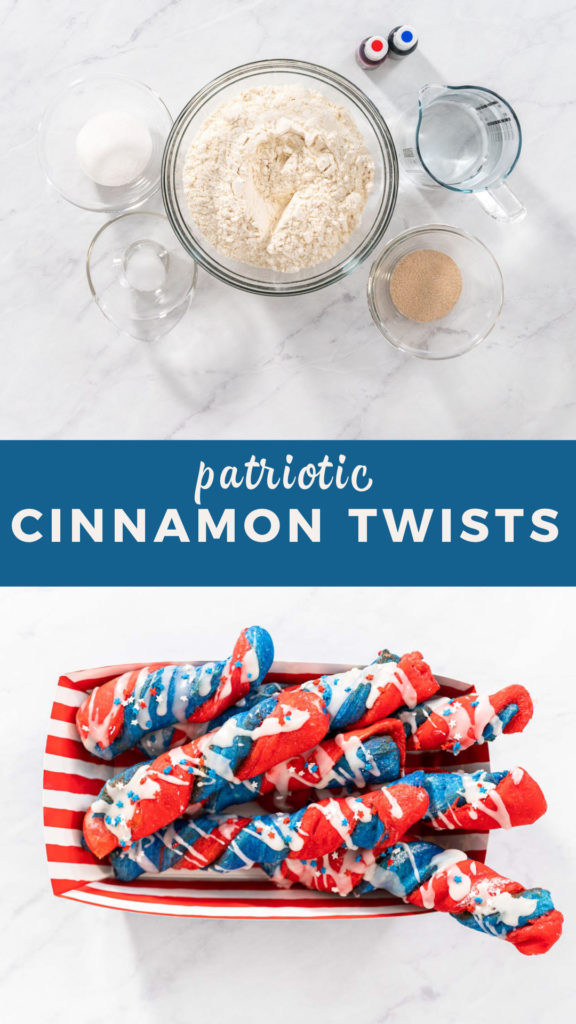
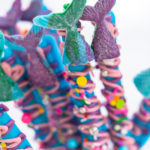
These mouth-watering homemade cinnamon breadstick twists are just oozing with that 4th of July patriotic ambiance! These red and blue breadsticks are twisted around a sugar-y cinnamon filling, drizzled with an easy homemade sweet white glaze, and dazzled with colorful star-shaped sprinkles! Plus these patriotic treats come with the same level of excitement and are as perfectly handheld as those little sparklers are! Just be sure not to get them mixed up! These patriotic cinnamon twists are absolutely perfect for adding a new colorful razzle-dazzle to any kind of 4th of July celebrations without any of the hazards.
Twisty Equipment
For these patriotic cinnamon twists, there are quite a few tools that you will need for successful snacks. Luckily, most of these tools are found in most common household kitchens but there is an extra tool or 2 that you may not have but that will play a really big helping hand in this process.
Twisted cinnamon breadstick equipment:
- KitchenAid mixer
- Blending whisk
- Disposable Vinyl Gloves
- Food wrap
- Baking sheets
- Parchment paper sheets
- French rolling pin
- Dredge shaker
- Heat Mat
- Chop cutter
Equipment Tip:
This heating mat is used to help the dough rise, especially if your kitchen is on the colder side. It’s perfectly portable and can just be rolled and stored in a cabinet very easily.

Cinnamon-y Ingredients
There are a few “layers” to this recipe but, lucky for us, none of the layers require complicated ingredients. Again, you probably have most of these on hand and just need to obtain an extra ingredient or 2 before getting started.
For the colorful Breadstick Dough:
- 3 ½ cups all-purpose flour
- ½ teaspoon salt
- 1 tbsp instant yeast dry
- 2 tablespoon sugar
- 1 ½ cups warm water
- Food Coloring blue and red
Cinnamon Filling:
- ¼ cup sugar
- 2 teaspoon Ground Cinnamon
Easy Glaze:
- 1 cup powdered sugar
- 2 tablespoon milk
- ½ teaspoon vanilla extract
Patriotic Garnish:

How to Make Star-Spangled Patriotic Cinnamon Twists
Alright, now it’s time for me to break down the steps of the process for you so you can just read over and follow along easily. This patriotic cinnamon twist recipe is overall pretty simple to do, just keep an eye out for any special instructions or notes I have listed for you in the process below.
Making the breadstick dough:
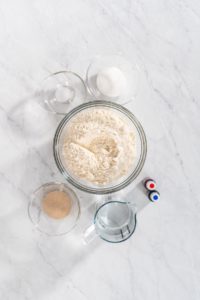
- First, gather up and measure out all of the dough ingredients.
- Next, in a large mixing bowl, combine the flour and salt with a blending whisk and set aside.
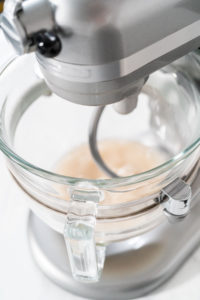
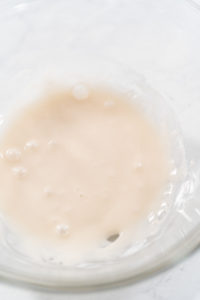
- Then, in a large stand mixer bowl, pour in the yeast, sugar, and warm water. Beat the ingredients together on a high setting with the stand mixer fitted with a dough hook until completely mixed.
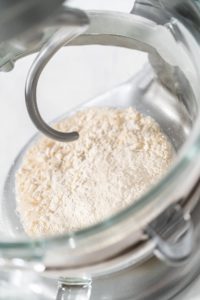
- Add the flour mixture into the yeast mixture ⅓ at a time, mixing well between each addition.
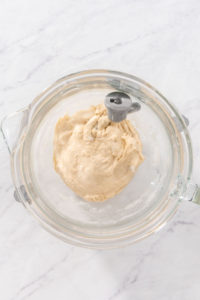
- The dough is ready when it pulls away from the sides of the bowl and forms a soft, smooth ball of dough.
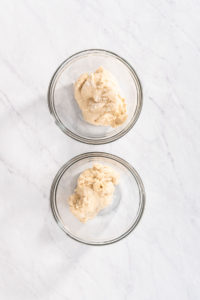
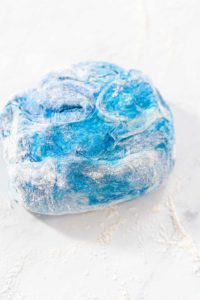
- Then, split the dough evenly between 2 large bowls and cover your hands with disposable gloves because this next part gets messy!
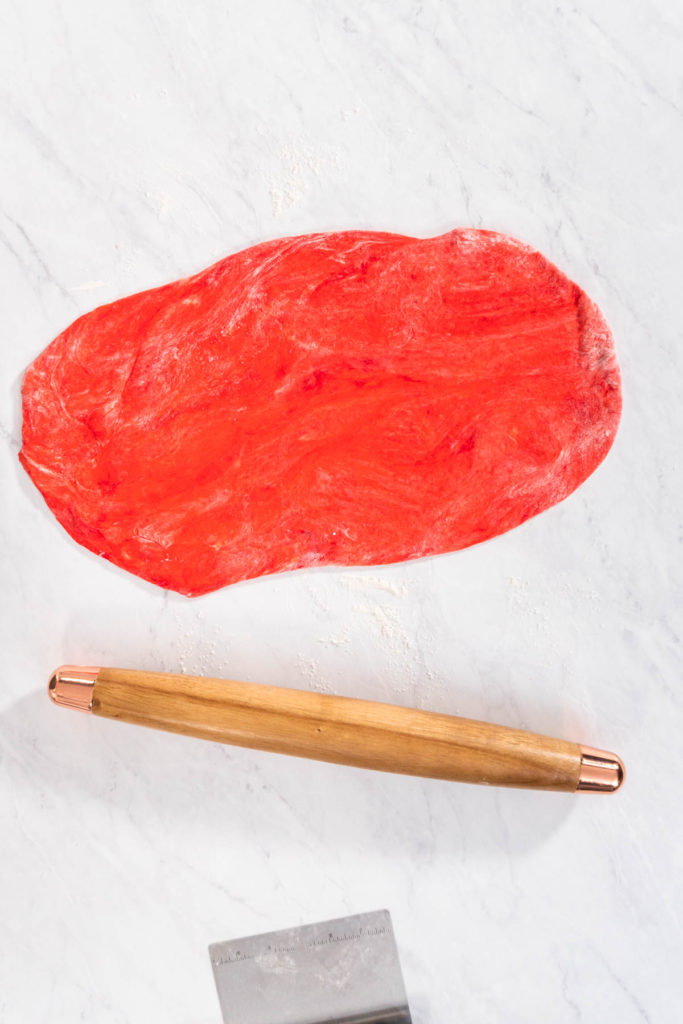
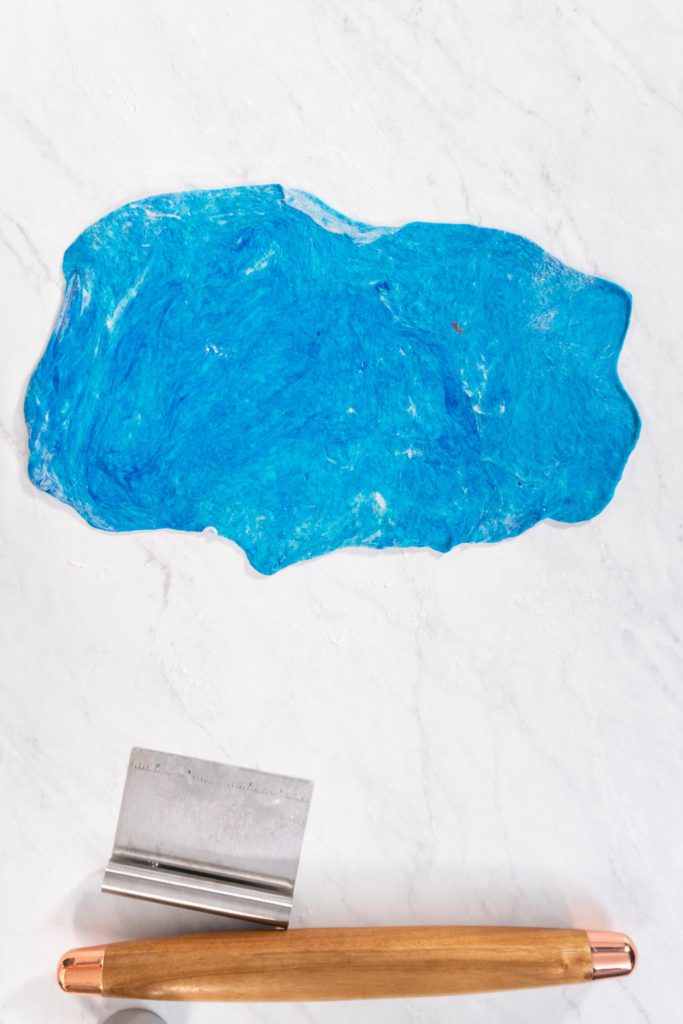
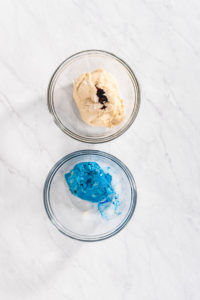
- Add a few drops of food coloring into each of the bowls of dough, one red and the other blue. Use your hands to knead and fold the colors into the doughs. Set the colored doughs aside to rest for 10 minutes while you prepare the cinnamon filling.
- Then, after mixing the cinnamon filling, lightly flour a large, flat surface for the dough.
- I like to use a dredge shaker to evenly distribute the flour onto my surface.
- If the dough is too sticky, roll it around on the lightly floured surface.
- Using the chop cutter to help scoop the dough around to pick up the flour makes this step a bit easier.
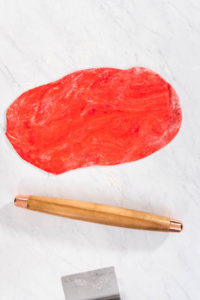
- Next, use the rolling pin to roll out one of the colored doughs until it is ¼ inch thick.
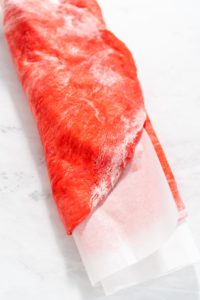
- Place a sheet of parchment paper over the dough and use the rolling pin to fold the dough around itself without letting any of the dough touch, otherwise it will stick together.
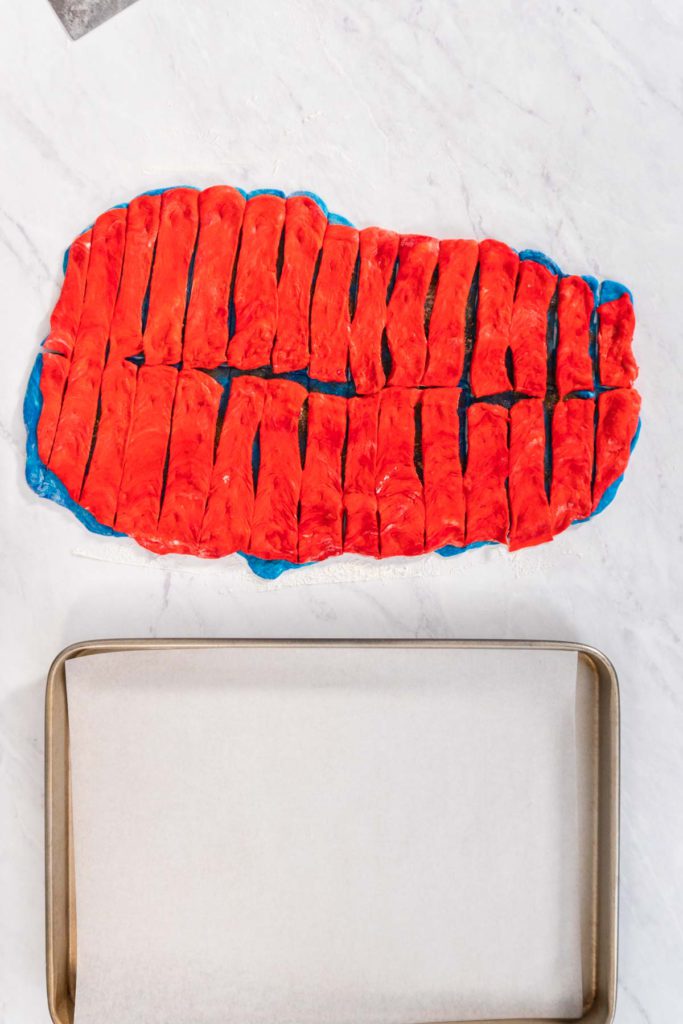
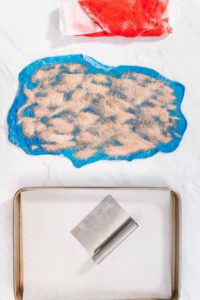
- Repeat the flouring and rolling process for the other colored dough. After rolling this dough out to ¼ inch, sprinkle the cinnamon filling over the entire dough.
- Then, carefully place the other layer of colored dough on top of the cinnamon-coated dough. Use a small knife or the chop cutter to cut the combined dough into 1-inch strips.
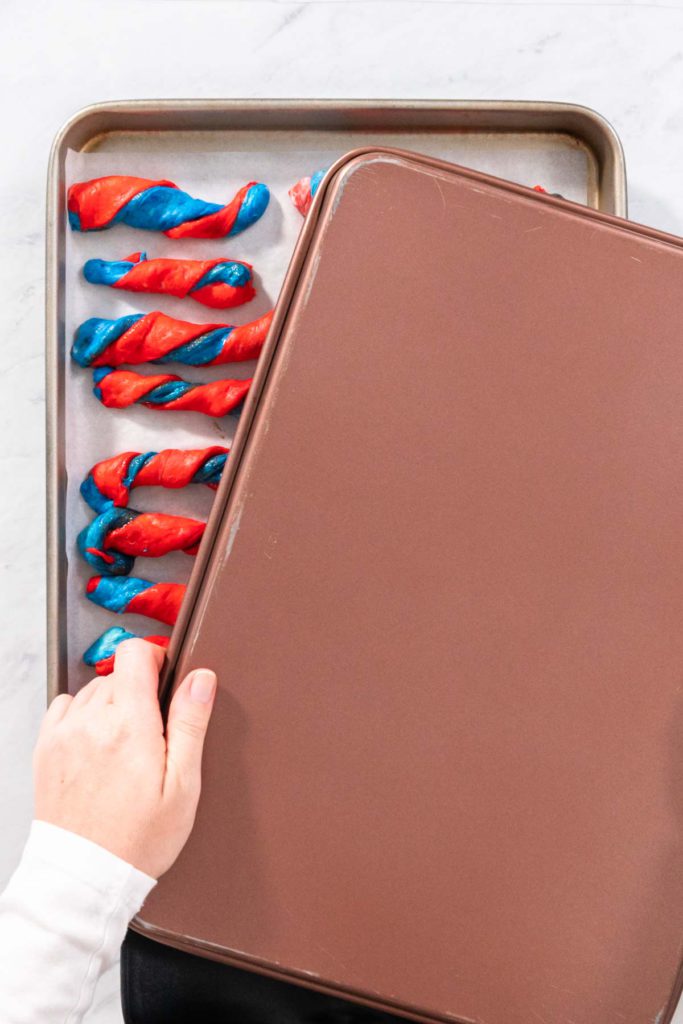
- Next, twist the dough strips and then transfer them to a parchment paper-lined baking sheet.
- Place the baking sheet of twists on top of the heating mat and cover with a second baking sheet on top. Let the cinnamon twists rise for 30 minutes.
- After rising, bake the patriotic colored twists at 375°F for 15 minutes.
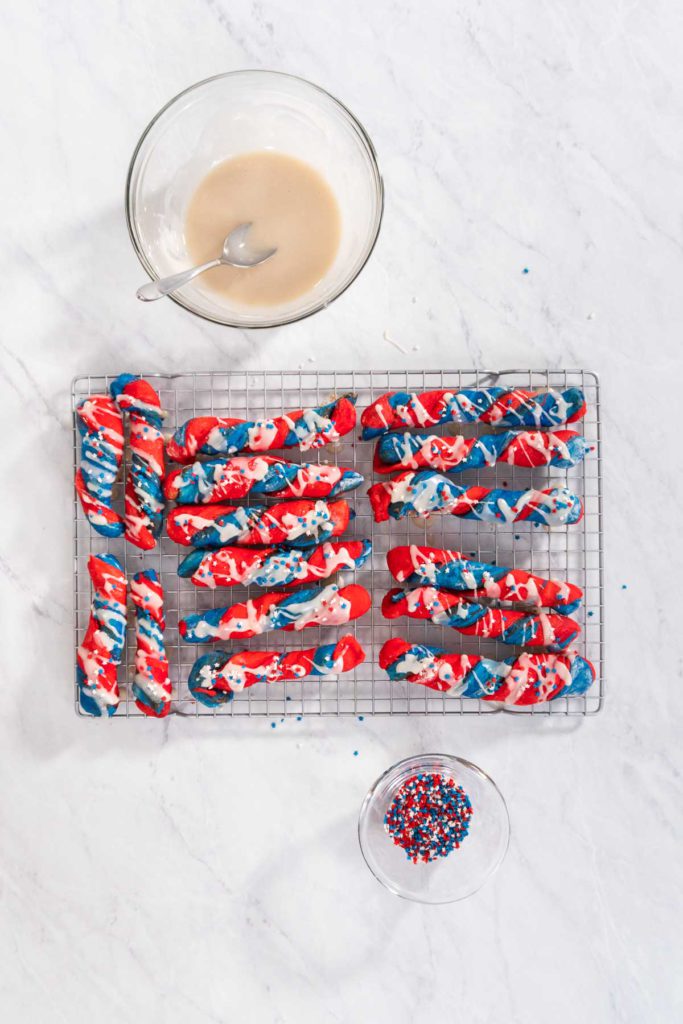
- Finally, let the twists cool completely before drizzling with the glaze. When it’s time, make sure to coat the twists with the sprinkles before the glaze hardens.

Mixing up the cinnamon filling:
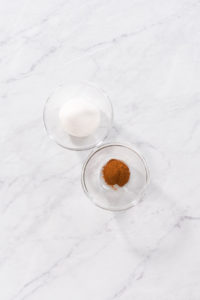
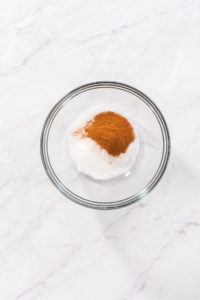
- First, measure out the cinnamon filling ingredients.
- Then, in a medium mixing bowl, whisk the cinnamon and sugar together until completely combined.
Easy Glazing:
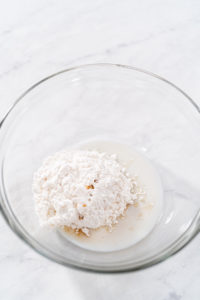
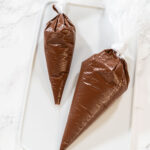
- First, measure out all of the easy glaze ingredients.
- Then, use a blending whisk to combine the powdered sugar, milk, and vanilla extract in a mixing bowl until completely mixed.
- Finally, drizzle the easy glaze over the cooled cinnamon twists and immediately garnish with sprinkles while the glaze is wet. Serve and enjoy!
Storing Homemade Cinnamon Twists
To store homemade cinnamon twists: Transfer the twists to an airtight container or a ziploc bag to keep them from getting soggy due to any remaining moisture. These can be kept at room temperature for up to 1 week. Make sure to label the date on the outside of the container or bag to keep up with freshness.
Patriotic Serving Ideas
When it comes time to celebrate the 4th of July I like to go all out with everything from my patriotic recipes to my star- spangled 4th of July Patio Decoration Ideas! If you too would like to set up a stunning and gloriously patriotic food display then check out some more of my favorite red, white, and blue recipes below!
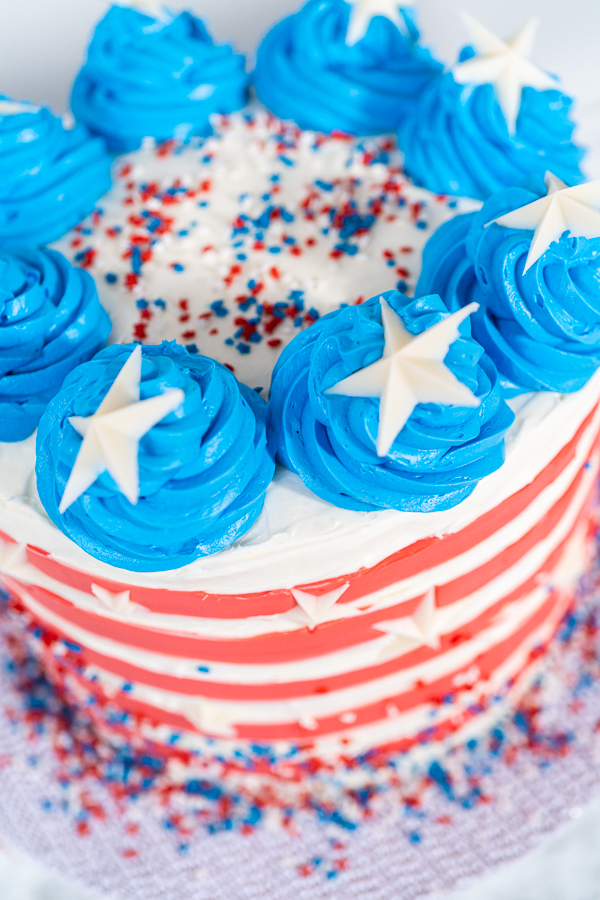
- 4th of July 3 Layer Cake in 1 Hour
- 4th of July Bundt Cake
- Chocolate Covered Pretzels for the 4th of July
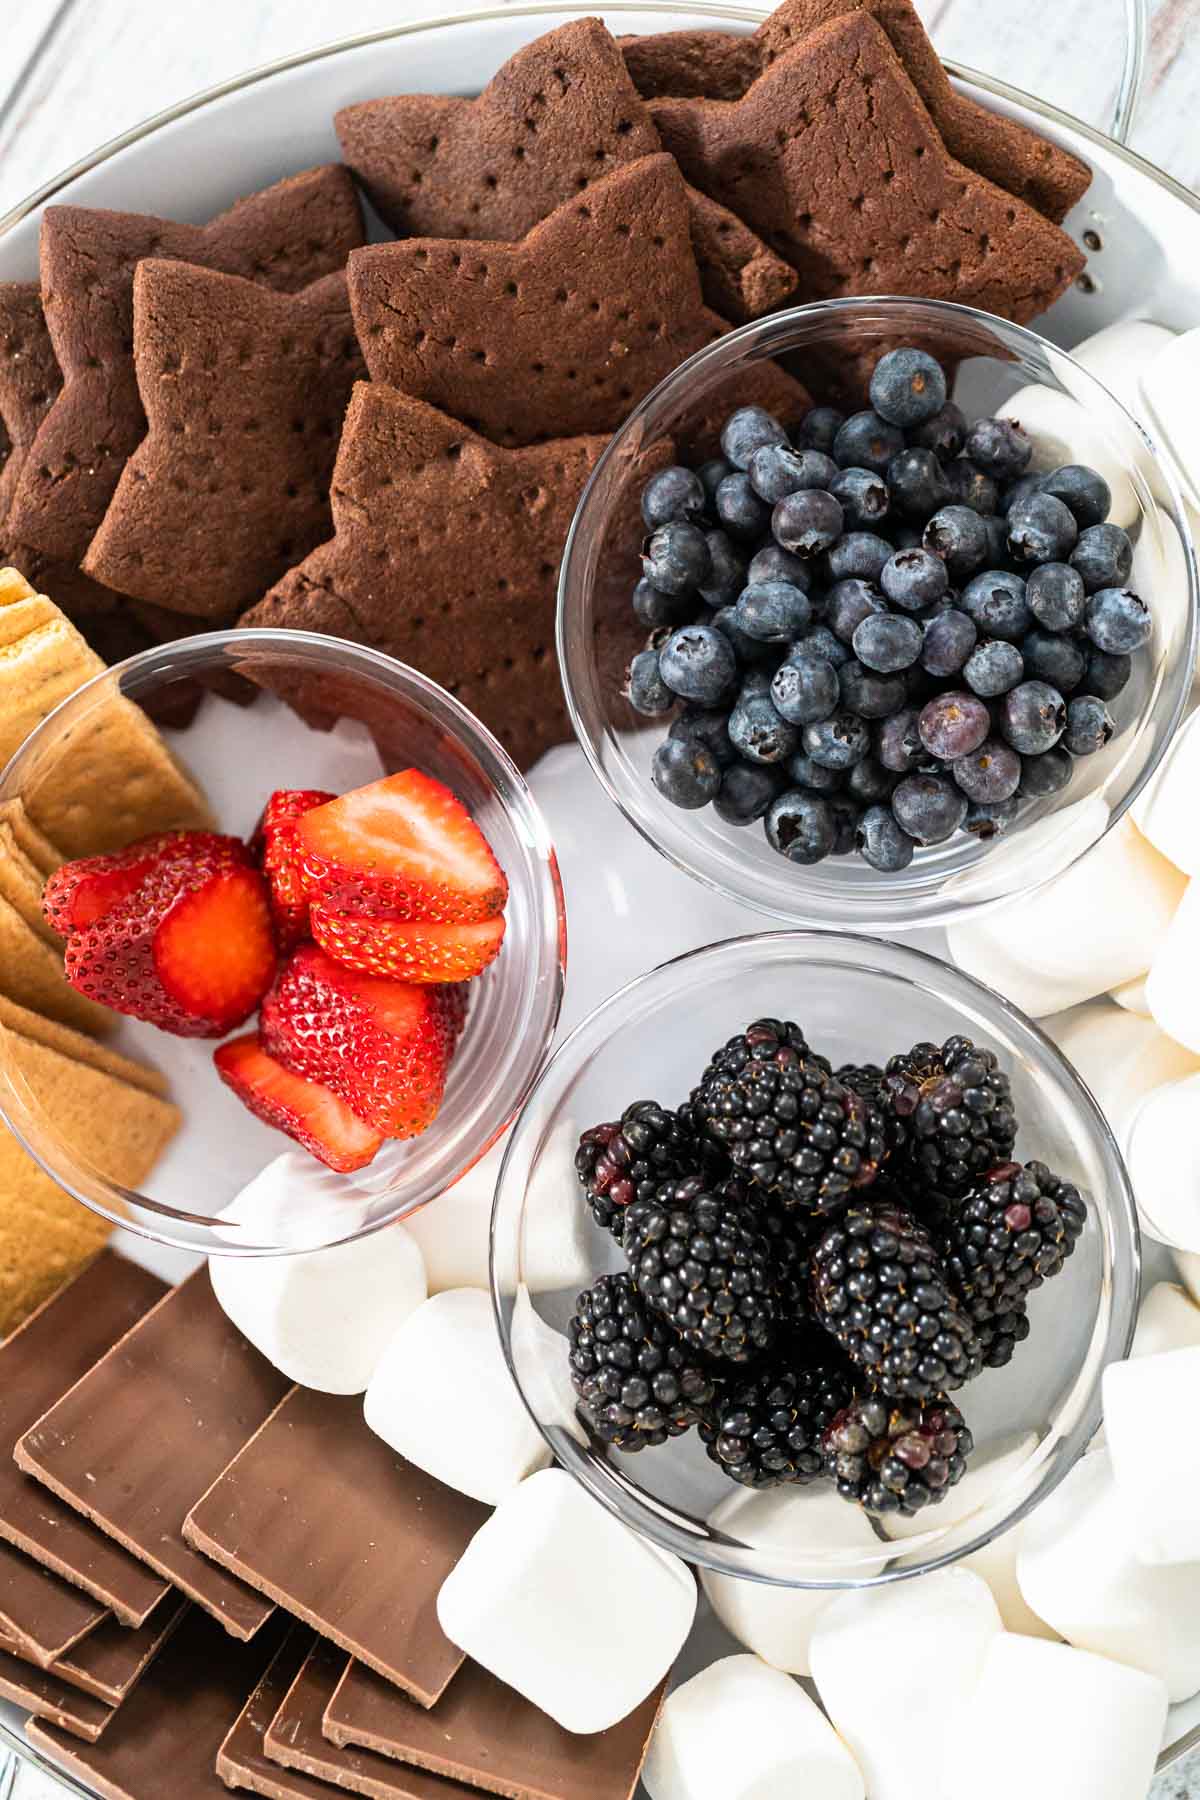
- Homemade Star- Shaped Graham Crackers
- Homemade Star- Shaped Chocolates
- Homemade Whipped Cream
- July 4th Charcuterie Board
- Pinwheel Cookies for the 4th of July
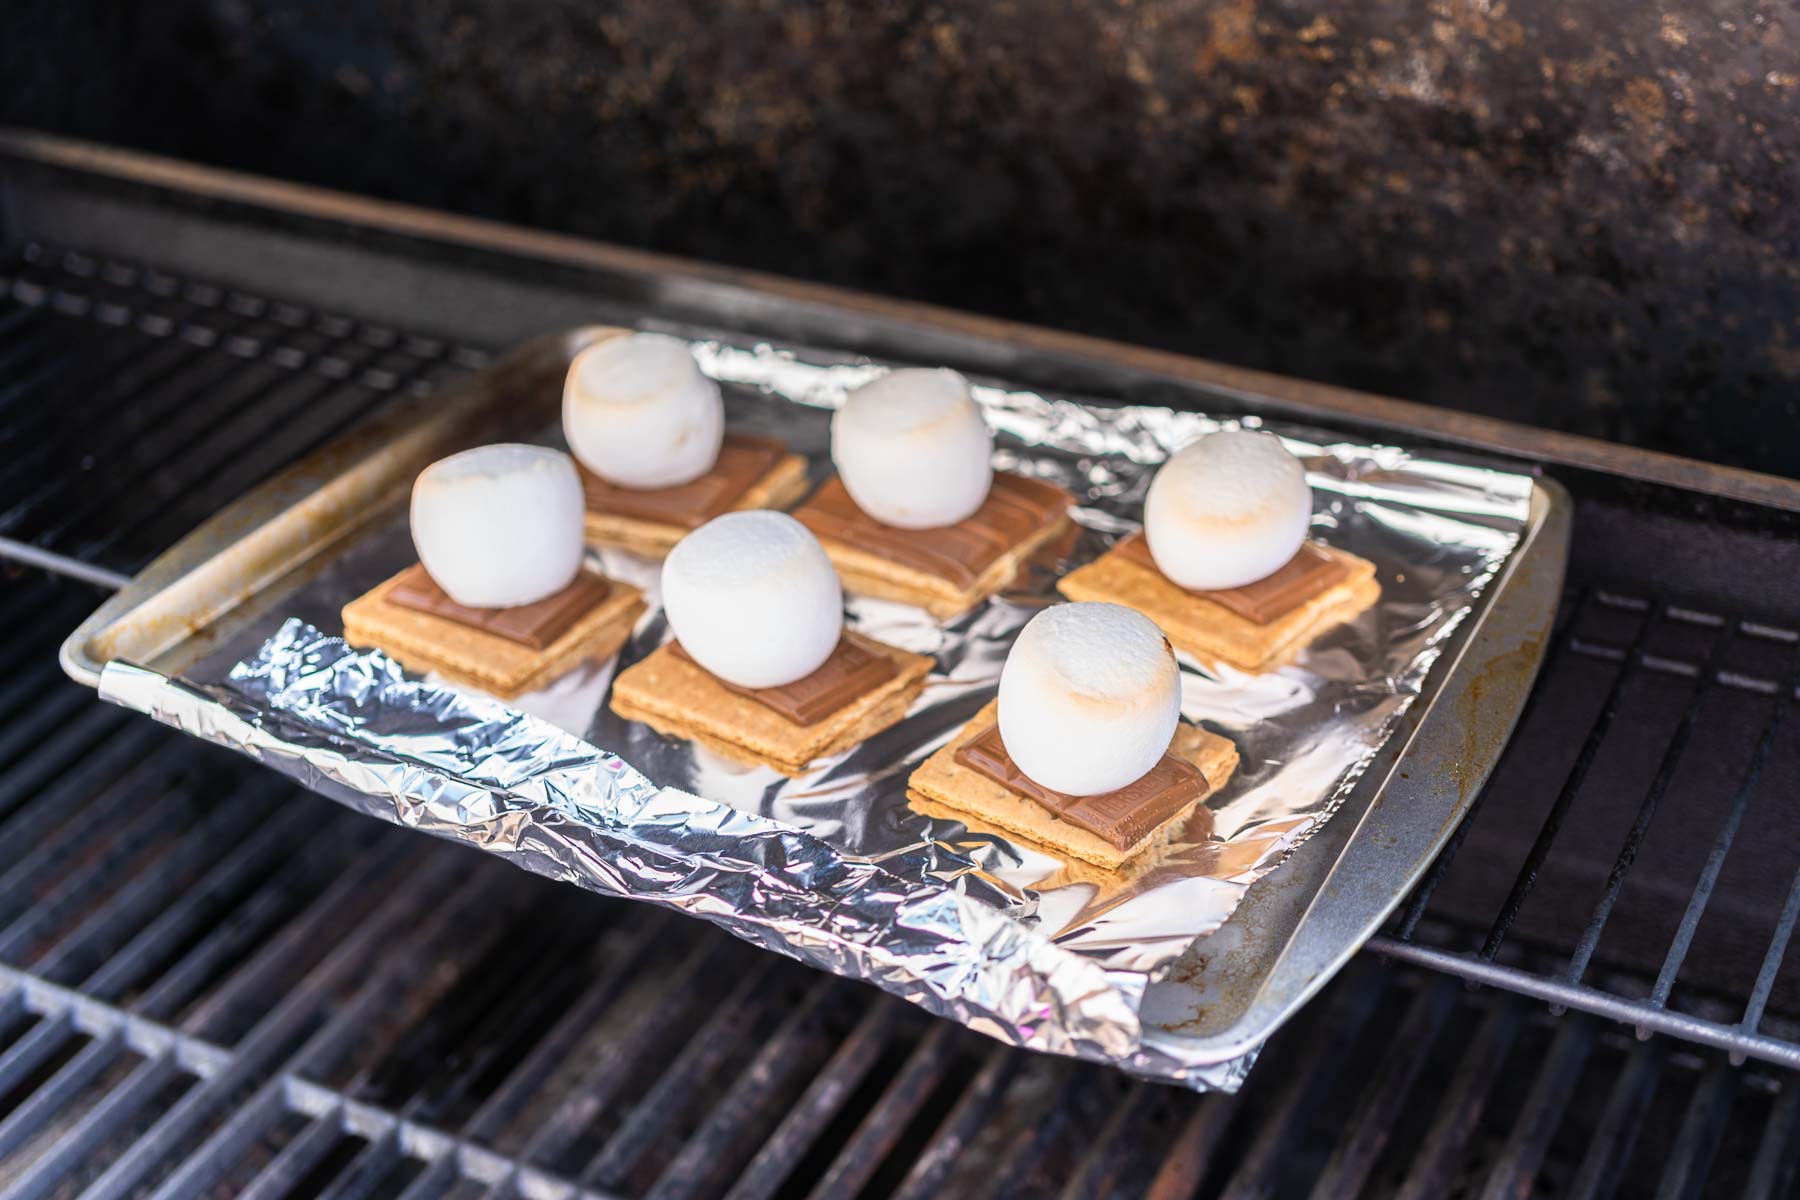
- Grilled S’mores
July 4th Theme

Patriotic cinnamon twists
Video
Equipment
Ingredients
Breadstick dough
- 3 ½ cups all-purpose flour
- ½ teaspoon salt
- 1 tablespoon instant yeast dry
- 2 tablespoon sugar
- 1 ½ cups warm water
- Food Coloring blue and red
Filling
- ¼ cup sugar
- 2 teaspoon Ground Cinnamon
Glaze
- 1 cup powdered sugar
- 2 tablespoon milk
- ½ teaspoon vanilla extract
Garnish
Instructions
Breadstick dough
- First, gather up and measure out all of the dough ingredients.
- Next, in a large mixing bowl, combine the flour and salt with a blending whisk and set aside.
- Then, in a large stand mixer bowl, pour in the yeast, sugar, and warm water. Beat the ingredients together on a high setting with the stand mixer fitted with a dough hook until completely mixed.
- Add the flour mixture into the yeast mixture ⅓ at a time, mixing well between each addition.

- The dough is ready when it pulls away from the sides of the bowl and forms a soft, smooth ball of dough.
- Then, split the dough evenly between 2 large bowls and cover your hands with disposable gloves because this next part gets messy!
- Add a few drops of food coloring into each of the bowls of dough, one red and the other blue. Use your hands to knead and fold the colors into the doughs. Set the colored doughs aside to rest for 10 minutes while you prepare the cinnamon filling.
- Then, after mixing the cinnamon filling, lightly flour a large, flat surface for the dough.I like to use a dredge shaker to evenly distribute the flour onto my surface.
- If the dough is too sticky, roll it around on the lightly floured surface.Using the chop cutter to help scoop the dough around to pick up the flour makes this step a bit easier.
- Next, use the rolling pin to roll out one of the colored doughs until it is ¼ inch thick.
- Place a sheet of parchment paper over the dough and use the rolling pin to fold the dough around itself without letting any of the dough touch, otherwise it will stick together.
- Repeat the flouring and rolling process for the other colored dough. After rolling this dough out to ¼ inch, sprinkle the cinnamon filling over the entire dough.
- Then, carefully place the other layer of colored dough on top of the cinnamon-coated dough. Use a small knife or the chop cutter to cut the combined dough into 1-inch strips.

- Next, twist the dough strips and then transfer them to a parchment paper-lined baking sheet.
- Place the baking sheet of twists on top of the heating mat and cover with a second baking sheet on top. Let the cinnamon twists rise for 30 minutes.

- After rising, bake the patriotic colored twists at 375°F for 15 minutes.

- Finally, let the twists cool completely before drizzling with the glaze. When it’s time, make sure to coat the twists with the sprinkles before the glaze hardens.

Filling
- First, measure out the cinnamon filling ingredients.
- Then, in a medium mixing bowl, whisk the cinnamon and sugar together until completely combined.
Glaze
- First, measure out all of the easy glaze ingredients.

- Then, use a blending whisk to combine the powdered sugar, milk, and vanilla extract in a mixing bowl until completely mixed.
- Finally, drizzle the easy glaze over the cooled cinnamon twists and immediately garnish with sprinkles while the glaze is wet. Serve and enjoy!
Nutrition
Food Photography & Video Tips from My Studio
Here’s a peek at the tools, gear, and camera setups I use to film my recipe videos and photograph food at home. Over the years, I’ve tested dozens of different setups, and now I’m sharing what actually works for me—whether I’m filming overhead shots for YouTube or styling still photos for my blog. If you’re curious about how I create the content you see here, these posts are a great place to start.

What is in my toolbox?

3 ways camera setup for Tasty-style video recipes

Best camera for cooking videos
Leave a Reply