How to make homemade mermaid- inspired mini chocolate bars!
This post contains affiliate links.
Just like most of you out there, I love going to the beach! The warm, squishy sand, the crisp sea air, the gorgeous seashells, the refreshing wave after wave of the ocean... What's not to love? But unless you live near the ocean, you don’t always get this kind of sea-inspired refreshment. Until now, that is! These easy-to-make Mini Mermaid Chocolate Bars are the perfect everyday escape to that beachside bliss, no matter what time of year it is!
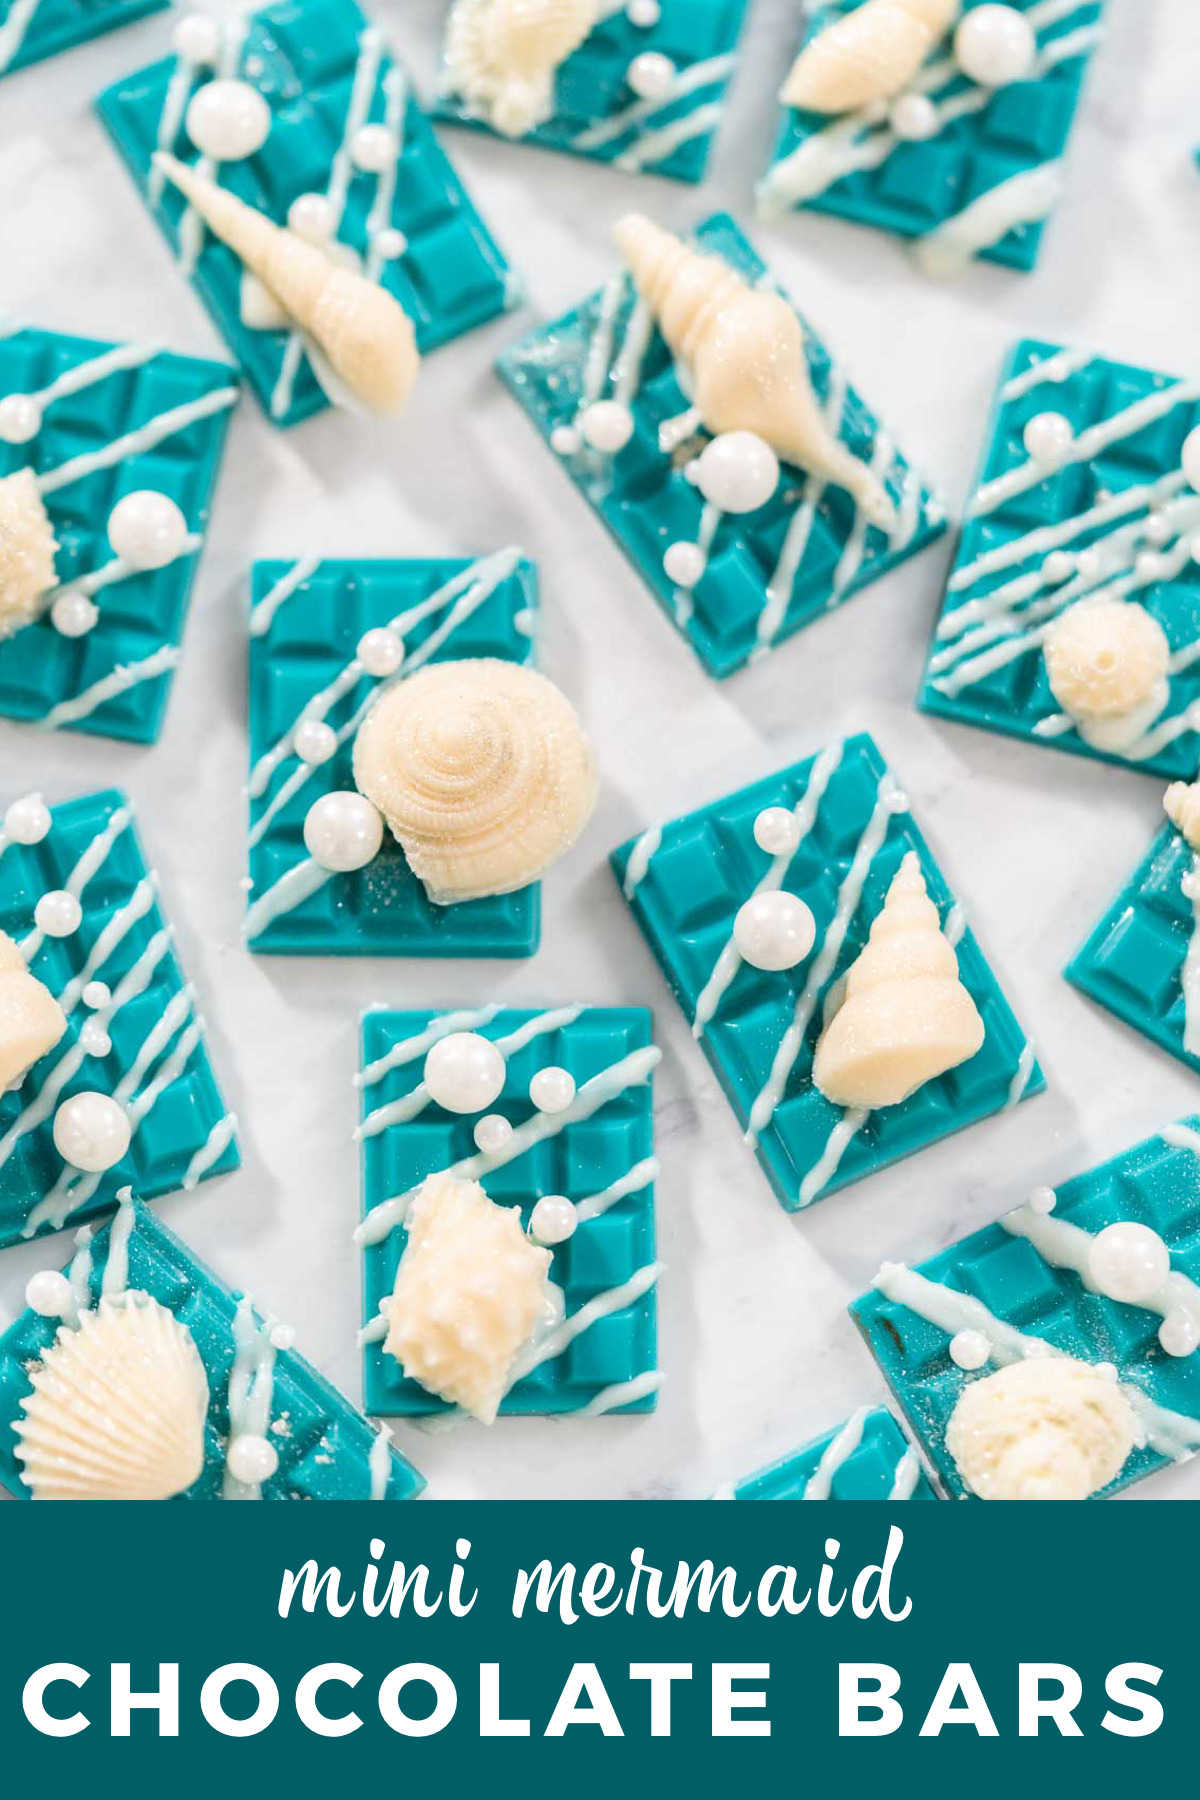
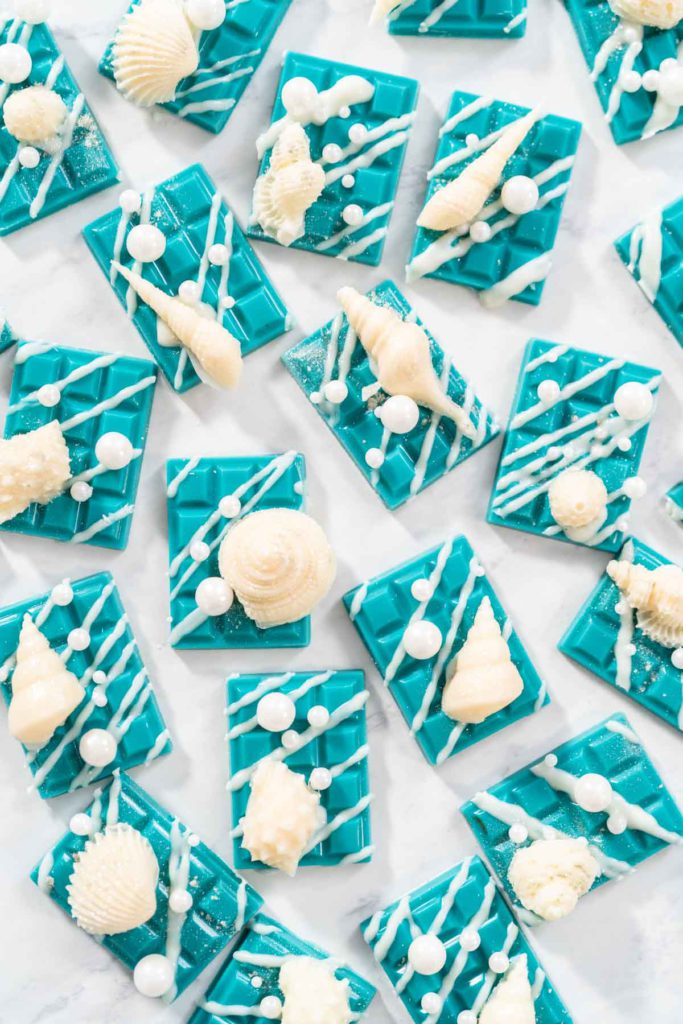
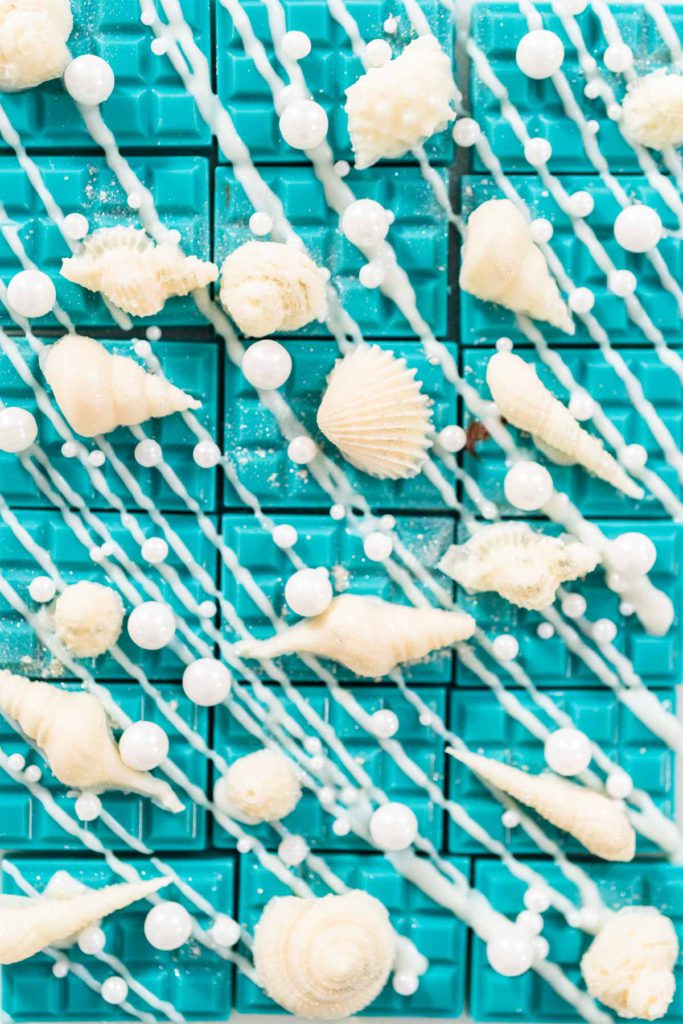
From the perfect turquoise color to the crisp white drizzle and pearlescent seashells adorning these sweet treats, these mini chocolate bars just come out with the most magical of mermaid charm! These turn out so gorgeous that they can easily be used as cake toppers on even the fanciest of cakes or cupcakes! Or they can be made just as a sweet snack for your mini mermaid fan. Who would’ve thought that the next best blissful beach feeling would come from such a simple sweet treat?!
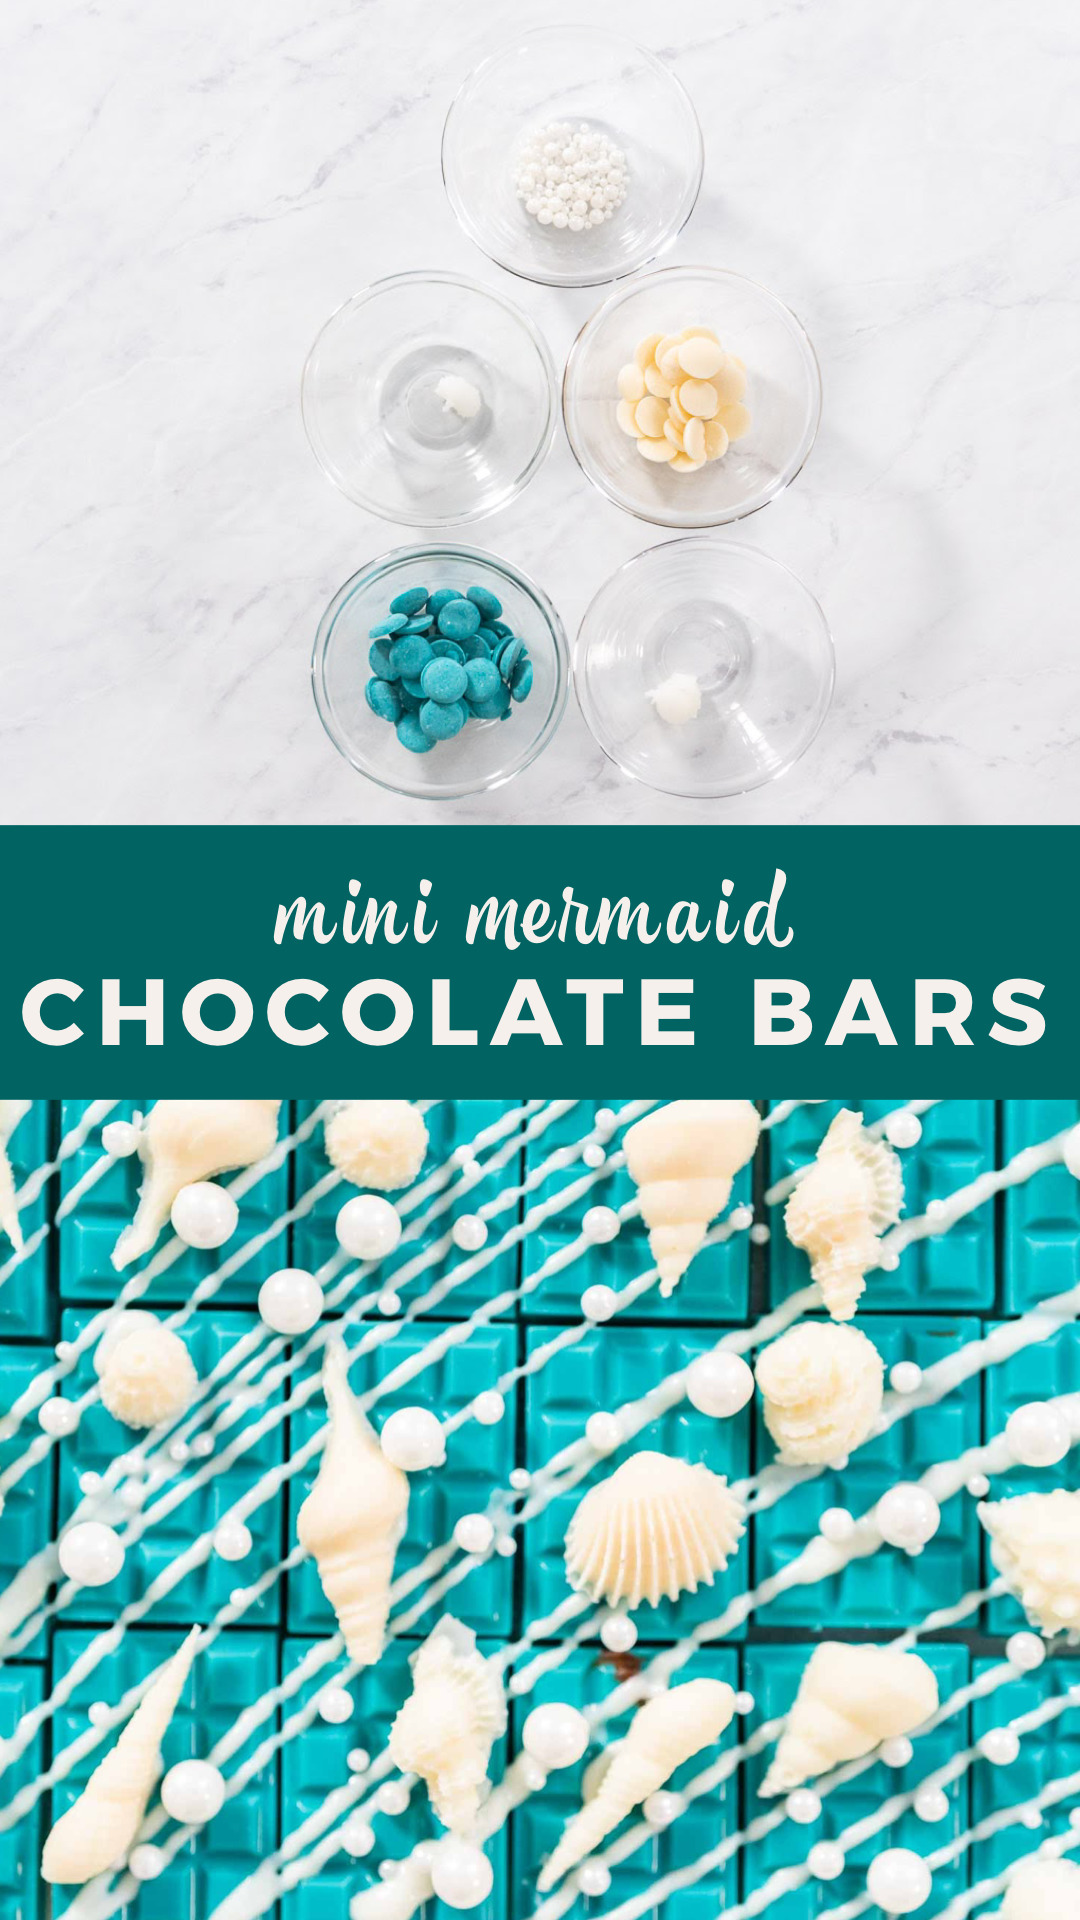
To make mini mermaid chocolate bars all you need are some turquoise and white-colored candy melts, coconut oil, a candy melt pot, some silicone molds. First, melt the turquoise candies and oil together in the melting pot, spoon the melted candy into the chocolate bar molds, scrape off any excess chocolate, and freeze flat. Then repeat the melting process with the white candies and spoon into a seashell mold, freeze flat. Drizzle the leftover white chocolate over the candy bars, top with the white candy seashells, and then dust with edible glitter.
Candy Bar Equipment
There are quite a few tools and equipment necessary for this candy bar-making process to run smoothly. If you bake at home often then you might already have most of these items in your kitchen collection already.
- Wilton candy melts pot
- Spatulas
- Silicone chocolate bar mold
- Seashell silicone mold
- Saucier Drizzle Spoon
- Cake Spatula
- Small baking sheet
- Piping bags
- Piping bag ties
- Food brushes
Equipment Tip:
I specifically like using this candy melt pot over all other melting methods for any kind of candy-making projects. This melting pot keeps the chocolate at the perfect temperature through the heating process without ever overcooking the chocolate, so it makes the entire process much easier and hassle-free! Plus it comes with a super easy clean-up afterwards.
Sweet Sea-Inspired Ingredients
Aside from the equipment, only a handful of simple ingredients are required for this recipe. I think the candy-colors that I chose for this particular candy project are absolutely perfect for giving that enchanting mermaid effect but you can use whatever colors you prefer.
For the mermaid chocolate bars:
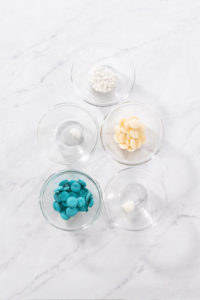
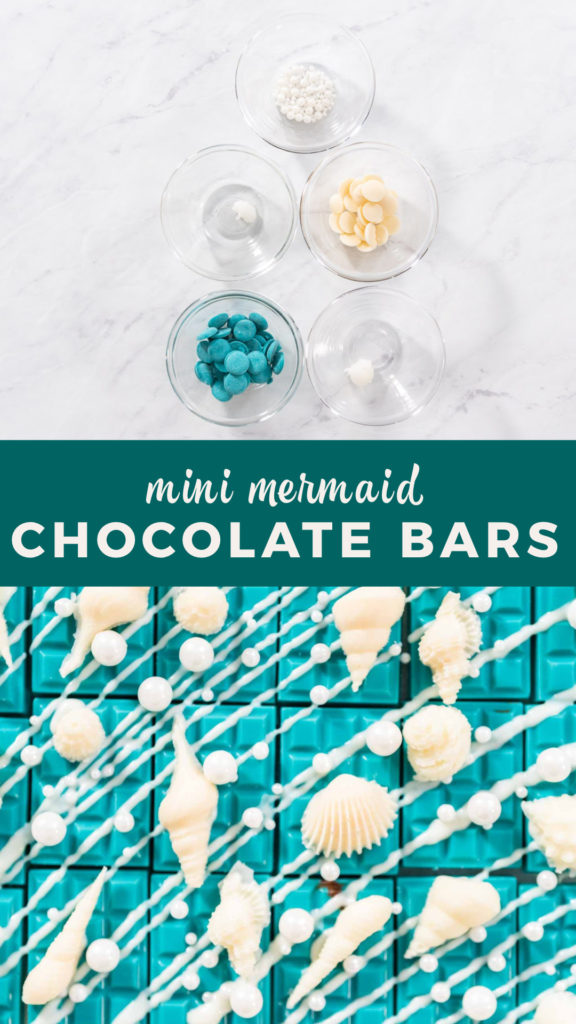
- 1 cup Wilton Turquoise Candy Melts
- ½ teaspoon Coconut oil
For the seashells and garnish:
- ½ cup Bright white Wilton Candy Melts
- 1 teaspoon Coconut oil
- Edible pearl sugar sprinkles
- Food glitter
How to Make Flawless Mini Mermaid Chocolate Bars
Alright, time to move on to the candy-making process. Overall this is an easy recipe to follow so just relax and follow along while I break down the step-by-step for you. In no time, this recipe will take your mind from the comfort of your kitchen to the warm and refreshing beachside!
Candy- making Tip:
Always be careful when handling homemade candies because the body heat from your hands is enough to make the chocolates start to melt.
To make the chocolate bars:
- First, measure out all of your candy bars and garnish ingredients.
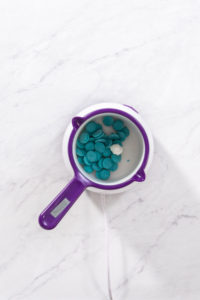
- Then, combine the turquoise candy melts and ½ teaspoon of coconut oil in the candy melt pot. Melt them together on high, stirring regularly with a silicone spatula.
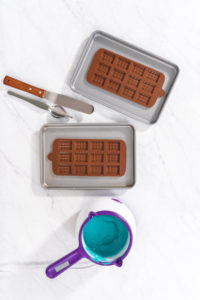
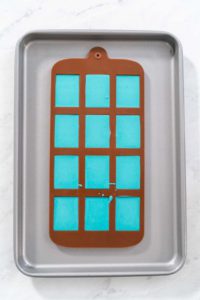
- Next, place the silicone chocolate bar molds on small baking sheets.
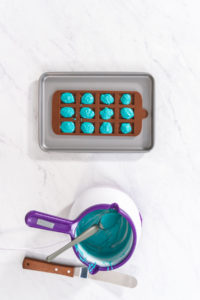
- Then, use a Saucier Drizzle Spoon to carefully spoon the melted turquoise chocolate into the candy molds.
- Tap the tray lightly on the table to spread the melted chocolate evenly.
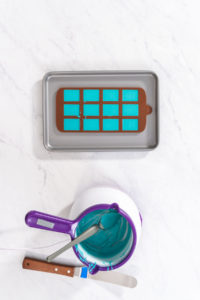
- Then, scrape off the excess chocolate with a cake spatula. Let the chocolates harden in the freezer for 10 minutes or refrigerate them for 15 minutes. Make sure to lay the molds completely flat!
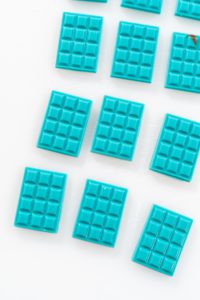
- Lastly, remove the chocolate bars gently from their molds. Use a small knife to cut away any extra chocolate from the edges.
Making the seashell garnishes:
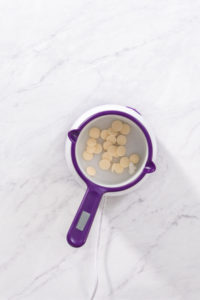
- First, make sure to rinse and dry the silicone lining of the melting pot. Combine the white candy melts and 1 teaspoon of coconut oil in the clean candy melt pot. Melt them together on high, stirring regularly.
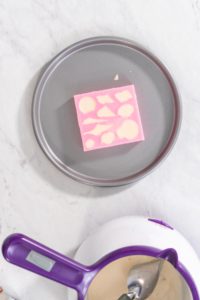
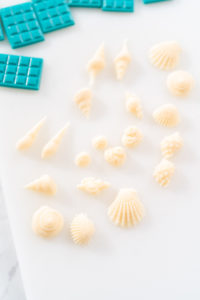
- Then, spoon the melted white chocolate into the seashell-shaped silicone molds. Scrape off the excess chocolate with a cake spatula and place the silicone mold on another small baking sheet and freeze them flat for 10 minutes or refrigerate for 15 minutes.
- Next, remove the chocolate shells gently from their molds. Use a small knife to cut away any extra chocolate from the edges.
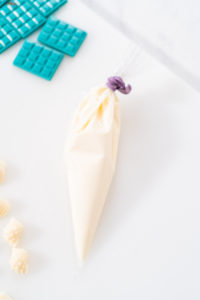
- Finally, transfer the remaining white chocolate into a pastry piping bag and tie it off with a piping bag tie.
Final garnishing:
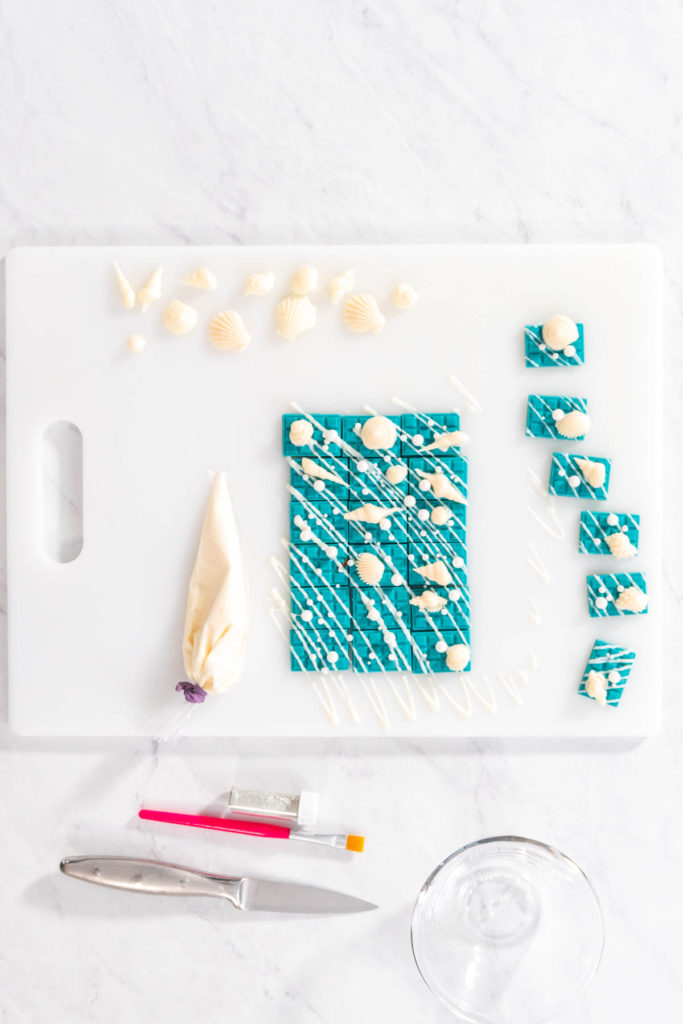
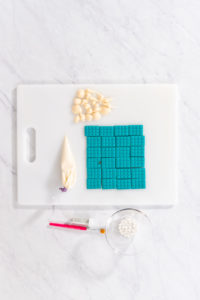
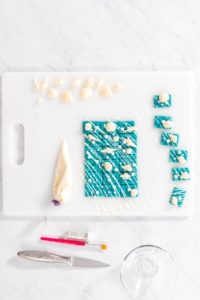
- First, place all of the turquoise chocolate bars together. They should all be touching.
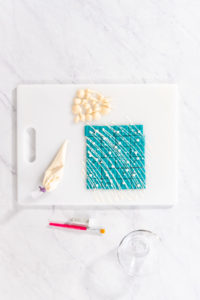
- Then, drizzle the white chocolate over the mini candy bars. Add white chocolate dots for the pearl shapes.
- Pipe a small dot of chocolate to the back of each shell and then immediately stick them on top of the candy bars.
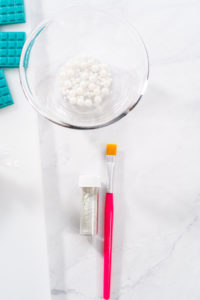
- Then, use a clean, dry food brush to apply the edible glitter dust to all of the shells and pearl dots.
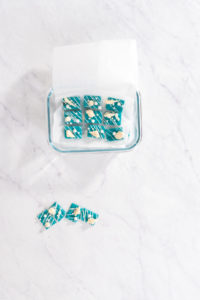
- Finally, transfer the completely hardened mini chocolates to a rigid airtight container, using small cuts of parchment paper or wax paper in between the layers, and store either:
- In the fridge for 2 weeks
- Or in the freezer for up to 3 months.
- Always mark the date on the outside of the container to keep up with freshness.
Cake & Cupcake Toppers
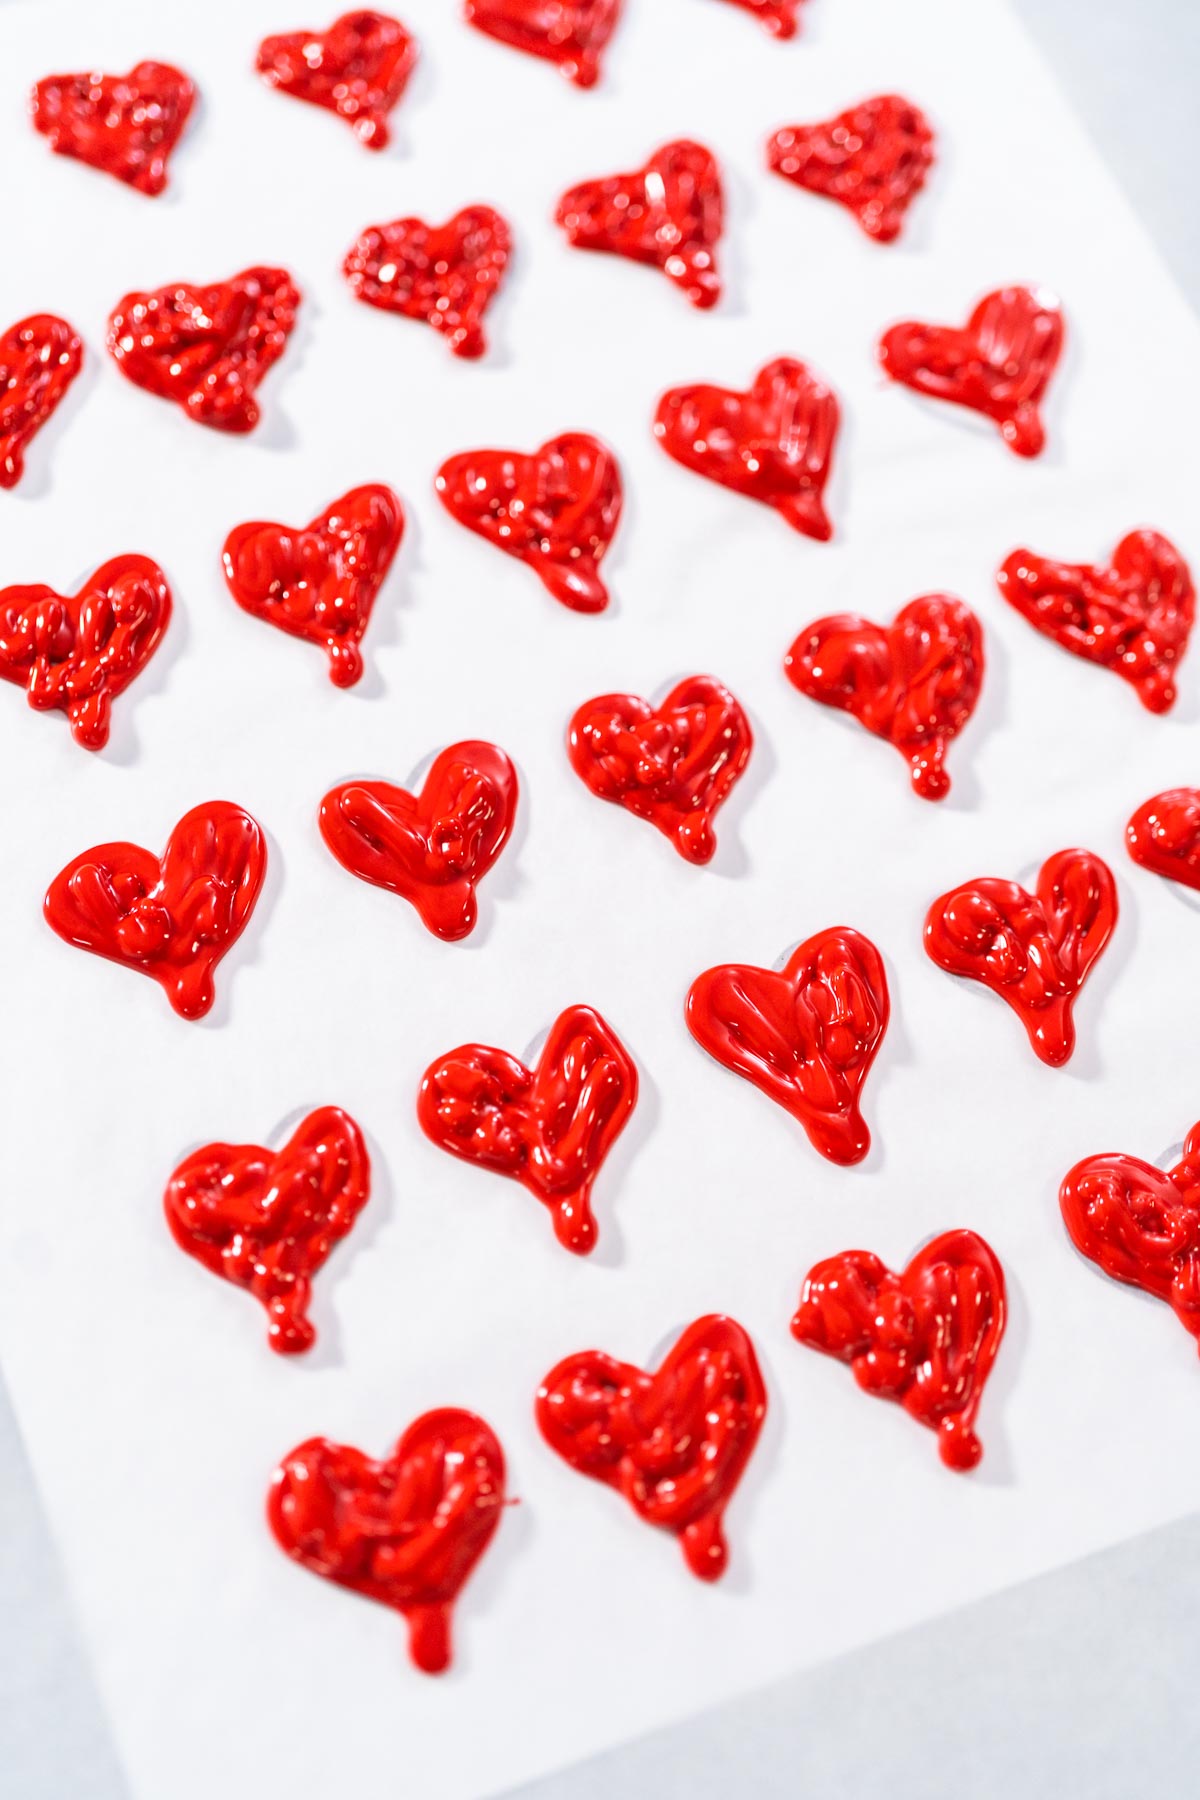
- Heart-Shaped Chocolates Without a Mold
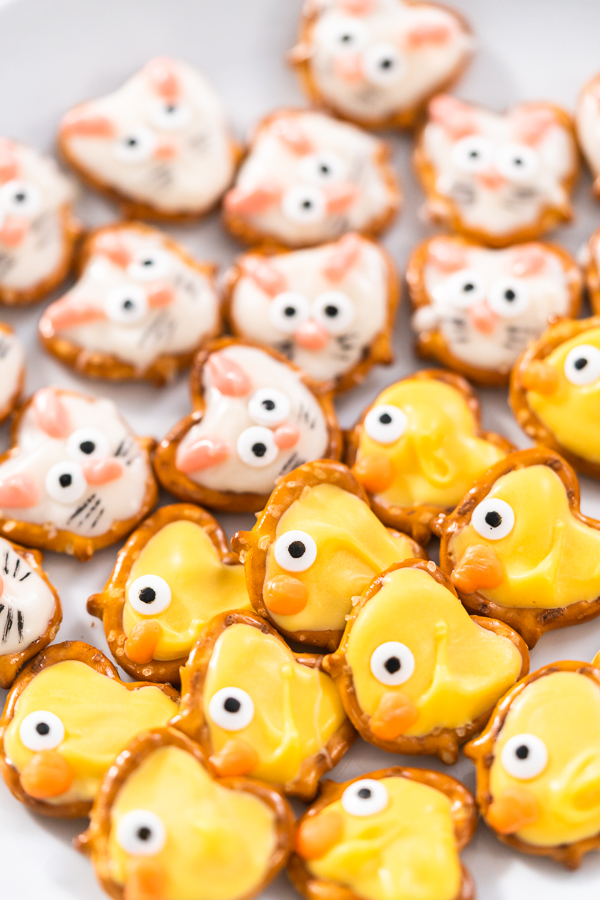
- Easter Chocolate Covered Pretzel Bunnies and Ducklings
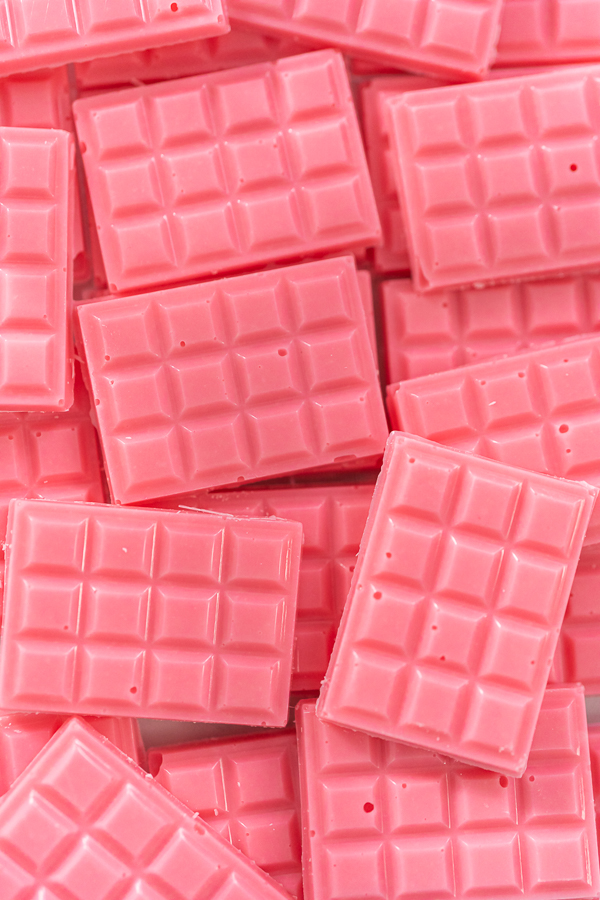
- Make Custom Chocolate Bars for Cupcake and Cake Garnishes
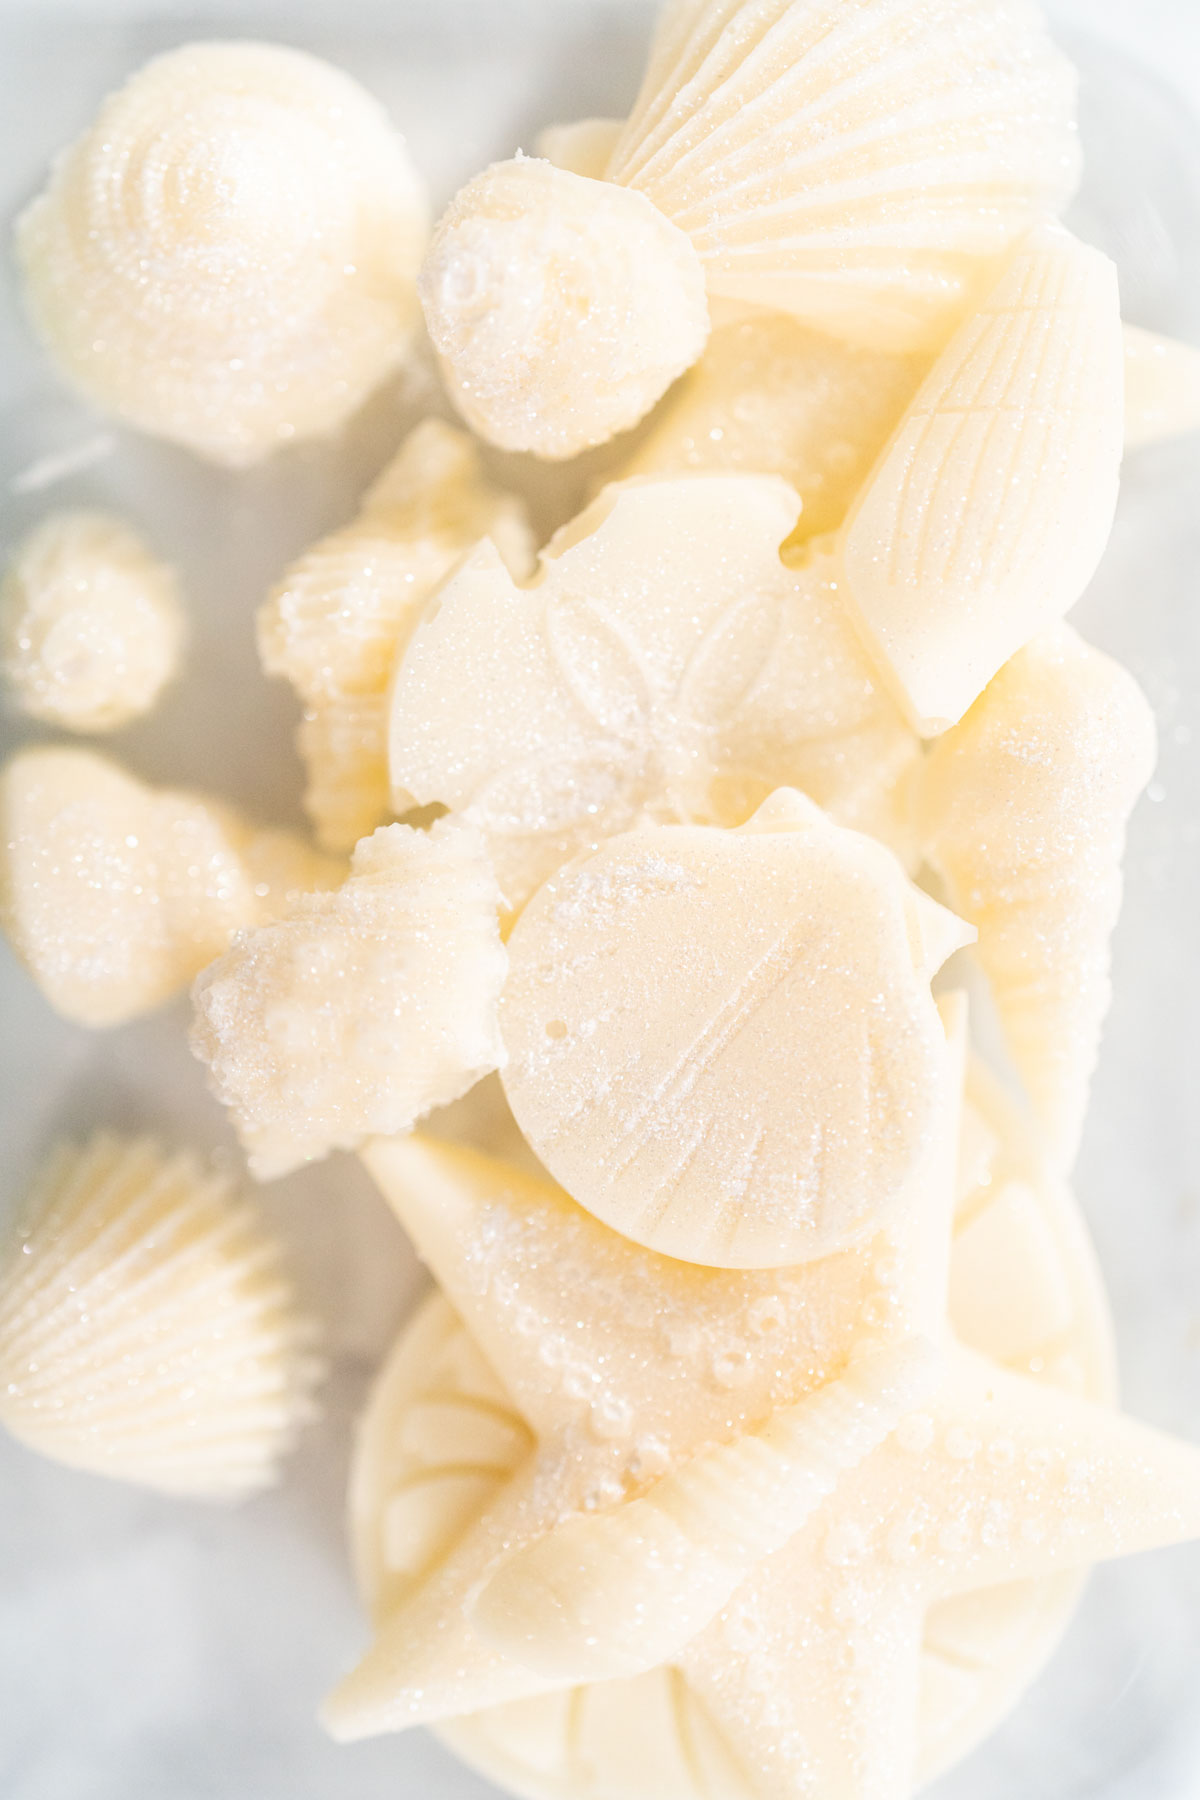
- How to make chocolate seashells
- Gingerbread Man Chocolates for Garnishing Cookies, Cupcakes, and Cakes
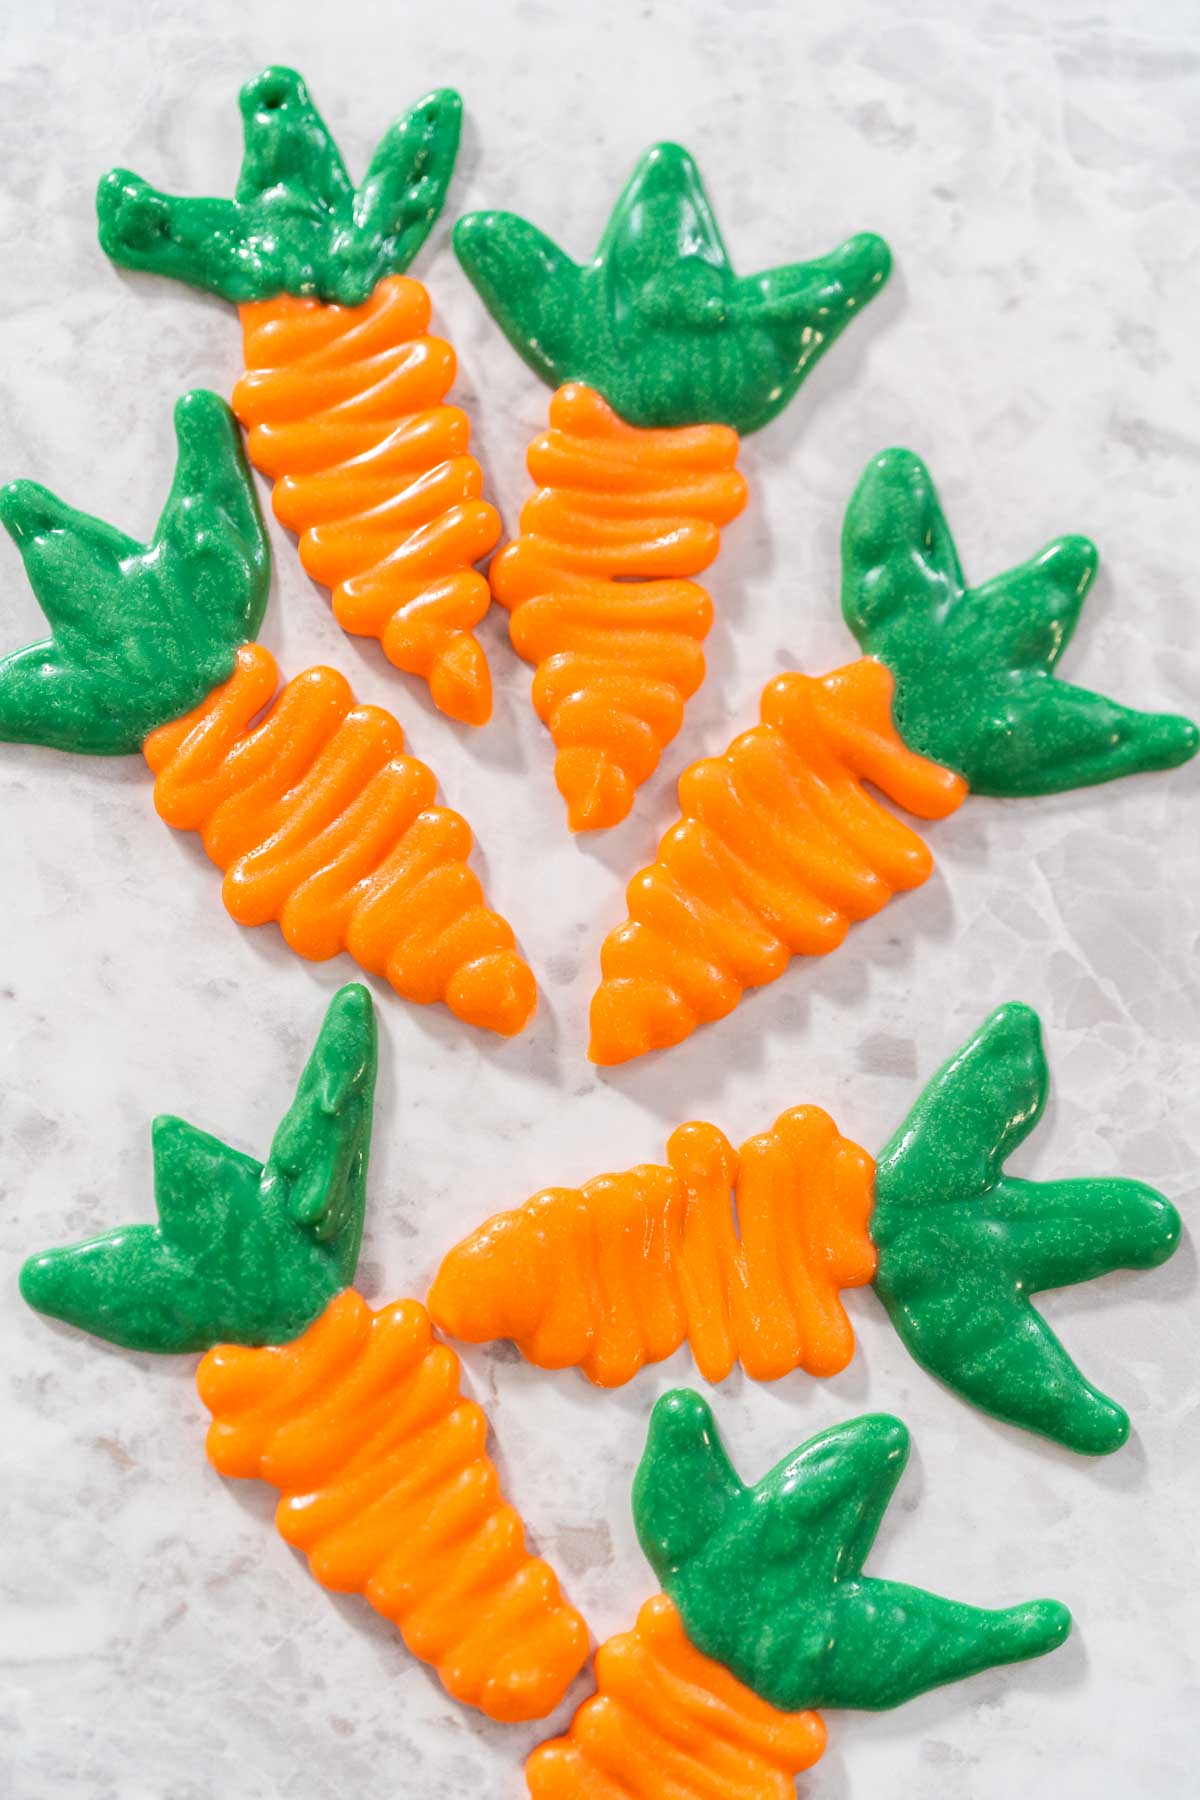
- How to Make Chocolate Carrot Cake Toppers for Easter and Spring Baking
Sea- worthy Serving Ideas
Don’t these mini magical mermaid chocolate bars make your heart melt a little? Do they make you find yourself yearning for the sea? Me too! The good news is that these sea-worthy sweet treats can be enjoyed whenever and wherever! They can be served all on their own as a sweet snack or added to any dessert that needs a magical mermaid touch!
Serve homemade mini mermaid chocolate bars on/ as:
- Cake toppers
- Cupcake toppers
- cookies
- brownies
- Smoothies
- Ice cream or sundaes
- Featured as a topping on a Hot Chocolate Bar
- This hot chocolate bar idea is easy and perfect for any kind of fall and winter birthday parties or holiday gatherings!
Try these out for special occasions such as:
- Kids birthday parties
- Baby Shower
- 4th of July
- Pool parties
- Beach themed parties
Absolutely adore these tiny treats? Here are a few more homemade chocolate recipes:
- Homemade Mini Chocolate Bars
- Mini Chocolate Bars with Sprinkles
- Chocolate Mermaid Tails
- Homemade Star-Shaped Chocolates
- Chocolate Hearts and Lips
Mini mermaid chocolate bars
Video
Equipment
Ingredients
Chocolate bars
- 1 cup Wilton Turquoise Candy Melts
- ½ teaspoon Coconut oil
Seashells and garnish
Instructions
Chocolate bars
- First, measure out all of your candy bars and garnish ingredients
- Then, combine the turquoise candy melts and ½ teaspoon of coconut oil in the candy melt pot. Melt them together on high, stirring regularly with a silicone spatula.
- Next, place the silicone chocolate bar molds on small baking sheets.
- Then, use a Saucier Drizzle Spoon to carefully spoon the melted turquoise chocolate into the candy molds.
- Tap the tray lightly on the table to spread the melted chocolate evenly.
- Then, scrape off the excess chocolate with a cake spatula. Let the chocolates harden in the freezer for 10 minutes or refrigerate them for 15 minutes. Make sure to lay the molds completely flat!
- Lastly, remove the chocolate bars gently from their molds. Use a small knife to cut away any extra chocolate from the edges.
Seashells
- First, make sure to rinse and dry the silicone lining of the melting pot. Combine the white candy melts and 1 teaspoon of coconut oil in the clean candy melt pot. Melt them together on high, stirring regularly.
- Then, spoon the melted white chocolate into the seashell-shaped silicone molds. Scrape off the excess chocolate with a cake spatula and place the silicone mold on another small baking sheet and freeze them flat for 10 minutes or refrigerate for 15 minutes.
- Next, remove the chocolate shells gently from their molds. Use a small knife to cut away any extra chocolate from the edges.
- Finally, transfer the remaining white chocolate into a pastry piping bag and tie it off with a piping bag tie.
Garnish
- First, place all of the turquoise chocolate bars together. They should all be touching.
- Then, drizzle the white chocolate over the mini candy bars. Add white chocolate dots for the pearl shapes.
- Pipe a small dot of chocolate to the back of each shell and then immediately stick them on top of the candy bars.
- Then, use a clean, dry food brush to apply the edible glitter dust to all of the shells and pearl dots.
- Finally, transfer the completely hardened mini chocolates to a rigid airtight container, using small cuts of parchment paper or wax paper in between the layers, and store either:-In the fridge for 2 weeks -Or in the freezer for up to 3 months. -Always mark the date on the outside of the container to keep up with freshness.
Notes
- Just transfer the mini chocolate bars to an airtight container.
- Use small cuts of parchment paper or wax paper in between the layers to help keep the chocolates separated and intact.
- Homemade chocolates can be stored for up to 2 or 3 weeks, either stored in the fridge or in a cool, dry place out of the sun’s warm reach.
- Always note the date when storing so you can keep track of the freshness and quality.
Nutrition
Food Photography & Video Tips from My Studio
Here’s a peek at the tools, gear, and camera setups I use to film my recipe videos and photograph food at home. Over the years, I’ve tested dozens of different setups, and now I’m sharing what actually works for me—whether I’m filming overhead shots for YouTube or styling still photos for my blog. If you’re curious about how I create the content you see here, these posts are a great place to start.









Leave a Reply