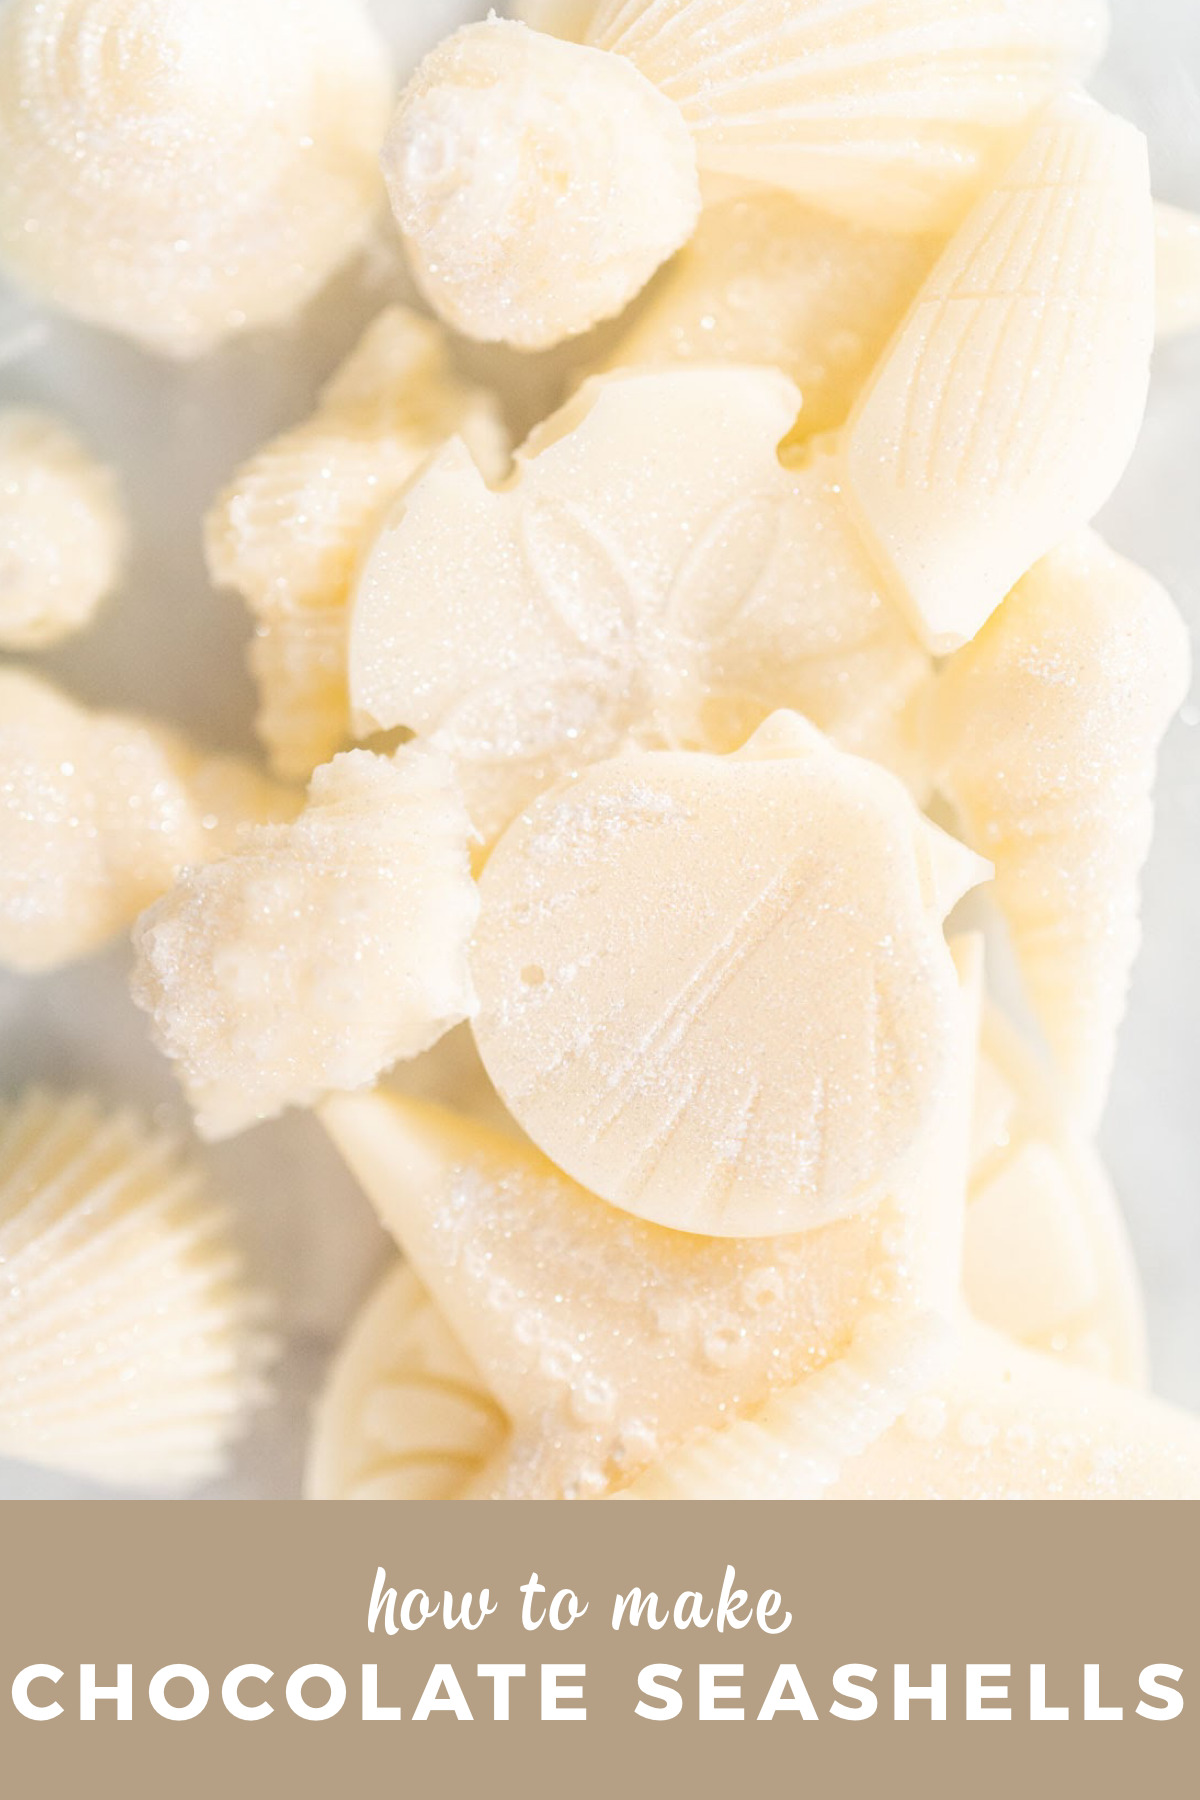
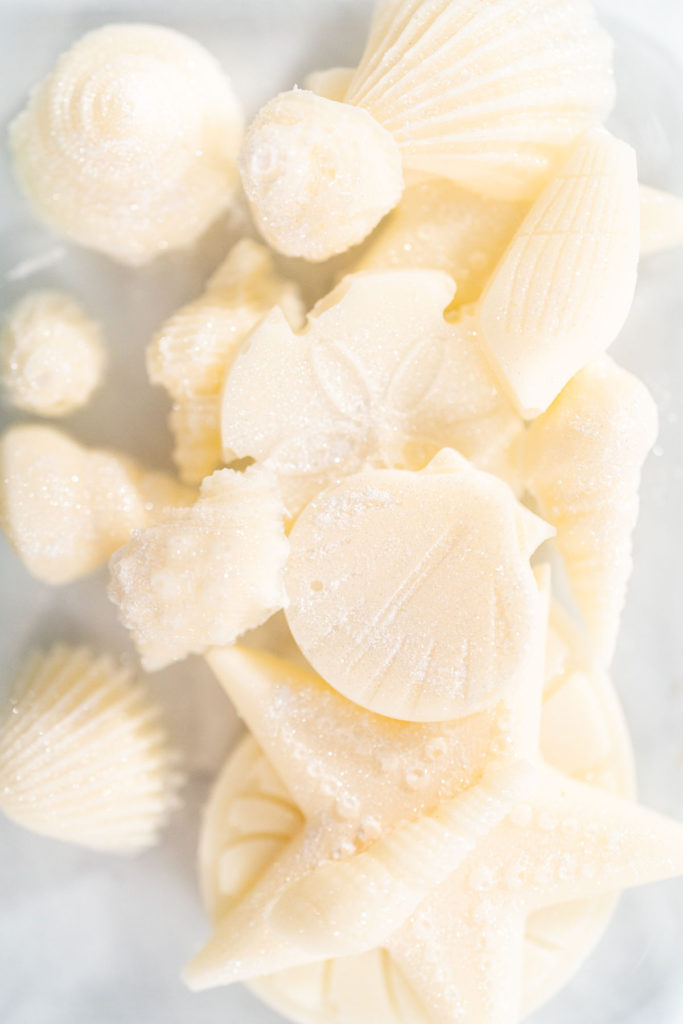
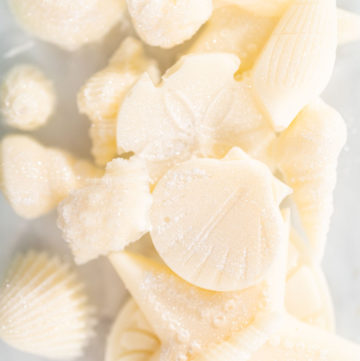
Enjoy that beach feeling anytime and anywhere with these homemade chocolate seashells!
This post contains affiliate links.
For us ocean lovers and beach bums out there, it can be tough to go a long time without getting to visit that blissful beachside. We find ourselves yearning for the salty air, the squishy sand, and the soothing sea water. Unless you live near the beach, your daily life is probably too chaotic to make seaside visits as often as you would like to. But if this is a predicament that you find yourself in, then I have some good news for you! I’m going to share with you the perfect simple recipe to bring that blissful beach feeling to you, right in your own home! These easy Chocolate Seashells are going to be the satisfyingly sweet solution to curing those boring beach blues!
Not only are these chocolate seashell snacks fantastic for providing that soothing seaside bliss anytime, anywhere, but they also make the perfect beach-inspired cake toppers or cupcake toppers! This is a great solution if you’re planning out a mermaid-themed birthday party or a beach-themed wedding or reception. Plus, they make excellent surprises for your little one if you throw a few of these sweet treats in with their school lunchbox! So if you’re ready to conjure up some of that beachside bliss right there in your kitchen, then let’s get started!
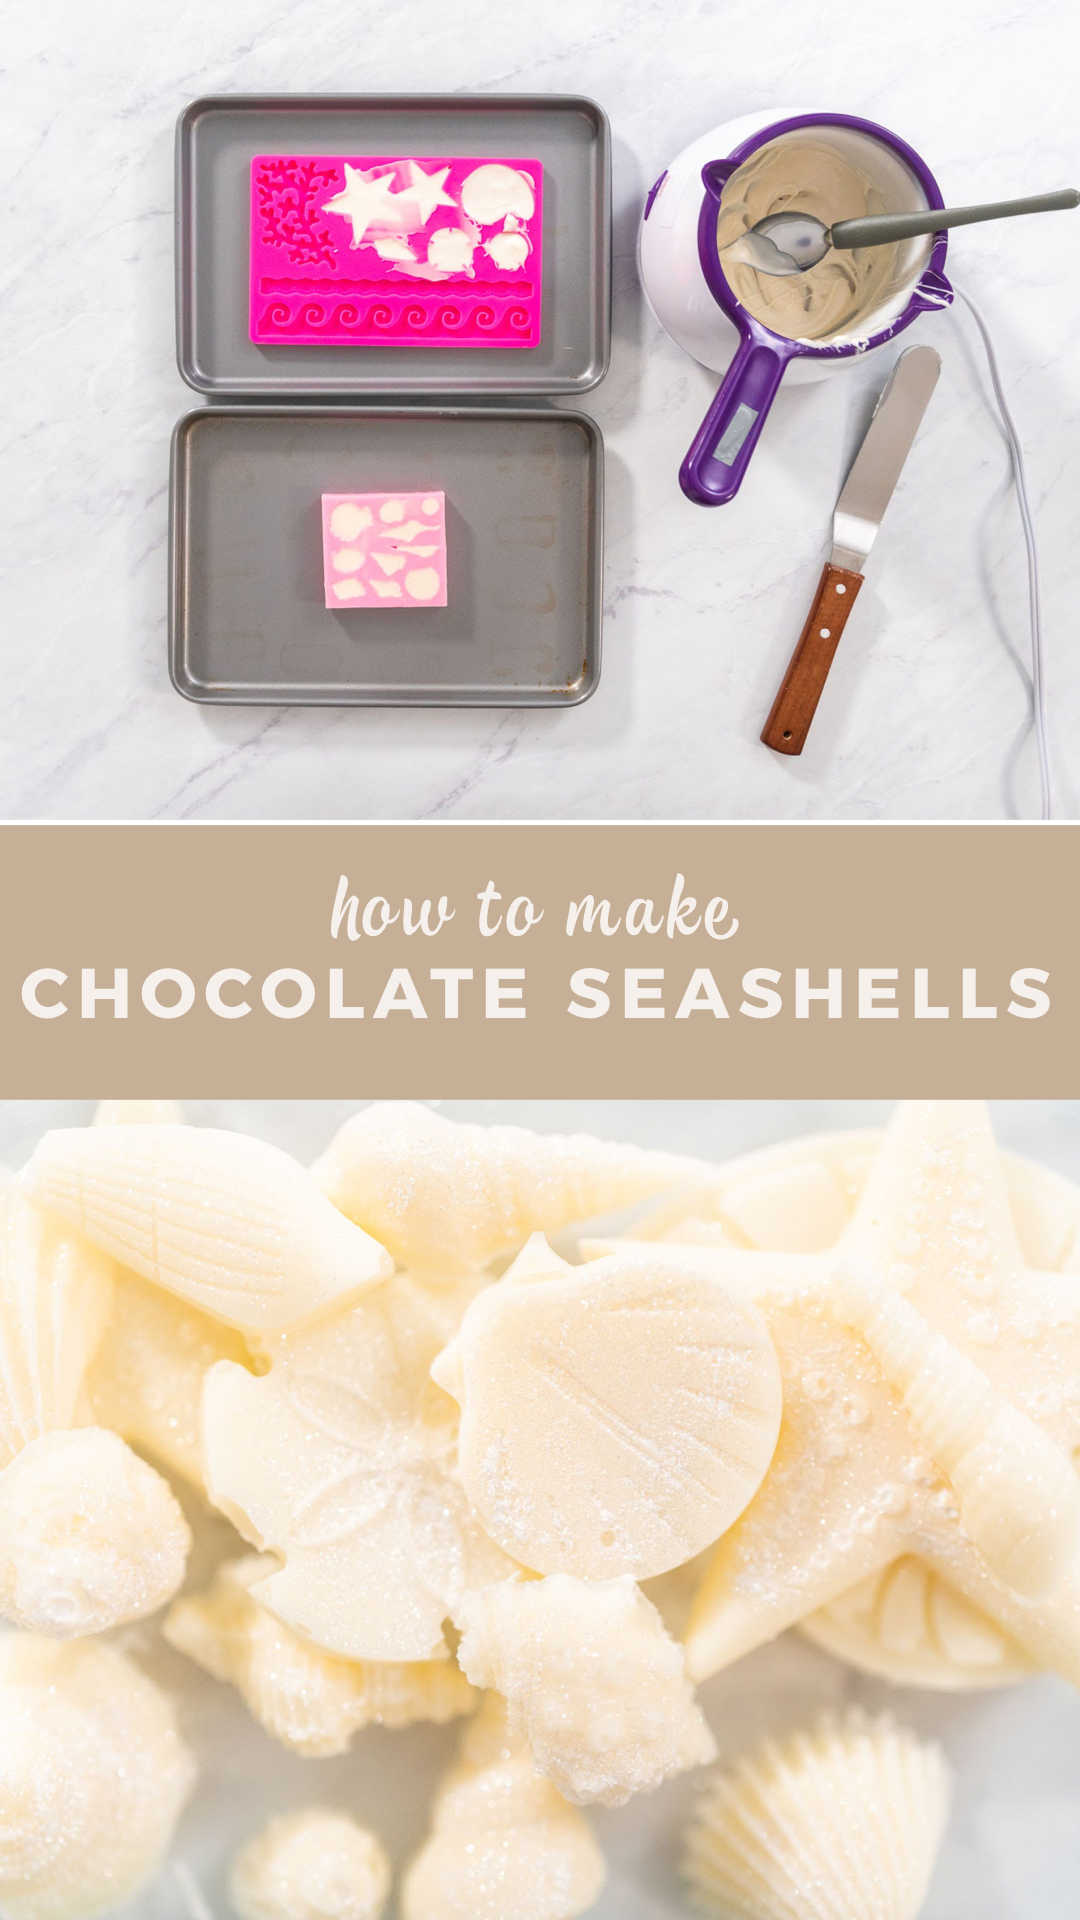
To make homemade chocolate seashells, all you need is some white candy melts, coconut oil, food glitter, a candy melt pot, a seashell-shaped silicone mold, and a few other kitchen tools. First, melt the white candies and oil together in the melting pot, then spoon the melted candy into the molds, scrape off any excess chocolate, and freeze flat for 5 minutes. Gently remove candies from molds and cut away excess chocolate. Brush with glitter dust and serve!
Chocolate Seashell Equipment
For this delightfully easy chocolate seashell recipe, you will only need a few kitchen tools and equipment. You probably have most of these in your kitchen already but there is an extra tool or two that you may not have that I would highly recommend obtaining for a smooth candy-making process.
Candy- making Equipment:
Candy Equipment Tip:
I specifically like using my candy melt pot over all other melting methods for any kind of candy-making project! Since it keeps the chocolate at the perfect temperature through the melting process without ever overcooking the chocolate, it makes the entire process much easier and stress-free! Plus the silicone lining makes it super easy to clean up afterward.
Chocolate Seashell Ingredients
Want some even better news? This easy homemade chocolate recipe only requires 3 simple ingredients! With the right tools and ingredients, you will be well on your way to conjuring up some simple beachside bliss without all that messy sand!
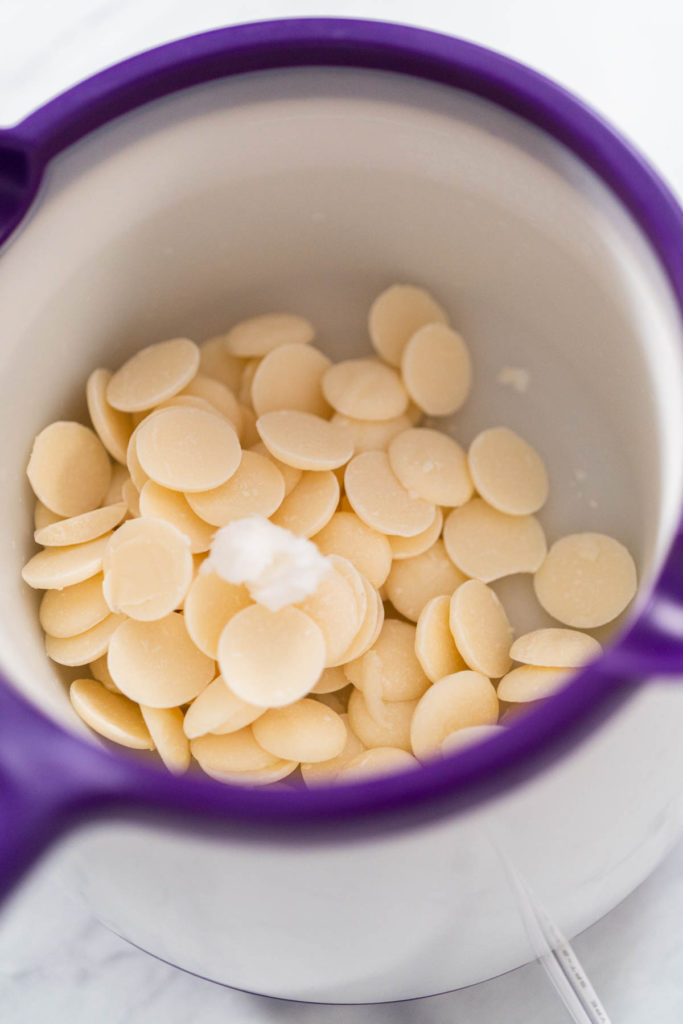
- ¼ cup Bright white Wilton Candy Melts
- ⅛ teaspoon Coconut oil
- Food glitter
How to Make Glitter-y Chocolate Seashells
Now let’s move on to breaking down the steps for these delectable chocolate-y treats! This candy-making process is just as simple and delightful as the tools and ingredients required for this fun and simple kitchen project.
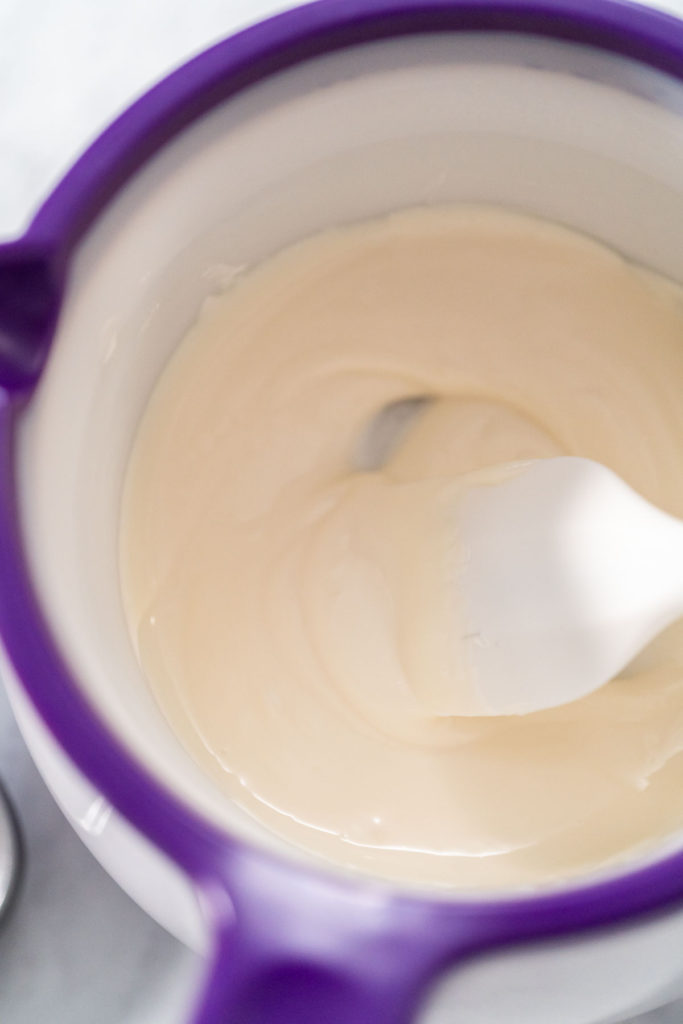
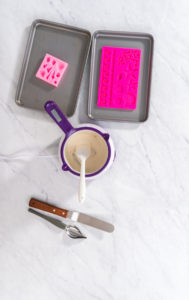
- First, combine the bright white candy melts and the coconut oil in the candy melt pot. Melt them together on high, while stirring continuously with a heat-resistant spatula.
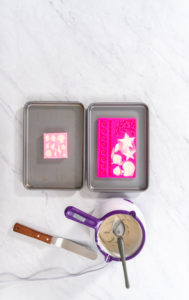
- Next, set the silicone molds on a small baking sheet on a completely flat surface.
- Then, spoon the melted chocolate into the seashell silicone molds. Scrape the excess chocolate off with a cake spatula. Tap the trays gently against the counter to remove any air bubbles.
- I personally like to use several molds at the same time to speed up my process. I suggest using at least 2 silicone molds or more for big batches.
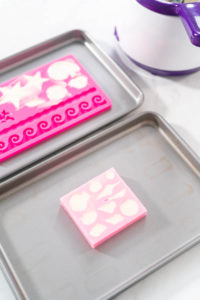
- Next, transfer the trays to the fridge or freezer, making sure to lay the molds completely flat. Let the chocolates sit in the fridge for 15 minutes or in the freezer for 5 minutes.
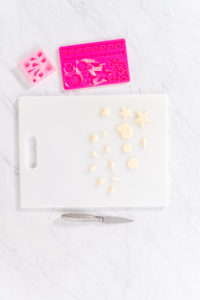
- After the chocolate has hardened, carefully remove the chocolates from the silicone molds. Use a small knife to cut away any extra chocolate from the edges.
- Try not to handle the homemade candies too much as the body heat from your hands can make the chocolate melt.
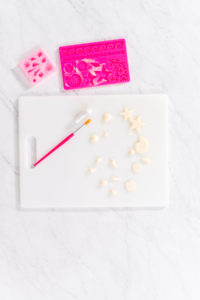
Finally, brush the homemade chocolates with the food glitter and they’re ready to serve.
Homemade Chocolate Storage
To store homemade chocolates: just transfer the chocolate seashells to an airtight container and store either in the fridge for 2 weeks or in the freezer for up to 3 months. You can use small cuts of parchment paper or wax paper in between the layers to help keep the chocolates separated and intact. Always mark the date on the outside of the container to keep up with freshness.
Cake & Cupcake Toppers
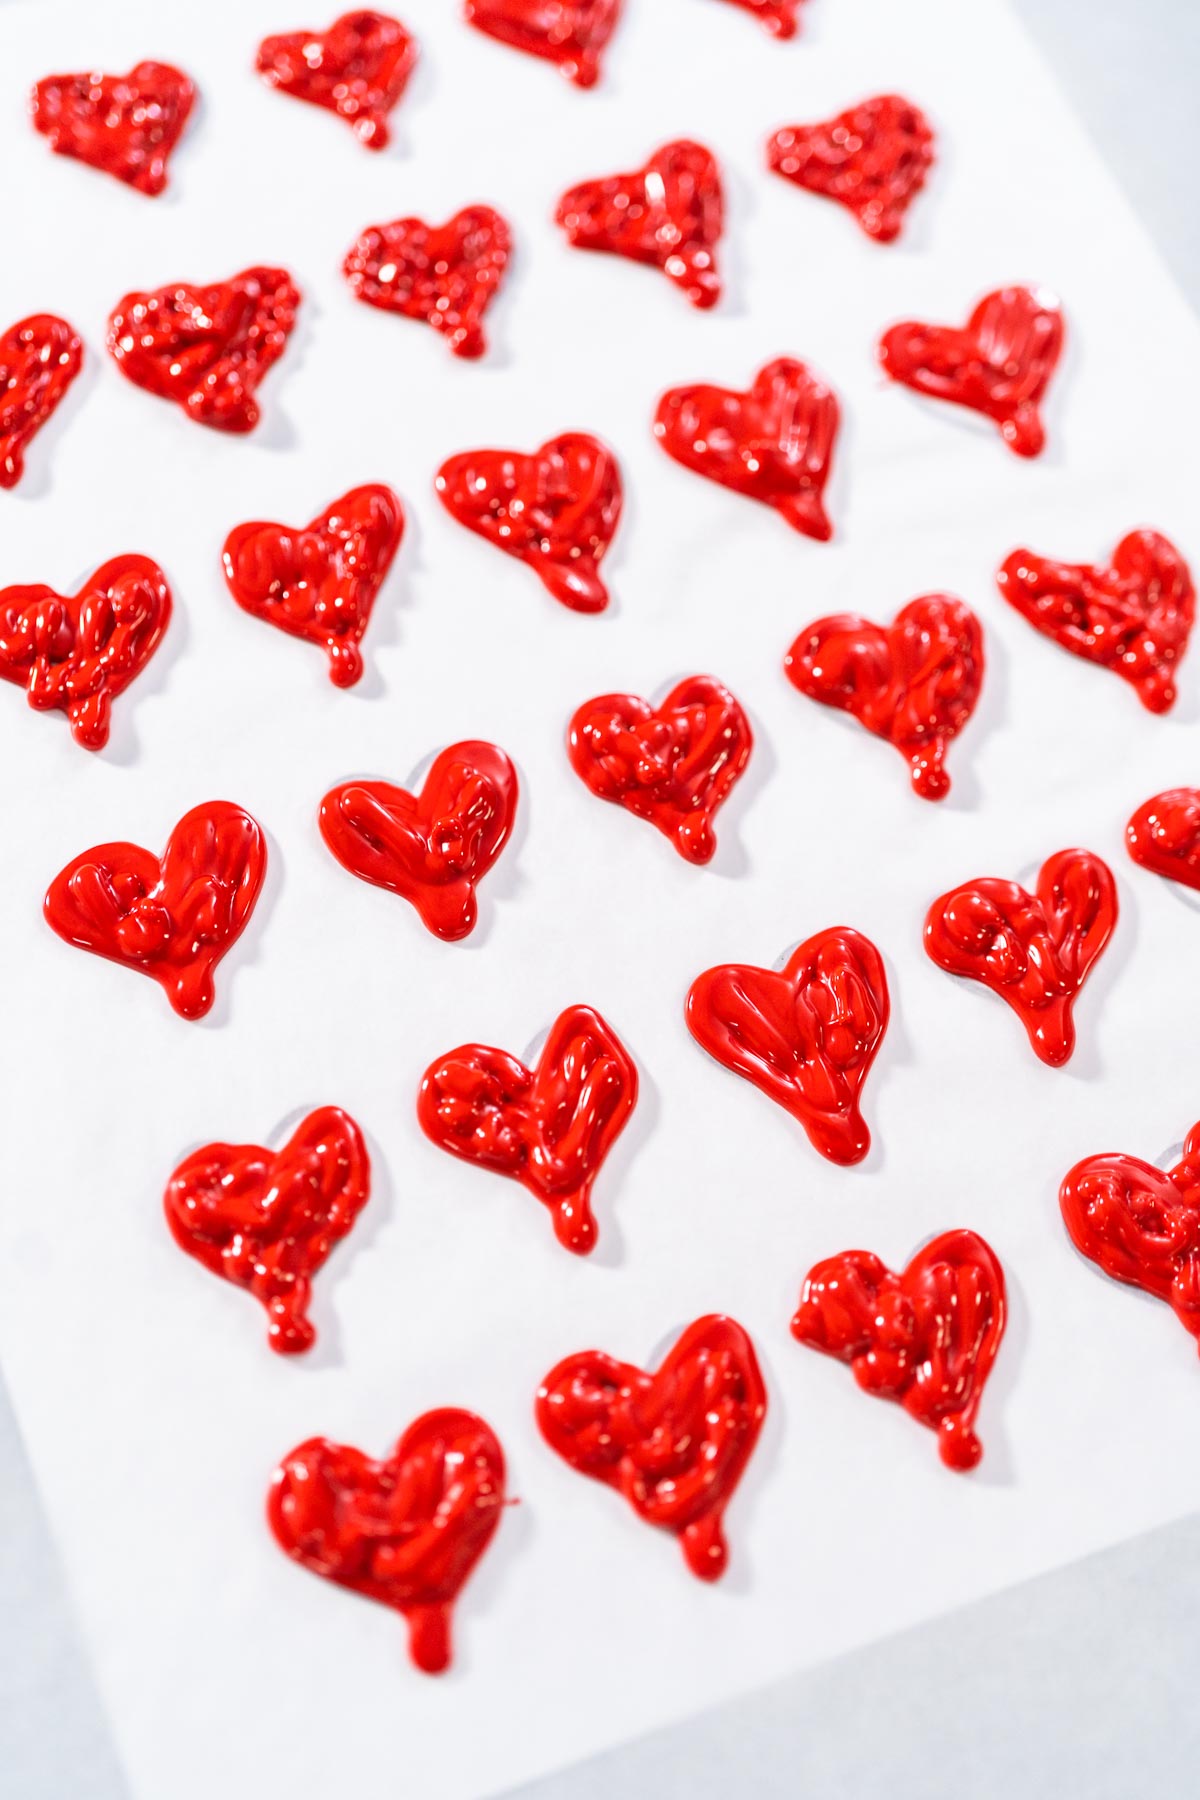
- Heart-Shaped Chocolates Without a Mold
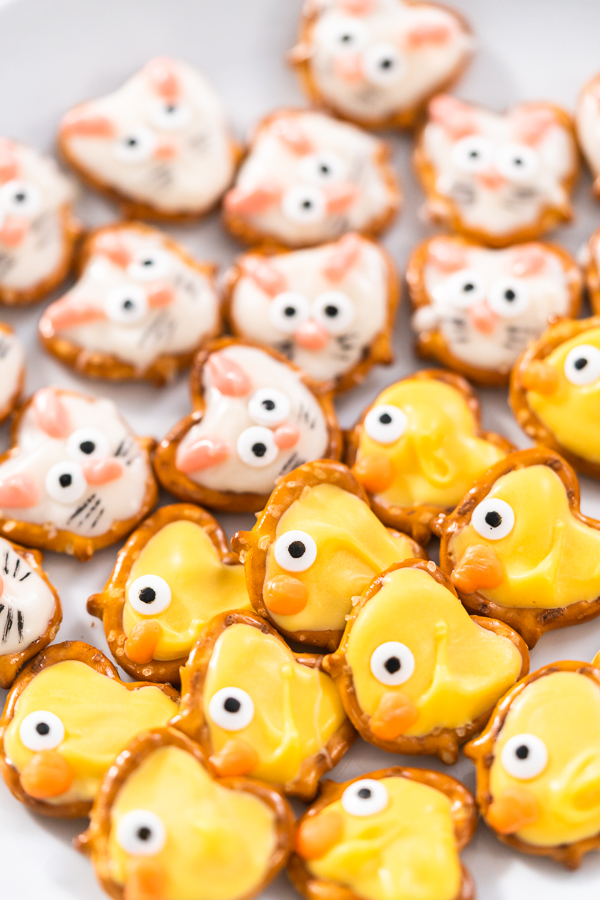
- Easter Chocolate Covered Pretzel Bunnies and Ducklings
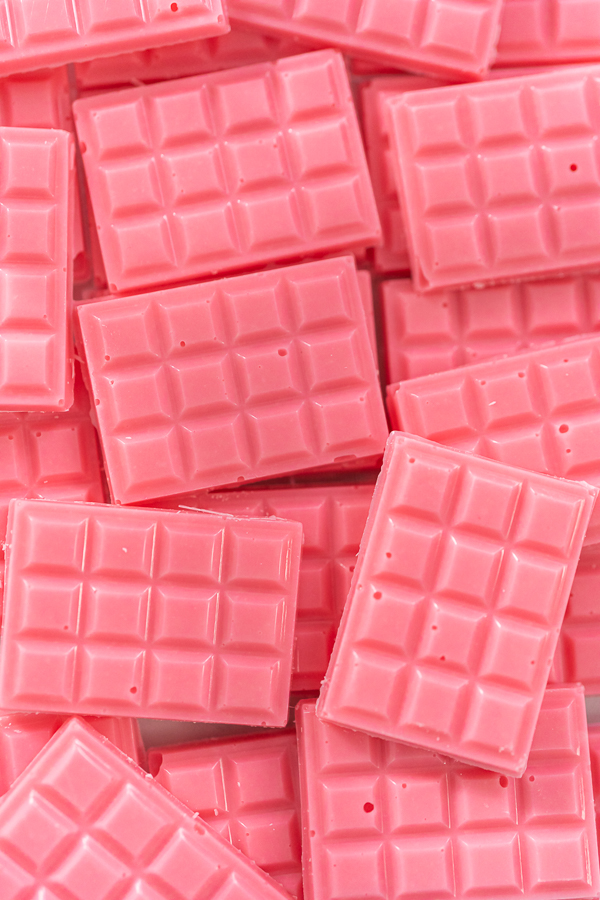
- Make Custom Chocolate Bars for Cupcake and Cake Garnishes
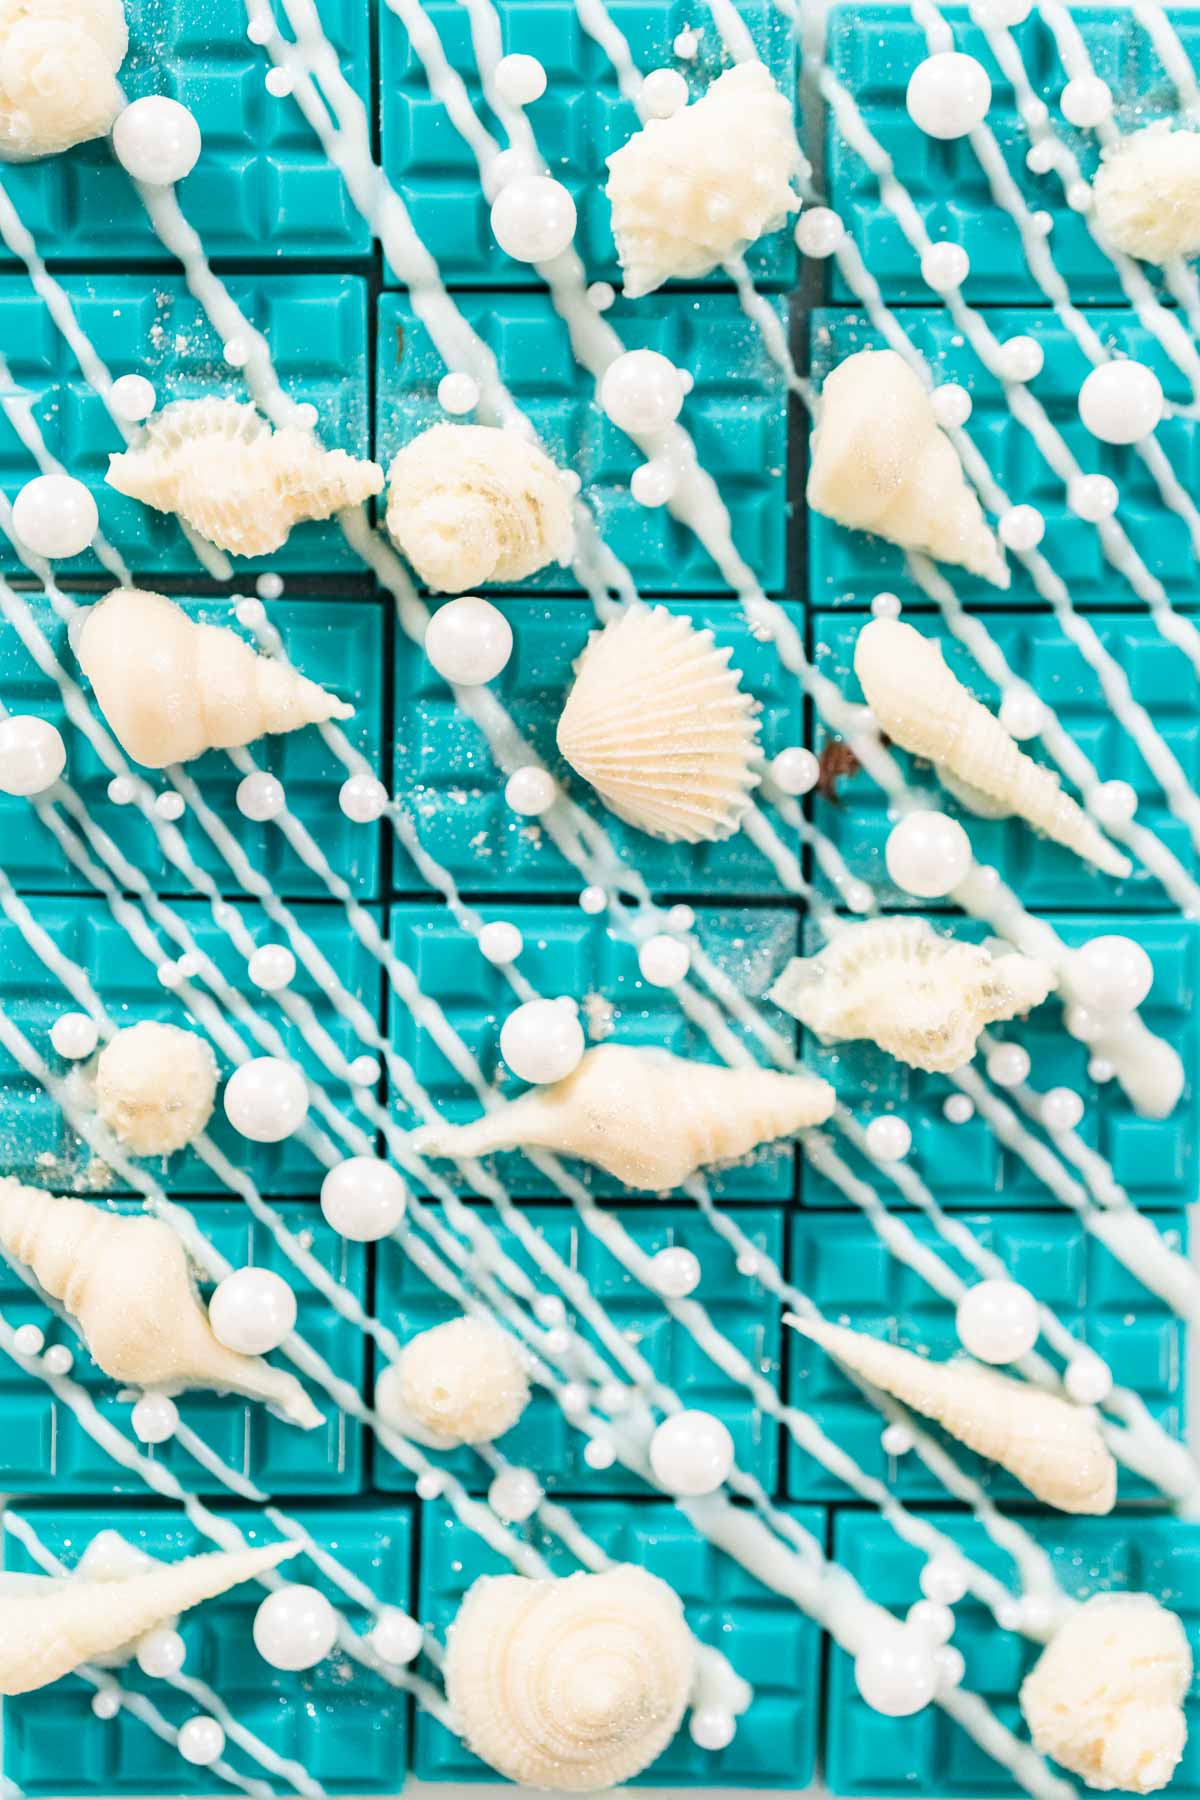
- Mini Mermaid Chocolate Bars for Decorating Cakes and Cupcakes
- Gingerbread Man Chocolates for Garnishing Cookies, Cupcakes, and Cakes
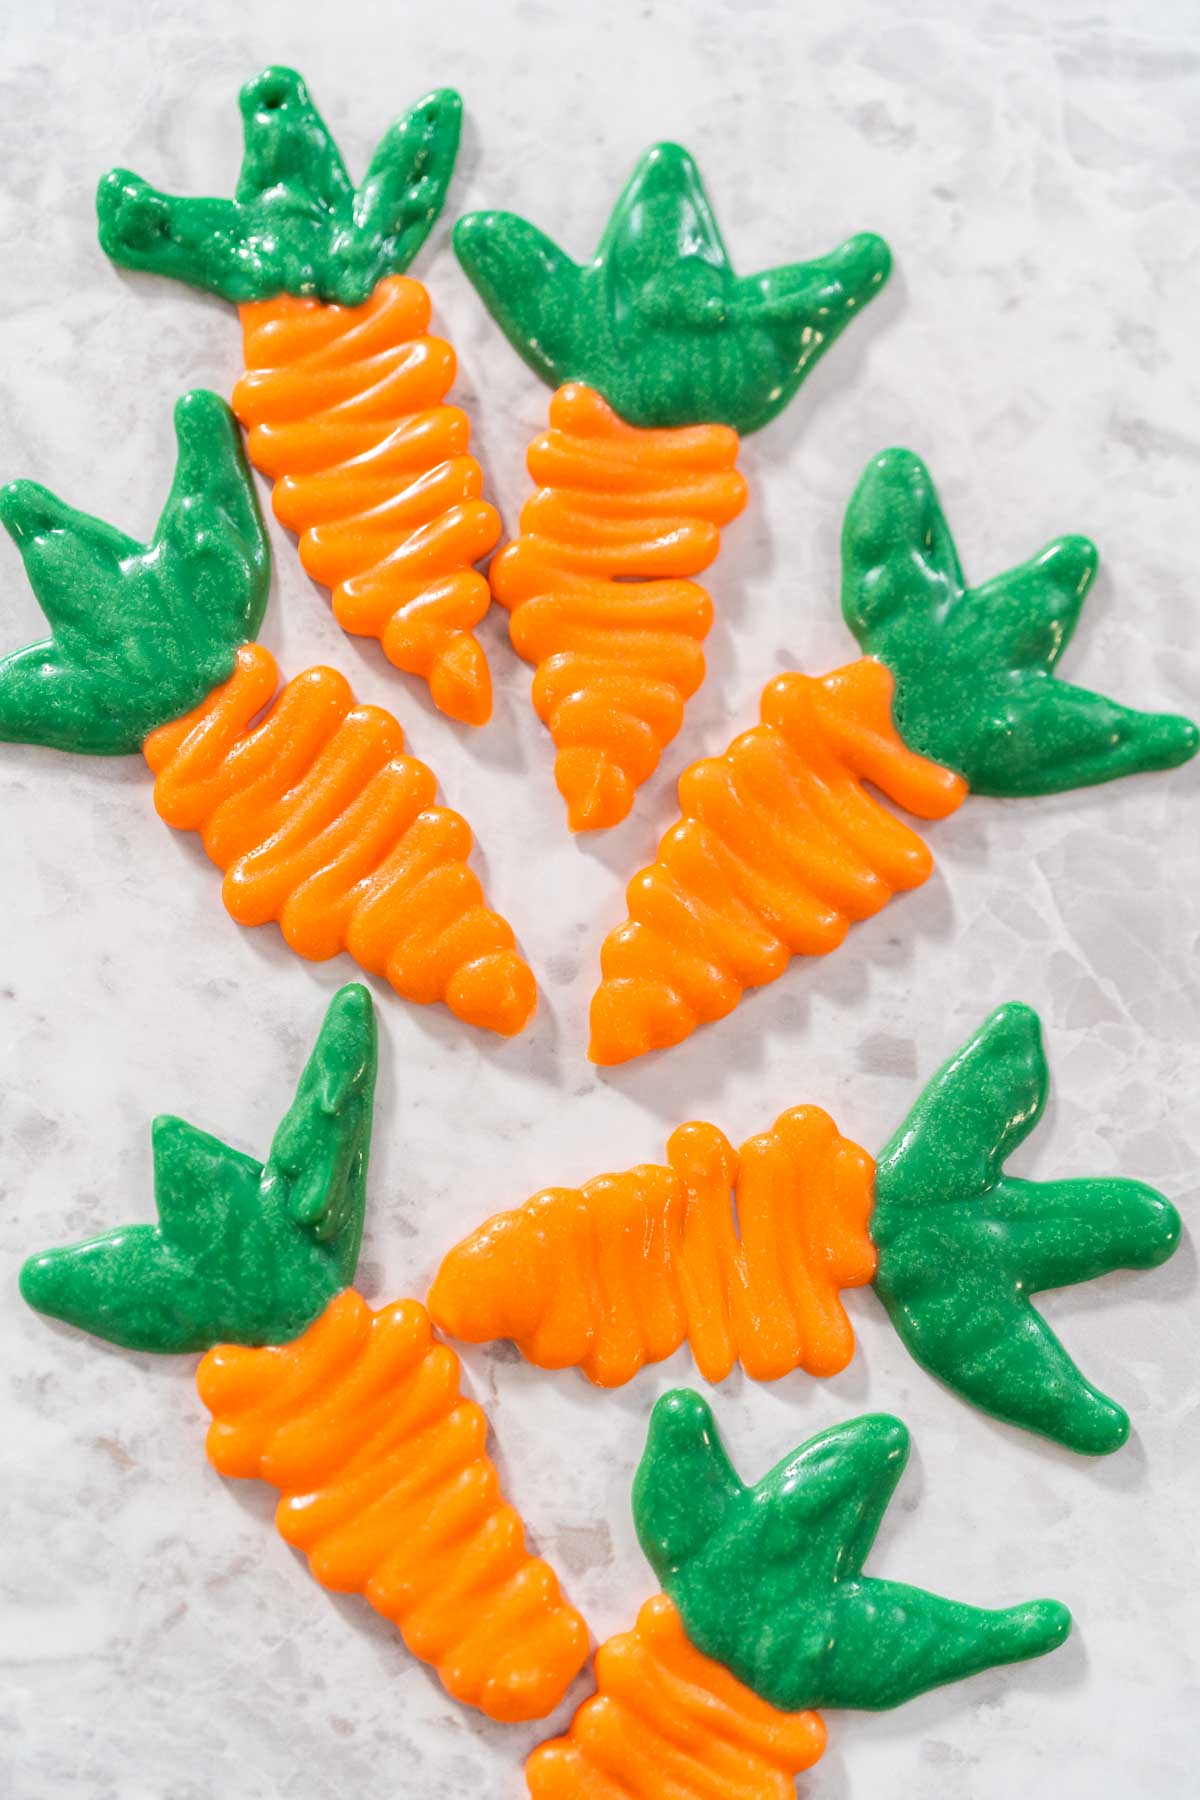
- How to Make Chocolate Carrot Cake Toppers for Easter and Spring Baking
Chocolate-y Serving Ideas
These simple yet stunning glittery chocolate seashells are perfect for dazzling up any kind of homemade dessert or treat that you want to add a simple beach theme too! For the ultimate majestic beach-inspired treat though, see these chocolate seashells in action in my recipe for enchanting and jaw-dropping Mermaid Cakesicles!
Serve dazzling homemade chocolate seashells on or as:
- Cake toppers
- Cupcake toppers
- cookies
- brownies
- Smoothies
- Ice cream or sundaes - or DIY ice cream sundae bars
- Featured as a topping on a DIY Hot Chocolate Bar
You can also change up the candy-colors to match any color scheme of a party or holiday celebration! Try these chocolate seashells out for unique snacks at special occasions such as:
- Kids birthday parties
- Beach themed birthday parties
- Baby Shower
- Perfect for beach-themed weddings or receptions
- Pool parties
- Beach parties
- Summer cookouts
Other sweet homemade chocolate recipes:
- Chocolate Hearts and Lips
- Mini Chocolates with Sprinkles
- Mini Mermaid Chocolate Bars
- Chocolate Mermaid Tails
- Homemade Star-Shaped Chocolates
- Mini Chocolate Bars
Chocolate seashells
Ingredients
- ¼ cup Bright white Wilton Candy Melts
- ⅛ teaspoon Coconut oil
- Food glitter
Instructions
- First, combine the bright white candy melts and the coconut oil in the candy melt pot. Melt them together on high, while stirring continuously with a heat-resistant spatula.
- Next, set the silicone molds on a small baking sheet on a completely flat surface.
- Then, spoon the melted chocolate into the seashell silicone molds. Scrape the excess chocolate off with a cake spatula. Tap the trays gently against the counter to remove any air bubbles. I personally like to use several molds at the same time to speed up my process. I suggest using at least 2 silicone molds or more for big batches.
- Next, transfer the trays to the fridge or freezer, making sure to lay the molds completely flat. Let the chocolates sit in the fridge for 15 minutes or in the freezer for 5 minutes.
- After the chocolate has hardened, carefully remove the chocolates from the silicone molds. Use a small knife to cut away any extra chocolate from the edges.Try not to handle the homemade candies too much as the body heat from your hands can make the chocolate melt.
- Finally, brush the homemade chocolates with the food glitter and they’re ready to serve.
Notes
- To store homemade chocolates: just transfer the chocolate seashells to an airtight container and store either in the fridge for 2 weeks or in the freezer for up to 3 months. You can use small cuts of parchment paper or wax paper in between the layers to help keep the chocolates separated and intact. Always mark the date on the outside of the container to keep up with freshness.
Nutrition
Food Photography & Video Tips from My Studio
Here’s a peek at the tools, gear, and camera setups I use to film my recipe videos and photograph food at home. Over the years, I’ve tested dozens of different setups, and now I’m sharing what actually works for me—whether I’m filming overhead shots for YouTube or styling still photos for my blog. If you’re curious about how I create the content you see here, these posts are a great place to start.











Leave a Reply