How to DIY cute figure skating practice outfits with custom rhinestone patterns!
This post contains affiliate links.
As parents, we want to be completely supportive of our kids and their interests, especially when it comes to sports and extracurricular activities. But we also know just how fast things like that can rack up some expensive costs! That’s what I quickly learned, anyways, when my daughter started competitive figure skating.
It didn’t take very long before I came to the realization that just the figure skating training clothes alone were pretty expensive, let alone the competition outfits. Now I understand the competition clothes being pricey, that’s to be expected. But I didn’t understand why the practice clothes had to be so expensive too. I mean come on, these are practice clothes for kids!
Kids at figure skating practices can get rough, dirty, fall down, and the bottom of their pants are constantly getting sliced up from the blades of their skates. Plus, if they continue with the sport, then they are constantly outgrowing their practice clothes from previous years anyway so it’s constantly racking up new unnecessary expenses. So I started thinking, why can’t I just DIY some cute training outfits for her? Well, I tried it and let me tell you, this has been one of my best ideas ever!
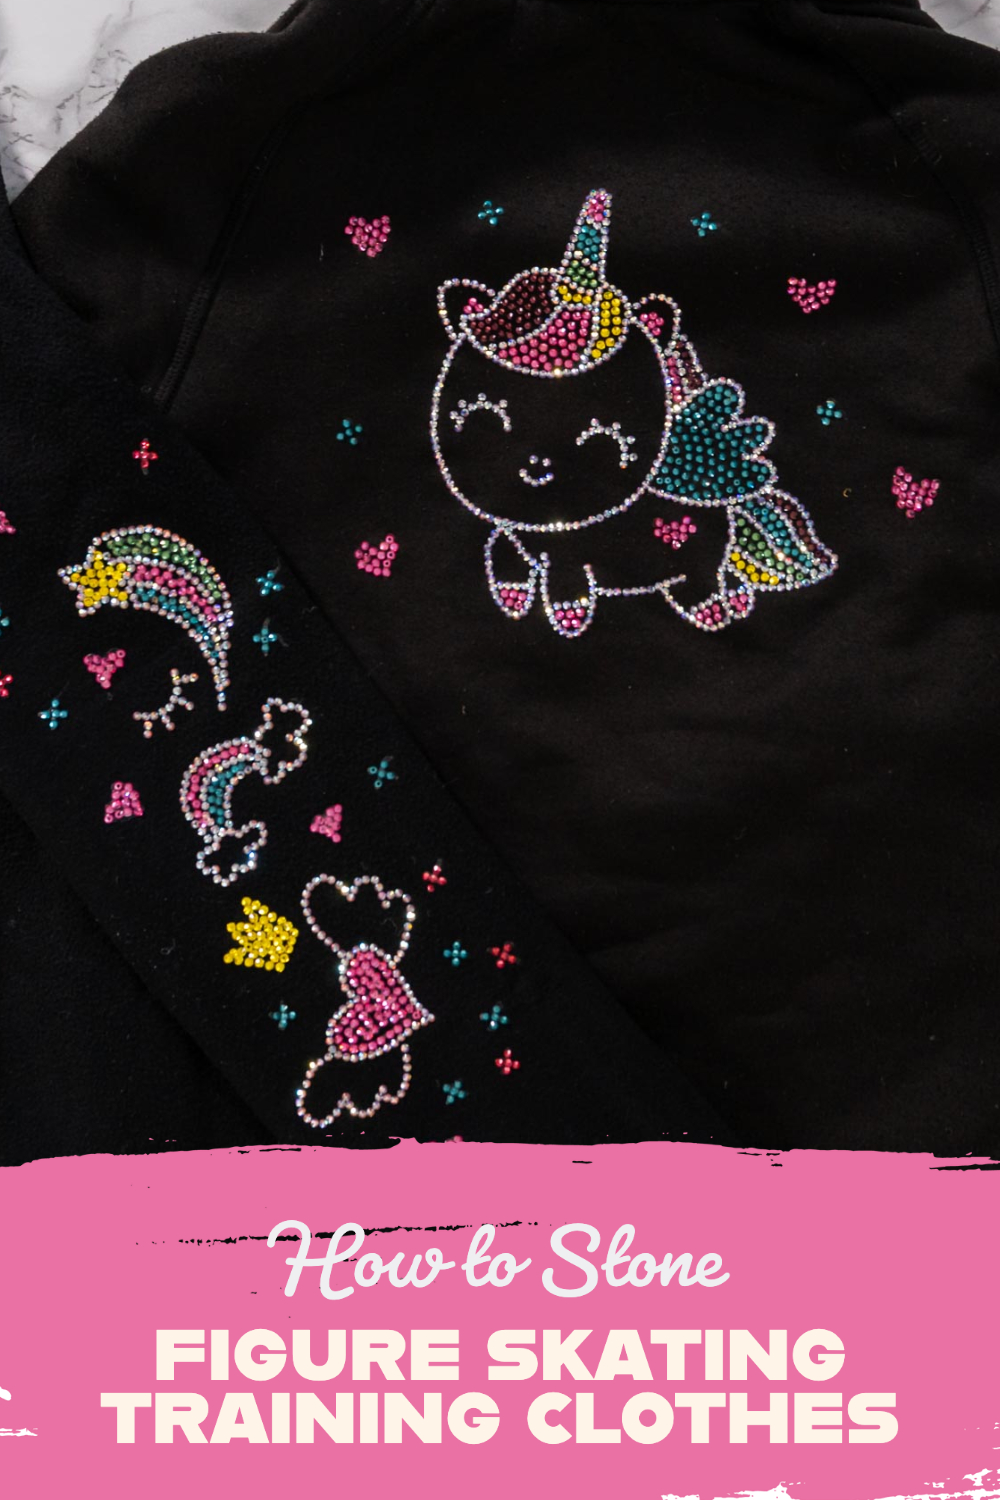
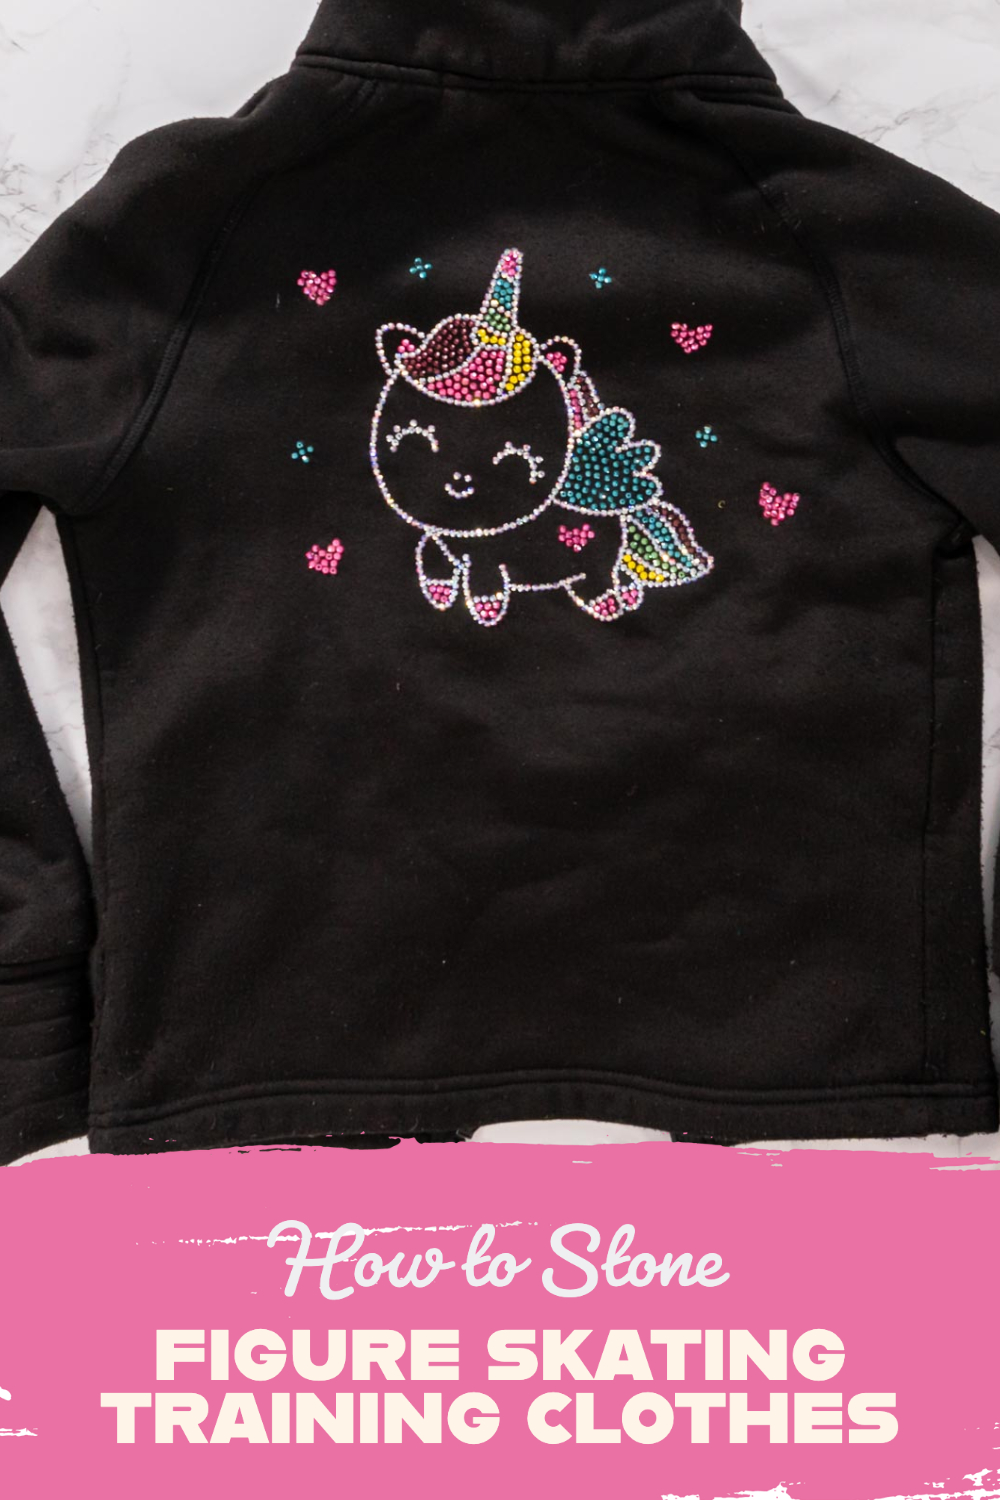
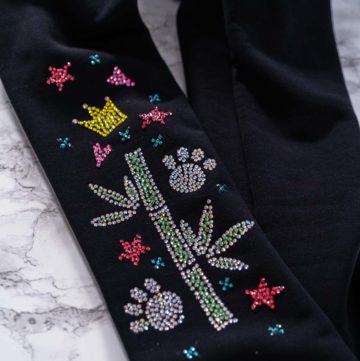
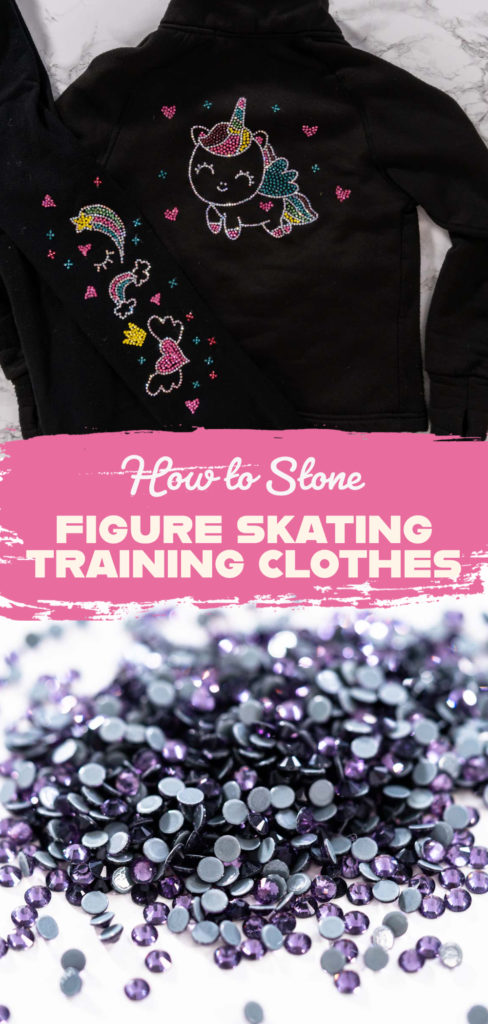
My simple solution to this problem was to order some affordable black leggings and jackets and add the rhinestone patterns myself. This has been my go-to solution ever since! My daughter and I both love these DIY figure skating outfits so much better than the generic yet more expensive ones. Plus it’s become a fun mother and daughter team project! She helps me pick the themes for her clothes so she can wear unique, customized outfits for her training sessions and I get to save money on her practice outfits at the same time!
Now, I do want to specify that this DIY is specifically just for the training and practice outfits and for little skaters just starting out, not for competition outfits. To make these practice outfits, all I use is some simple leggings and jacket, hotfix rhinestones, transfer paper, an iron, and some tools. That’s all it takes to DIY some cute Figure Skater Training Clothes without breaking the bank! Now here’s how to do it:
Rhinestones and transfer materials:
- Iron
- Ironing board
- Blue painters tape
- Kitchen towel or clean cloth
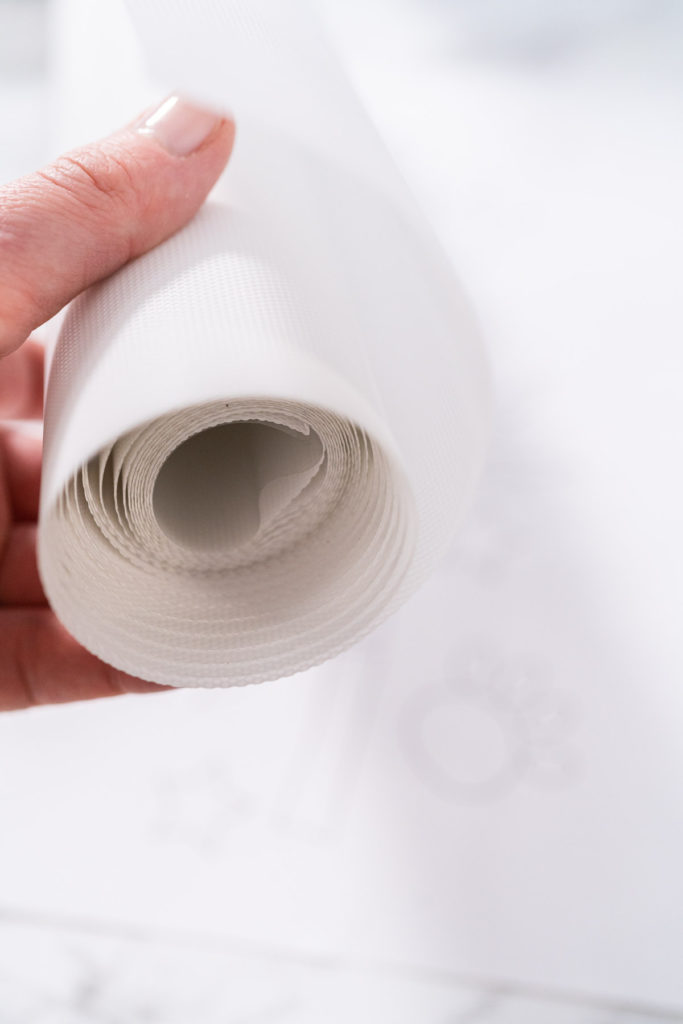
- Transfer Paper for Rhinestones
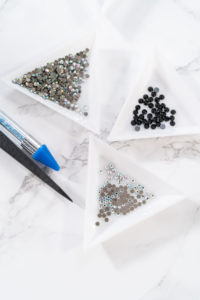
- Rhinestone Picker Dotting Pen
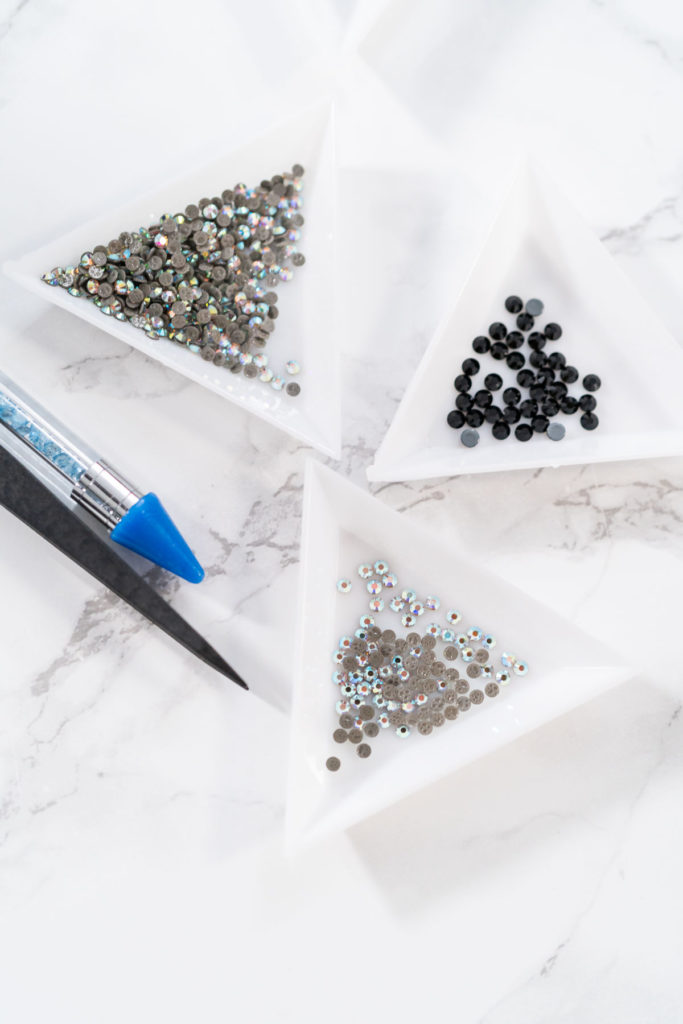
- Bead Sorting Trays with Tweezer Scoop
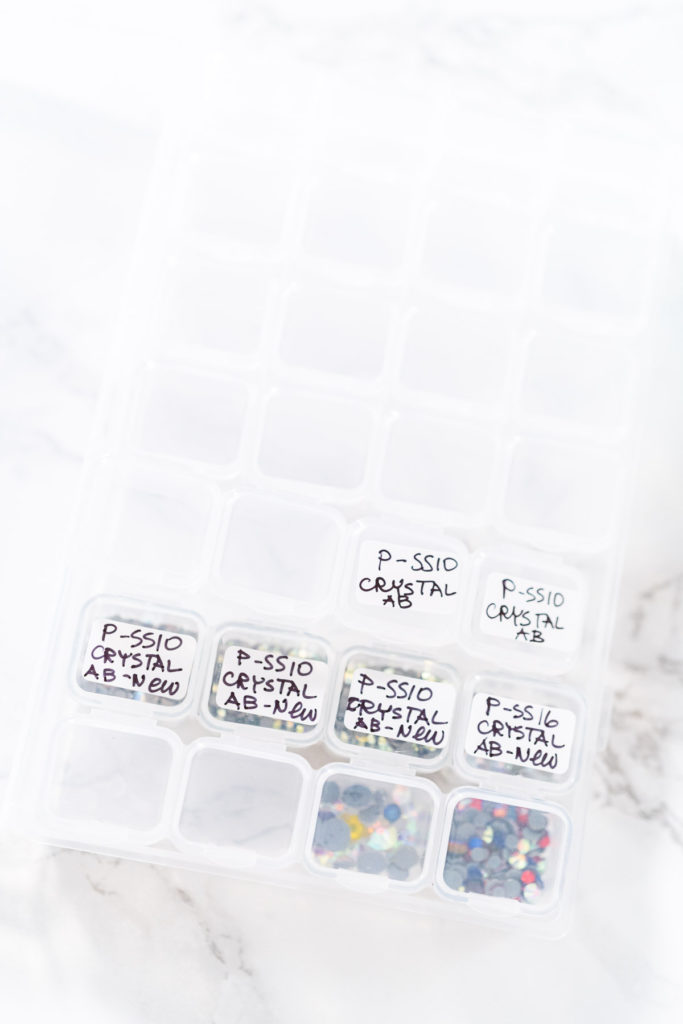
- Rhinestone Storage Case
- Stack & Carry Boxes
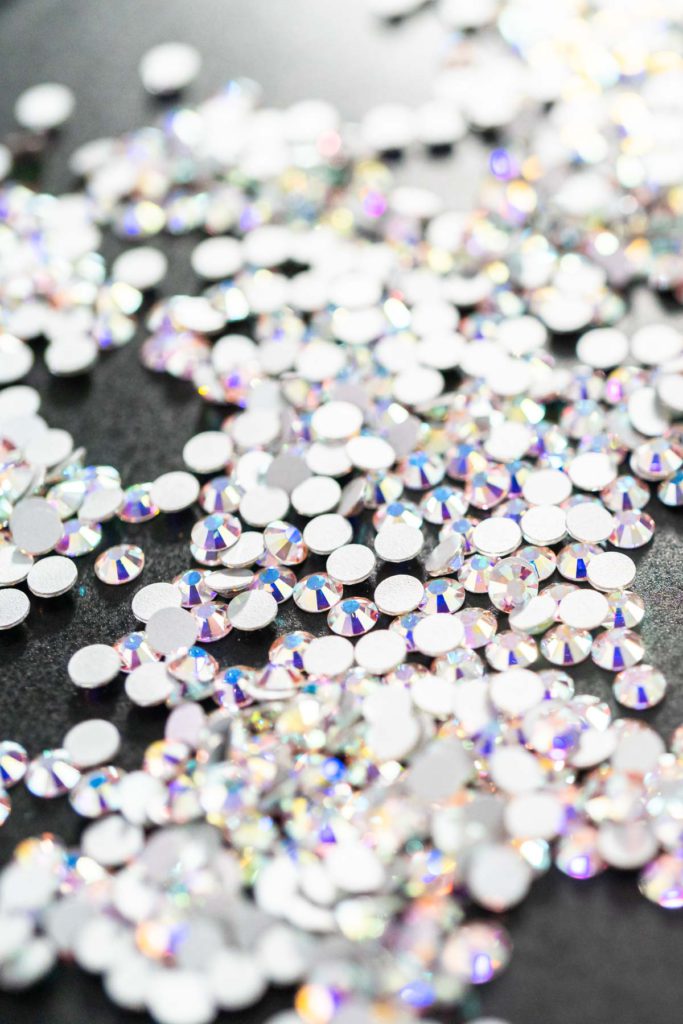
- Mixed Hotfix Rhinestone Set
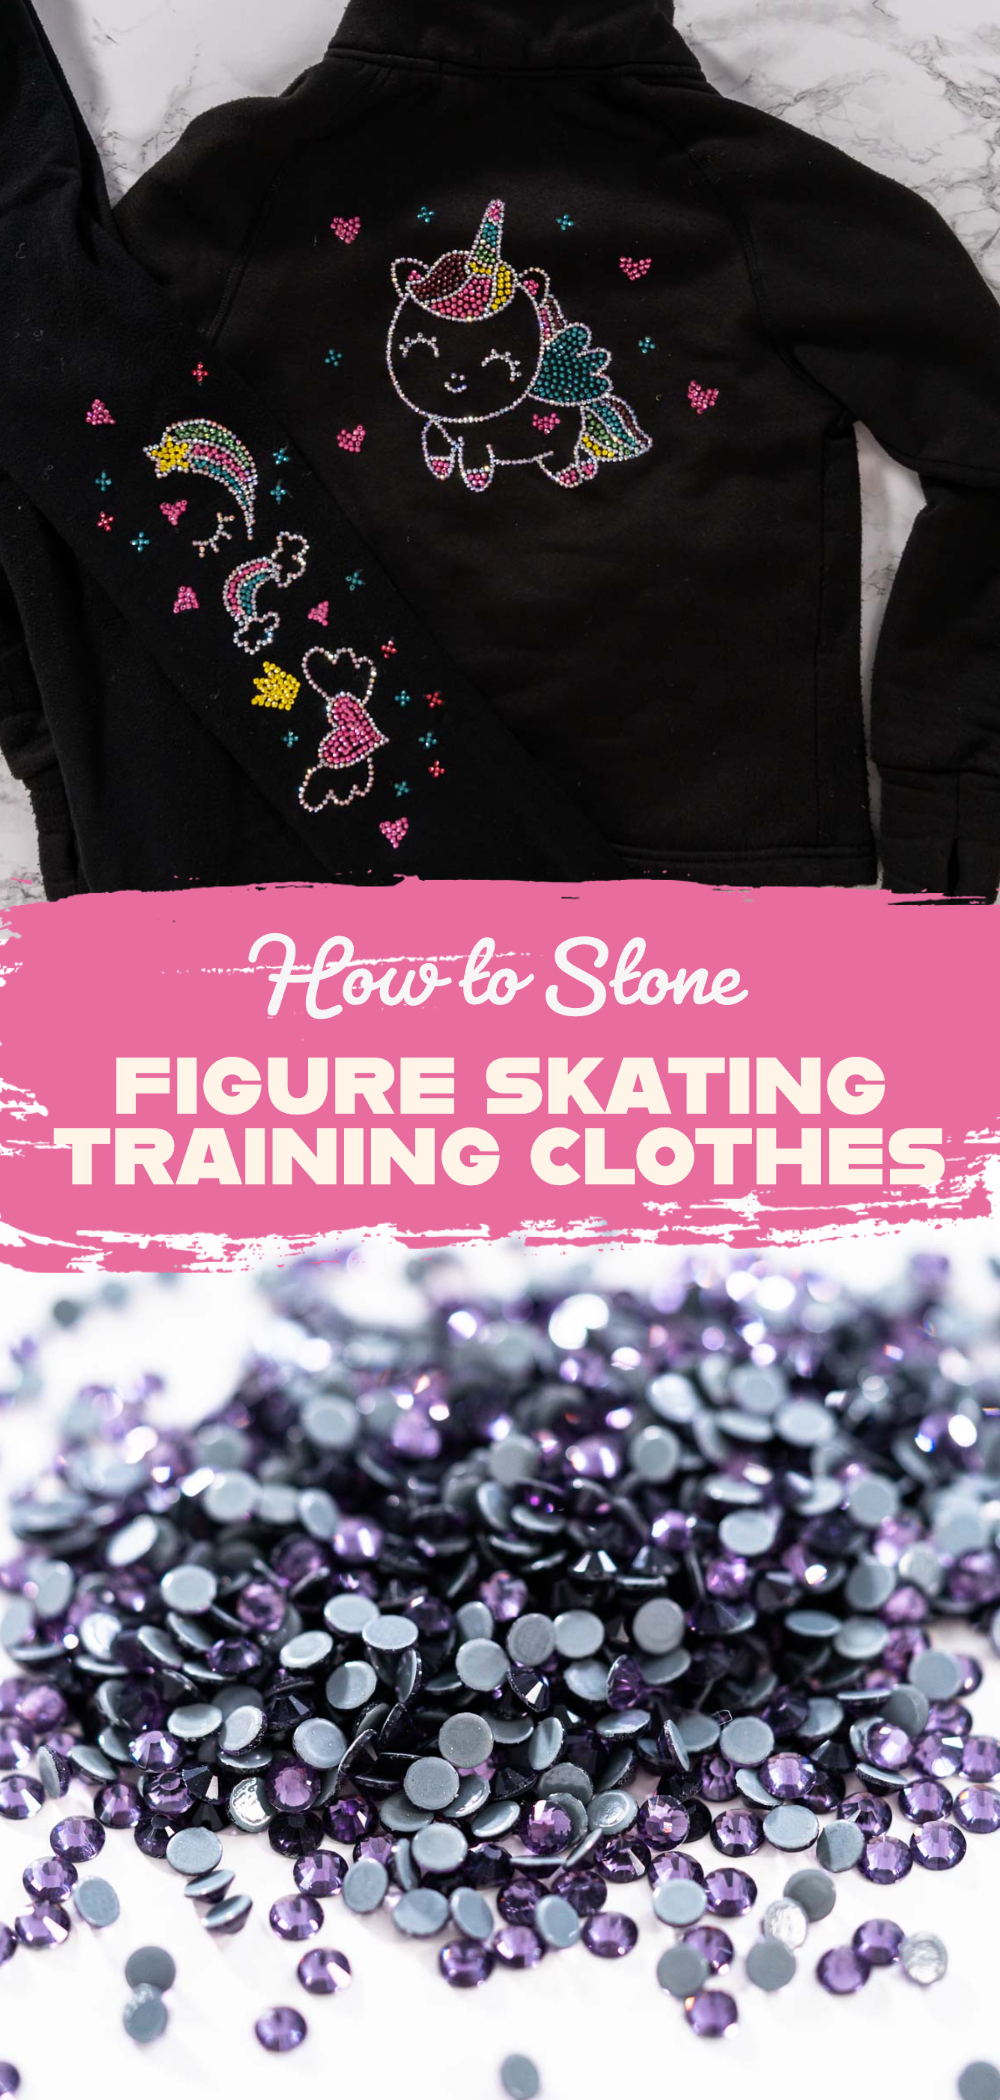
- I use hotfix rhinestone sizes #10 and #12. These are small enough to use for the patterns but still large enough that I don’t have to use a ton of them.
My favorite online rhinestone retailers:
Simple black training clothes:
If you want to save a few steps, you can opt for premade transfers that are ready to just stick, cover, and iron on. Here are some Iron-On Premade Transfers:
Print a Pretty Pattern…or Two
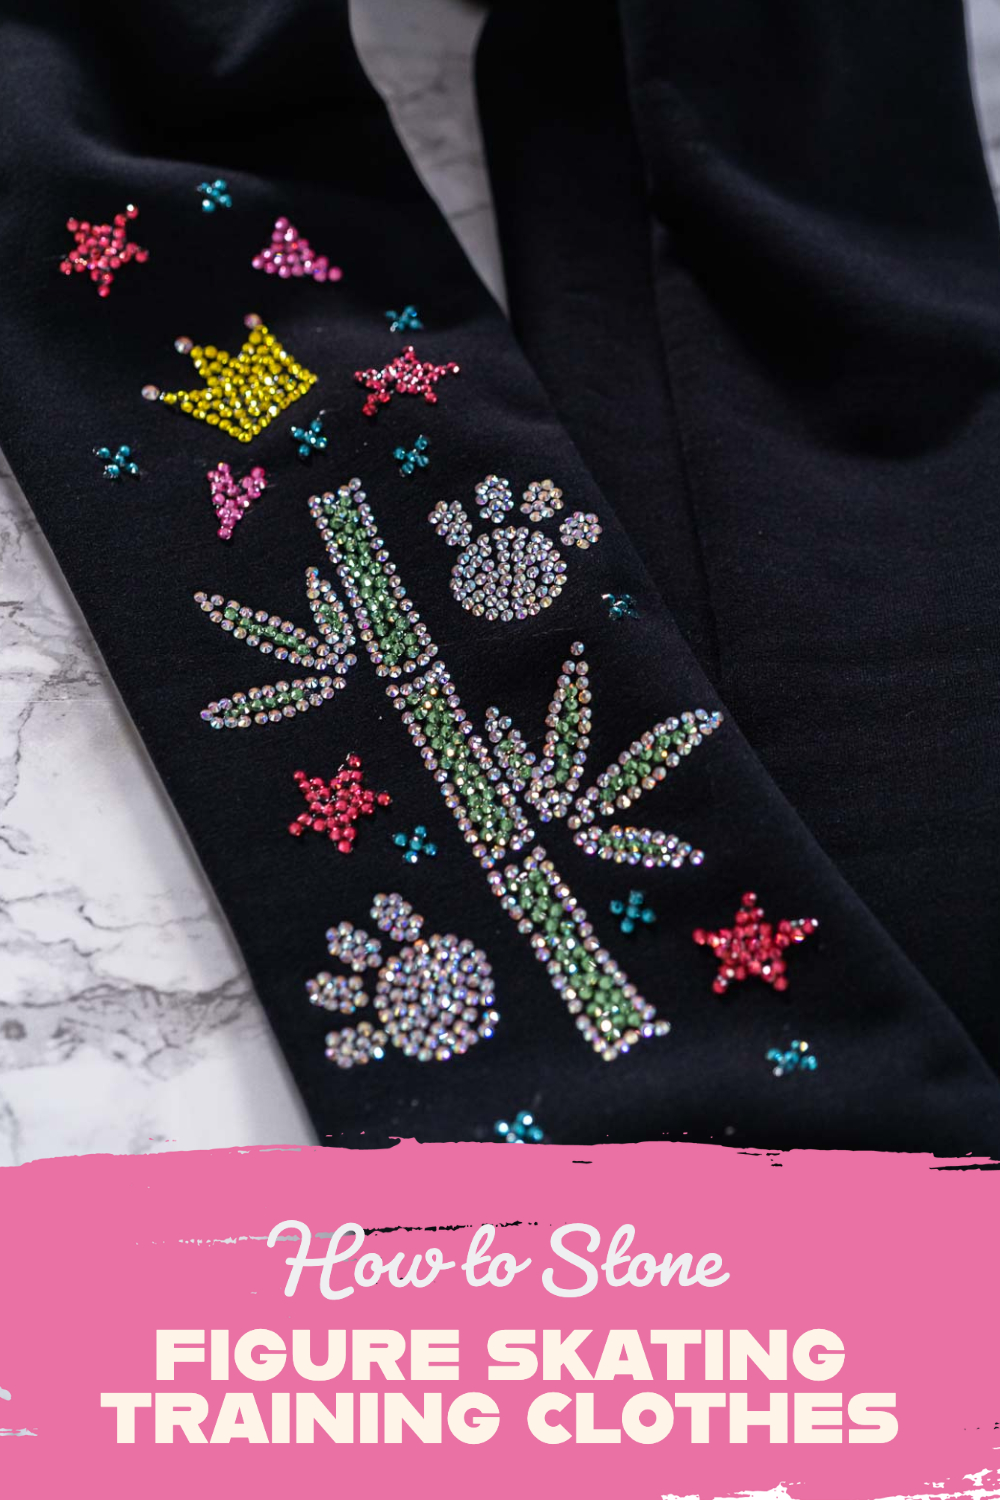
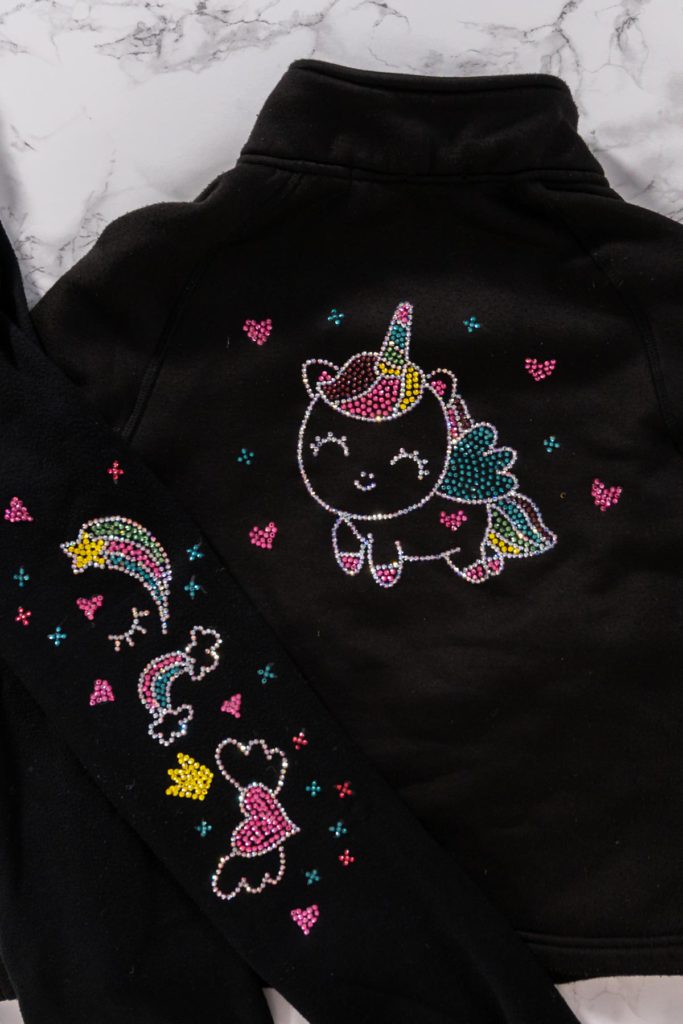
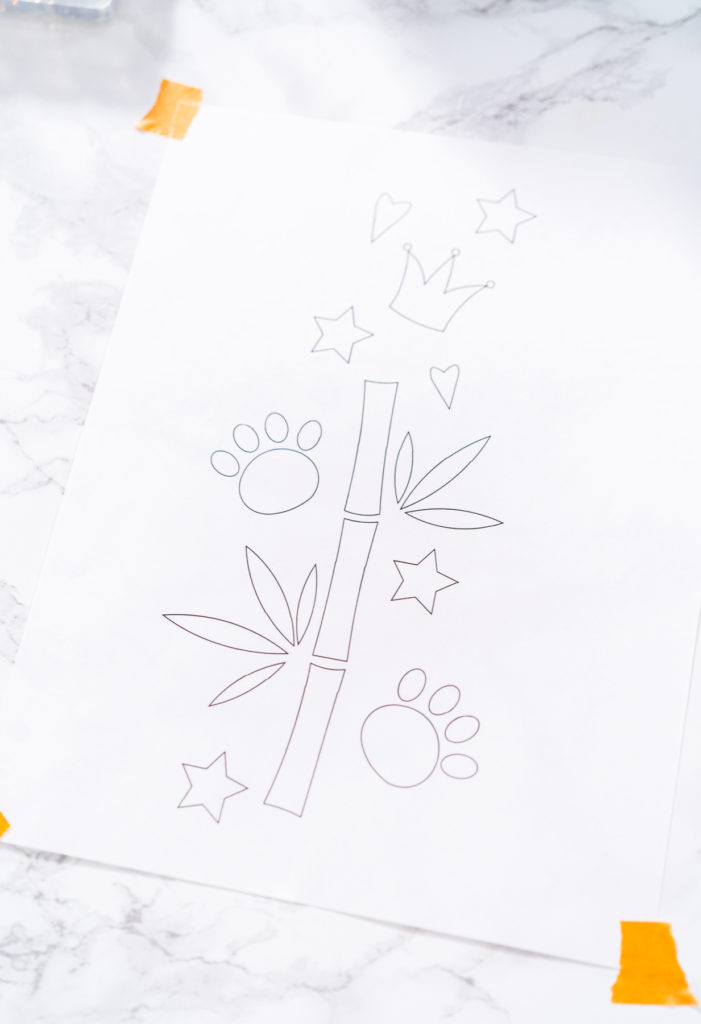
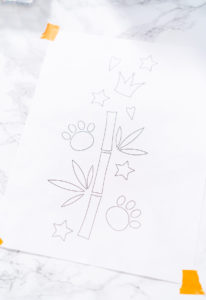
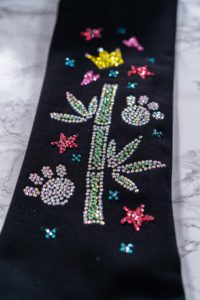
Now, it’s time for the patterns! Below are two of my daughter’s favorite designs that I’ve used for her training outfits: a cute panda set and a magical unicorn set! Of course, you can browse the internet for other patterns and designs, or you can even attempt to make your own. Be as creative and unique as you like!
Download drawings here:
- Panda Pattern Download
- Unicorn Pattern Download
How to Transfer Rhinestones to Figure Skating Clothes
Now, let’s get to the glitz and glamour of this easy DIY project! This process is actually pretty easy to do. Just make sure you’re using the right materials and position your patterns just right on the clothes so you can sail into smooth success afterwards! Here’s how to DIY rhinestone figure skating clothes:
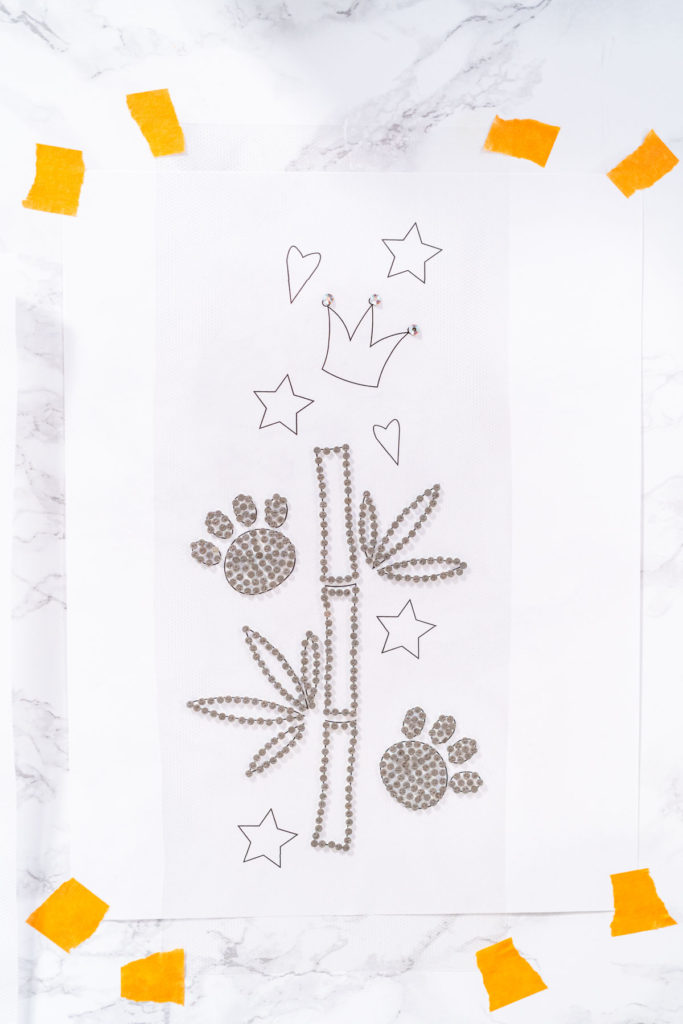
- First, tape the desired pattern to a stable table.
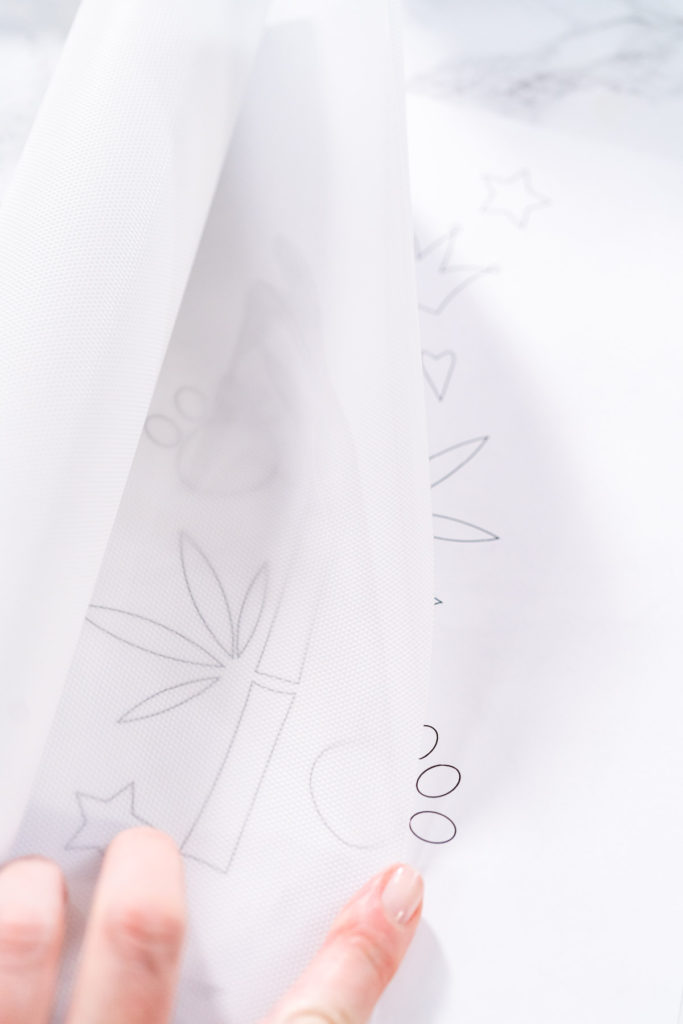
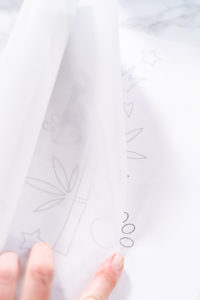
- Then, tape a piece of transfer paper over the pattern with the sticky side facing up.
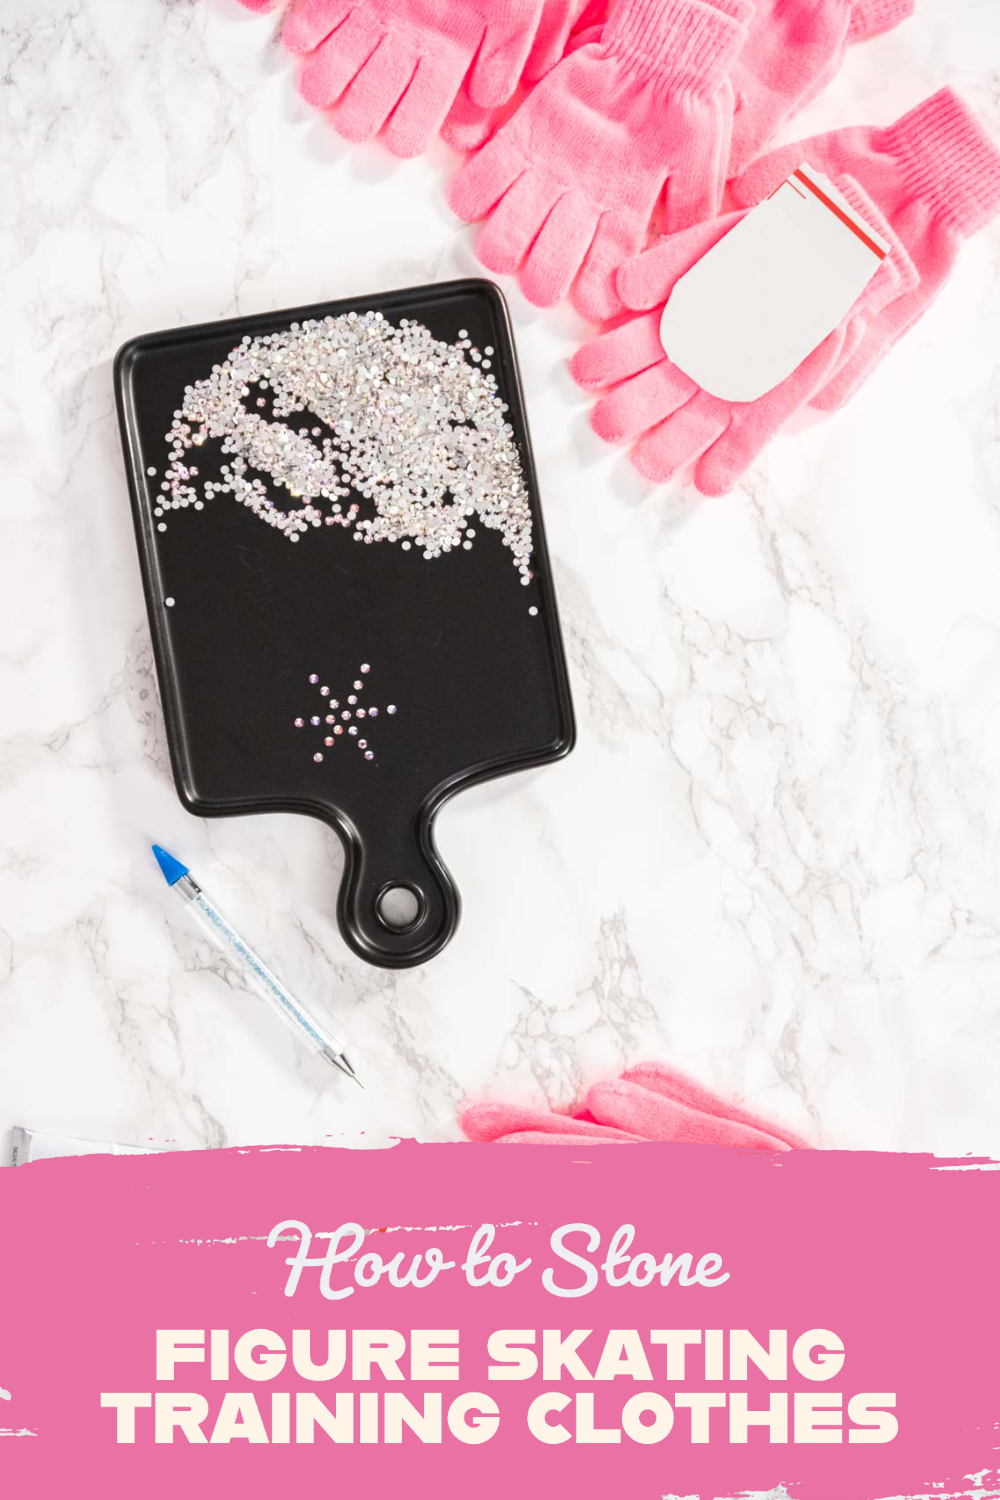
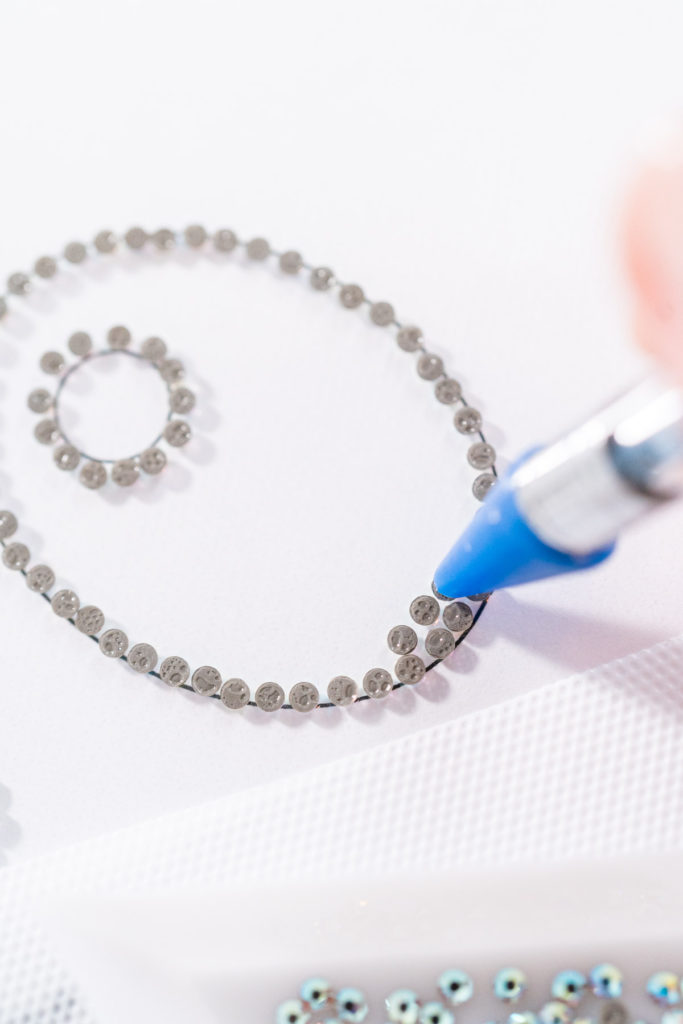
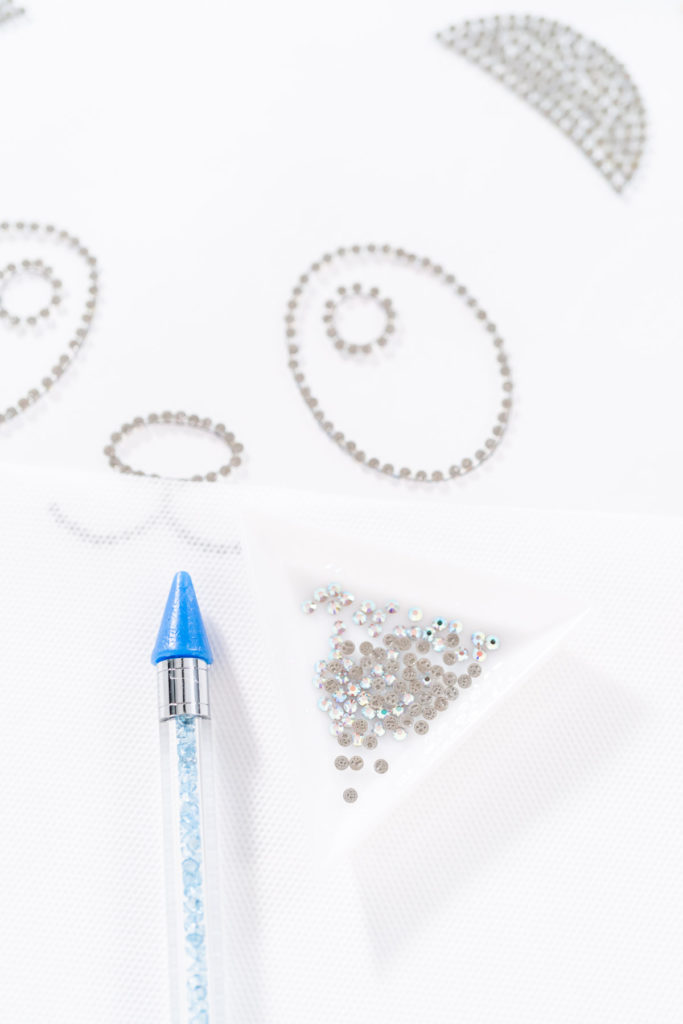
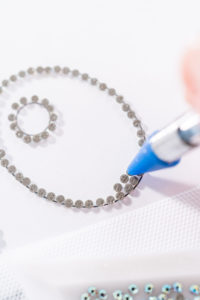
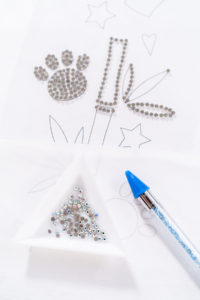
- Next, use the picker pen or tweezers to start lining the stones face down on the sticky contact paper, tracing the outside of the pattern underneath.
- This step is a whole lot easier if you use some bead sorting trays to sort and hold the different colored stones.
- Then, use different colored stones to fill in the rest of the pattern and any of the pattern details.
- Once the pattern has been completely traced, put a protective layer of transfer paper over the stones while transporting it to the ironing area.
- You should also do this if you need to take a break during the tracing process. Otherwise, dust and lint will quickly start sticking to the contact paper.
- Make sure the clothes have been completely cleaned and ironed before starting the rhinestone pattern transfer.
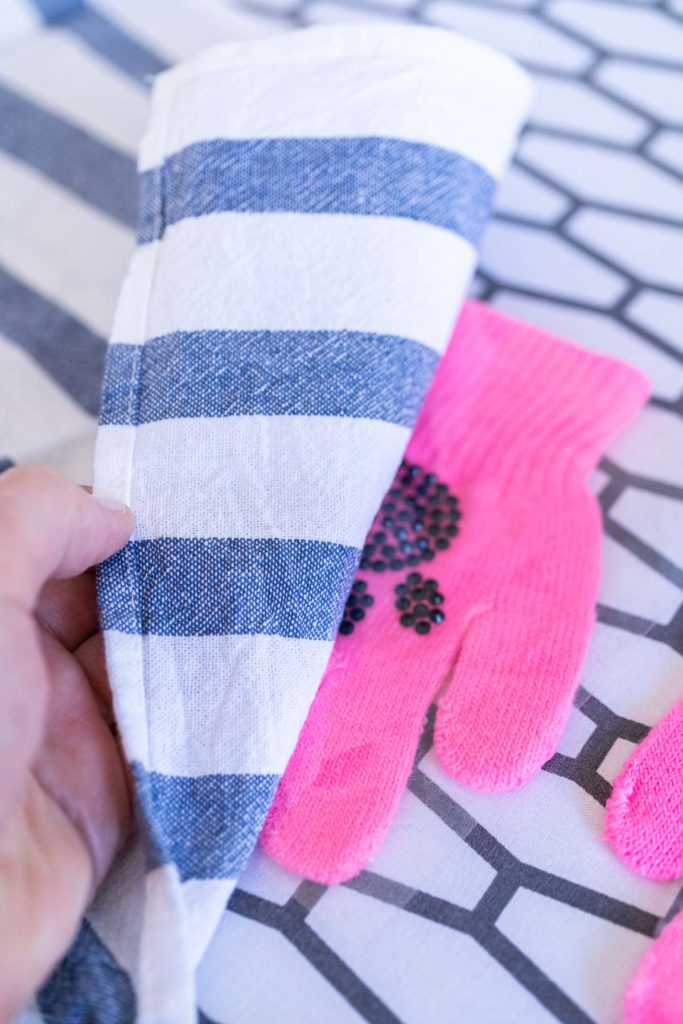
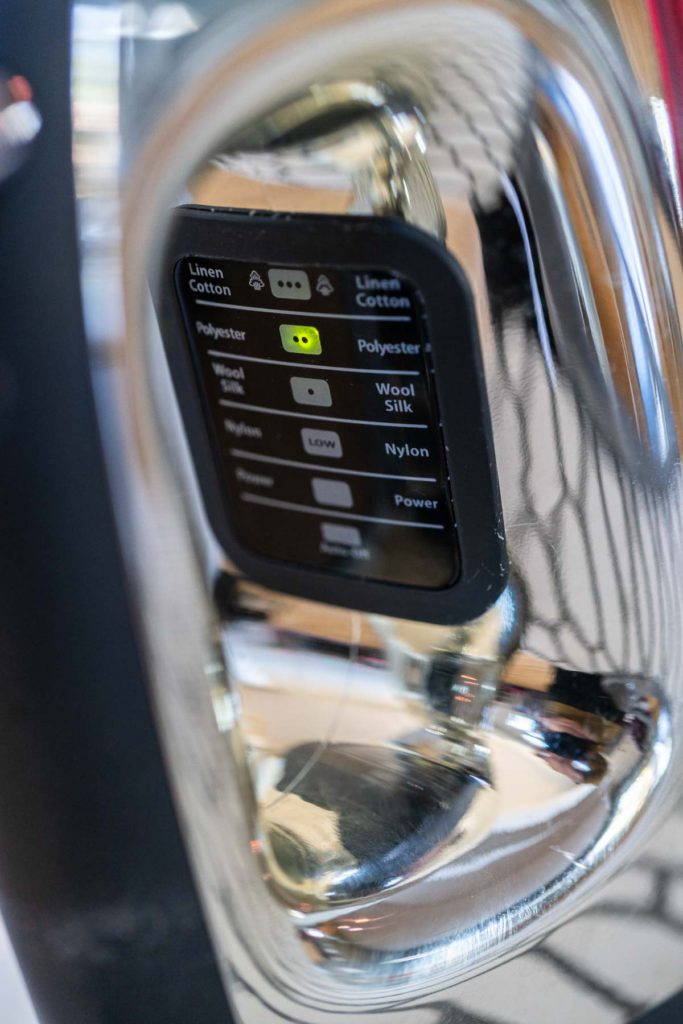
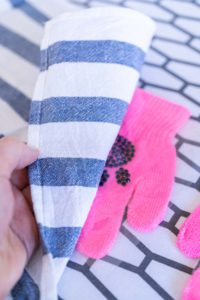
- Then, place the rhinestone contact paper on the clothes, with the sticky side touching the clothes and the stones facing up. Make sure your pattern is straight! Cover with a clean cloth, I used a clean kitchen towel, and iron the whole area slowly and gently on medium heat for 3-5 minutes. Make sure to keep the iron slowly moving to keep from burning the fabric. Let the stones and clothes cool before moving to the next step.
- Make sure to move the iron slowly across to avoid burning the fabric.
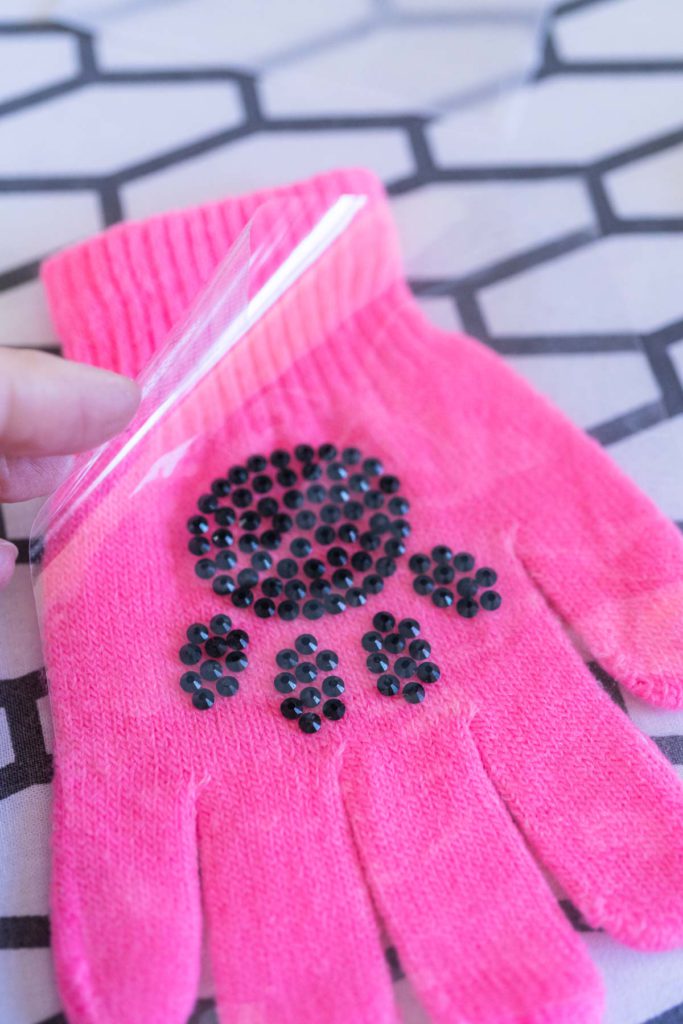
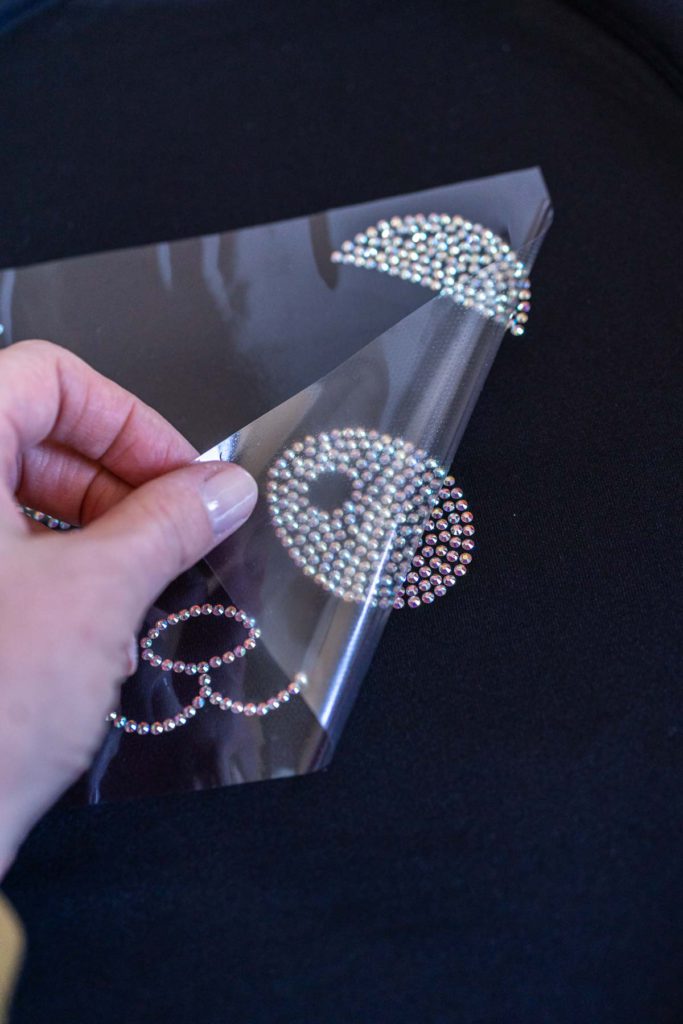
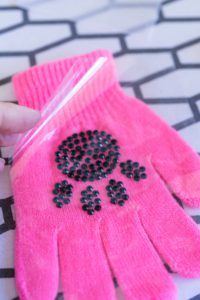
- Finally, once the clothes have cooled, carefully start removing the contact paper. If some stones didn’t stick, cover the area again and iron for a little more time.
- For stone repairs or replacements later on you can use a Hotfix Applicator Wand to attach individual hotfix rhinestones.
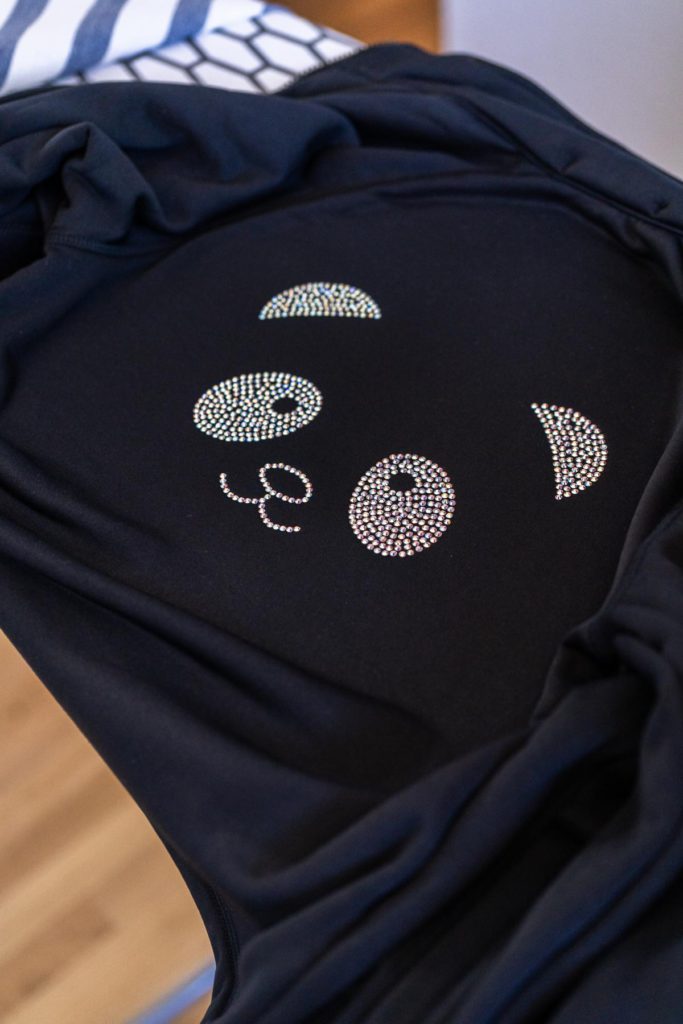
- That’s it! When the clothes get dirty, wash them inside out in warm water and air dry.
Storage Tip:
I have found that the best storage solutions for my rhinestones and tools are this Rhinestone Storage Case and these Stack & Carry Boxes.
Tips and Treats for Figure Skaters
Want some more goodies just for the little ice skaters out there? Here’s another helpful article on rhinestones and a few easy homemade treats that my daughter and her figure skating team have absolutely loved:
- Selecting Rhinestones for Figure Skating Clothes
- Ice Skate Sugar Cookies
- Homemade Lollipops
- Marshmallow Snowmen
DIY rhinestone figure skating practice outfits
Equipment
Ingredients
Instructions
- First, tape the desired pattern to a stable table.
- Then, tape a piece of transfer paper over the pattern with the sticky side facing up.
- Next, use the picker pen or tweezers to start lining the stones face down on the sticky contact paper, tracing the outside of the pattern underneath. This step is a whole lot easier if you use some bead sorting trays to sort and hold the different colored stones.
- Then, use different colored stones to fill in the rest of the pattern and any of the pattern details.
- Once the pattern has been completely traced, put a protective layer of transfer paper over the stones while transporting it to the ironing area.You should also do this if you need to take a break during the tracing process. Otherwise, dust and lint will quickly start sticking to the contact paper.
- Make sure the clothes have been completely cleaned and ironed before starting the rhinestone pattern transfer.
- Then, place the rhinestone contact paper on the clothes, with the sticky side touching the clothes and the stones facing up. Make sure your pattern is straight! Cover with a clean cloth, I used a clean kitchen towel, and iron the whole area slowly and gently on medium heat for 3-5 minutes. Make sure to keep the iron slowly moving to keep from burning the fabric. Let the stones and clothes cool before moving to the next step.Make sure to move the iron slowly across to avoid burning the fabric.
- Finally, once the clothes have cooled, carefully start removing the contact paper. If some stones didn’t stick, cover the area again and iron for a little more time.For stone repairs or replacements later on you can use a Hotfix Applicator Wand to attach individual hotfix rhinestones.
- That’s it! When the clothes get dirty, wash them inside out in warm water and air dry.
Notes
Food Photography & Video Tips from My Studio
Here’s a peek at the tools, gear, and camera setups I use to film my recipe videos and photograph food at home. Over the years, I’ve tested dozens of different setups, and now I’m sharing what actually works for me—whether I’m filming overhead shots for YouTube or styling still photos for my blog. If you’re curious about how I create the content you see here, these posts are a great place to start.







Leave a Reply