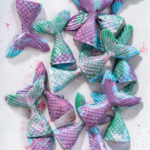
Chocolate Mermaid Tails
Servings: 40 Pieces
Calories: 19kcal
Ingredients
- ½ cup Wilton Turquoise Candy Melts or Wilton Blue Candy Melts
- ⅛ teaspoon Coconut oil
- ½ cup Wilton Green Candy Melts
- ⅛ teaspoon Coconut oil
- ½ cup Wilton Lavender Candy Melts
- ⅛ teaspoon Coconut oil
- Glitter Dust
Instructions
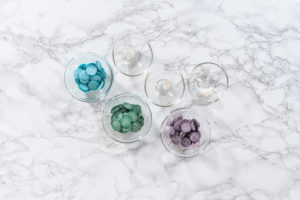
- First, gather up all the necessary equipment and measure out all of your mermaid tail ingredients.
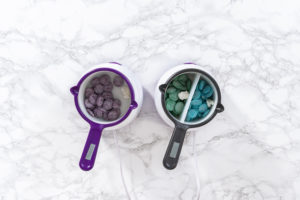
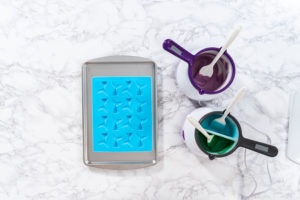
- Next, get the candy melt pots ready, making sure to line one of the melting pots with a two- compartment silicone liner. Drop the colored candies into the separated sections and add in the coconut oil.
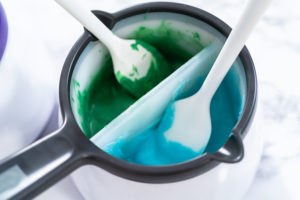
- While the candies and oil are melting together, make sure to stir each section frequently with a heat resistant spatula until the candies have melted completely.
- Then, set the mermaid tail silicone mold on a baking sheet to keep it flat. Use a saucier drizzle spoon to carefully transfer the melted candy into the mermaid tail molds. Tap the molds to remove any air bubbles. I like to mix the colors in the mermaid tails to give them a much more whimsical look.
- Next, scrape off the excess melted candy using a cake spatula and then transfer the whole baking sheet to the fridge and let them sit for 10 minutes. Remember to keep it totally flat!
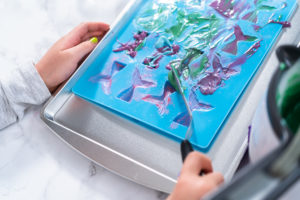
- When the chocolates are set, carefully pull the edges of the silicone mold to gently separate from the mermaid tail candies, then carefully pop the candies out from the molds. Try not to handle the homemade candies with your bare hands too much as the heat from your skin can make the chocolates melt.

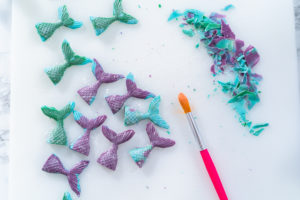
- Then, carefully cut away any excess candy from the edges and move the candies to a cookie sheet or flat silicone mat.
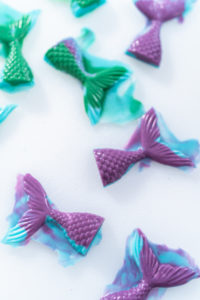
- Finally, use the food brushes to apply the glitter dust to each of the mermaid tails.
Notes
Homemade Chocolate Candy Storage
These homemade chocolate mermaid tails can actually stay fresher for much longer than other homemade desserts, like cupcakes or cookies, if they are stored properly. Or they can be made ahead of time and stored in the fridge until you’re ready to use them.
- Transfer the chocolate mermaid tails to an airtight container or a ziploc bag.
- If desired, you can use small cuts of parchment paper or wax paper in between the layers to help keep the chocolates separated and intact.
- Homemade chocolates can be stored for up to 2 or 3 weeks, either stored in the fridge or in a cool, dry place out of the sun’s warm reach.
- Always note the date when storing so you can keep track of the freshness and quality.
Nutrition
Calories: 19kcal | Carbohydrates: 2g | Fat: 1g | Saturated Fat: 1g | Polyunsaturated Fat: 0.001g | Monounsaturated Fat: 0.002g | Sodium: 4mg | Sugar: 2g