4th of July 3 layer cake in 1 hour
How to make your own spectacular and star- spangled 4th of July, 3 layered cake that’s ready in just 1 hour!
Equipment
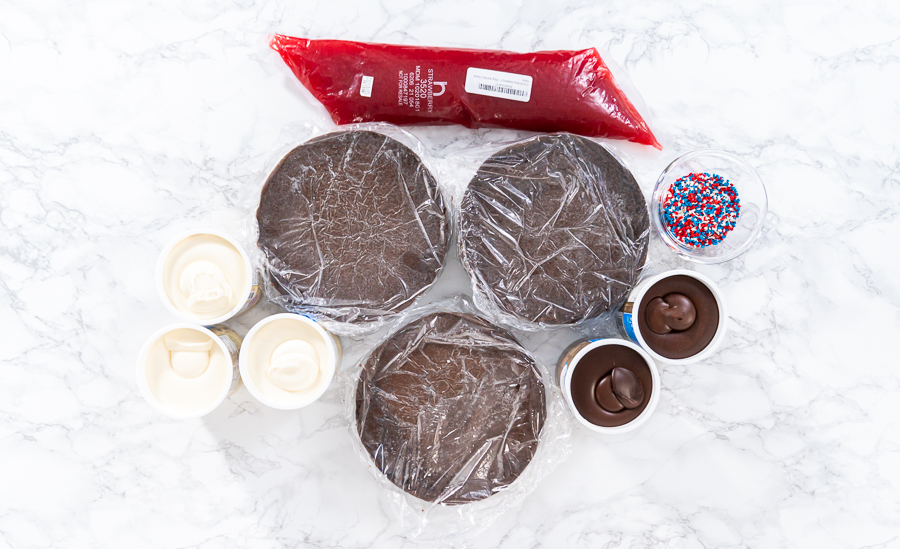
Ingredients
Cake
- 4 cans Vanilla buttercream frosting 16 oz
- Powdered sugar 4-6 cups, as needed
- 2 cans Chocolate buttercream frosting 16 oz
- 3 layers Uniced 8 inch cake layer chocolate
- 1 lb Strawberry cake filling
- Star Sprinkles Red, White, & Blue
- Food coloring red and blue
Chocolate stars
- ½ cup Bright white Candy Melts
- ½ tsp Coconut oil
- ½ cup Royal Blue Wilton Candy Melts
- ½ tsp Coconut oil
- ½ cup Red Wilton candy melts
- ½ tsp Coconut oil
Instructions
Cake assembley
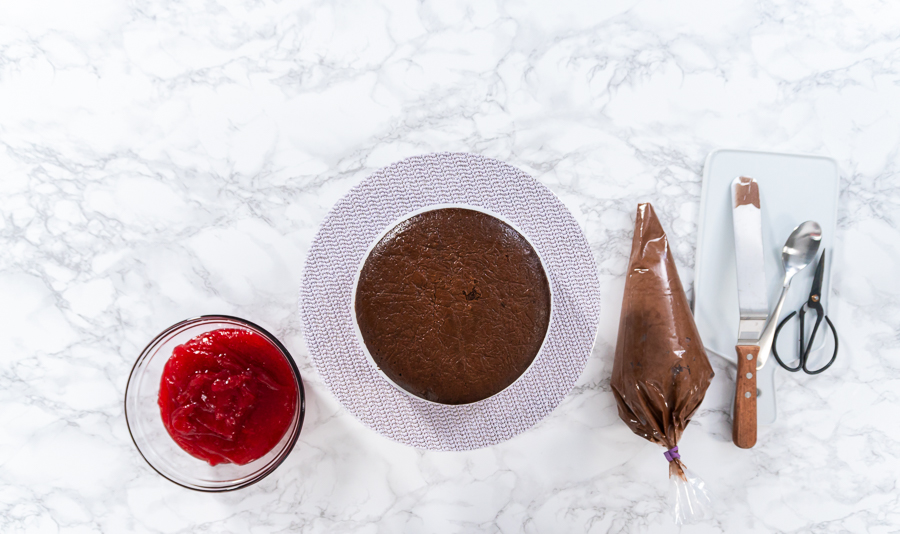
- First, gather up all of your cake ingredients and all 3 of the pre- baked chocolate cake layers.

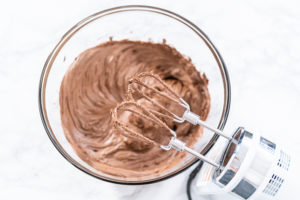
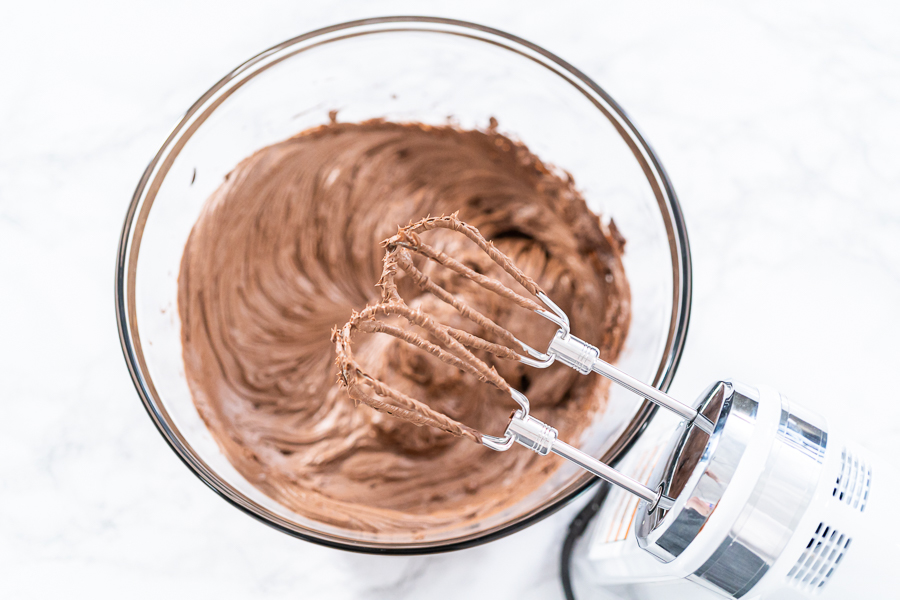
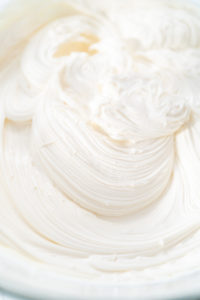
- Then, transfer both cans of the chocolate frosting to a large glass mixing bowl and whip with the electric hand mixer until smooth, about 5 minutes. If the whipped frosting is too soft, add ½ cup of powdered sugar per 1 can. The frosting layers will need to be thick, otherwise the cake layers will move and slide.
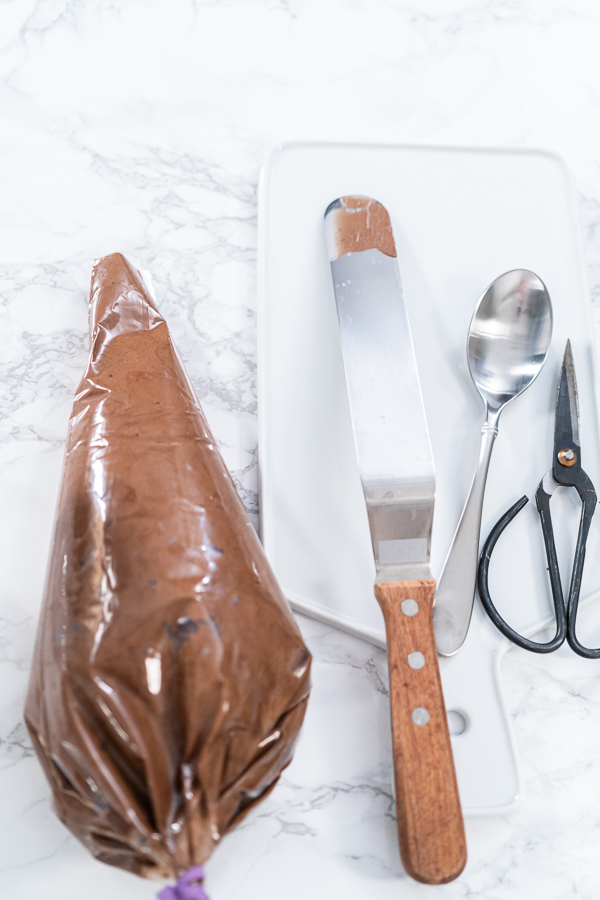
- When it’s ready, use a silicone spatula to scoop the whipped chocolate frosting into a pastry piping bag and close it off with a piping bag tie. Cut off the tip of the pastry bag to make an opening.
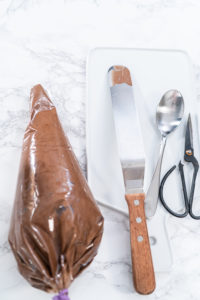
- Next, line the revolving cake stand with the 10 inch white cake drum and squeeze a small amount of chocolate frosting in the middle on the drum surface. Spread around a little bit using the cake spatula, then unwrap the first cake layer and position it in the center of the cake drum.

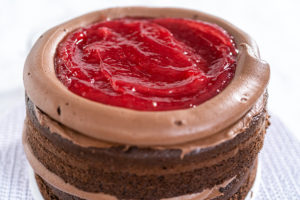
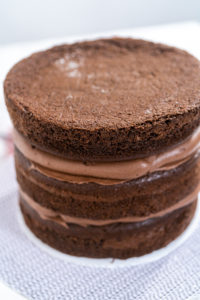
- Squeeze chocolate frosting onto the top of the first cake layer and spread it out evenly over the top using the cake spatula. Then, squeeze a border of frosting along the top outer edge- this border will hold the filling. Scoop a few spoonfuls of strawberry filling inside the frosting border and spread around to fill in.

- Scoop a few spoonfuls of strawberry filling inside the frosting border and spread around to fill in. Carefully add the second layer of chocolate cake and repeat the frosting and filling process.
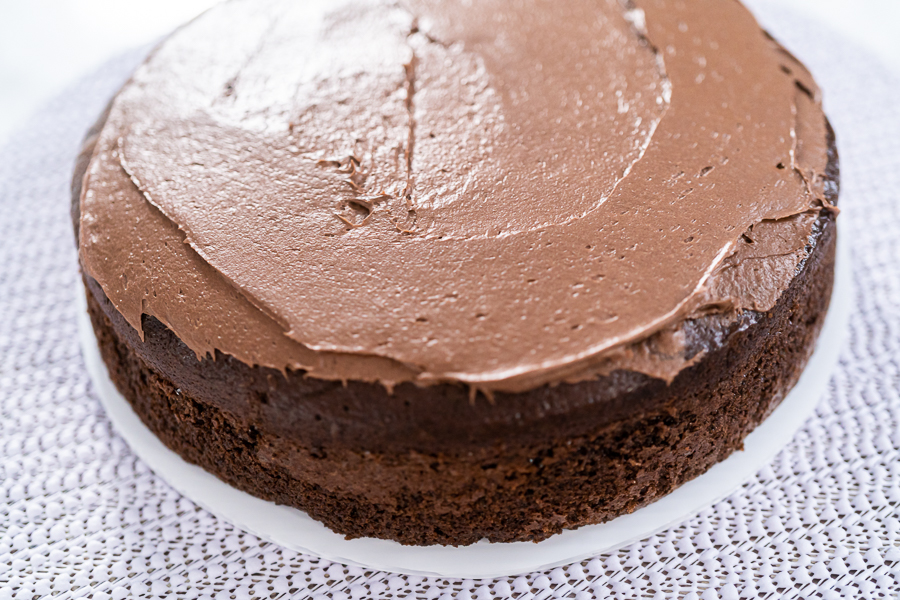
- Next, add on the final layer of cake upside down to create a flat top. Then, frost the top completely.
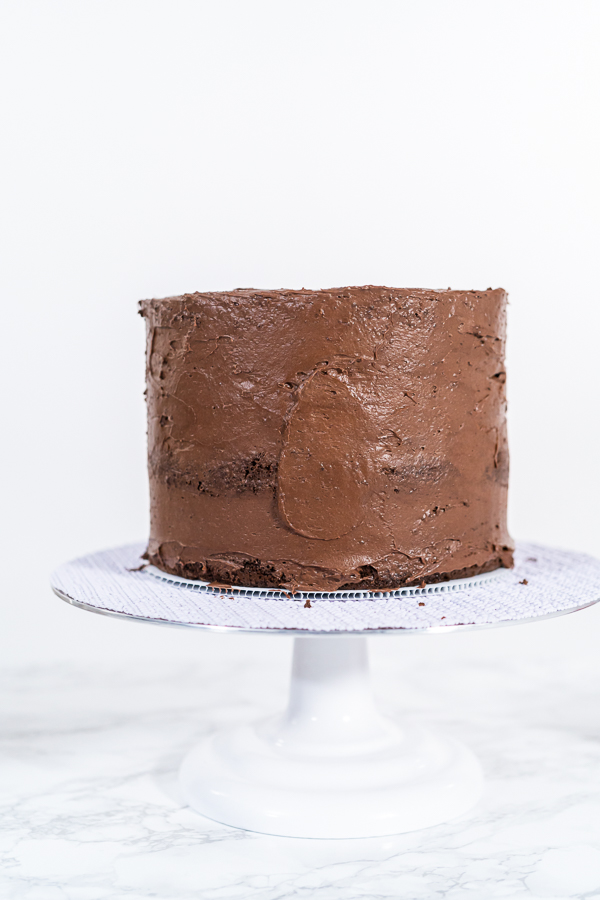
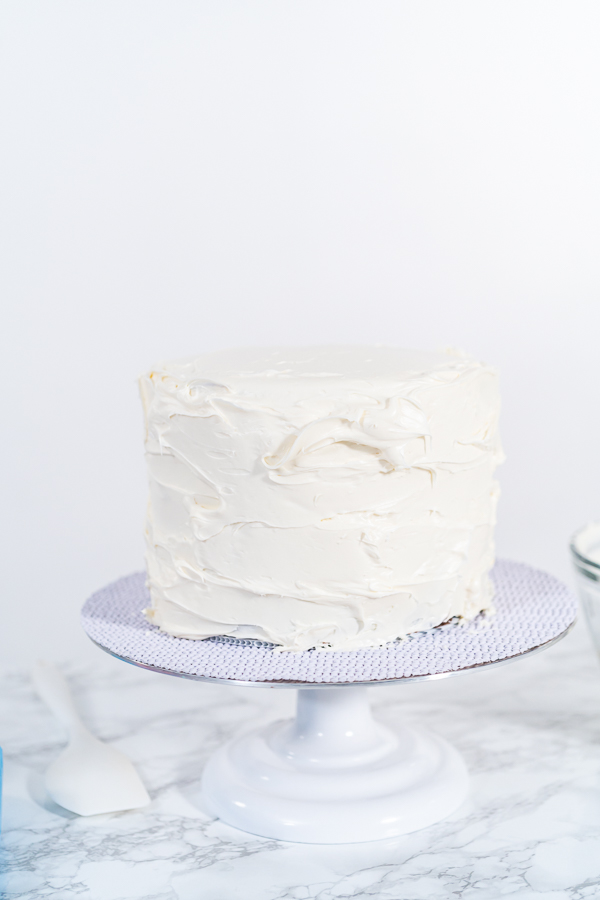
- Finally, to create a crumb coat layer, add confectioner’s sugar to the remaining chocolate frosting and whip together. Then spread the thickened frosting over the entire outside of the stacked cake. Transfer the cake to the refrigerator to chill for 1 hour. Use about 1 cup confectioner's sugar per 1 can of icing. Store bought frosting is too soft for the crumb cake layer so it needs to be thickened up a little bit.


White chocolate stars
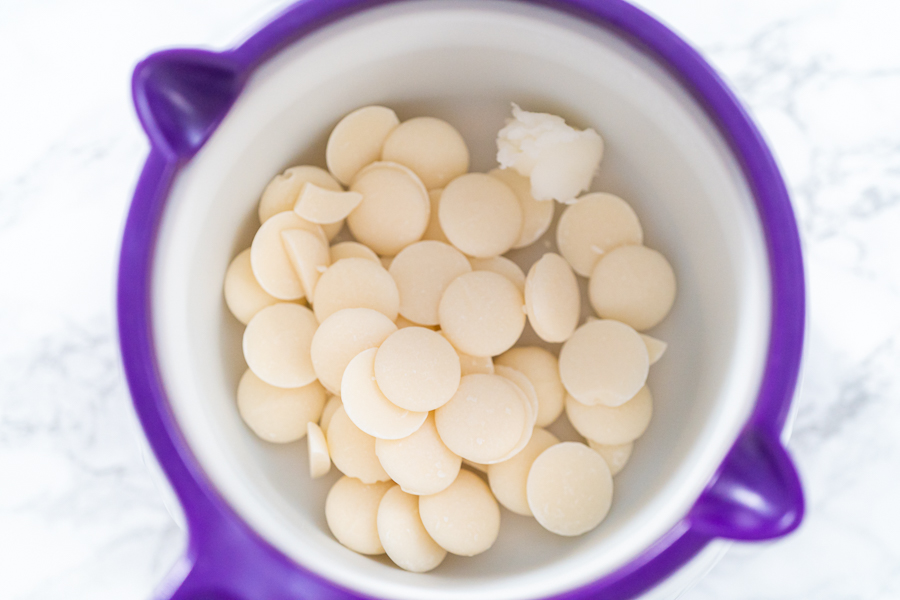
- First, transfer the white candy melts and the coconut oil into the candy melt pot.

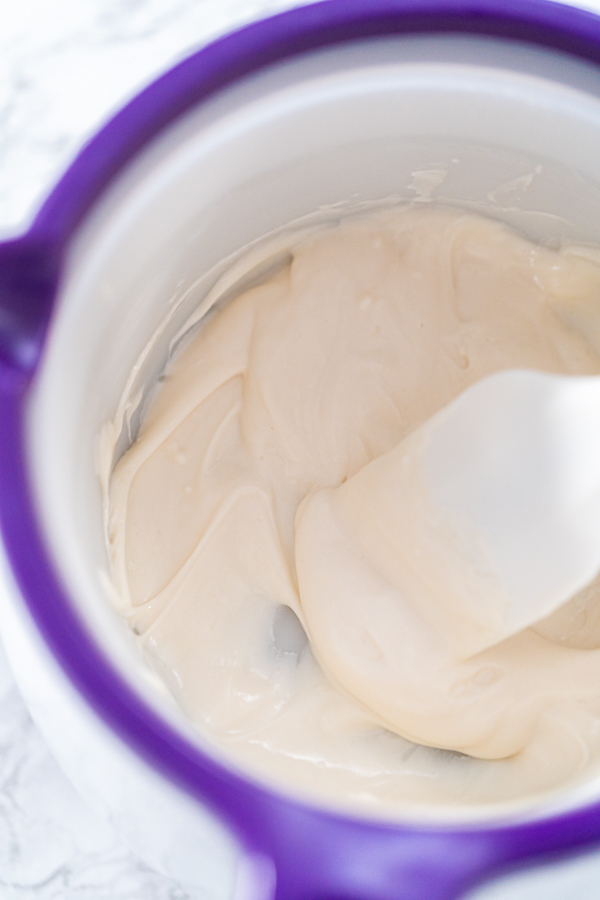
- While heating, make sure to stir the candy mixture together using a heat resistant silicone spatula.

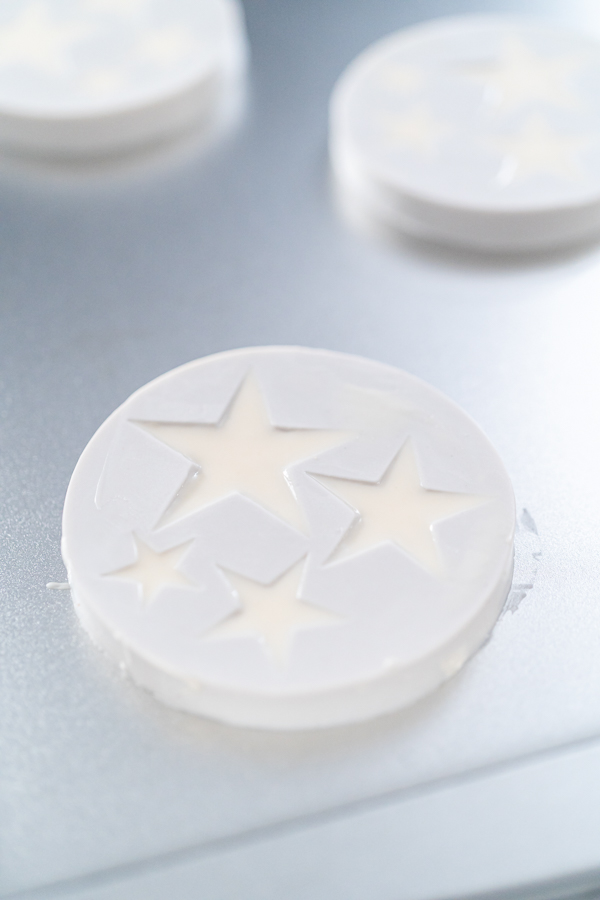
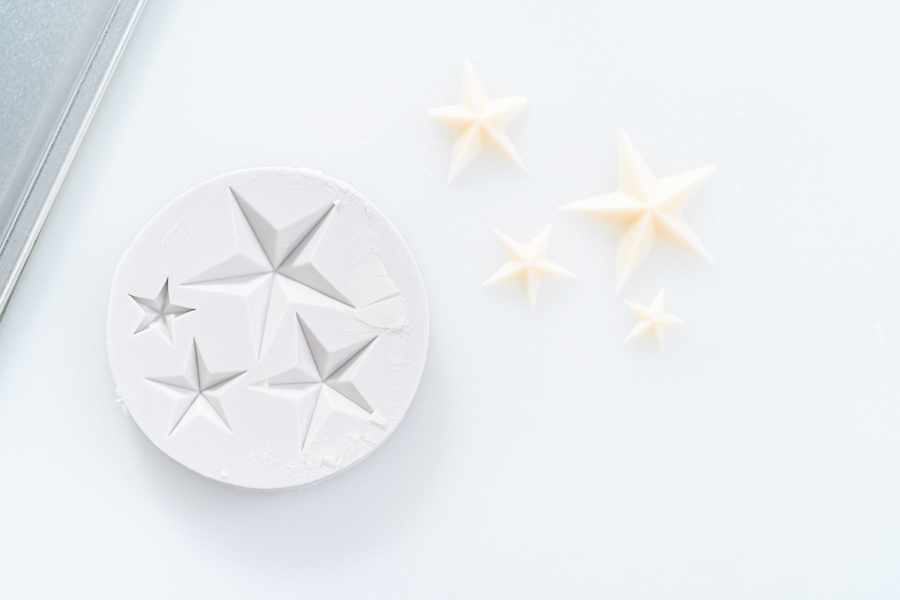
- Then, spoon the melted white chocolate into the star- shaped silicone molds. Tap the molds to remove any air bubbles, then use a cake spatula to scrape off the excess candy from the top. Refrigerate for 10 minutes.
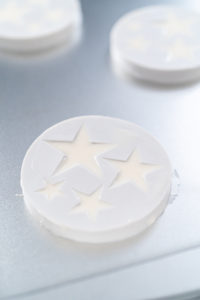
- After being chilled, carefully pull the edges of the silicone mold to gently separate from the star candies, then carefully pop the candies out from the molds. Try not to handle the homemade candies with bare hands too much as the heat from your skin can make the chocolates melt.
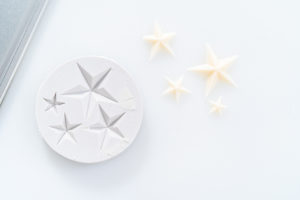
- Repeat the melting and molding process for the red and blue candy melts. Make sure to rinse and dry the silicone layer from the candy pot in between each color batch.


Cake decoration
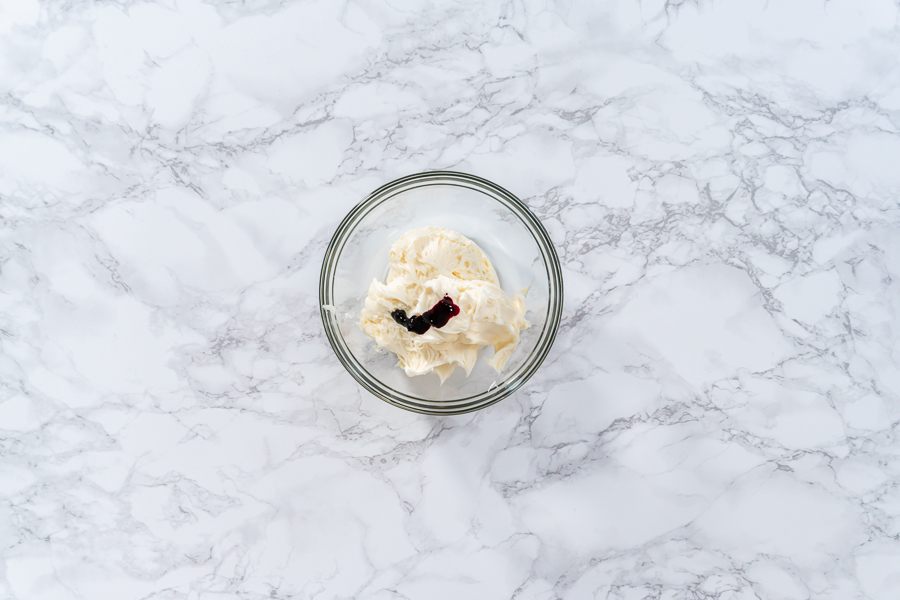
- Start by scooping 2 cans of the vanilla frosting into a large glass mixing bowl and whip with the electric hand mixer until smooth, about 5 minutes. If this store- bought frosting seems too soft to use for decorating with later, then add ½ cup confectioner’s sugar per 1 can of icing.
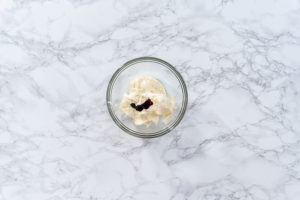
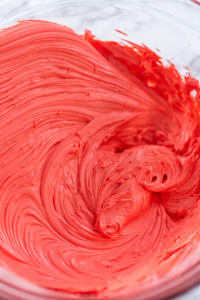
- Then, separate the frosting between 2 smaller mixing bowls. Use 2/3 of frosting for a blue color buttercream and 1/3 of frosting for red buttercream. Drop in some red food coloring to one of the bowls of frosting and then blue food coloring to the other bowl. Be generous with food coloring to achieve bright colors.
- Use the hand mixer again to combine the frosting and coloring in the bowl of red frosting until a satisfyingly bright red color is reached.
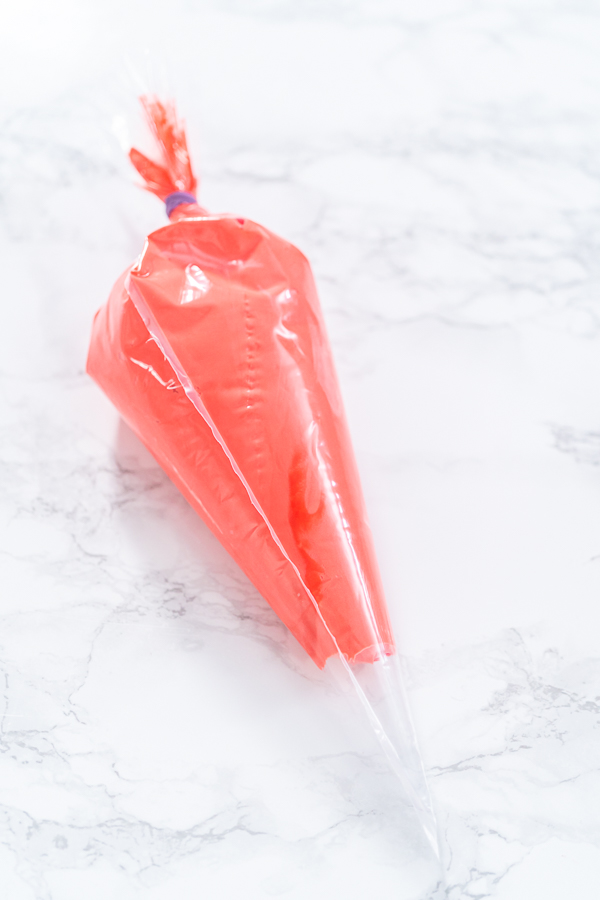
- Then, use a silicone spatula to scoop the red frosting into a pastry piping bag and close it off with a piping bag tie. Cut away the excess bag left behind the bag tie.

- Repeat the mixing process with the bowl of blue food coloring until a bright blue color is achieved. Then, prepare a pastry piping bag with a jumbo open star piping tip and fill the bag with blue frosting. Tie off the bag and cut away the excess behind the tie.

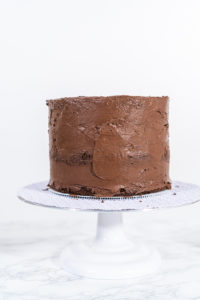
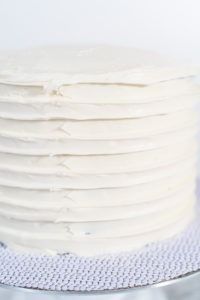
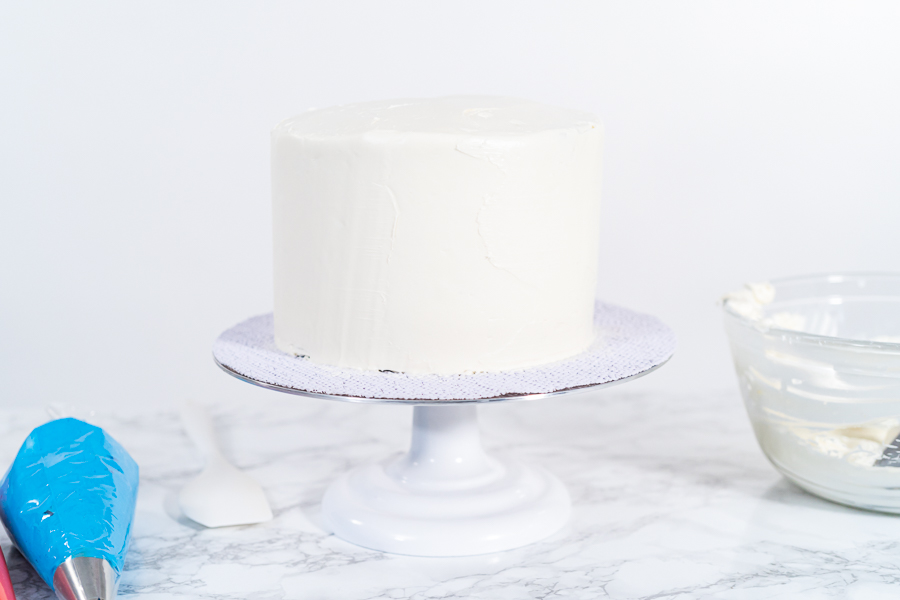
- Next, scoop the remaining 2 cans of vanilla frosting into the large glass mixing bowl and whip until smooth. Then, remove the layered cake from the fridge and transfer to the revolving cake stand. Use a cake spatula to spread the white vanilla buttercream frosting over the entire layered cake. Again, if this store- bought frosting seems too soft to use for decorating, add confectioner’s sugar to thicken it- ½ cup confectioner’s sugar per 1 can of icing.

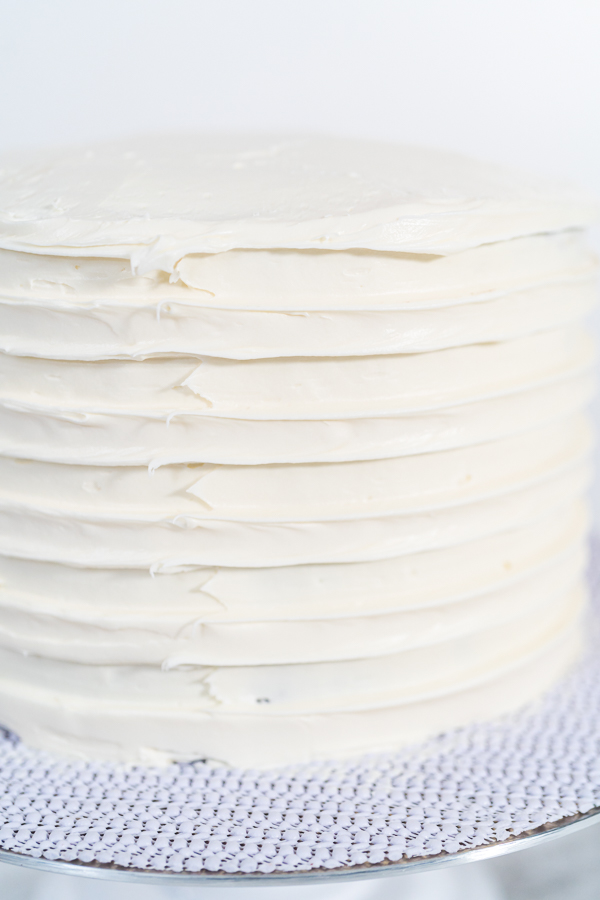
- After icing the whole cake, use the smooth cake scraper to smooth and even out the layer of white frosting on the sides and top of the cake.

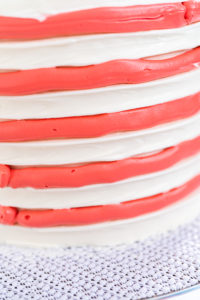
- Then, use the TXGB14 cake scraper to carefully scoop groves out of the white icing on the sides of the cake.
- Next, cut off the tip from the piping bag of red frosting and carefully squeeze the red frosting into the groves on the side of the cake. Then, use the smooth cake scraper again to smooth down the outside layer of frostings.
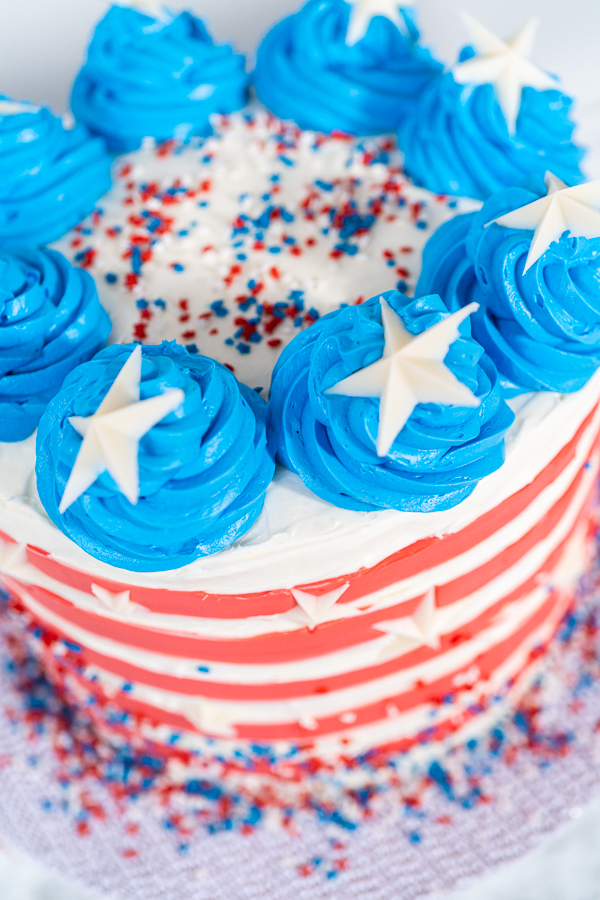
- To decorate the cake, start by spreading some star sprinkles onto the top of the cake and then splashing some on the bottom sides. Then, push some of the homemade red, white, and blue chocolate stars decoratively into the sides of the cake. Next, grab the bag of blue frosting and squeeze out 8 even buttercream rosettes around the top outer edge of the cake and finish off with one large white chocolate star in each blue buttercream rosette.
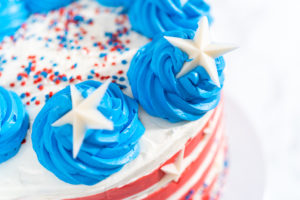
- Finally, very carefully transfer the finished cake to a serving cake stand and it’s ready for everyone to enjoy!


Video
Notes
Safe Cake Storage
Have some patriotic holiday cake leftover? Don’t worry, you can safely save the rest to enjoy for the rest of the week, or later even! When it comes to cake storage there are a few different options you can choose from.
- You can store the cake for up to 3 days on the counter, either tightly covered or stored in a cake container.
- Store in the fridge for up to 1 week, either wrapped or in an air-tight container.
- Or, individual slices can be stored in the freezer for up to 3 months. Just wrap the slices in plastic food wrap, then wrap again in kitchen foil before sealing in an airtight container to avoid freezer burn.
- Don’t forget to label the date on the wrapping of the cake to keep up with freshness.
Tried this recipe?Let us know how it was!