How to Melt Chocolate Chips in Double Boiler
Materials
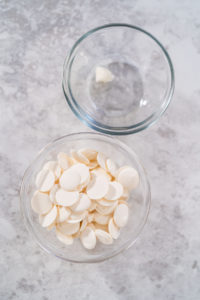
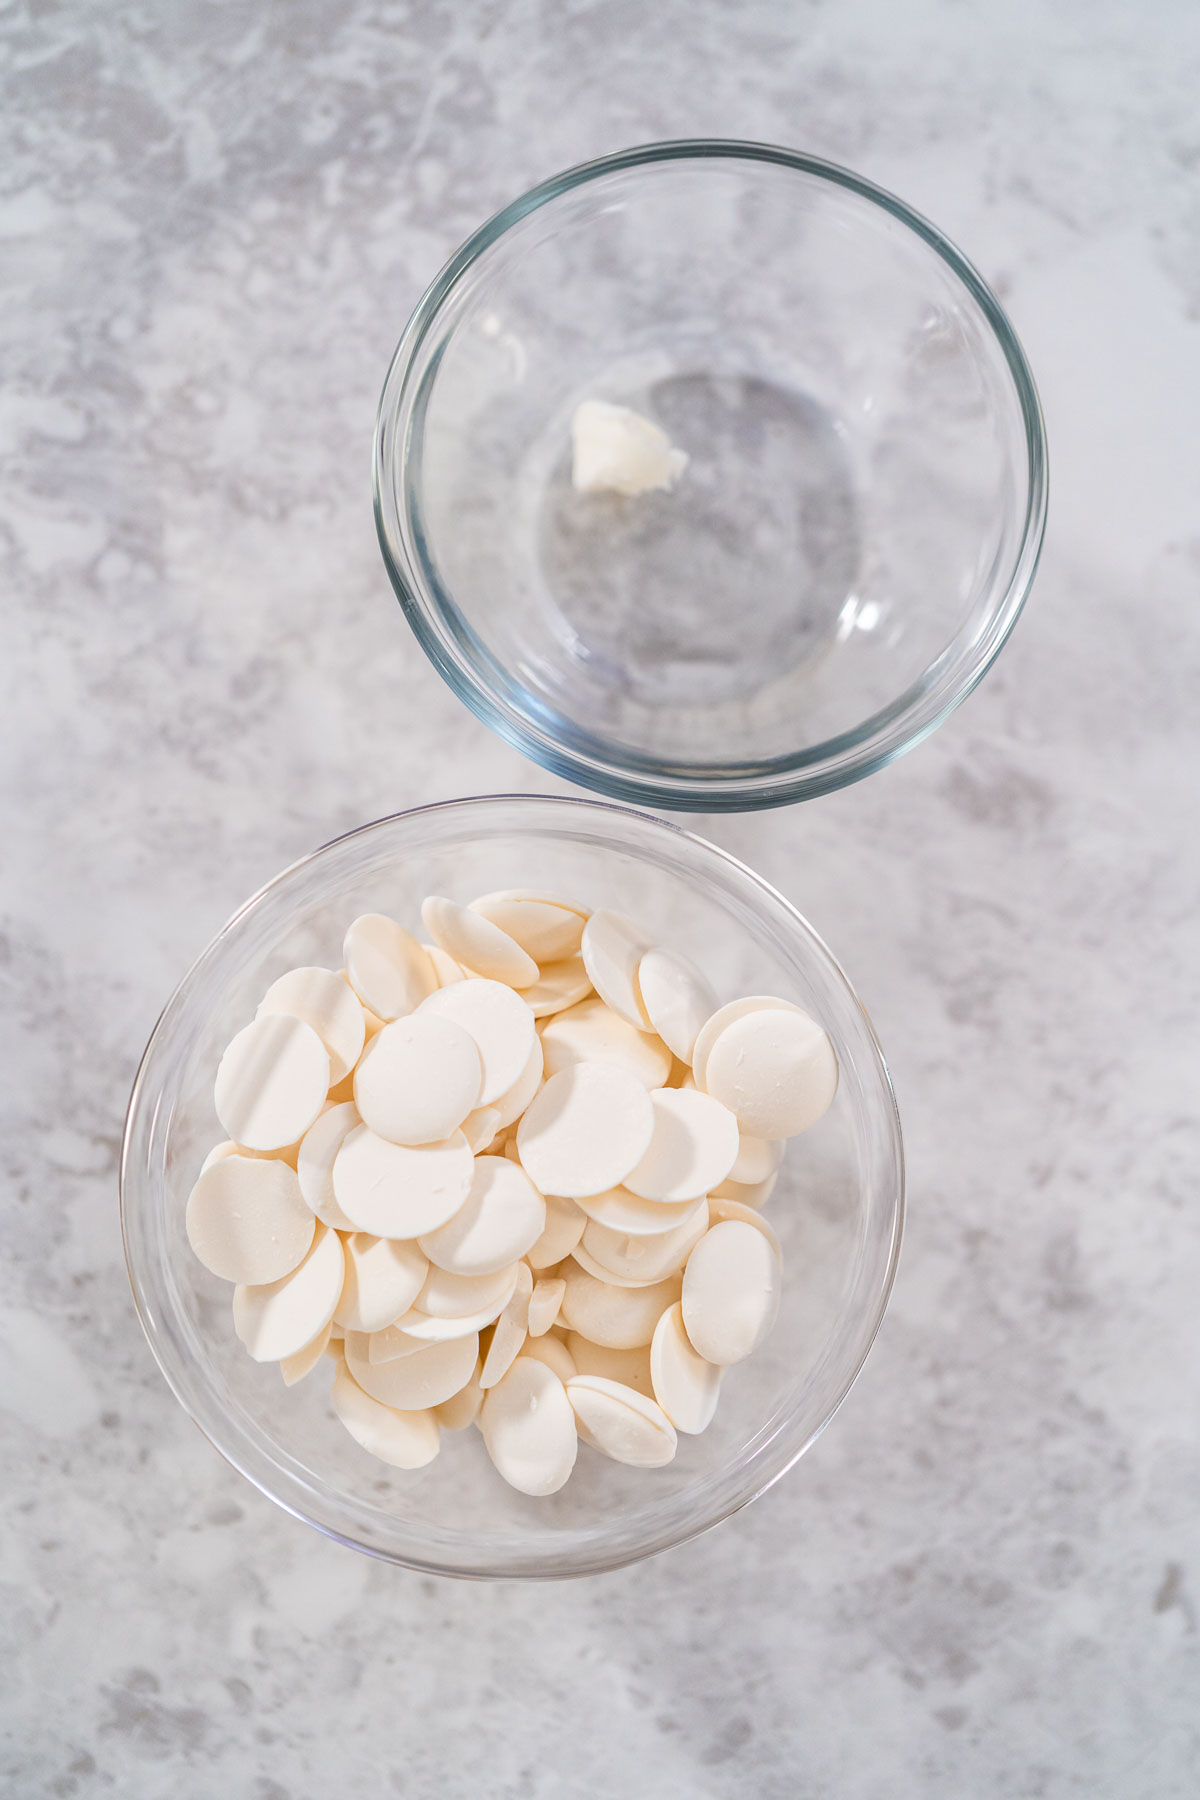
- 1 cup Semi-Sweet Chocolate Chips or candy melts
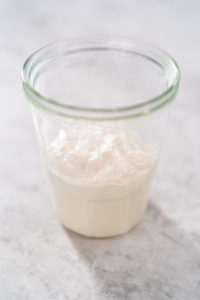
- ¼ tsp coconut oil the amount of coconut oil needed will depend on the desired consistency
Instructions
- Measure all ingredients.
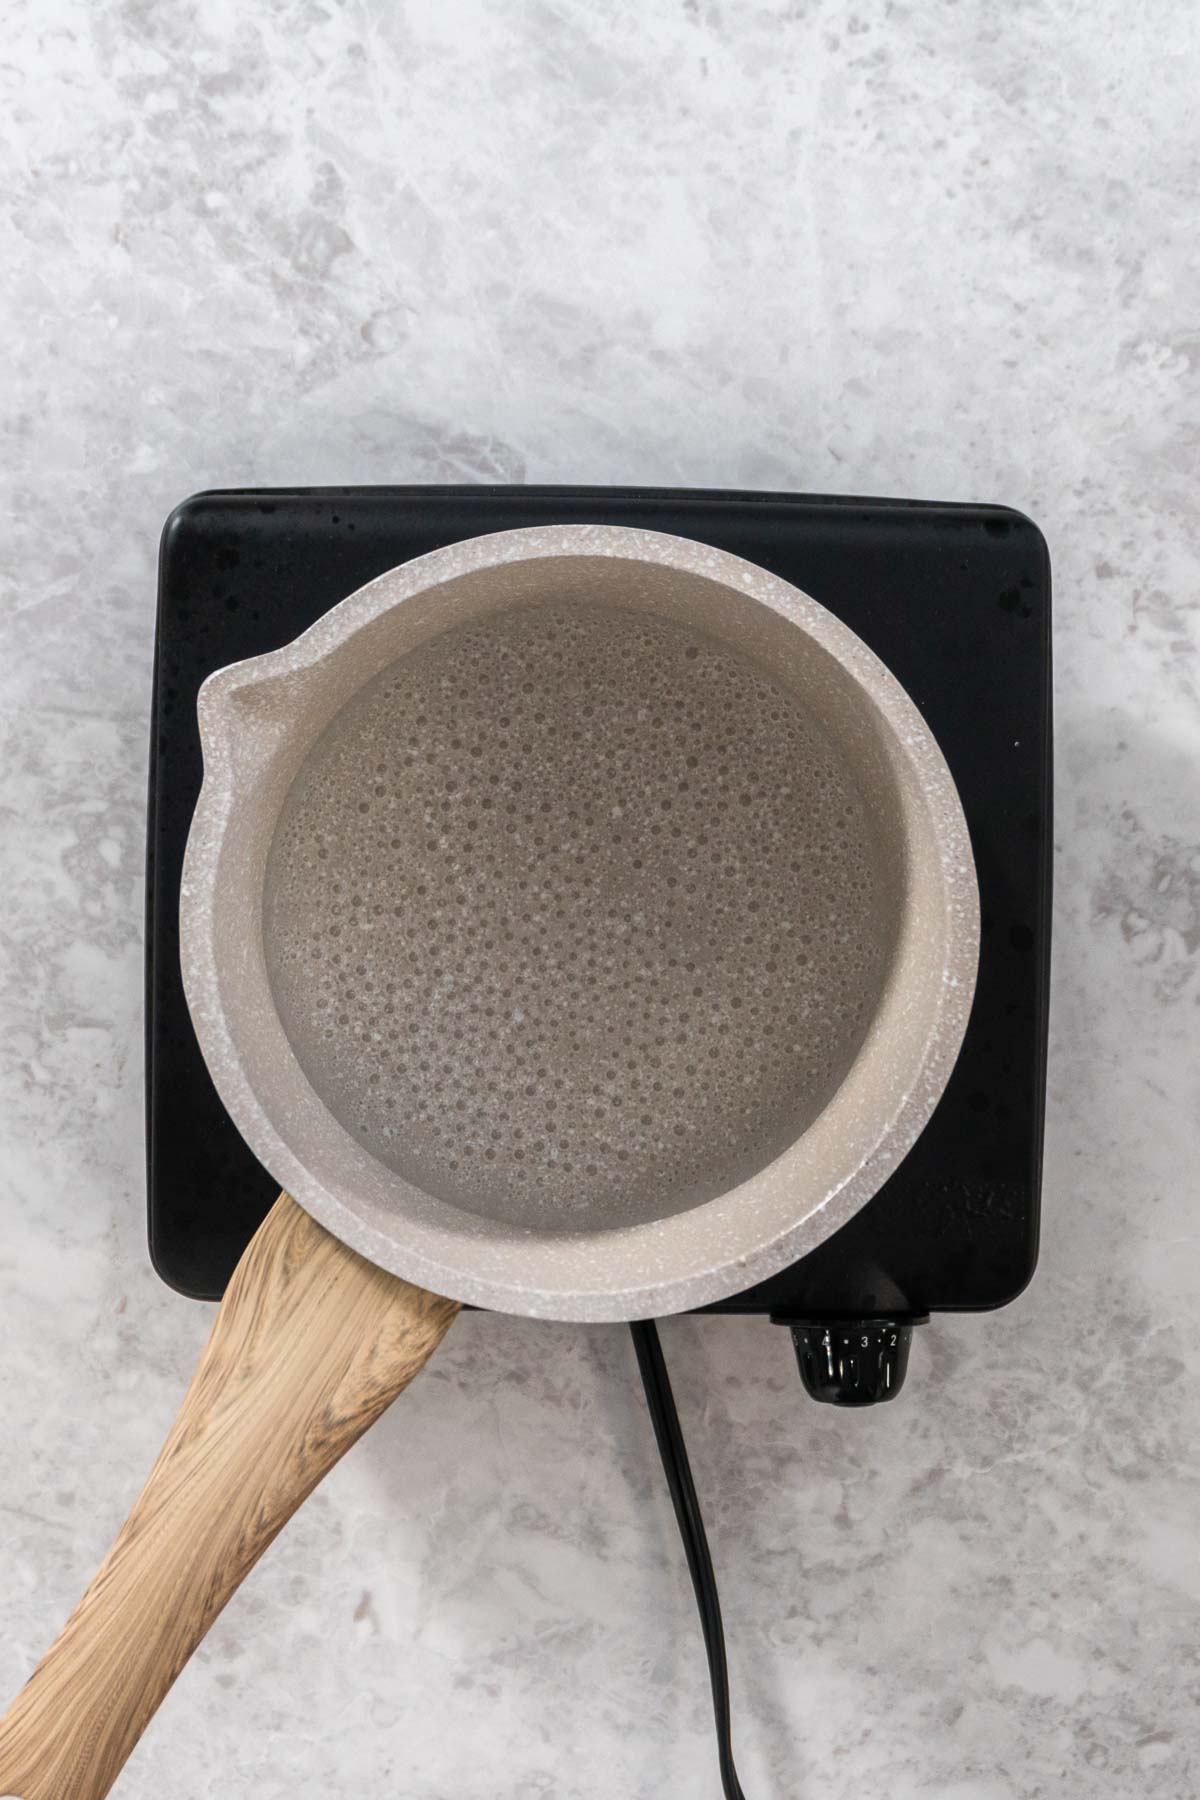
- First, fill the lower pot of a double boiler with 1 to 2 inches of water. The water should sit about 1 inch below the bottom of the bowl or top pot, but remember to remove the top pot or bowl before heating up the water!
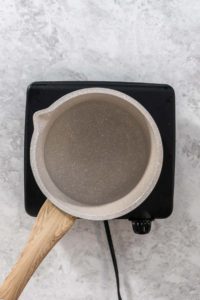
- Next, bring the water to a simmer. Once simmering, immediately remove the pot from the heat.

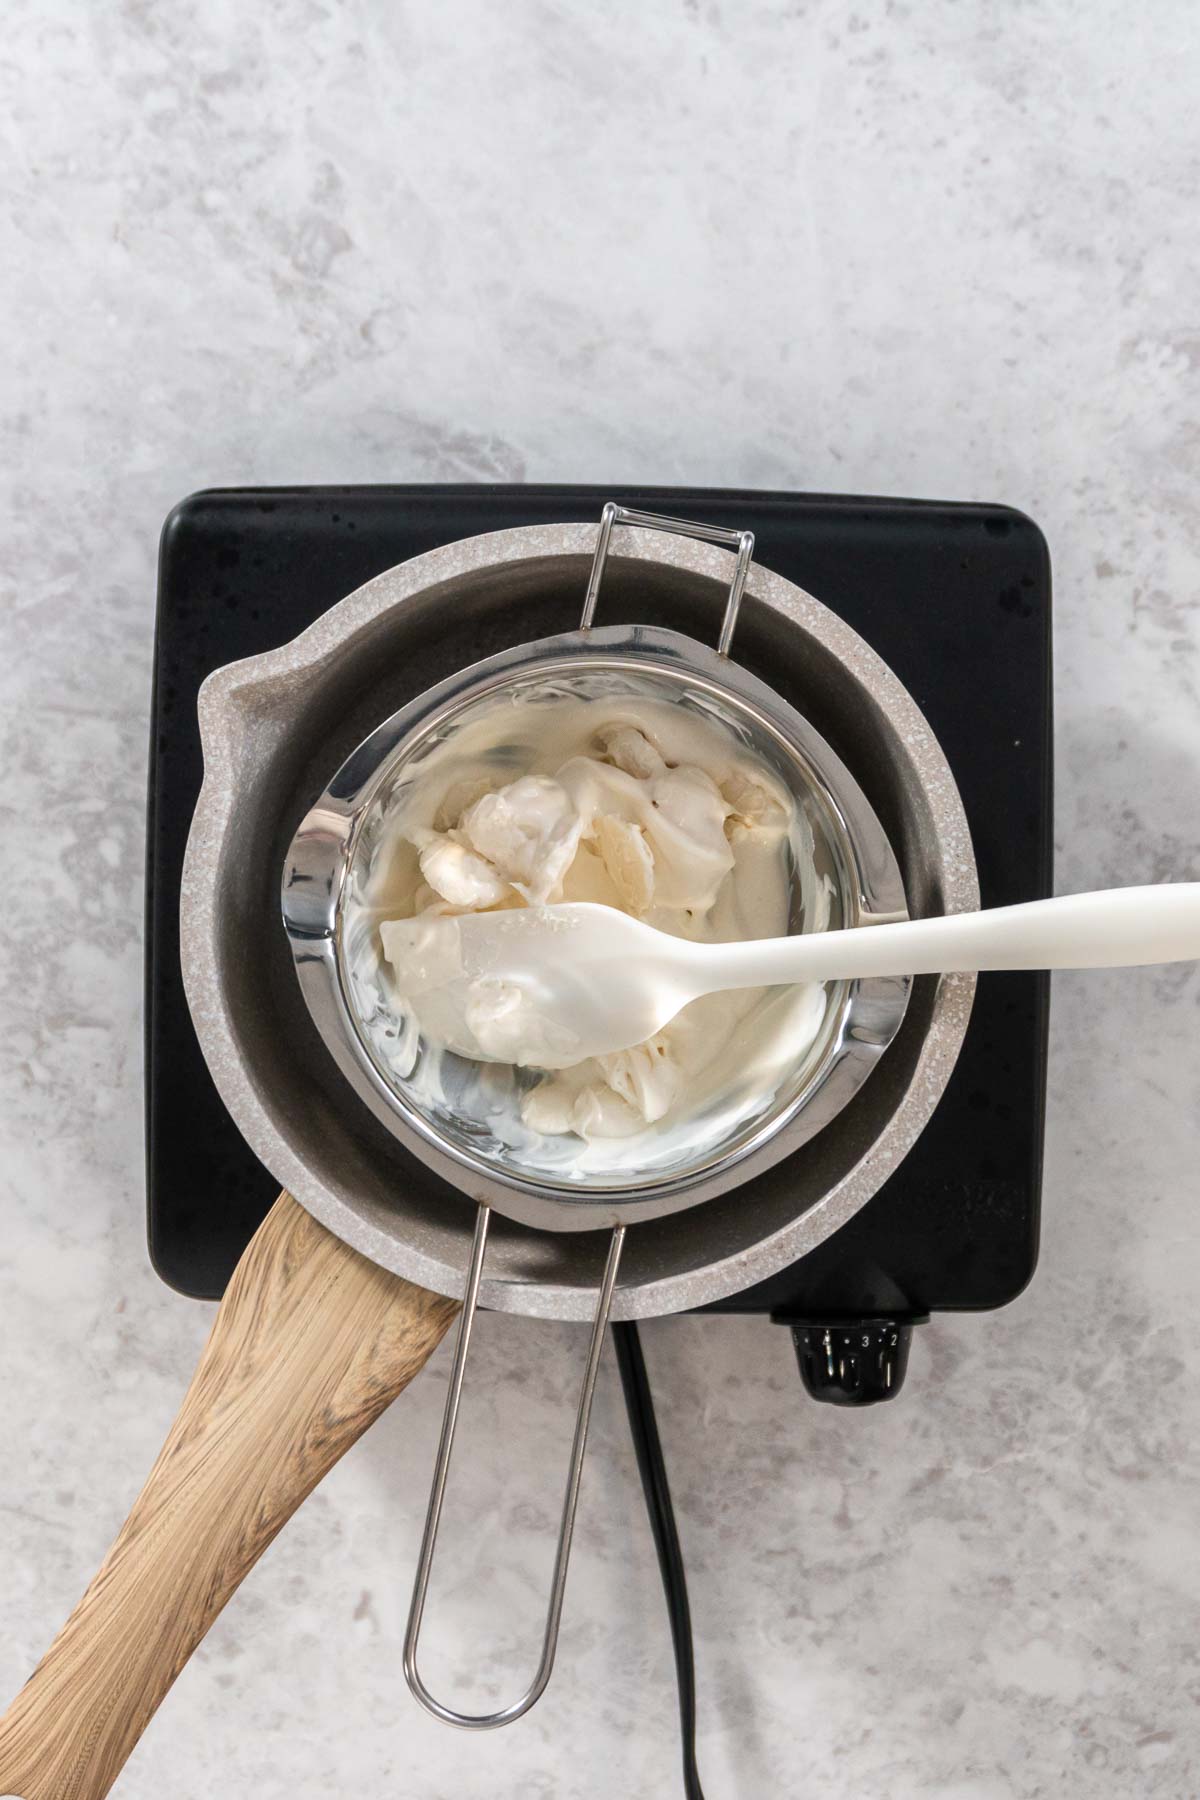
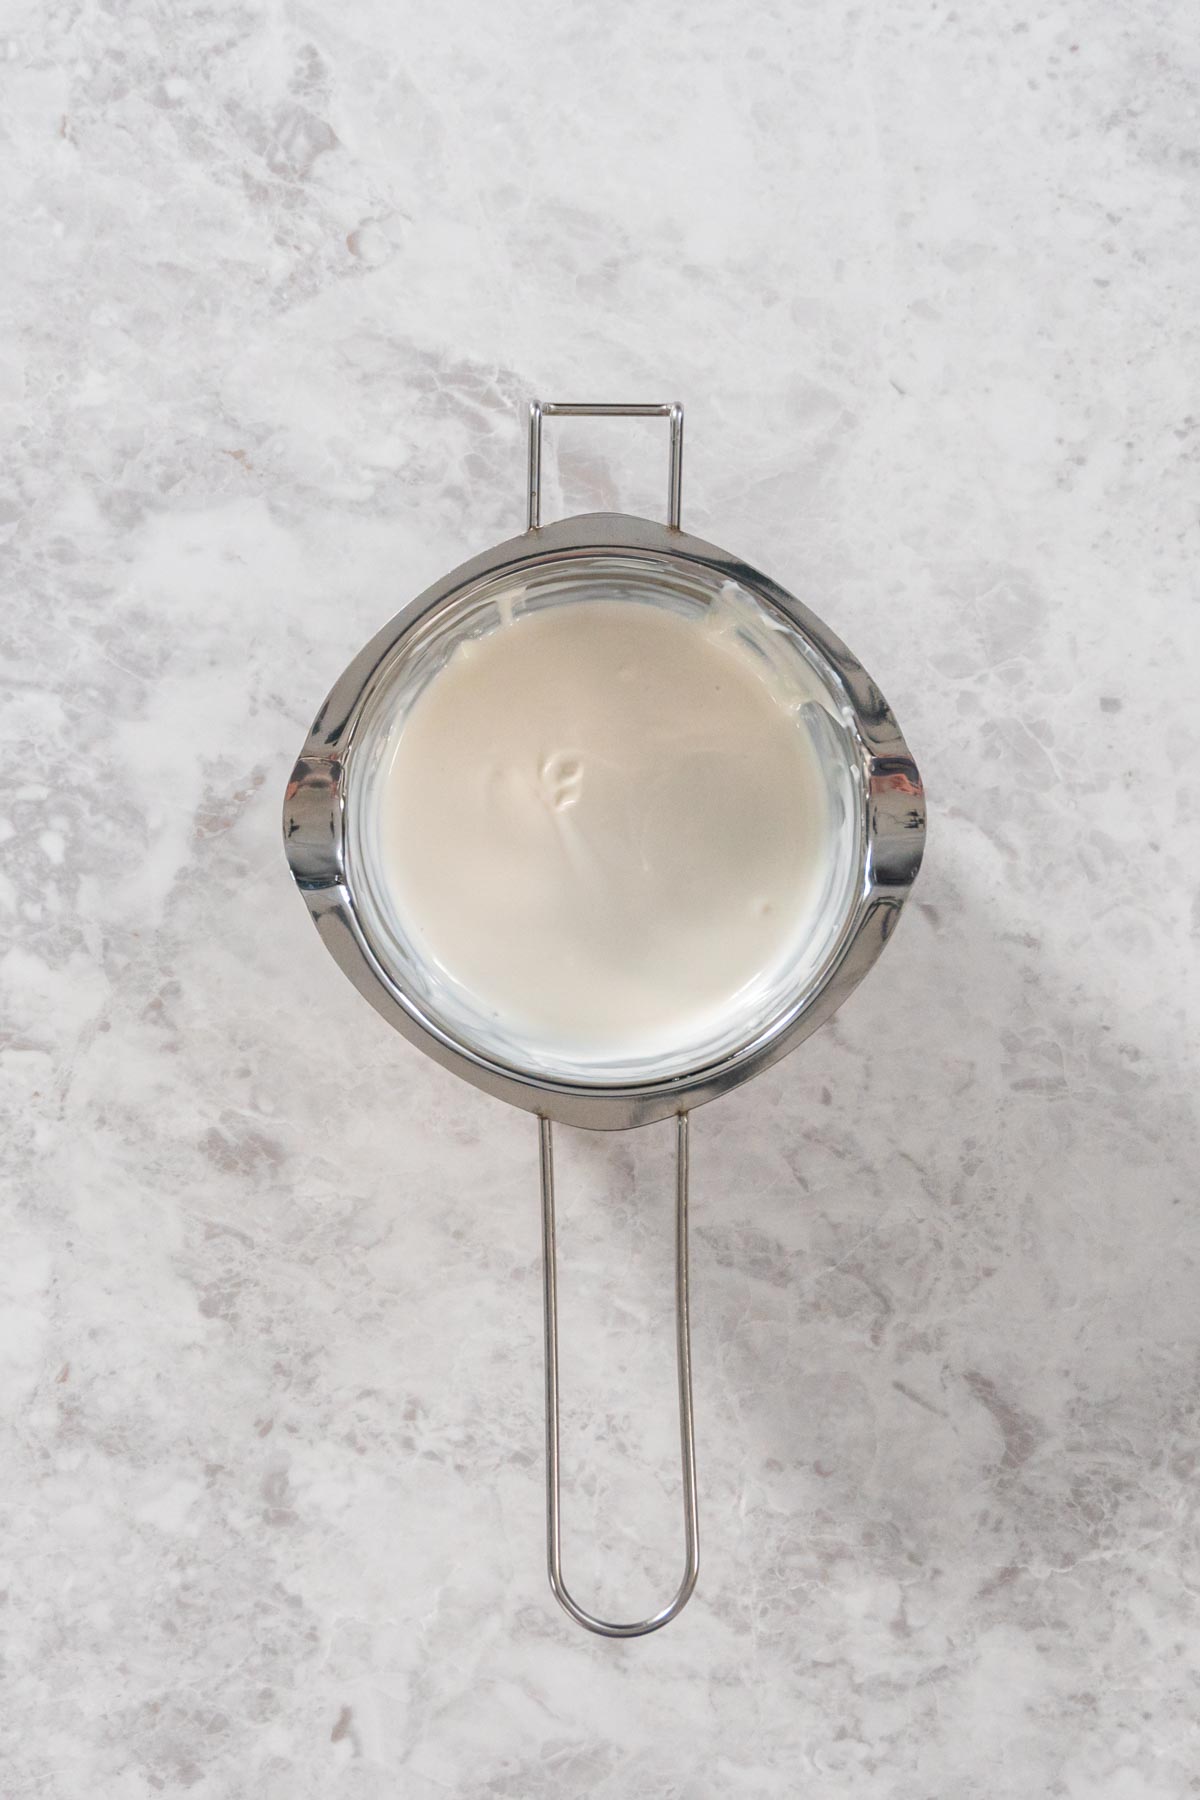
- Then, place the top pot, or glass bowl, on the lower pot and drop in the chocolate chips. Stir the chocolate chips constantly with a spatula until the candy is mostly melted.If a thinner consistency is desired, mix in a little bit of coconut oil.

- Remove the top pot, or bowl, from the hot lower pot, and let the residual heat melt the smaller pieces of unmelted candy while still stirring.

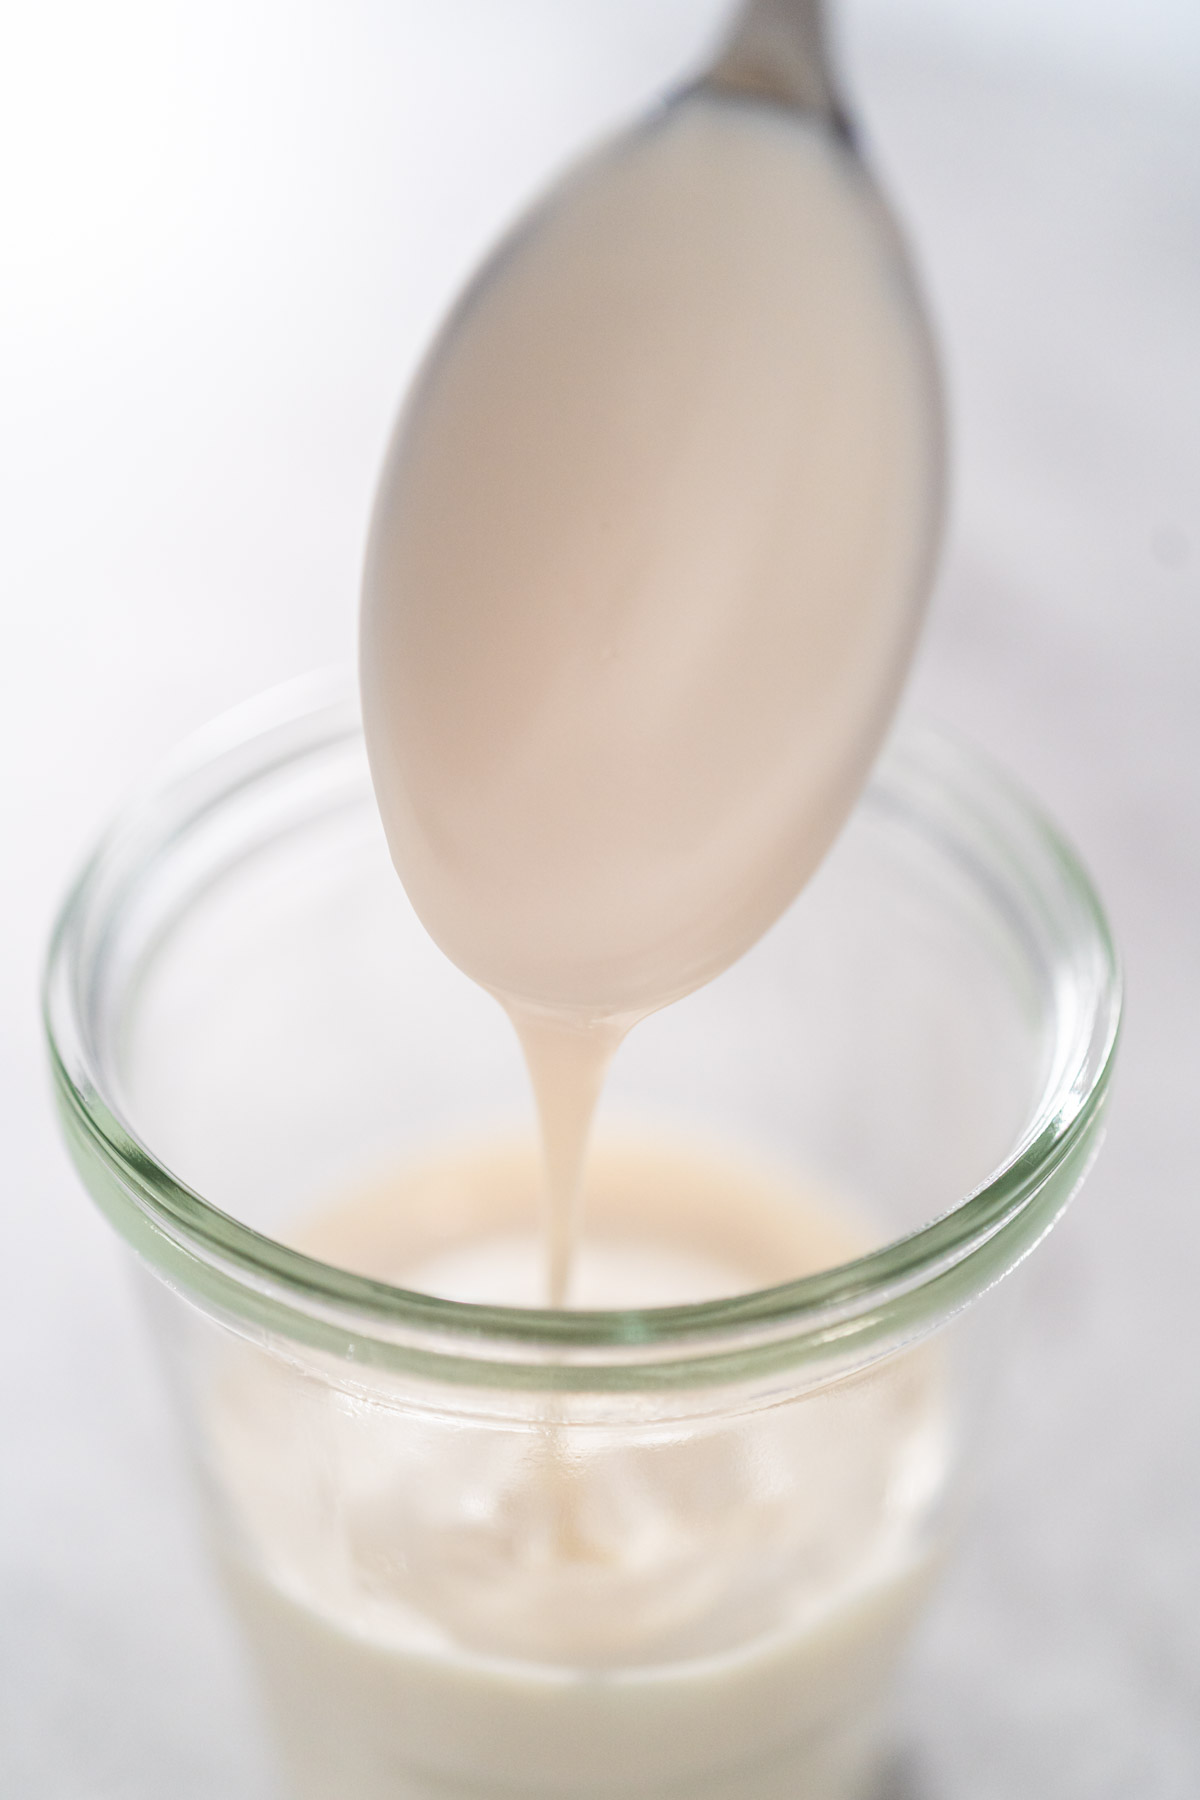
- The melted chocolate chips are ready when it is smooth and glides slowly off of the spatula, sort of like honey consistency.
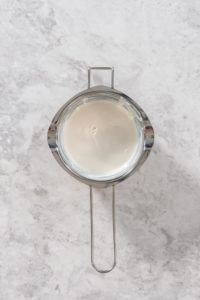
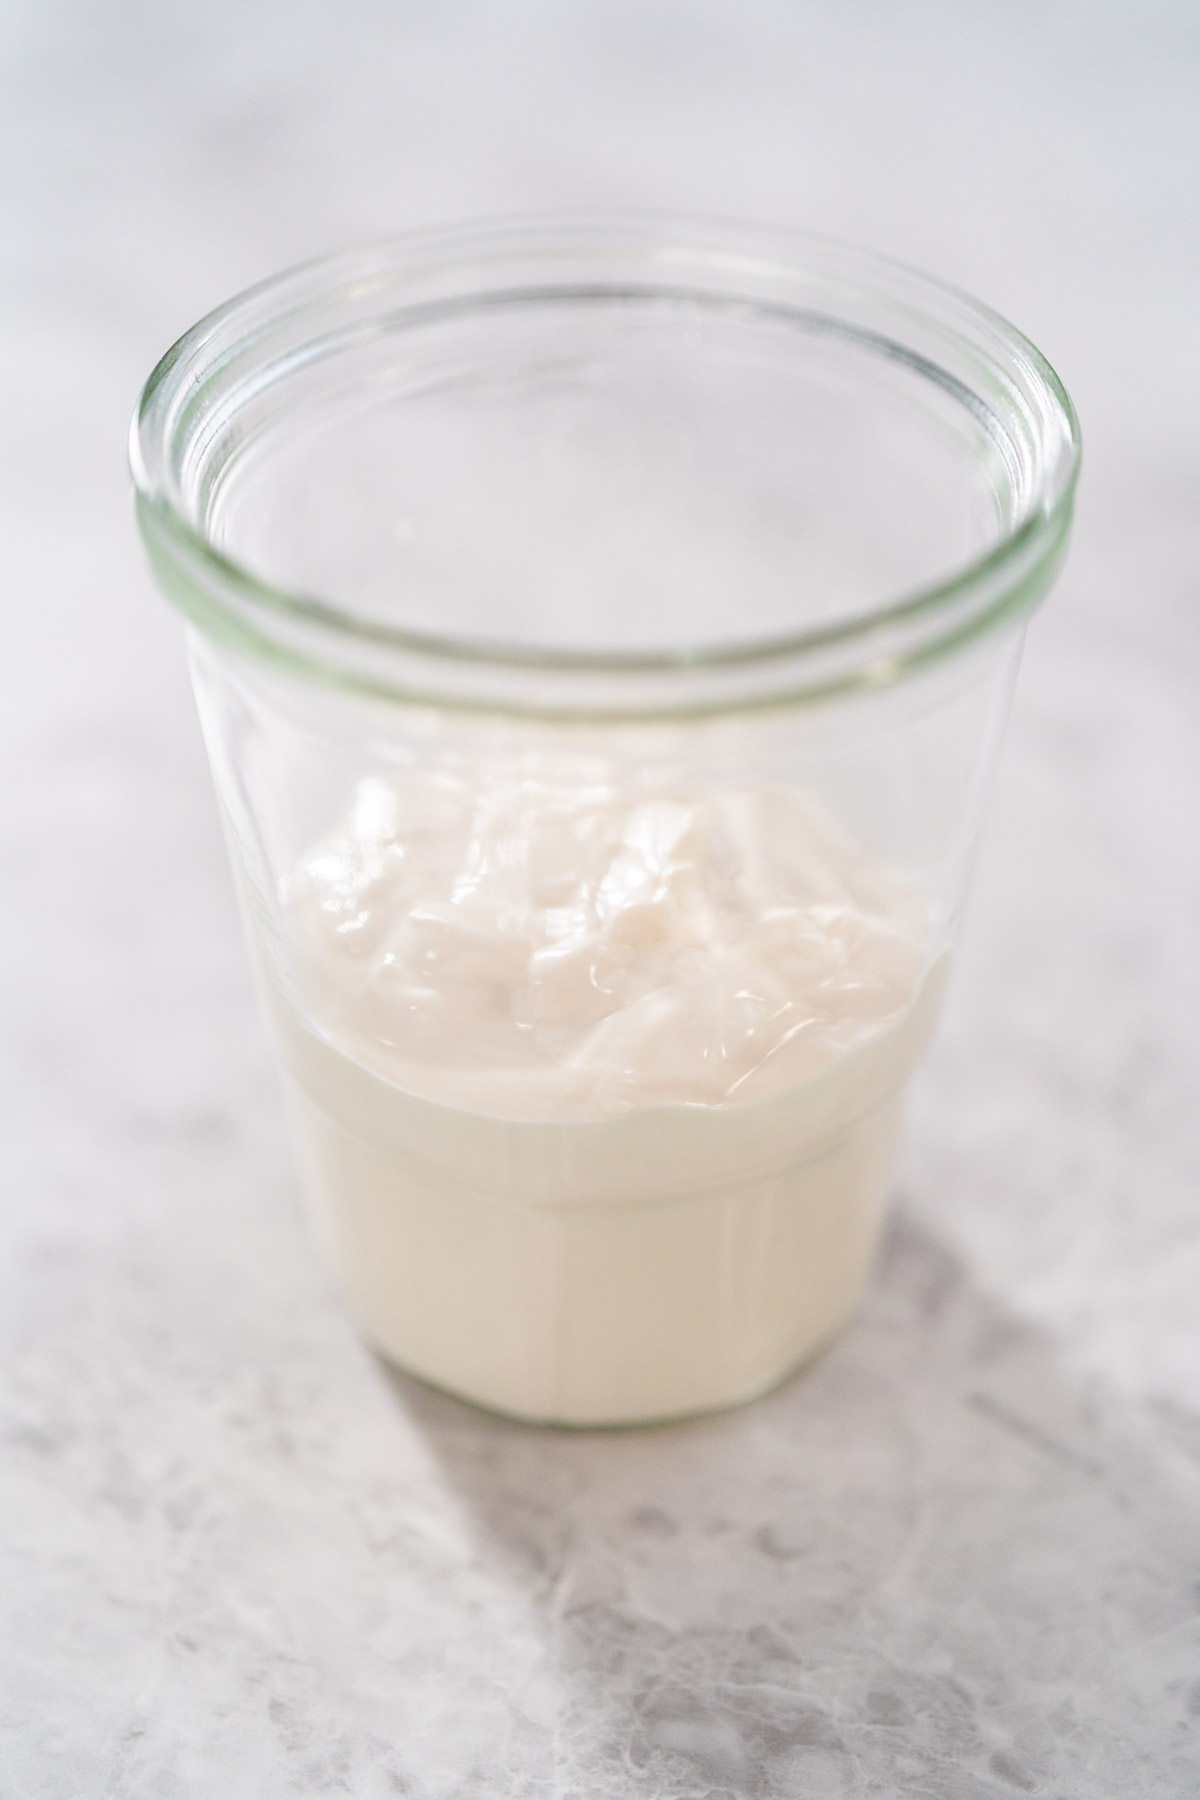
- Transfer the melted chocolate chips to a dipping container for dipping, a piping bag for drizzling, or pour into silicone molds to make custom candy shapes.


Video
Notes
Homemade Candy Storage
To store homemade candies and chocolates: just transfer the hardened candies to an airtight container and store either in the fridge for 2 weeks or in the freezer for up to 3 months. If desired, you can use small cuts of parchment paper or wax paper in between the layers to help keep the chocolates separated and intact. Always mark the date on the outside of the container to keep up with freshness.