
Easter Sugar Cookies Recipe with Royal Icing for Perfect Designs
Discover the best recipe and decorating tips for making perfect Easter sugar cookies with royal icing, from baking to icing techniques.
Equipment
Ingredients
Royal icing
- 1 lb confectioners sugar
- 3 tbsp meringue powder
- 6 tbsp warm water
- 1 tsp vanilla extract optional
- Squeeze gel color, gold, pink, green, blue, violet
Garnish
Instructions
Making Easter Sugar Cookies
- First, measure out all of the cookie ingredients.
- Then, in a medium-size mixing bowl, combine the sifted flour and salt together.
- Next, in the large bowl of a stand mixer, beat the room temperature butter and sugar together until light, pale, and smooth.You can opt for a hand mixer if you don’t have a stand mixer.
- Add the egg and vanilla extract into the butter mixture and beat again.
- Then, add the dry ingredients ⅓ at a time into the stand mixer bowl, mixing well between each addition.When the dough gets stiff, finish kneading it with wet hands.
- Lay out some plastic wrap on a flat surface. Scoop the cookie dough into two separate sections.
- Next, wrap each dough portion while flattening it with your hands. Let the wrapped dough chill in the fridge for 3 hours before rolling it out.
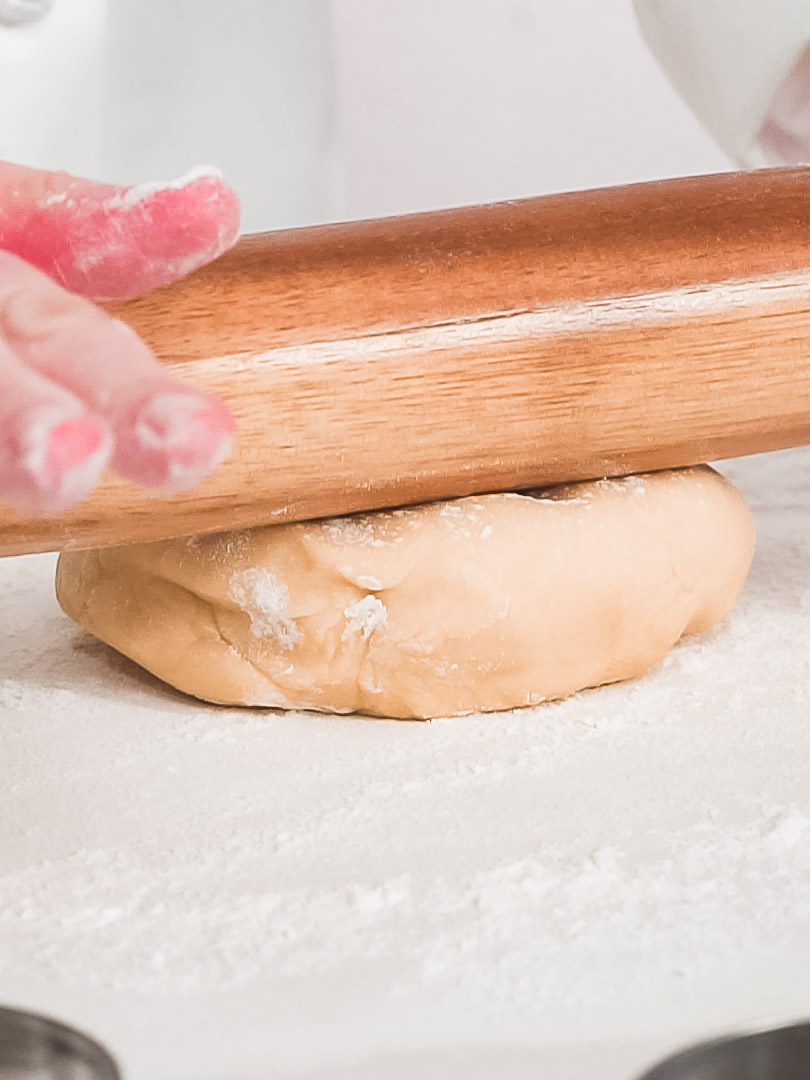
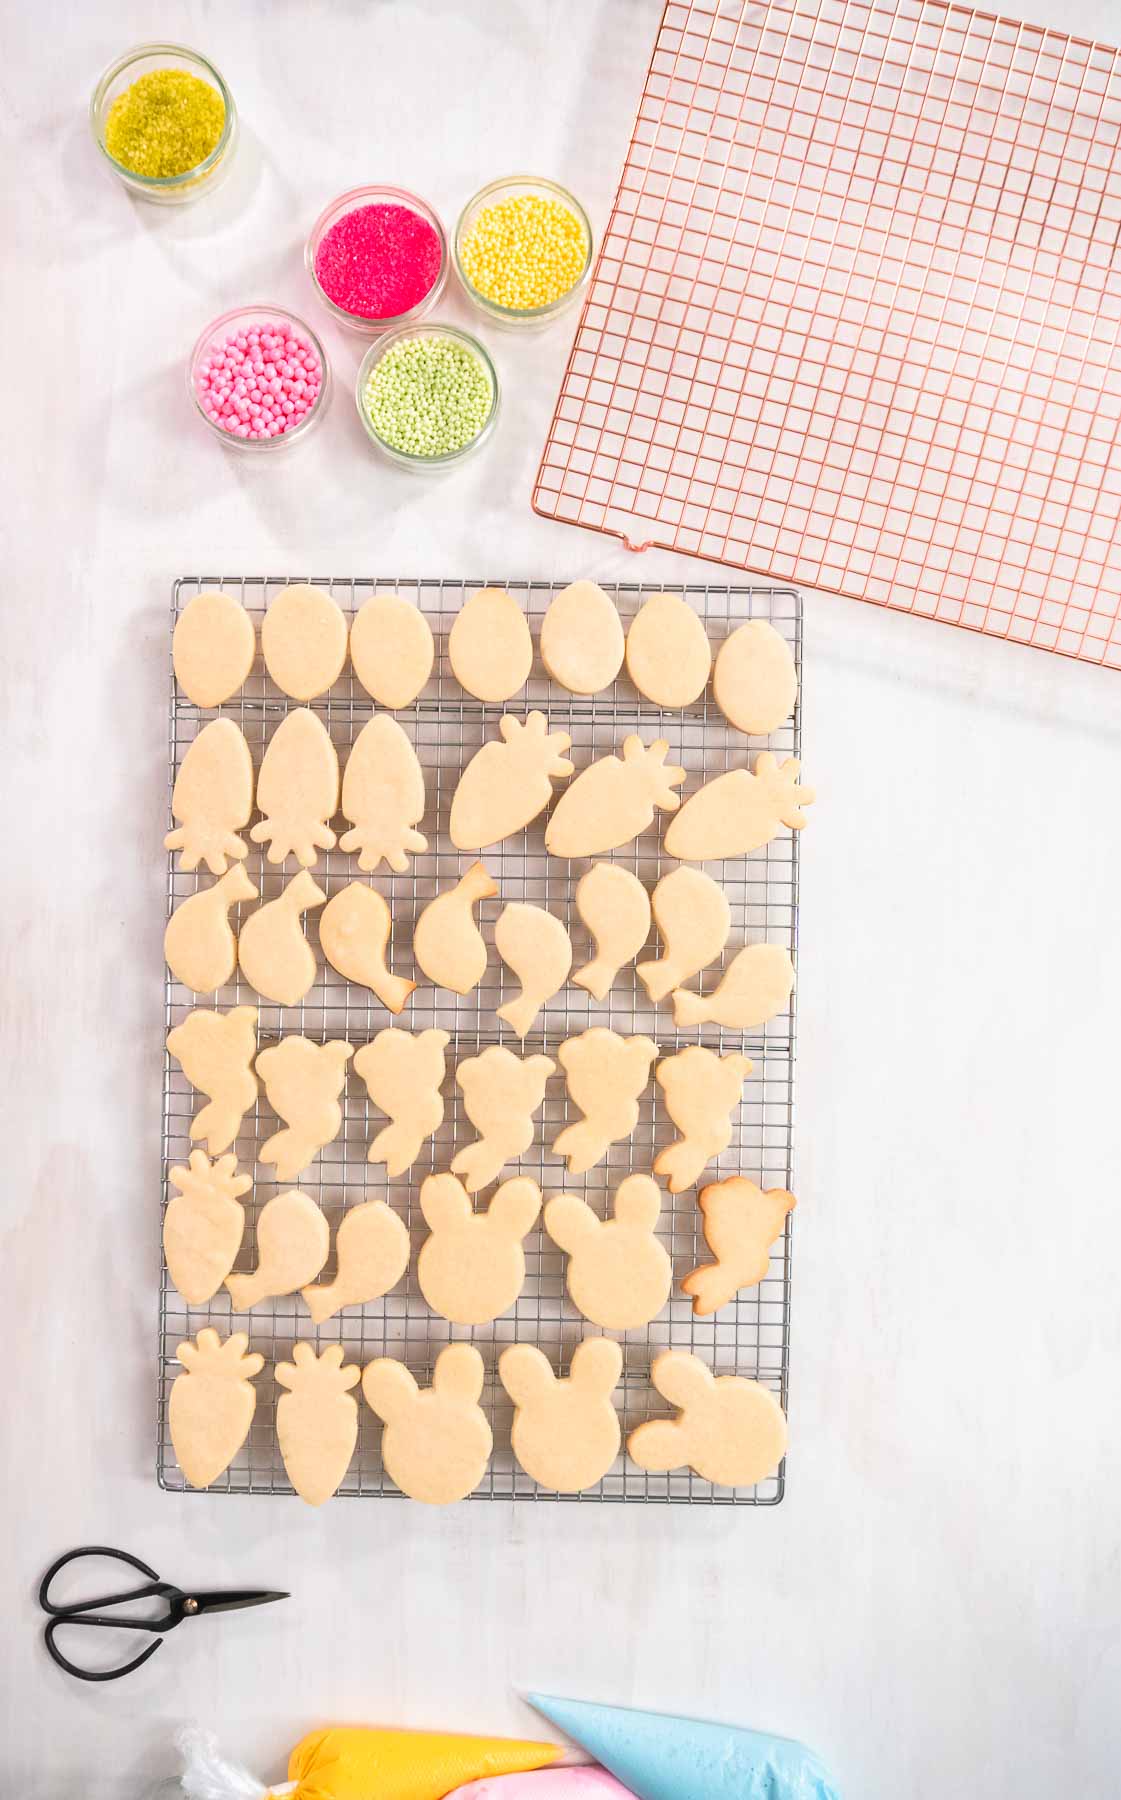
- After chilling, preheat the oven to 350°F. On a lightly-floured surface, use the rolling pin to flatten the chilled cookie dough out until it is ¼ inch thick.

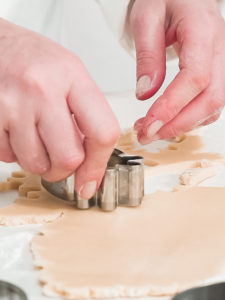
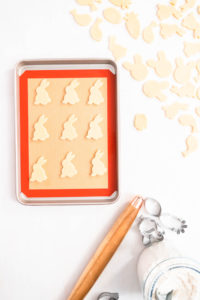
- Then, use the Easter cookie cutters to cut the shapes out of the cookie dough. Transfer the cookie cut-outs to a cookie sheet lined with a silicone liner.
- Before baking, let the baking sheet of cookie cut-outs chill in the fridge for 5-10 minutes.This is so the cookies will keep their form and not spread out while baking.
- Bake the sugar cookies for about 8-10 minutes.
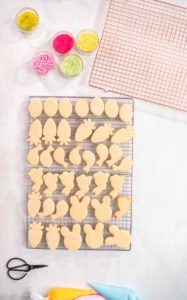
- Let the cookies cool slightly on the cookie sheet, then transfer to a tiered wire rack to let them cool completely.


Making Royal Icing
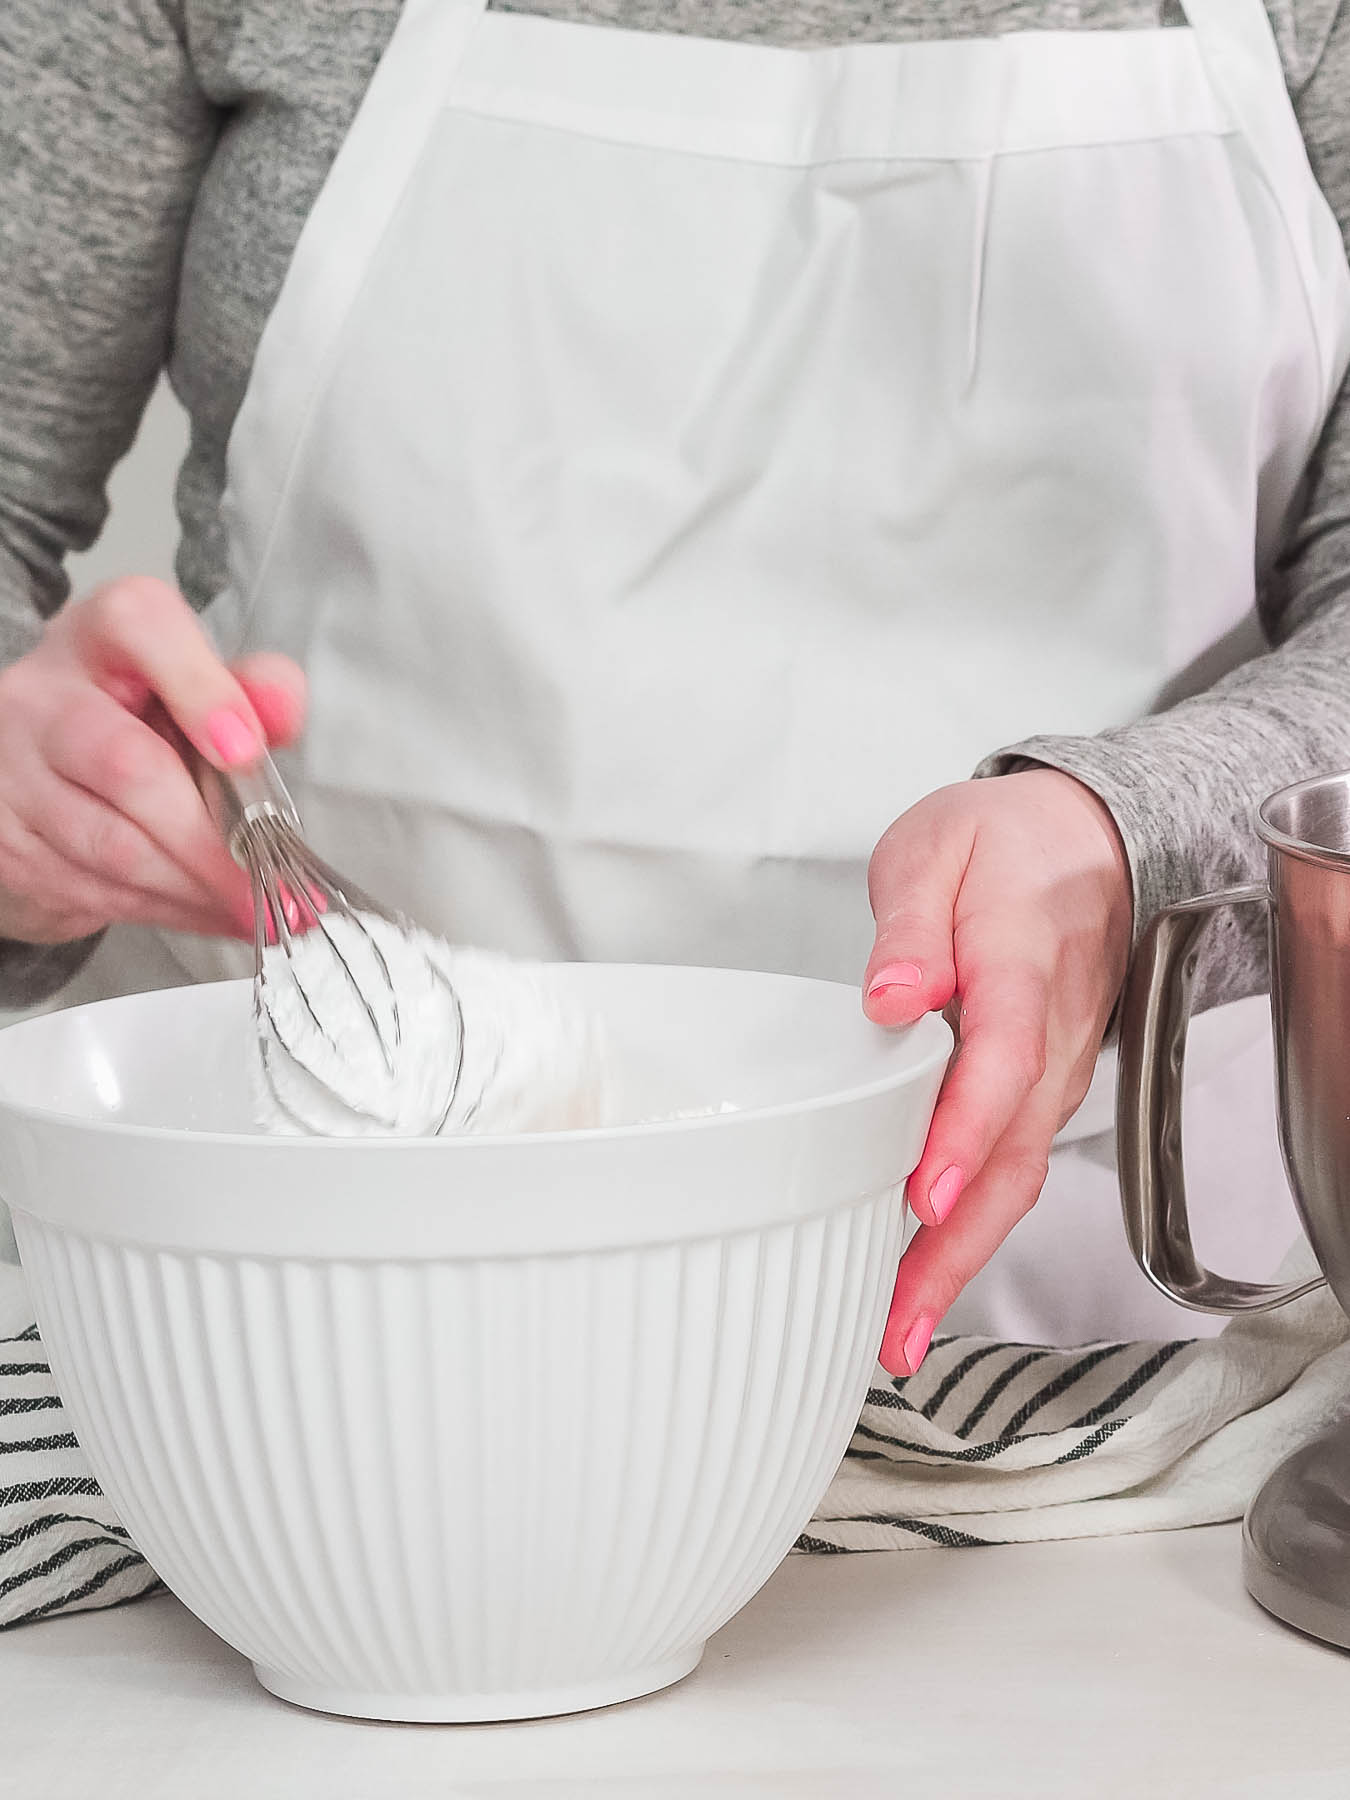
- First, in a large bowl, combine the confectioners' sugar and meringue powder.
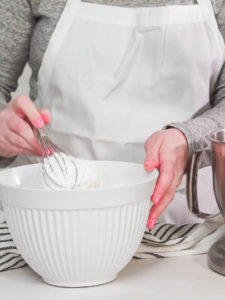
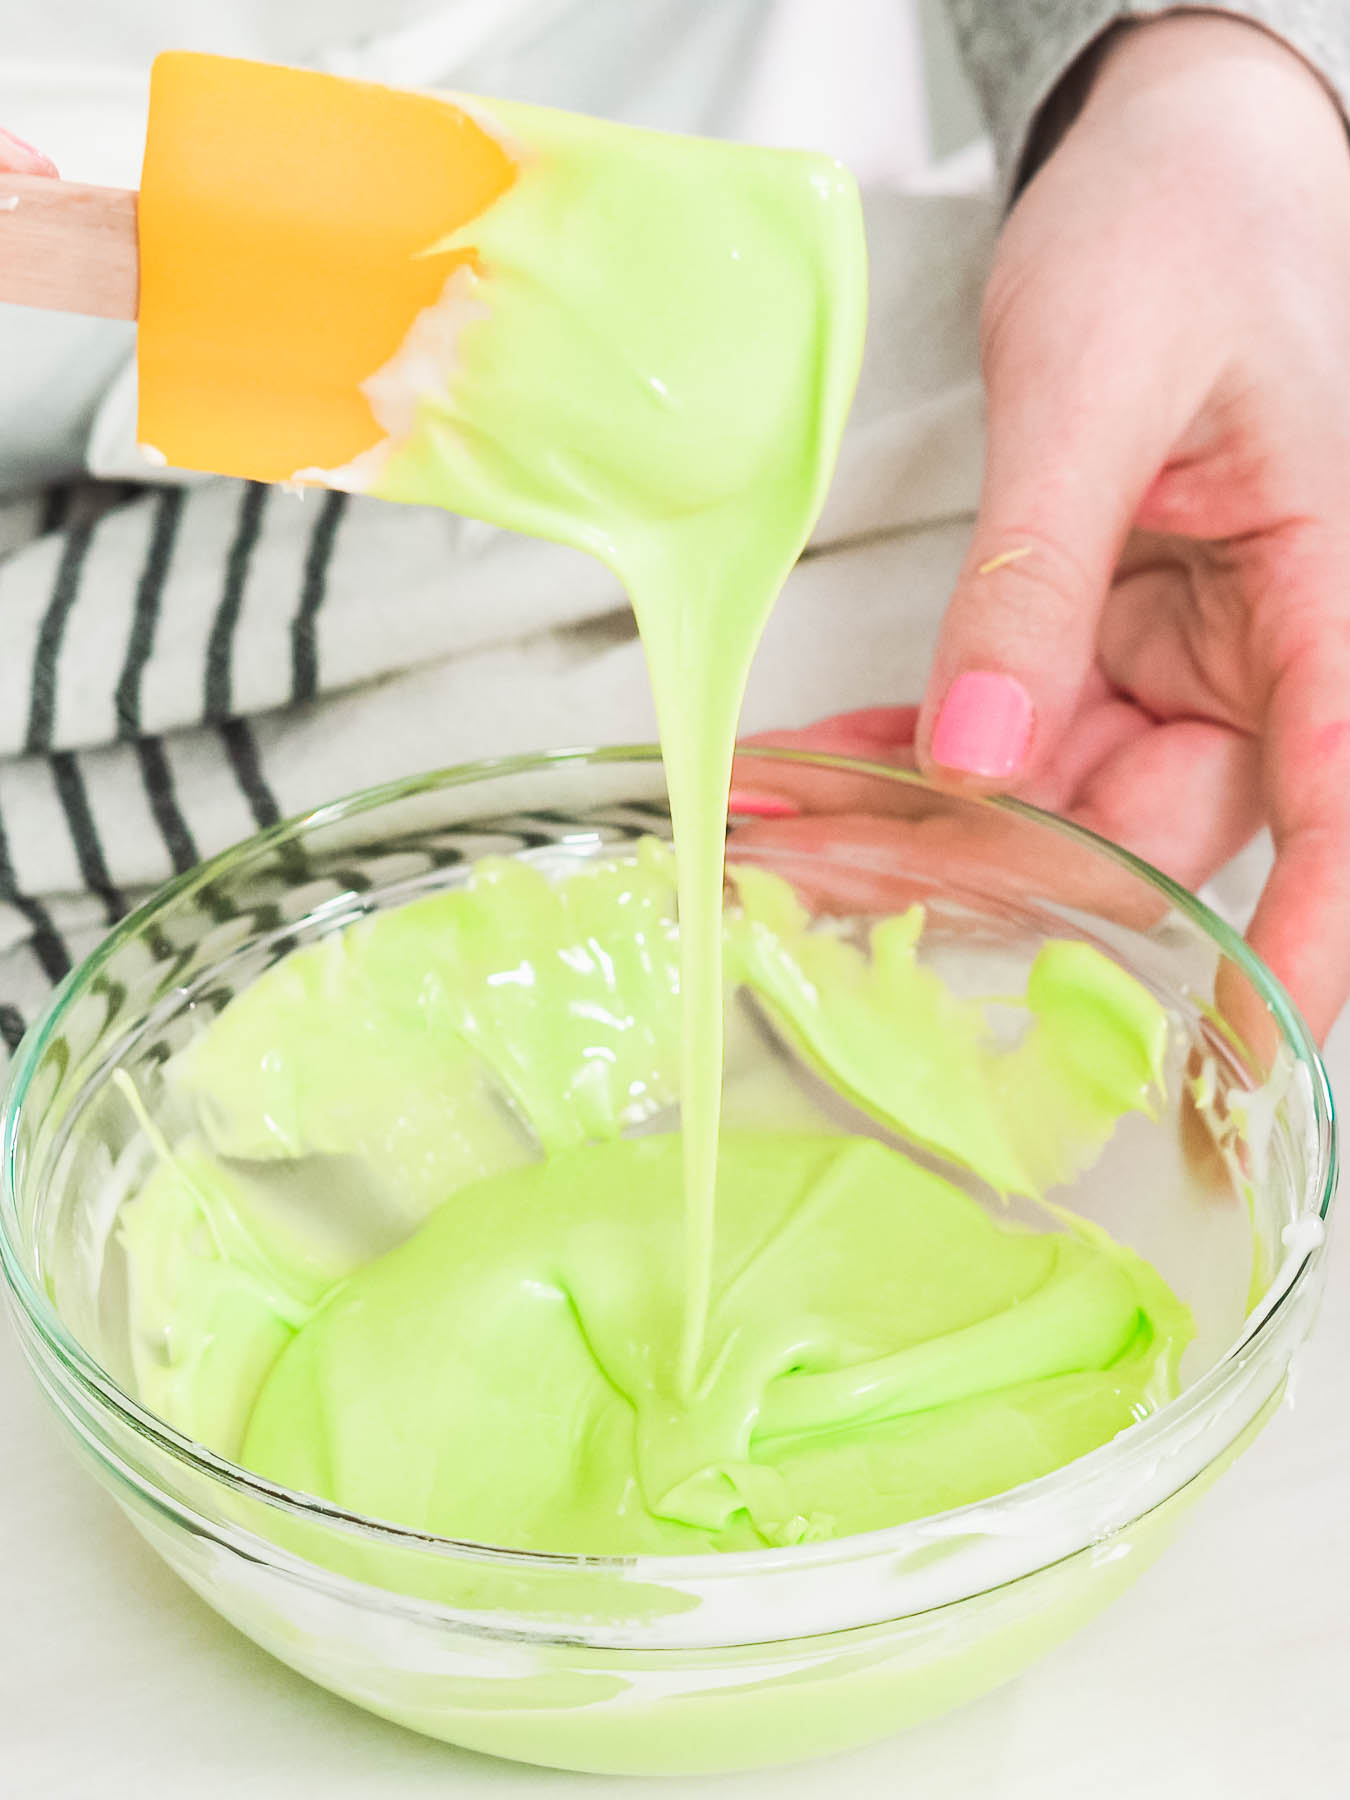
- Then, add the water one spoon at a time, mixing between additions. Add the vanilla extract. Mix all the ingredients on low speed for about 5-7 minutes, or until the mixture is shiny.

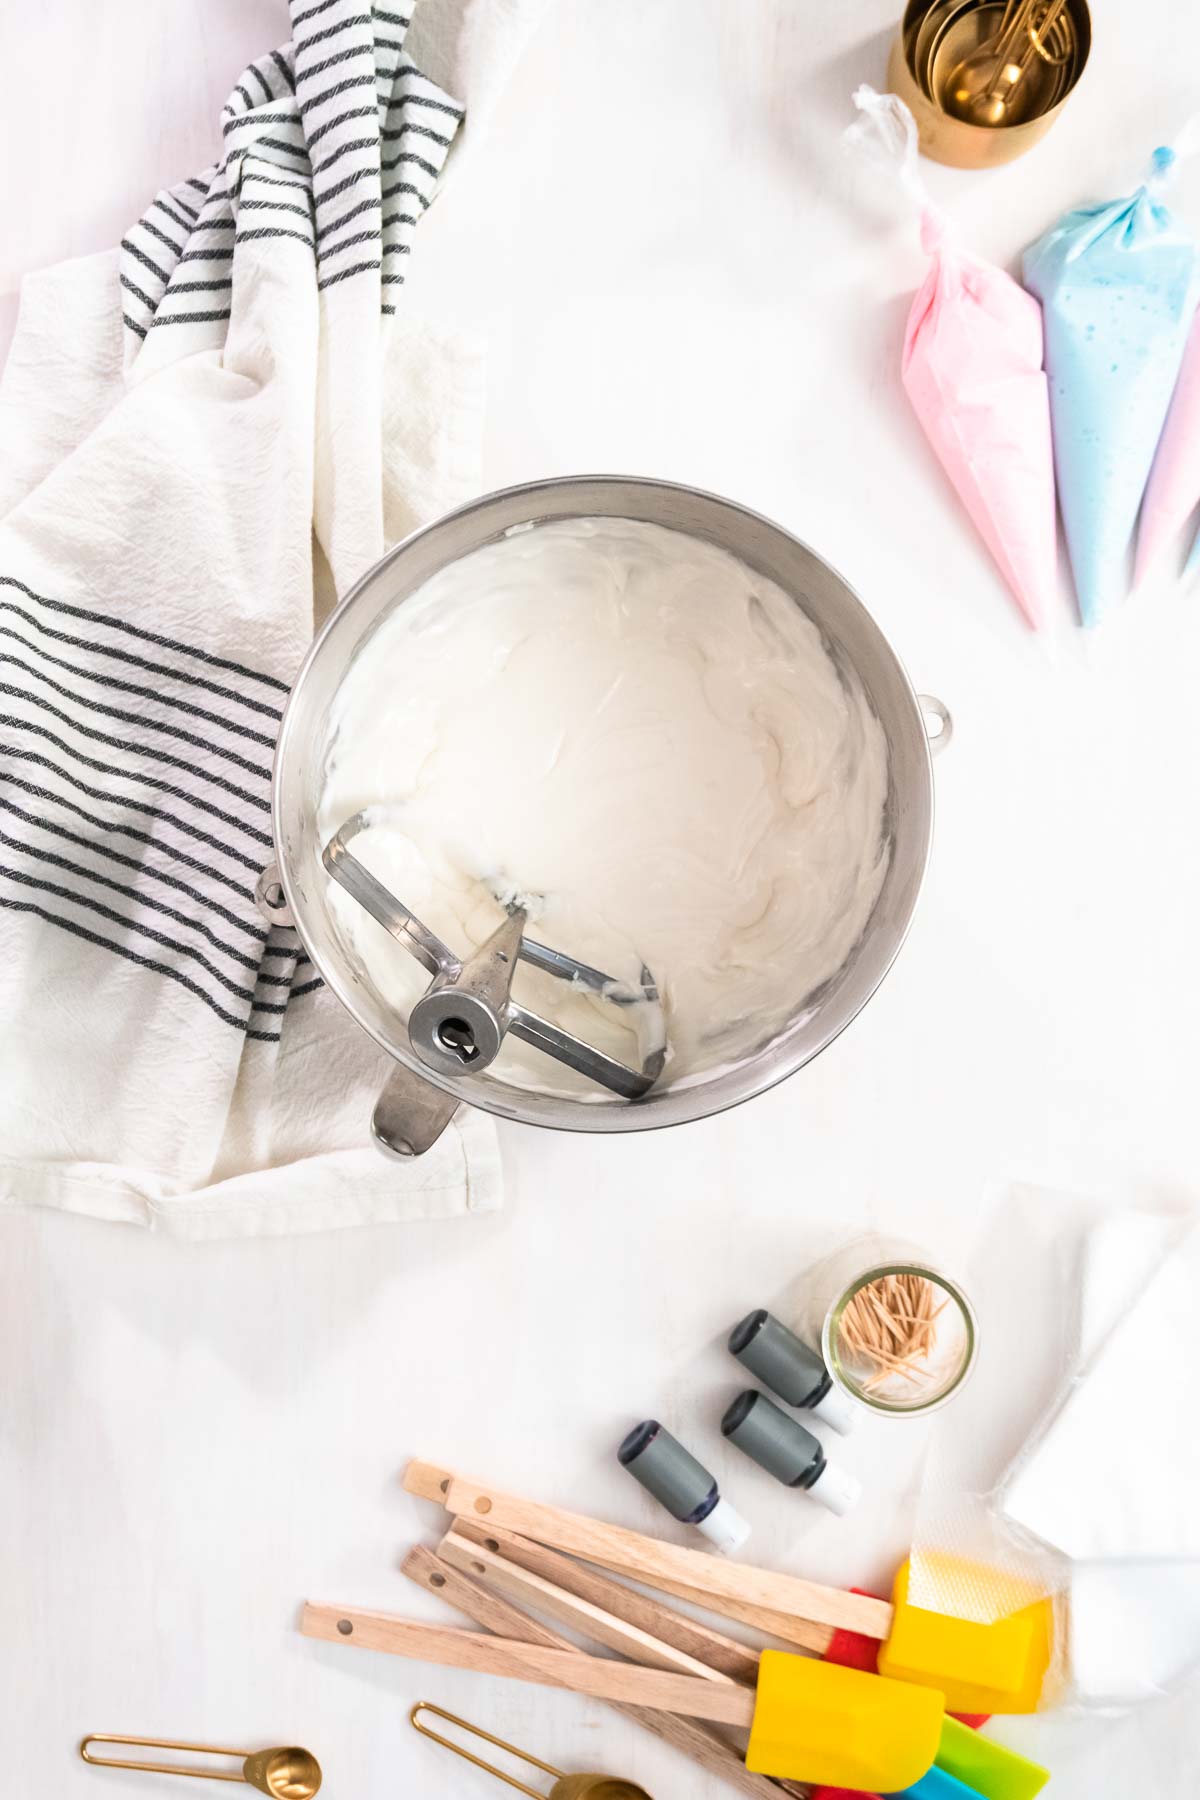
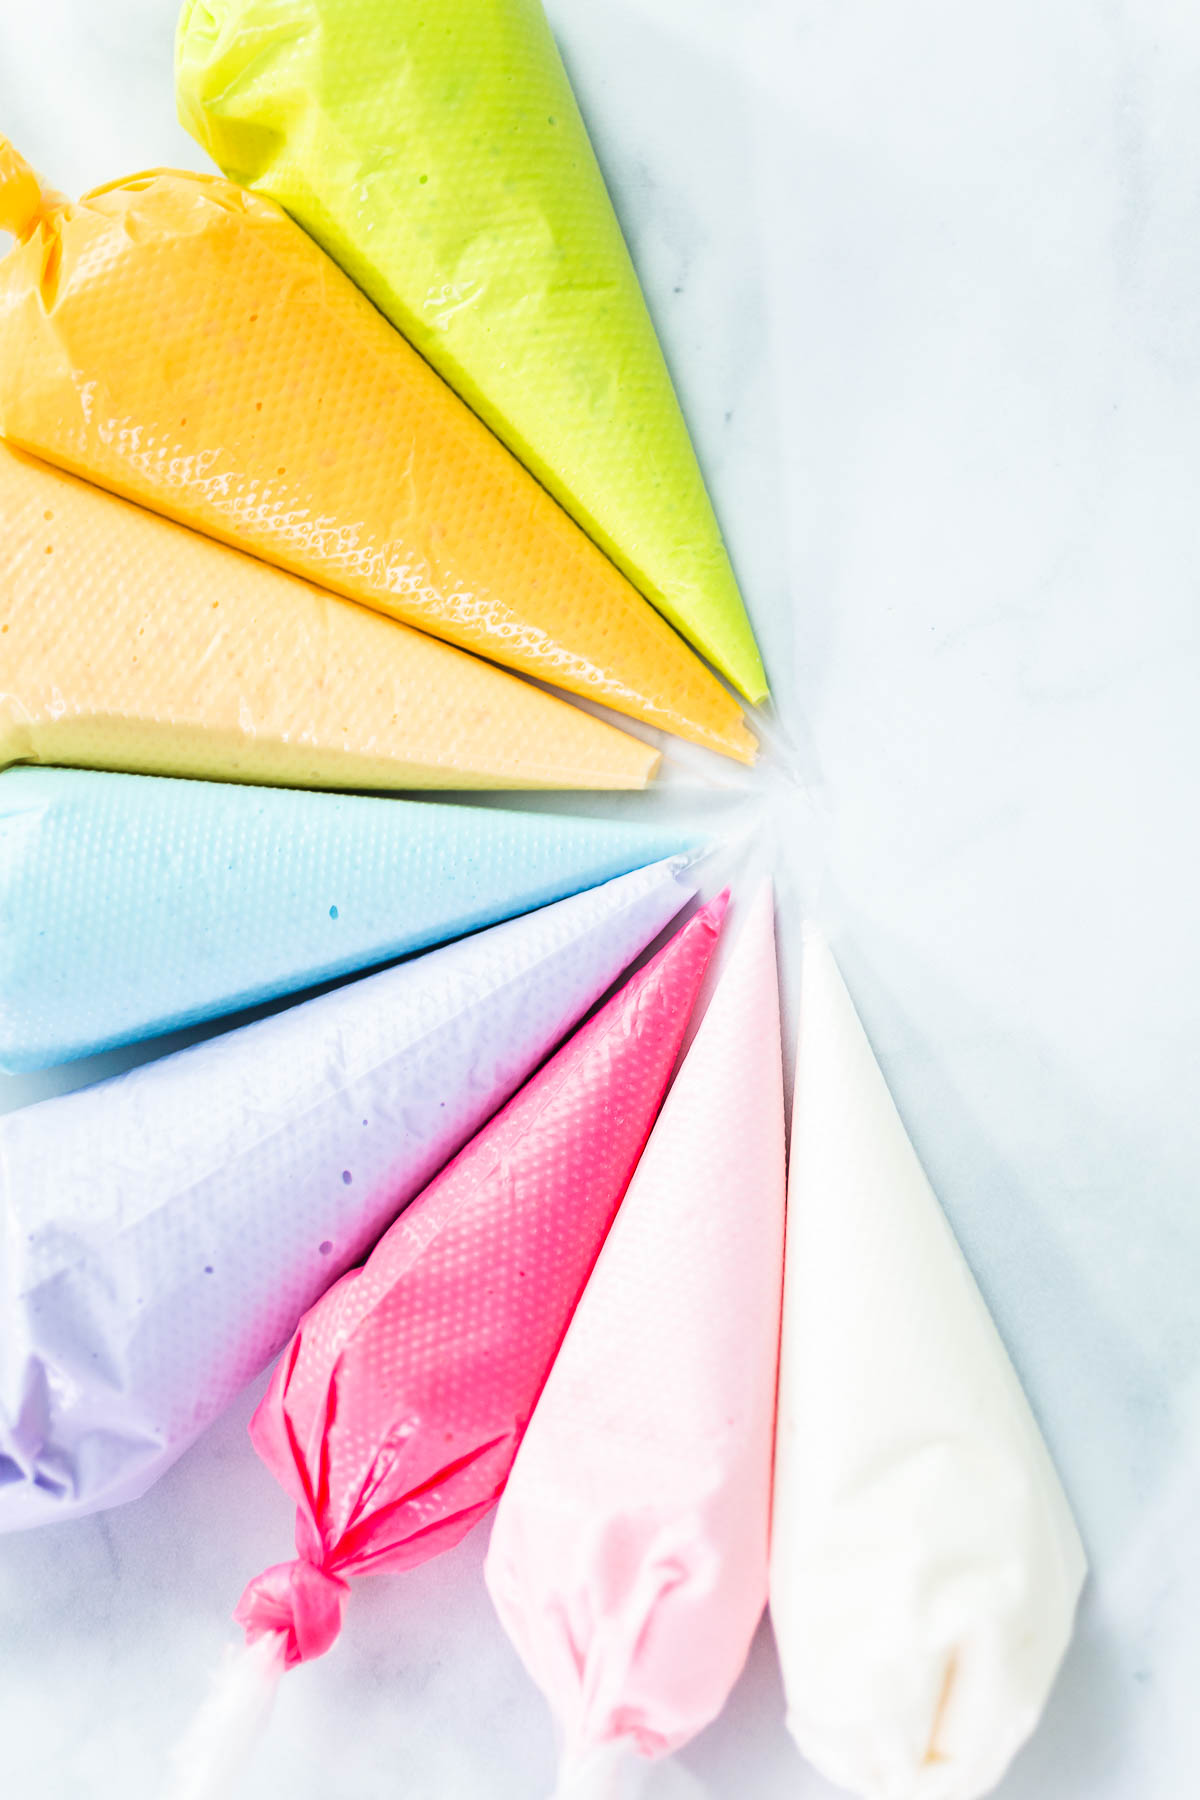
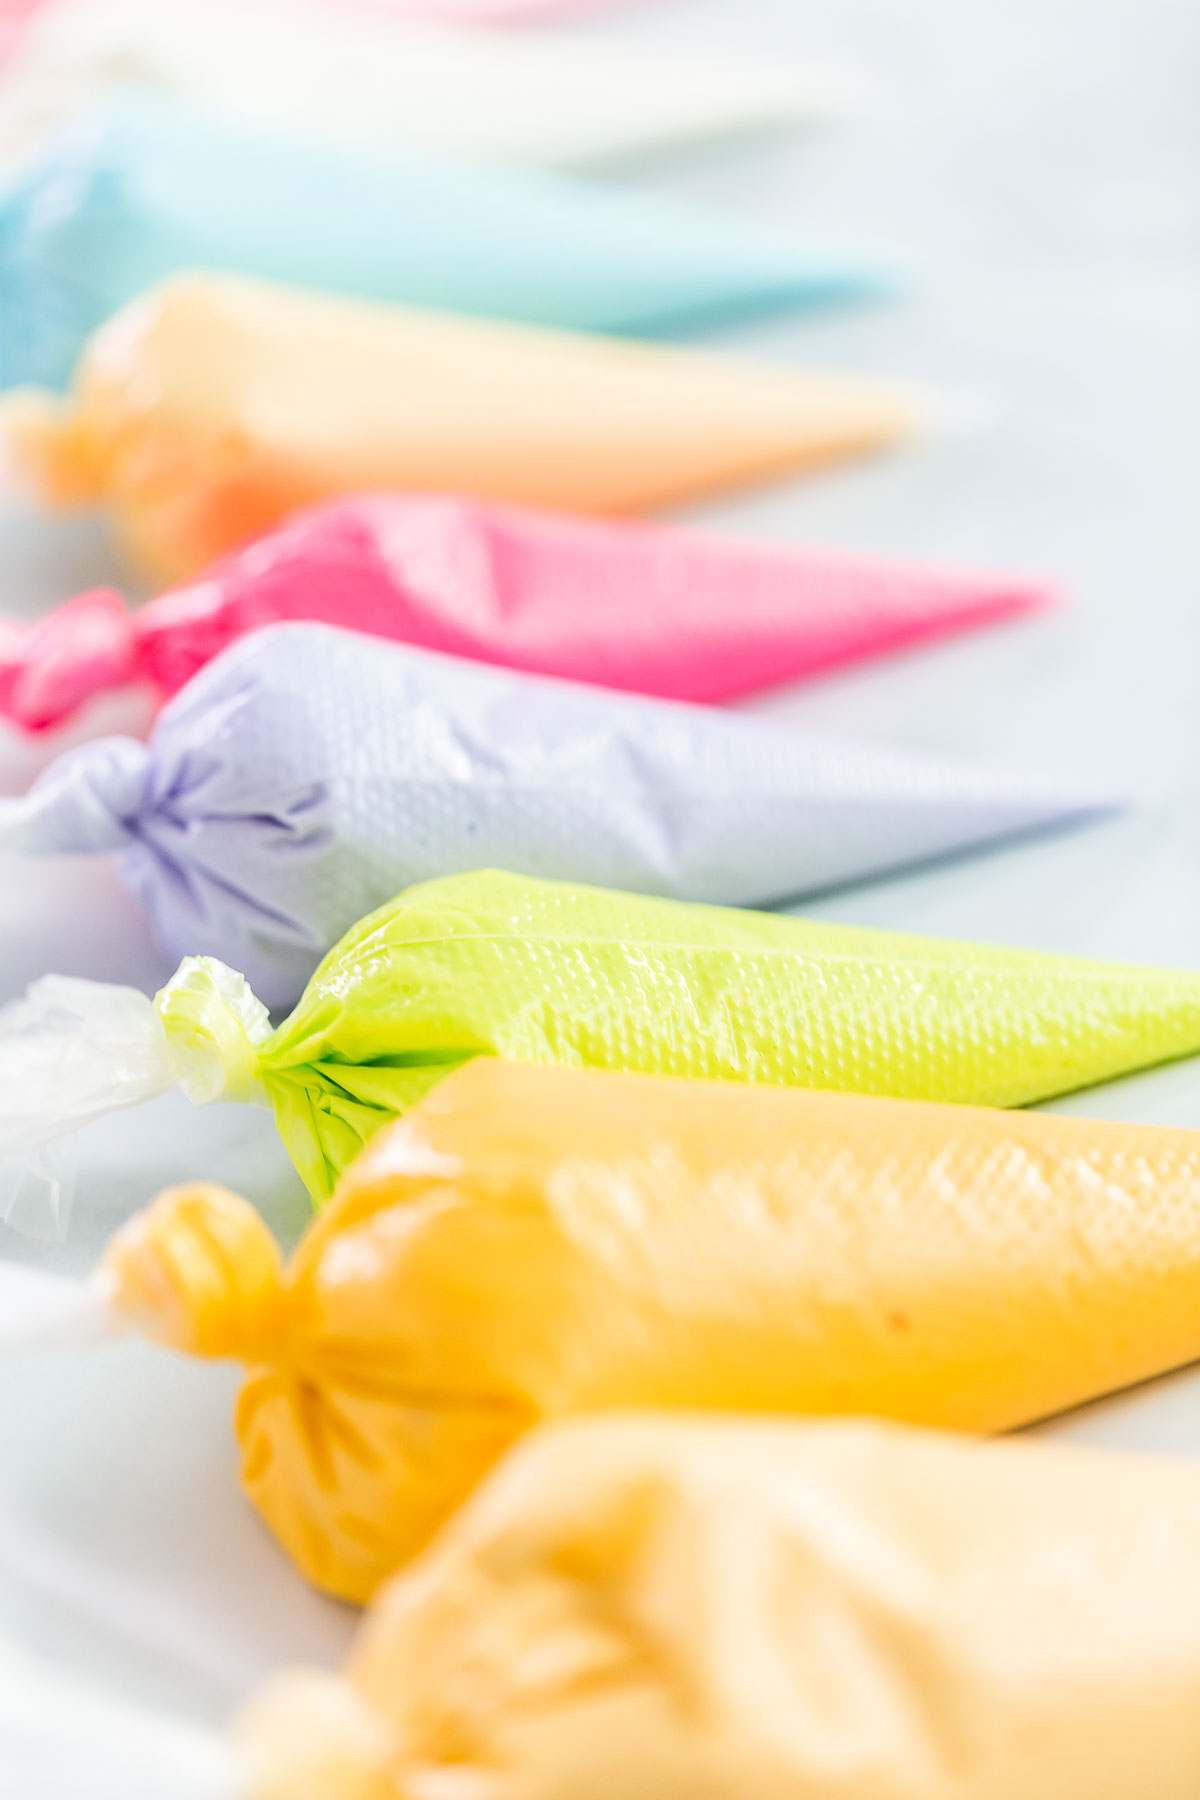
- Separate the icing into several bowls, one bowl for each icing color you want to make. Then mix in a drop or two of the squeeze gel colors in each bowl until you get the desired colors.For each color icing you need 2 different consistencies. A thicker consistency for borders and edges, and a thinner one for flooding or filling in.When you get each colored icing to the right thicker consistency, transfer ¼ - ½ of it into a piping bag and tie it off.Use the remaining icing to make a thinner consistency by adding a little more water into the mixture.

- Once the icing consistencies are ready, transfer each one into a separate piping bag and tie them off.

Decorating Sugar Cookies
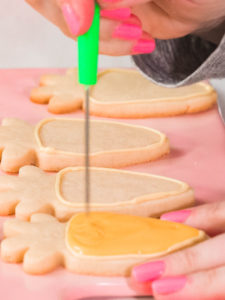
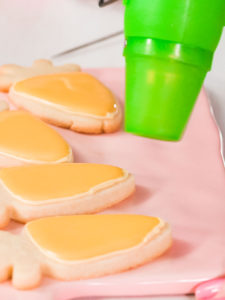
- First, cut the tips of the icing bags to use them for decorating.For piping bags with the thicker icing, cut off a very thin tip of the bag, about ⅛ of an inch. For the bags with thinner icing, cut 1/16 of an inch. If this opening is too small you can always cut a little more off of the bag.I like to do a little test squeeze to make sure the icing comes out the way I want it to before cutting any more from the piping bag, just to make sure.

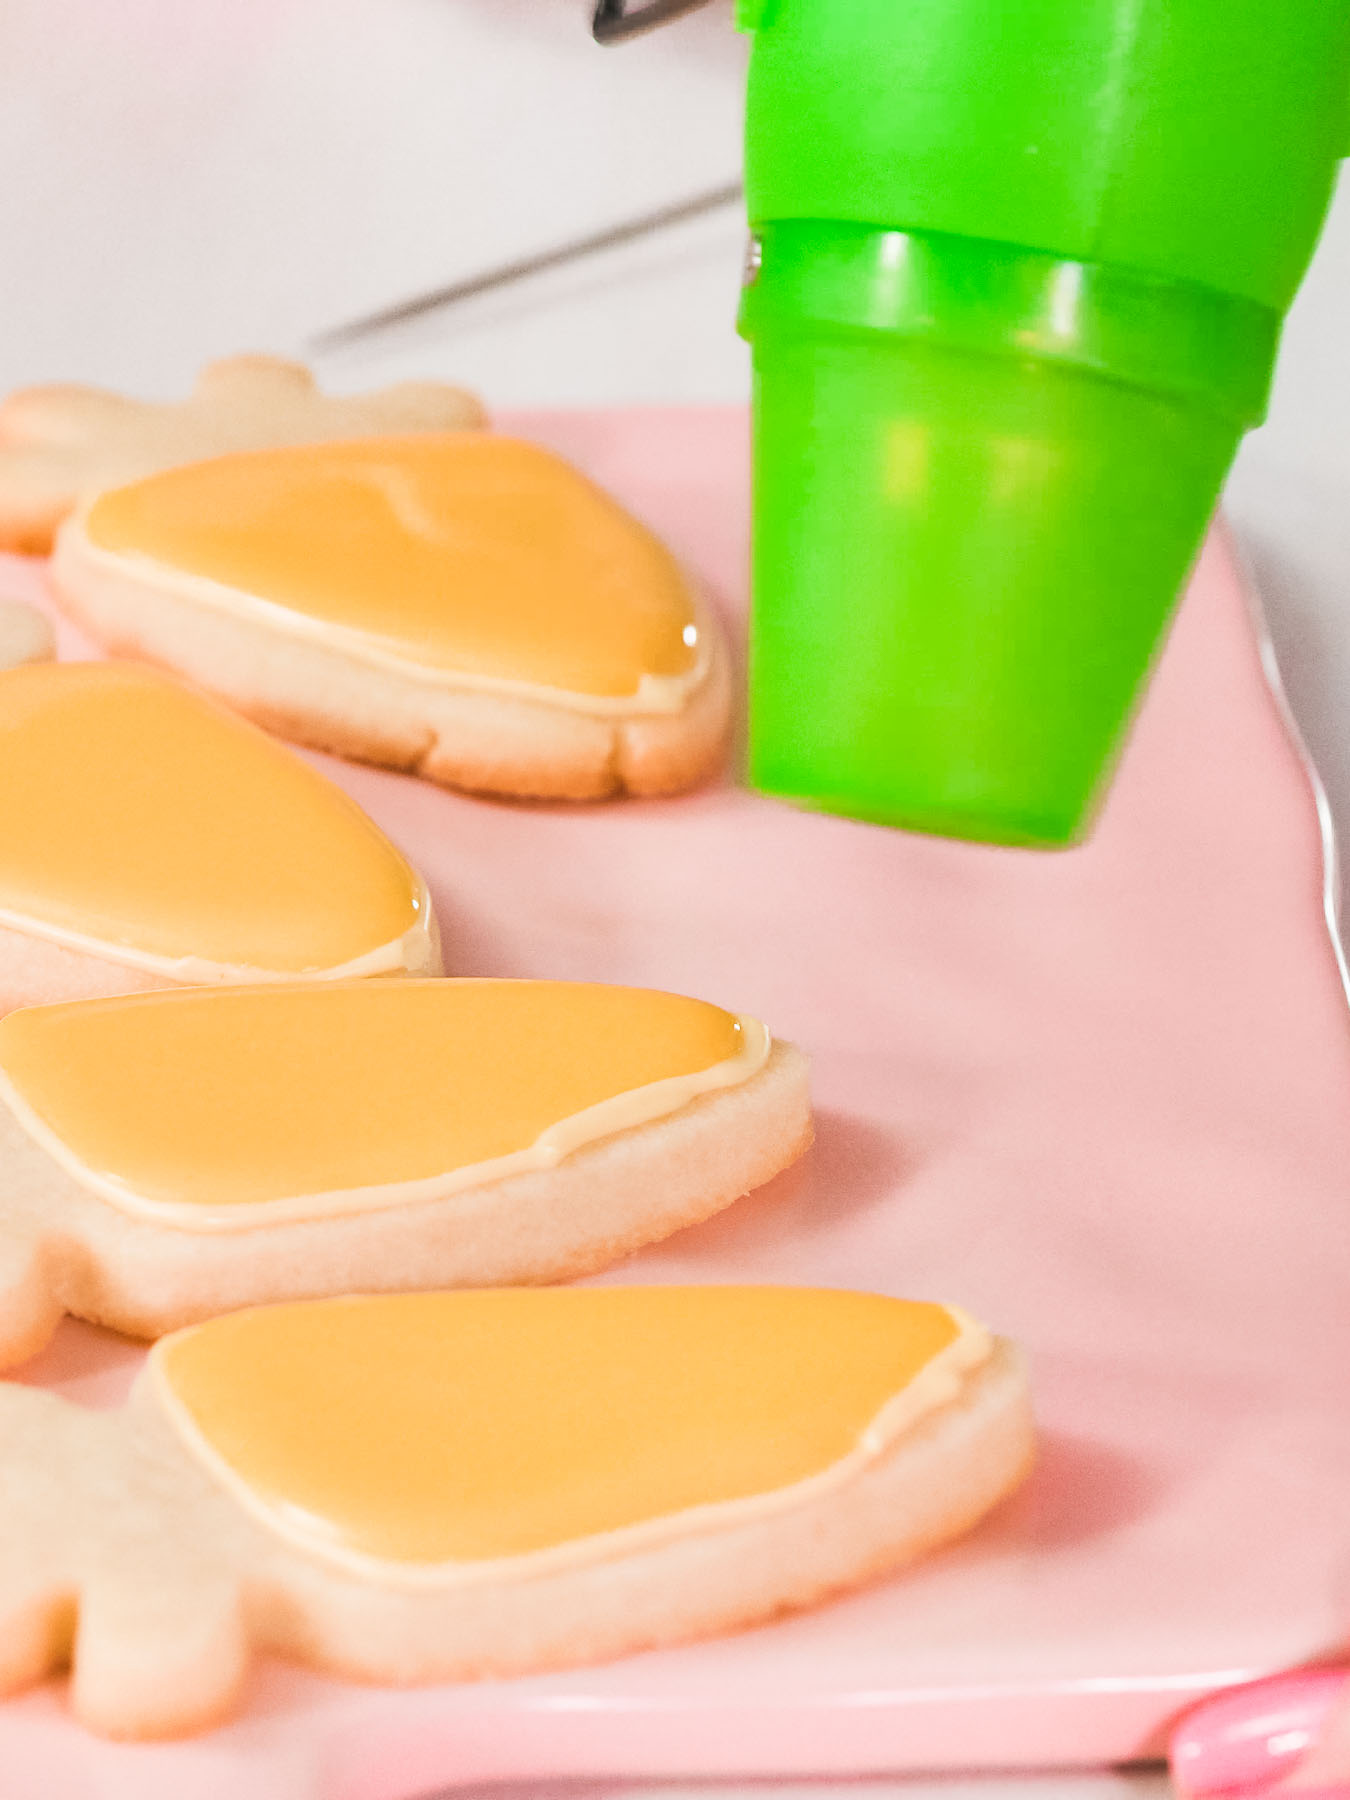
- Then, start decorating the sugar cookies by outlining the cookie shapes with the thicker icing.
- Next, use the thinner icings to fill in the outlines.Use the needle modeling tool to pop any icing air bubbles, to spread the icing, and to help shape the details.
- After decorating the sugar cookies, use a craft heat gun to blow on them for just a few seconds, about 10 inches away from the cookies, to create a thin crust on the icing.This step is so that the flooded icing does not cave in on itself.
- Finally, I like to add Easter sprinkles and finish my sugar cookies by letting them air dry in a cool place for 2 days before they’re ready for packaging and storing.


Video
Nutrition
Calories: 128kcalCarbohydrates: 21gProtein: 1gFat: 5gSaturated Fat: 3gPolyunsaturated Fat: 0.2gMonounsaturated Fat: 1gTrans Fat: 0.2gCholesterol: 16mgSodium: 32mgPotassium: 12mgFiber: 0.2gSugar: 14gVitamin A: 148IUCalcium: 3mgIron: 0.4mg
Tried this recipe?Let us know how it was!