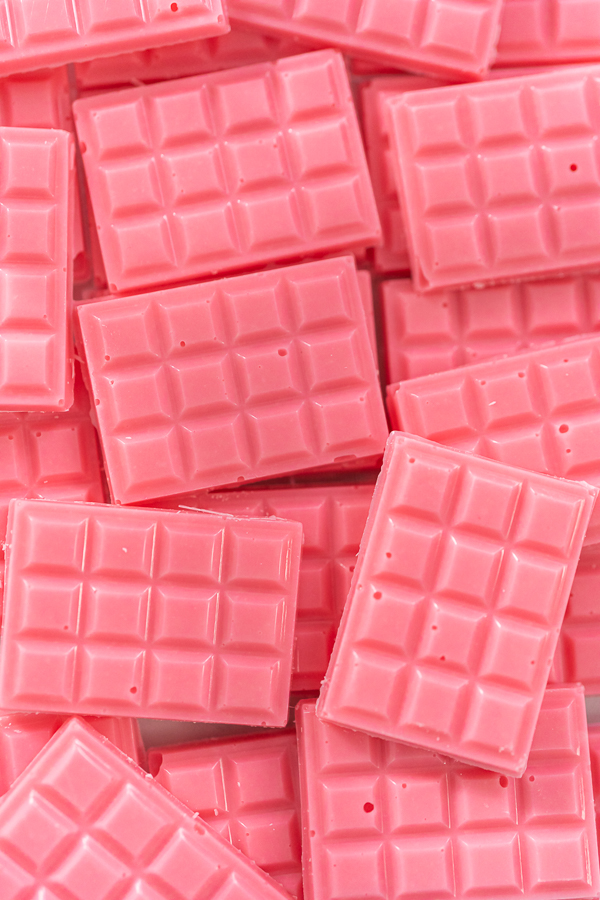
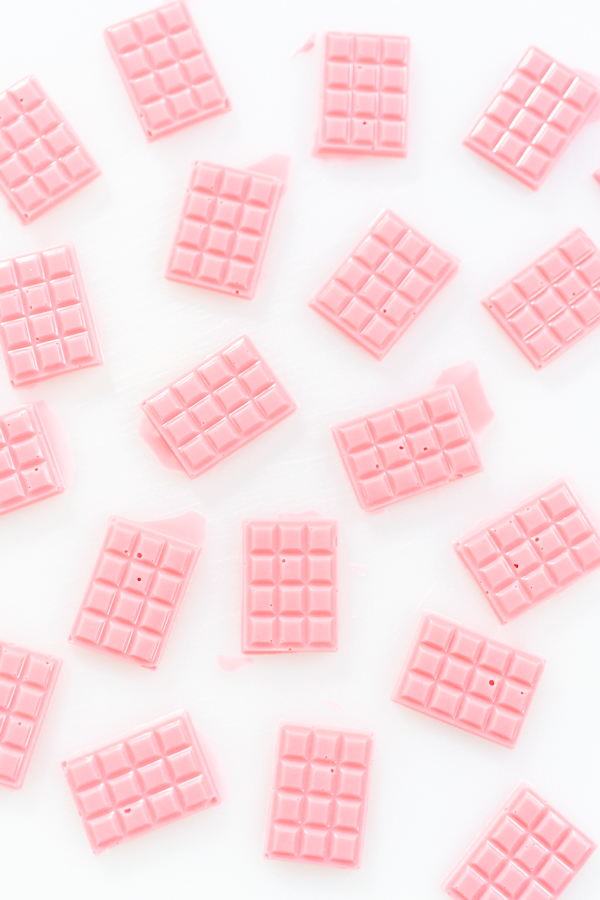
Homemade mini chocolate bars
How to make charming homemade mini chocolate bars with only 2 ingredients!
Ingredients
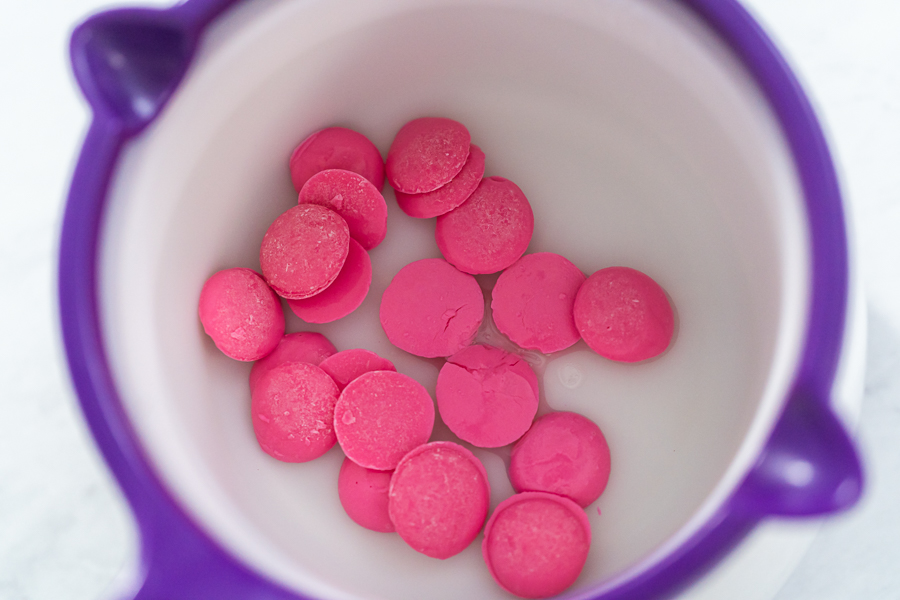
- 1 cup Pink Wilton candy melts
- ¼ tsp Coconut oil
Instructions
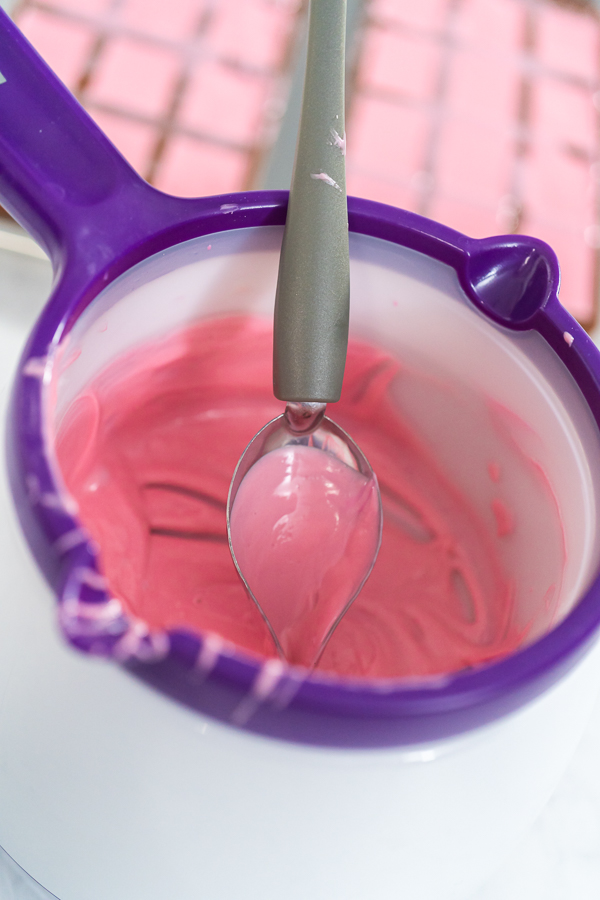
- First, combine the pink candy melts and the coconut oil in the candy melt pot. Melt them together on high, while stirring continuously with a heat resistant spatula.

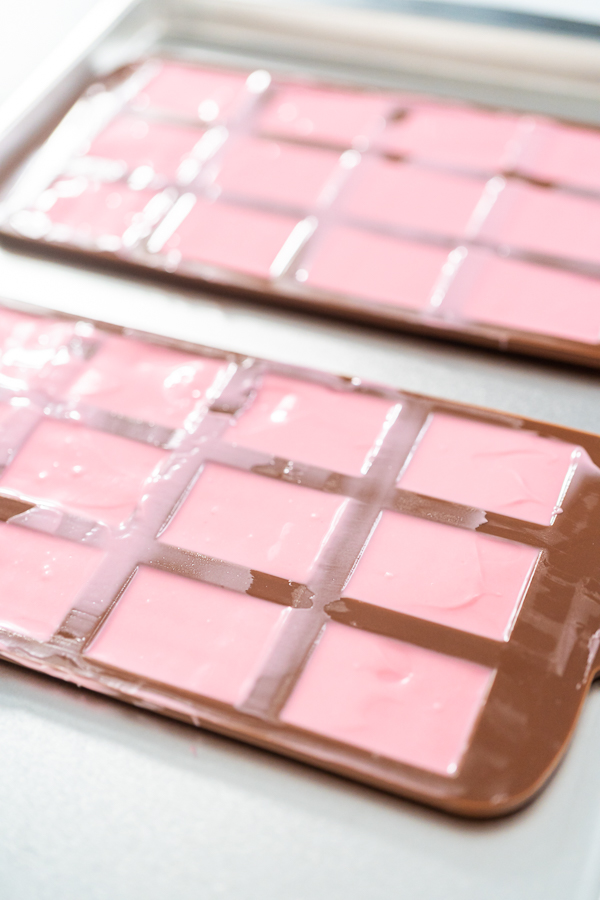
- Then, spoon the melted chocolate into the chocolate bar silicone molds. Scrape the excess chocolate off with a cake spatula. I personally like to use several molds at the same time to speed up my process. I suggest using at least 2 silicone molds or more for big batches.

- Next, place the silicone molds on a small baking sheet and transfer them to the freezer. Freeze the molds for 10 minutes. Make sure to lay the molds flat in the freezer!

- Finally, after the chocolate has hardened, carefully remove the chocolates from the silicone molds. Use a small knife to cut away any extra chocolate from the edges. Try not to handle the homemade candies too much as the body heat from your hands can make the chocolate melt.

Video
Notes
Homemade Mini Chocolate Bar Storage
These homemade mini chocolate bars can actually stay good for much longer than other homemade desserts if they are stored properly.
- Just transfer the mini chocolate bars to an airtight container.
- Use small cuts of parchment paper or wax paper in between the layers to help keep the chocolates separated and intact.
- Homemade chocolates can be stored for up to 2 or 3 weeks, either stored in the fridge or in a cool, dry place out of the sun’s warm reach.
- Always note the date when storing so you can keep track of the freshness and quality.
Nutrition
Calories: 1kcalFat: 1gSaturated Fat: 1g
Tried this recipe?Let us know how it was!