How to Grow Sprouts in a Jar
How to easily grow savory, nutrition- packed sprouts in a jar right on the counter!
Materials
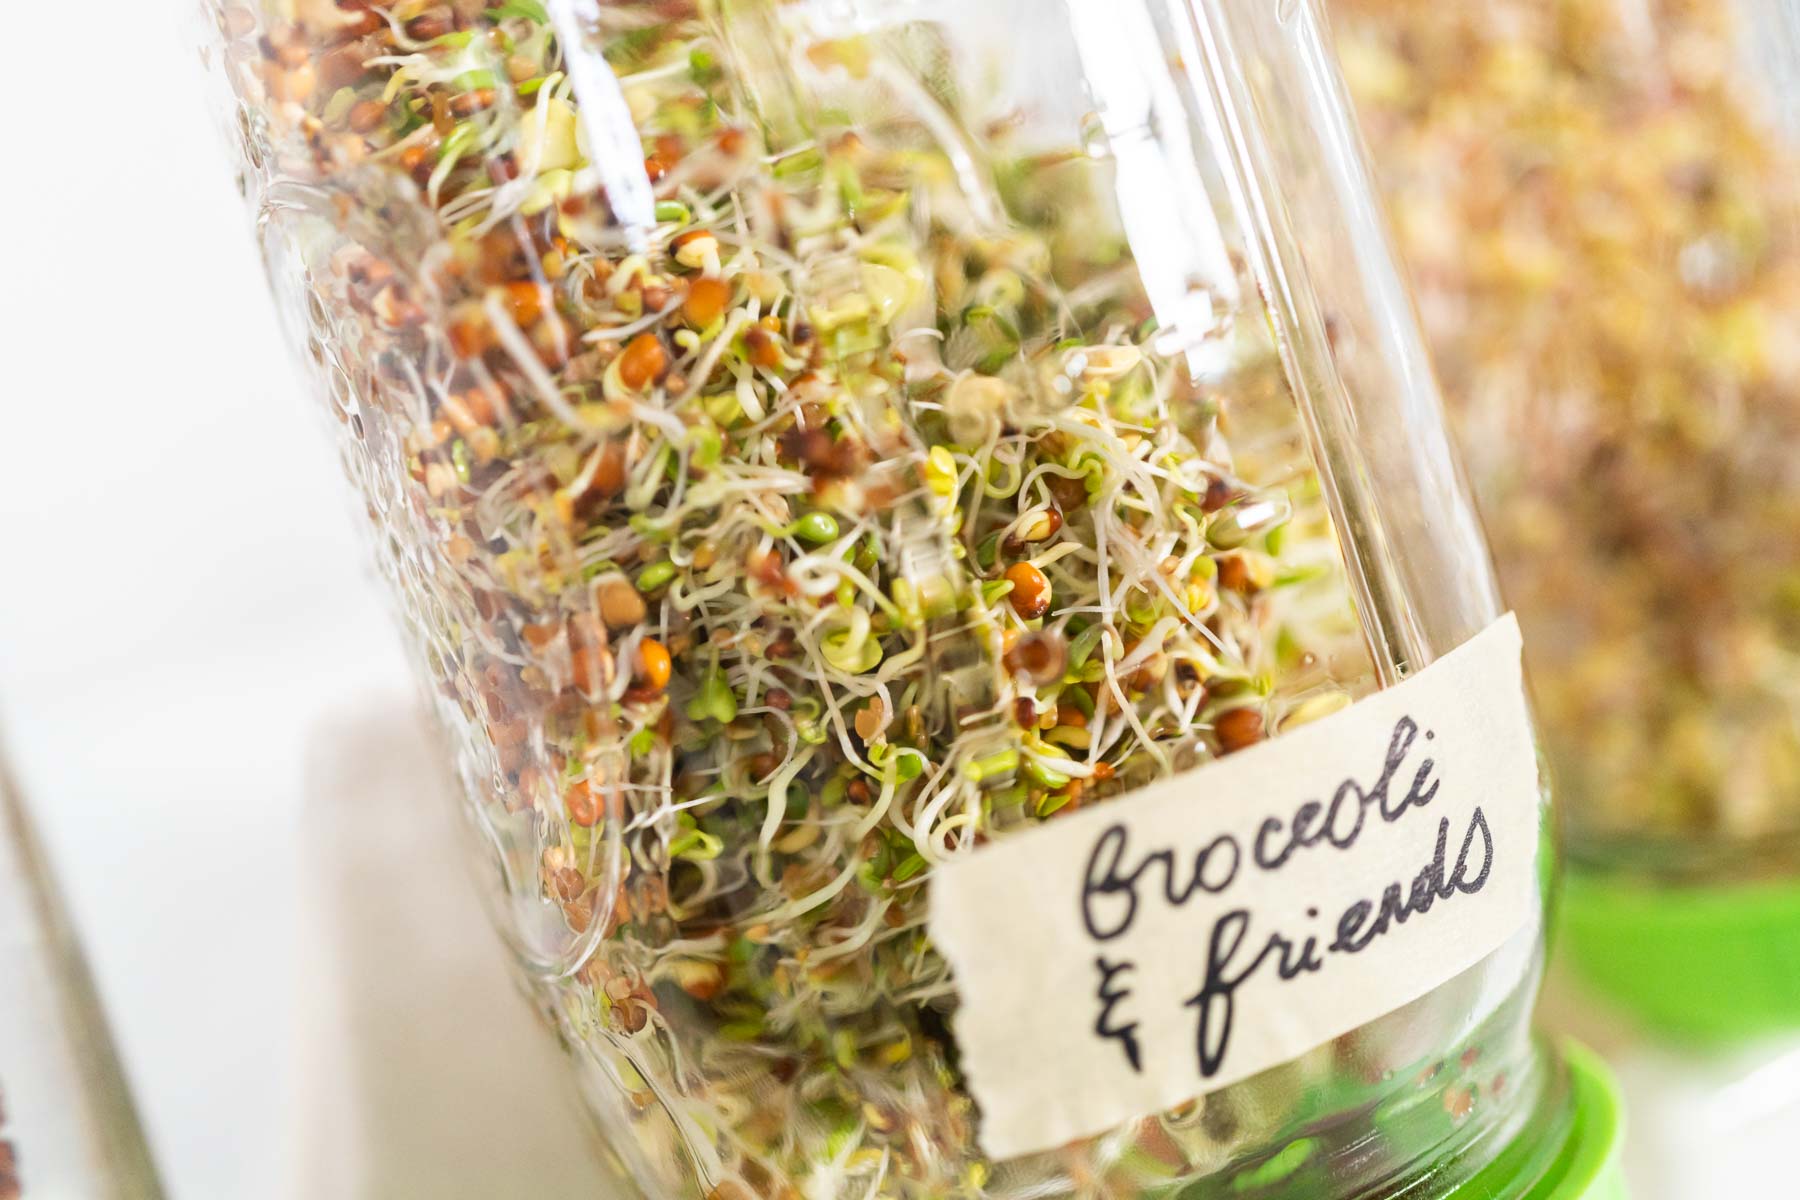
- 2 tbsp Broccoli and Friends Sprouting Seed Mix
- 2 cups water
- 2 tbsp Rainbow Radish Sprouting Seeds Mix
- 2 cups water
- 2 tbsp Daikon Radish
- 2 cups water
Instructions
Day 1
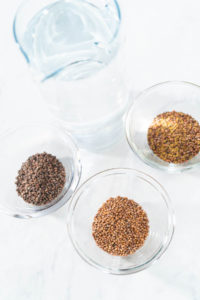
- First, gather up the equipment and measure out all of the sprouting materials.
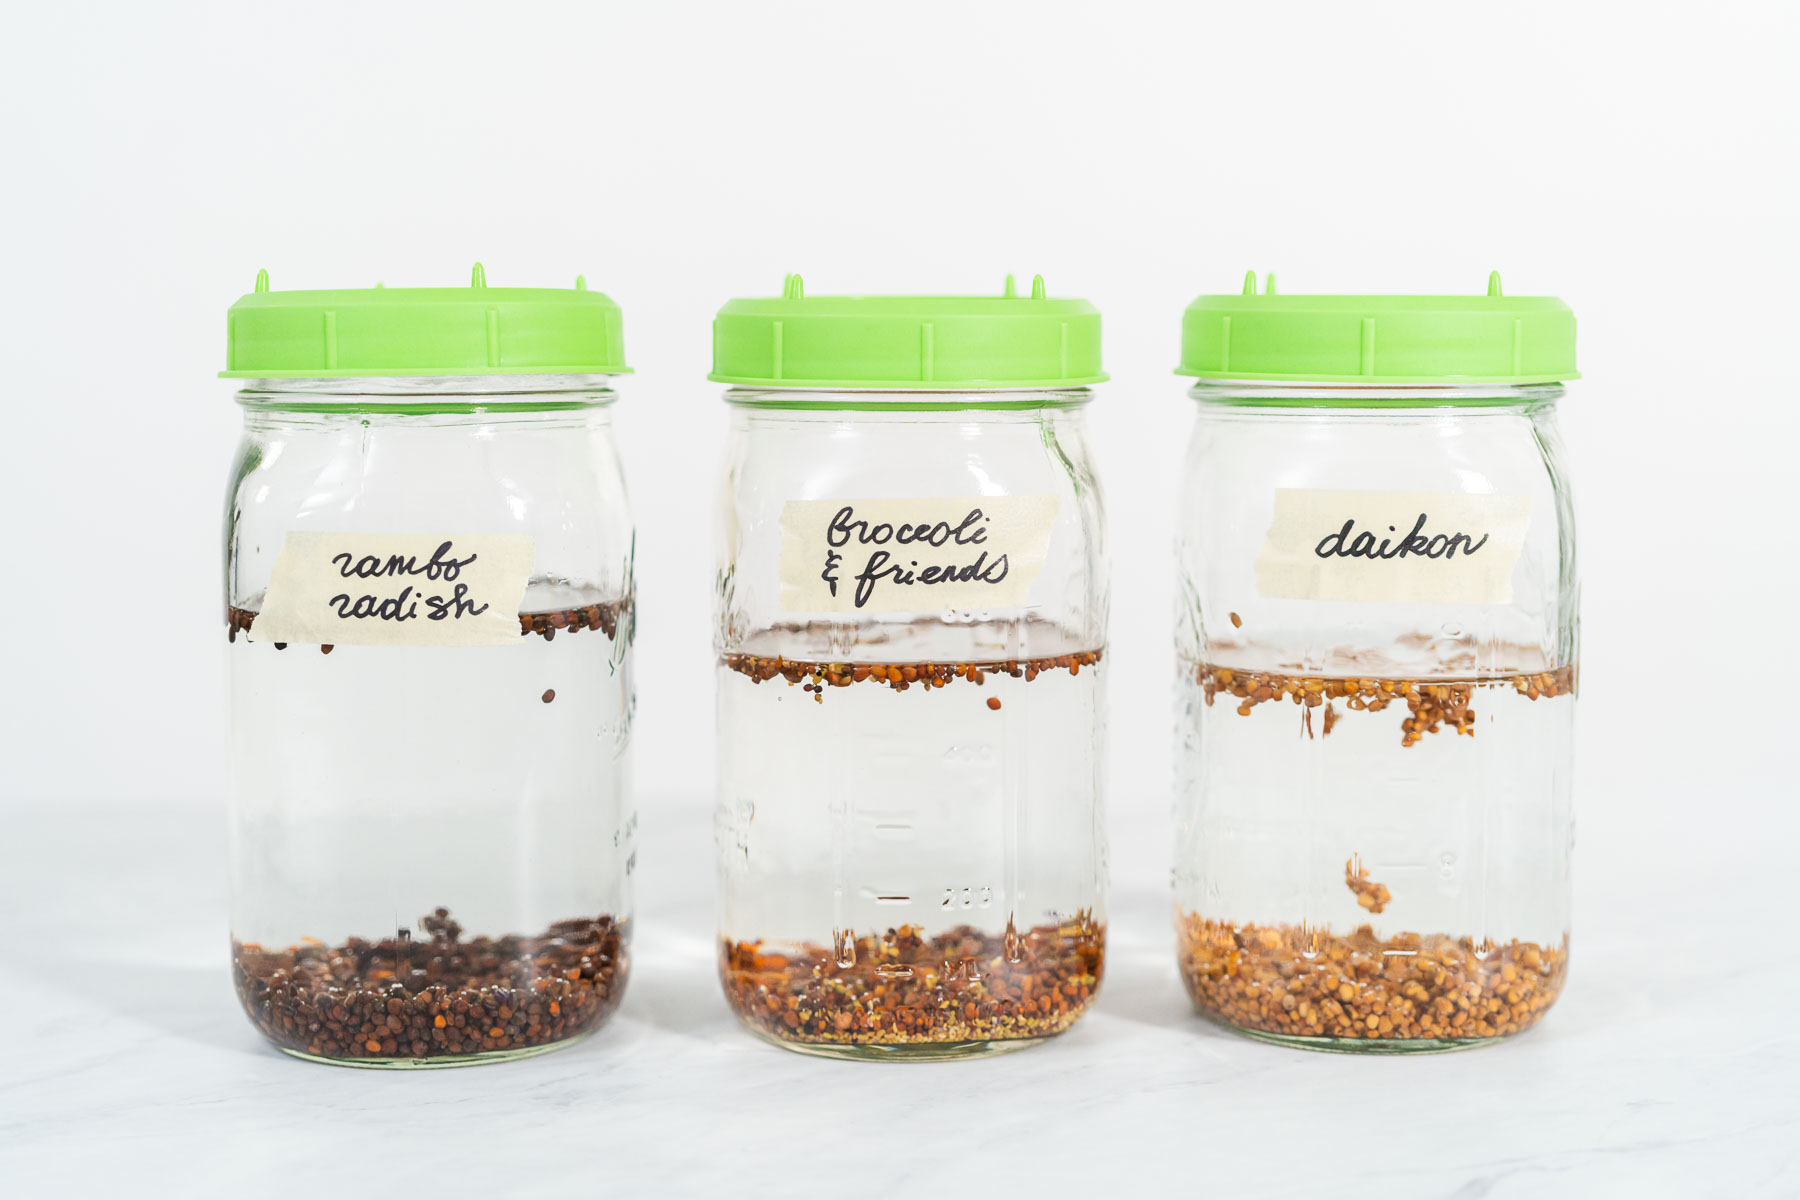
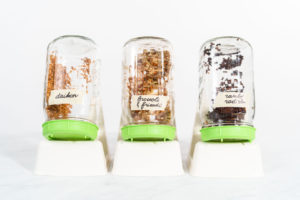
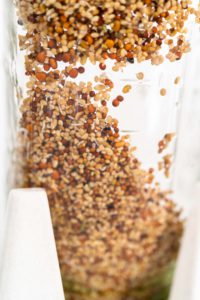
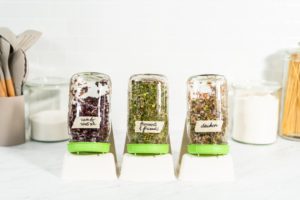
- Then, pour the sprouting seeds into your mason jars and cover them with 2 cups of water each. Secure a sprouting jar lid to each jar and let them sit on the counter overnight. Label the jars if growing different varieties.


Day 2
- The next day, drain out the overnight water through the strainer sprouting jar lids. Do not remove the lids at all during the entire rinsing and draining process. You don’t want to accidentally lose any seeds.
- Then, add clean, cold water to the jars and swish it around to rinse the seeds.
- Next, drain out the water through the lids and place the jars propped upside down on the sprouting jar stand. If you do not have a stand, you can prop your jars up carefully against a wall and on a kitchen towel. Just make sure they can get some air flow.Try to place the jars somewhere away from direct sunlight.
- Rinse and drain the sprouts like this 1-2 more times throughout the day.

Day 3
- Repeat the rinsing and draining process using cold water 1- 2 times throughout the day. Remember, do not open the lids! You should start seeing little sprouts starting to pop out on this day! But don’t freak out if you don’t see any yet, different types of sprouts can have different sprouting times.

Day 4
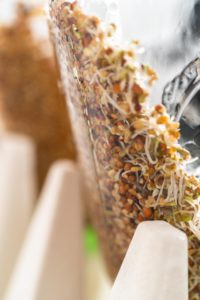
- Repeat the rinsing and draining process using cold water 1- 2 times throughout the day. Remember, do not open the lids! There should be a bit more visible sprouting and more little sproutlings popping out today.
Day 5
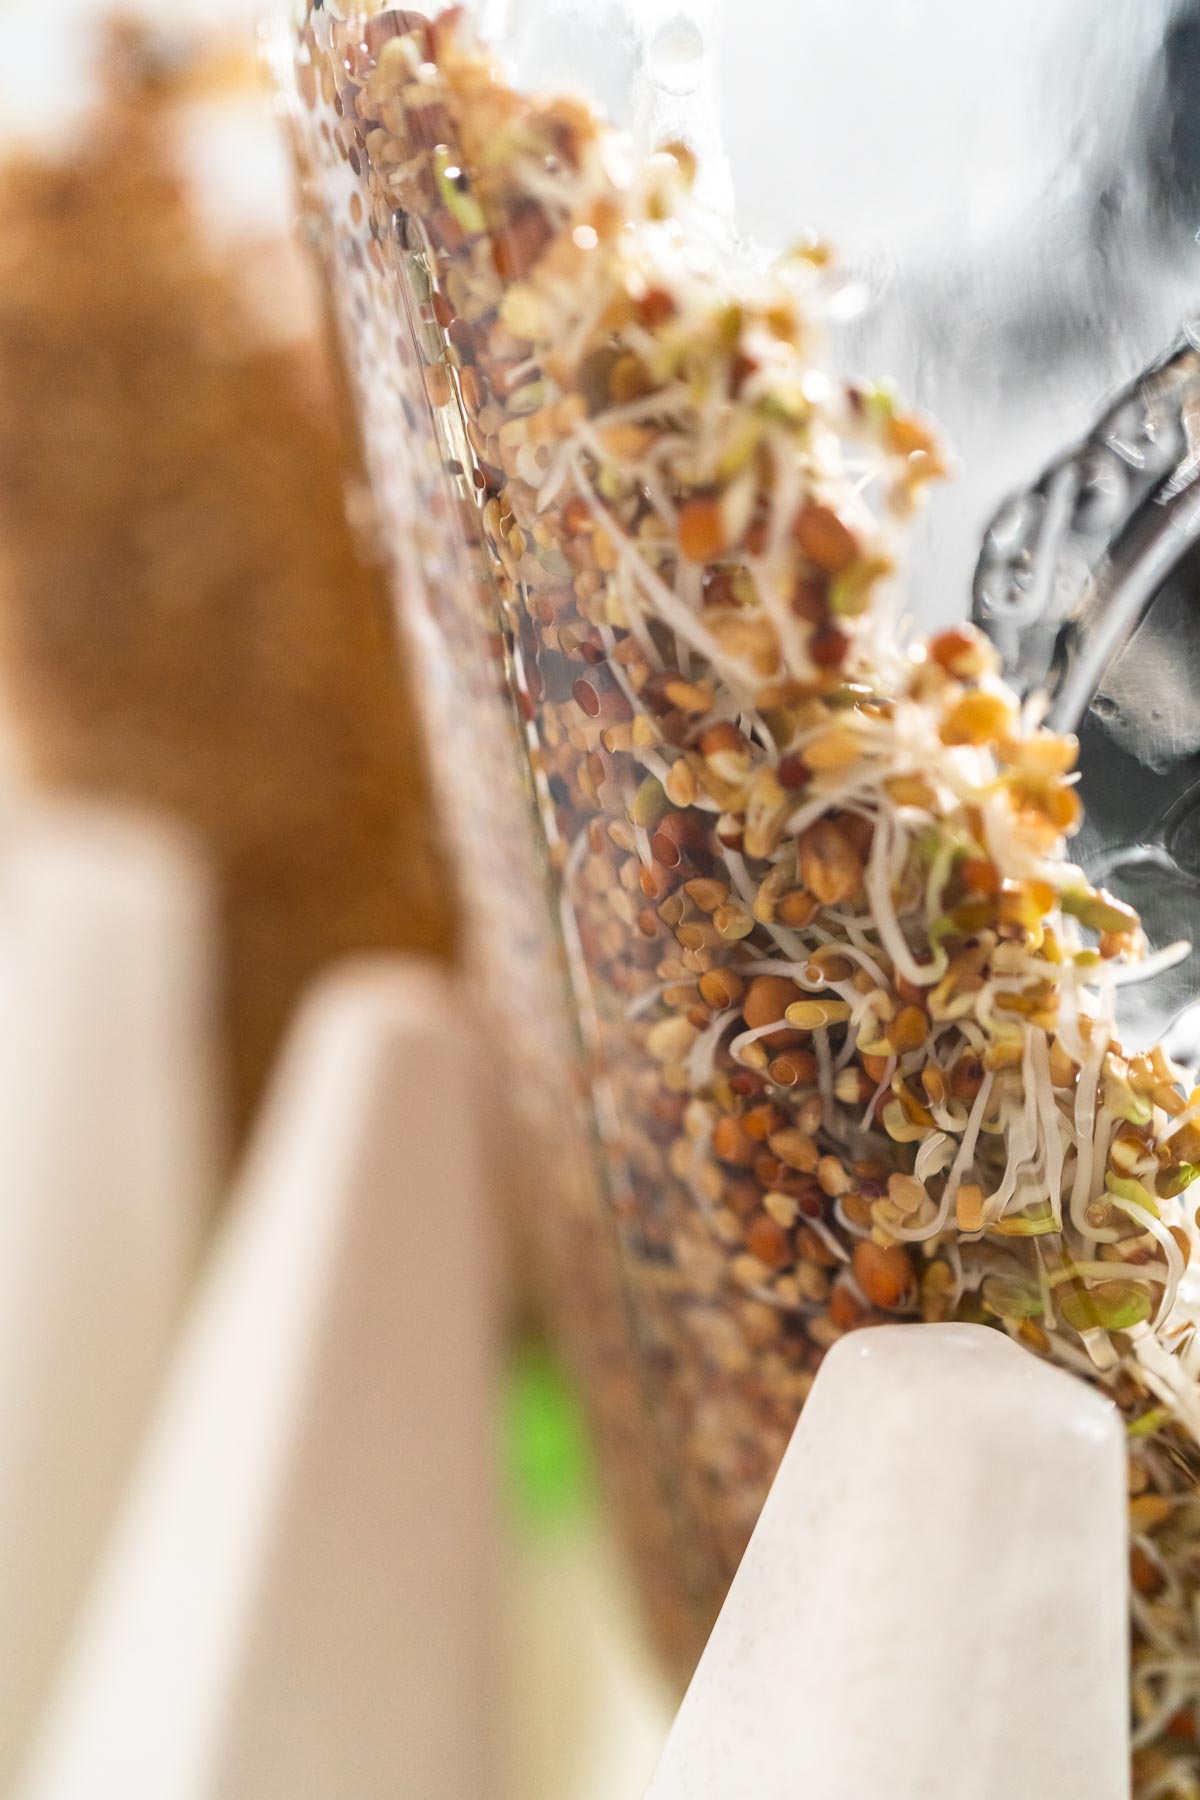
- Repeat the rinsing and draining process using cold water 1- 2 times throughout the day. Remember, do not open the lids! Almost there! There should be quite a bit more sprouting visible now!

Day 6 Harvesting
- Once the sprouts reach about an inch, they are ready for harvesting and devouring! If you want your sprouts to be a bit greener in color you can put them in direct sunlight for a day before harvesting. Spin the jar so the sun can reach all the sprouts.
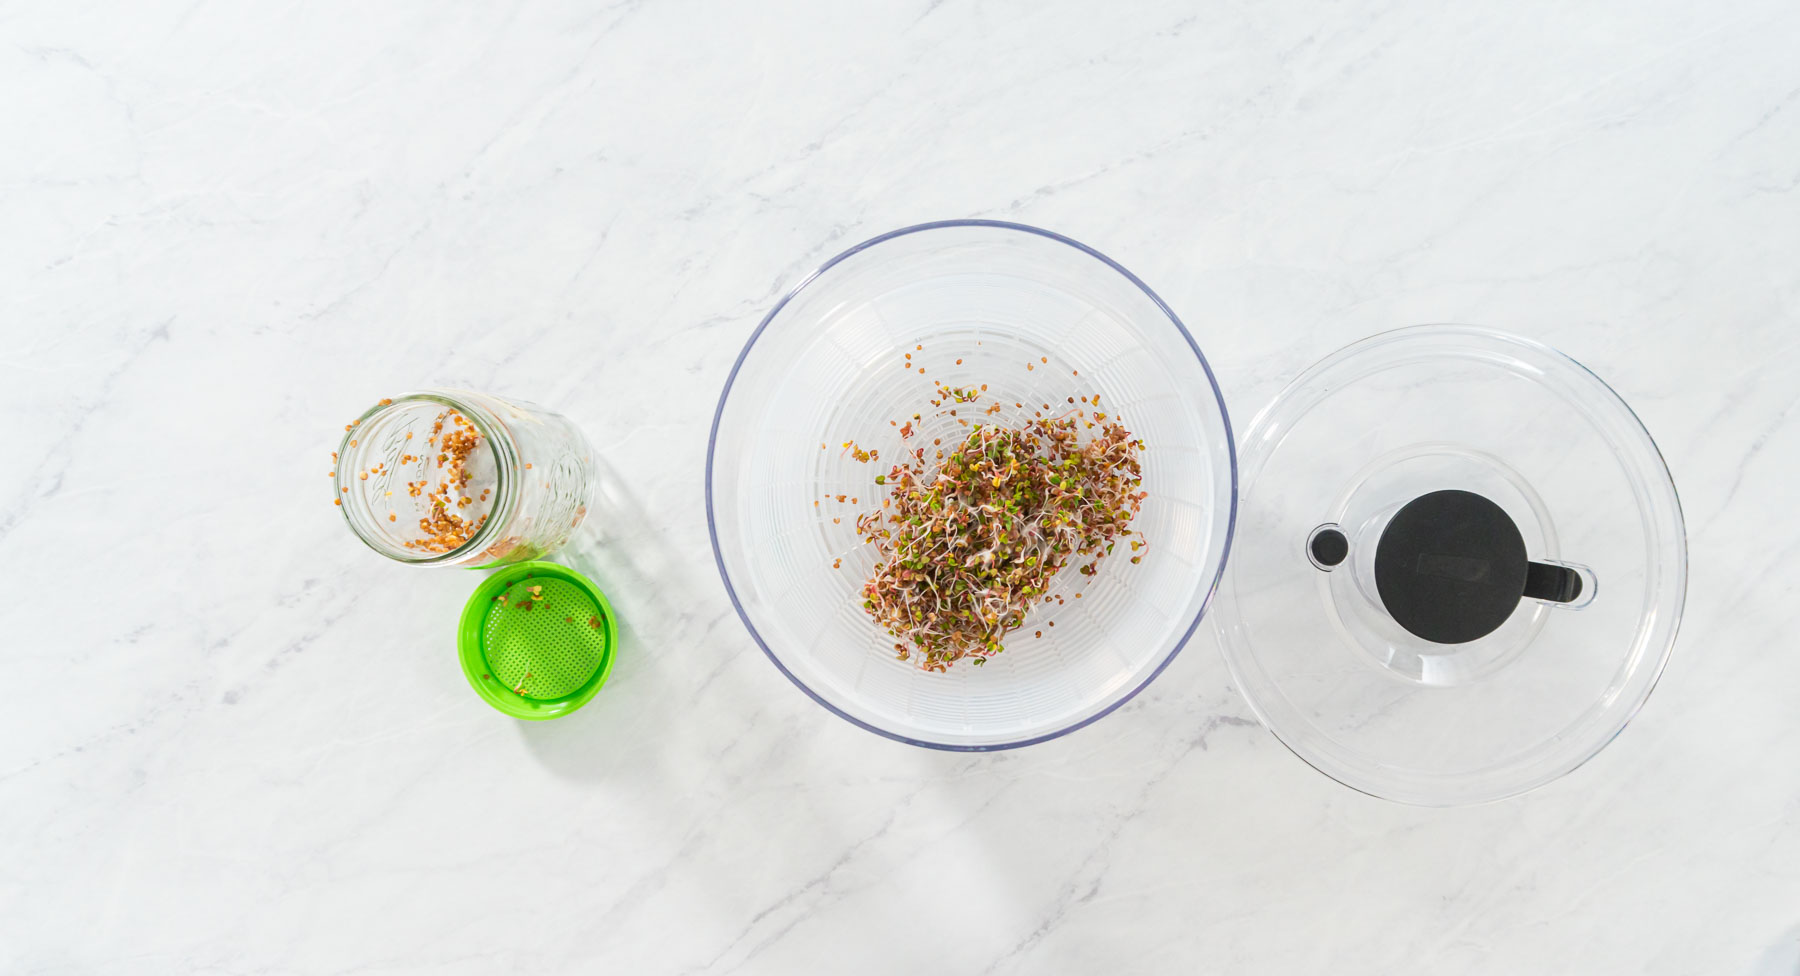
- When ready to harvest, first remove the sprouts from the jars.

- Then, thoroughly rinse and drain the sprouts. I personally prefer to use a salad spinner for rinsing and spinning out all the excess water.

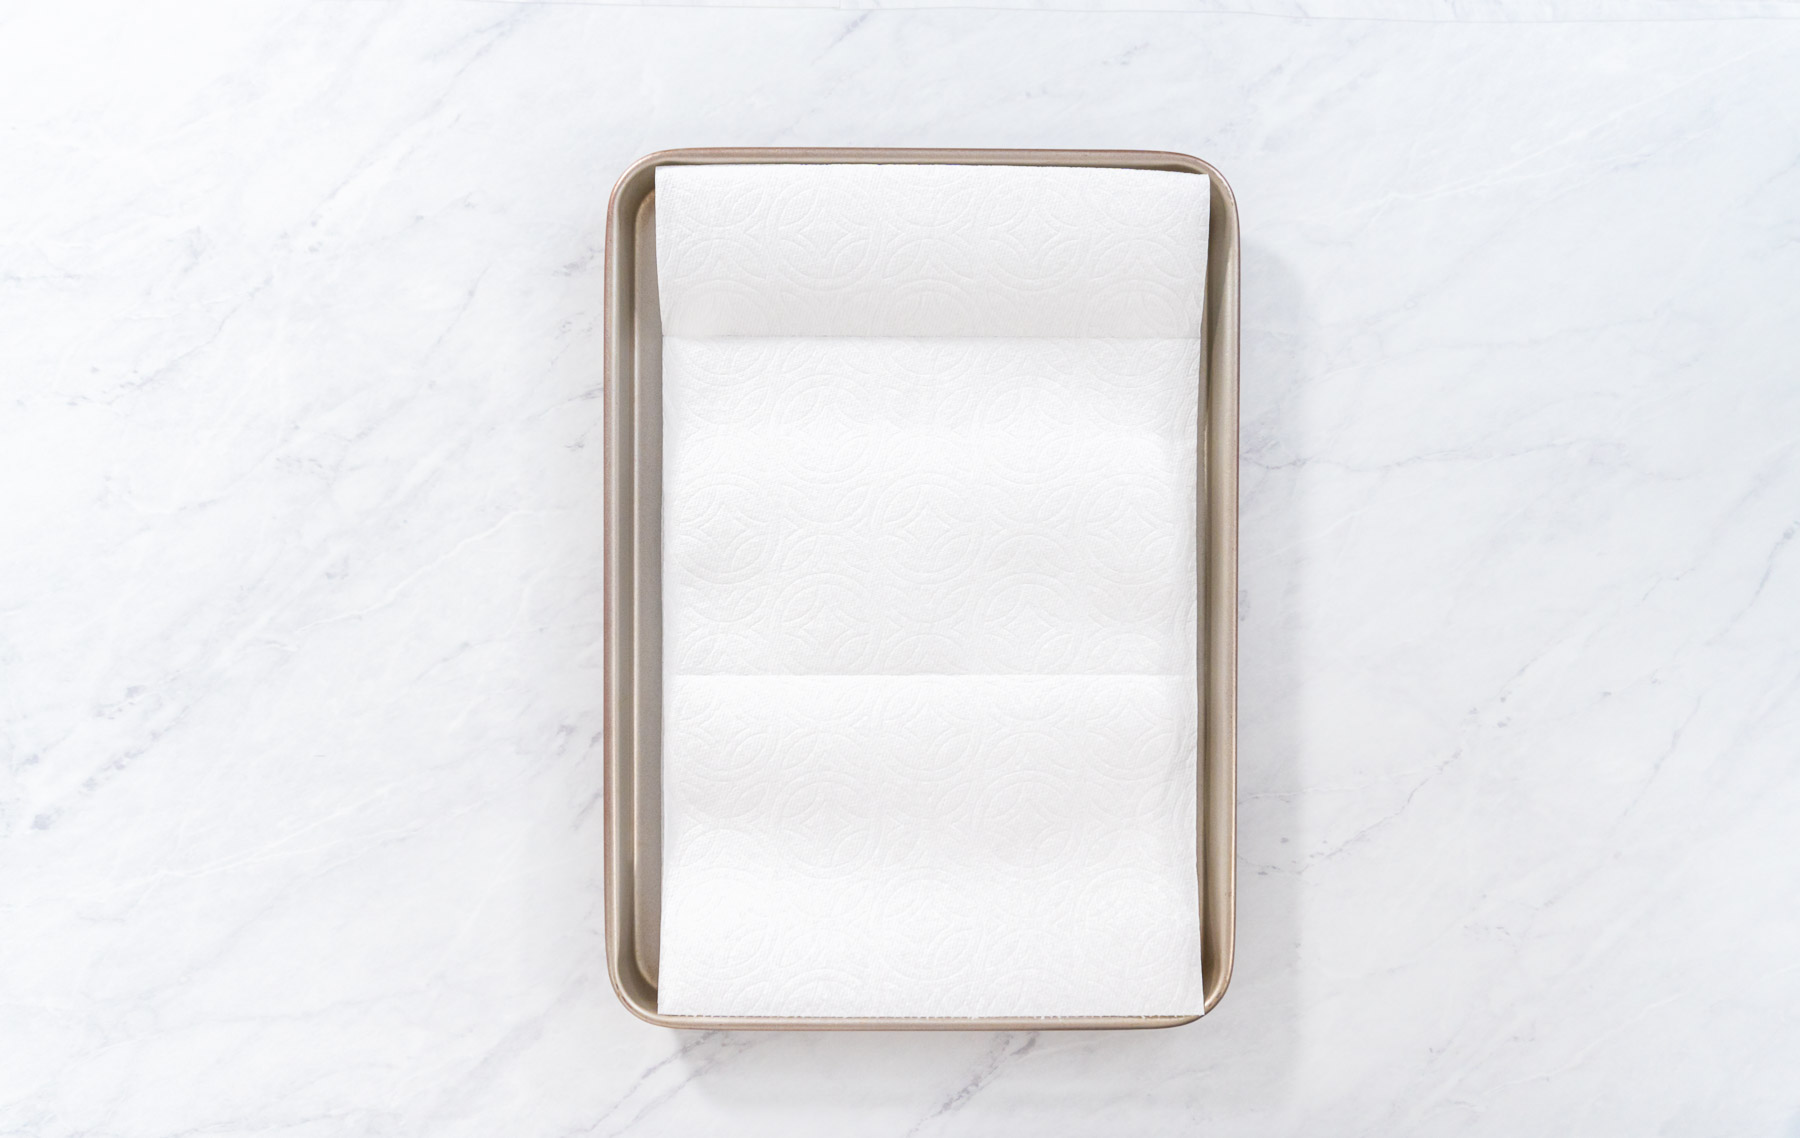
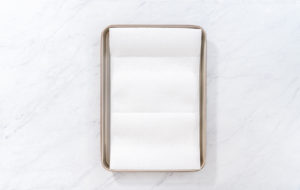
- Next, line a baking sheet with paper towels.
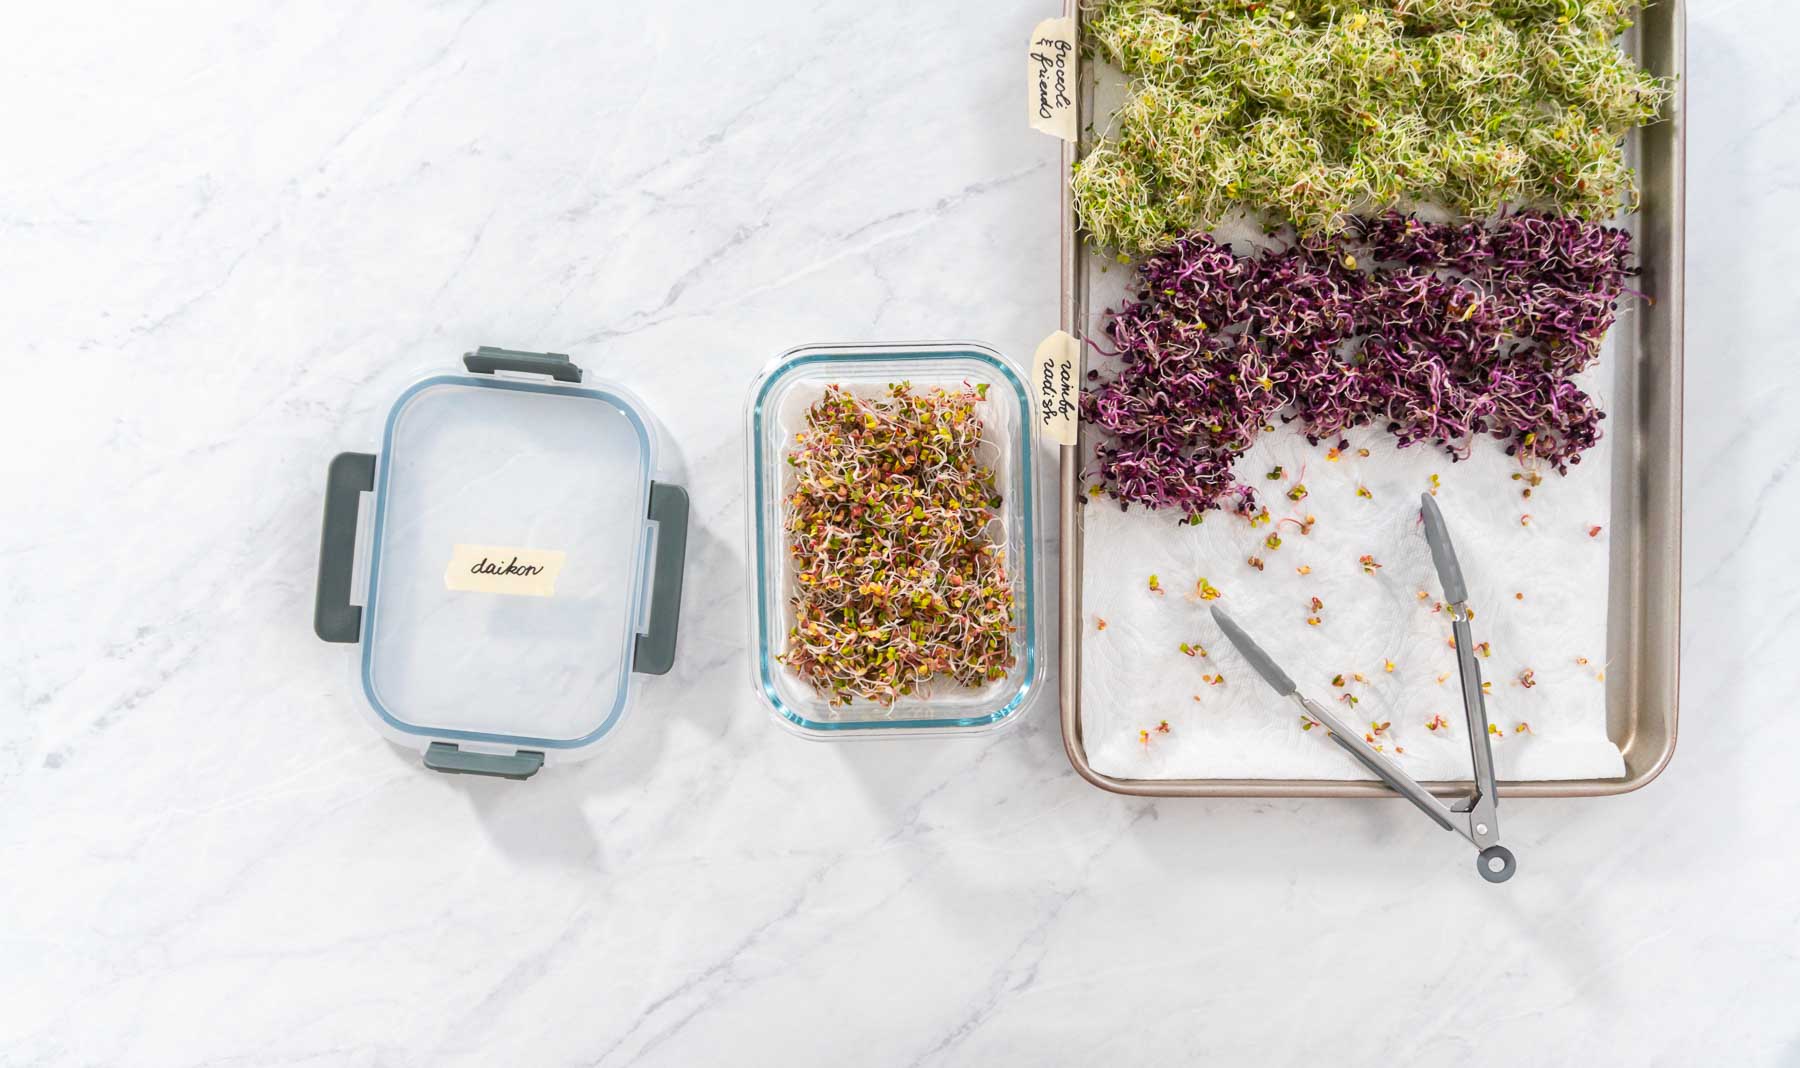
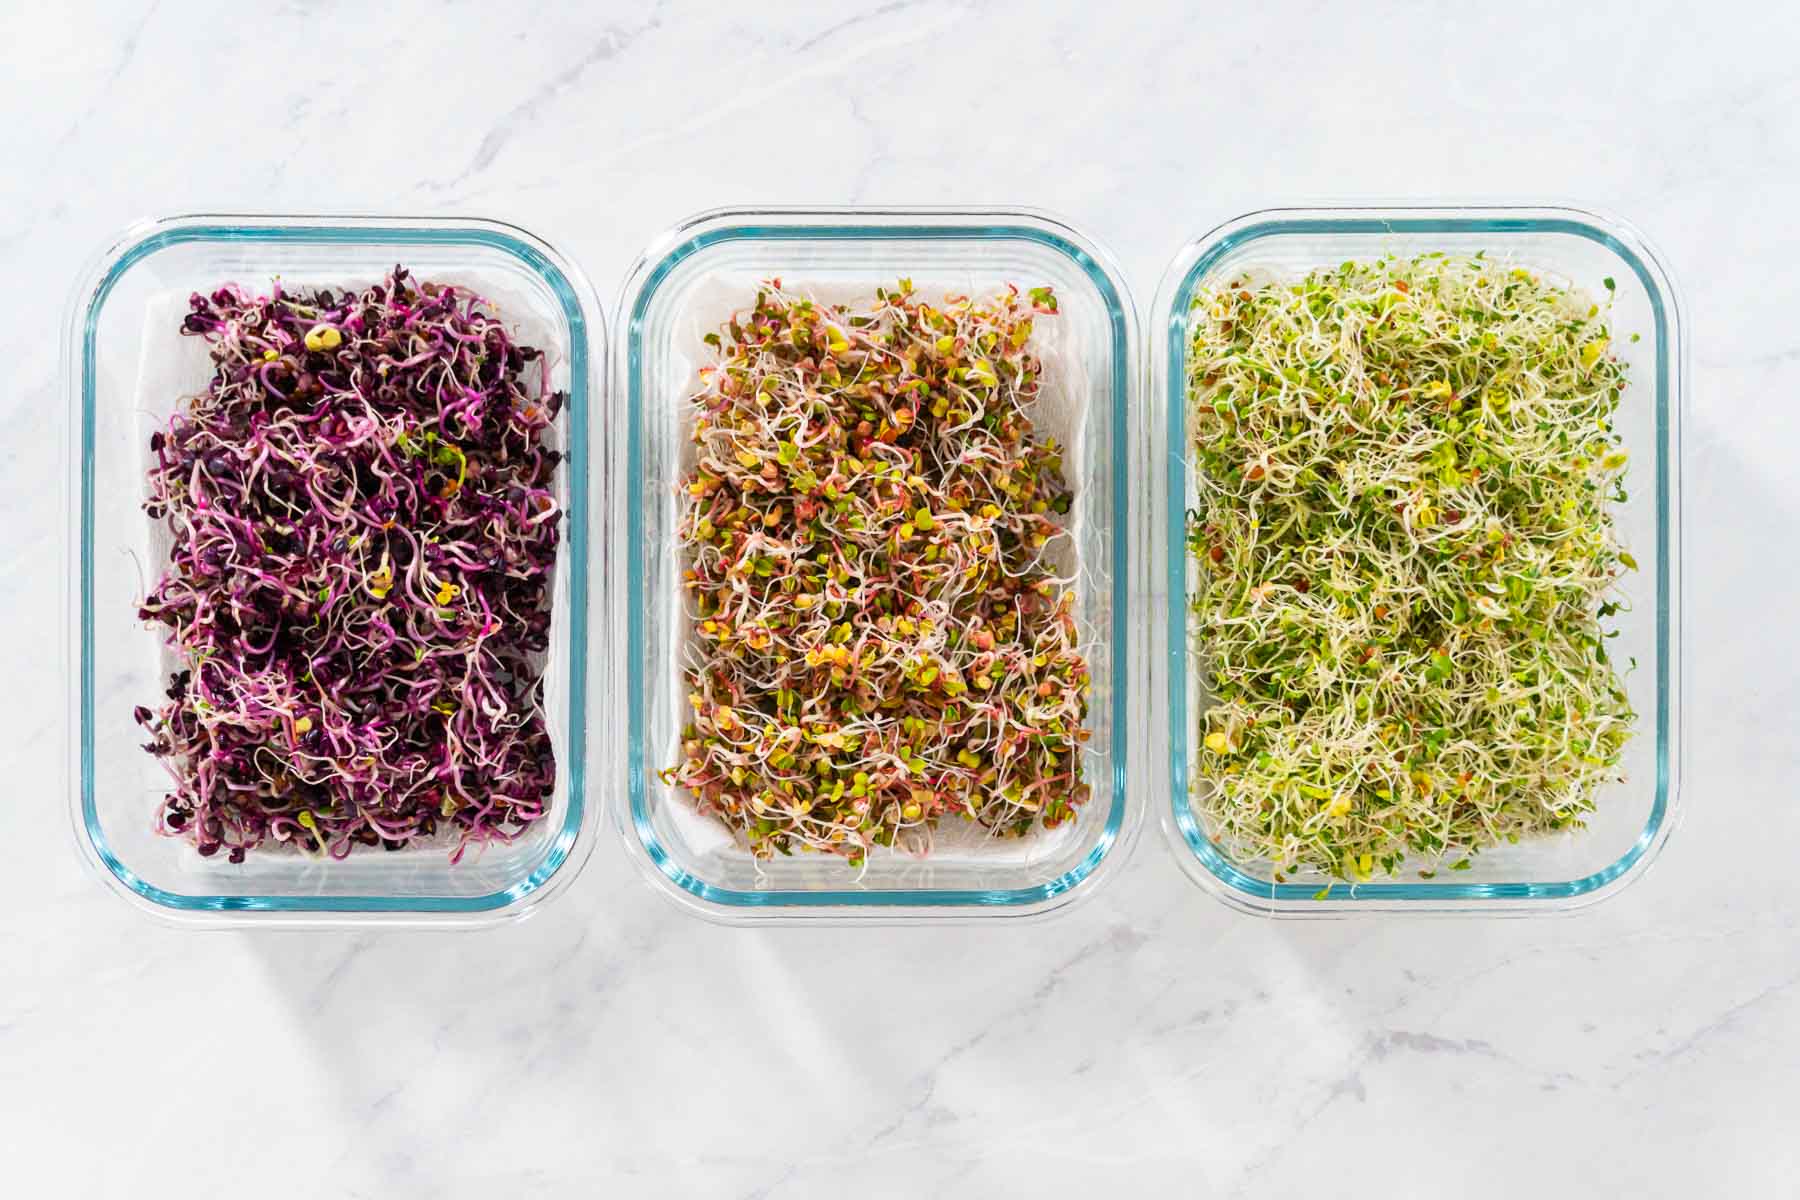
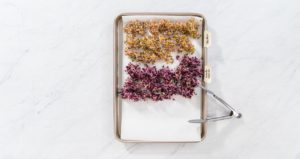
- Transfer the sprouts to the paper towel- lined baking sheet, keeping the varieties separate. Then, let the sprouts dry for about 30 minutes.
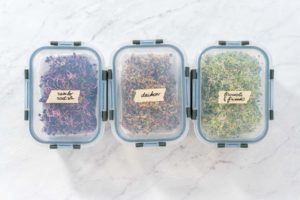
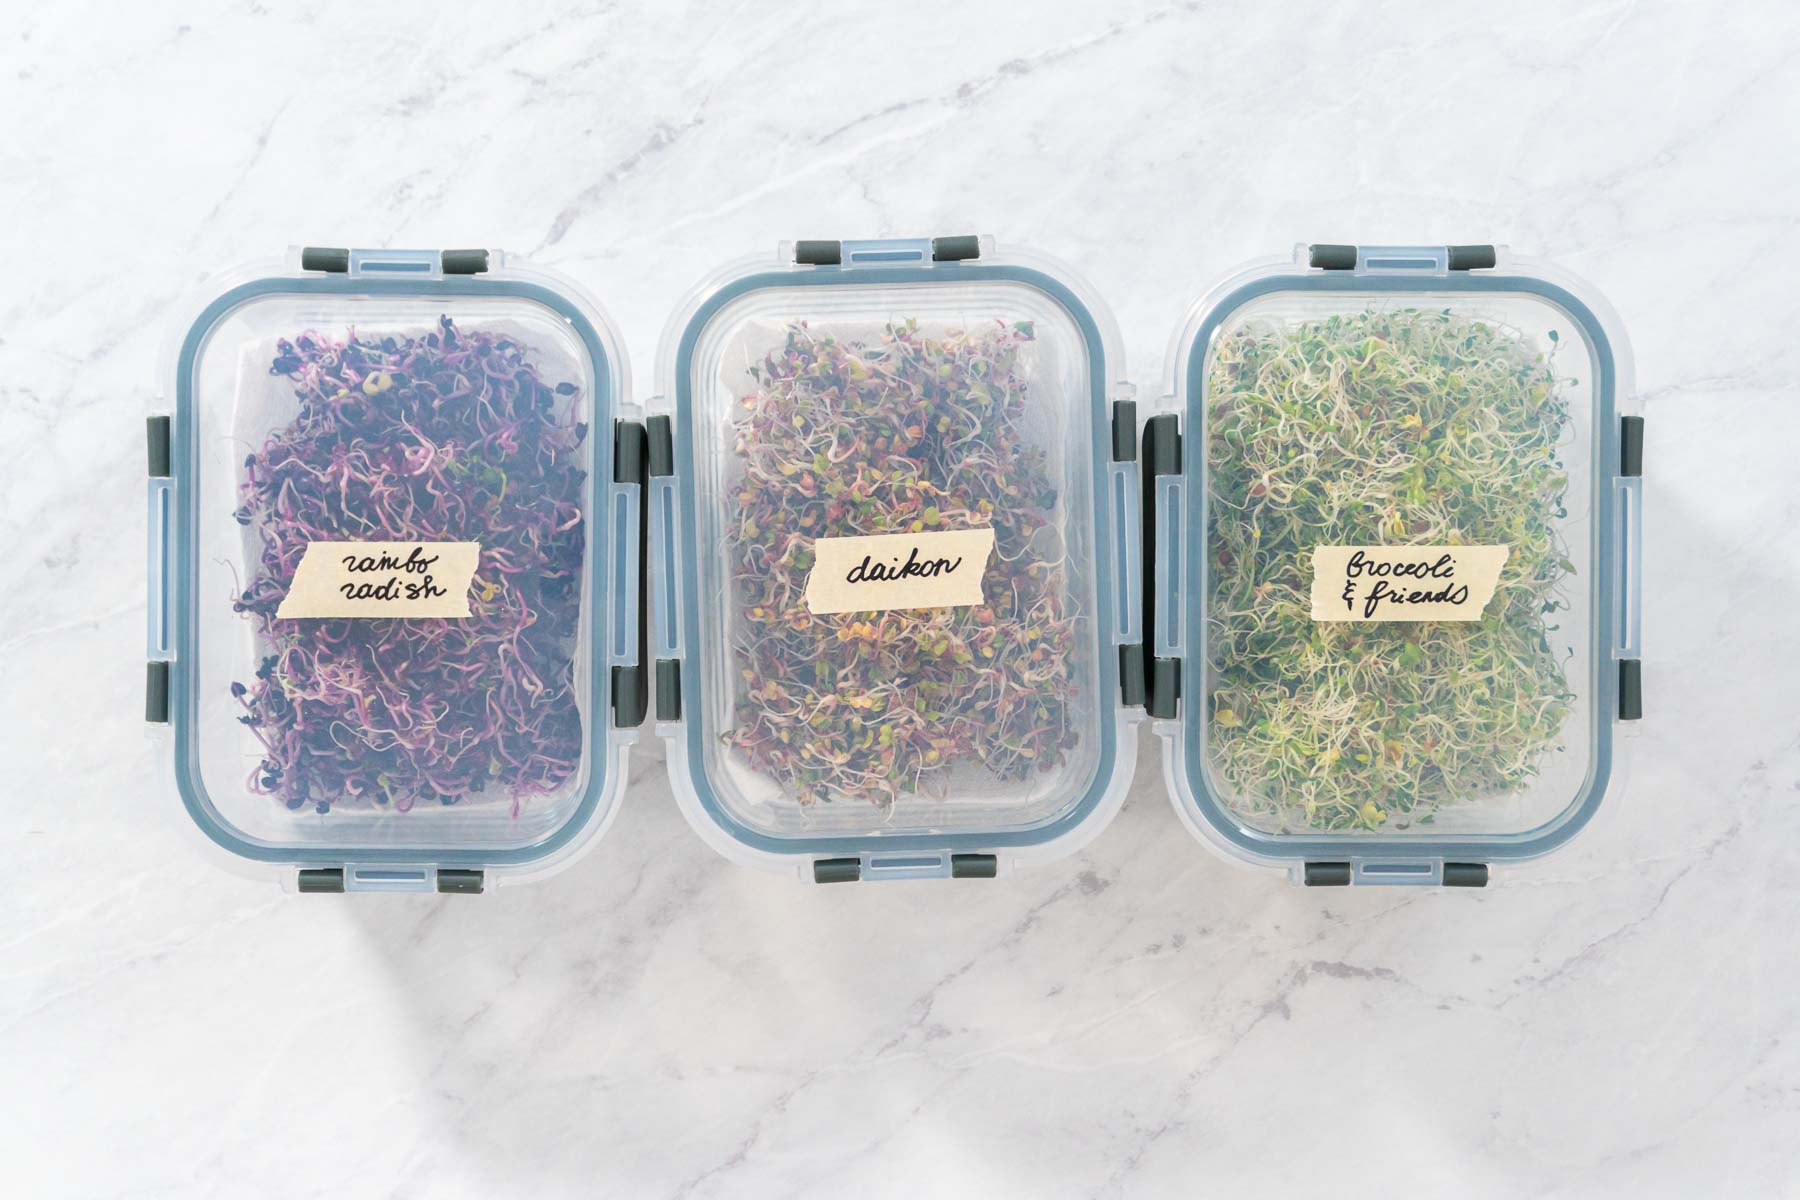
- Finally, transfer the sprouts to an airtight container lined with a paper towel.

- These home- grown sprouts should be eaten as soon as possible but can be stored for up to 3 days in the fridge. These can also be stored in a plastic bag or glass container, but always with a paper towel to help absorb any moisture.